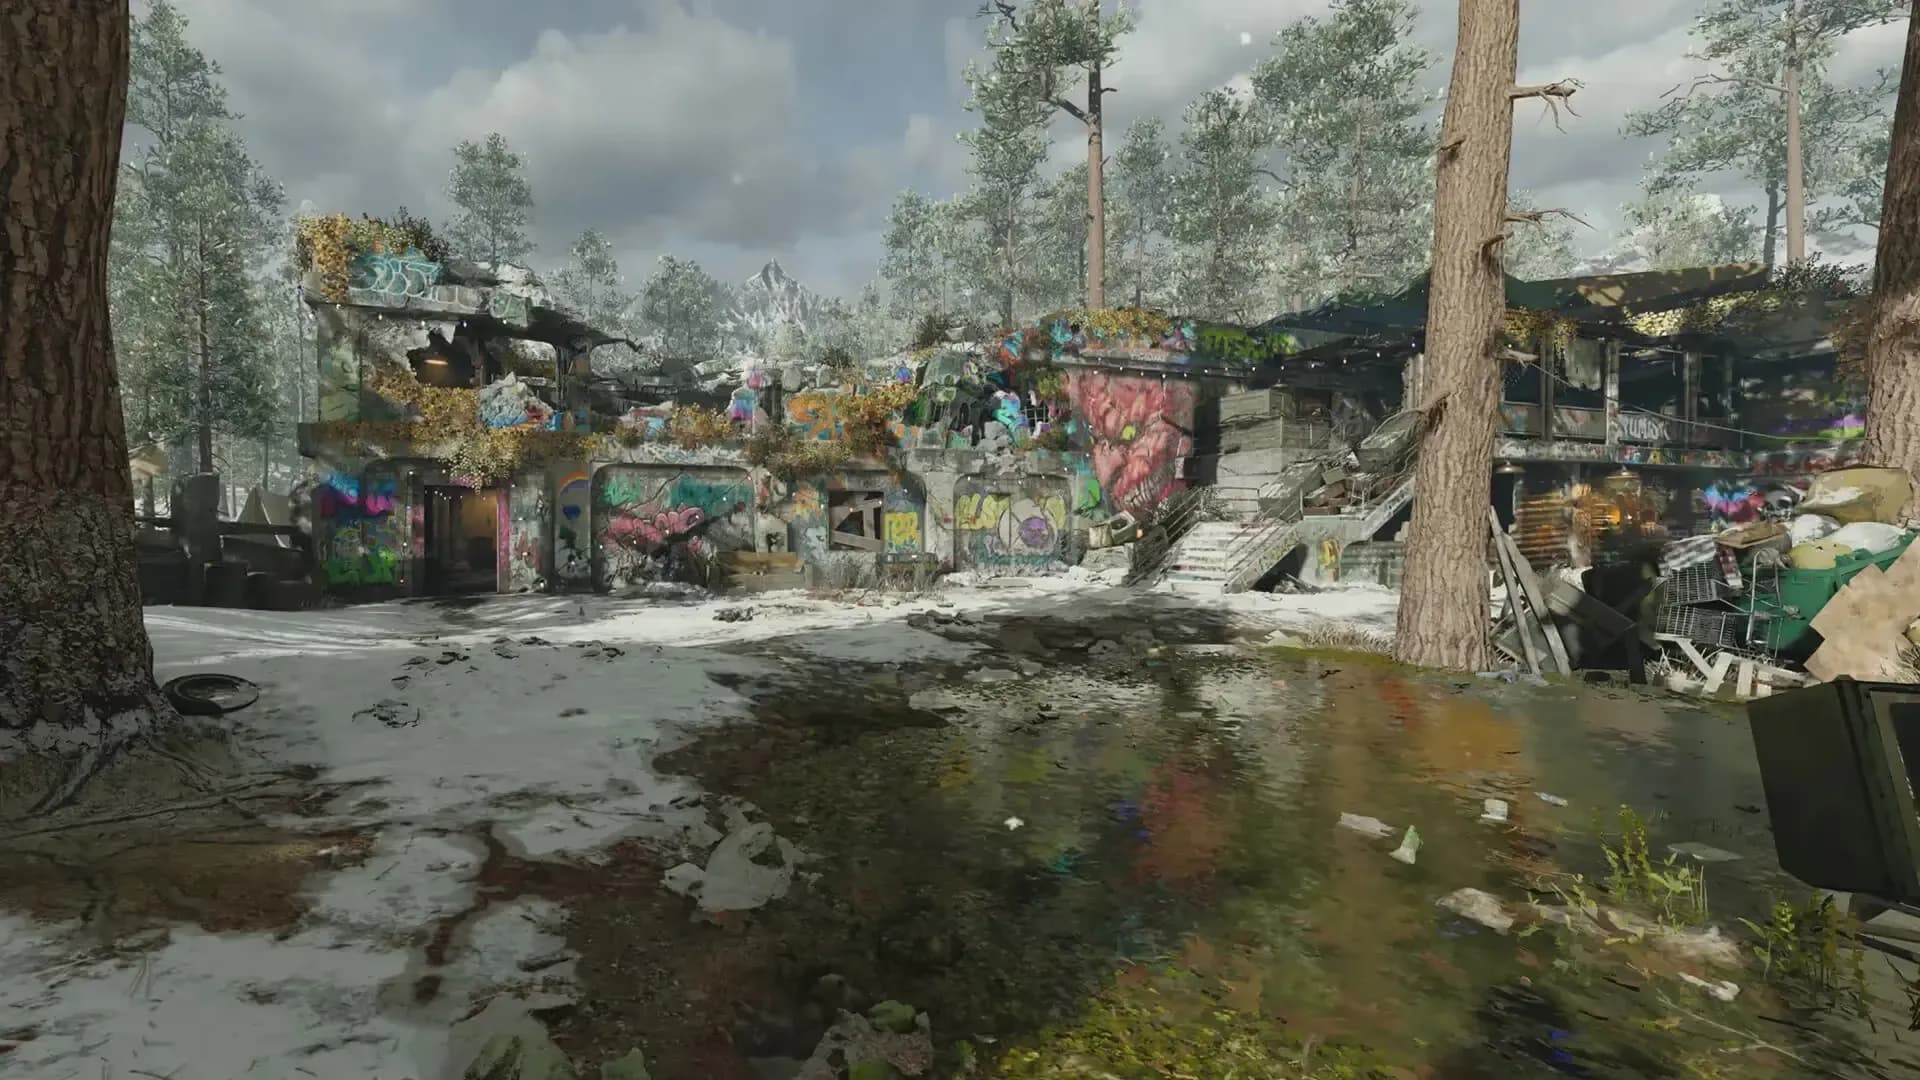
Die Maschine
Seal the Deal
The main quest for Die Maschine is called Seal the Deal. During this main quest, our Requiem Strike Force is sent in to close the rift that the Omega group opened.
Requirements
This main quest can be completed with any number of players, with the only requirements being obtaining the D.I.E. Shockwave, turning on the power, and assembling Pack-a-Punch. The D.I.E. Shockwave can also be obtained from the Mystery Box or from completing legendary trials.
Recommended Class Setup
| Start Weapon | Field Upgrade |
|---|---|
| Hauer |
The start weapon only matters if you are going to upgrade it throughout your game with salvage, otherwise you can start with any weapon you choose and gain upgrades from the Mystery Box and/or wall buys.
Step 1: Obtaining the Aetherscope
Find and interact with a dimensional breach to re-enter the Dark Aether. Once inside, you must collect the three Aetherscope parts, which will spawn in a random order, one after another, but always in the same locations. The locations for these parts are:
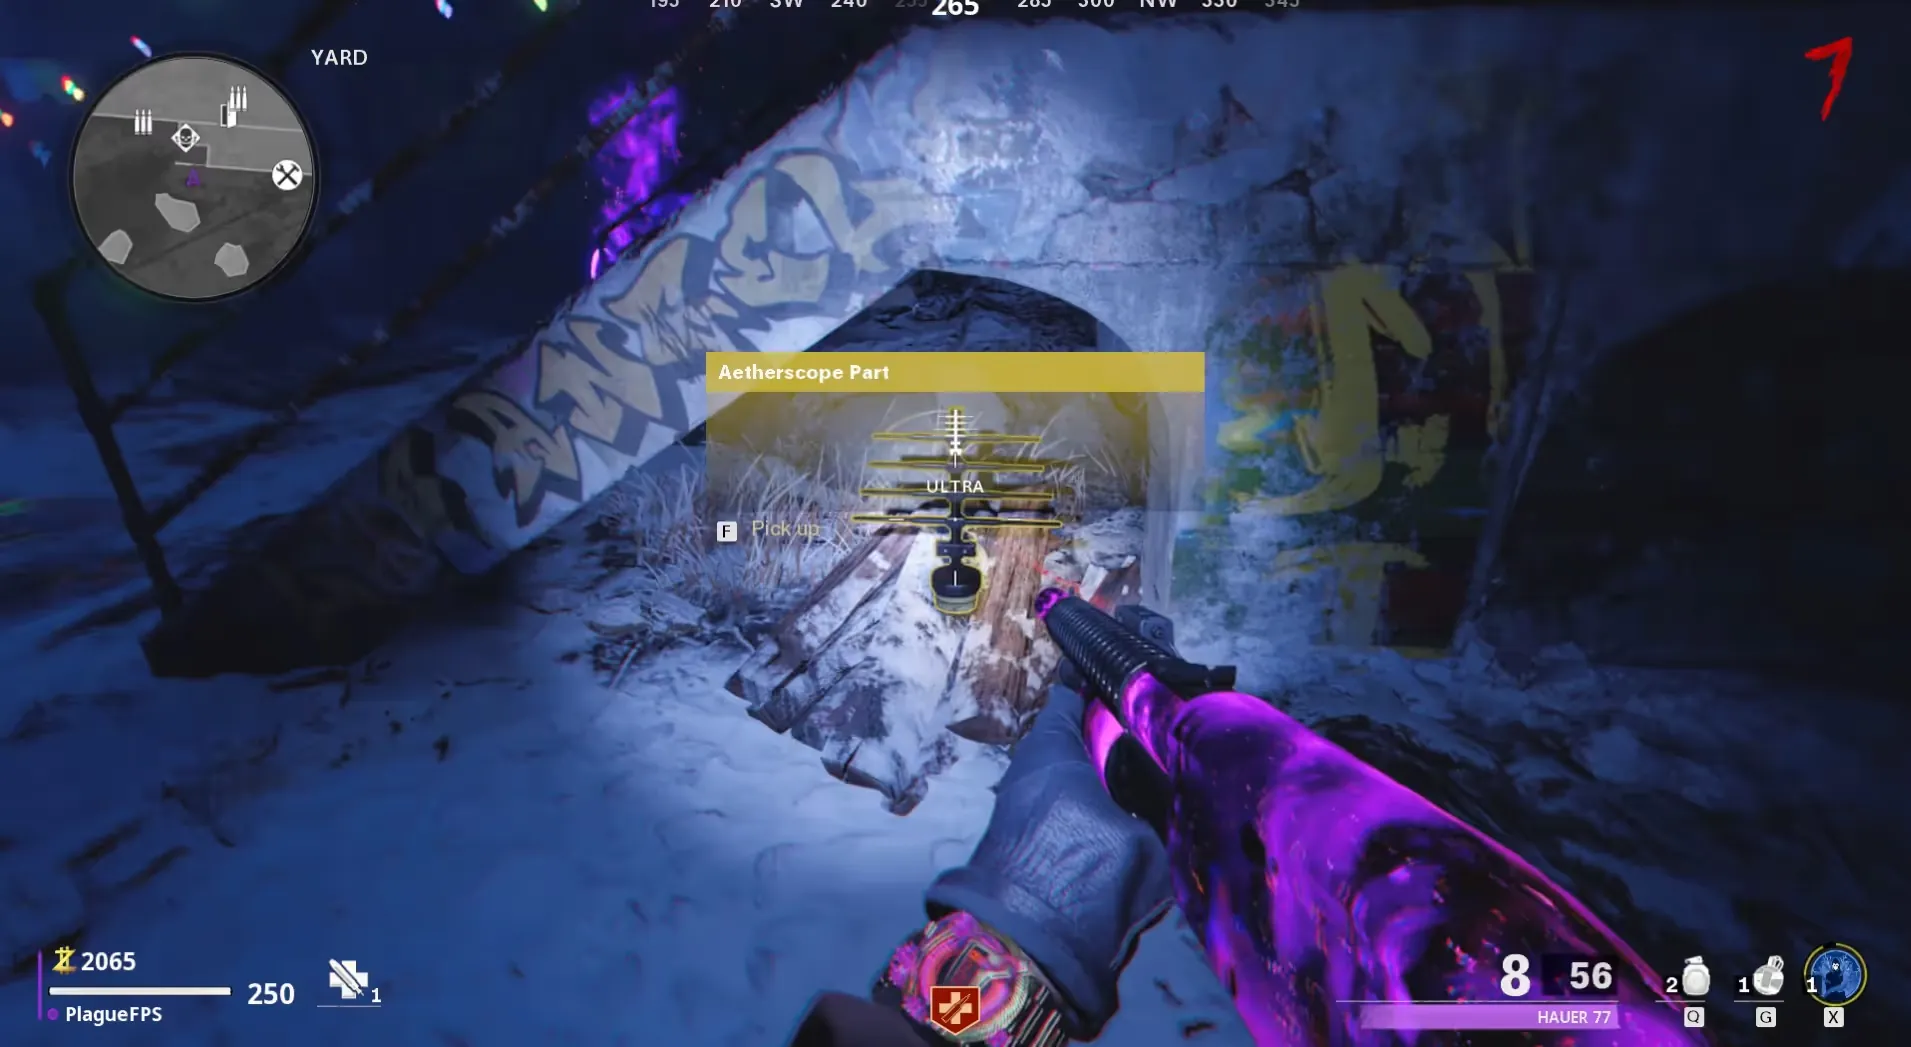
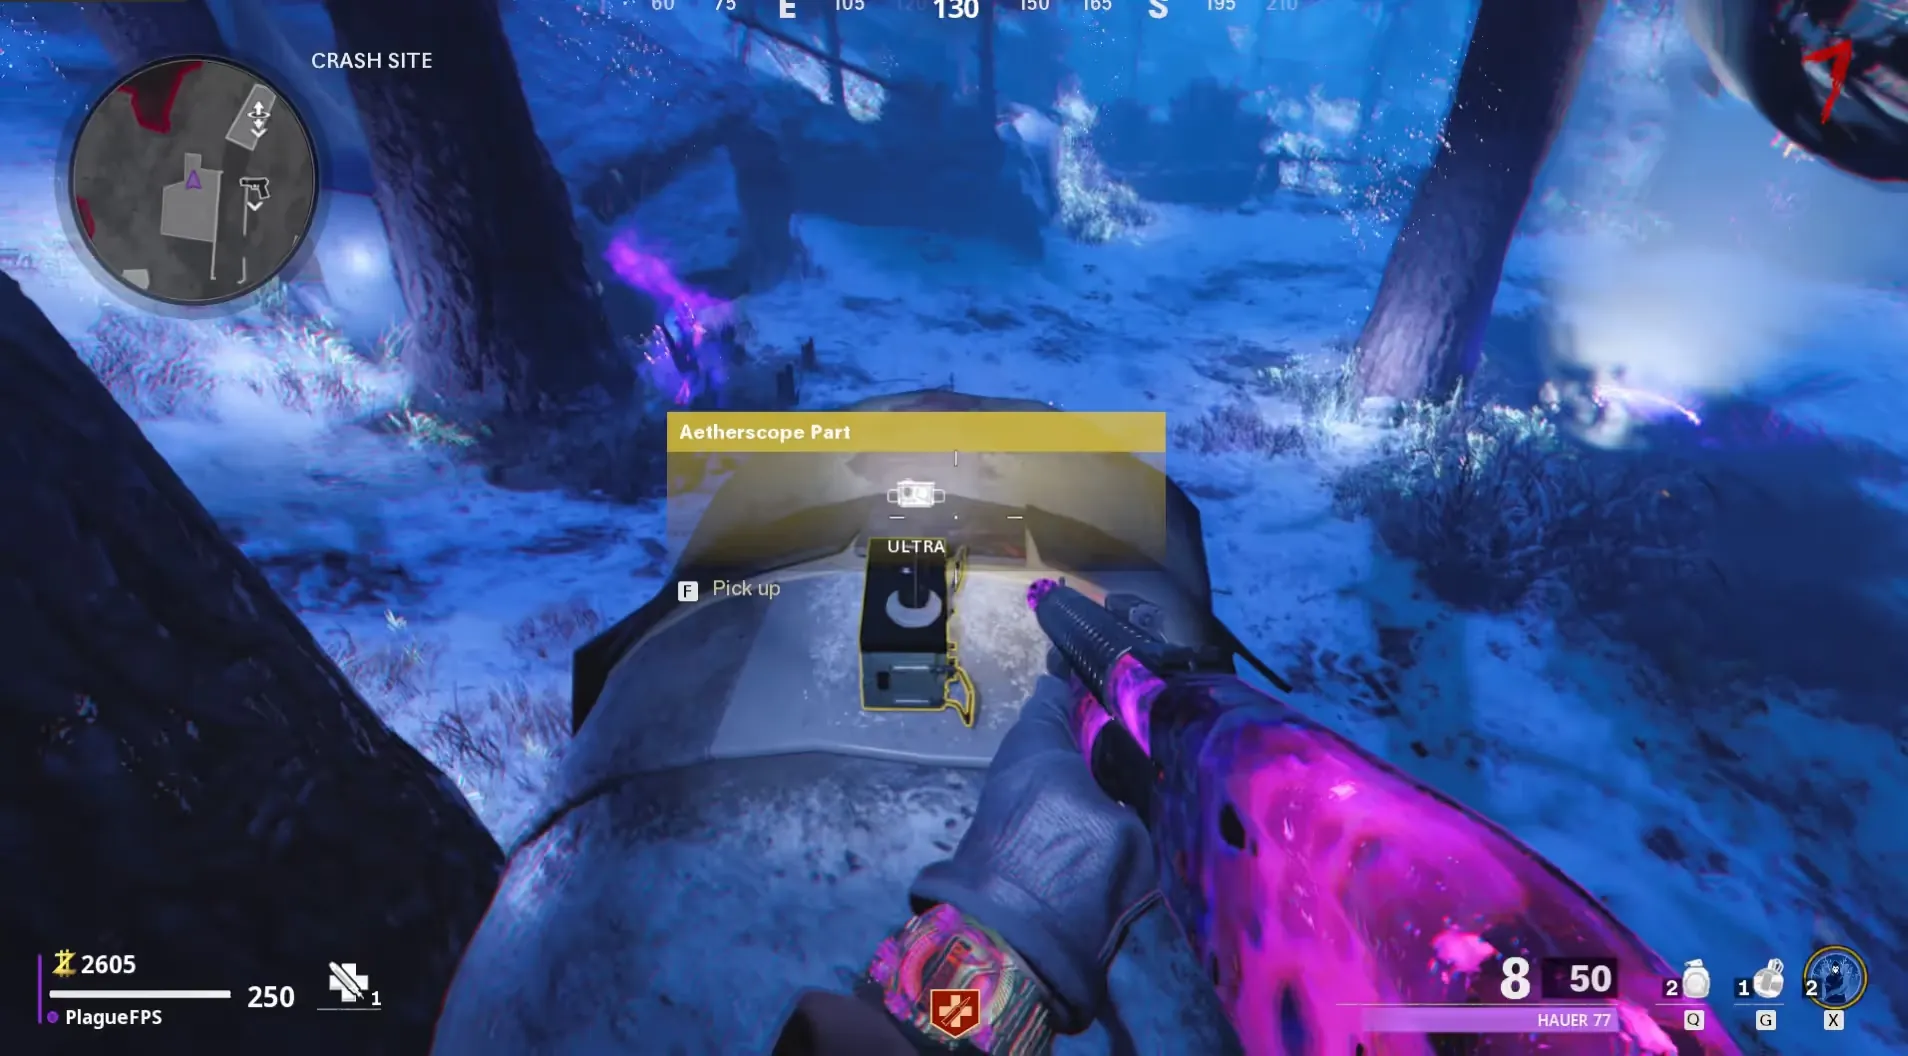
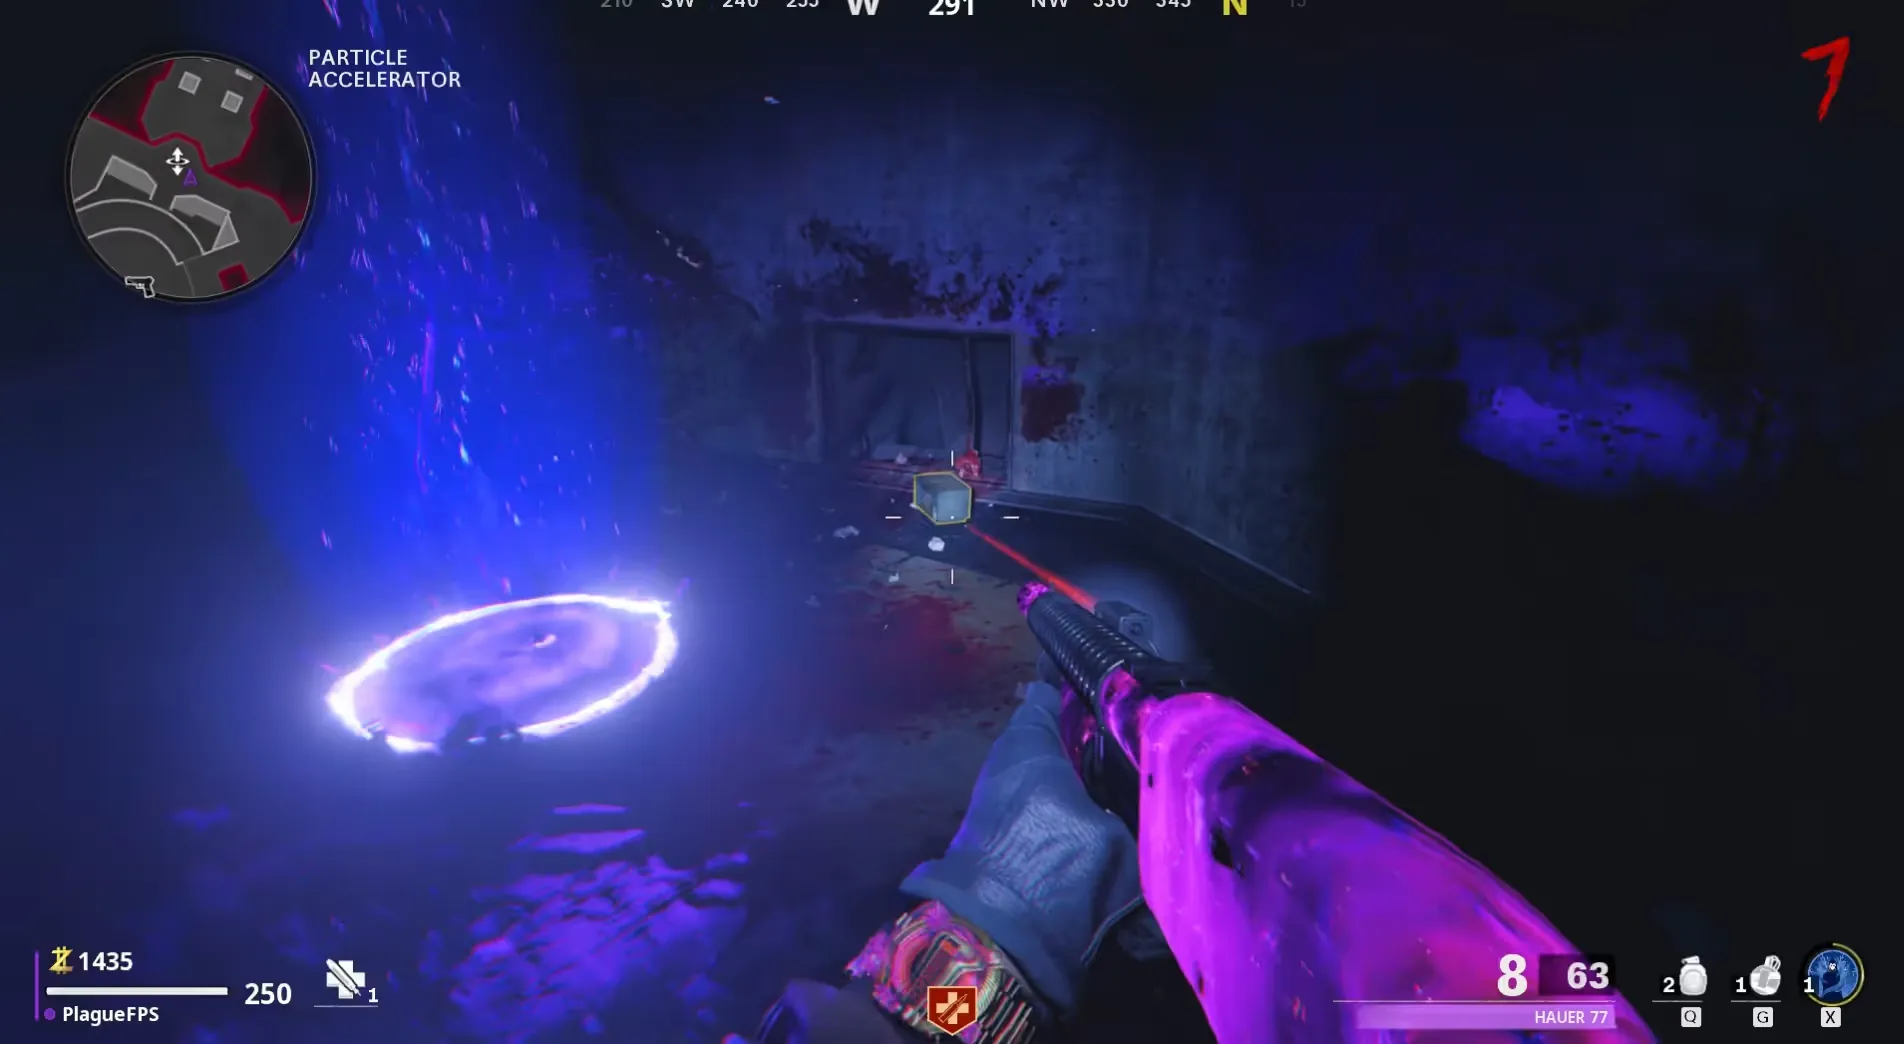
These parts do not need to obtained within a single use of a dimensional breach and often can't due to you sometimes getting ejecting out of the Dark Aether prematurely.
Once you have all three parts, head to the bottom area of the Particle Accelerator behind Pack-a-Punch. There, you will find a workbench where you must assemble the Aetherscope. Afterward, interact with it to collect it, spawning a new dimensional breach within the Medical Bay and completing this step.
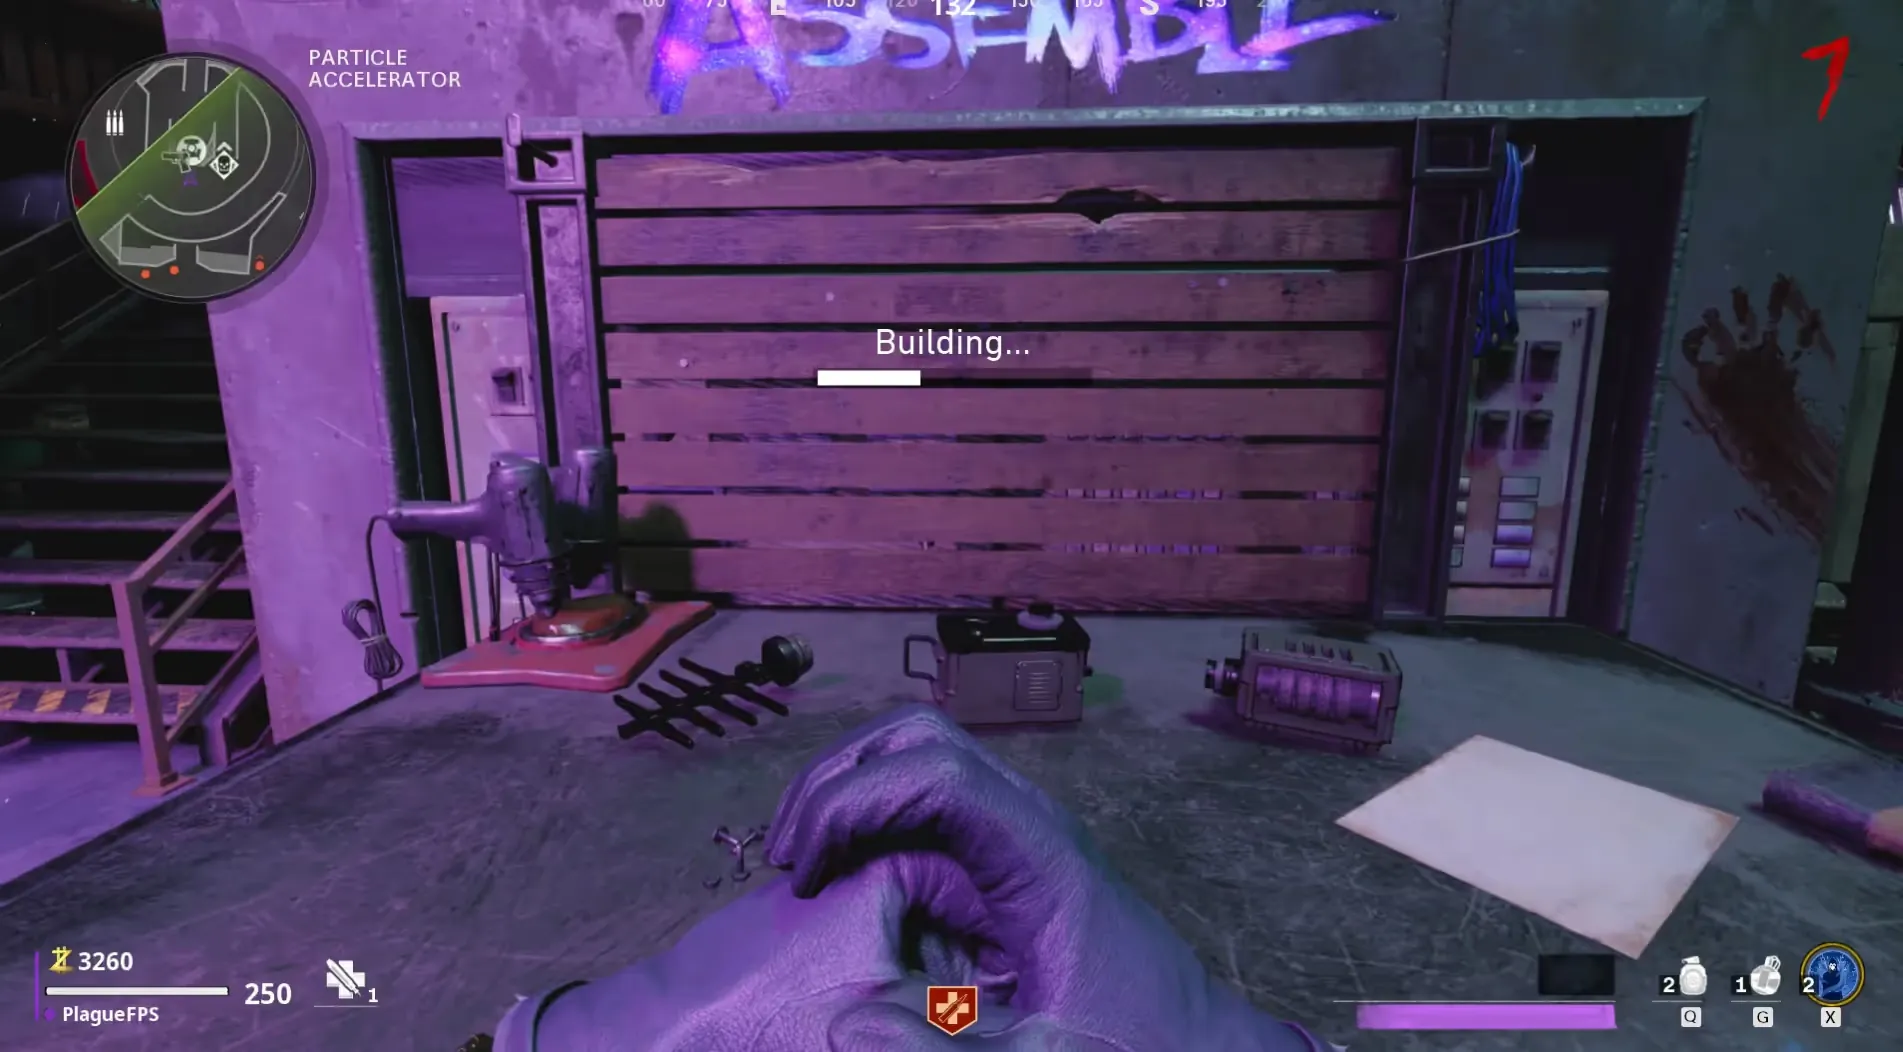
If a dimensional breach did not spawn in the Medical Bay after completing this step, flip rounds until it does.
Step 2: The Anomaly
Head to the Medical Bay and interact with the dimensional breach to enter the Dark Aether. Afterward, pick up the diary near the terminal in the room just above ![]() Speed Cola
and interact with the Anomaly in the corner to the left of
Speed Cola
and interact with the Anomaly in the corner to the left of ![]() Speed Cola machine by the window to spawn in a spectral reflection of Ulrich Vogel.
Speed Cola machine by the window to spawn in a spectral reflection of Ulrich Vogel.
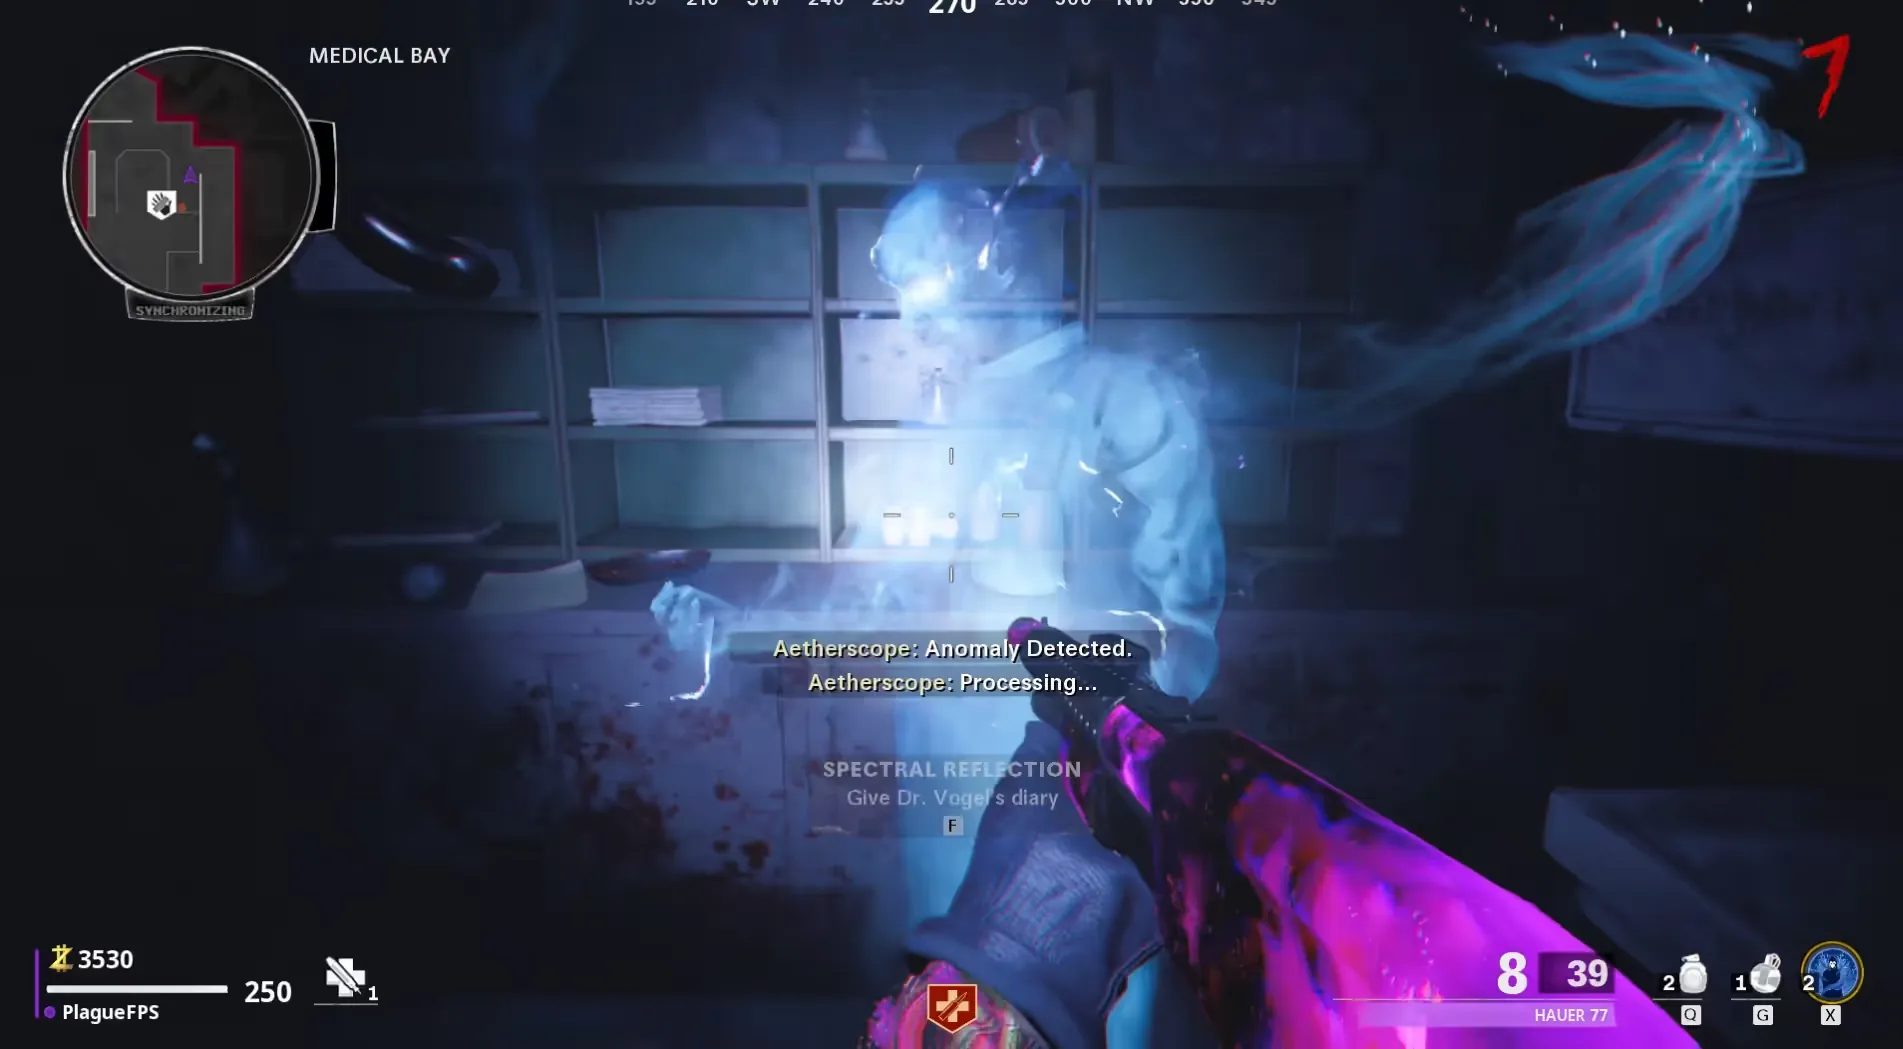
The dimensional breach must be in the Medical Bay to do this step. If you don't have this breach, keep flipping rounds until it spawns and then complete this step.
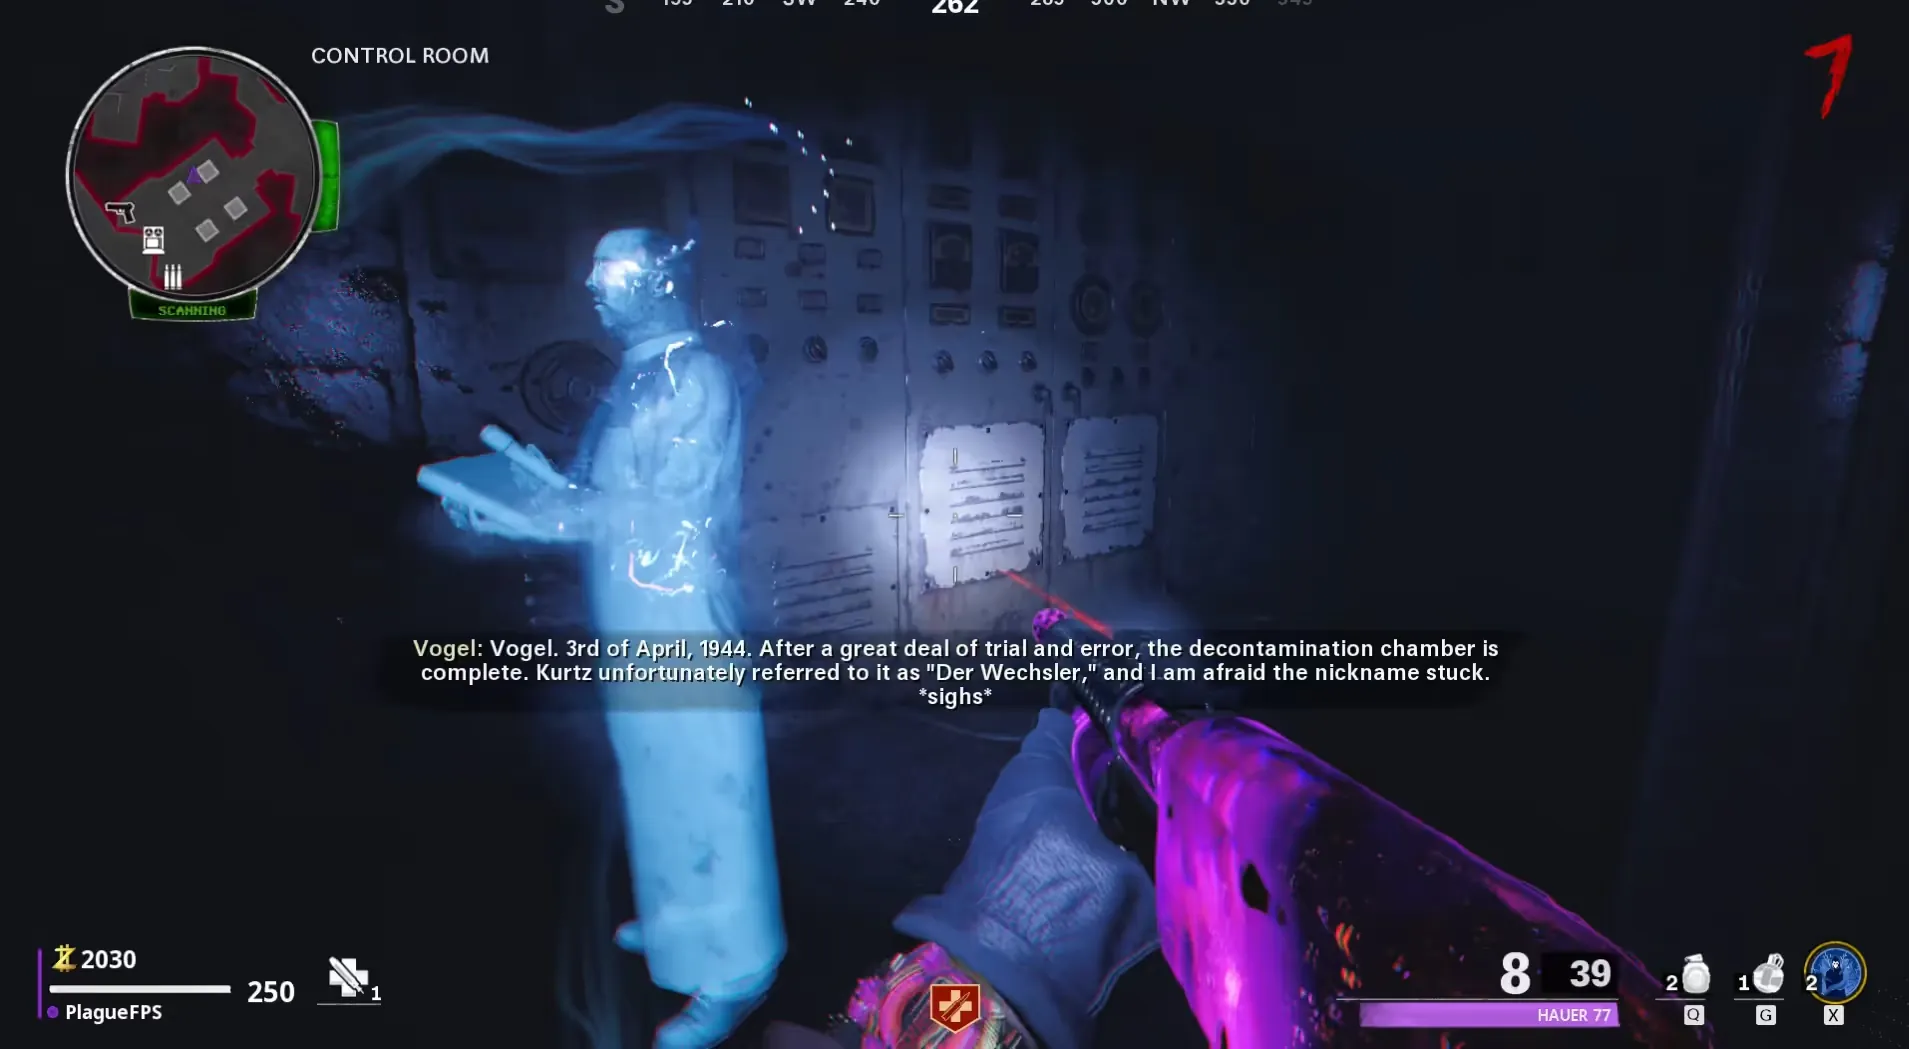
Interact with the spectral reflection to hand the diary to Ulrich Vogel triggering some dialogue, after handing him the diary, a new Anomaly will spawn in the Control Room that you must interact with again and hand the diary to Ulrich Vogel triggering some more dialogue.
Finally, after handing him that diary, a final Anomaly will spawn in front of the Aetherscope workbench in the Particle Accelerator room that you must interact with and hand the diary to Ulrich Vogel triggering the final piece of dialogue, completing the diary and unlocking the password which you can enter into the terminal in the Medical Bay.
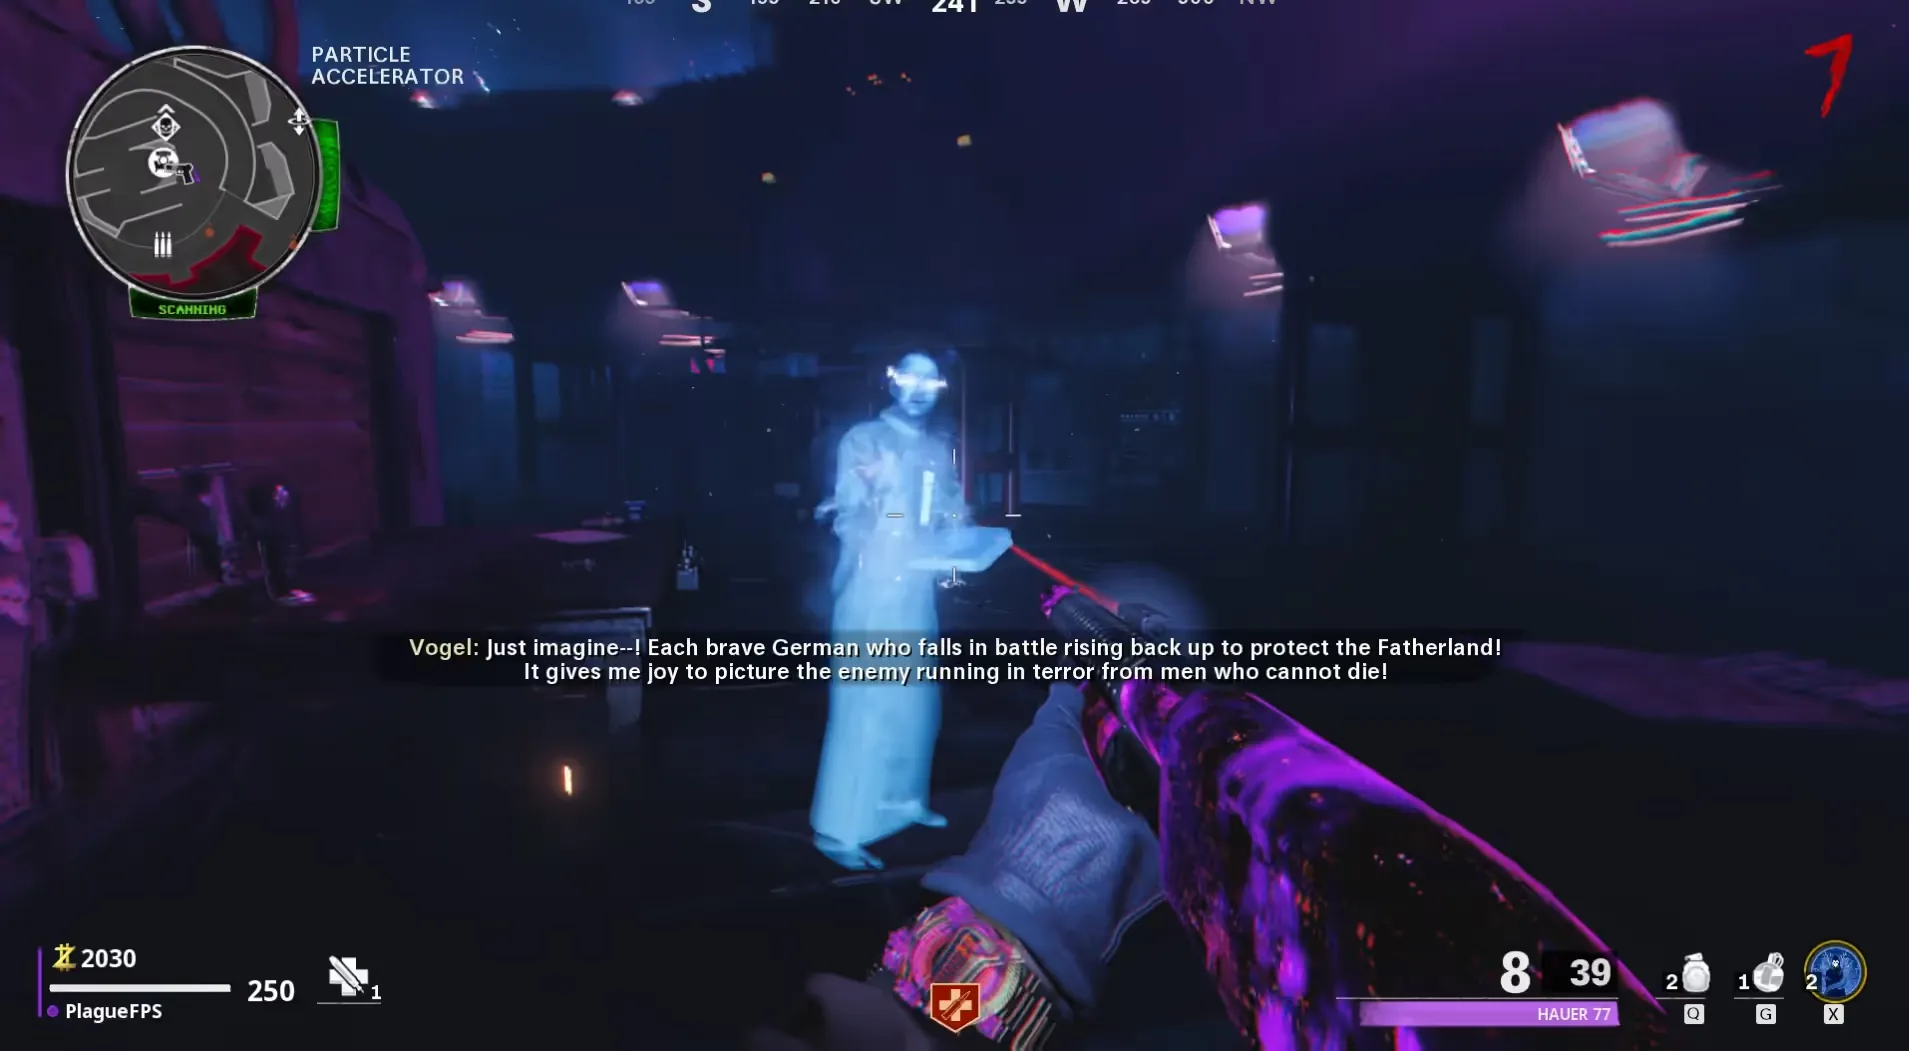
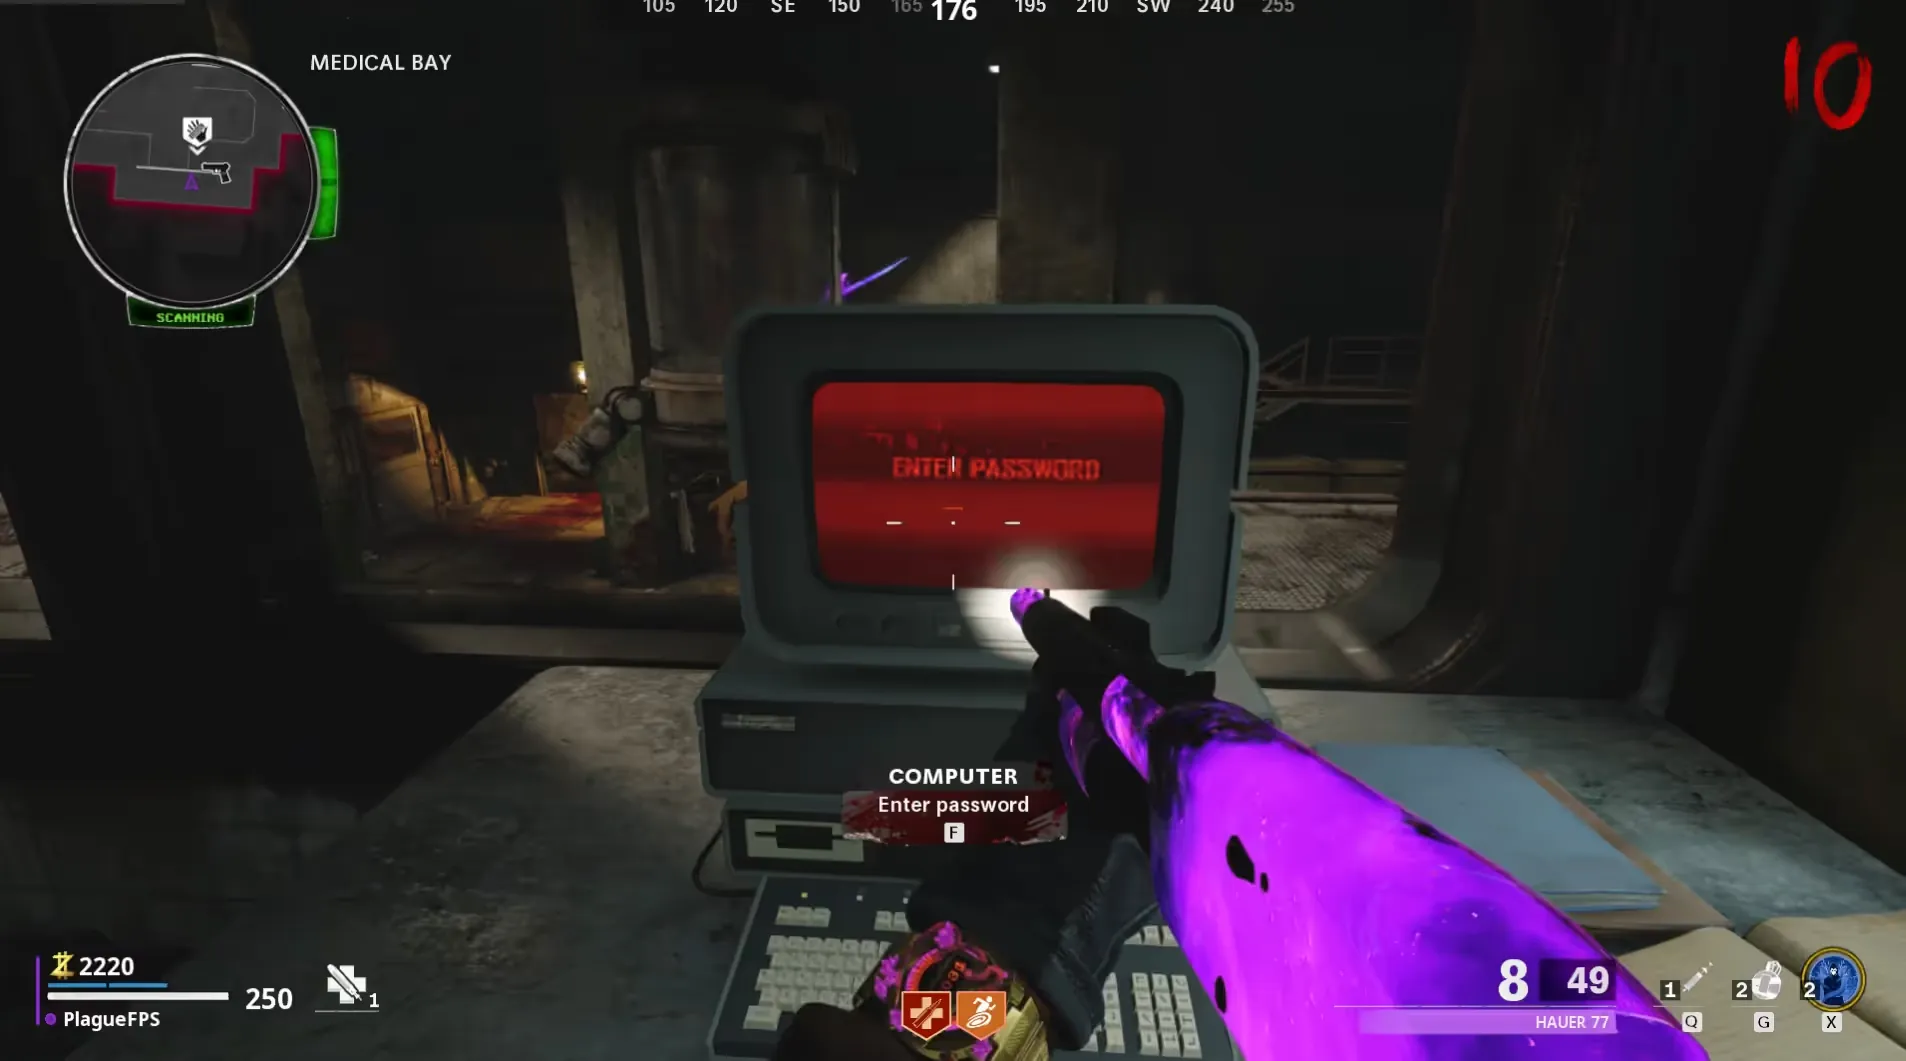
You can interact with all three Anomalies one after another without waiting for the dialouge to finish, this massively speeds up this step.
Step 3: Power the Decontamination Chamber
Head to the Medical Bay and use all four variants of the D.I.E. Shockwave to shoot each of the legs of the Decontamination Chamber hanging in the Medical Bay. Each leg has a colored ring matching the variant of the D.I.E. Shockwave that needs to be shot at it; Electrobolt (Yellow), Thermophasic (Red), Cryo-Emitter (Blue), NOVA-5 (Green).
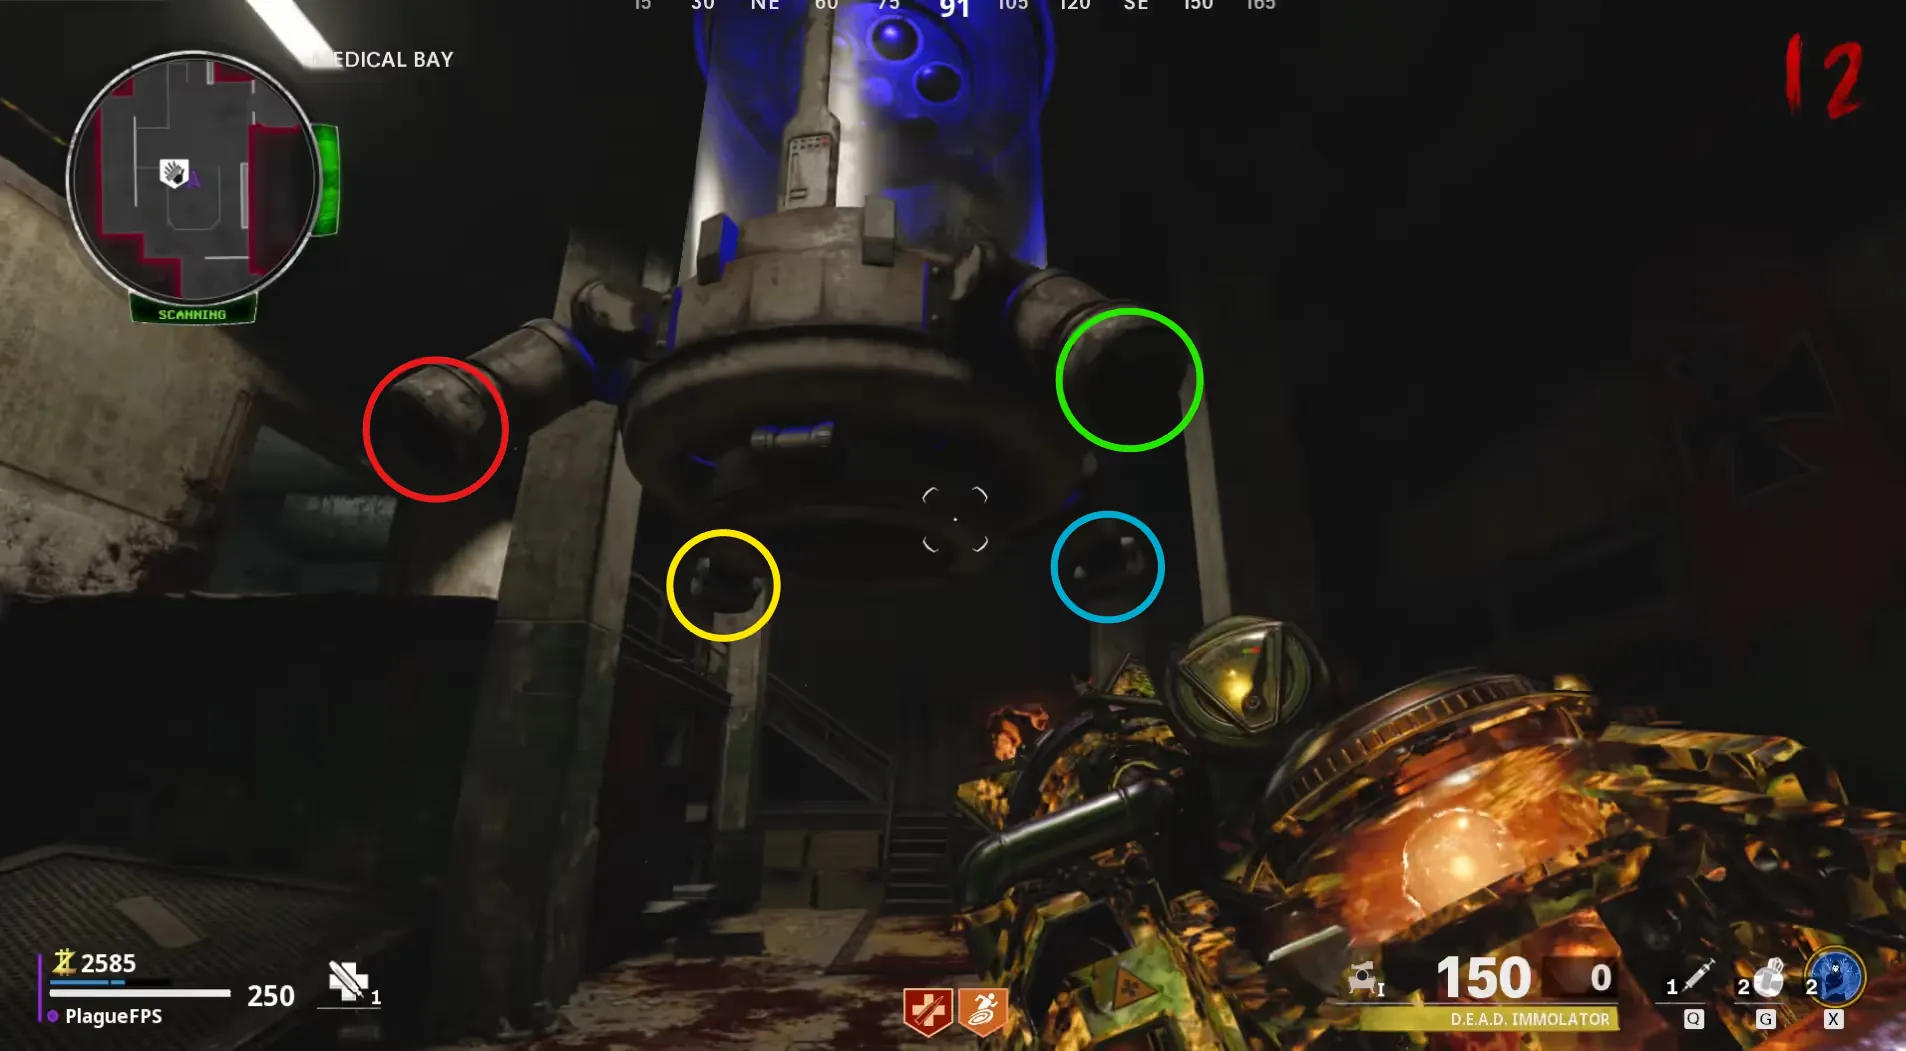
Since these are variants and not upgrades, you can always swap between all four of them and even back to the original variant by interact with the variant's crate again.
Obtaining the D.I.E Shockwave
Wait for a Megaton to spawn and kill it and its split forms. After killing the final form a golden Keycard will drop on the ground that you must interact with to pick up. Bring this Keycard to the Weapons Lab and interact with the Weapons Locker, which contains a blinking red light, to obtain the D.I.E. Remote Control.
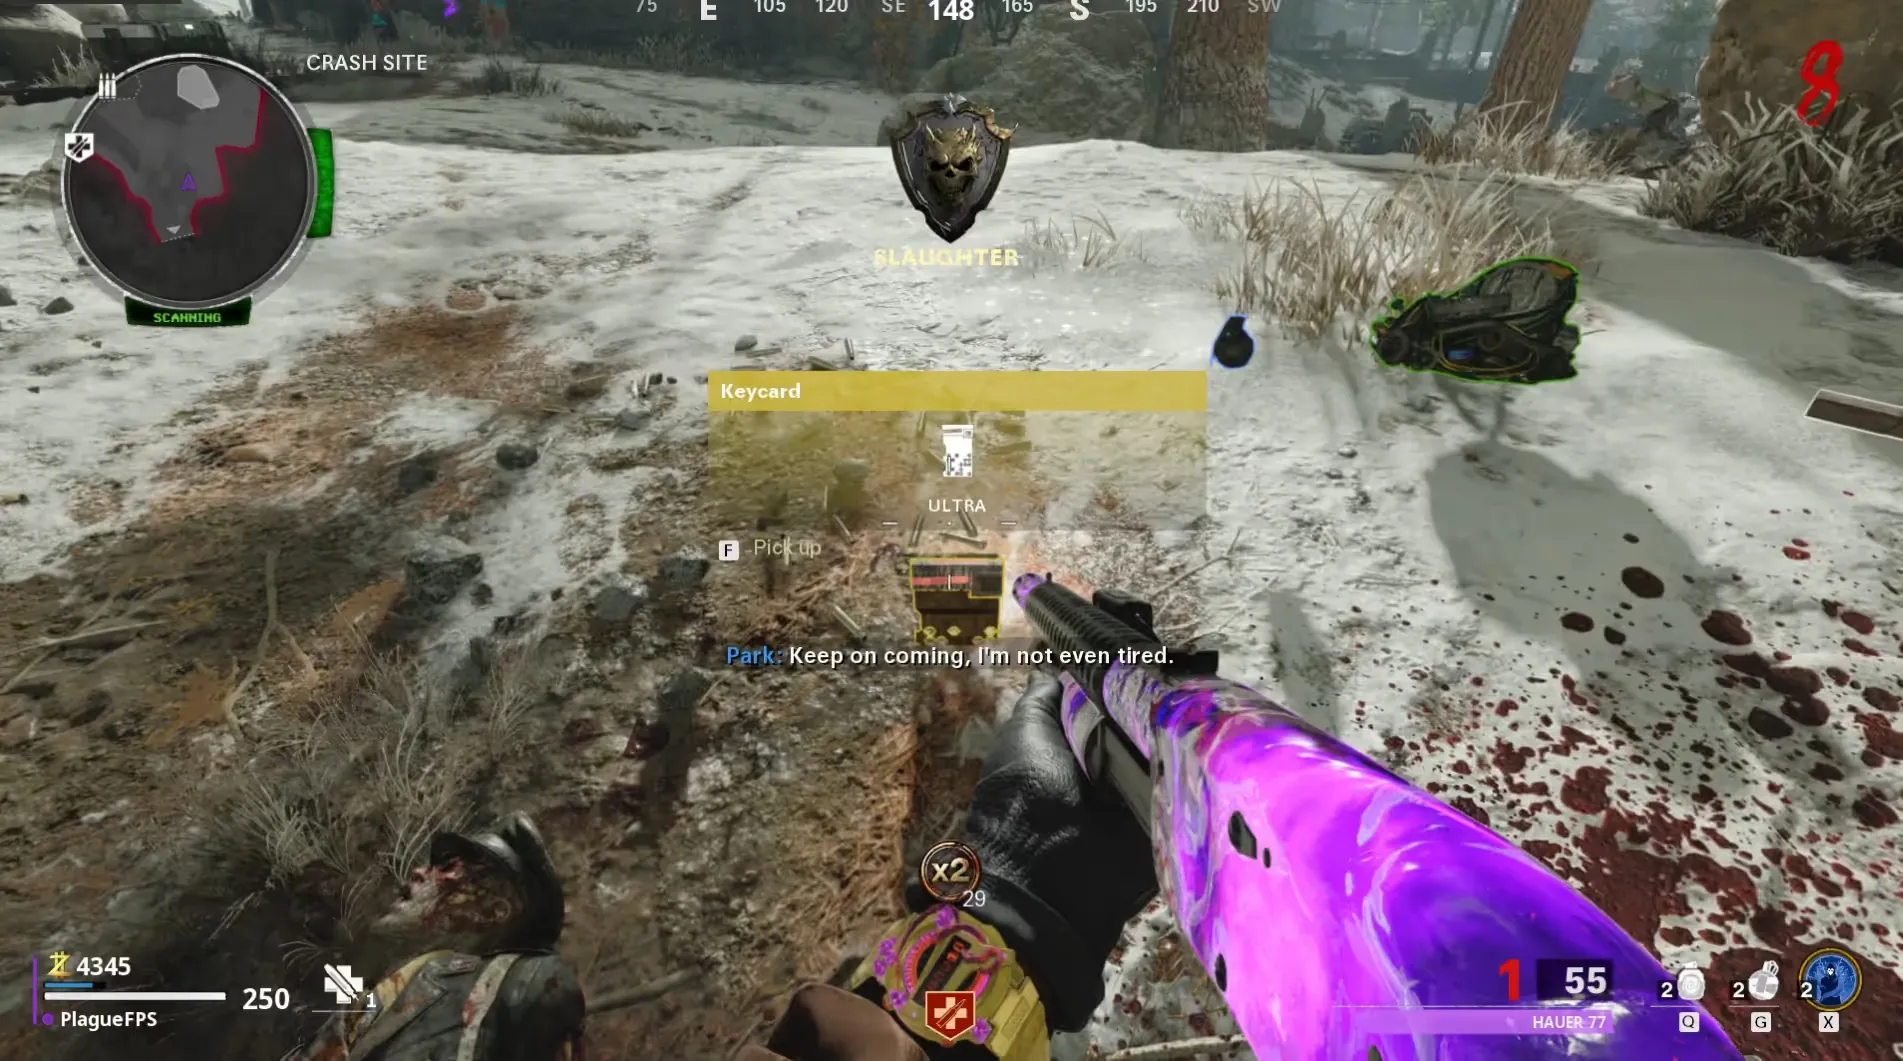
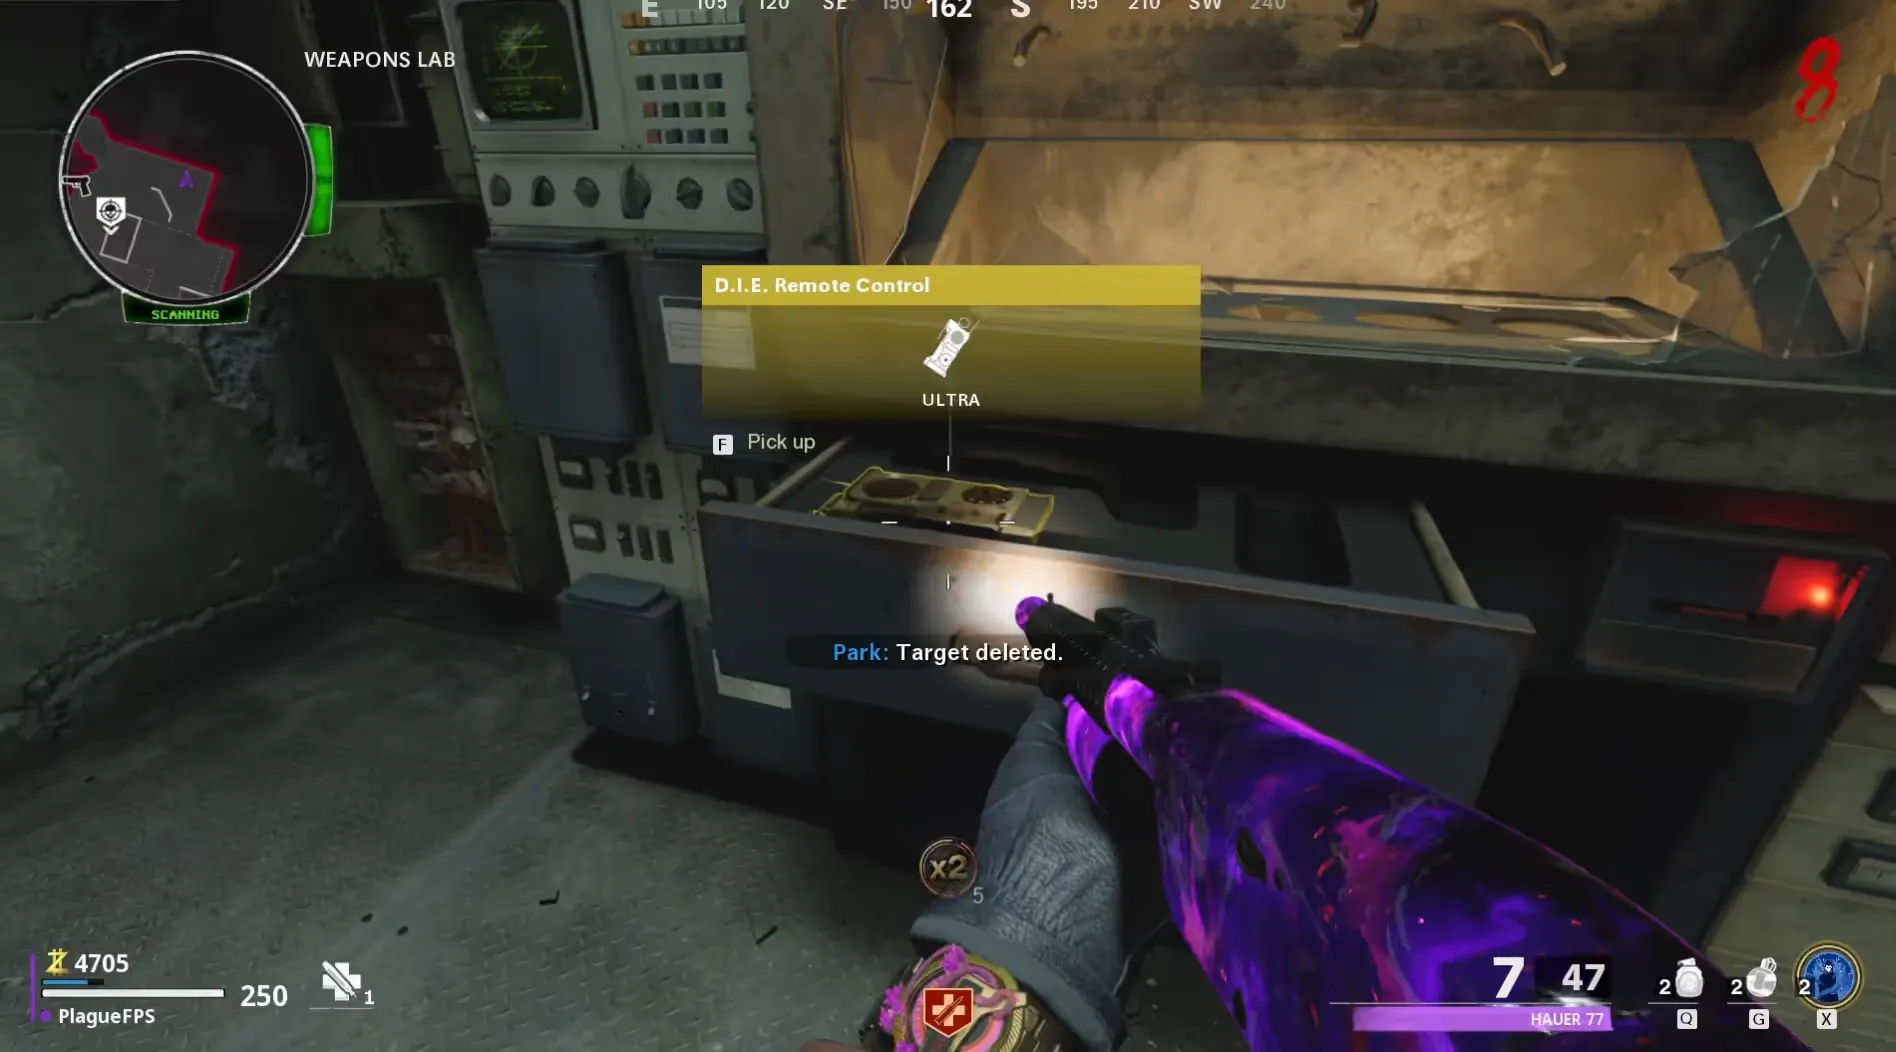
The Keycard will always drop from the very first Megaton you kill in your game which spawns in at Round 8.
Once you have the D.I.E. Remote Control, head to the Living Room inside the Nacht Der Untoten building where you will be able to activate a D.I.E. Shockwave that is stuck inside a locked room with a hole in the wall. Gather some zombies, activate the D.I.E. Shockwave, and lead them into the suction to charge the weapon.
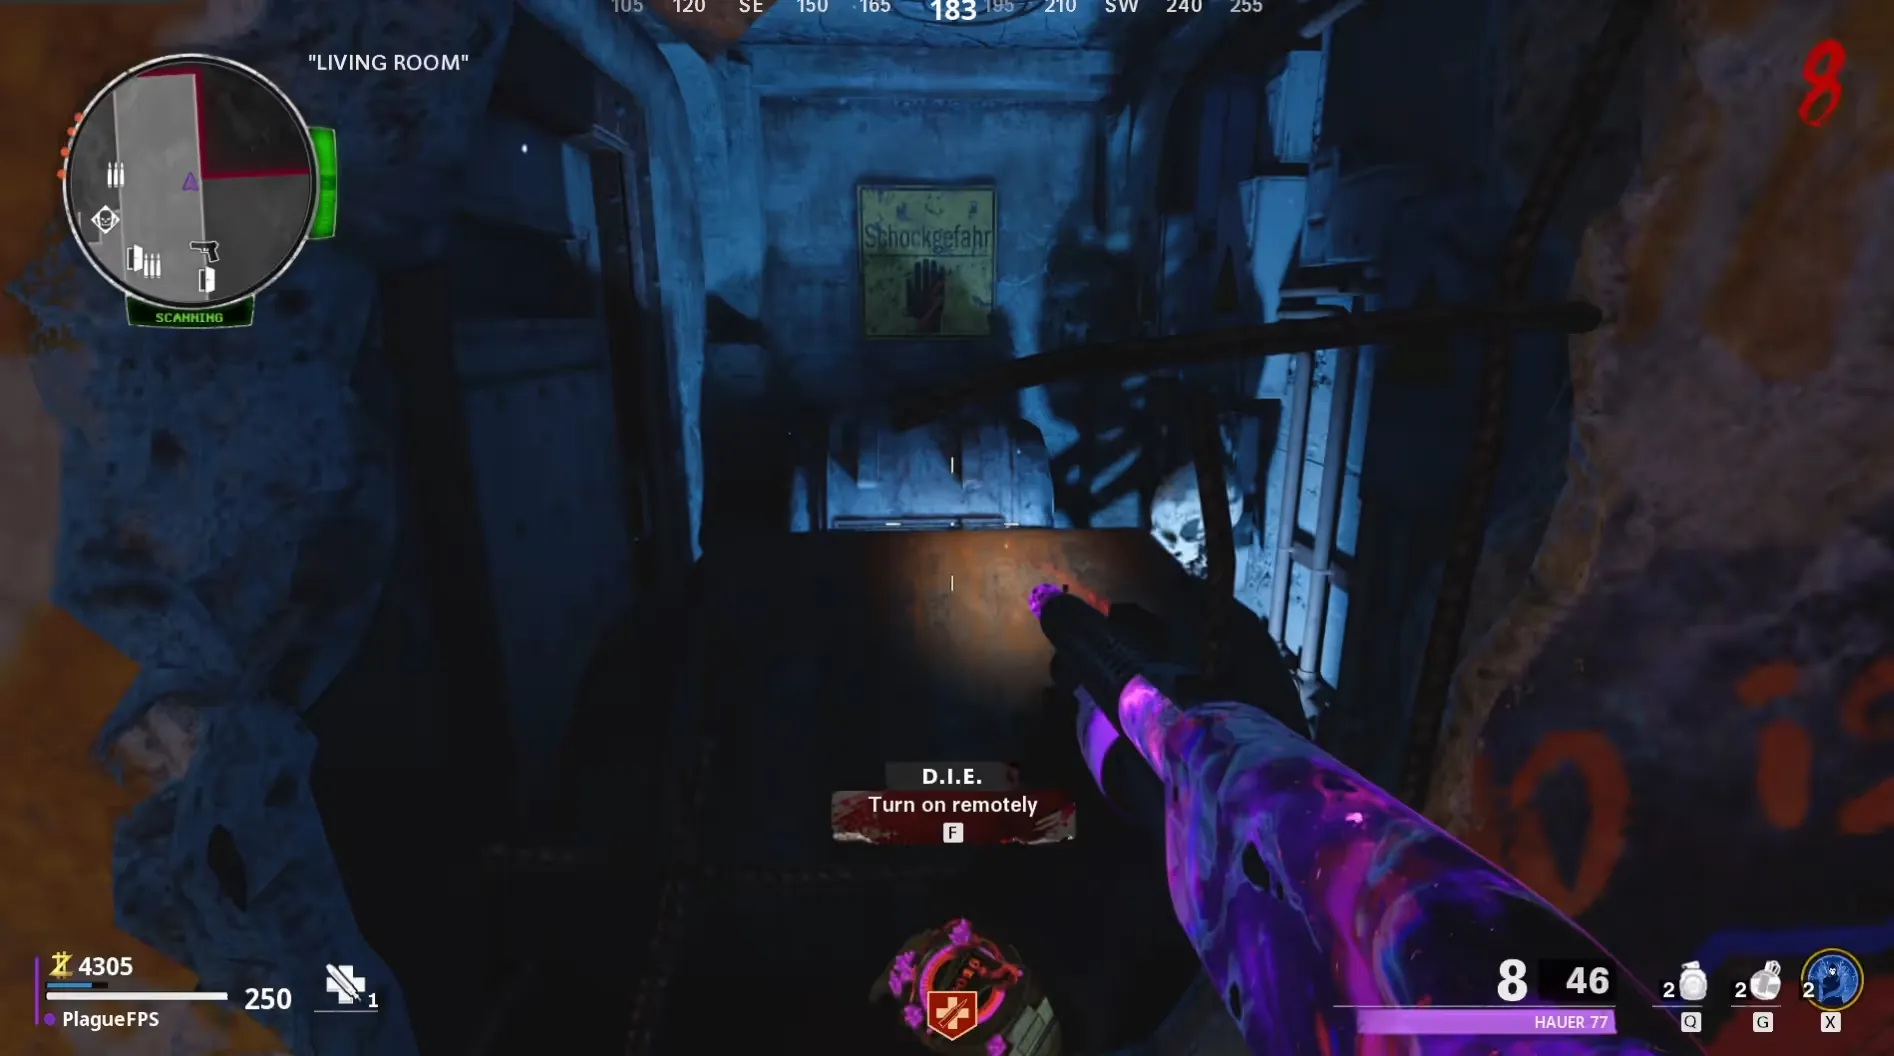
You can infinitely activate this suction until the weapon is charged, with a short cooldown inbetween activations.
Once the weapon is fully charged, activate it again causing it to fire, blowing the door off the room and allowing you to collect the D.I.E. Shockwave and immediately begin working on some of the variants of this wonder weapon.
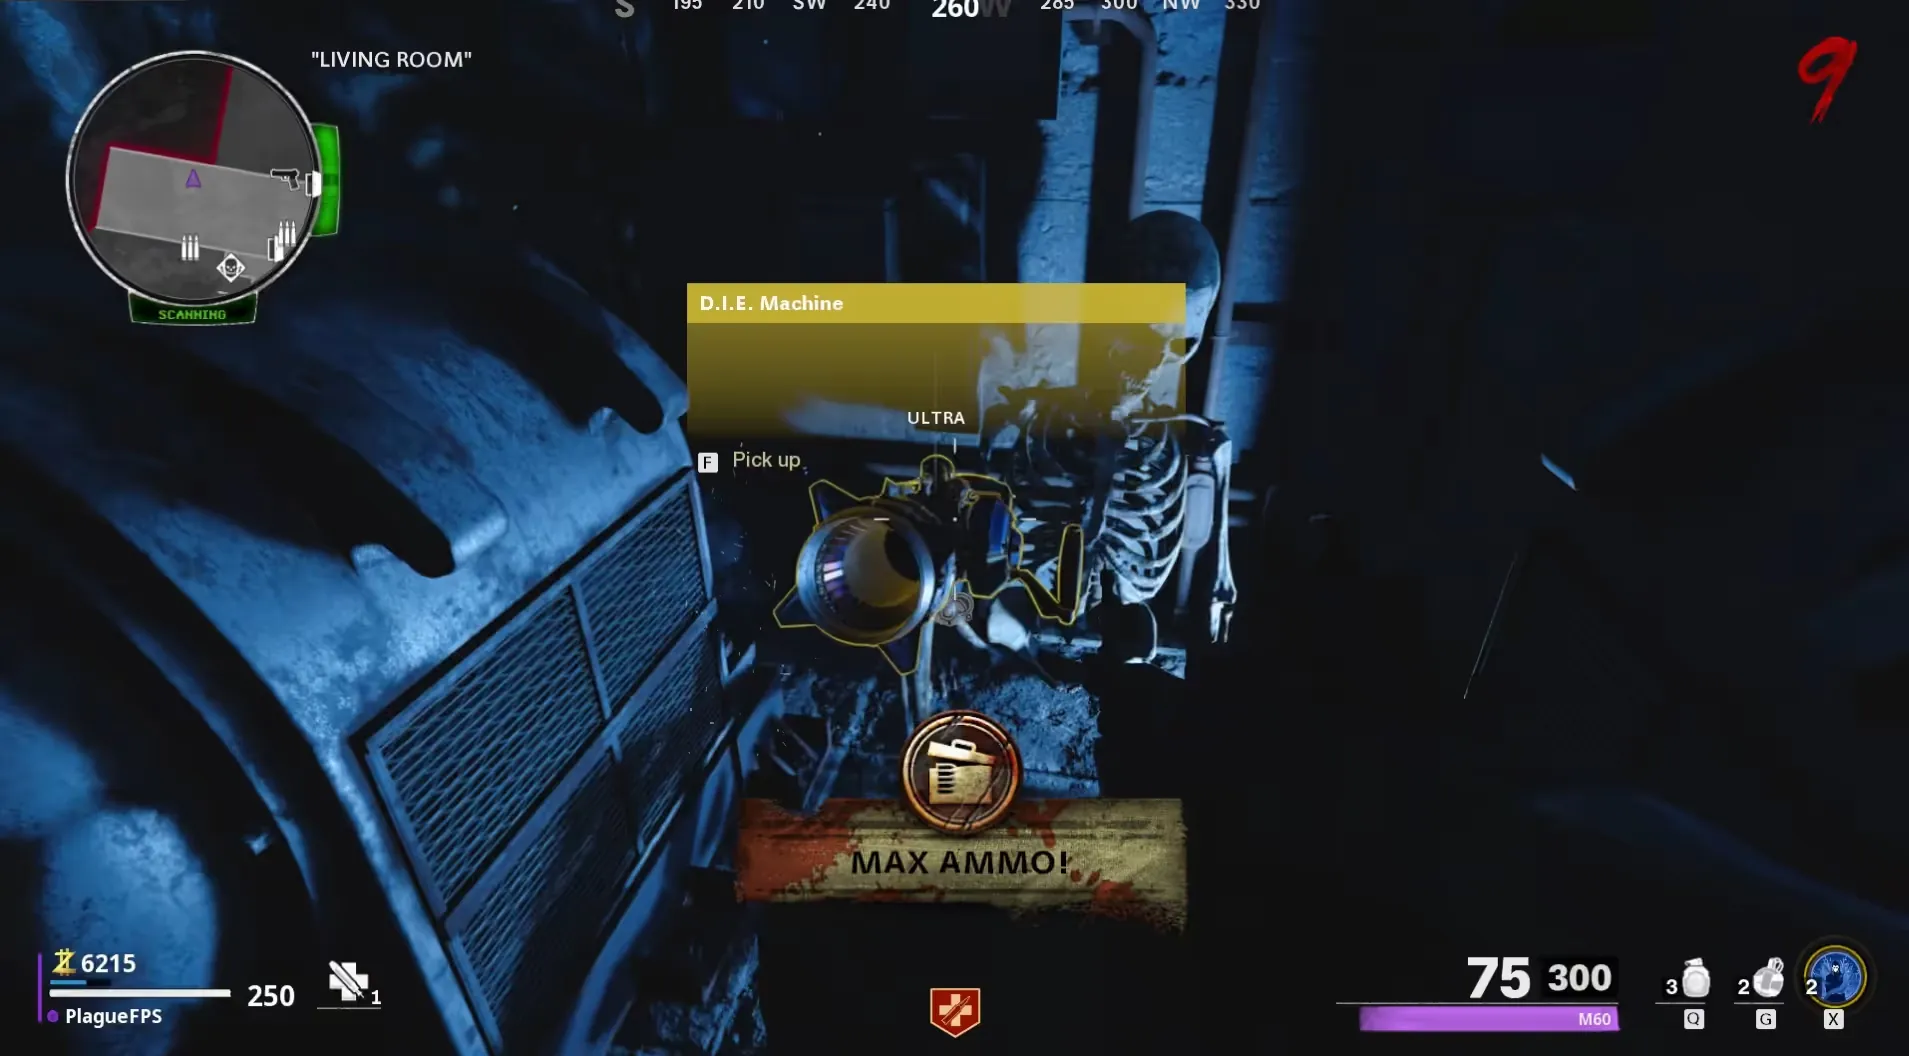
Cryo-Emitter Variant
You can begin working on this variant at any point in your game.
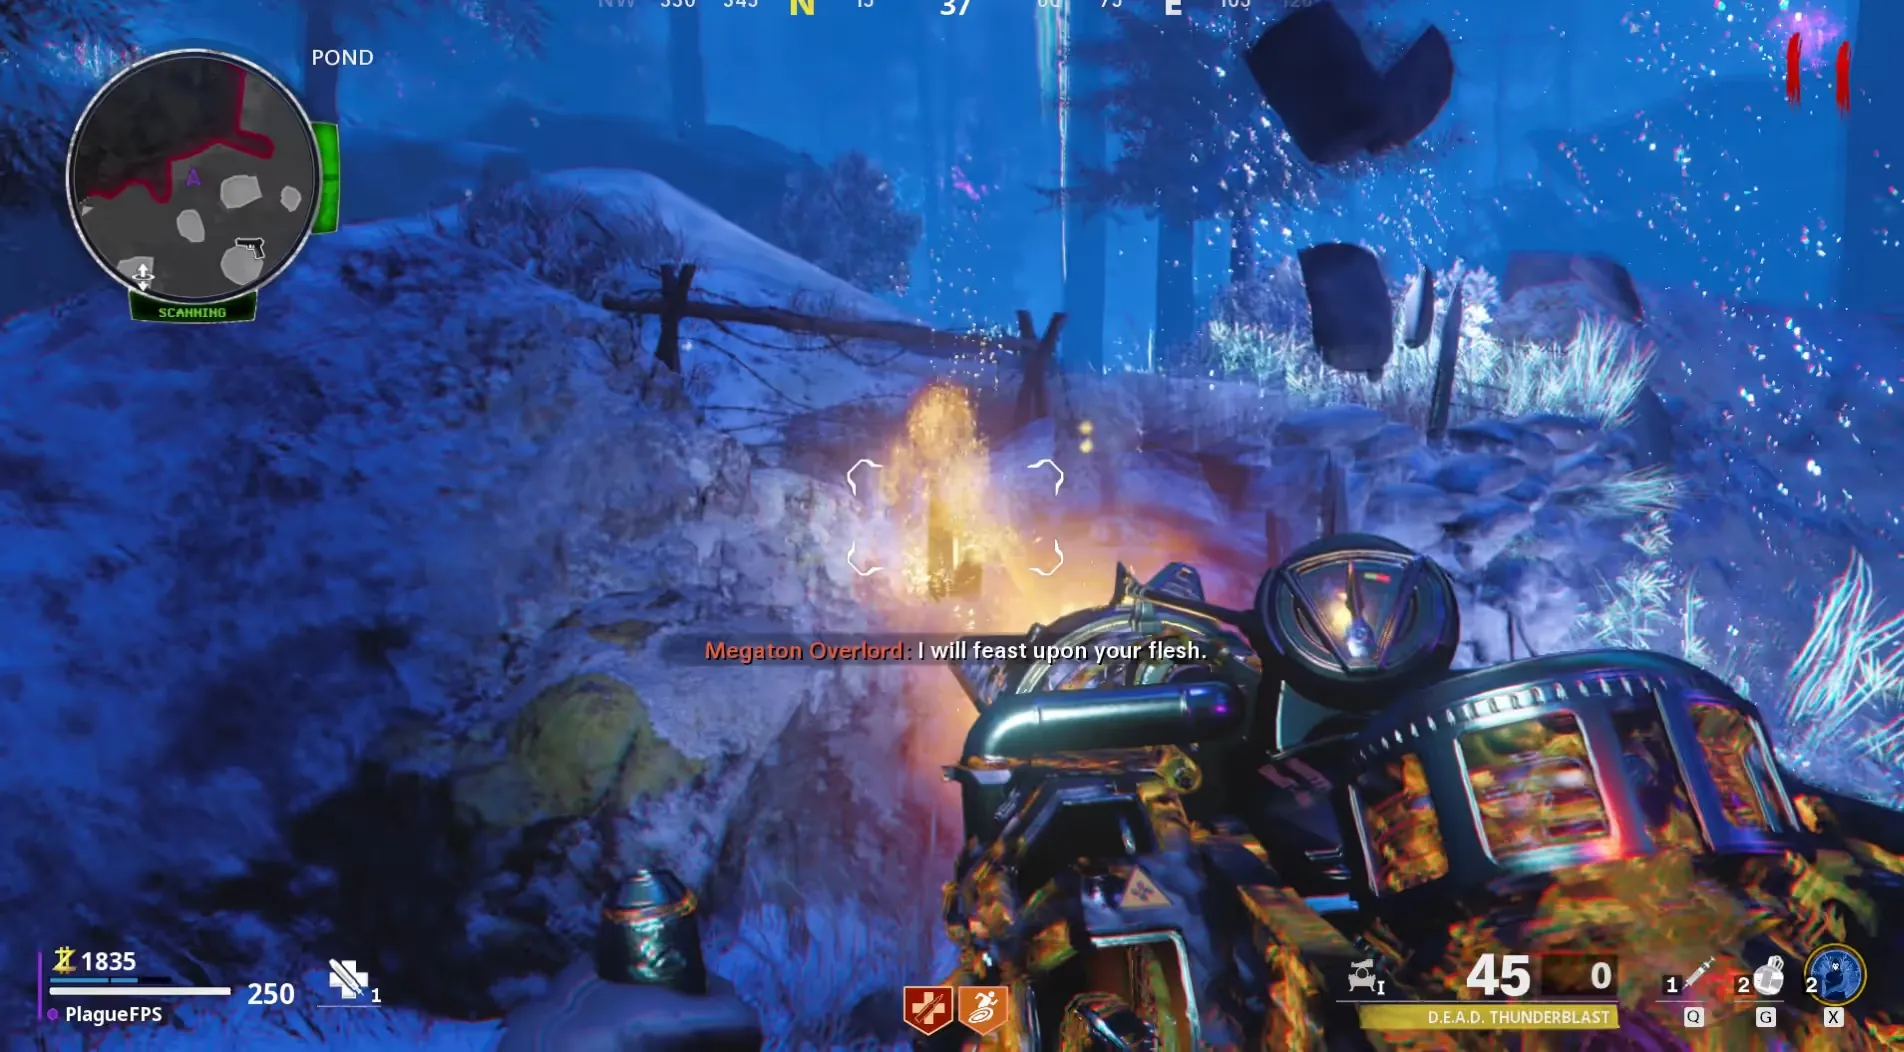
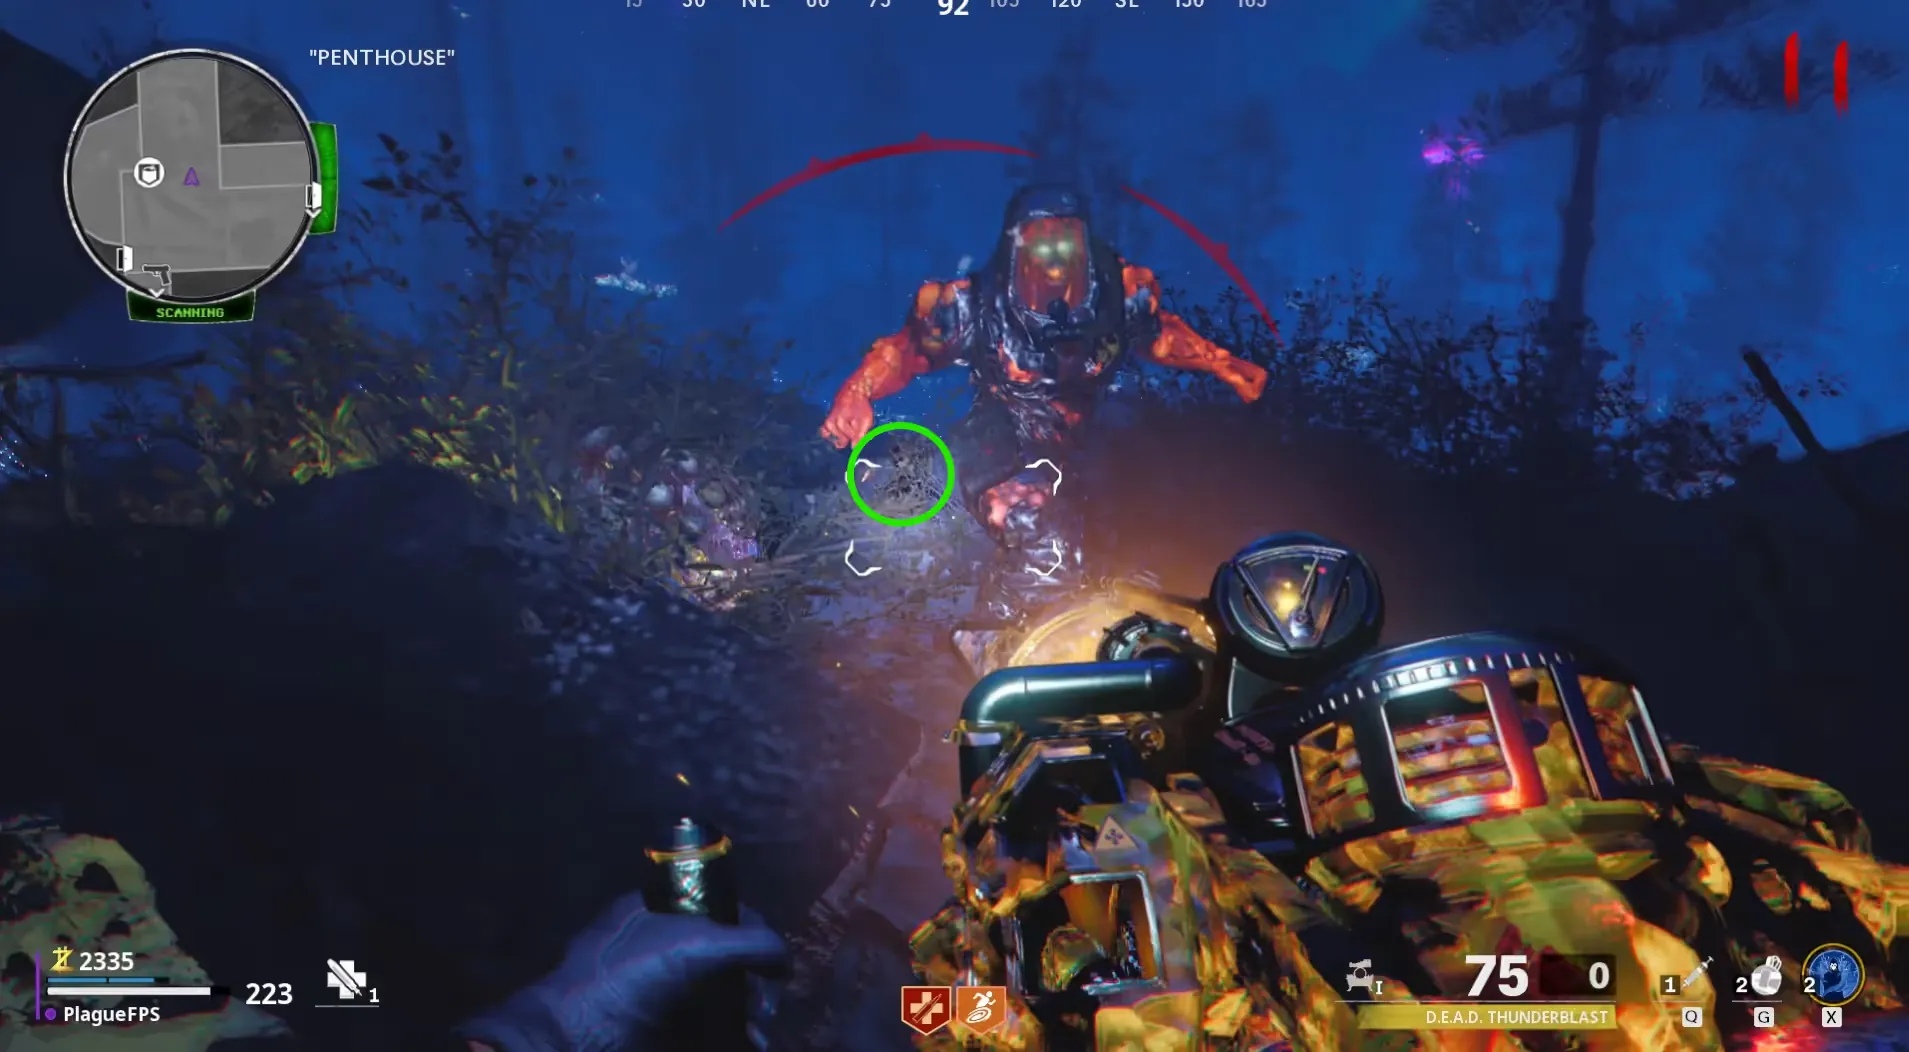
Head to the Pond and wait for a Megaton to spawn, while in its first form, bait the Megaton to shoot a ranged attack at the tree with a fungus on it turning it purple. Afterward, you can kill the Megaton and head to the Penthouse area of the Nacht Der Untoten building and shoot the wooden box above the stairs with a flask symbol on it off the roof of the building.

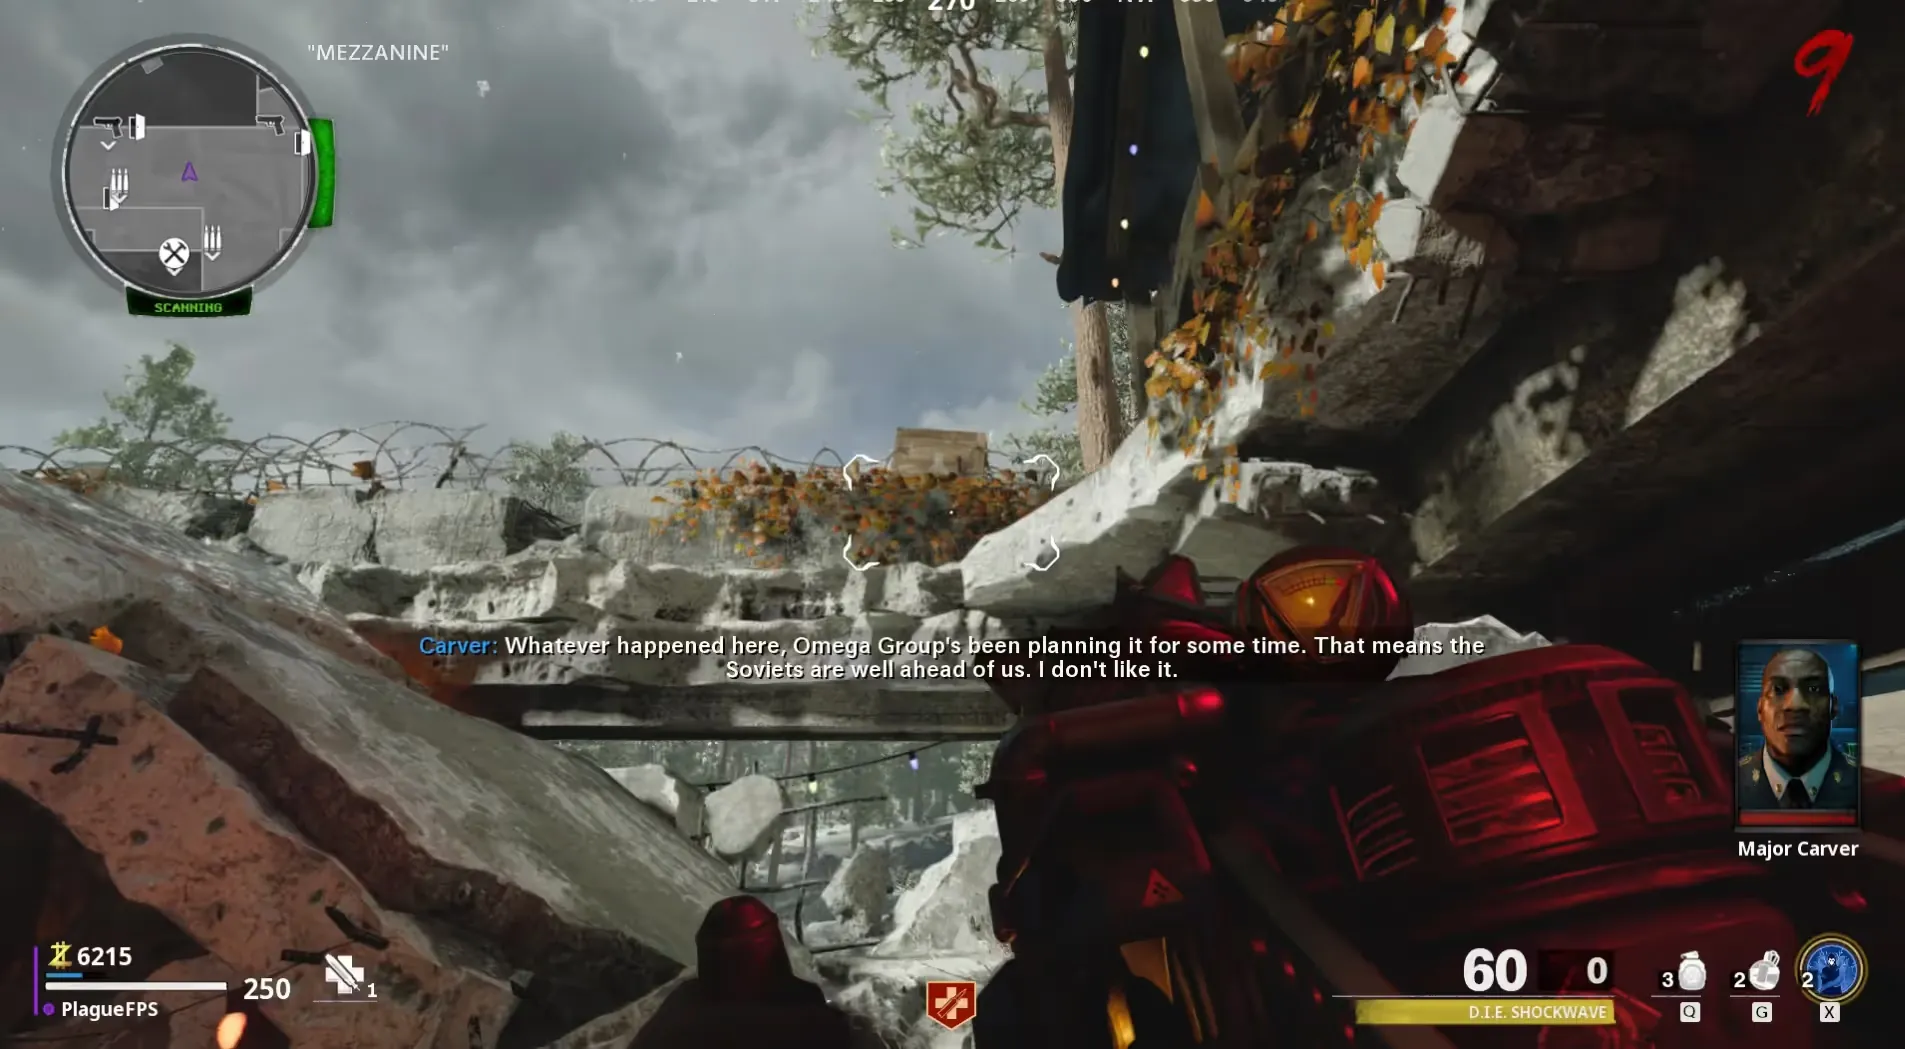
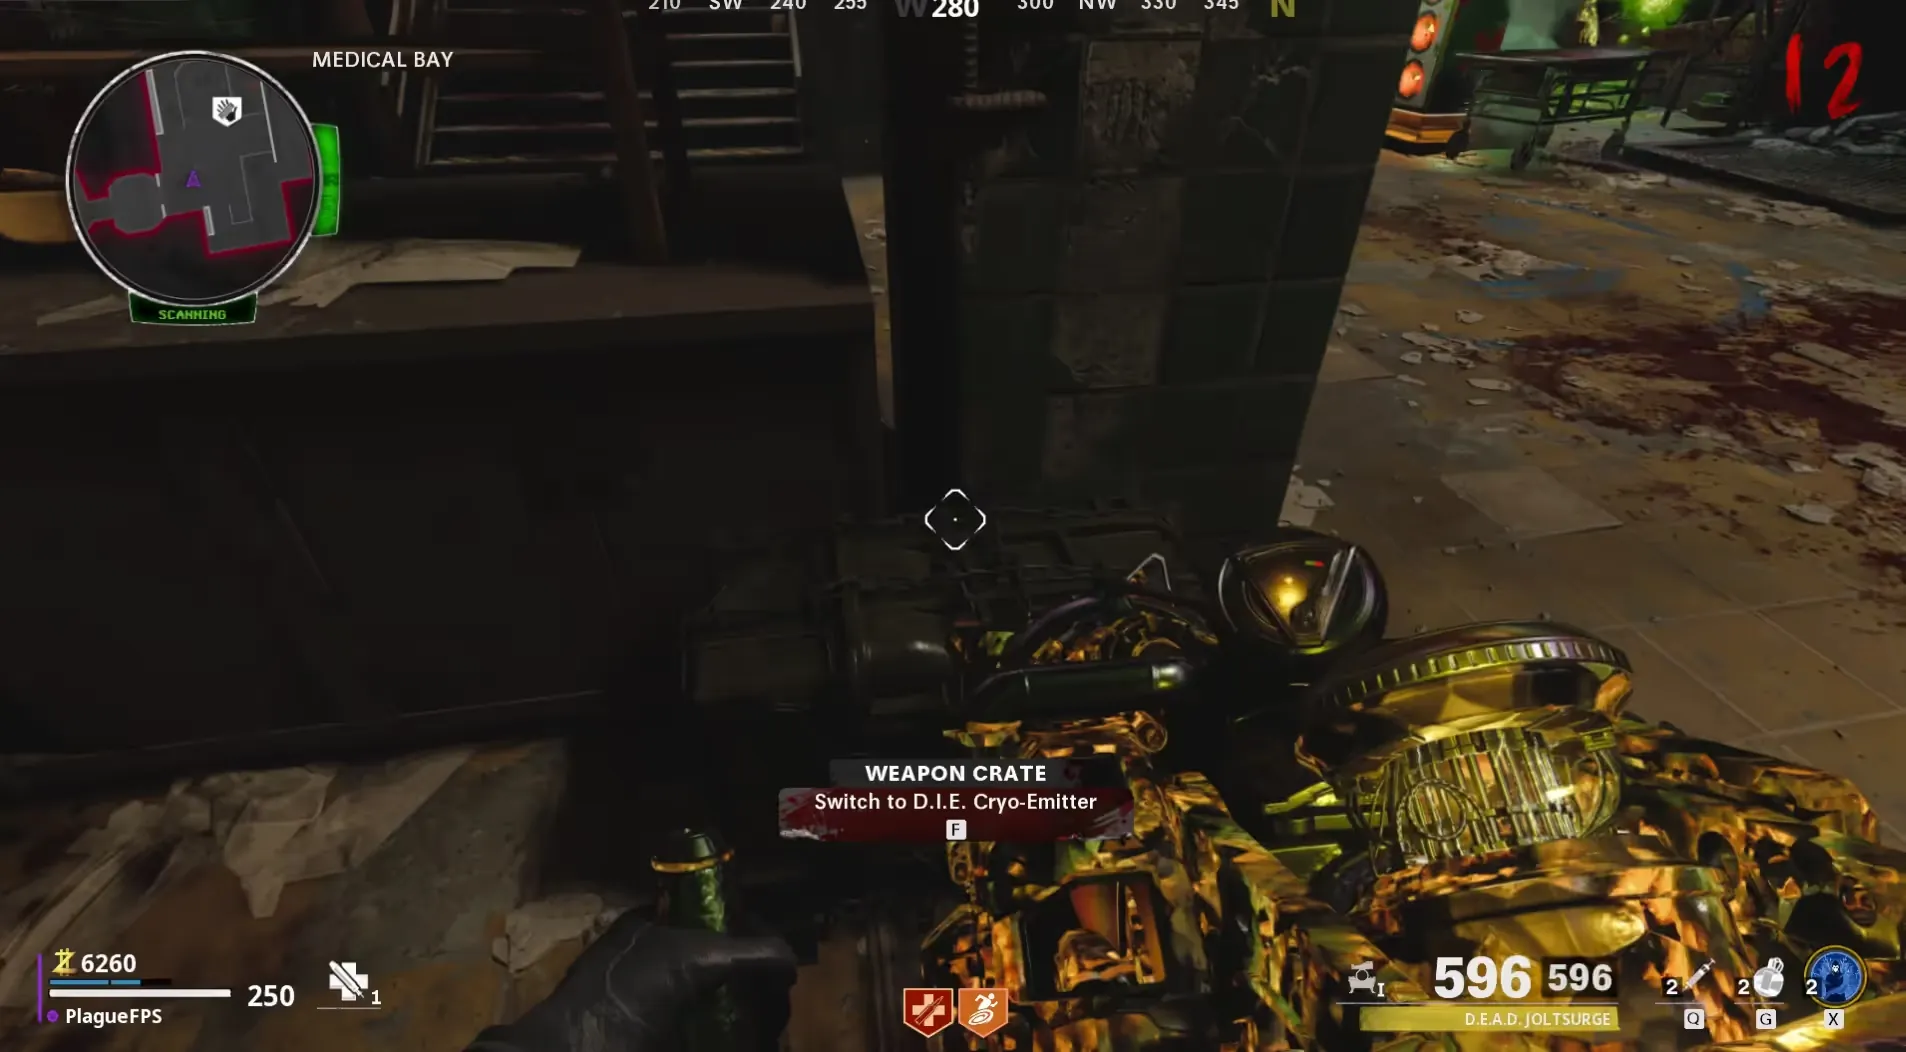
Head back to the Pond, pick up the flask from the ground, and place it underneath the purple fungus to begin collecting the liquid dripping from it. After about 30 seconds, the flask should be full, and you can pick it up and place it on the crate in the Medical Bay, freezing and breaking the chains, allowing you to get the Cryo-Emitter Variant.
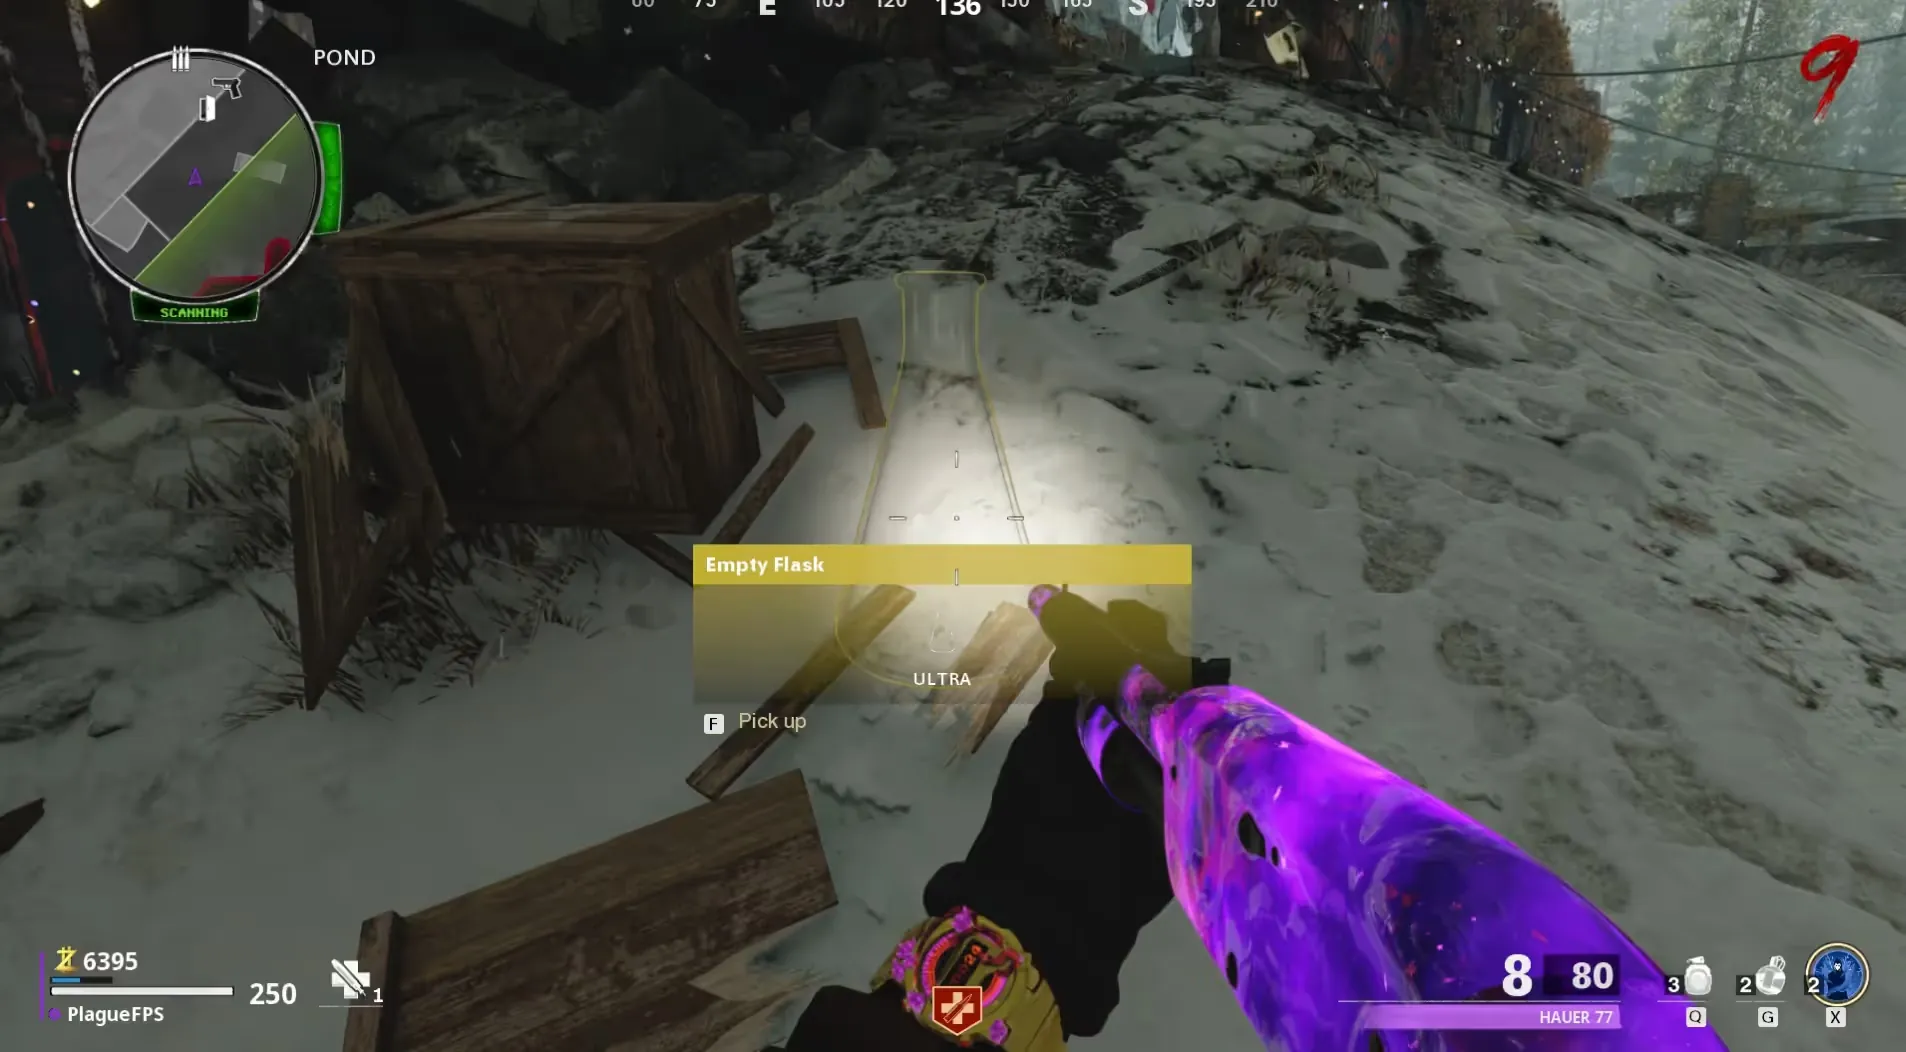
NOVA-5 Variant
You can begin working on this variant as soon as you obtain the D.I.E. Shockwave at any point in your game.
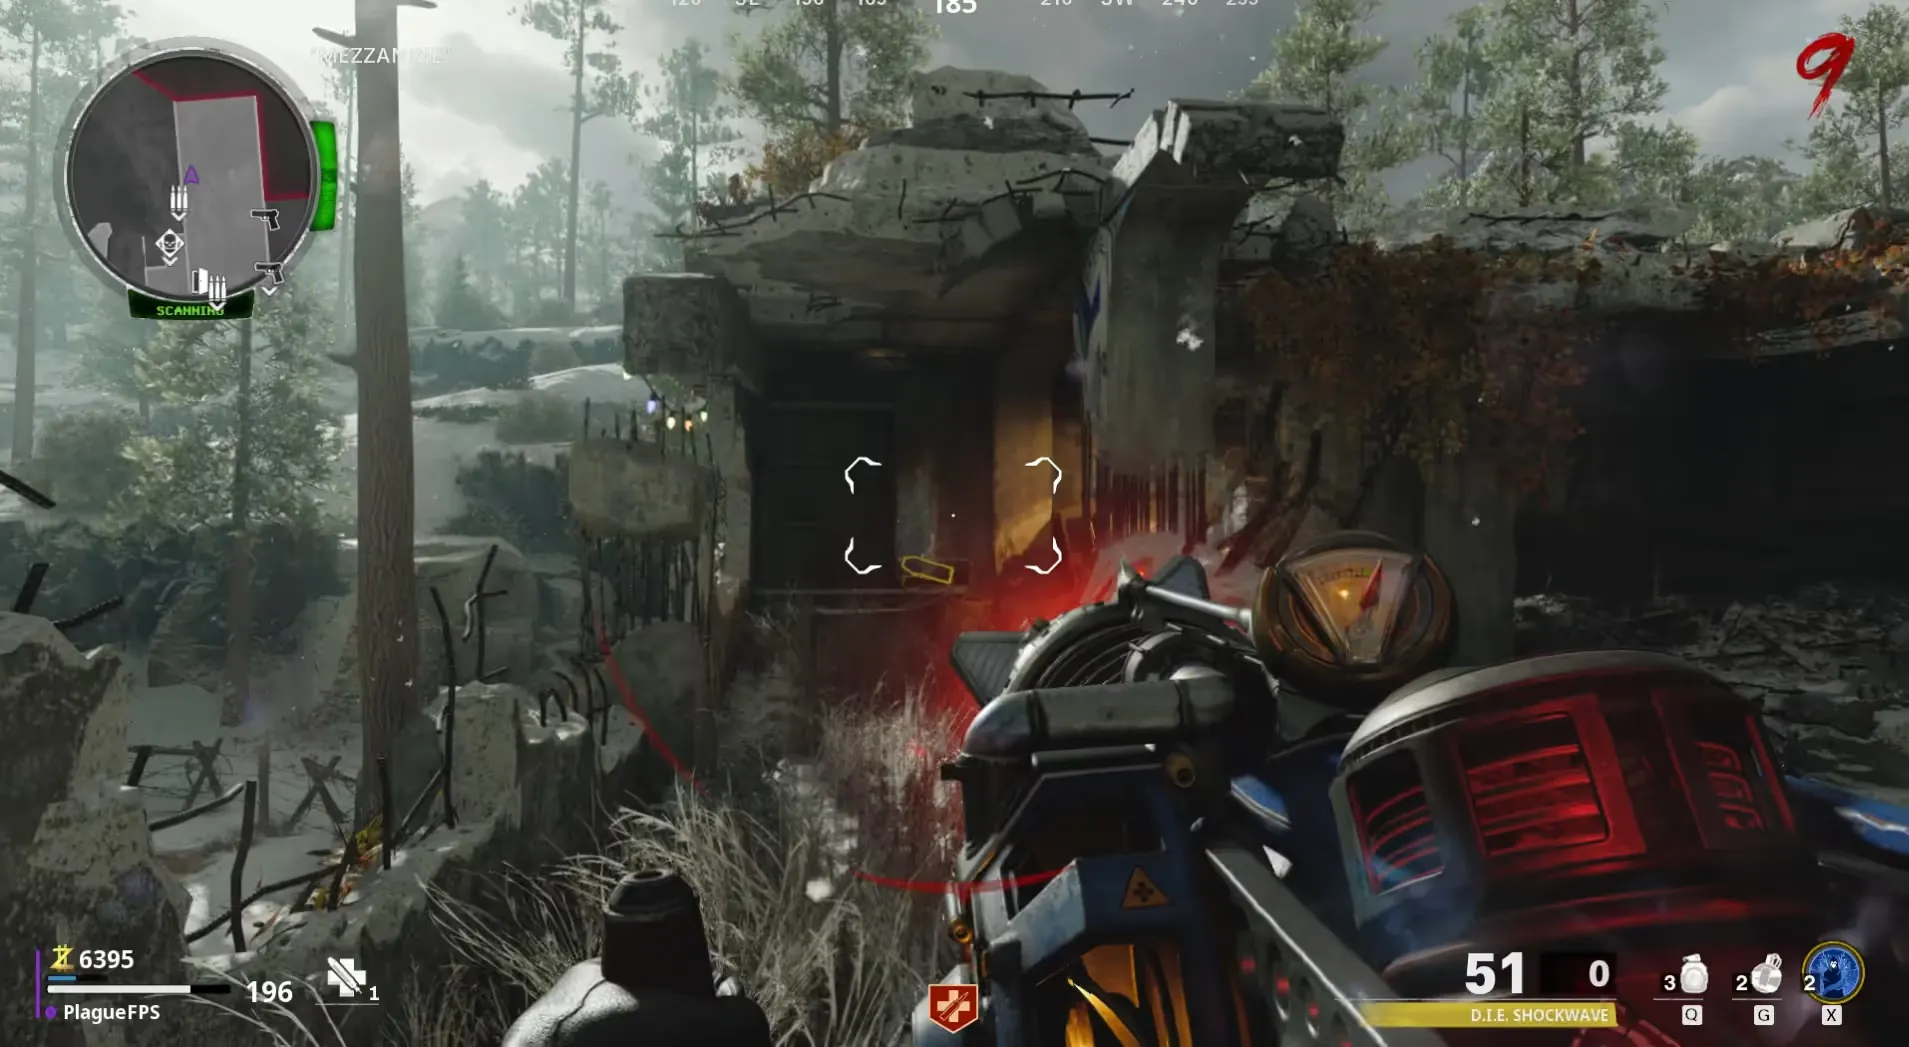
Head to the upstairs Mezzanine area of the Nacht Der Untoten building, left of the giant hole in the floor, is a gas canister. Shoot your D.I.E. Shockwave if you have full ammo, and use the alternate fire mode to suck the gas canister toward your character and interact with it to pick it up.
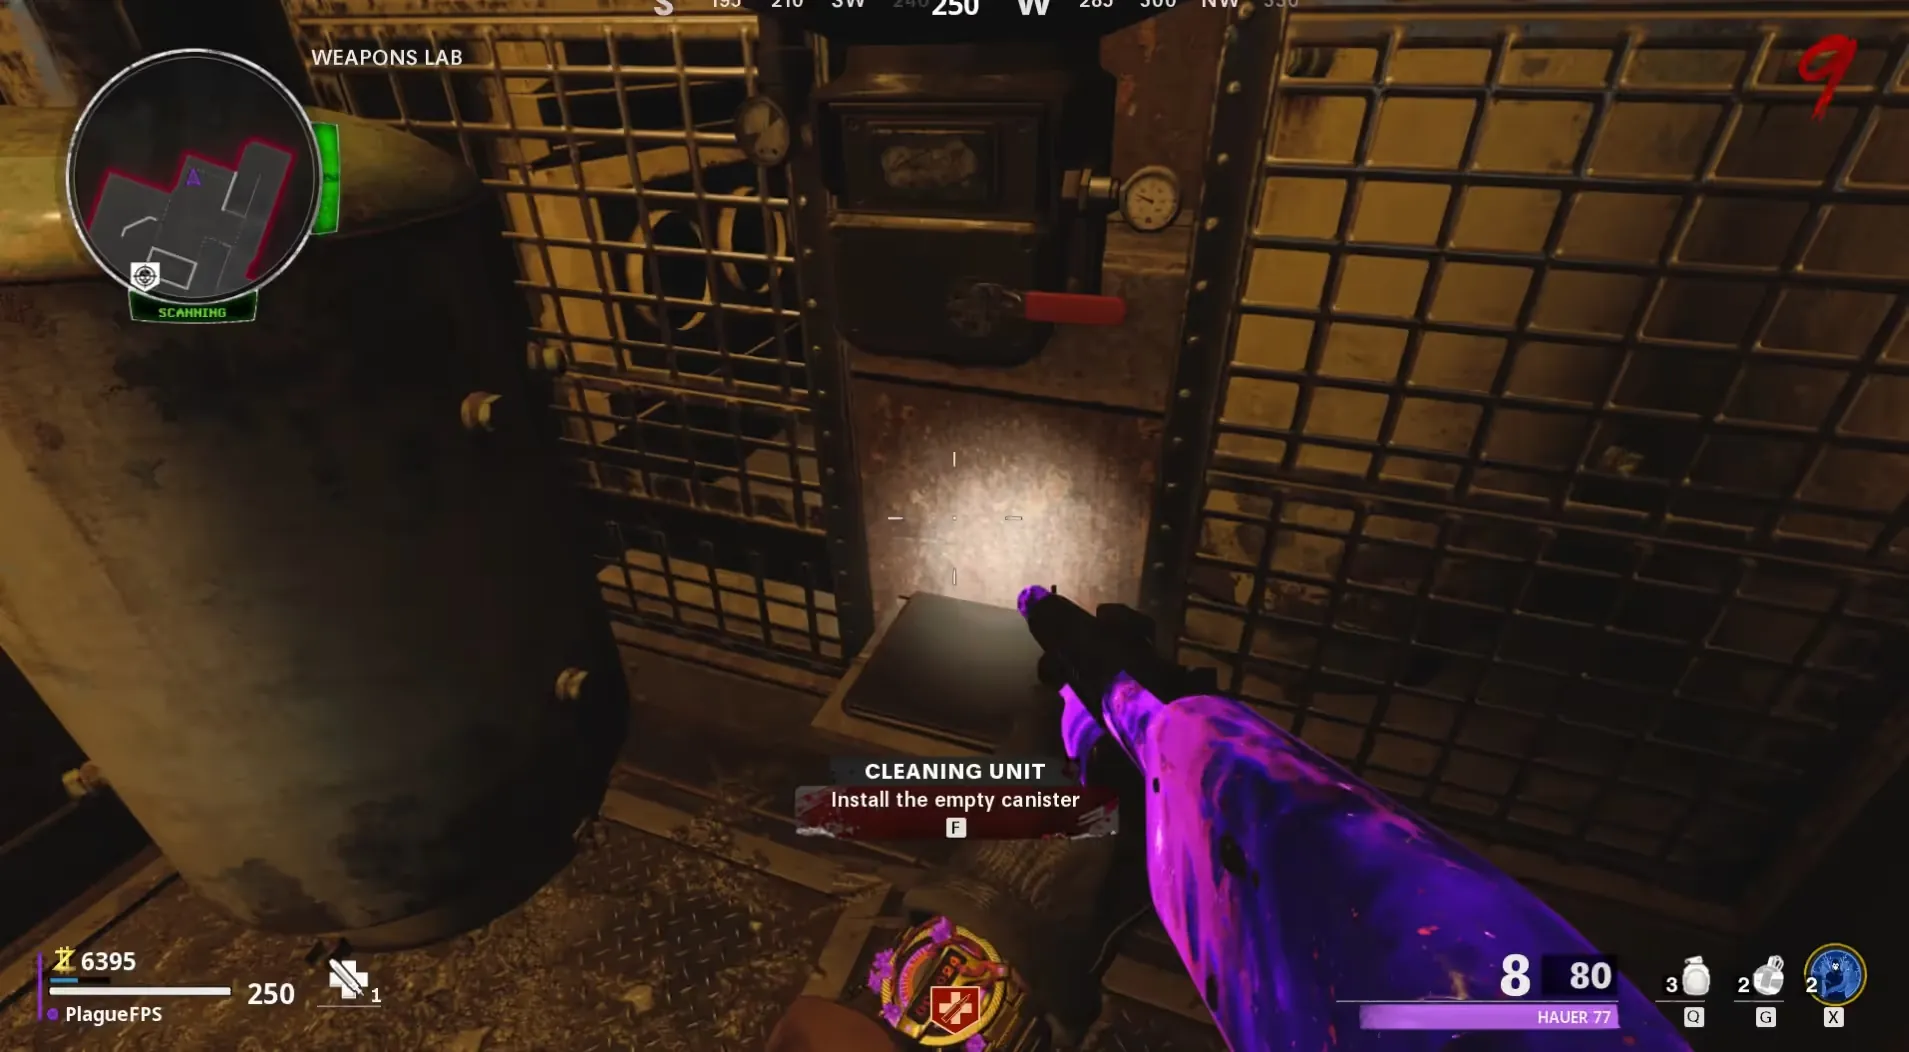
Once you have the gas canister, head to the bottom area of the Weapons Lab where ![]() Deadshot Daiquiri is located and place the gas canister on the Cleaning Unit,
in the corner right of the perk machine. Afterward, you must kill a Plaguehound near that gas canister to have it suck up the gas and contain it inside the canister.
Deadshot Daiquiri is located and place the gas canister on the Cleaning Unit,
in the corner right of the perk machine. Afterward, you must kill a Plaguehound near that gas canister to have it suck up the gas and contain it inside the canister.
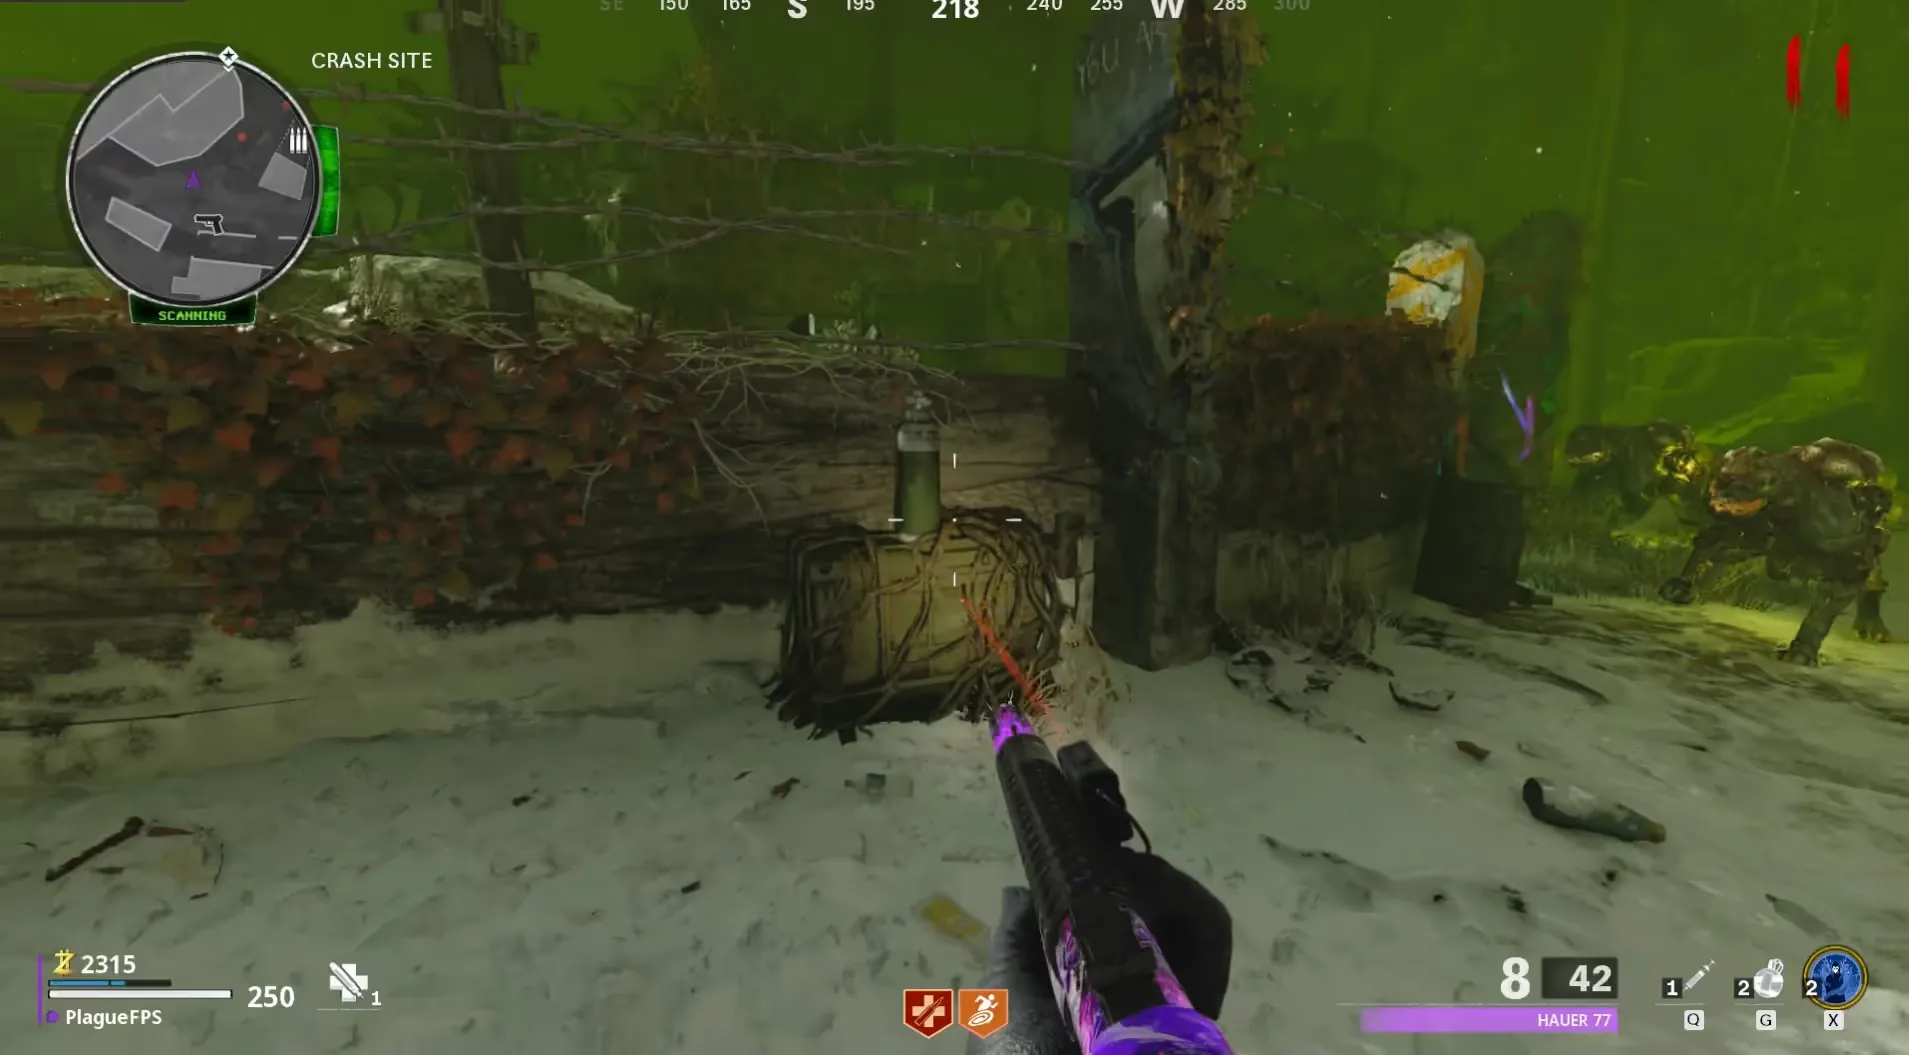
Once the canister is full, interact with it to pick it up and place it onto the crate in the Crash Site next to the plane wing and shoot it with any weapon to blow the chains off the crate, allowing you to obtain the NOVA-5 Variant.
Thermophasic Variant
You must have fully completed Step 2 before you can obtain this variant.
Wait for a dimensional breach to spawn in the Pond and interact with it to enter the Dark Aether. Once inside, head to the Crash Site and shoot a fuse box that was previously covered by the cockpit of the plane, and interact with the fuse to pick it up.
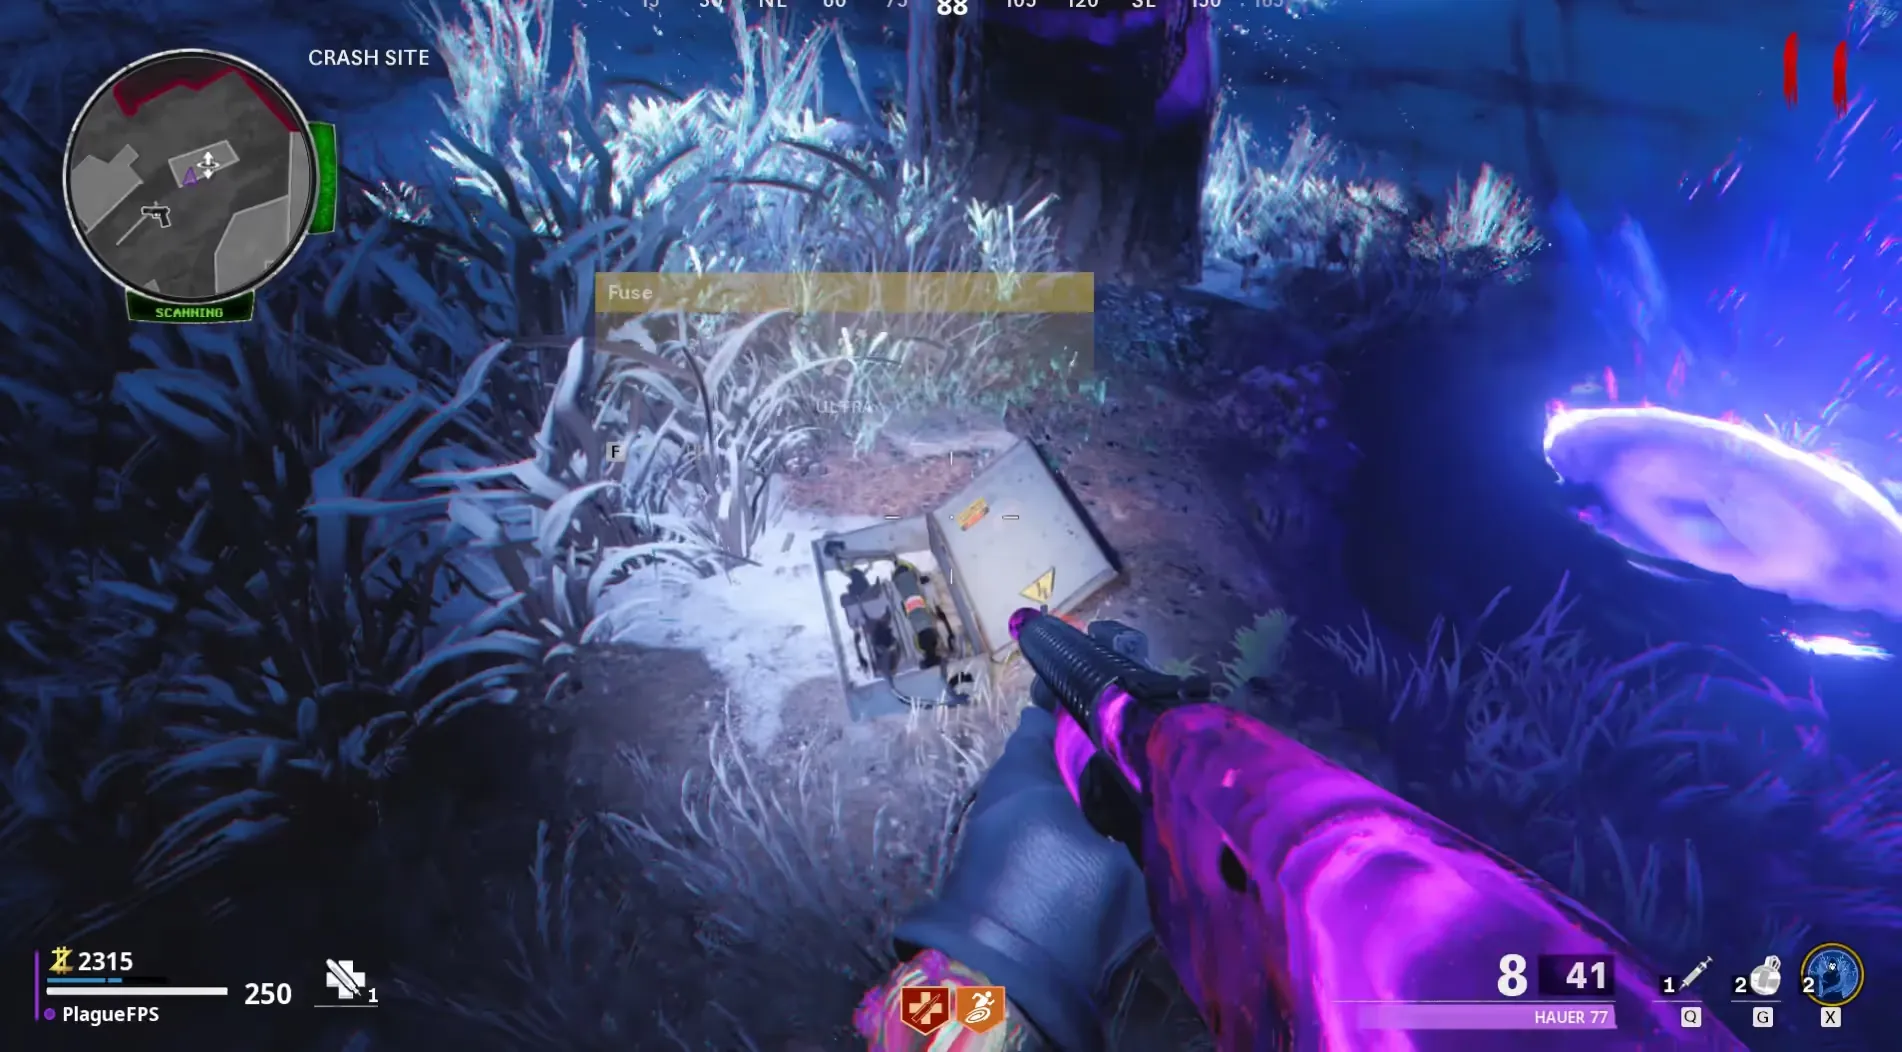
You can grab the fuse at any time while inside the Dark Aether without entering from a breach in the Pond area, however the Plasma Cutter in the next part is only accessible if you enter from a breach in the Pond area.
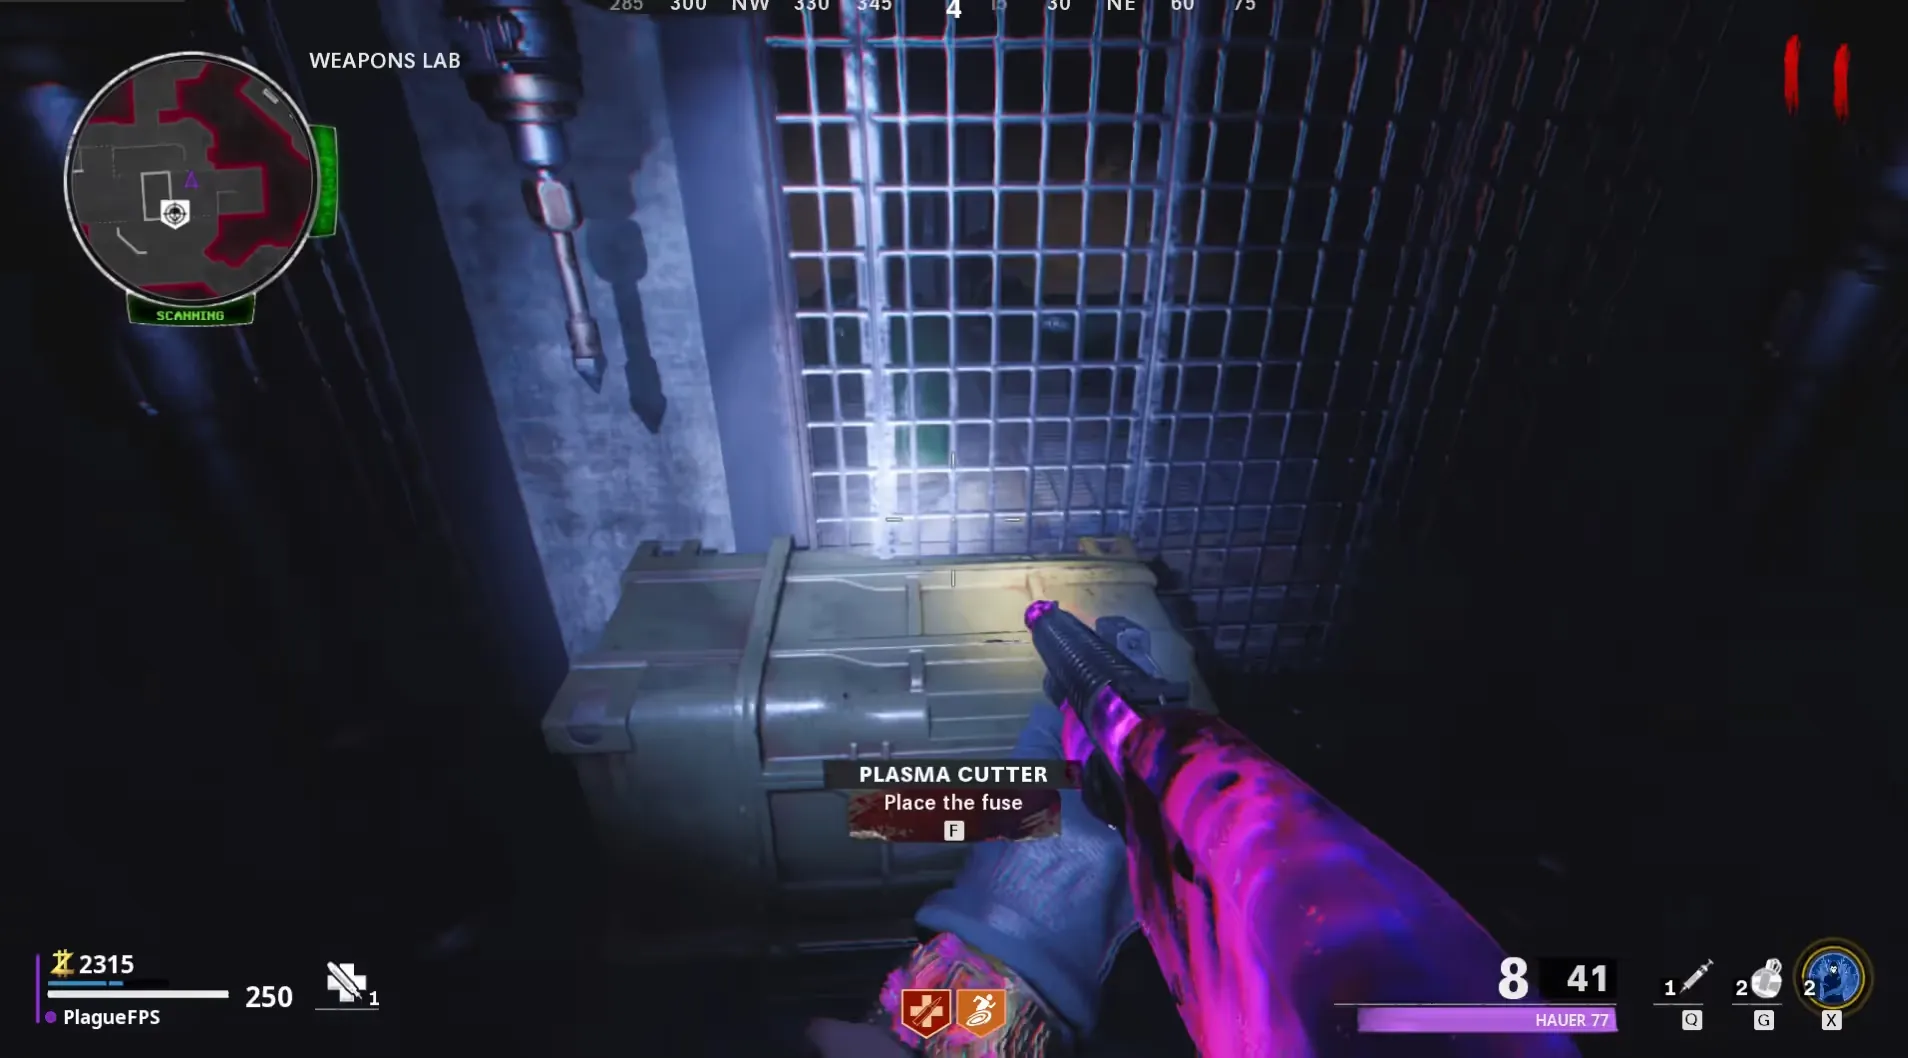
Once you have the fuse, head down to the bottom of the Weapons Lab area and place the fuse on the Plasma Cutter opposite ![]() Deadshot Daiquiri, you can now head back up to
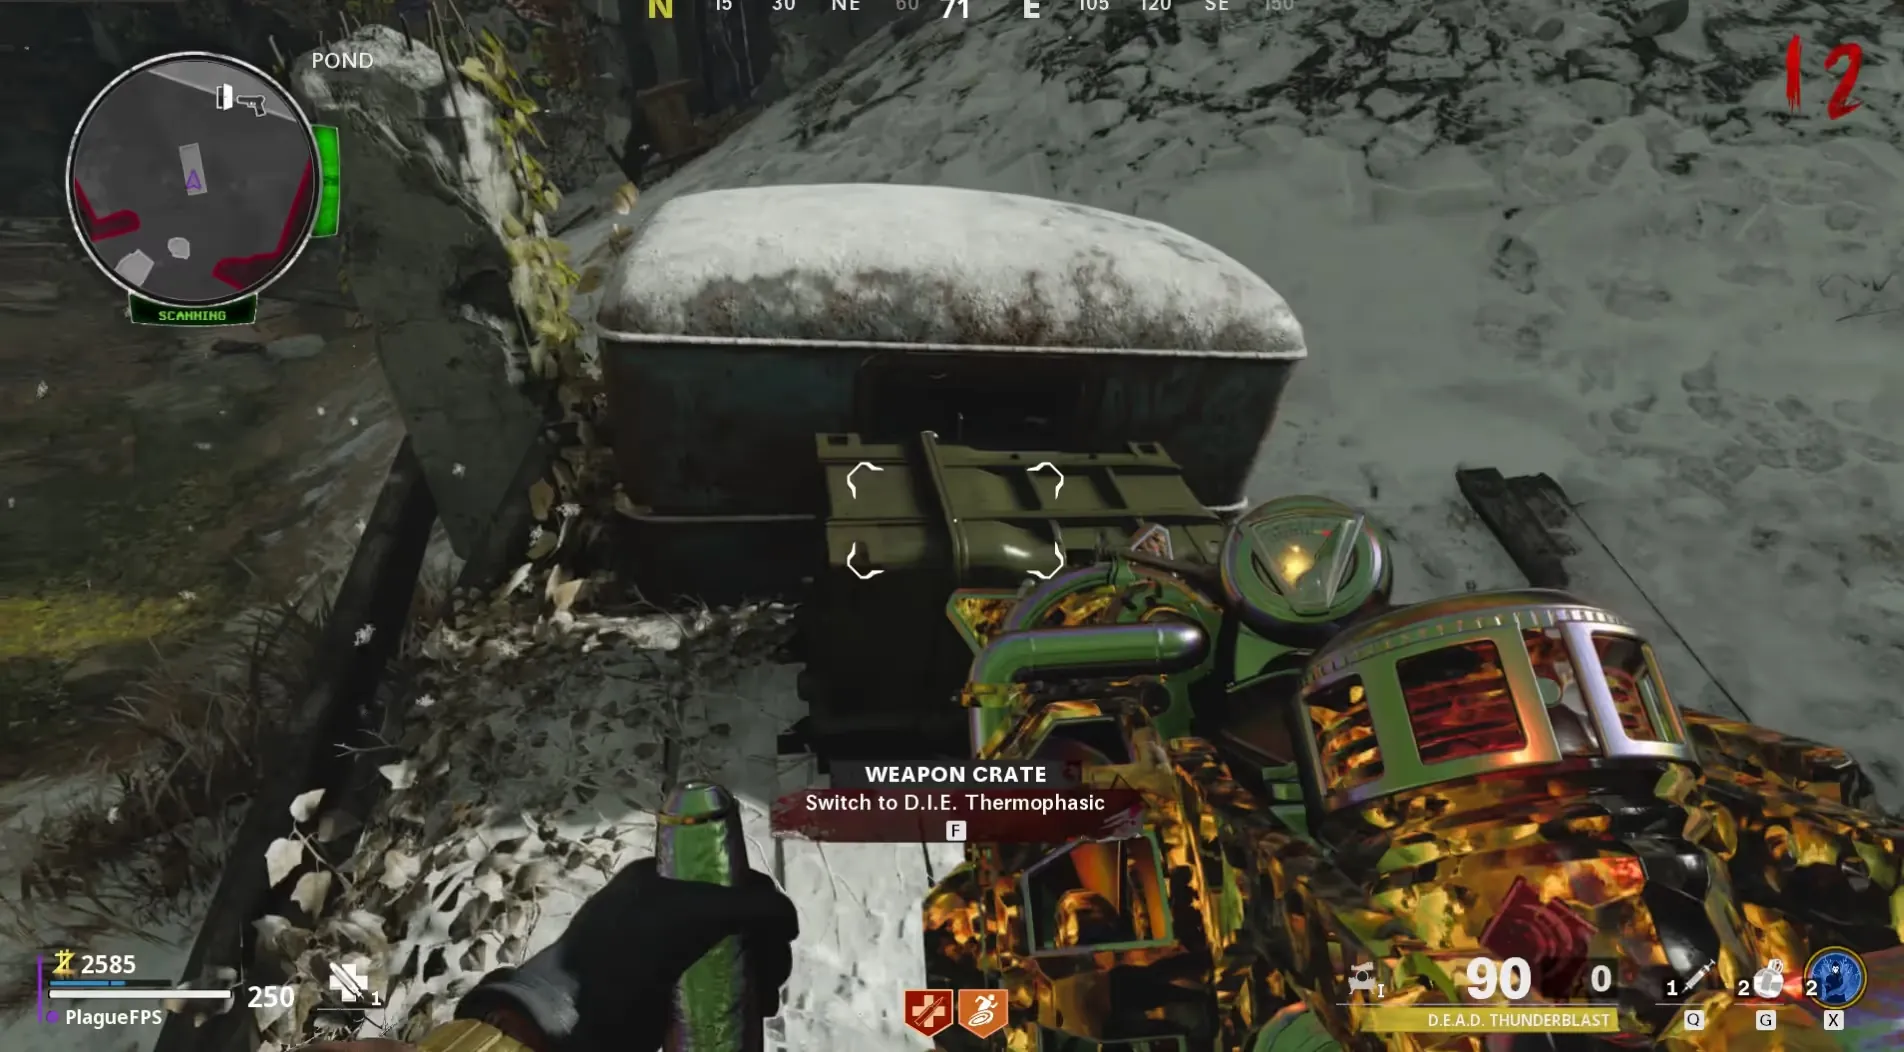
the Pond and interact with the crate on the back of the truck to obtain the Thermophasic Variant.
Deadshot Daiquiri, you can now head back up to
the Pond and interact with the crate on the back of the truck to obtain the Thermophasic Variant.
Electrobolt Variant
You must have fully completed Step 2 before you can obtain this variant, and must have a breach at the bottom of the Particle Accelerator room.
Wait for a dimensional breach to spawn in the bottom of the Particle Accelerator area next to the Pack-a-Punch stairs and interact with it to enter the Dark Aether. While in the Dark Aether, you must suck up three golden glowing crystals one at a time to supercharge your D.I.E. Shockwave and dispense them into the crate in the bottom area of the Particle Accelerator room by shooting the crate with the supercharged D.I.E. Shockwave.
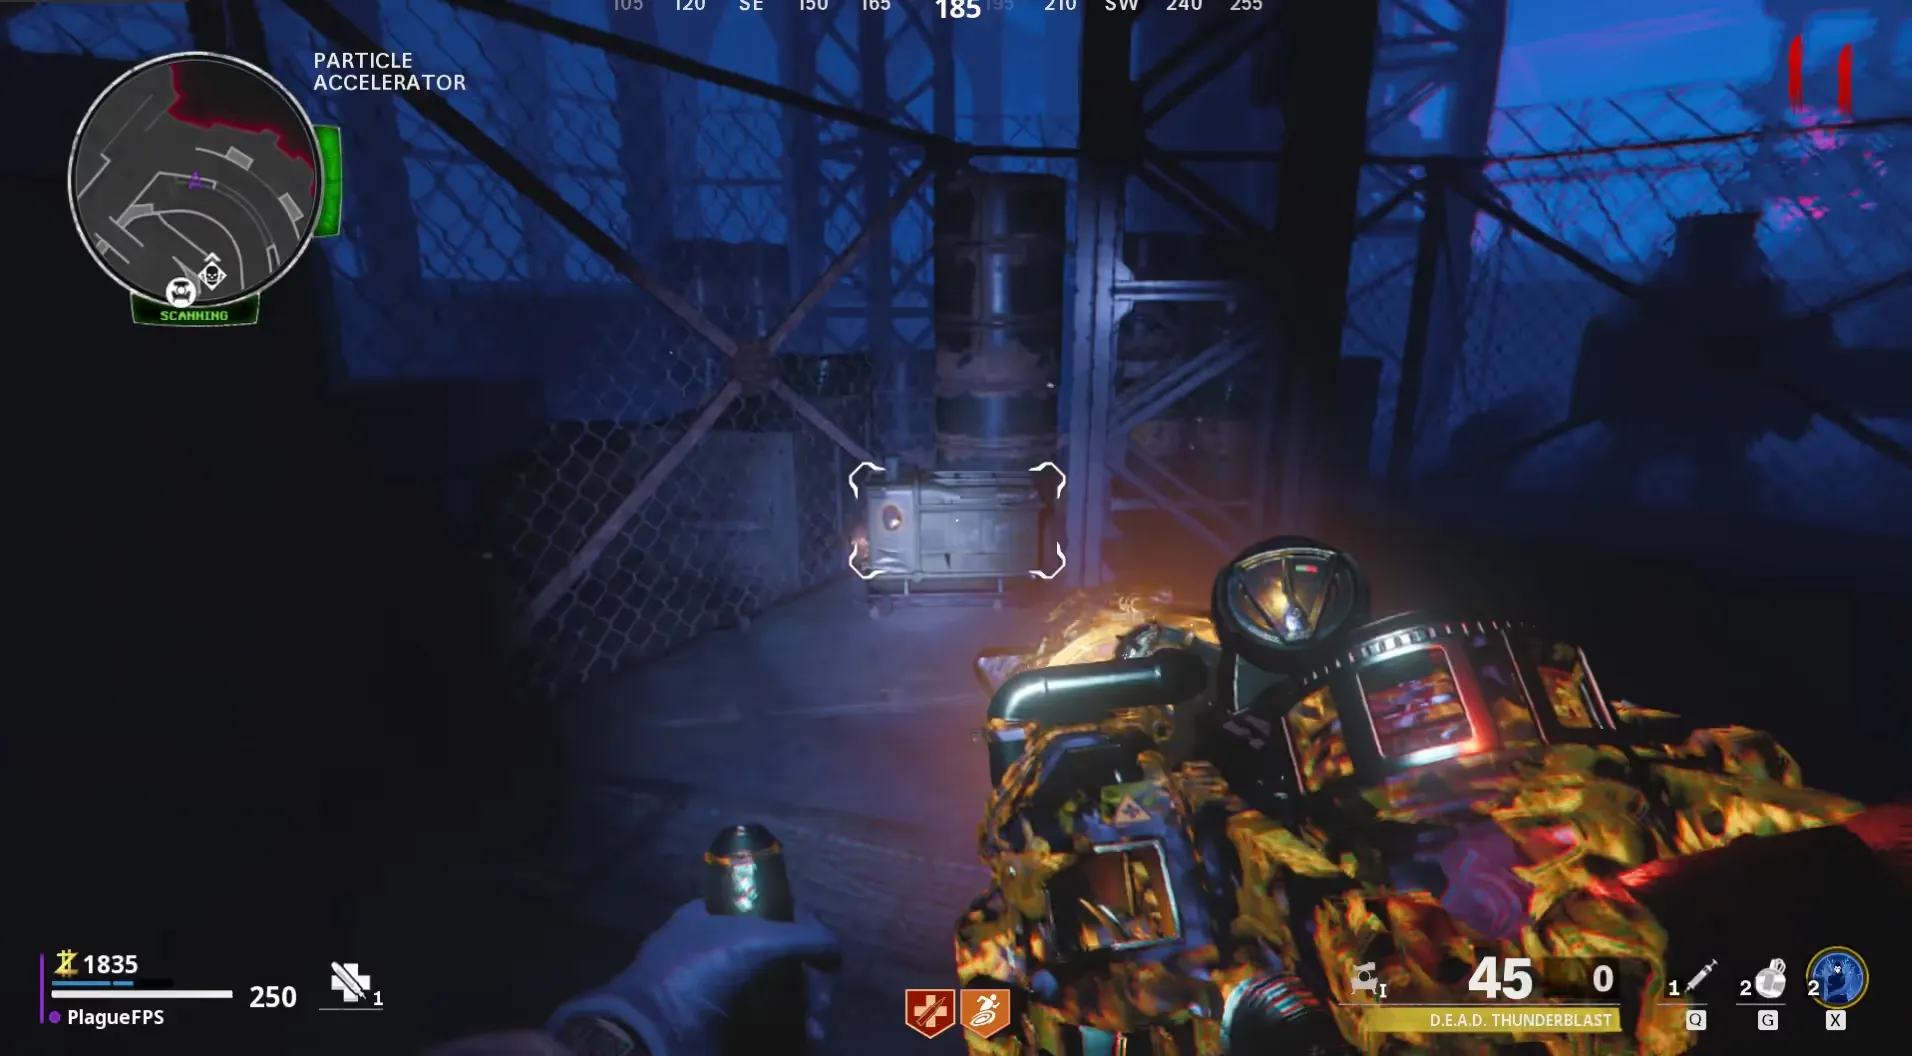
You do not need to do all three crystals in one go, it is likely you will run out of time and be ejected from the Dark Aether, you will just have to flip rounds until the dimensional breach spawns back underneath the Particle Accelerator.
The locations for each of these crystals are as follows:

Once you have shot the crate with three supercharged shots of the D.I.E. Shockwave the crate should have all three lights on and you can interact with the crate to obtain the Electrobolt Variant.

Step 4: Find the Decontamination Agent
Interact with a dimensional breach to enter the Dark Aether, afterward, head to the Medical Bay and interact with the Anomaly on the top floor. This will spawn two spectral reflections explaining some lore about the Decontamination Agent, once the dialogue is finished a Dark Aether Wrench will be on the ground that you must pick up.
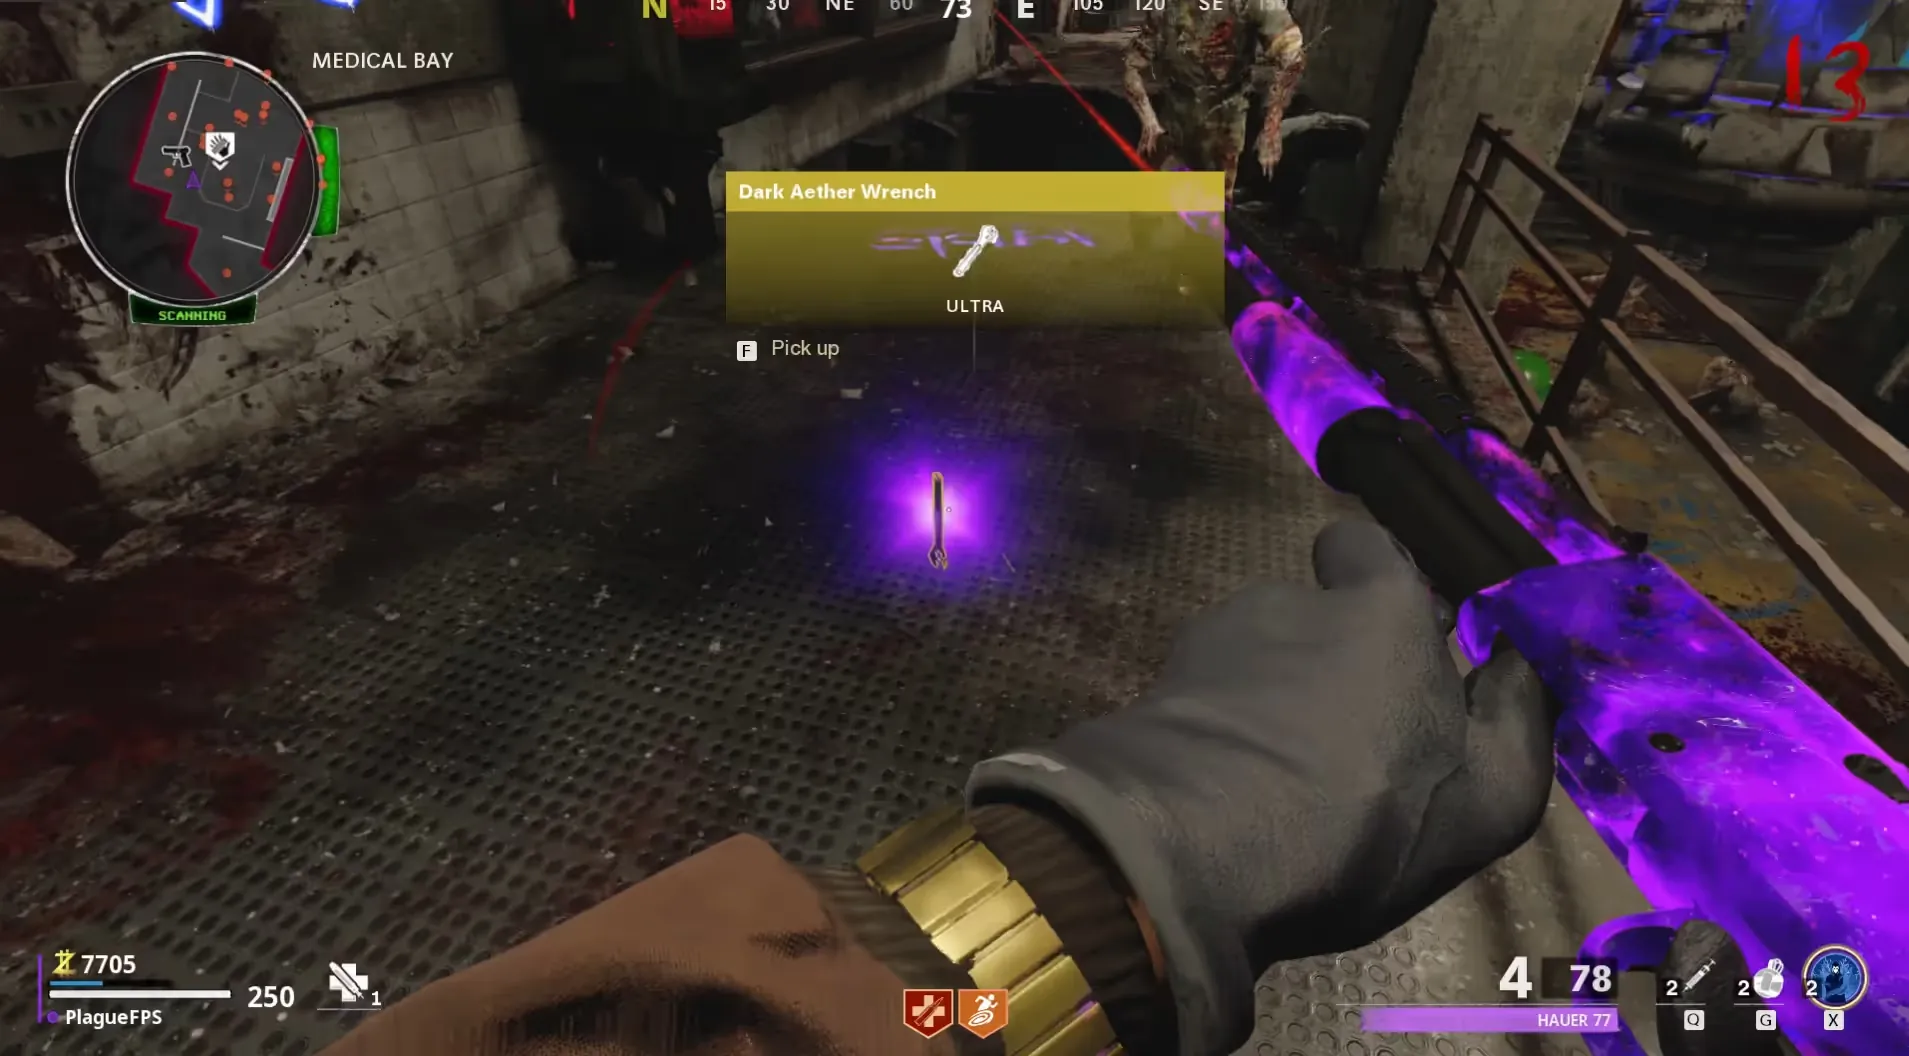
Once you have the wrench, head to the Yard and interact with the tank using the wrench until a zombie pops out the top of the tank. Kill the zombie, purchase Semtex grenades from the crafting table, and throw a Semtex at the open lid of the tank to cause the tank to fire at a tree in the Crash Site containing the Decontamination Agent.
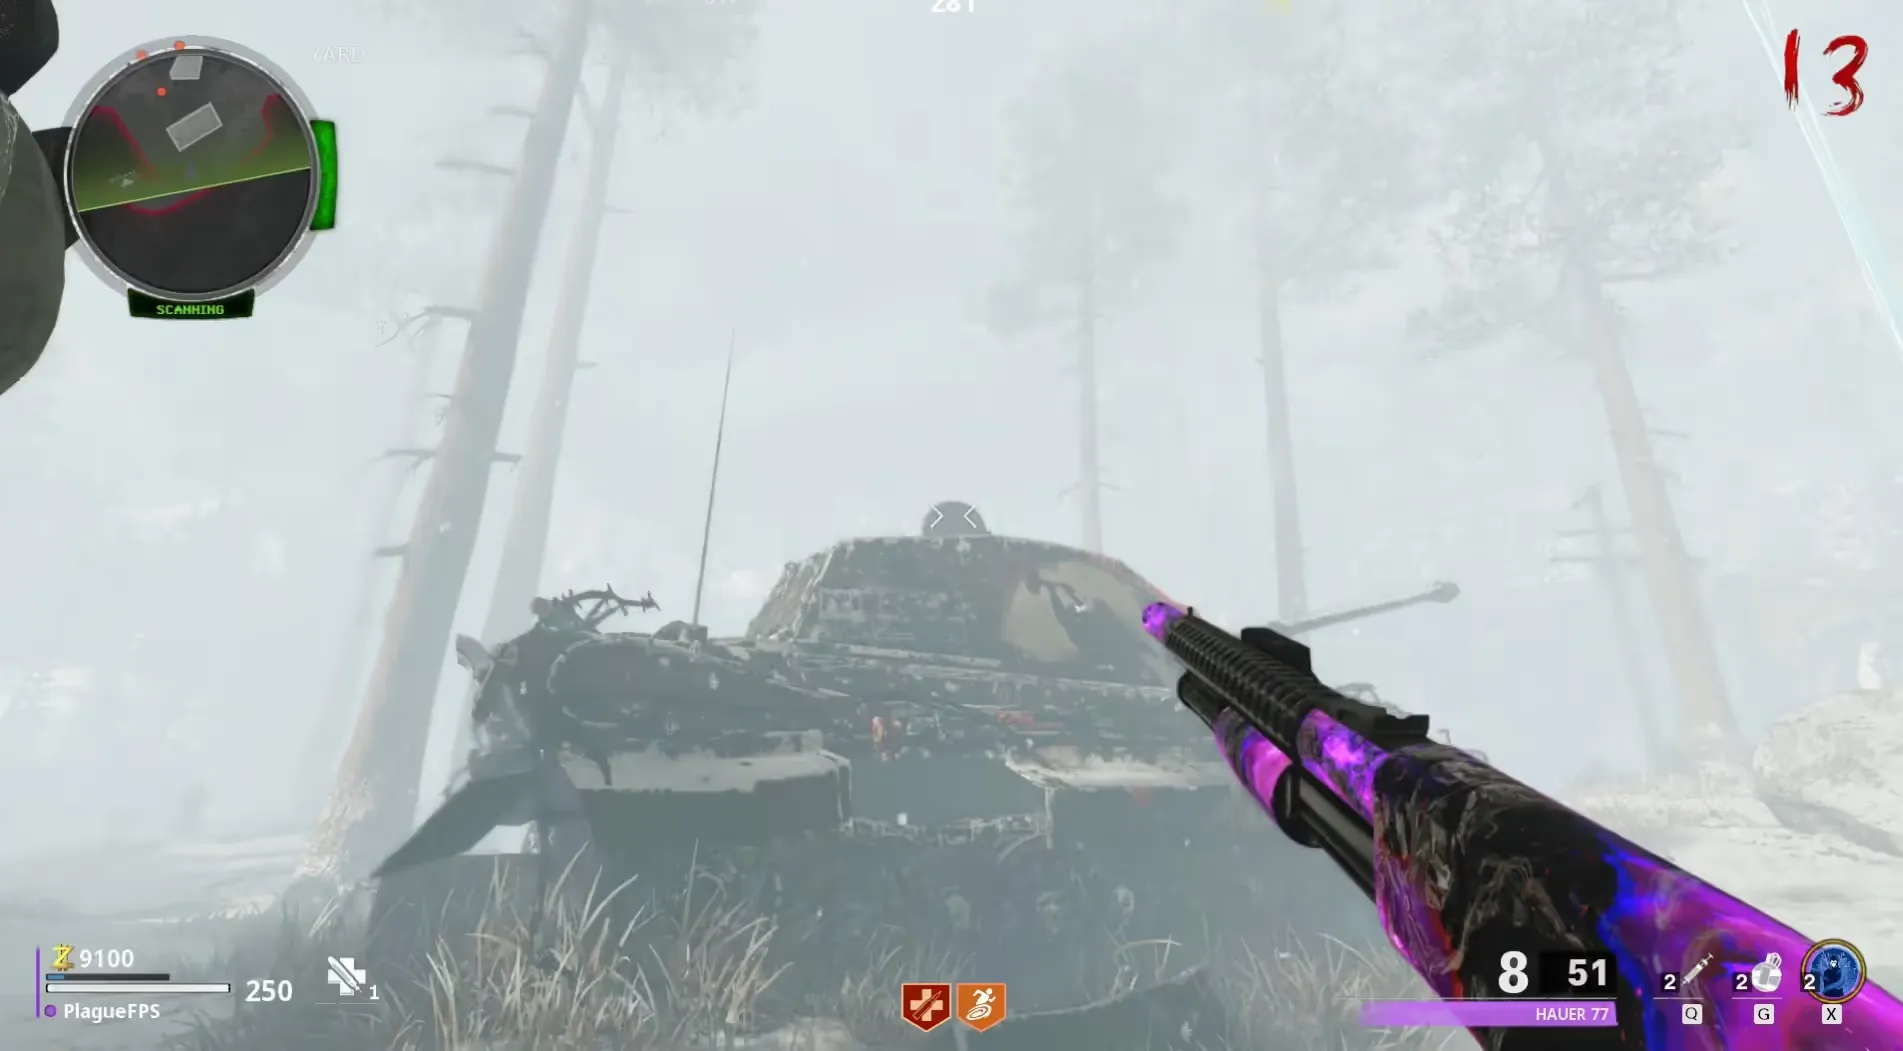
Head to the Crash Site and interact with the Decontamination Agent to pick it up. Doing so will spawn infinite Plaguehound and prevent you from being able to defend yourself while you are holding it, bring the agent to the Medical Bay and place it inside the Containment Unit next to the Type-63 wall buy.
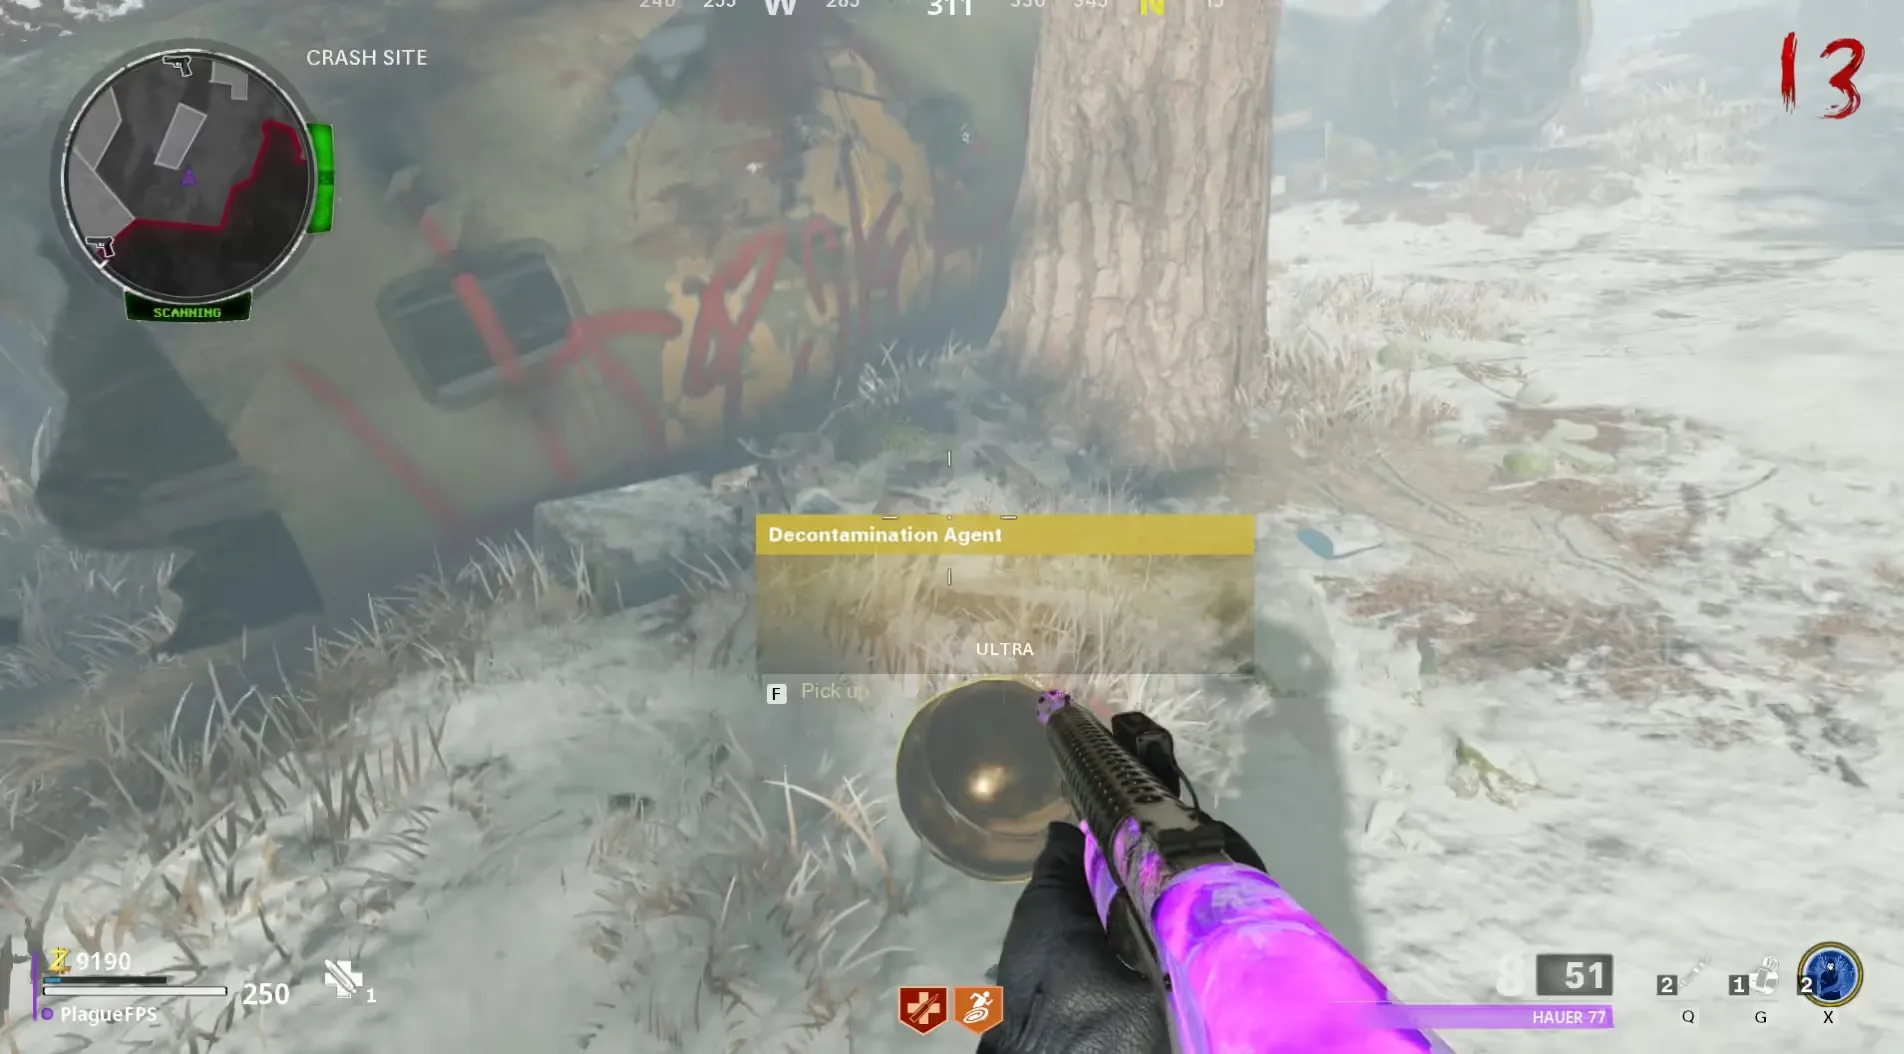
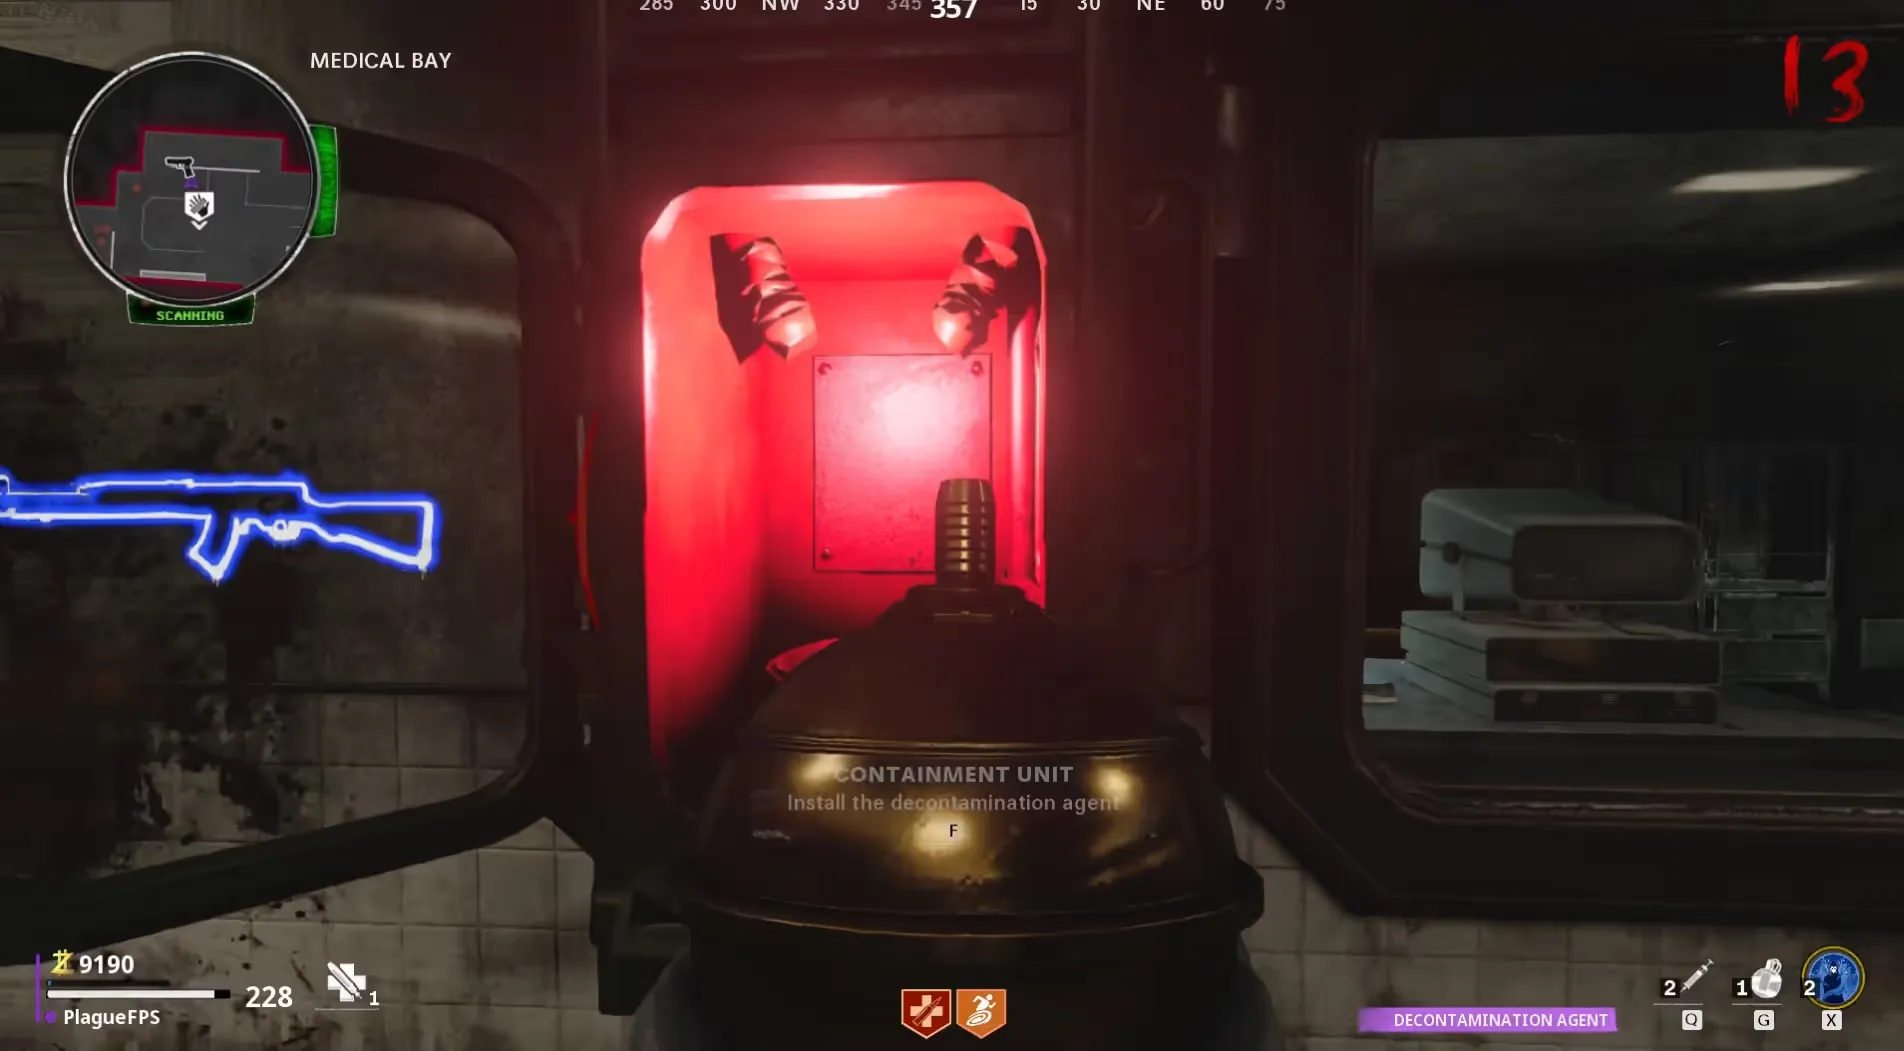
You can always drop the Decontamination Agent at any time to protect yourself if you are taking too much damage and then pick it up again once you are healed.
Step 5: Decontaminate the Test Subject
You must split a Megaton into its smaller forms the Megaton Bomber and Megaton Blaster and lead them underneath the Decontamination Chamber in the Medical Bay. Doing so will cause them to be lifted and contained inside the chamber, and all players in the game must enter the Observation Room inside the Medical Bay to begin the Decontamination process.
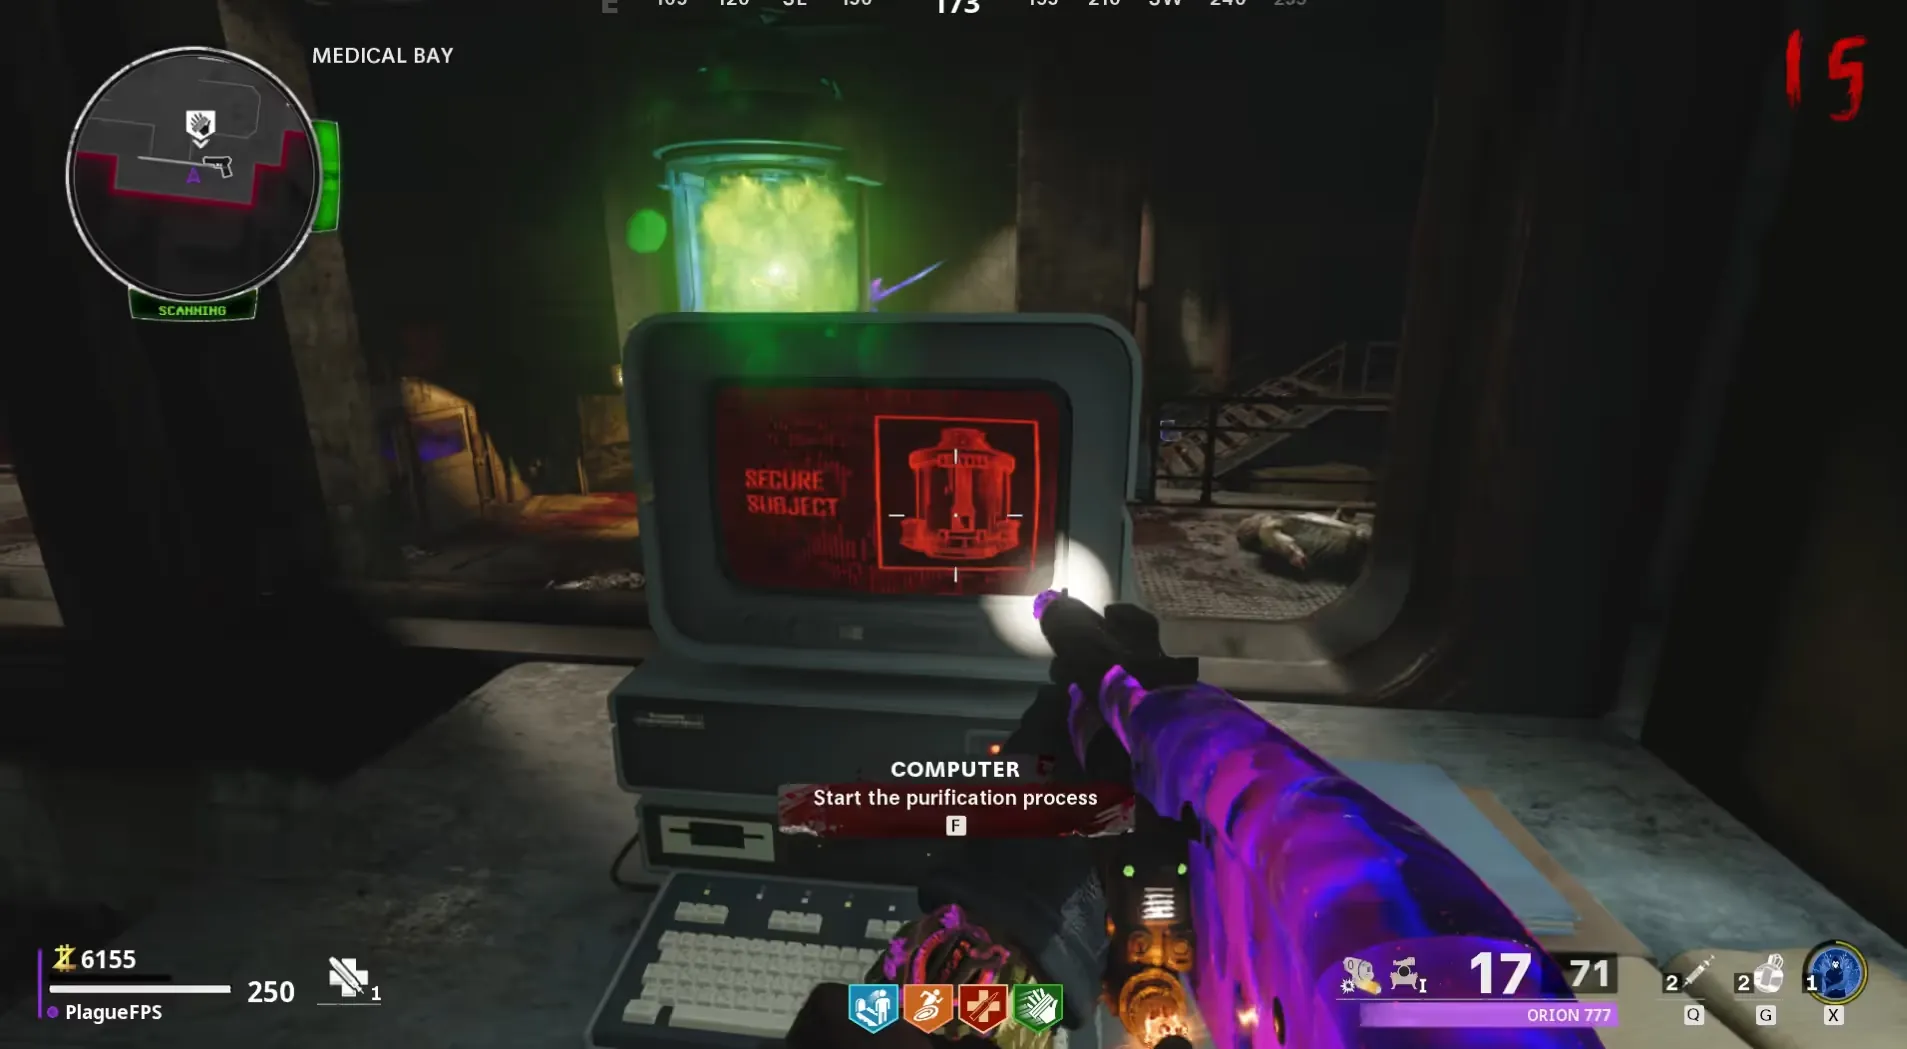
After the Decontamination process, a ton of Plaguehound and Megaton will spawn into the map so be prepared for that and do not stay in the Observation Room as you can easily be trapped.
Step 6: Close the Gateway
Before continue make sure you are fully prepared with Pack-a-Punched weapons and at least the essential perks.
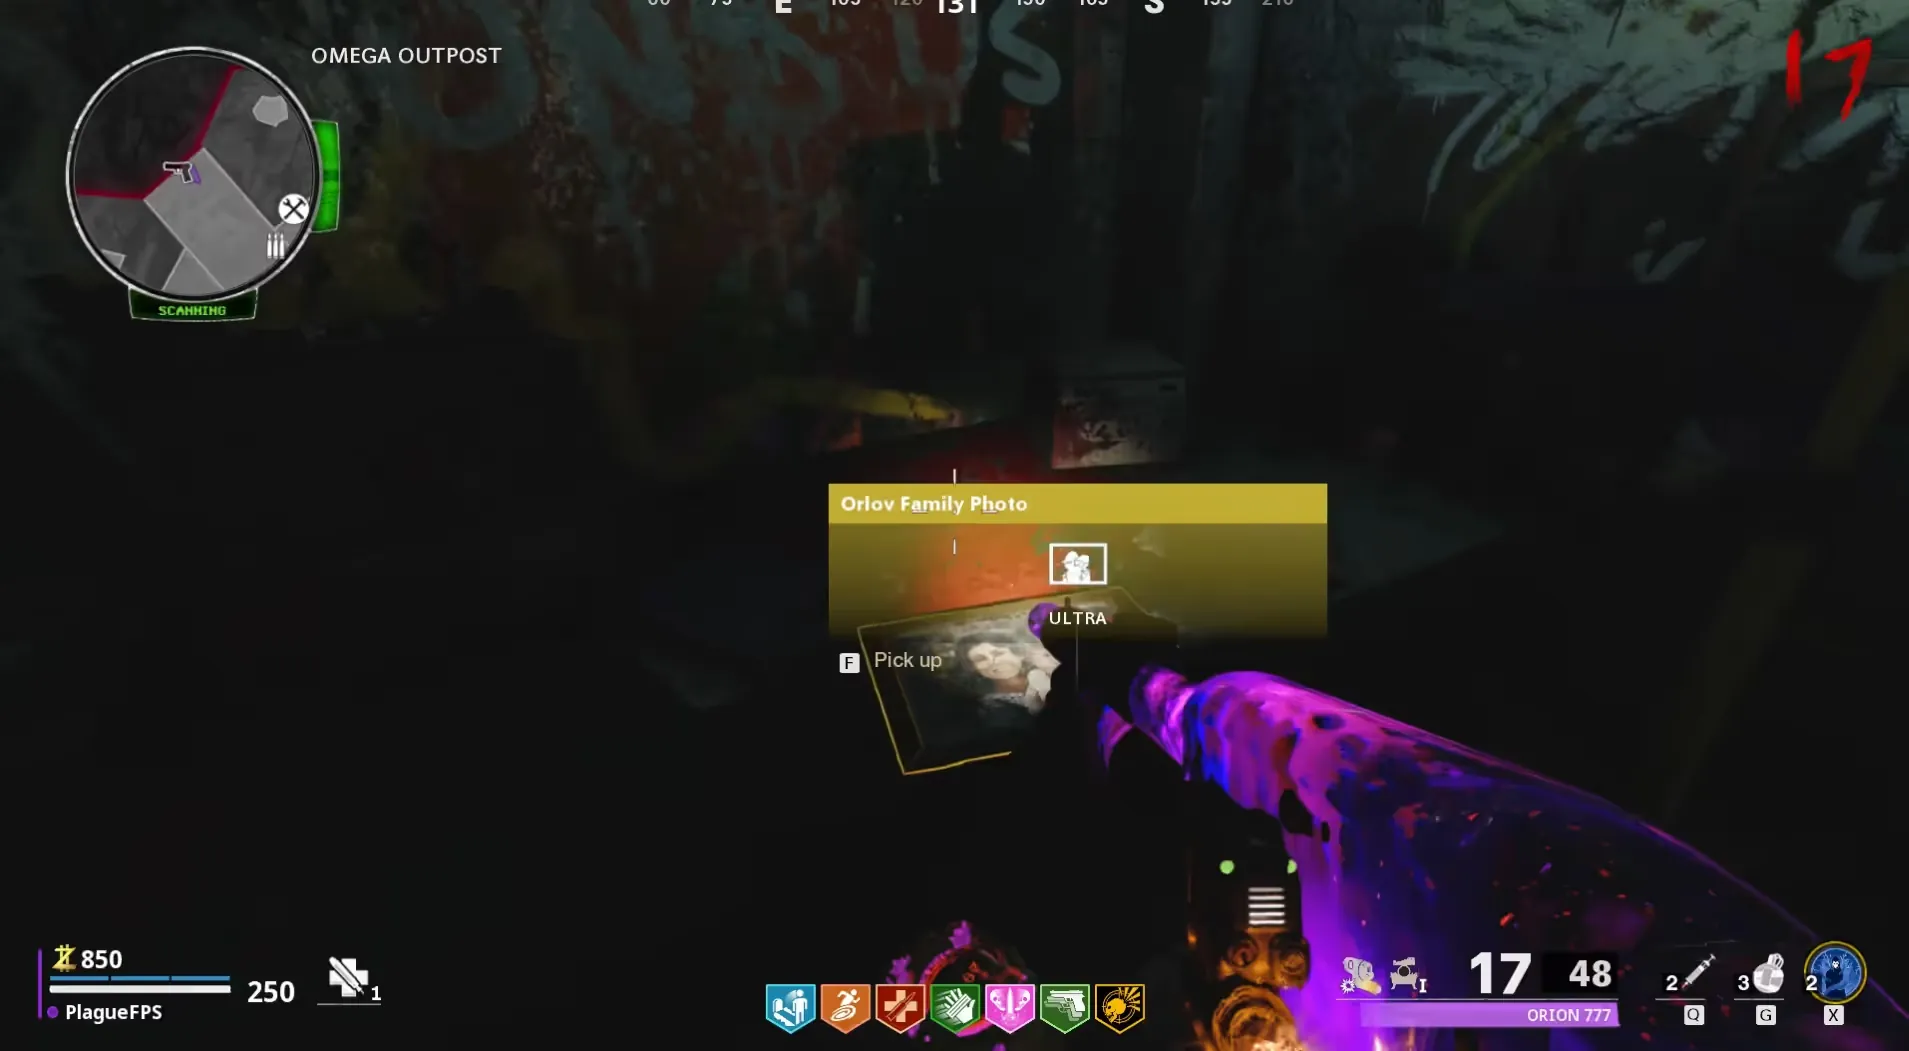
Interact with a dimensional breach and enter the Dark Aether. Once inside, head to the Omega Outpost on the bottom floor of the Nacht Der Untoten building and interact with the Anomaly in the corner, spawning a spectral reflection of Orlov with some dialogue.
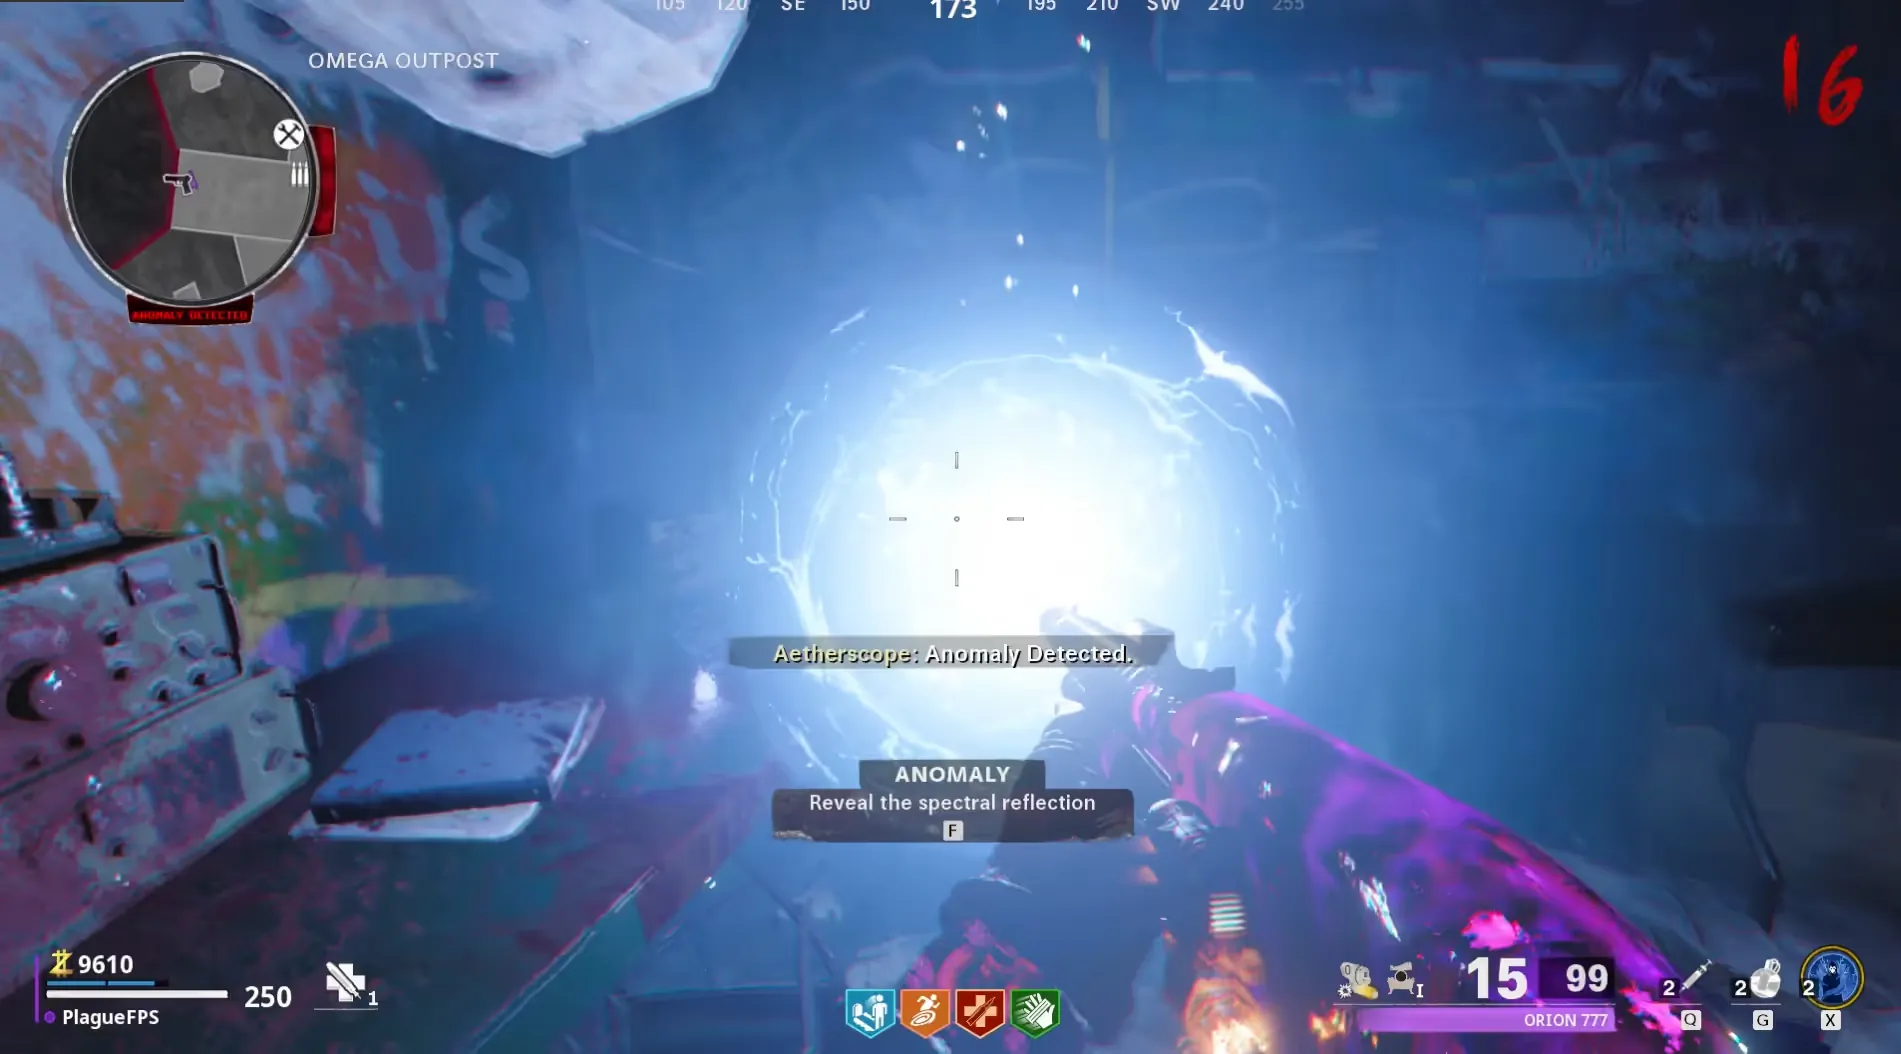
It is recommended to complete this final step as early as possible, lengthy preparation is not required since the variants (specifically the Electrobolt) are so strong during this step, and the more rounds that progress the harder this step will be.
After the dialogue, a family photo will be dropped on the table which you can interact with to enter the "boss fight" inside the Particle Accelerator area. You must now protect Orlov at three different checkpoints as he attempts to shut down the Particle Accelerator.
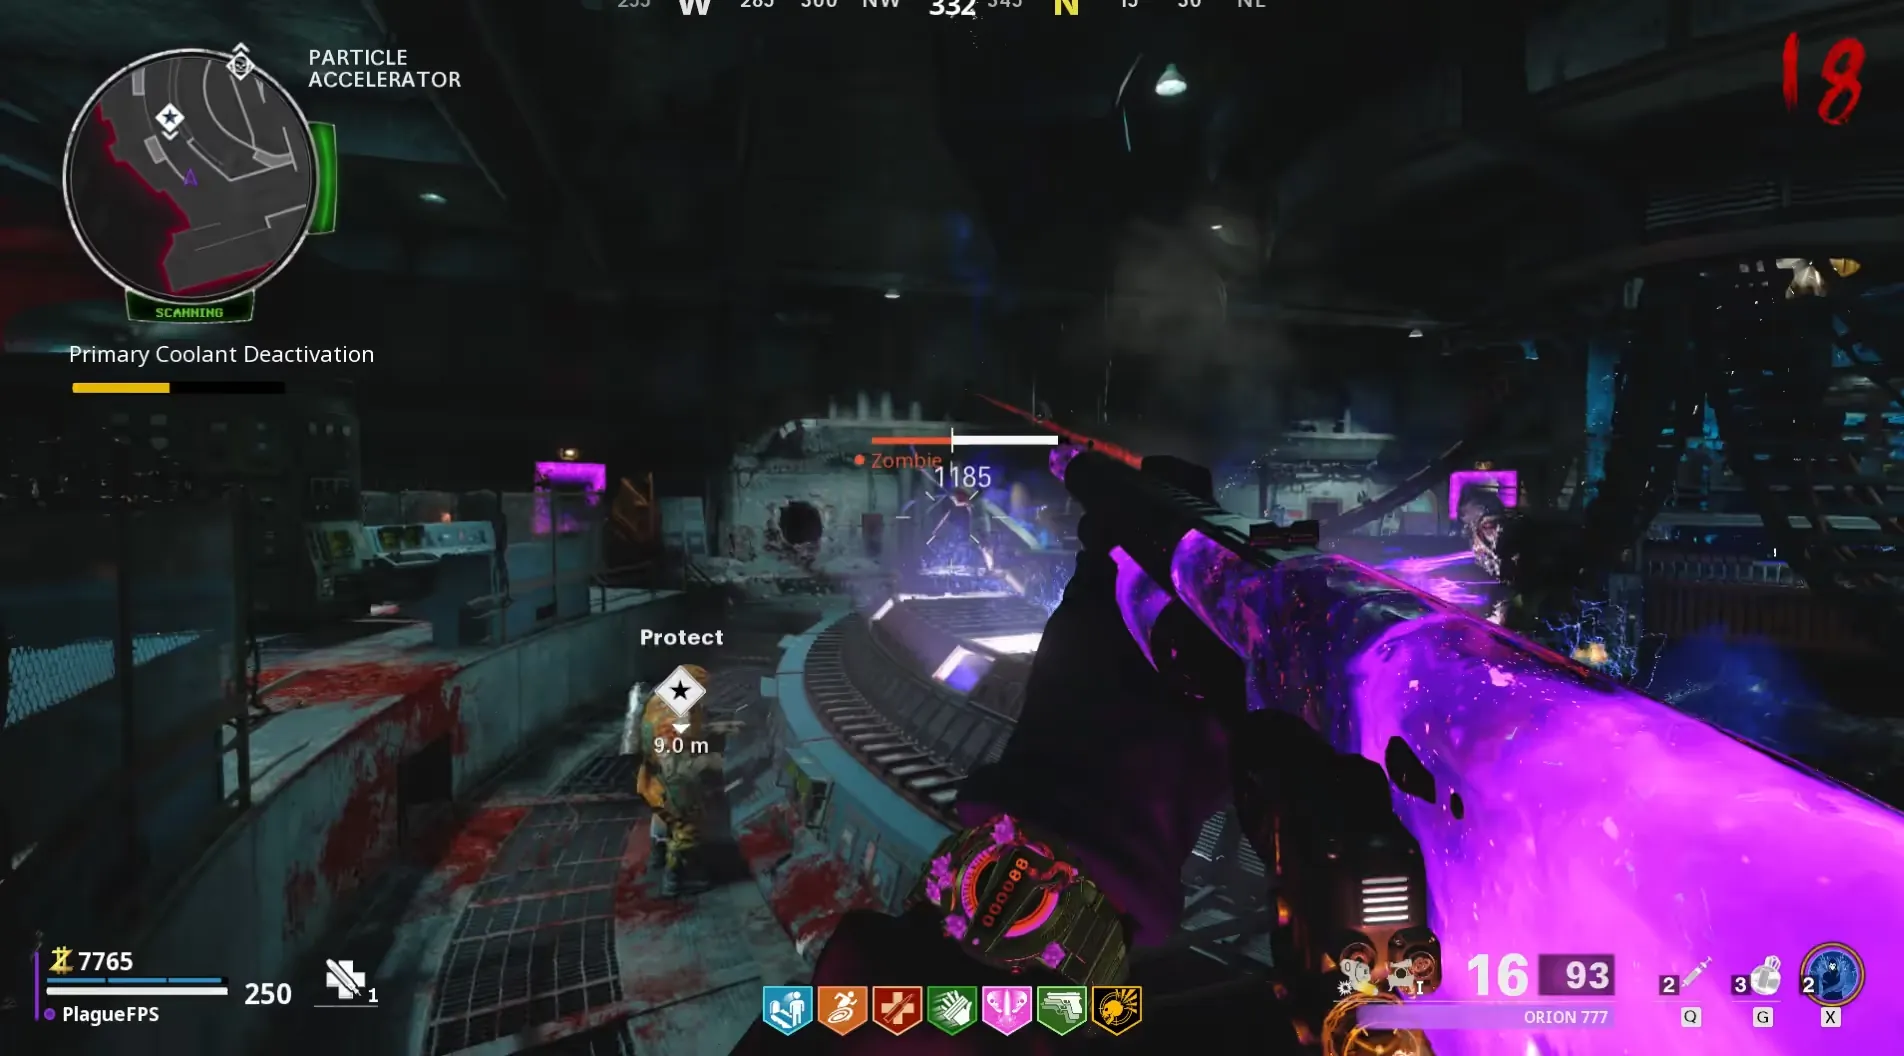
During this, there will be many boss zombies spawning. All players in the game should be prioritizing the boss zombies as they drop ammo and will easily overrun you if you do not take care of them. If you are low on ammo, you can buy ammo for points at the ammo crate in the bottom area of the room.
Once you have successfully defended Orlov, the screen will go white and the map will begin to break down as electricity starts shooting from the ground. You now have 1 minute and 30 seconds to get to the exfil chopper located in the Pond area of the map without touching any of the electricity or you will instantly go down.
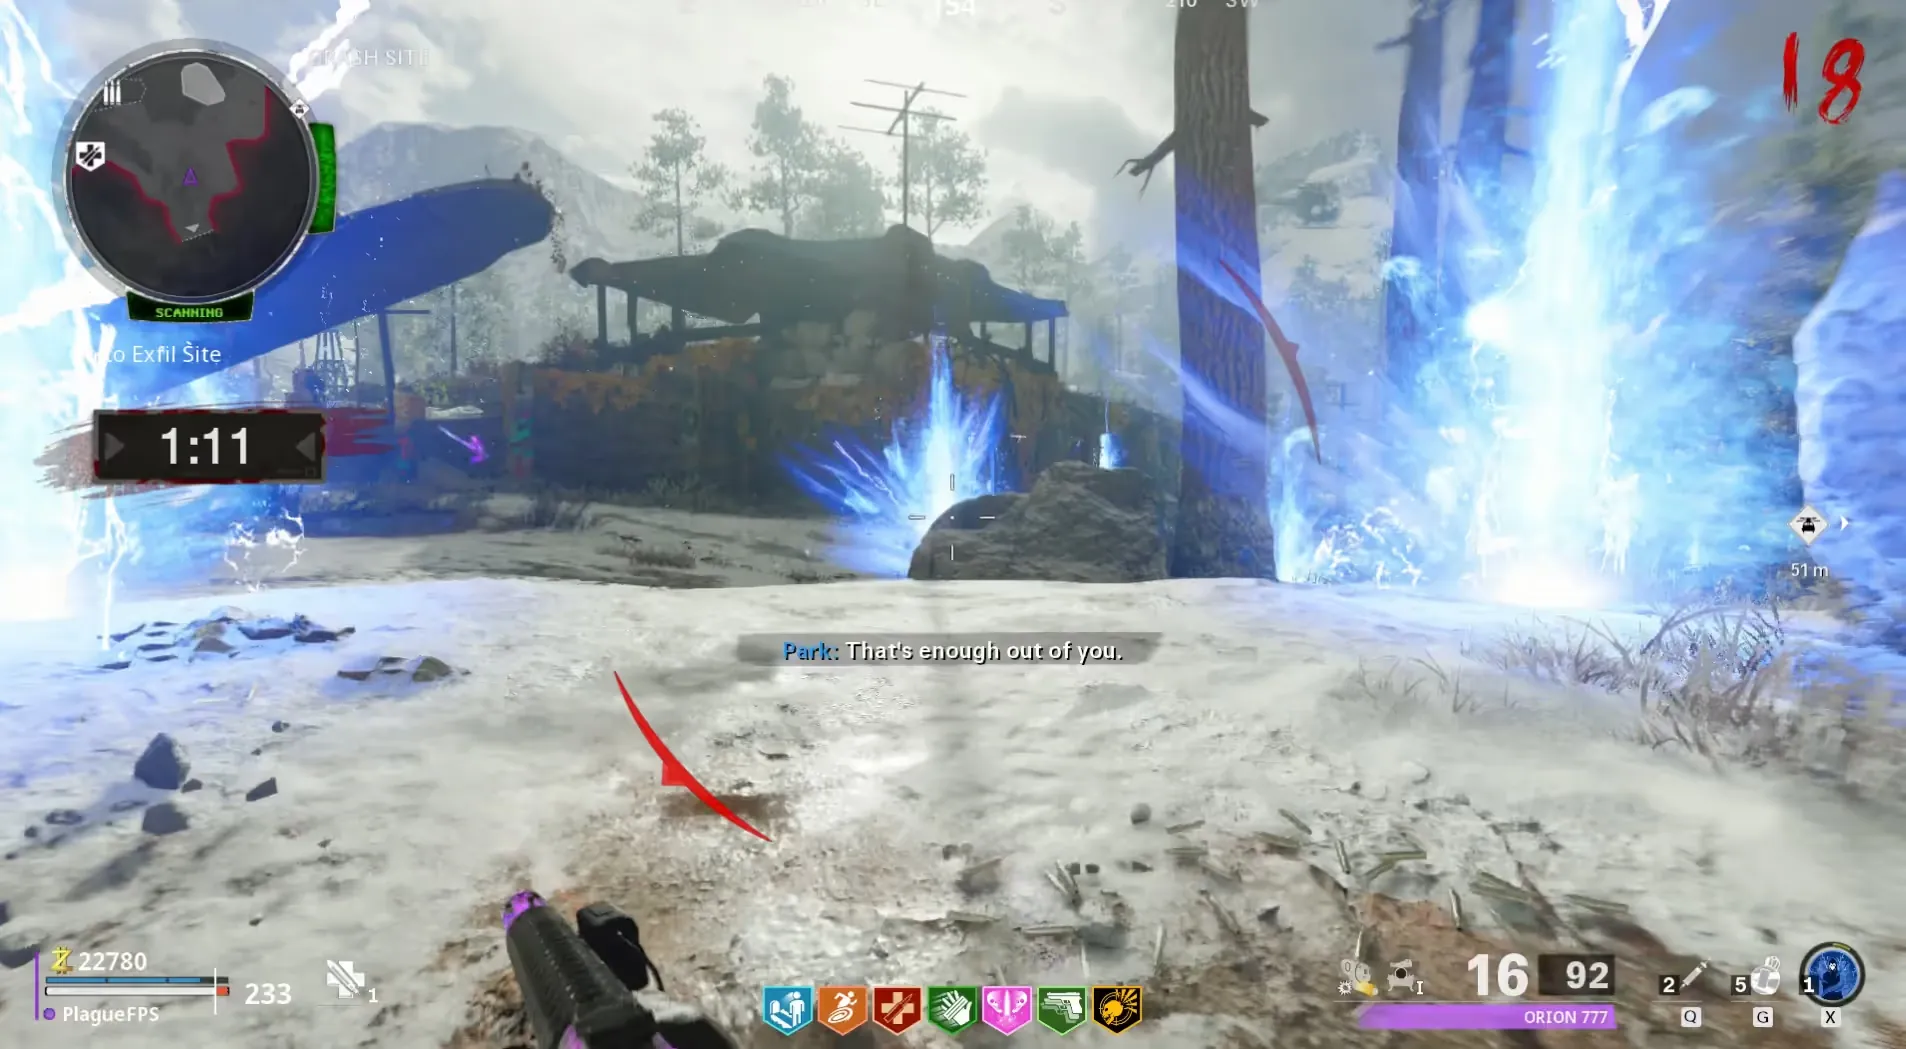
Only one player in your game needs to make it to the exfil for you to complete this step. Take your time, focus on avoiding the electricity that are in fixed locations so they don't move around, especially if you have
Stamin-Up it will be very hard for you to not make it to the exfil in time.
Once a player has made it to the exfil, all they need to do is interact with the chopper to get on board, escaping the map just before the explosion and closing the gateway.
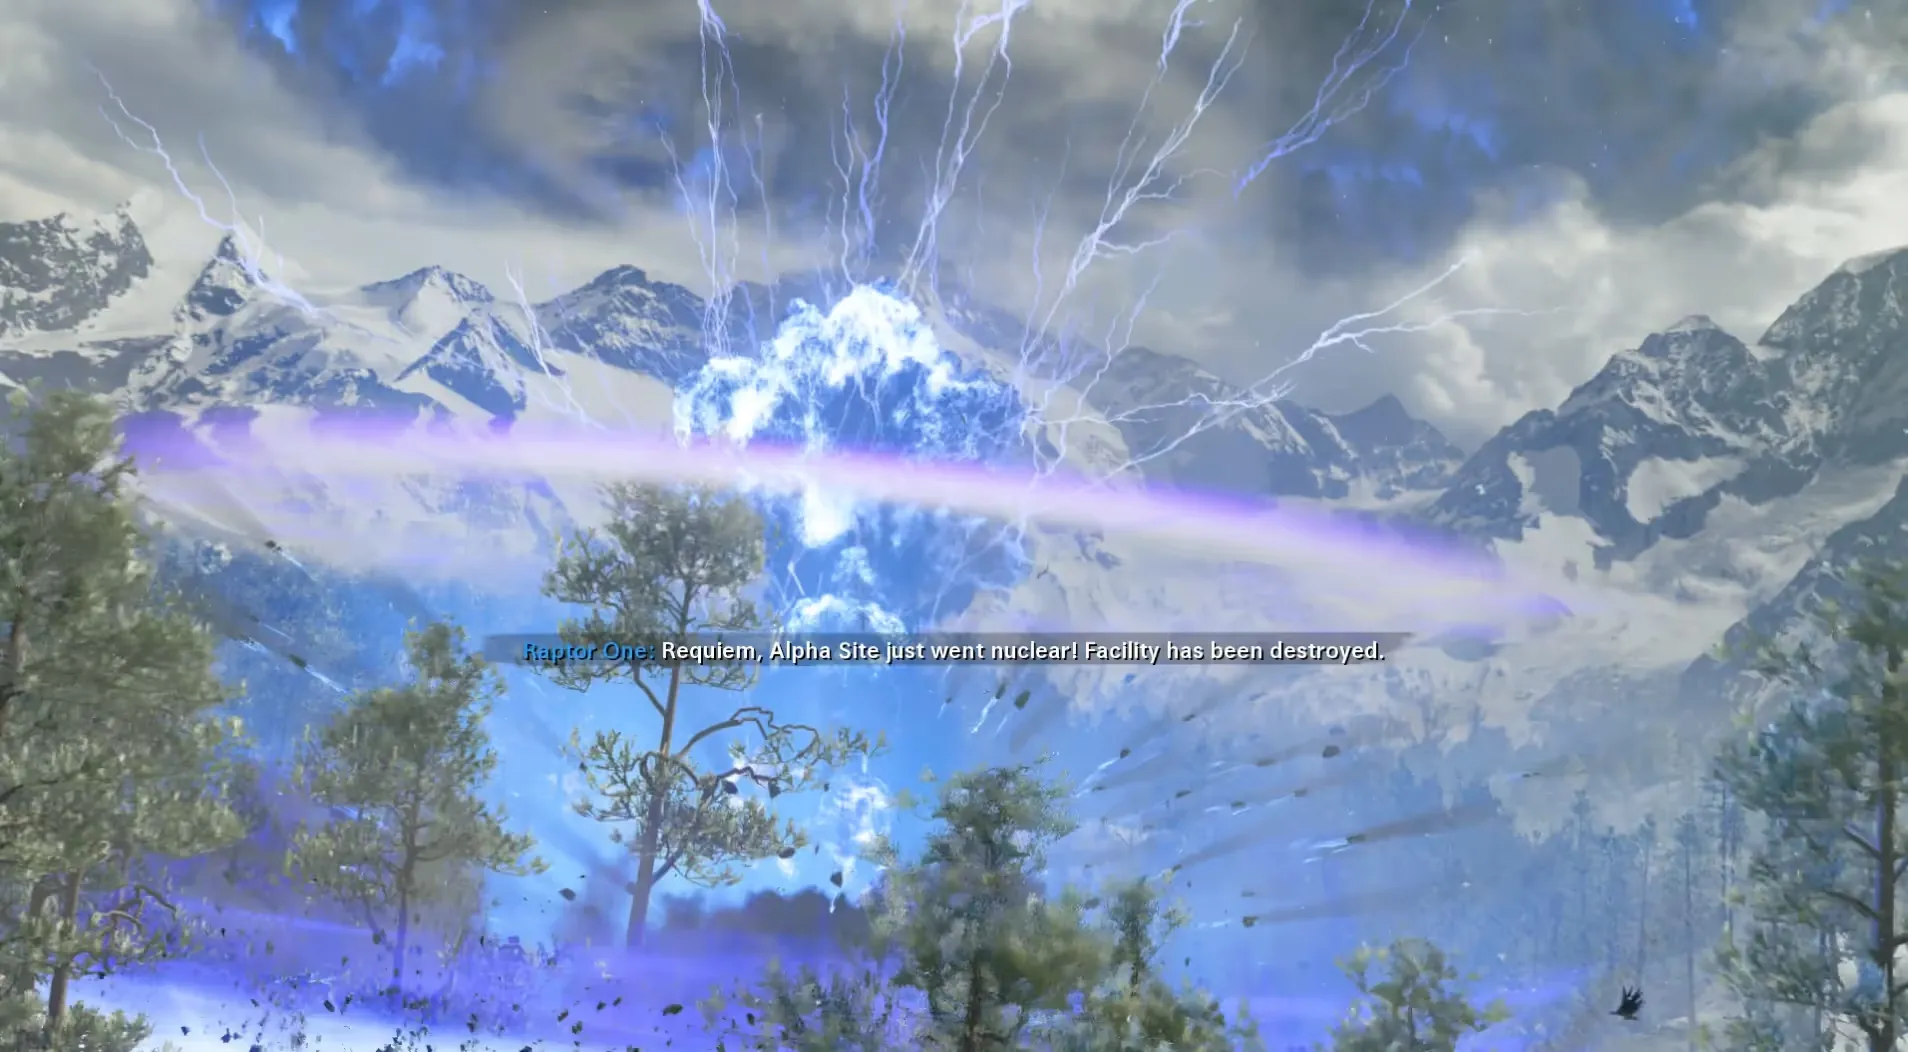
Congratulations! You have beaten the Die Maschine main quest: Seal the Deal.
