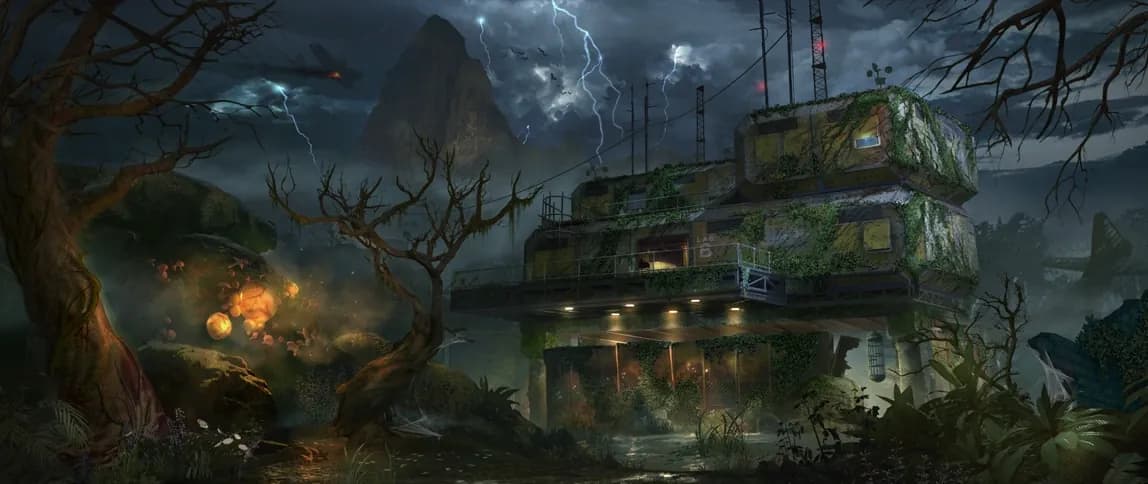
Zetsubou No Shima
Seeds of Doubt
The main quest for Zetsubou No Shima is called Seeds of Doubt. Our Primis crew's goal in this quest is to "save" Ultimis Takeo Masaki and harvest his soul using the Summoning Key.
Requirements
This main quest can be done with any number of players. You will need multiple items to complete this quest fully:
-
 Anywhere But Here
- Skull of Nan Sapwe
- KT-4 (along with its upgraded version, the Masamune)
- Gas Mask
- Zombie Shield
- All Trials of the Ancients completed by each player in the game
- One or more Buckets
- Two or more Seeds
Recommended Gobblegums
The
Anywhere But Here Gobblegum is shown under Mega Gobblegums because it is required for this main quest, if you do not equip it within your Gobblegum Pack you will not be able to complete this quest and will be forced to restart.
Step 1: Revealing the Elevator Machinery
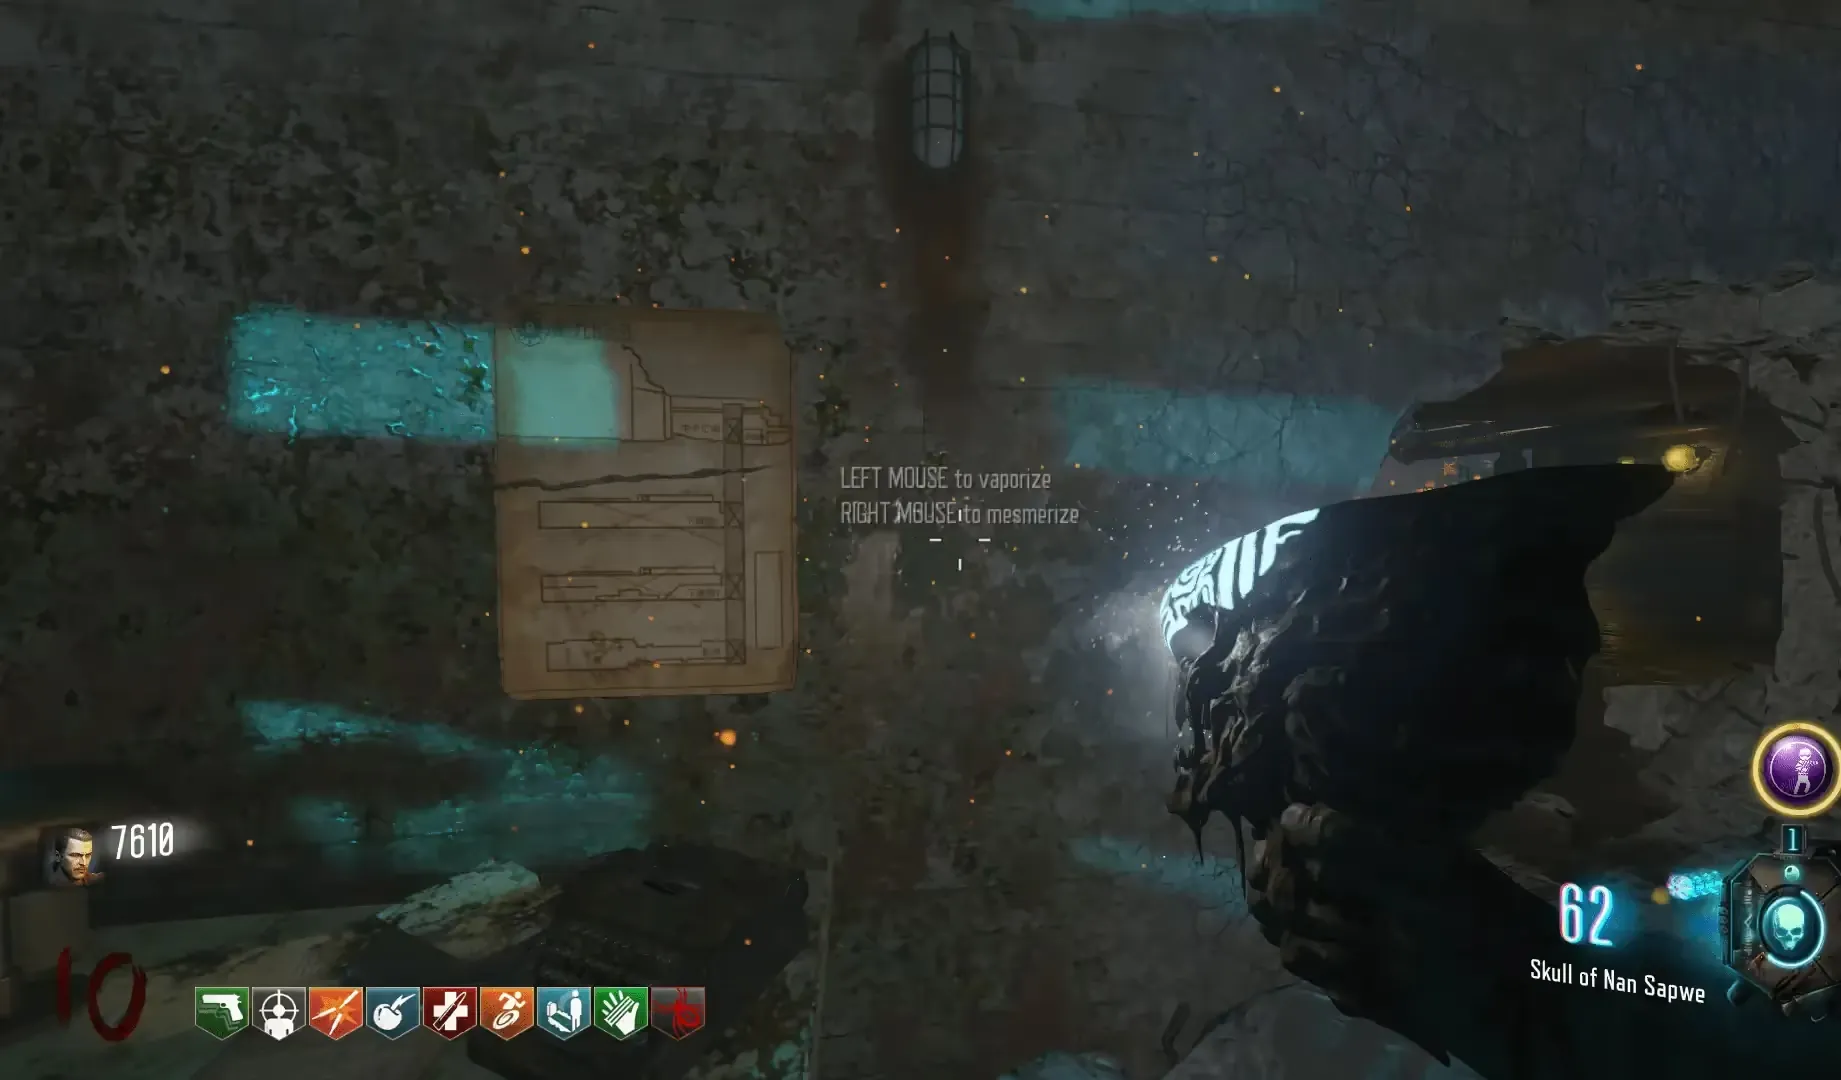
Head to the purple water area in the Living Quarters (aka body bag room), using the Skull of Nan Sapwe you must mesmerize the half poster on the wall left of the purple water, revealing the other half of the poster.
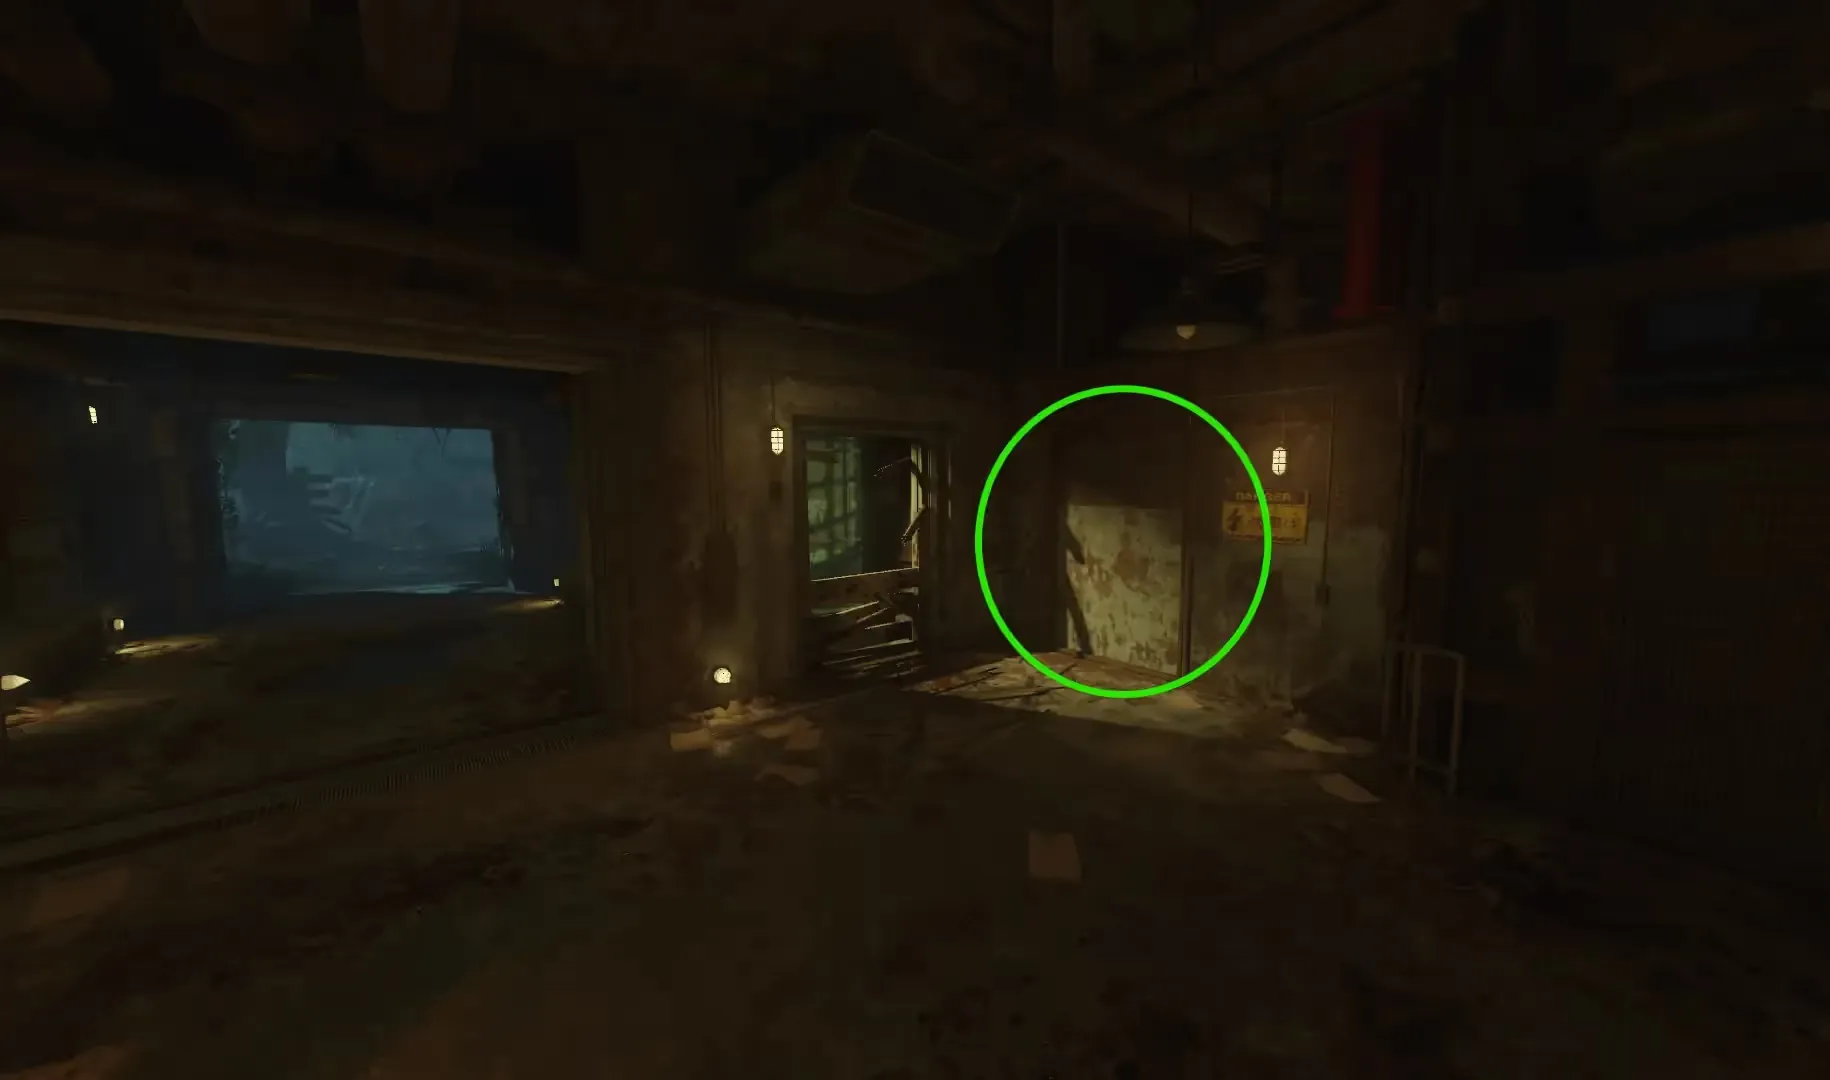
Once completed, head back up near the entrance of the bunker. Right of the entrance if you were leaving the bunker is a wall left of the yellow danger sign that you must mesmerize using the Skull of Nan Sapwe revealing a room with a broken generator that is missing three cogs.
Obtaining the Skull of Nan Sapwe
You must cleanse four bloody skulls found on the Trials of the Ancients altar. Each skull is marked with a symbol indicating which pedestal it must be placed on to begin the cleansing ritual. These pedestals are spread out across the map and are located:
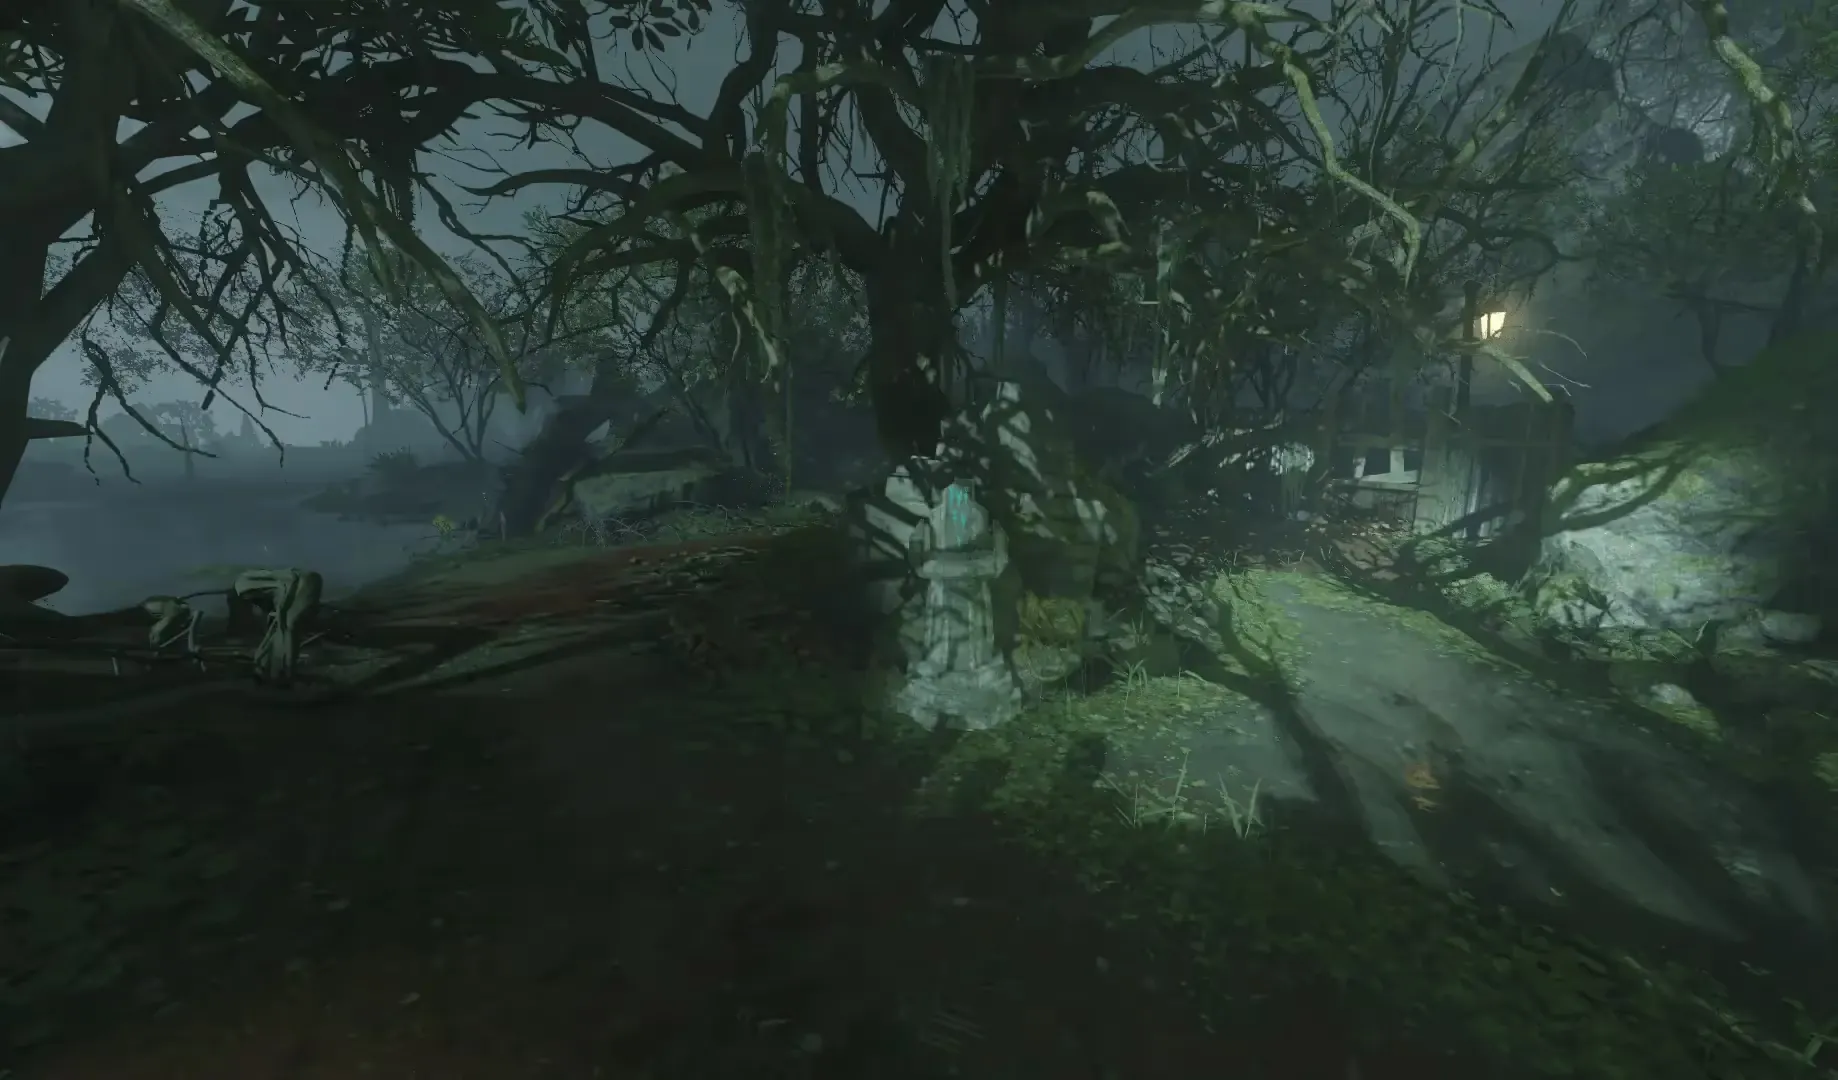
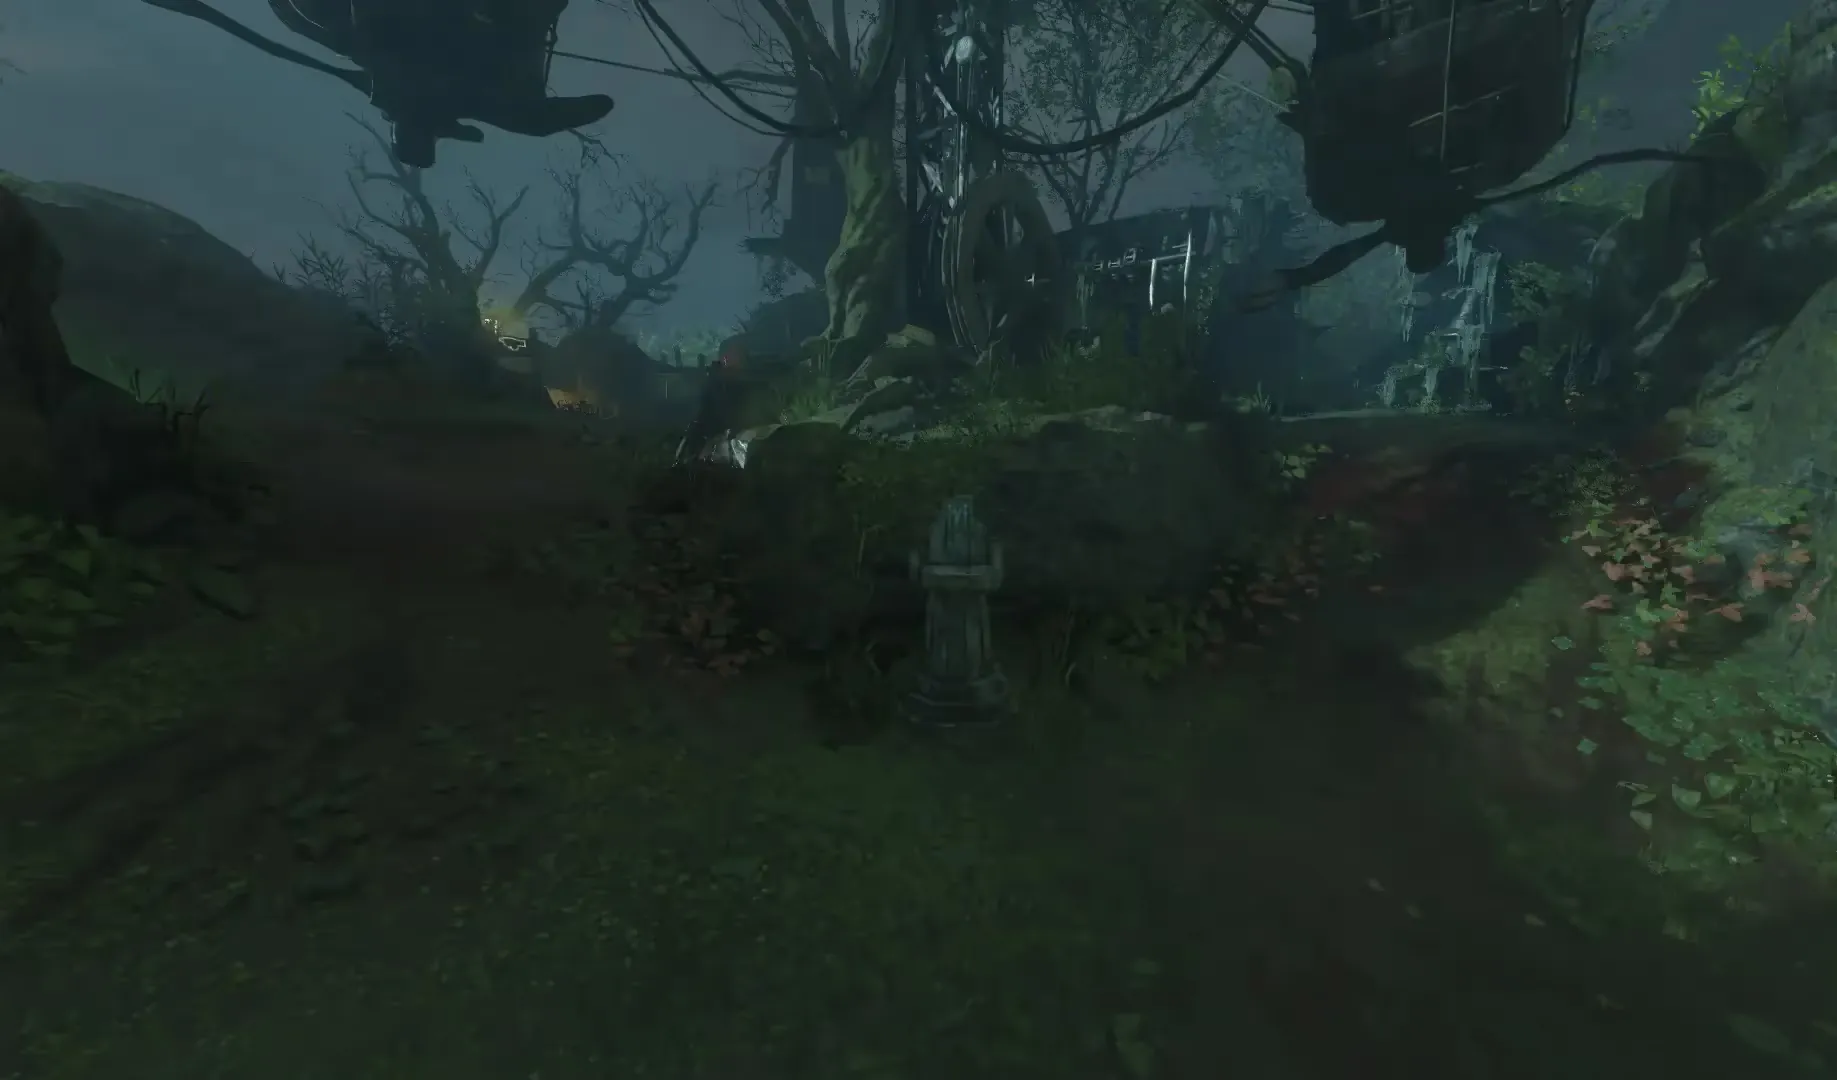
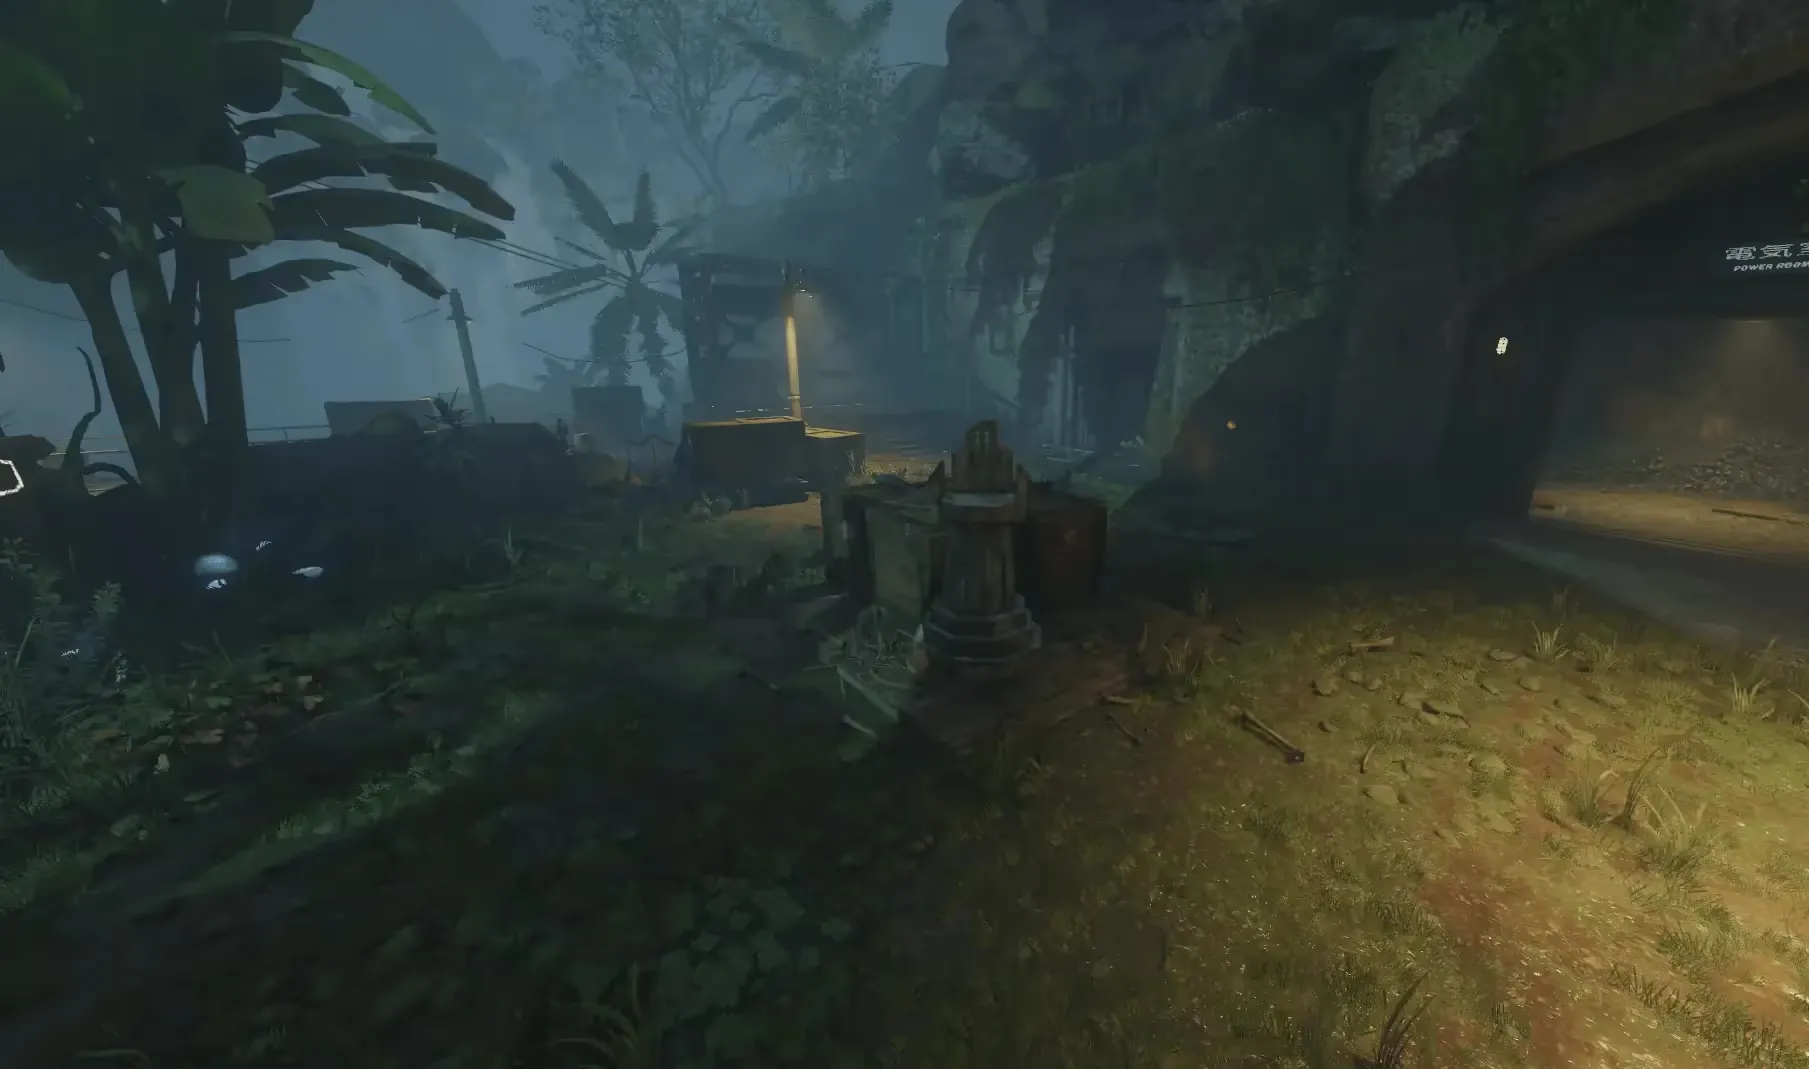

The symbols that appear on each pedestal are different each game, however, it will always be the same four
Placing a skull on the matching pedestal will start a ritual where you must defend the skull from zombies with a green mist around them until completed. Once completed or failed, all remaining zombies will be killed. If successful, you must pick up the skull and return it to the altar. You must repeat this for all four skulls.
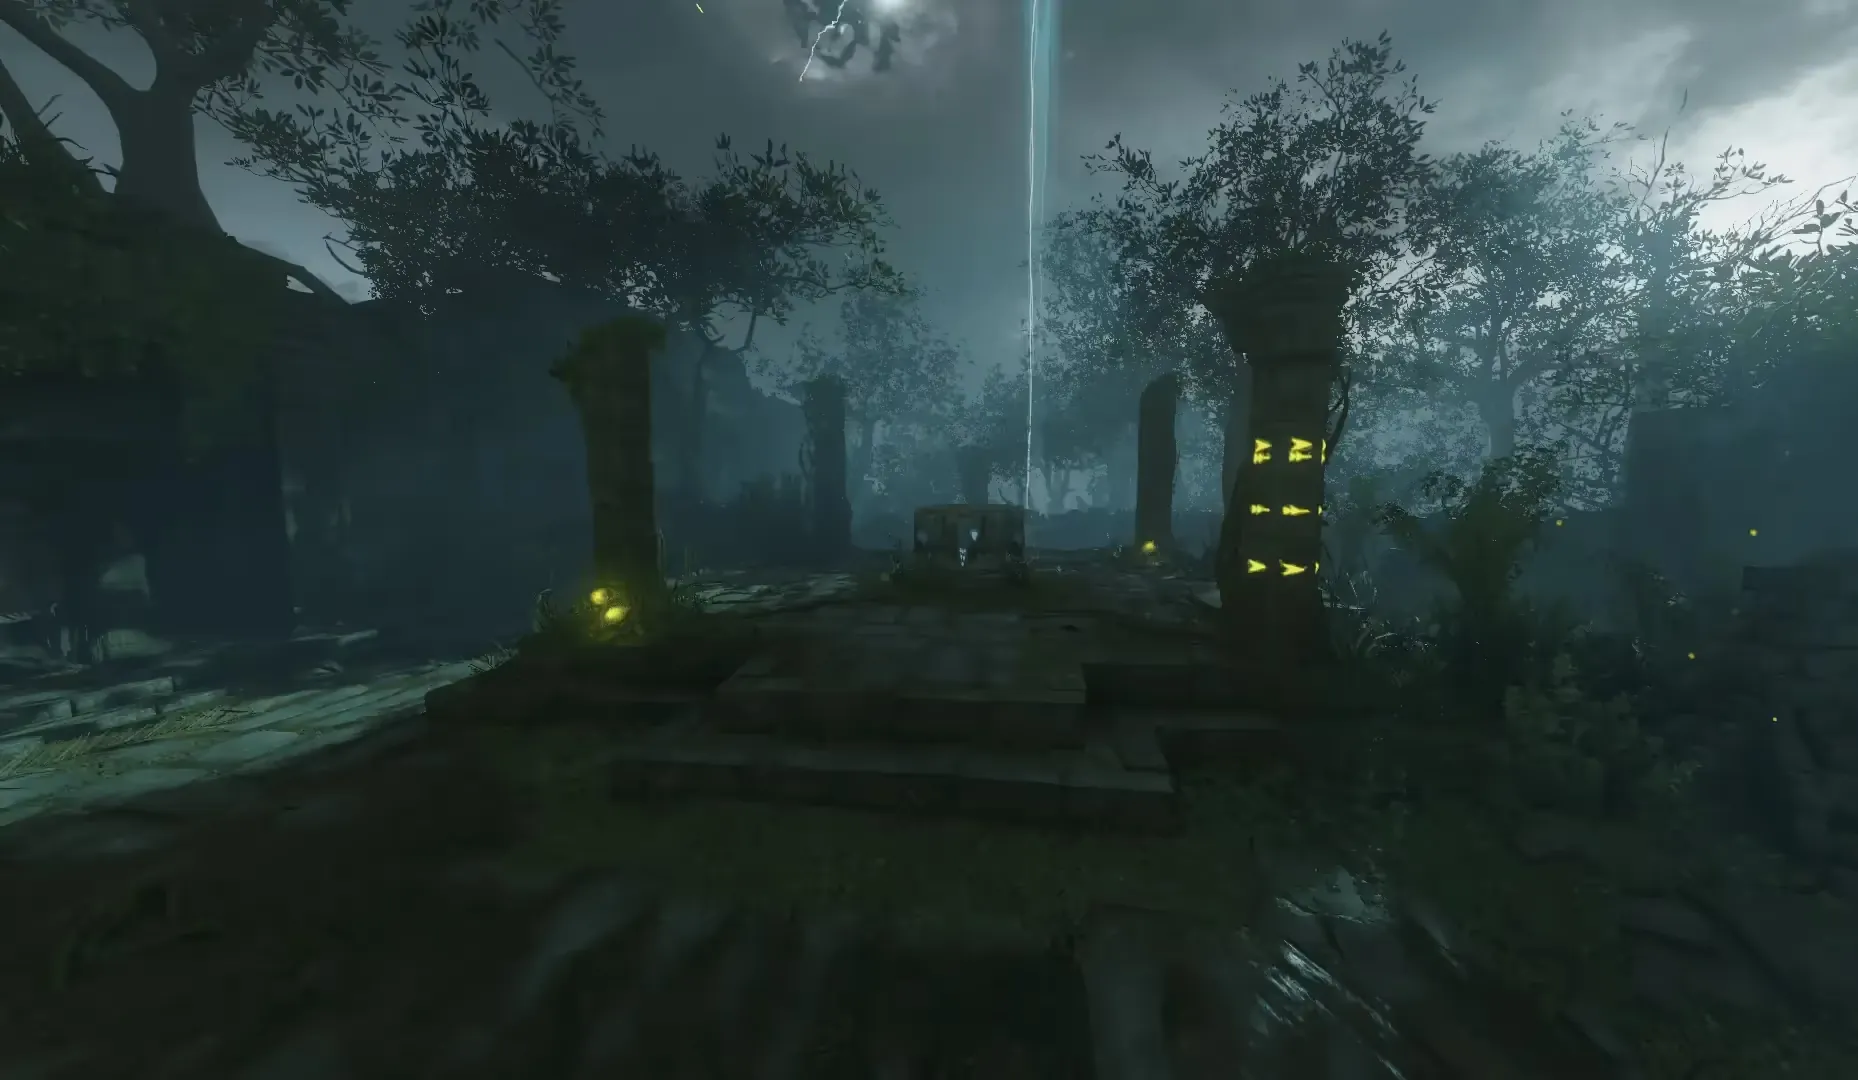
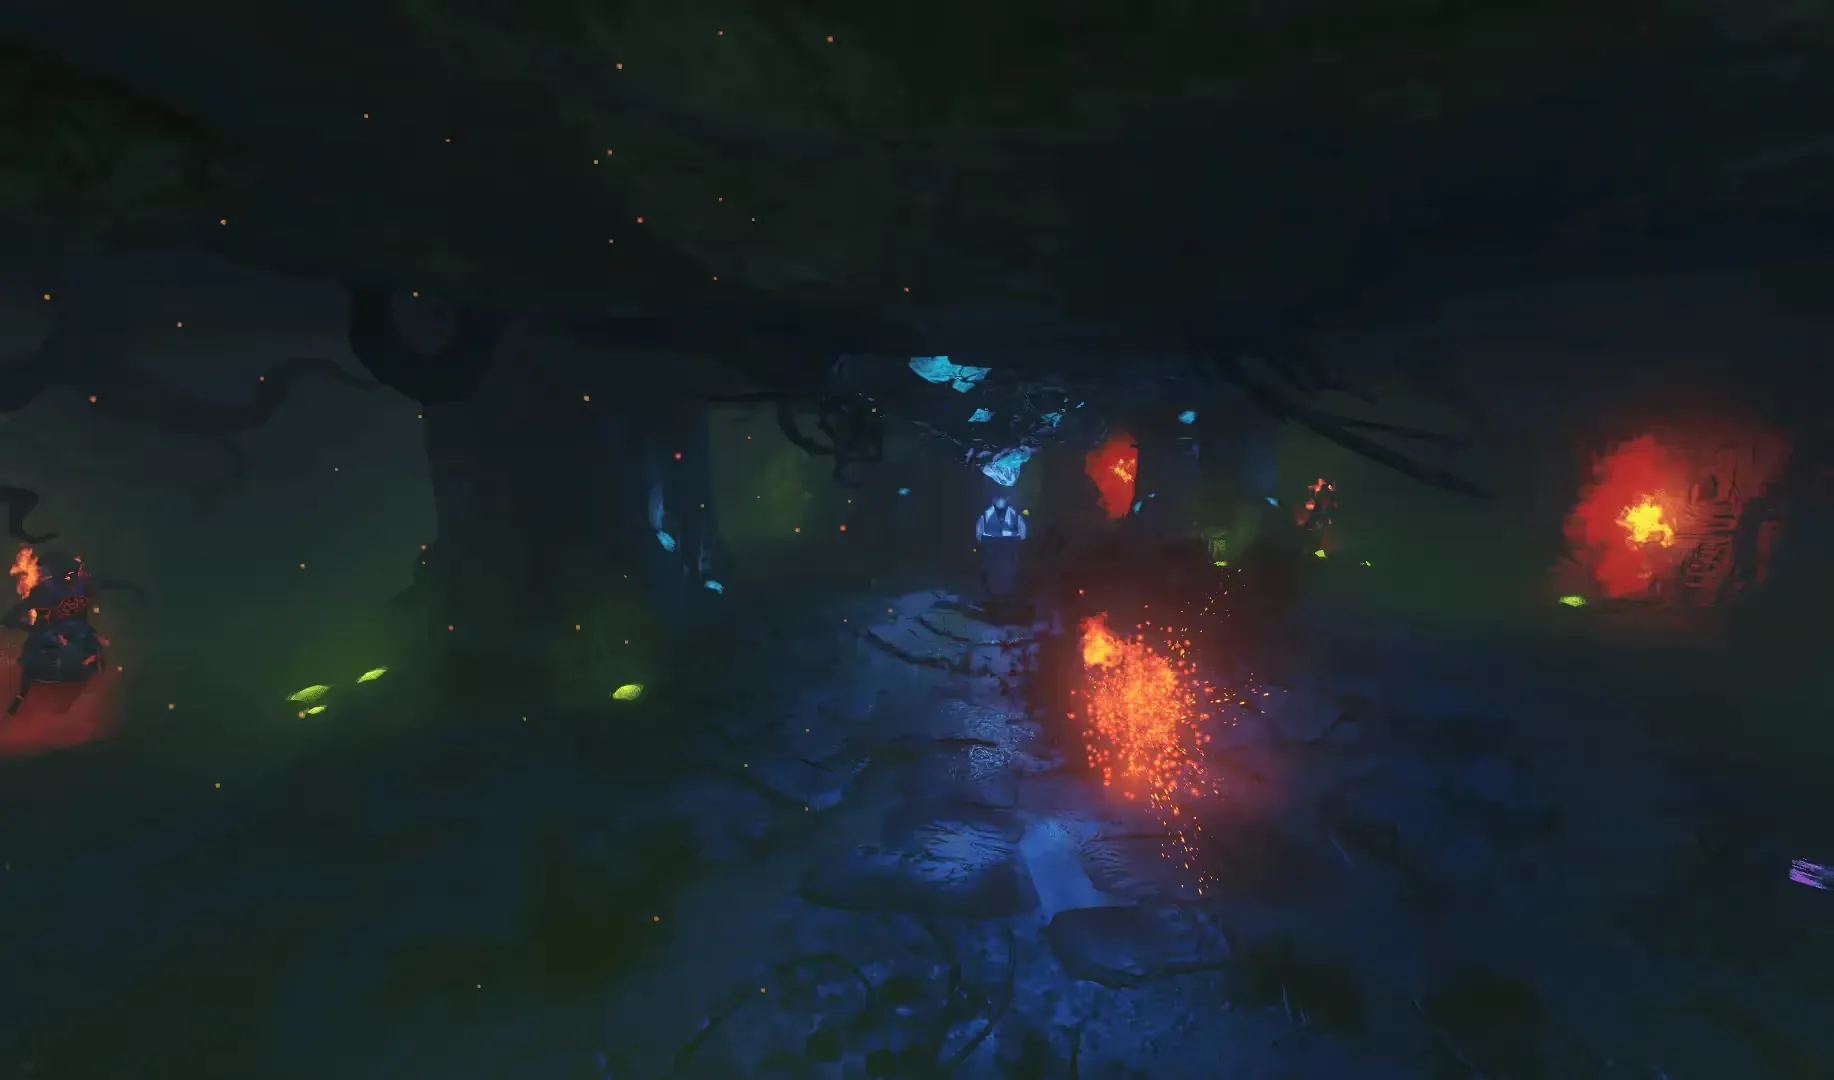
Once all four skulls have been cleansed and returned to the altar, a new area will be opened in front of the altar, accessible via a staircase. In the middle of the area is the Skull of Nan Sapwe, you must complete a ritual by attempting to pick up the skull, spawning Keepers that you must kill to charge the skull and end the ritual. If successful, you can now pick up the Skull of Nan Sapwe.
Step 2: Collecting the Cogs
Three cogs must be found and collected to fix the elevator machinery that the Skull of Nan Sapwe revealed, these cogs can be collected in any order
Cog 1
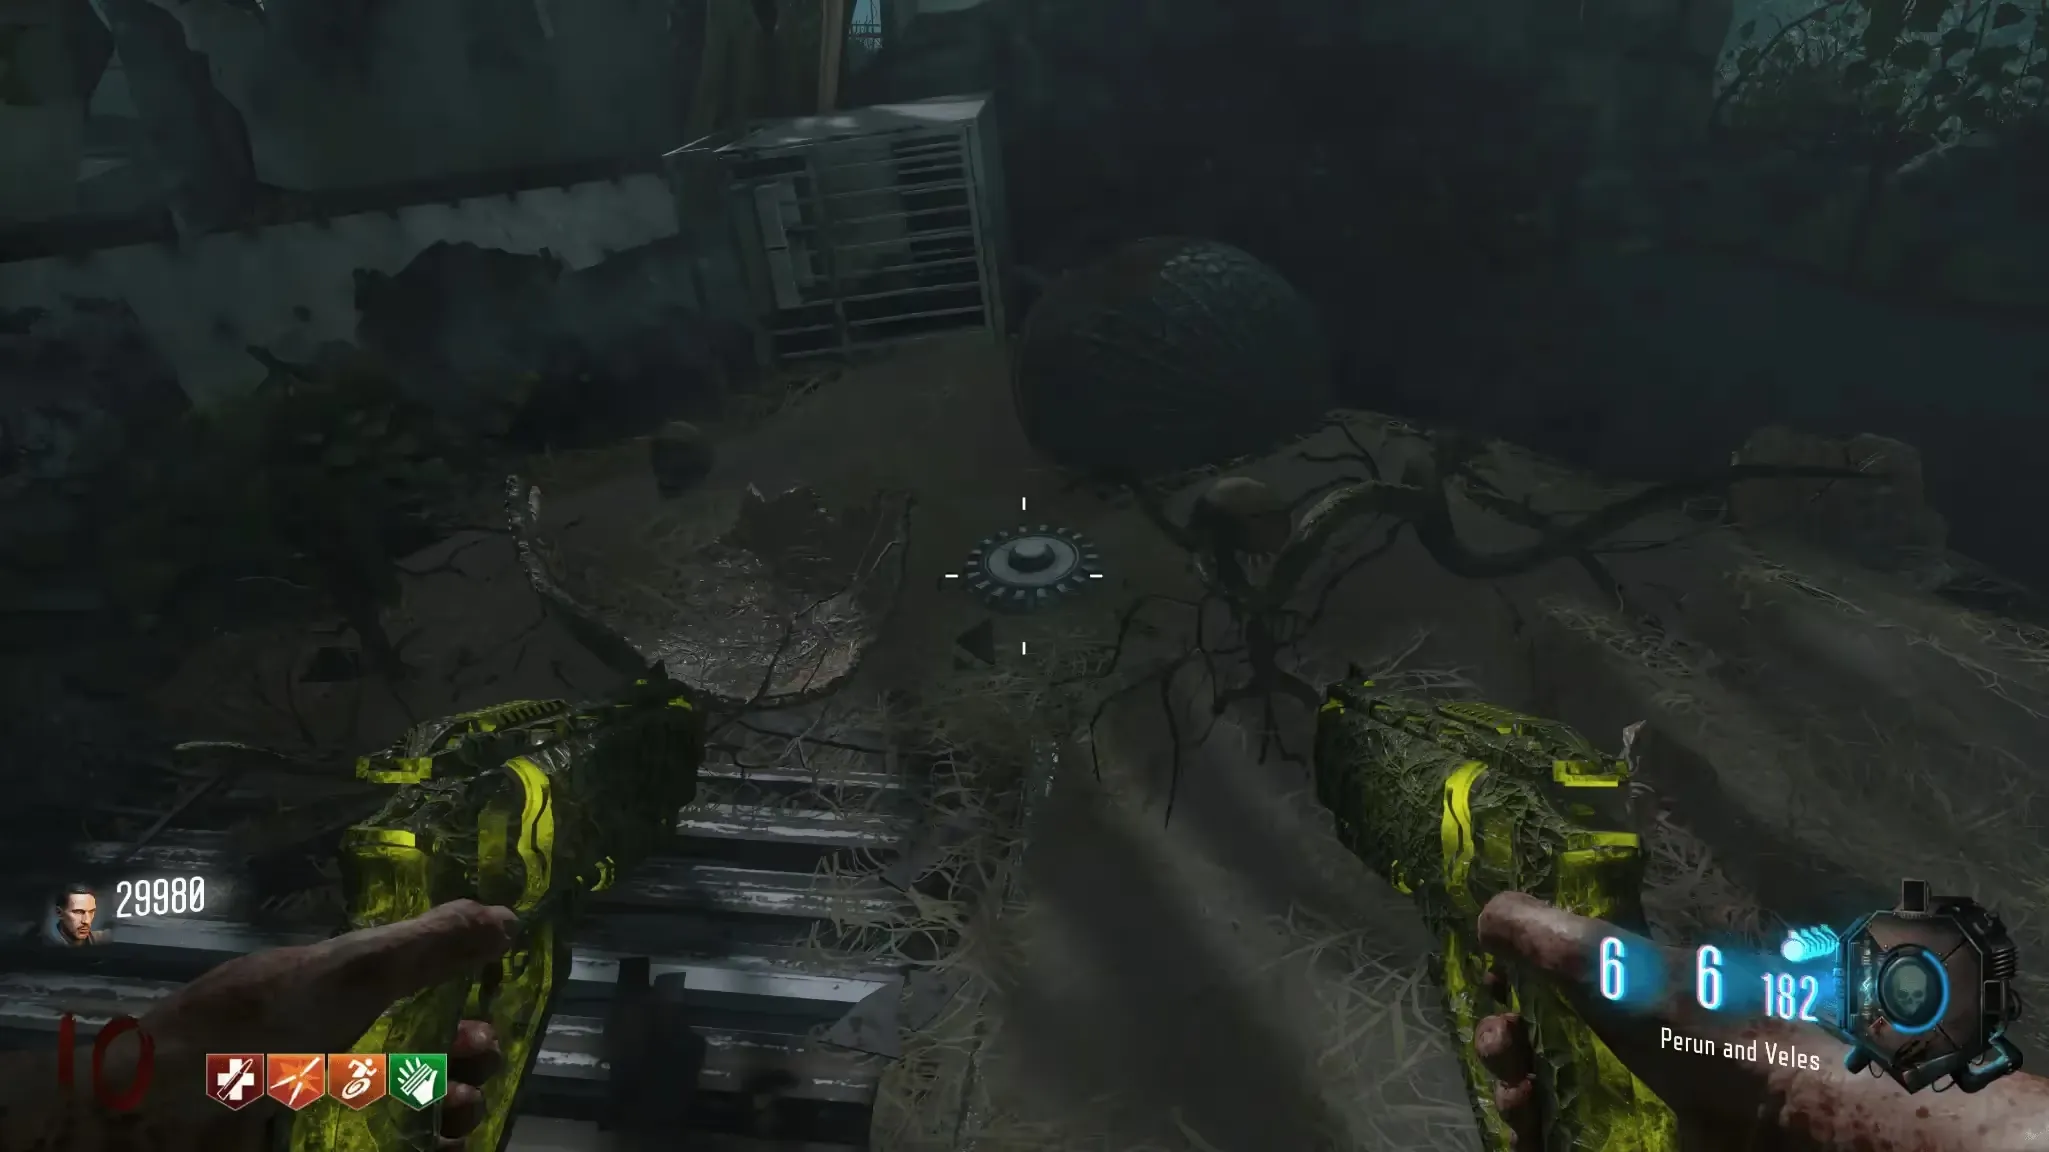
After revealing the elevator machinery, any player in the game must use the ![]() Anywhere But Here Gobblegum. This will teleport the player to a
secret area above Lab A, on the ground of this area will be the cog you must pick up.
Anywhere But Here Gobblegum. This will teleport the player to a
secret area above Lab A, on the ground of this area will be the cog you must pick up.
Cog 2
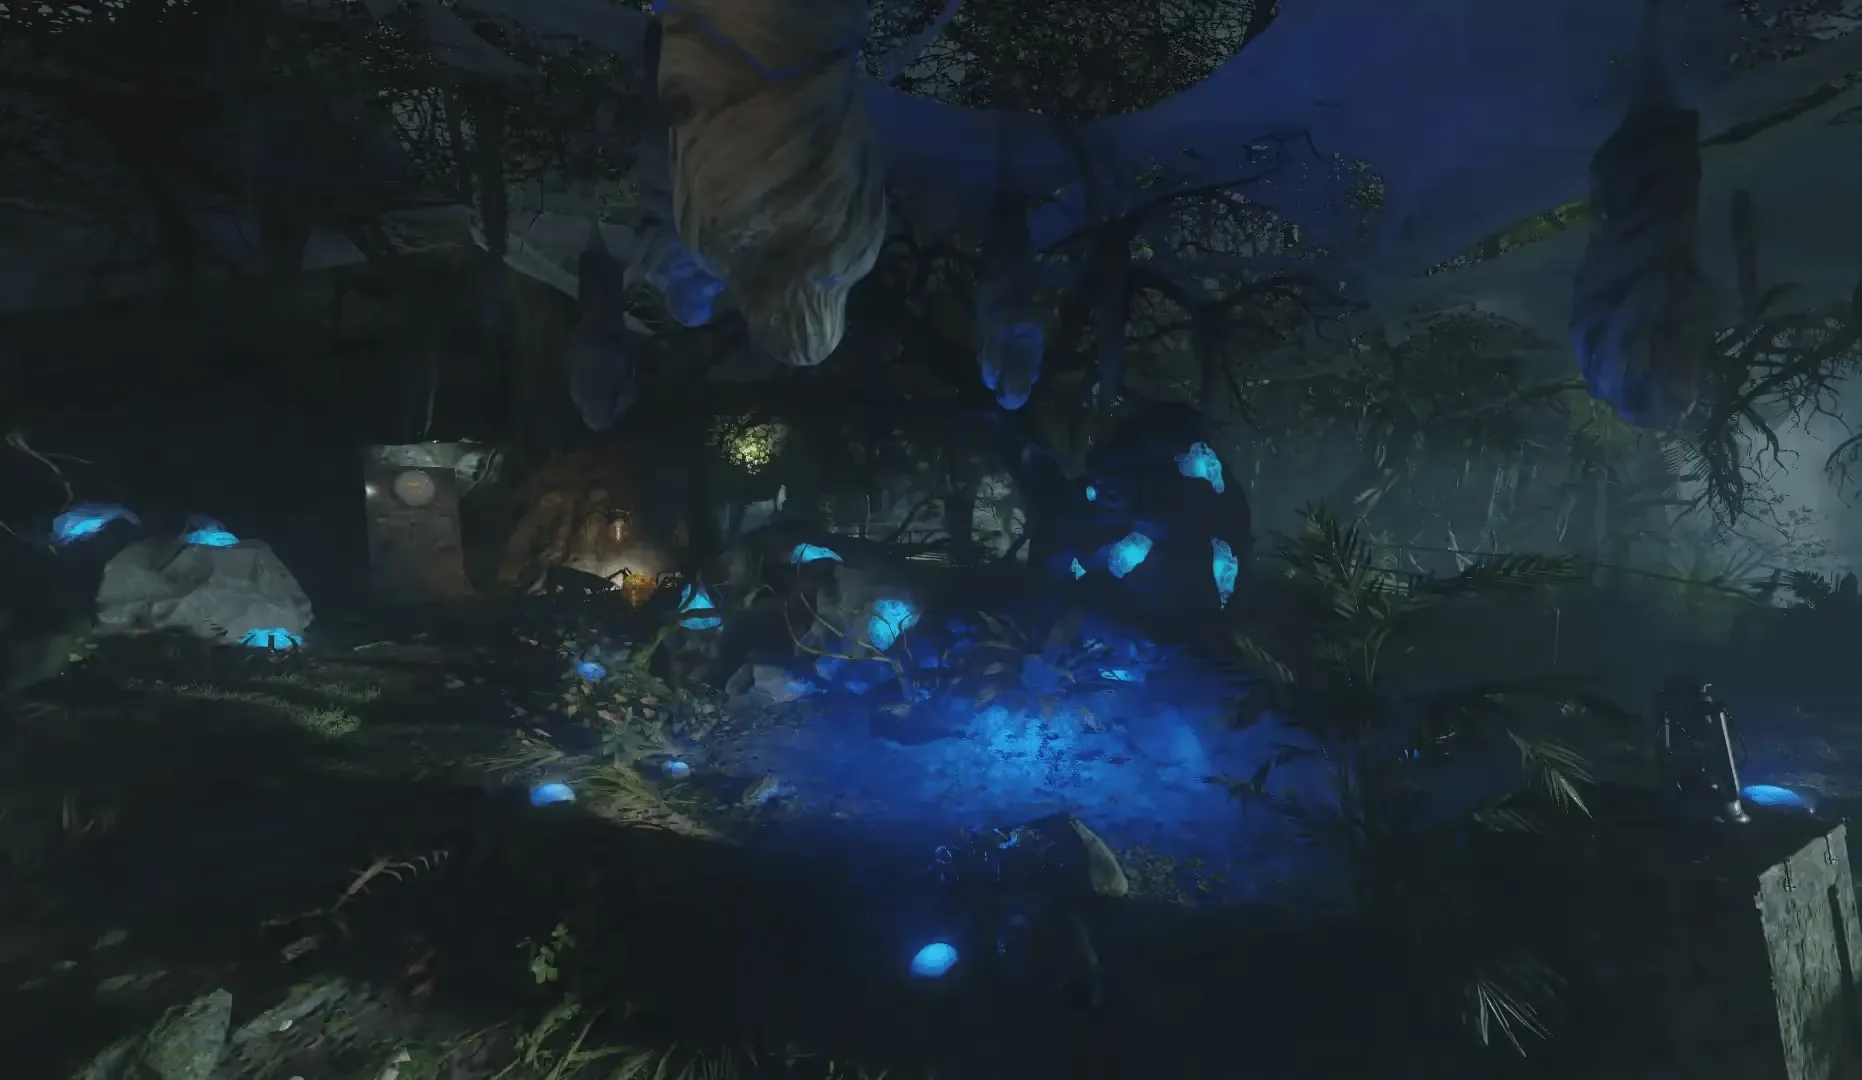
This cog requires you to plant a seed, then water the plant with Blue Water found behind Lab A, and shoot it with the KT-4 or Masamune once every round for three rounds. Once the plant is fully grown, open the pod to have a chance to obtain a flak shell for the Flak 88 cannon at the anti-aircraft platform.
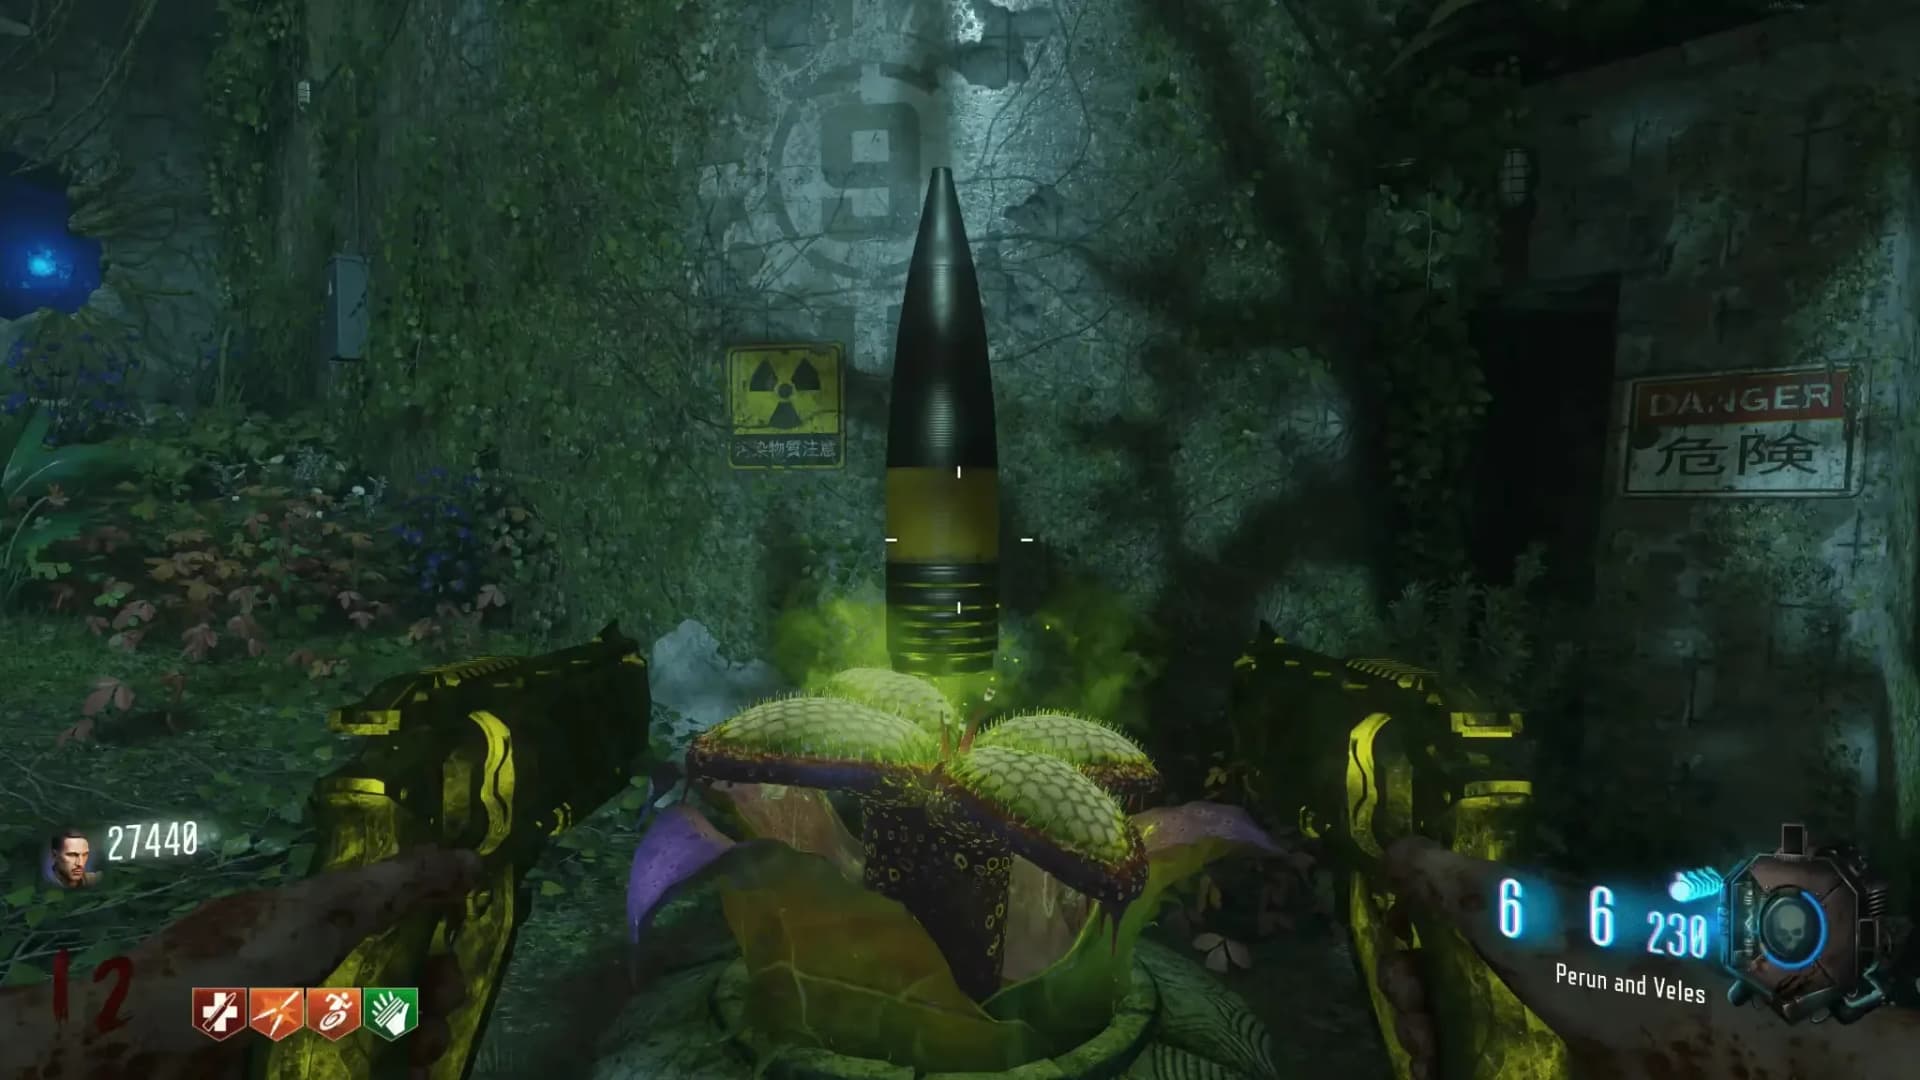
You only have a chance of getting this shell if you water the plant with Blue Water only and shoot it with the KT-4 once every round for three rounds, due to this it is recommened to plant three seeds at once and water and shoot all three seeds every round for three rounds to increase your odds of getting this flak shell
Once you have acquired the flak shell, load it into the Flak 88 cannon at the Anti-Aircraft Platform by interacting with the back of the cannon, if successful you will hear a sound effect.
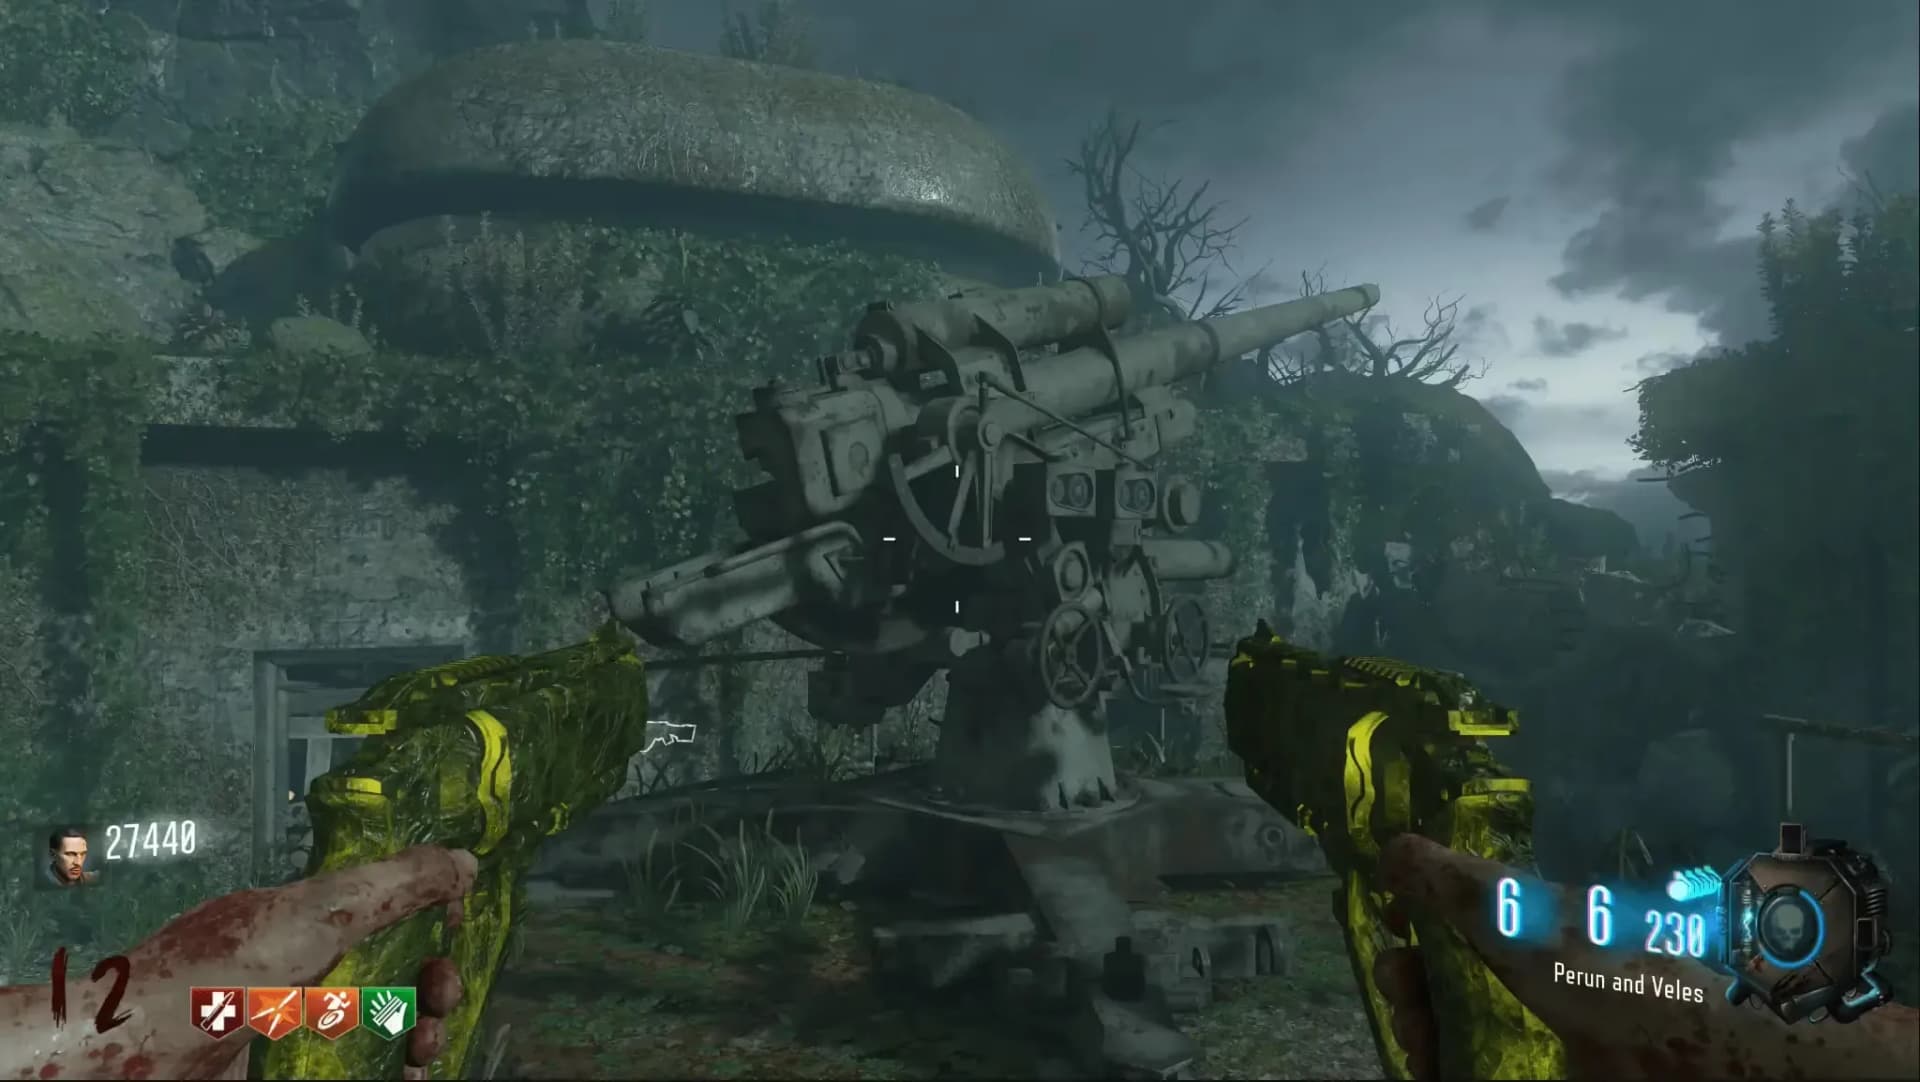
Once loaded, you must wait for a cargo plane to fly over the map which happens about every two minutes. Once you see the plane, you must hold interact near the back of the cannon to fire the cannon destroying the plane.
Do not rush the shot, if you think you don't have a clear shot wait until the plane comes around again. If you miss with the cannon, you will need to repeat the plant step until you obtain another flak shell to try again.
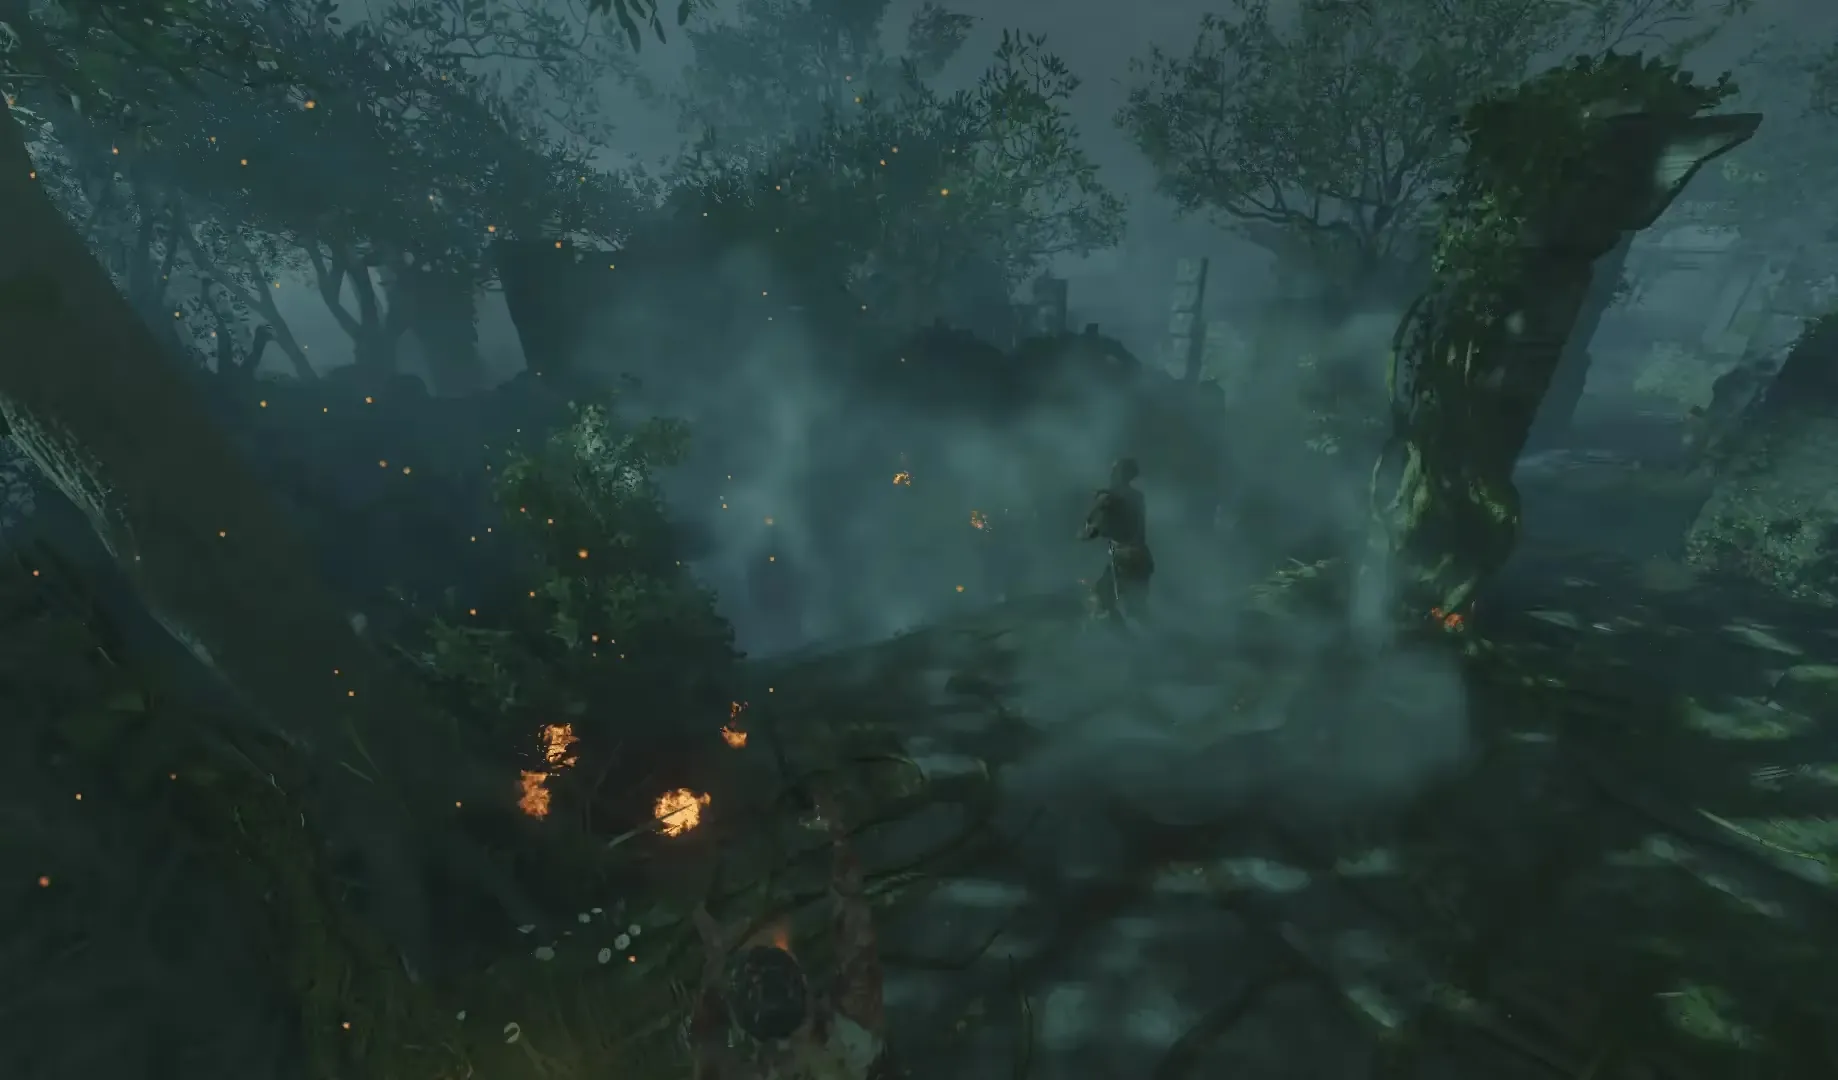
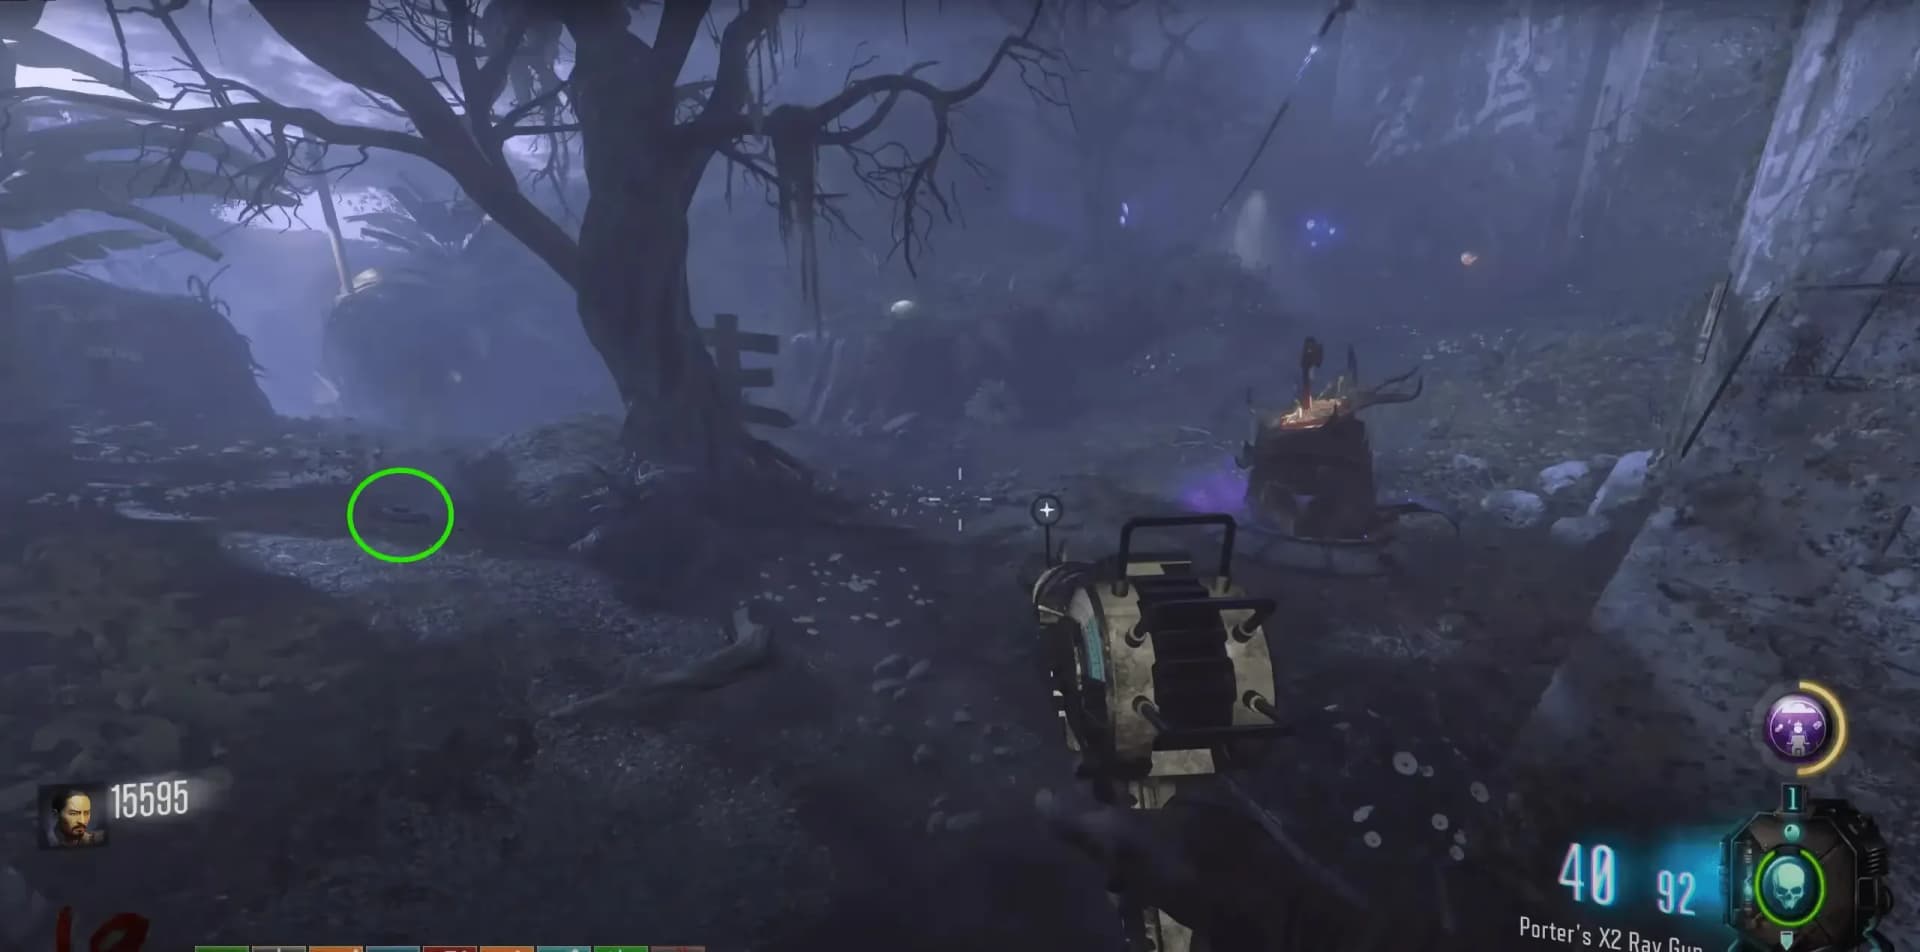
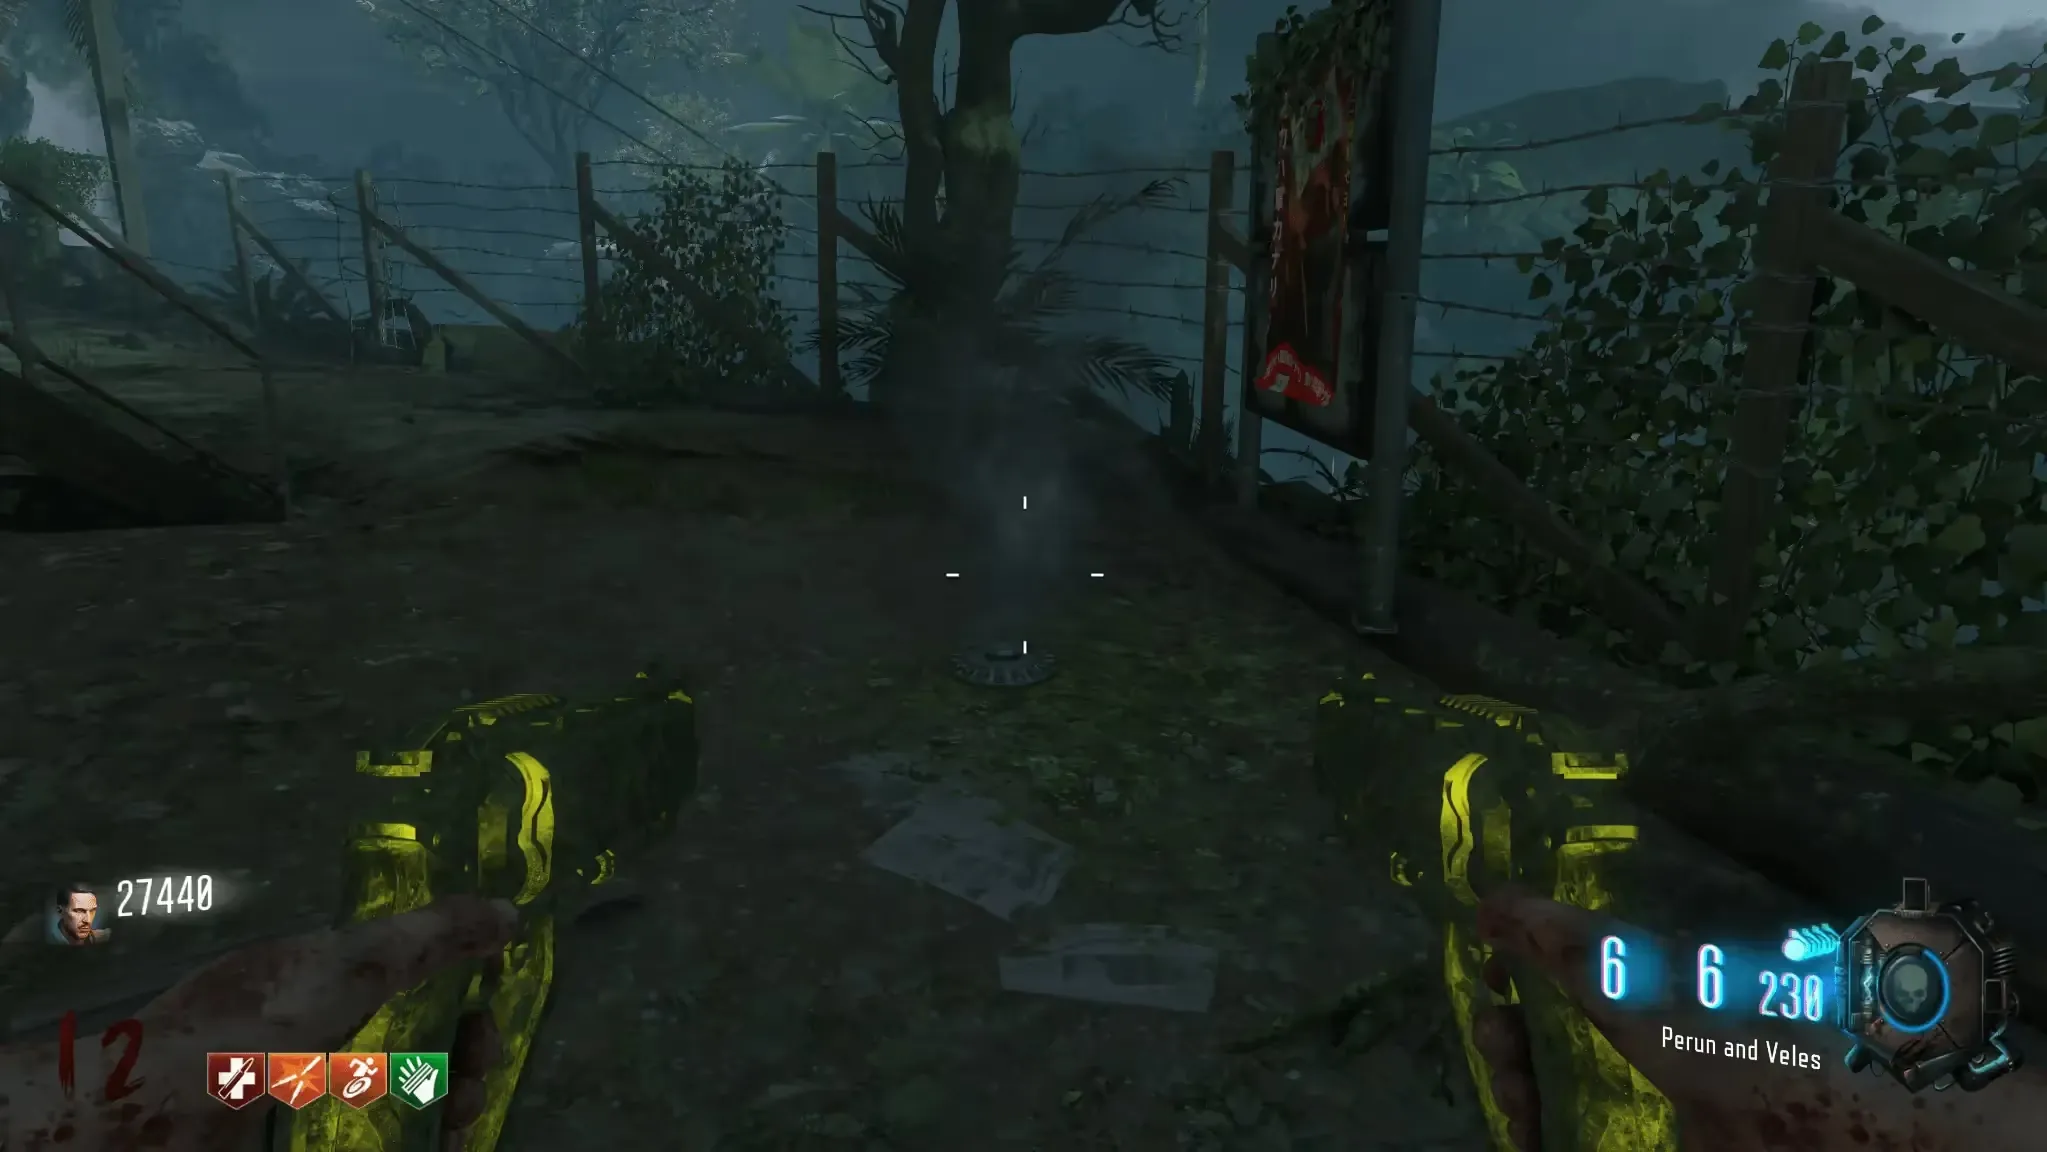
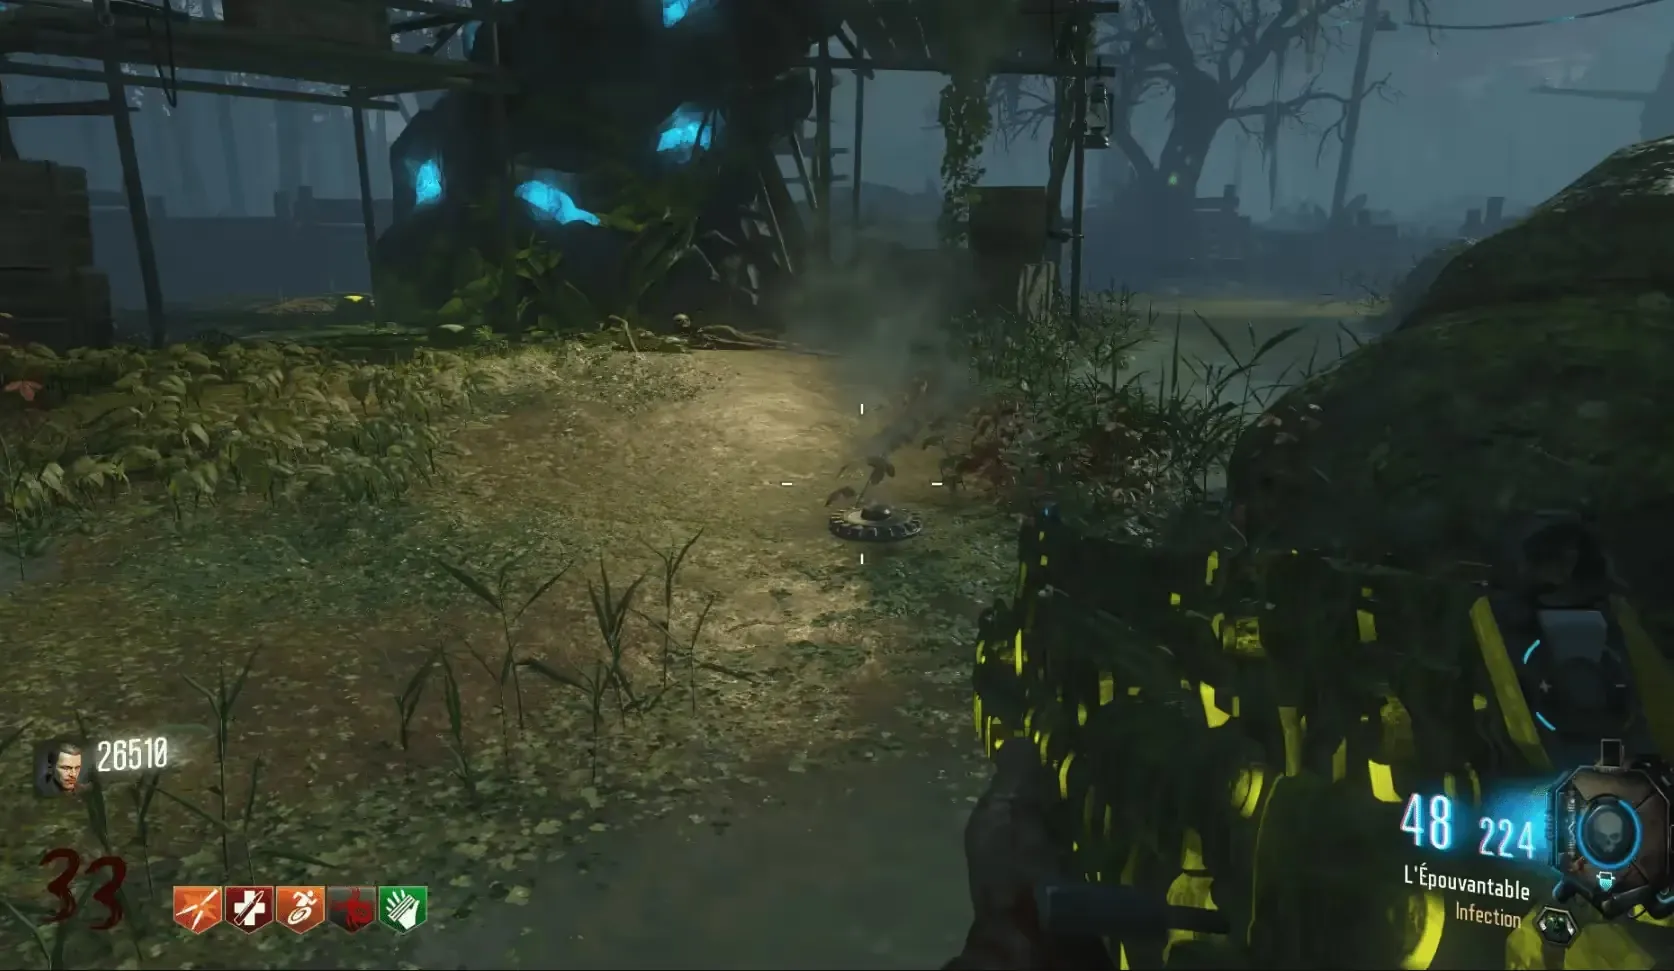
After destroying the plane, the cog will fall from the sky leaving a smoke trail to where it lands. This cog can land in one of three locations emitting smoke:
Cog 3
This cog requires that all players in the game have completed their Trials of the Ancients. Once all challenges are completed, lightning will strike the platform periodically, with the Zombie Shield equipped you must walk onto the platform to be struck by lightning.
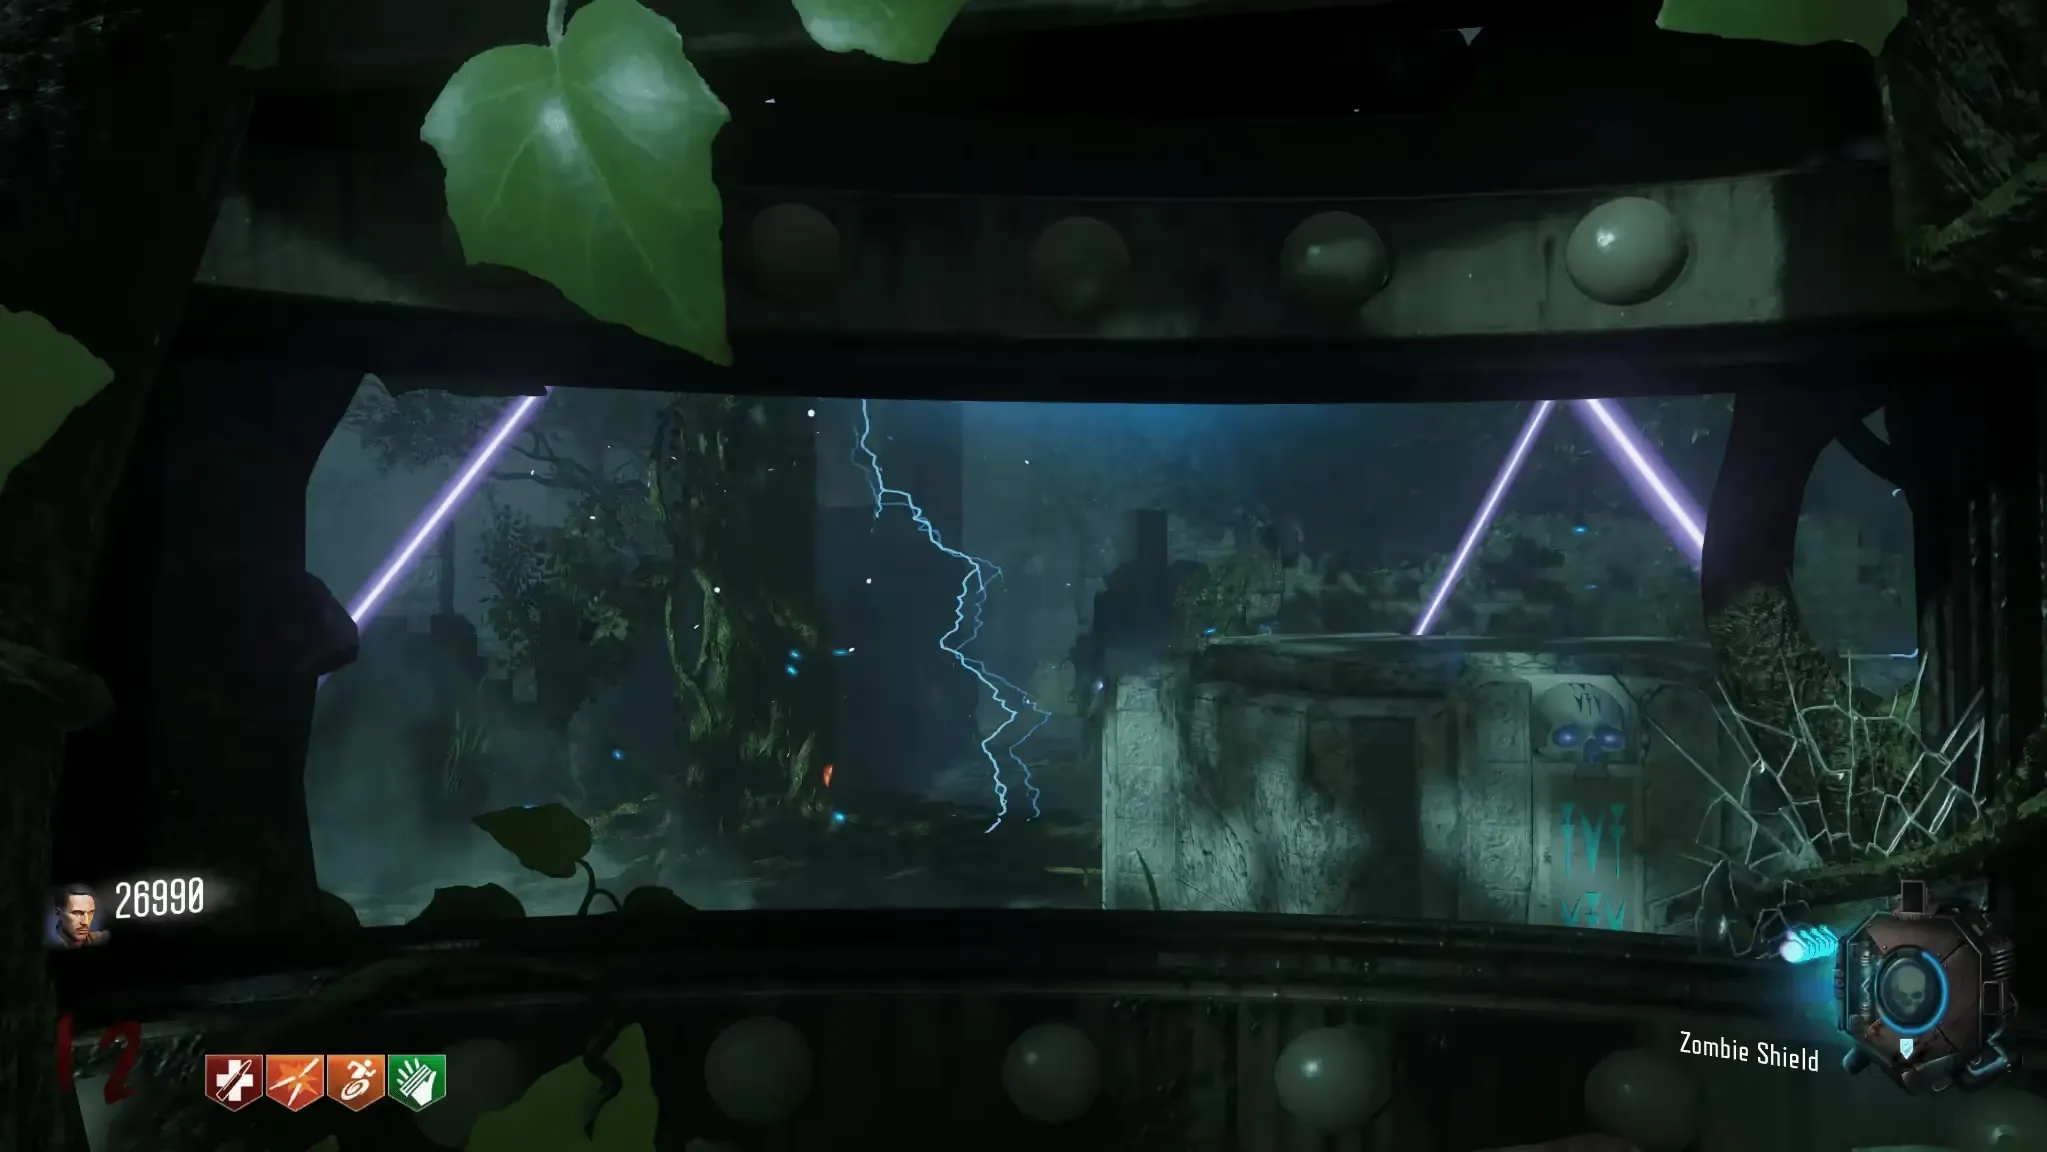
If successful, the Zombie Shield will now be electrified. Head to the zipline between Lab A and the Docks, and melee the control panel for the zipline with the electrified shield. You must use the zipline with your shield out and when you are directly over the small dock melee to drop off the zipline onto the dock where you will find the cog.

This can be completed easily and safely if use the zipline from the Docks up towards Lab A as you can immediately melee after getting on the zipline to land on the small dock and avoid the potential of falling to your death.
Building the KT-4
The KT-4 requires three items to build which are obtained for doing various things around the map, these can be done at any point during the game.
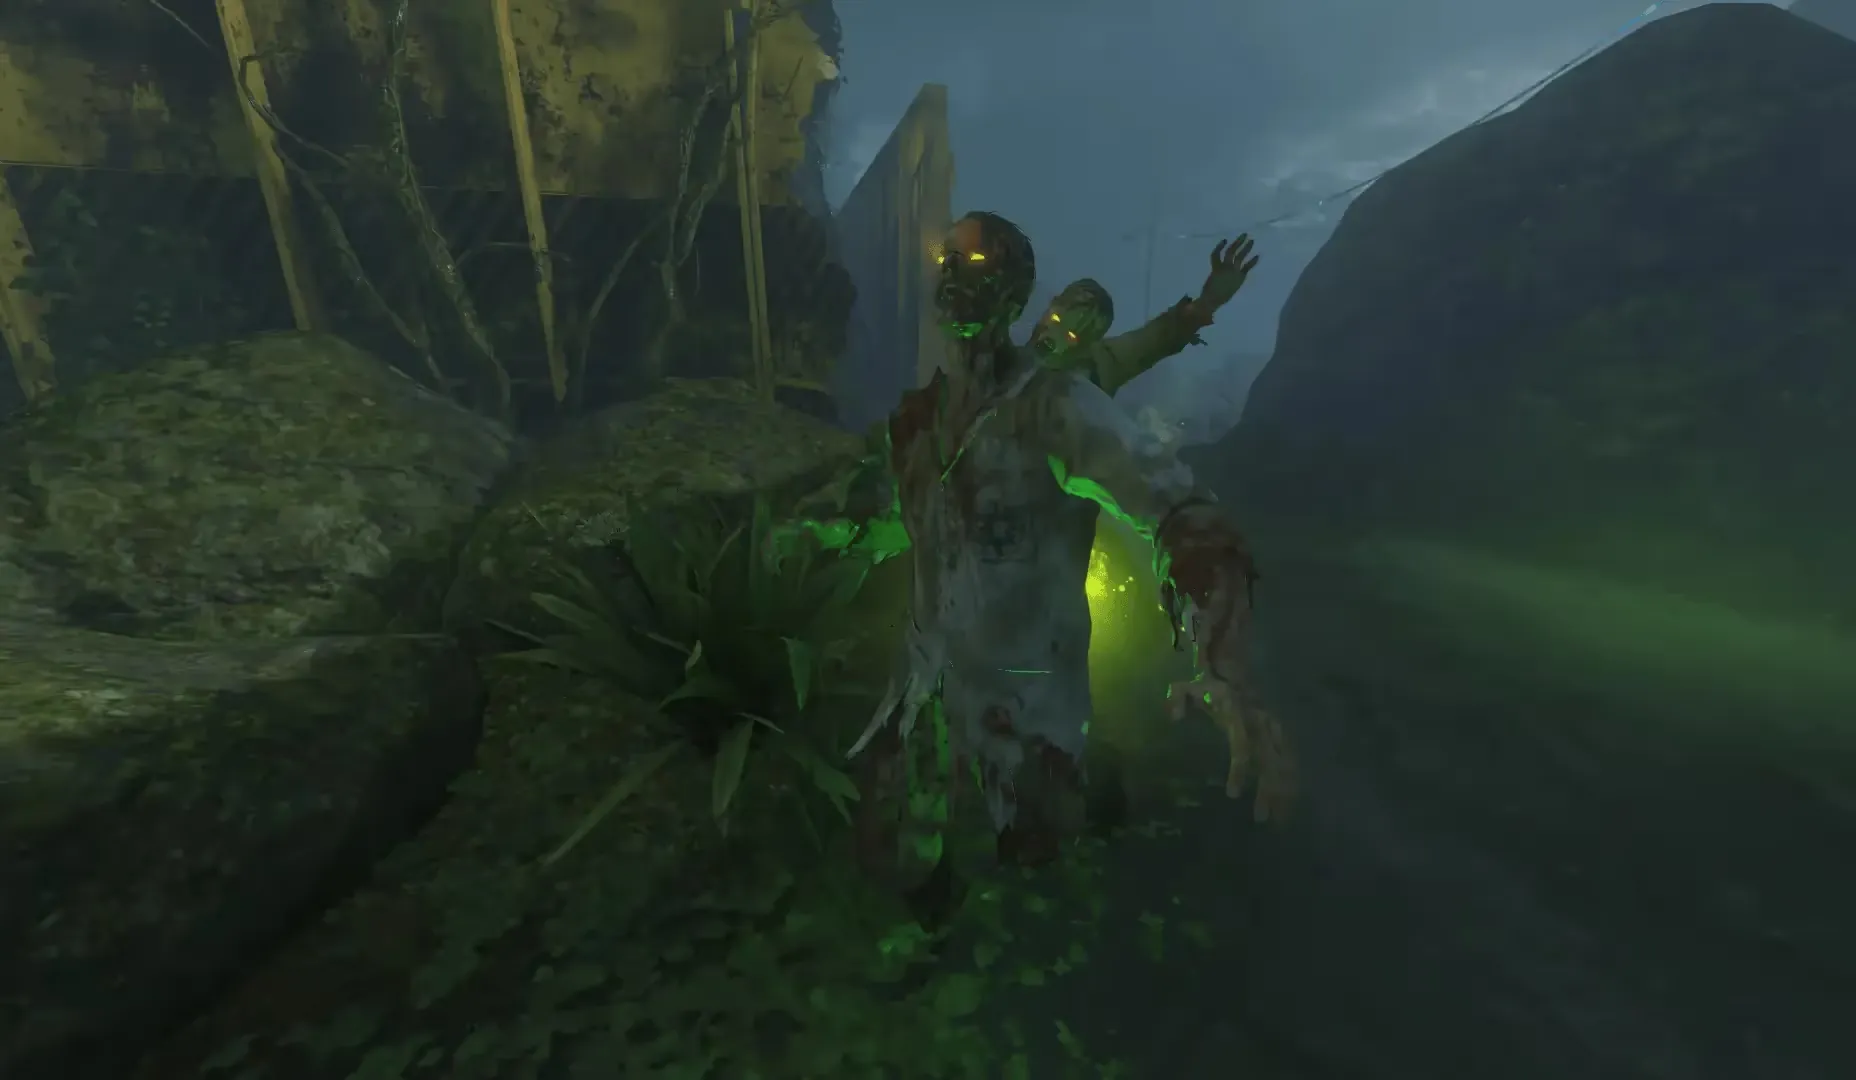
The first part is a Yellow Vial found on a scientist zombie that randomly spawns around Lab B once the main power switch is turned on in the Bunker.
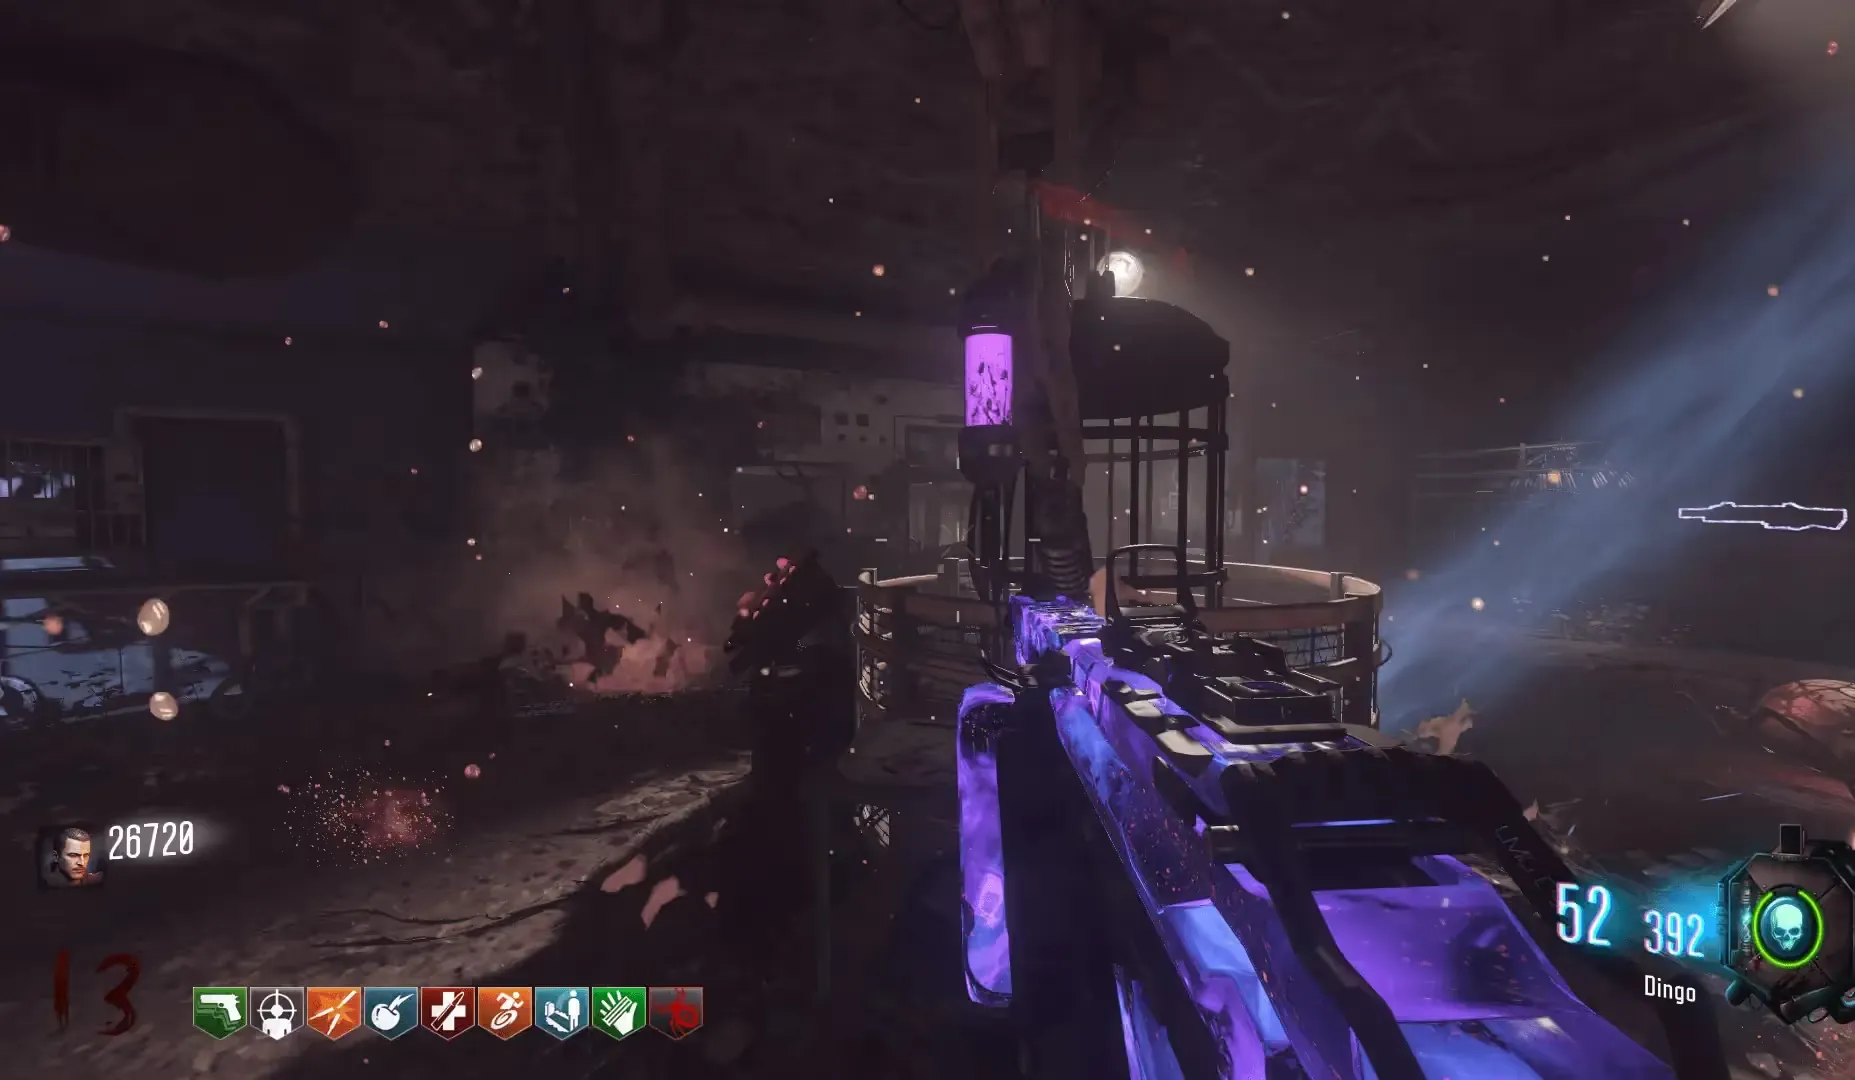
The second part is the Spider Venom obtained by luring a Spider in a cage at Lab A that can be lowered after the power is restored. Once a Spider is lured inside, raise the cage which will have a syringe injected into the Spider extracting its venom into a vial for you to collect.
The final part is the Plant found in the deepest part of the flooded section of the Bunker right of the ![]() Mule Kick perk machine. You can shoot spores
underwater to help you breathe when acquiring this plant.
Mule Kick perk machine. You can shoot spores
underwater to help you breathe when acquiring this plant.
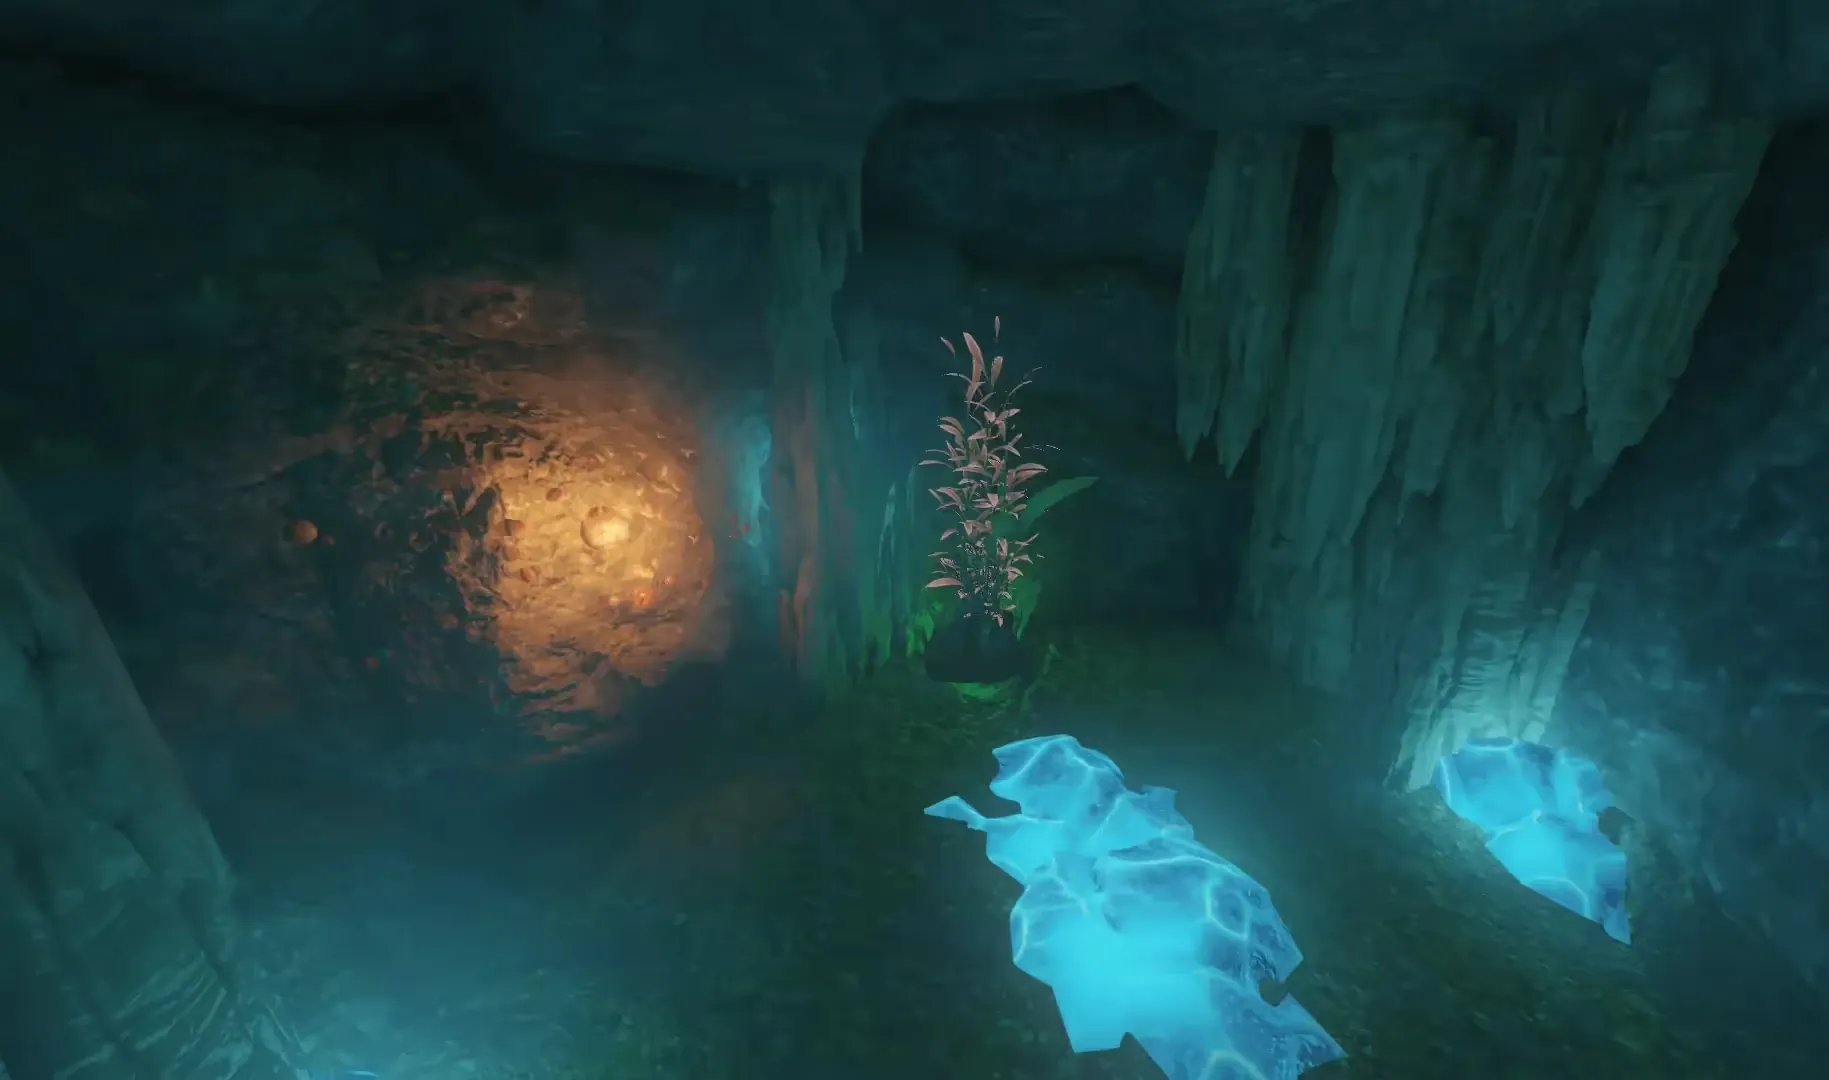
You can shoot spores underwater to help you breathe when acquiring this plant.
Once all three parts have been collected, head to the KT-4 buildable table in the Bunker, and interact with it to begin mixing the ingredients allowing you to pick up the KT-4 wonder weapon. You can now start upgrading the KT-4.

Multiple players in the game can acquire the KT-4 after it has been built from the Mystery Box.
Trials of the Ancients
The Trials of the Ancients can be found on the right-hand side of the map when leaving spawn. These trials are challenges that every player in the game must complete to progress the main quest.

There are sixteen different challenges, each player will be given three challenges that they must complete. These challenges can be any of the following:
- Eat a fruit grown by a plant
- Kill eight spiders with spores
- Kill three zombies as they are mutating
- Get thirty kills with the Propeller Trap
- Shoot the heads off of five mutated zombies
- Obtain a power-up from a plant
- Kill fifteen zombies attracted to a plant
- Kill twenty zombies while underwater
- Kill ten spore-infected zombies with headshots
- Kill a Thrasher before it becomes enraged
- Get twenty kills with the Fan Trap
- Water the same plant three times
- Water five plants
- Shoot five spores
- Use a spore to regain air underwater
- Destroy five webs with explosives
Upon completing a challenge you will be rewarded, the top trial gives you an extra perk slot, the middle trial gives you either a Dingo, SVG-100, or 205 Brecci, and the bottom trial gives you a Max Ammo.
Building the Zombie Shield
The Zombie Shield requires three parts to build and can be acquired at any point of the game.
The first part is the Handles, which can be found below Lab A:
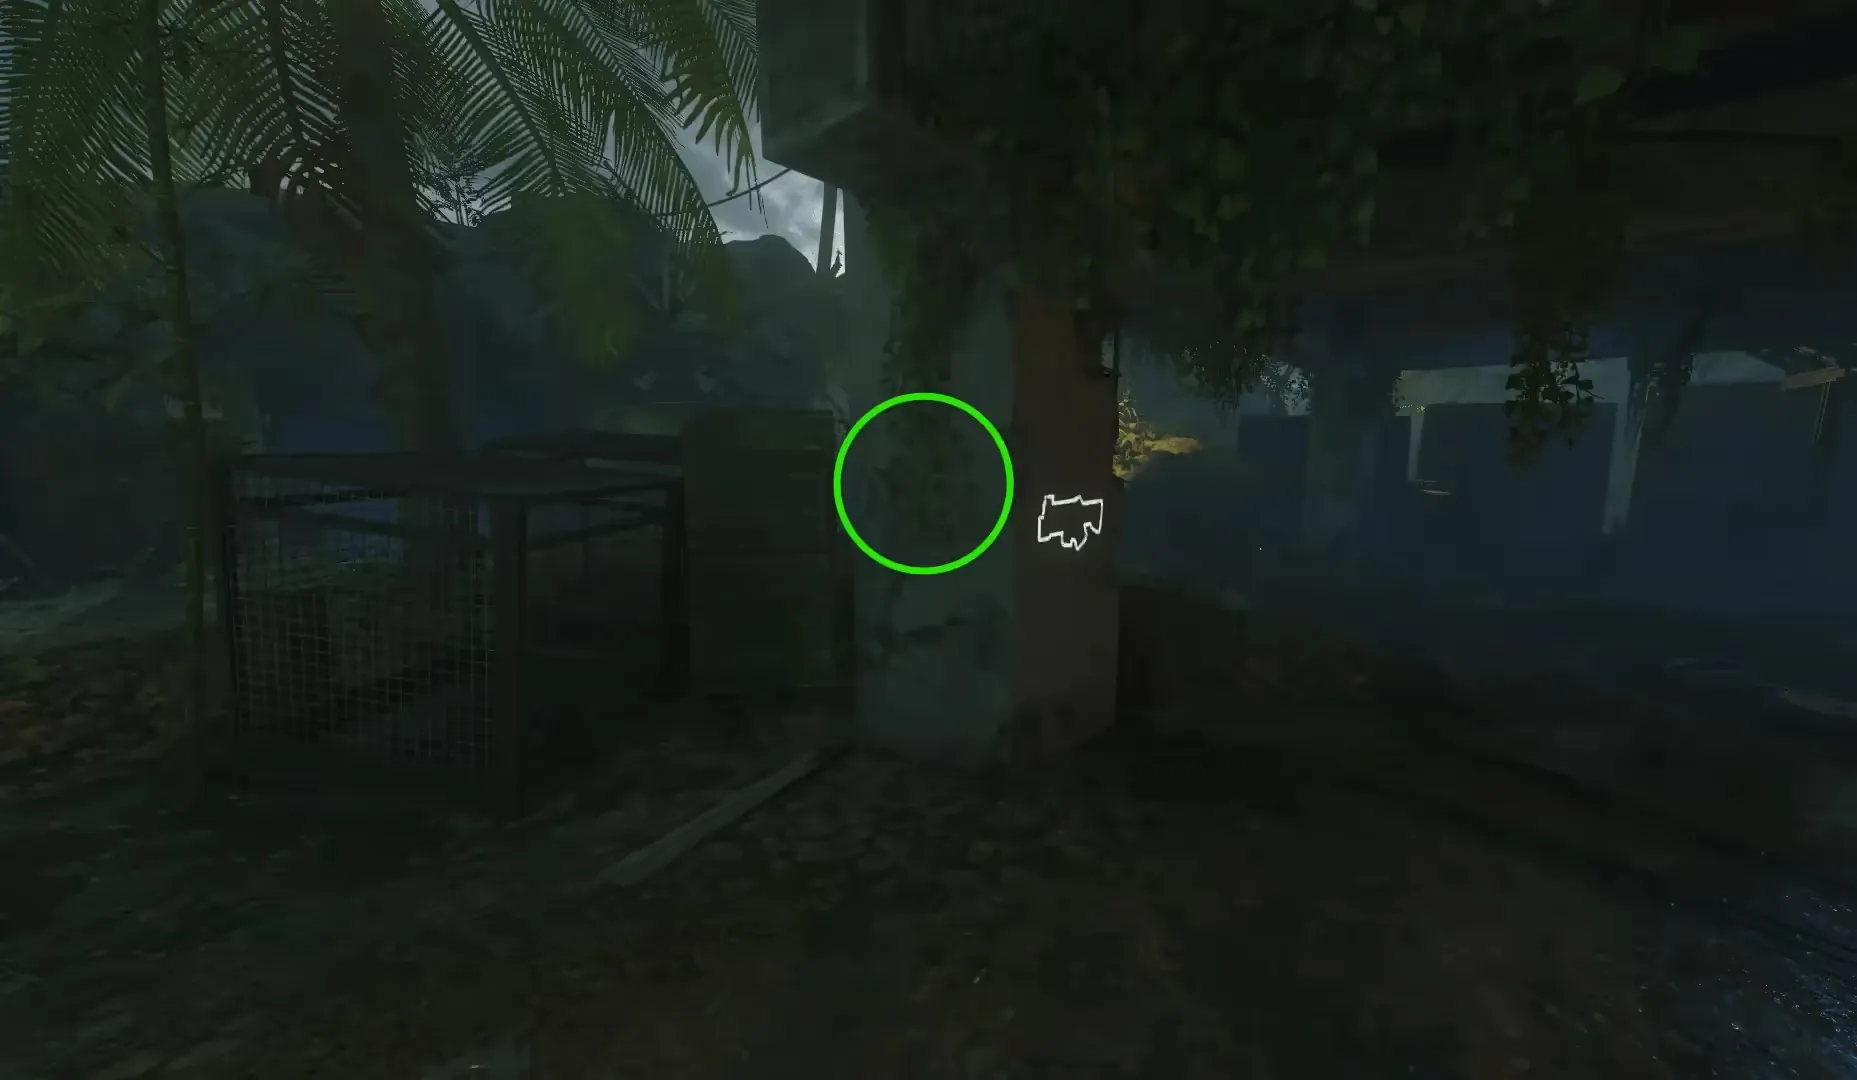
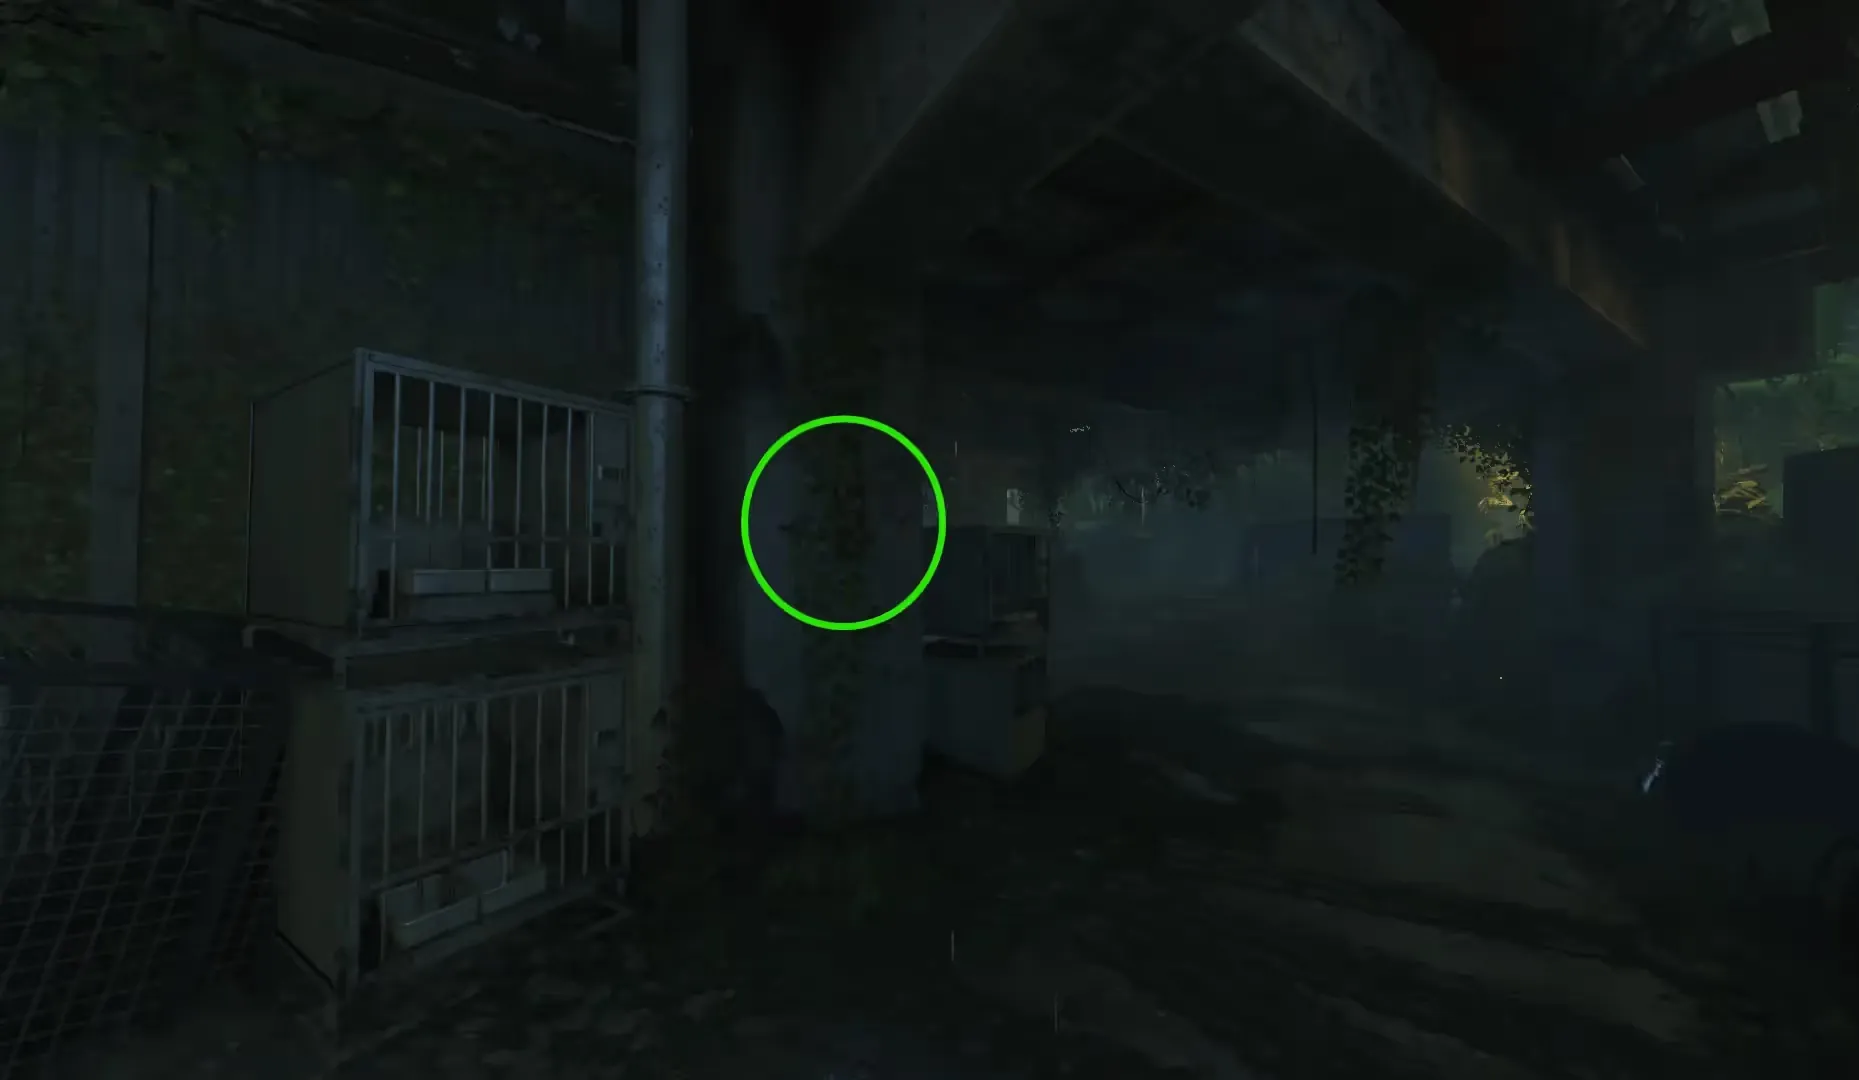
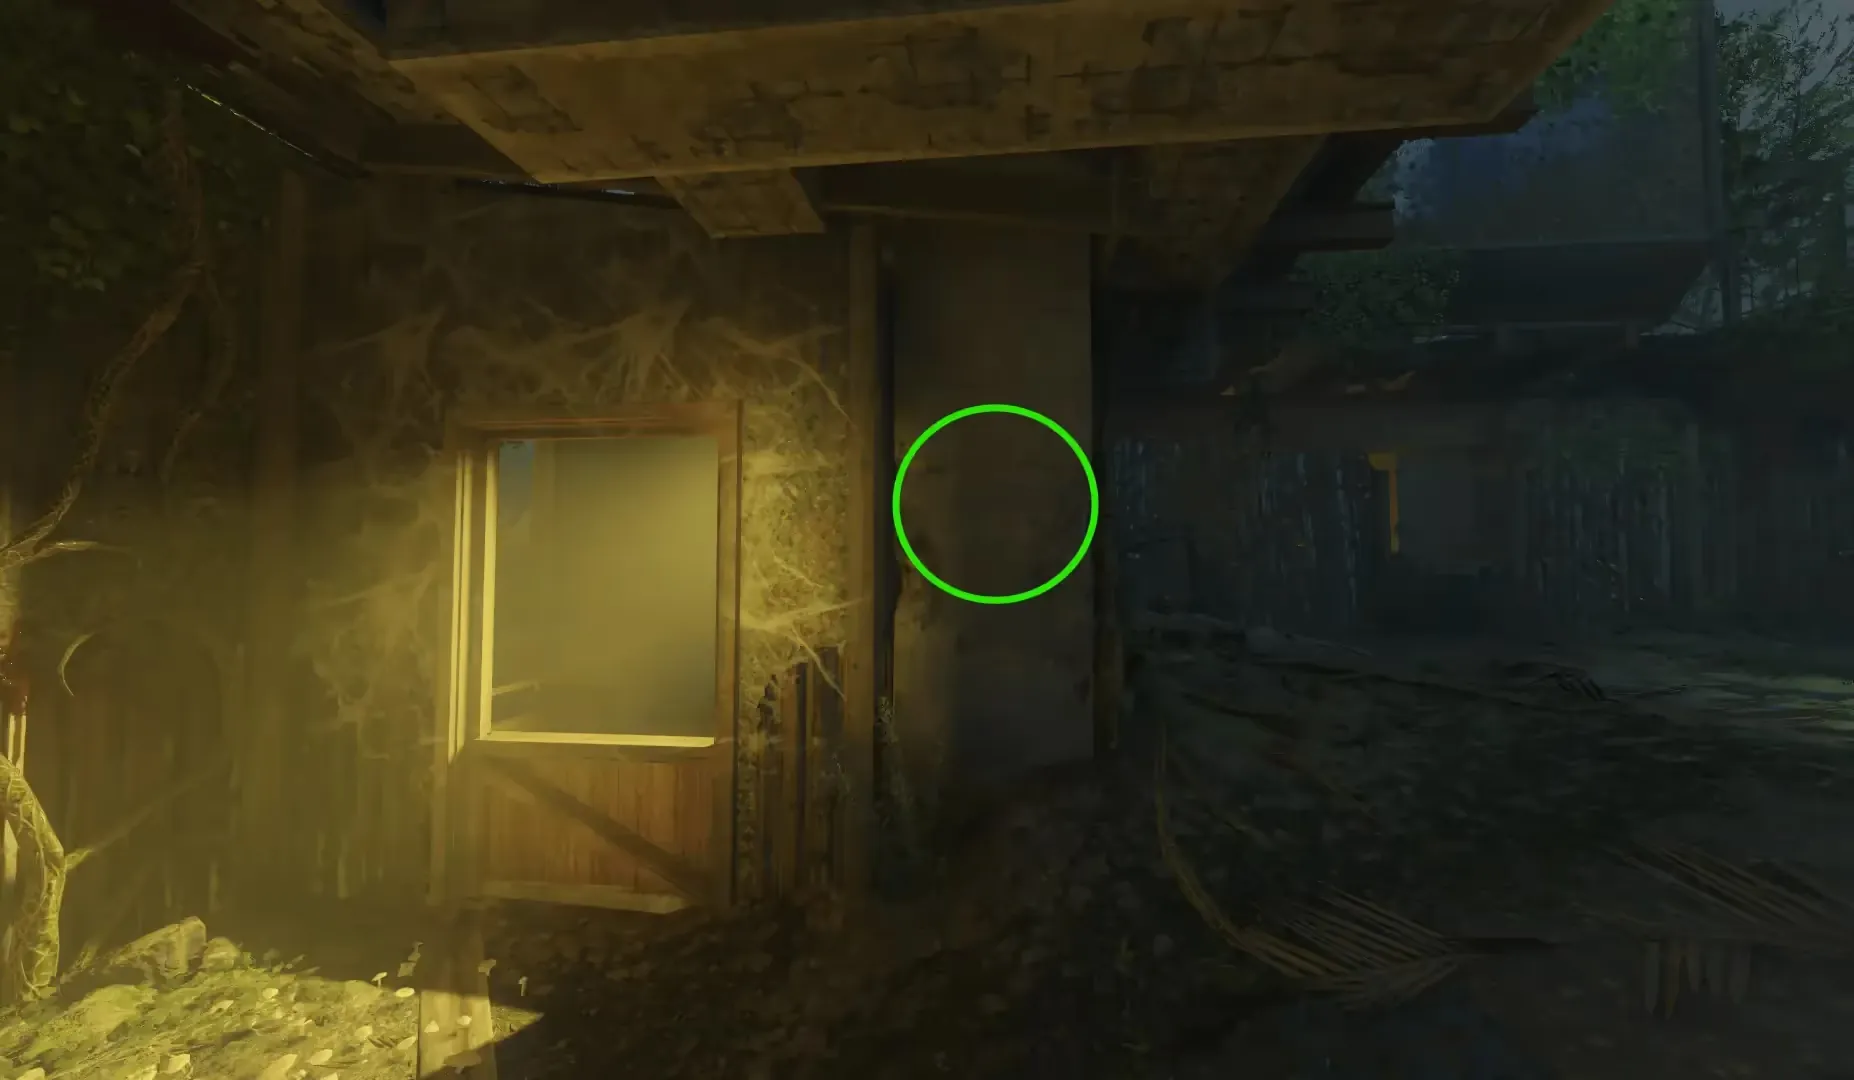
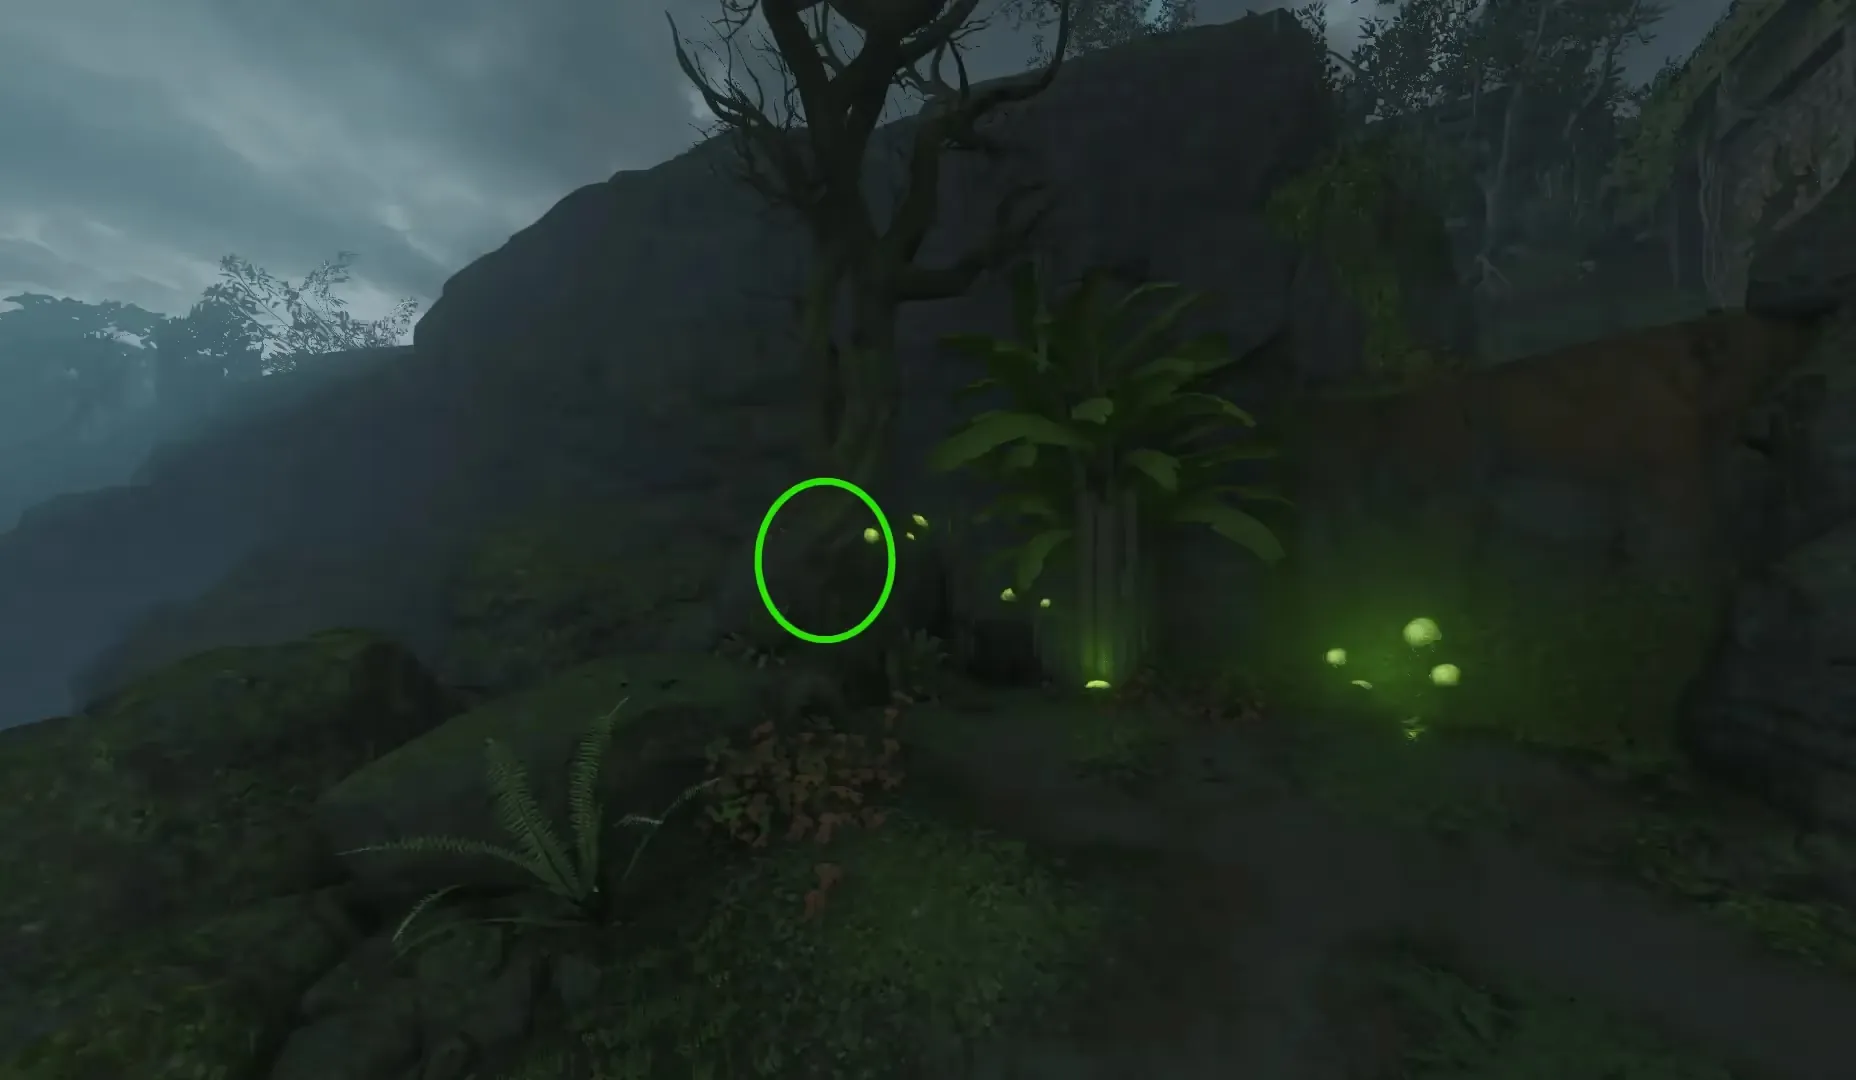
The second part is the Shield Frame, which can be found outside of Lab B:
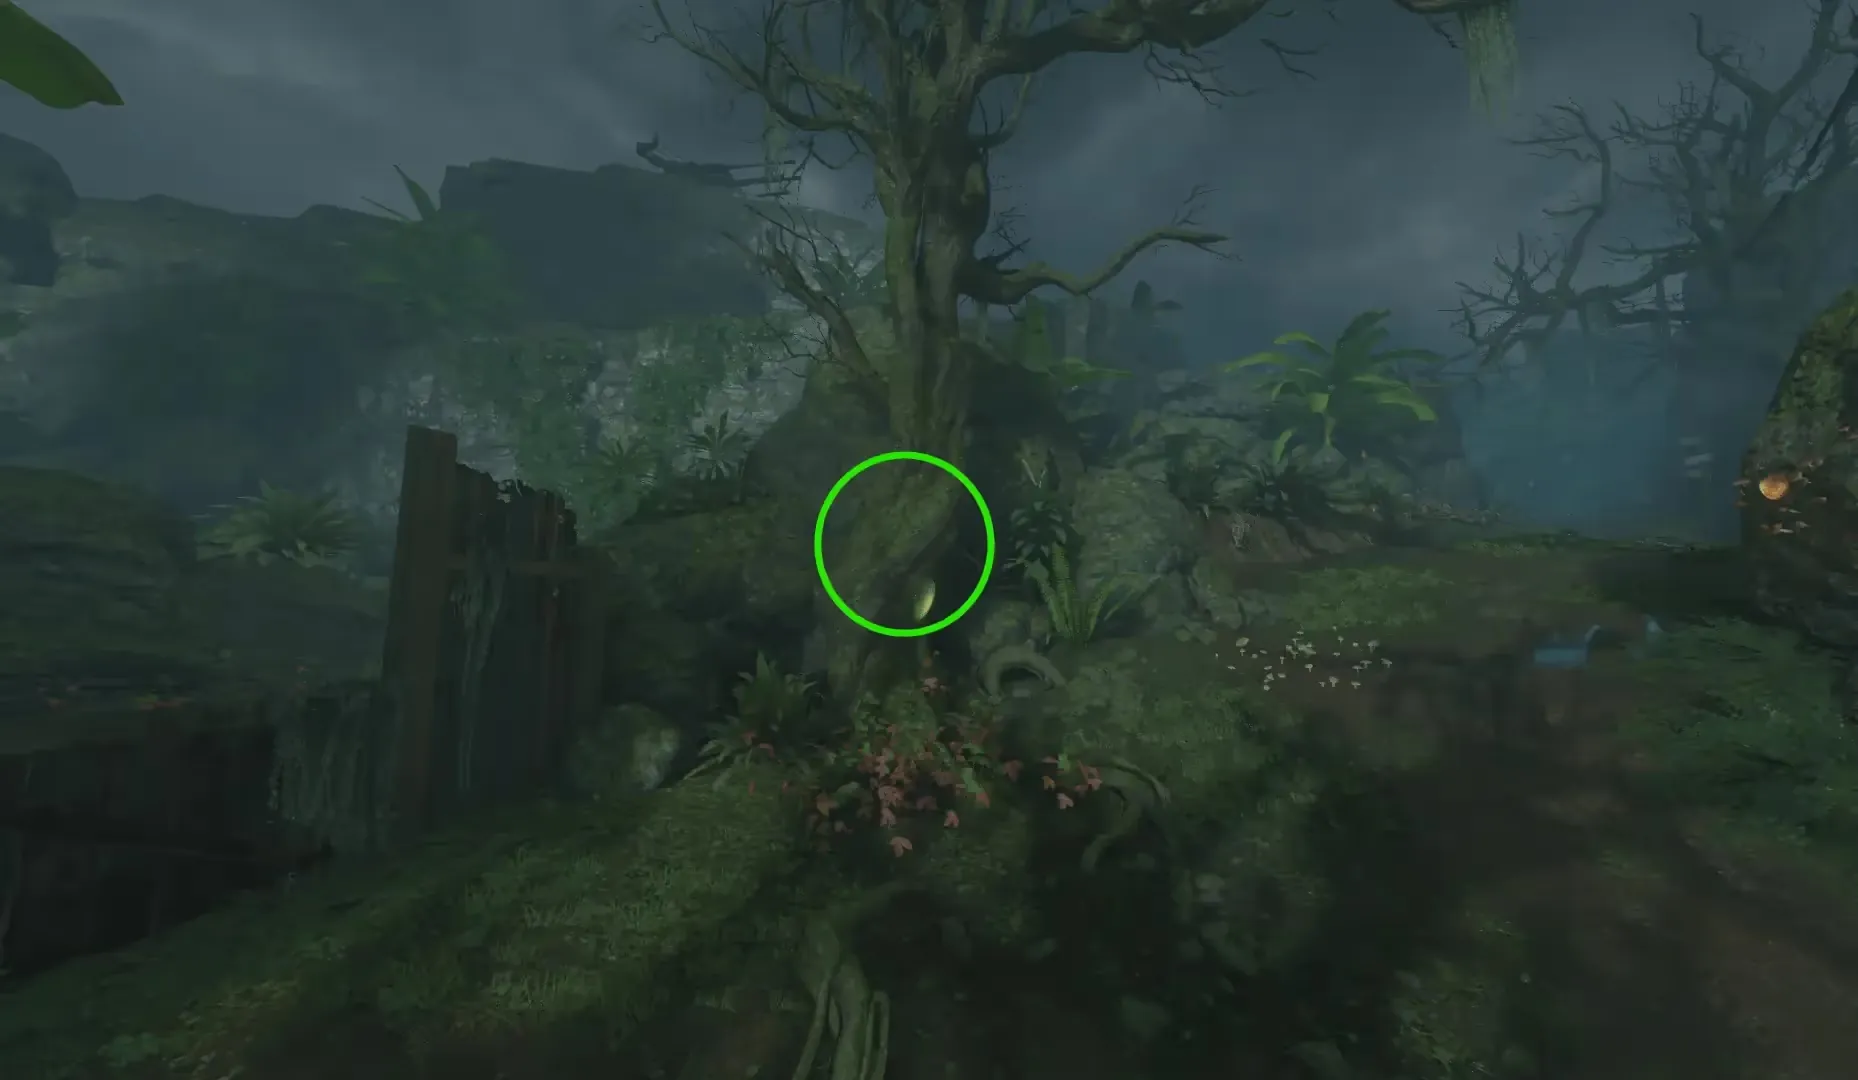
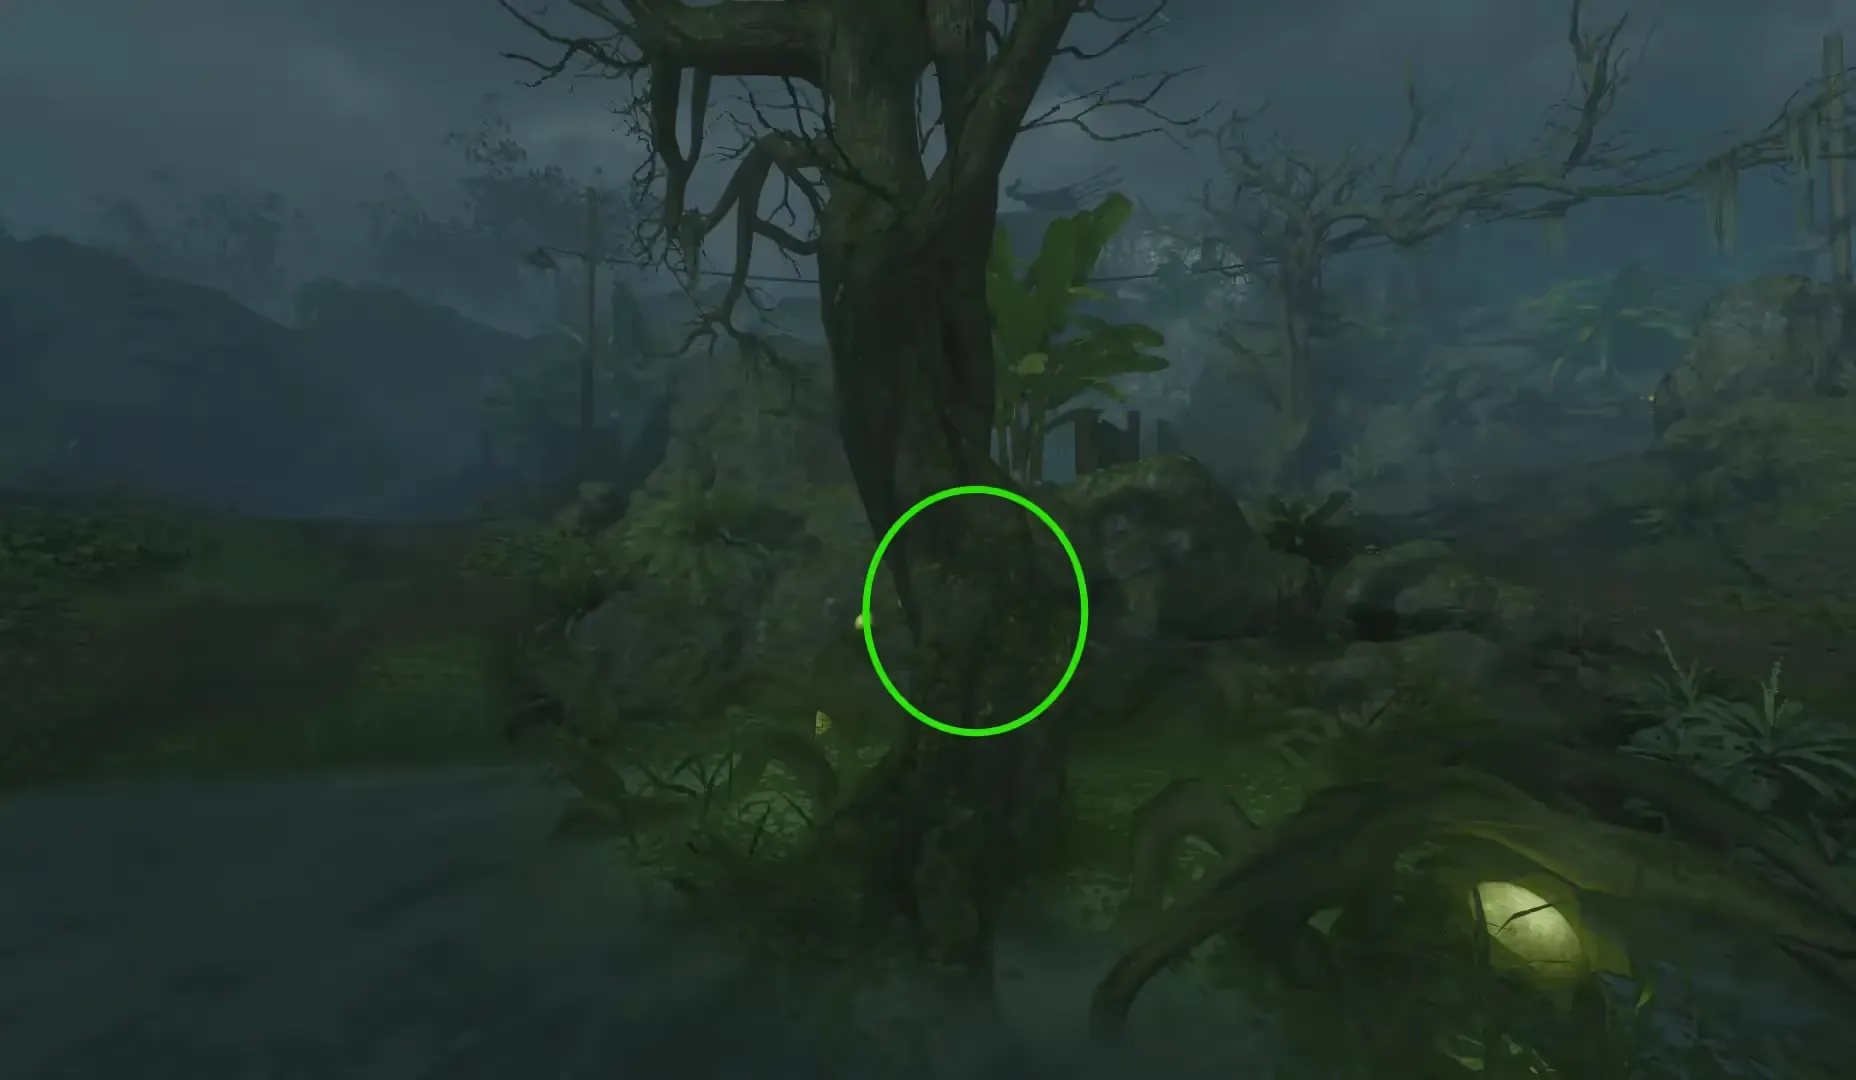
The final part is the Face Screen, which can be found at the Anti-Aircraft Platform:
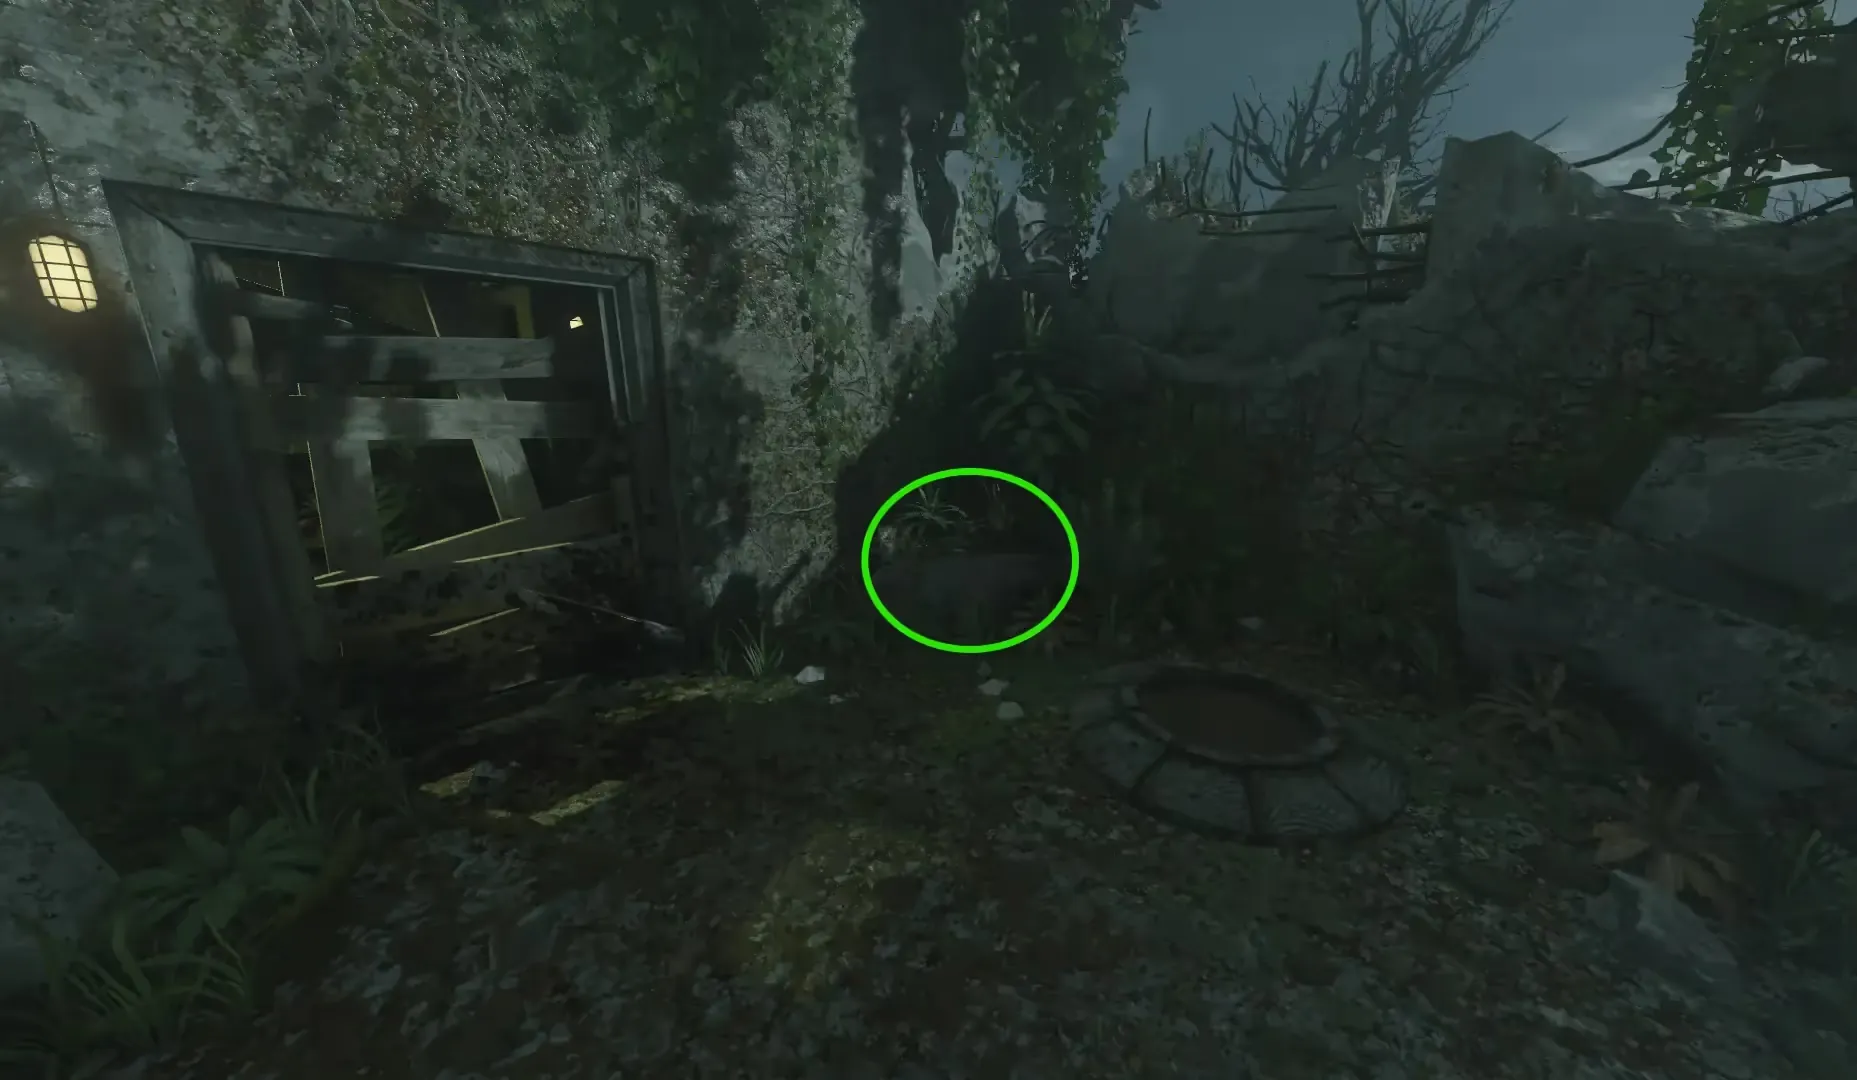
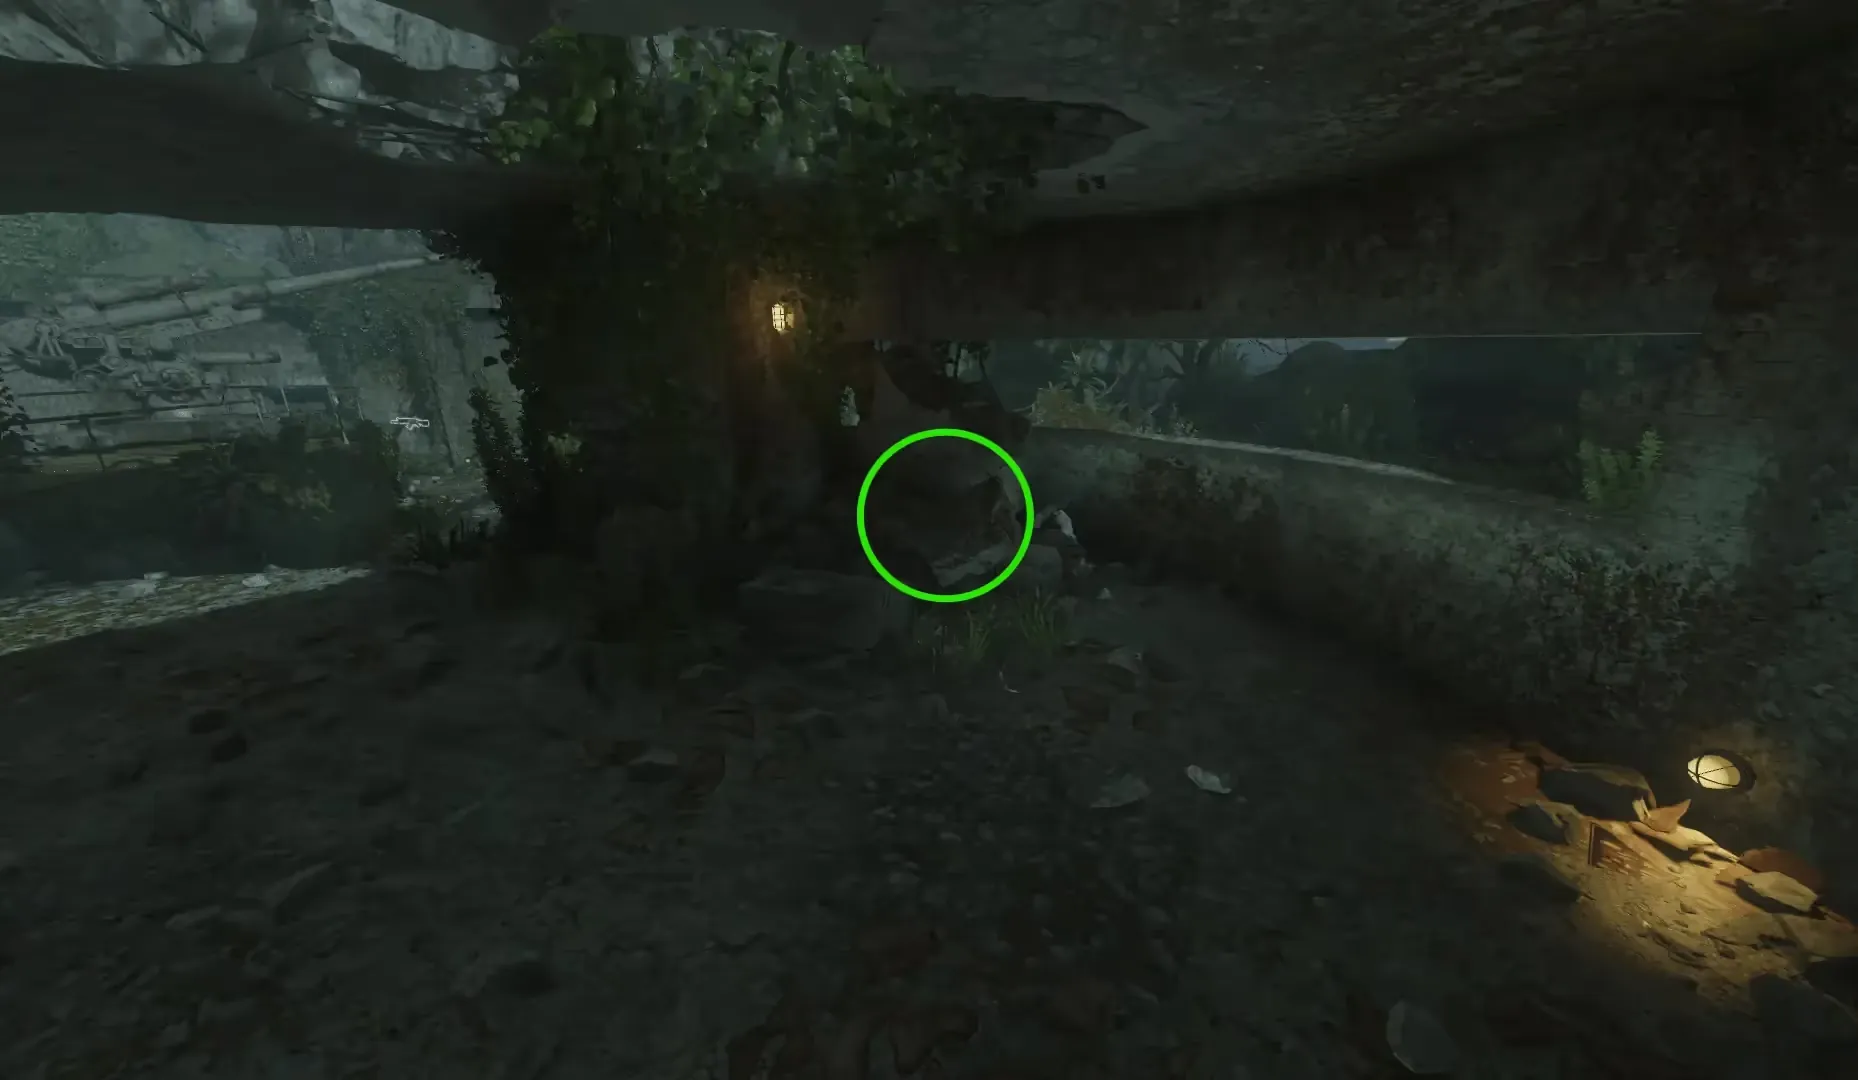
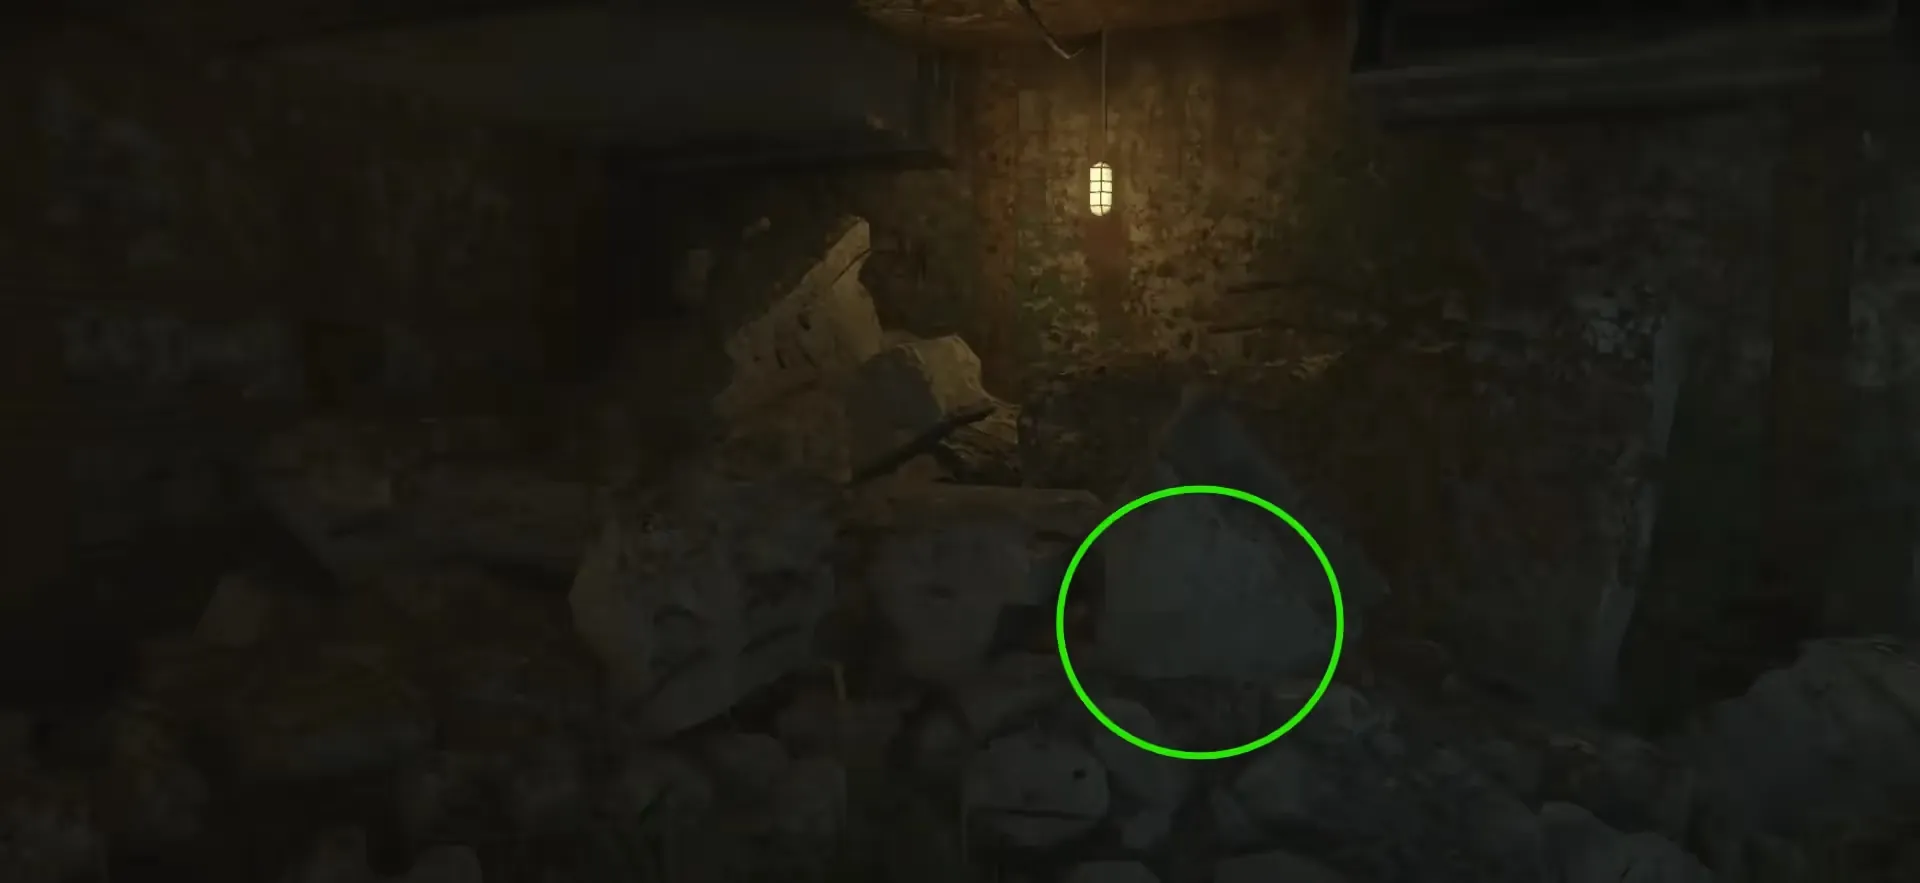
Once all three parts have been collected, head to any workbench to build the Zombie Shield.
Step 3: Activating the Elevator
Once all three cogs have been collected, head to the generator room revealed by the Skull of Nan Sapwe. Interact with the generator to place the three cogs repairing the elevator and making it functional.
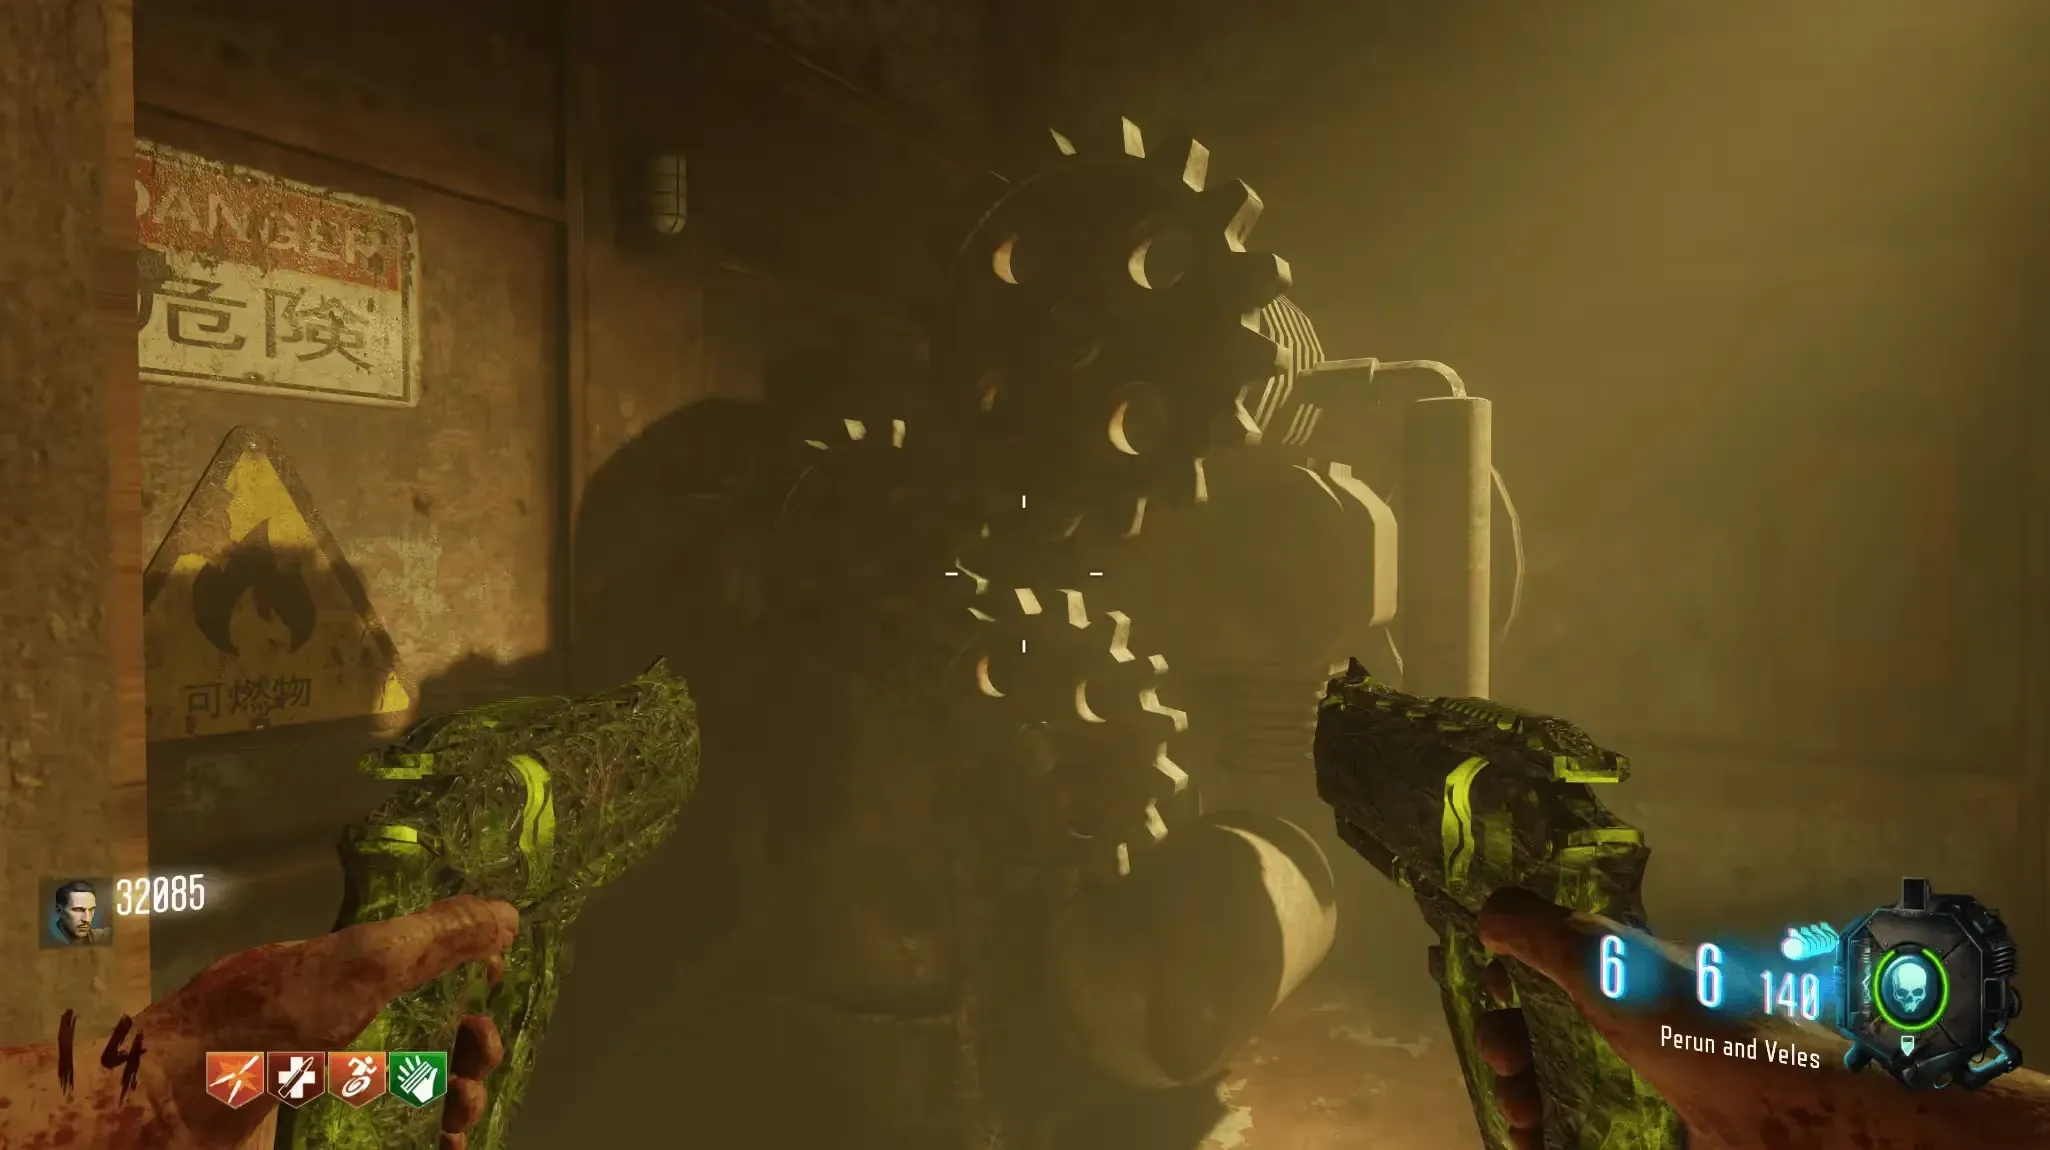
At this point, you are able to enter the boss fight, however, the Masamune and the Gas Mask are required to survive and defeat the boss. If you already have these items you can skip to the Boss Fight Section
Building the Masamune (Upgraded KT-4)
The Masamune requires three parts, you must first have the KT-4 to obtain these parts.
The first part is a Liquid Divinium Vial found in Lab B. You must use an electrified shield to shock the control panel of the cage within Lab B, similar to the Cog 3 Step. This will open the cage allowing you to enter.
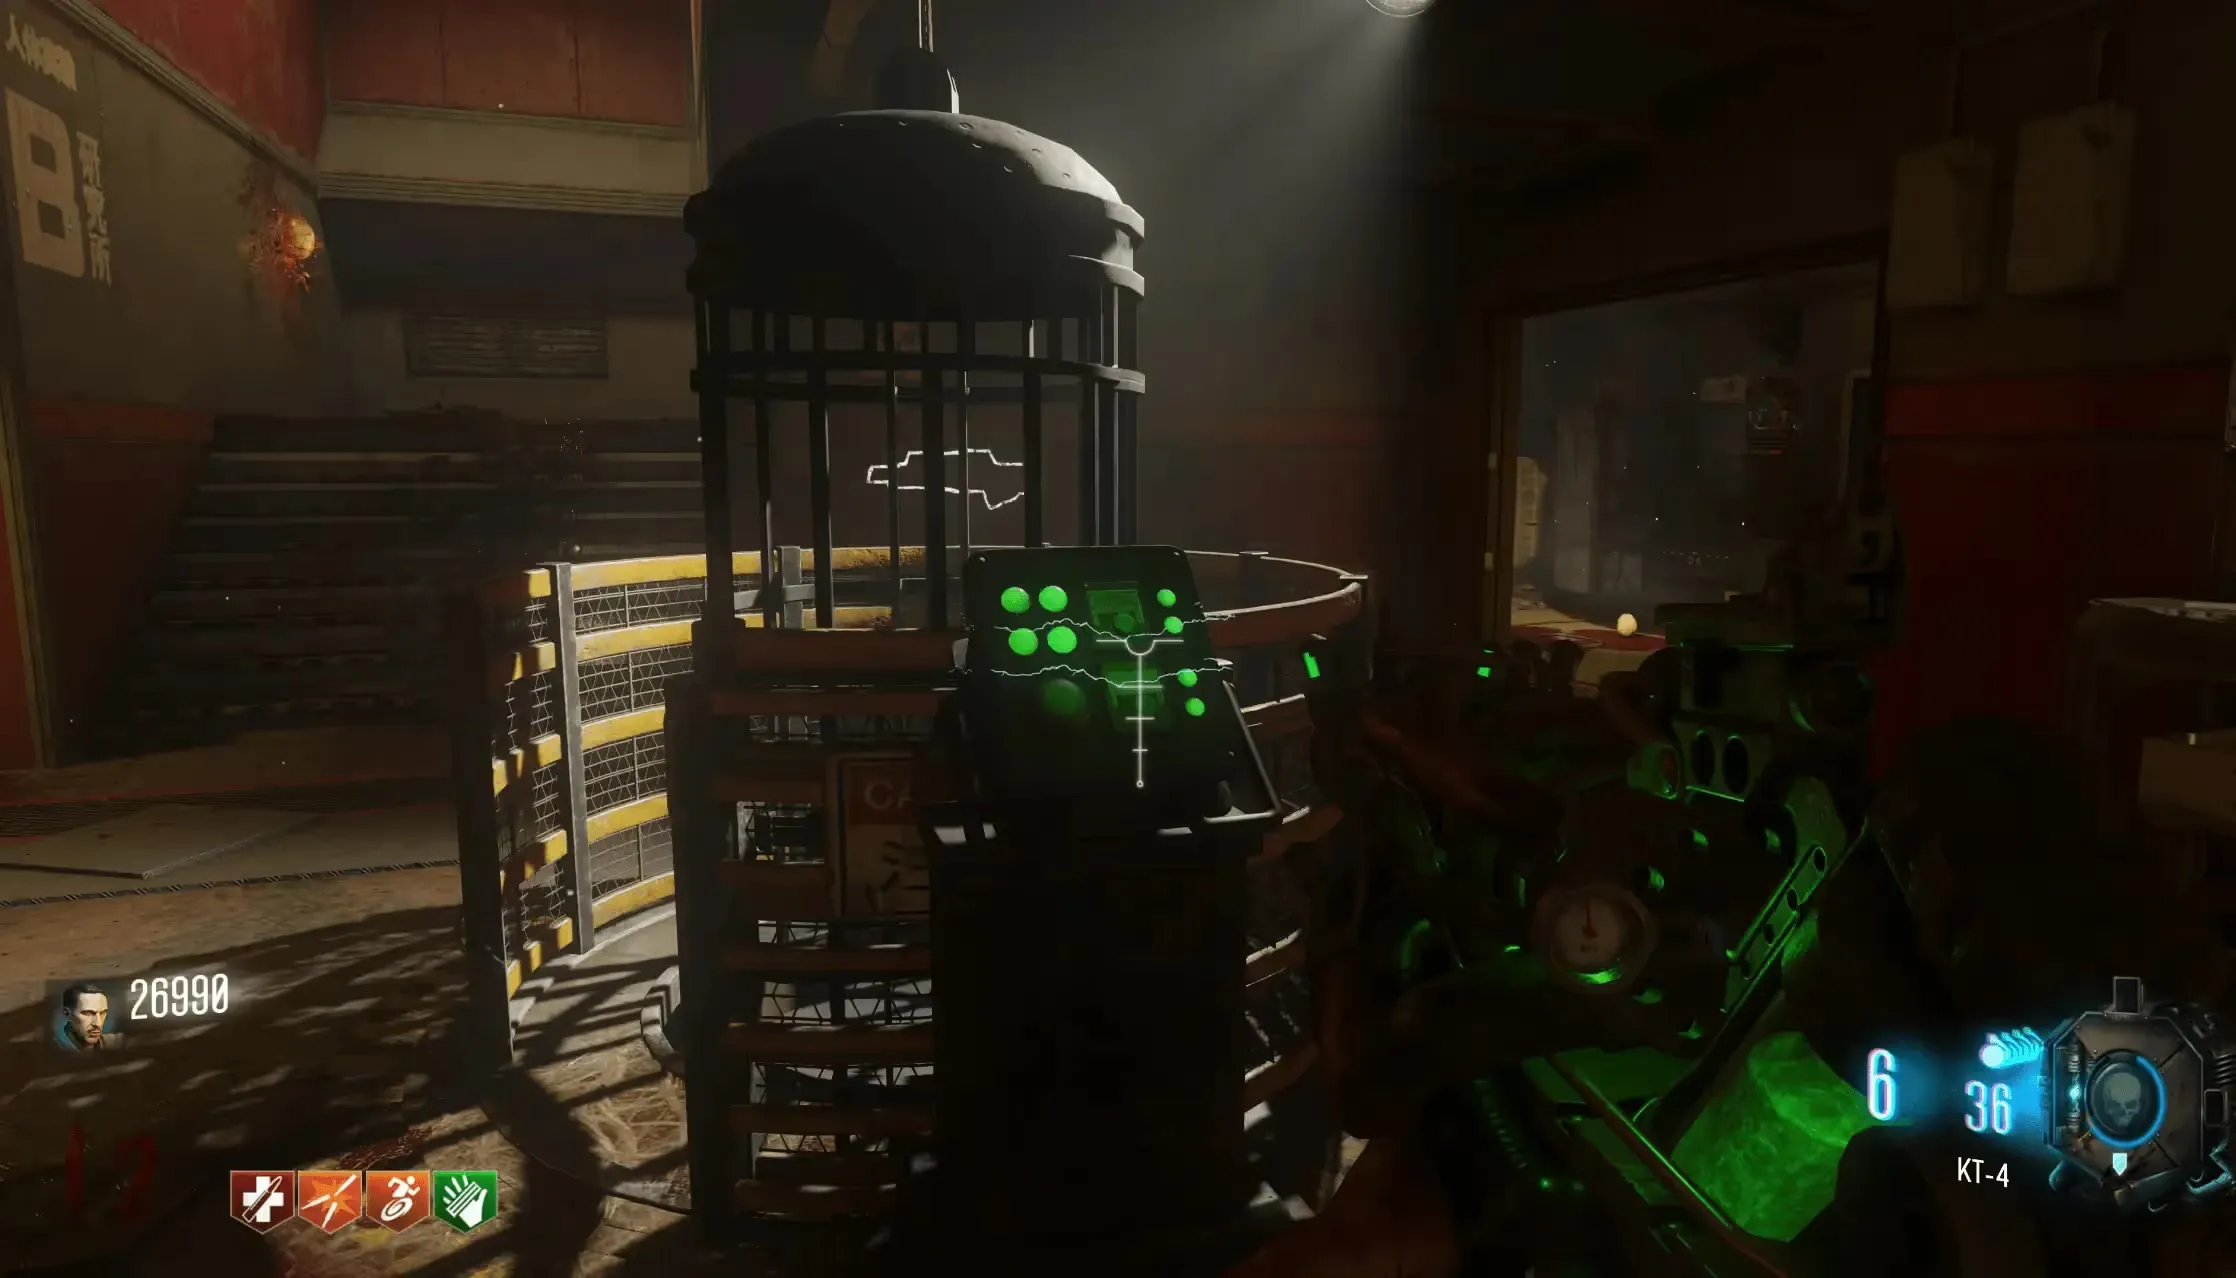
Upon entering the cage, it will lower into an area with a couple of skeletons, one of which is holding the Liquid Divinium Vial you must pick up.
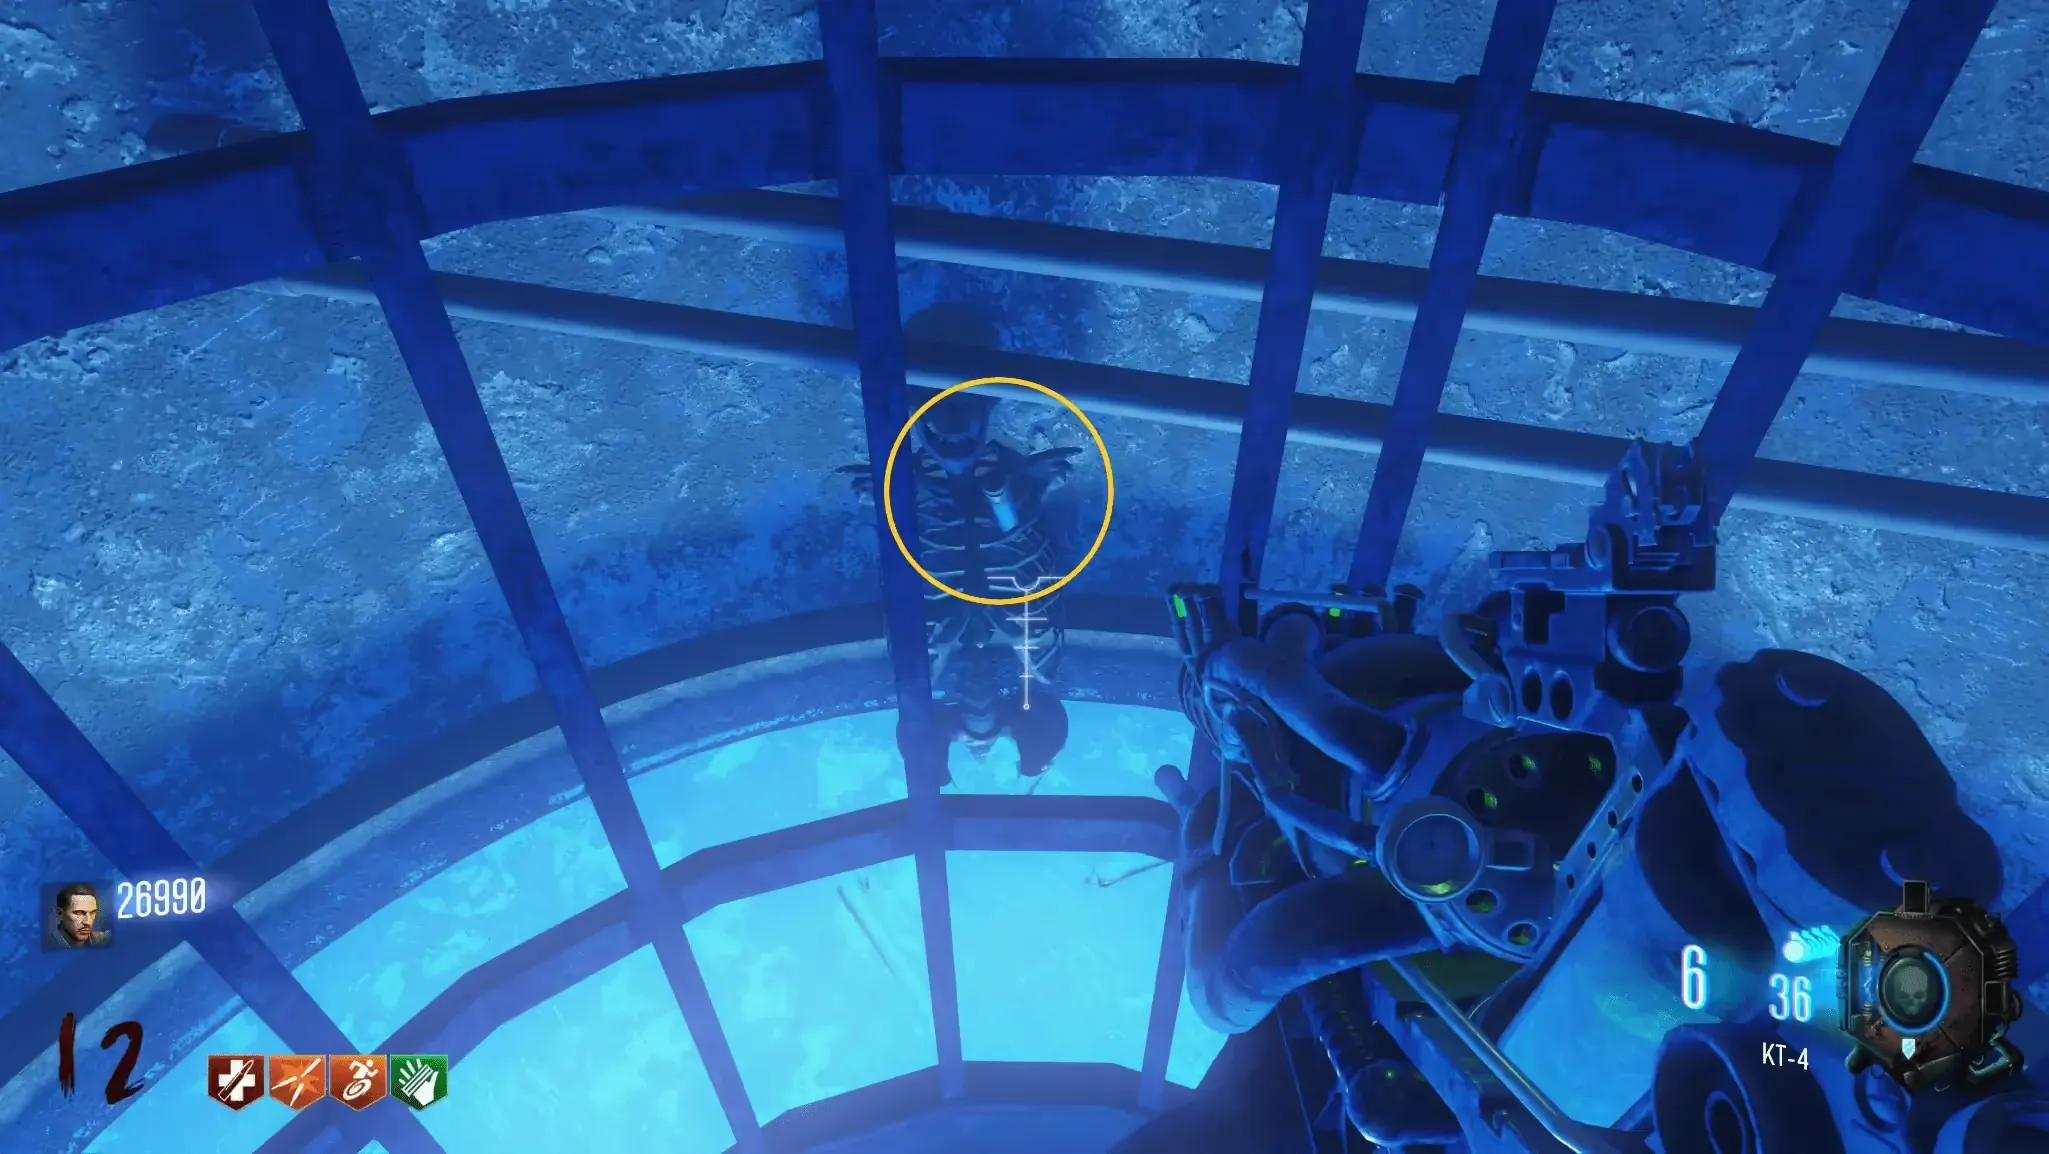
In Co-Op, another player must electrify the control panel again to lower the player in the cage, then interact with the console once more after the vial is collected to raise the player. In solo, the cage will lower on it's own and raise again after some time.
The second part is obtained from defeating the Giant Spider located in the cave covered by webs behind the Blue Water pool near Lab A.

Shoot the webs with the KT-4 to clear them and enter the cave. After defeating the Giant Spider, interact with the mouth of the spider to collect its fang.

The final part is a Plant that can only be grown after building the KT-4. You must grow this plant in a special Seed Planter hidden behind a wall to the right of the KT-4 plant part. You must mesmerize this wall with the Skull of Nan Sapwe after revealing the elevator machinery.

Once the Seed Planter is revealed, you can plant a seed. This seed must be watered once every round for three rounds with Rainbow Water which is found within the Sewer Pipe Fast Travel on the right side.
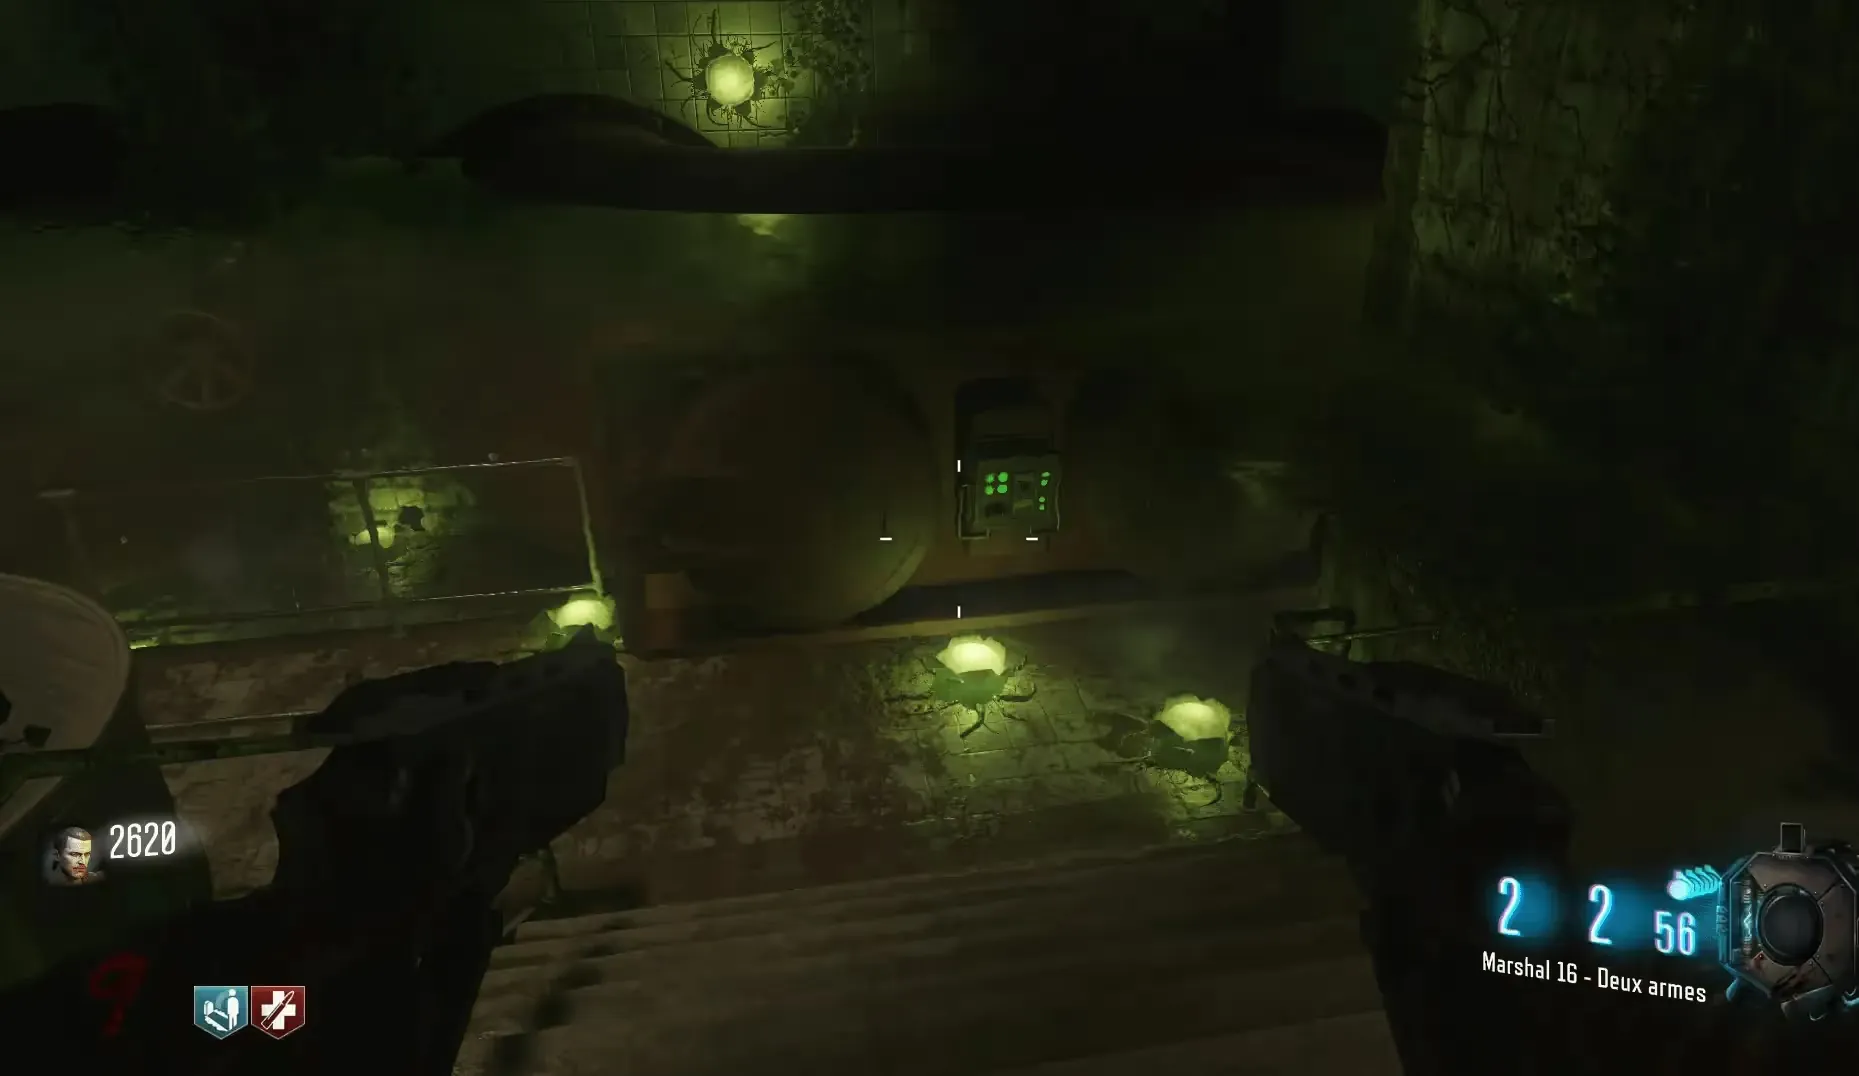
The best way to collect this water is to take the Sewer Pipe Fast Travel from the Bunker to Lab B and spam interact as you pass through.
Once all three parts have been collected, head to the Masamune buildable table to the right of the KT-4 buildable table and interact with it to build the Masamune wonder weapon.
Building the Gas Mask
The Gas Mask requires three parts to build and can be acquired at any point of the game.
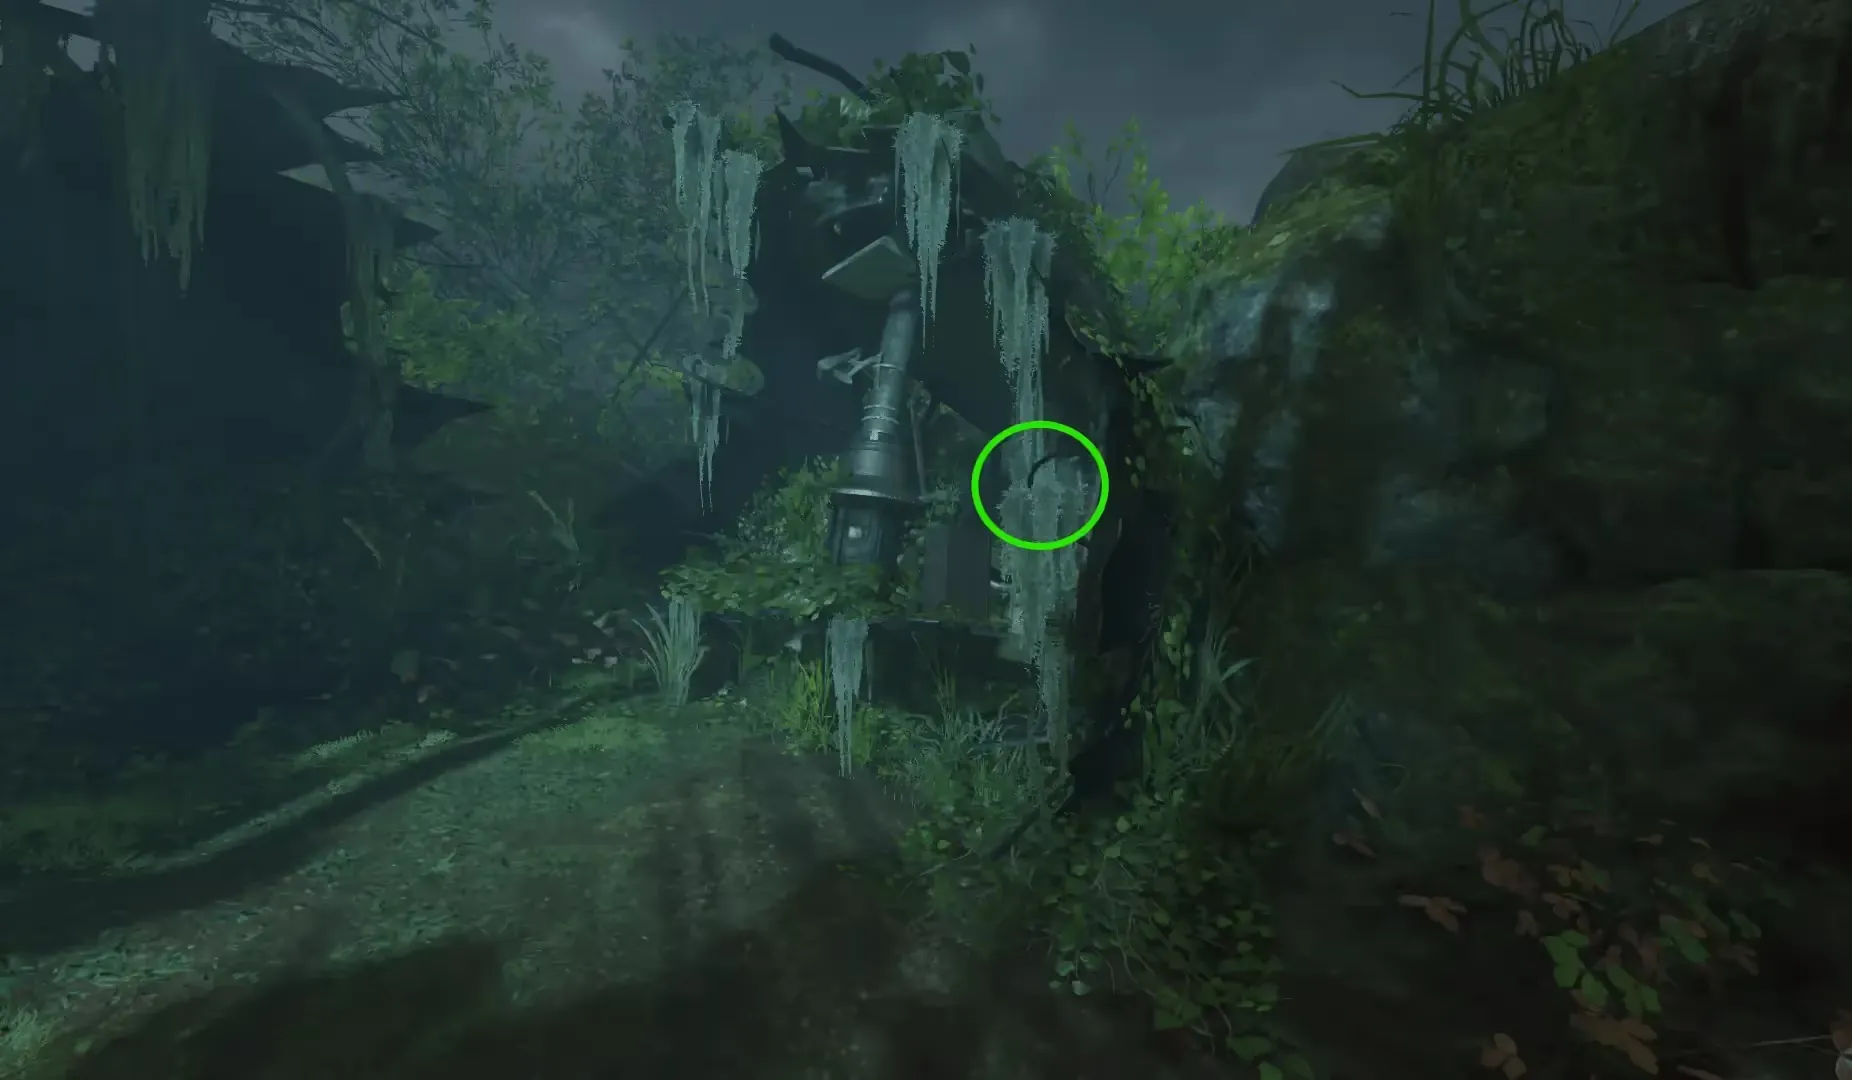
The first part is the Mask Strap which can be found near the Propeller Trap near Lab A:

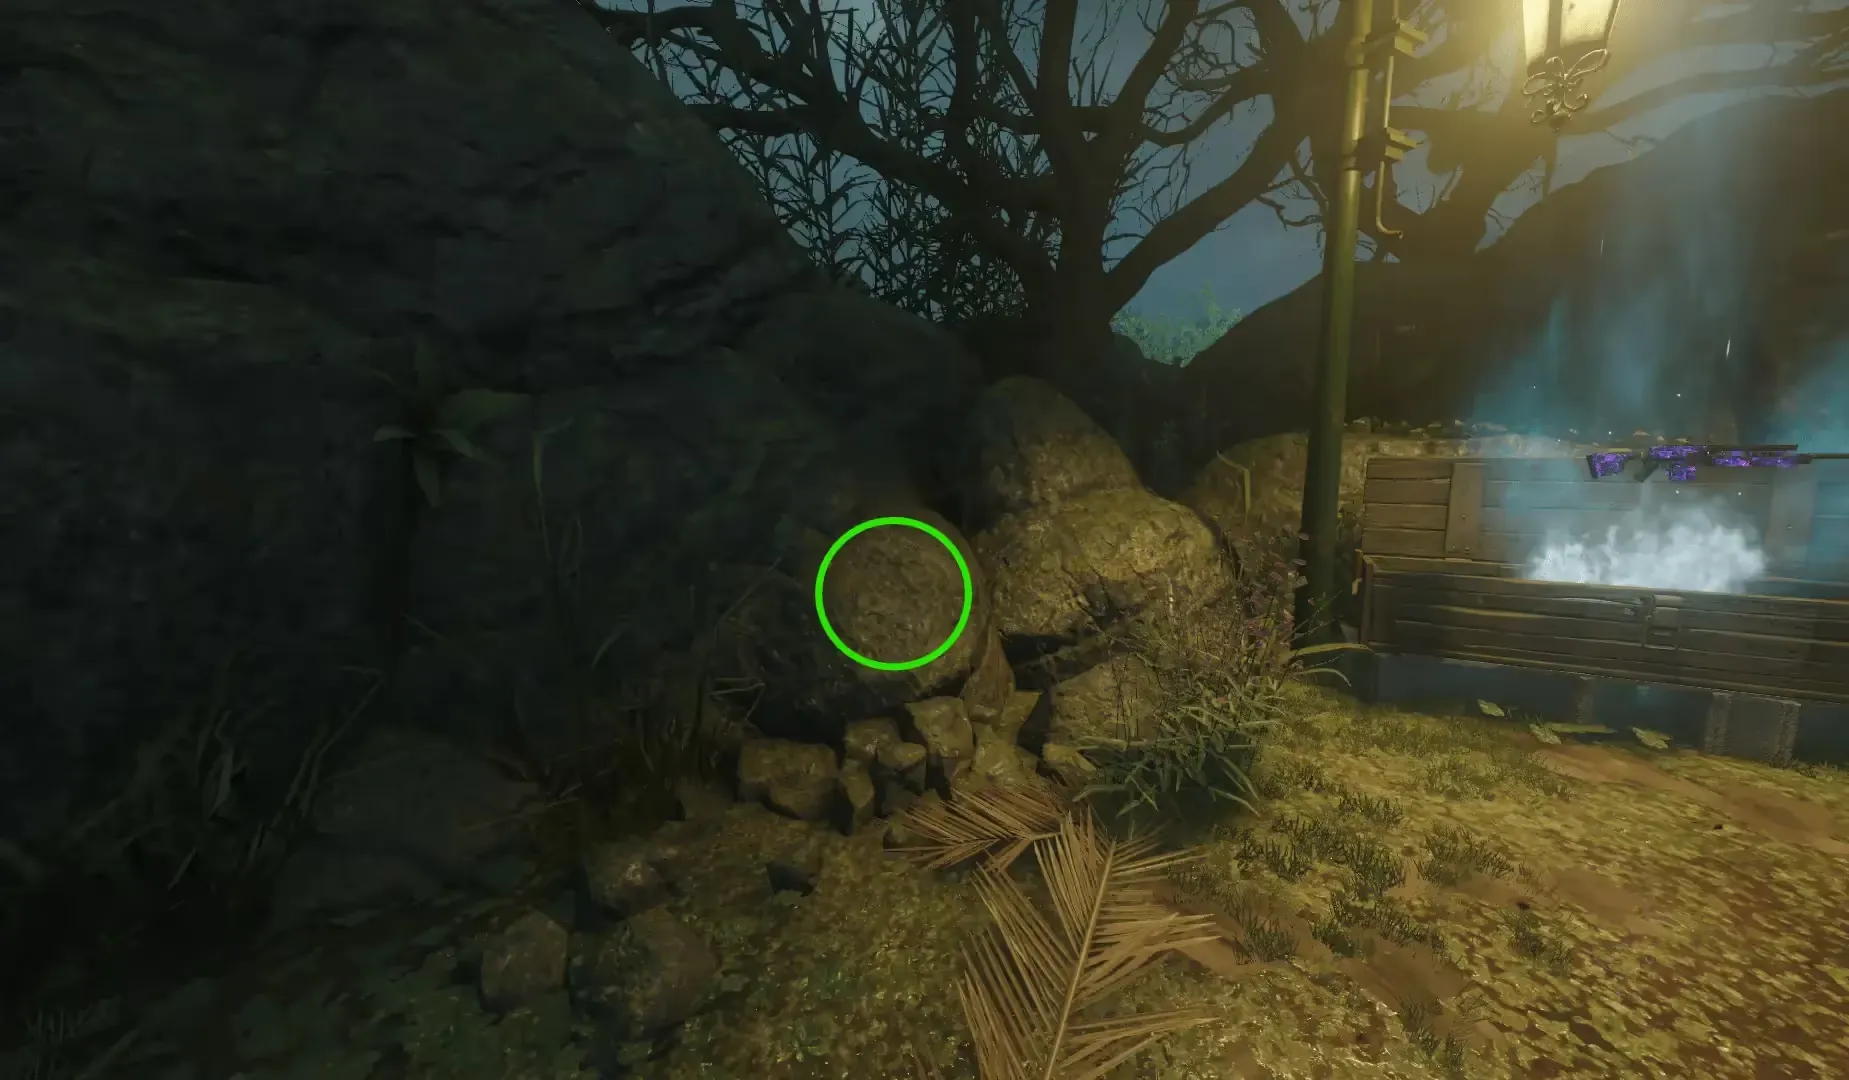
The second part is the Mask Cover which can be found near the Green Water pool behind Lab B:
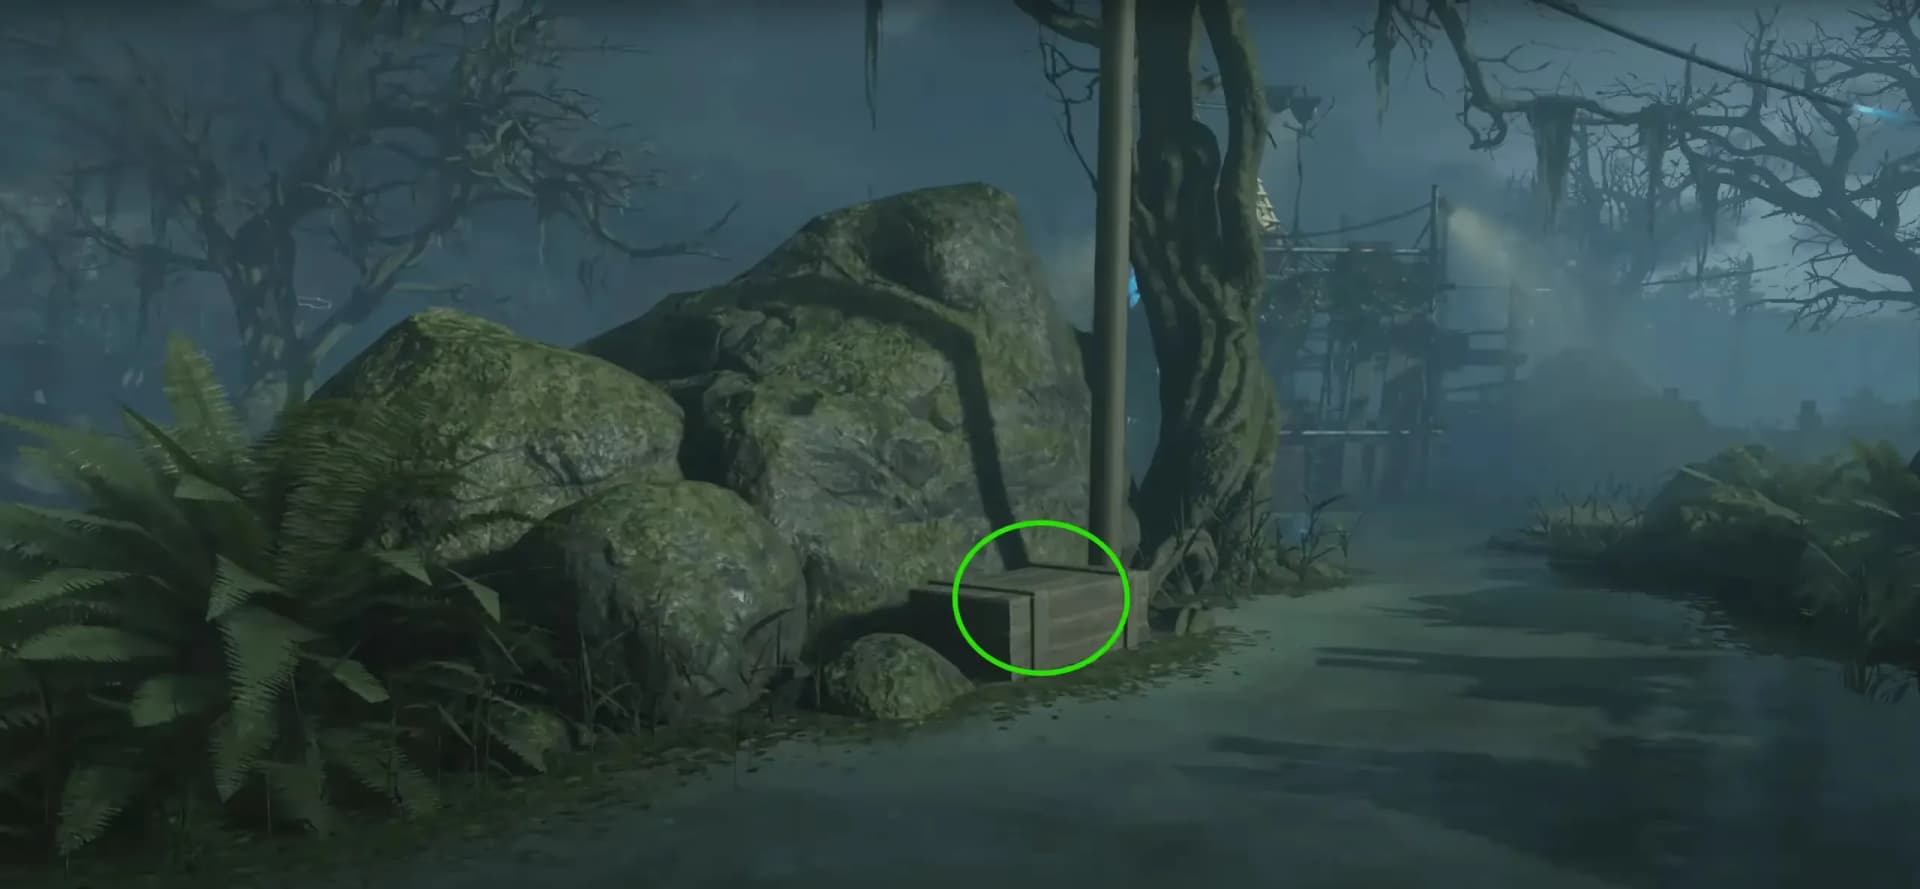
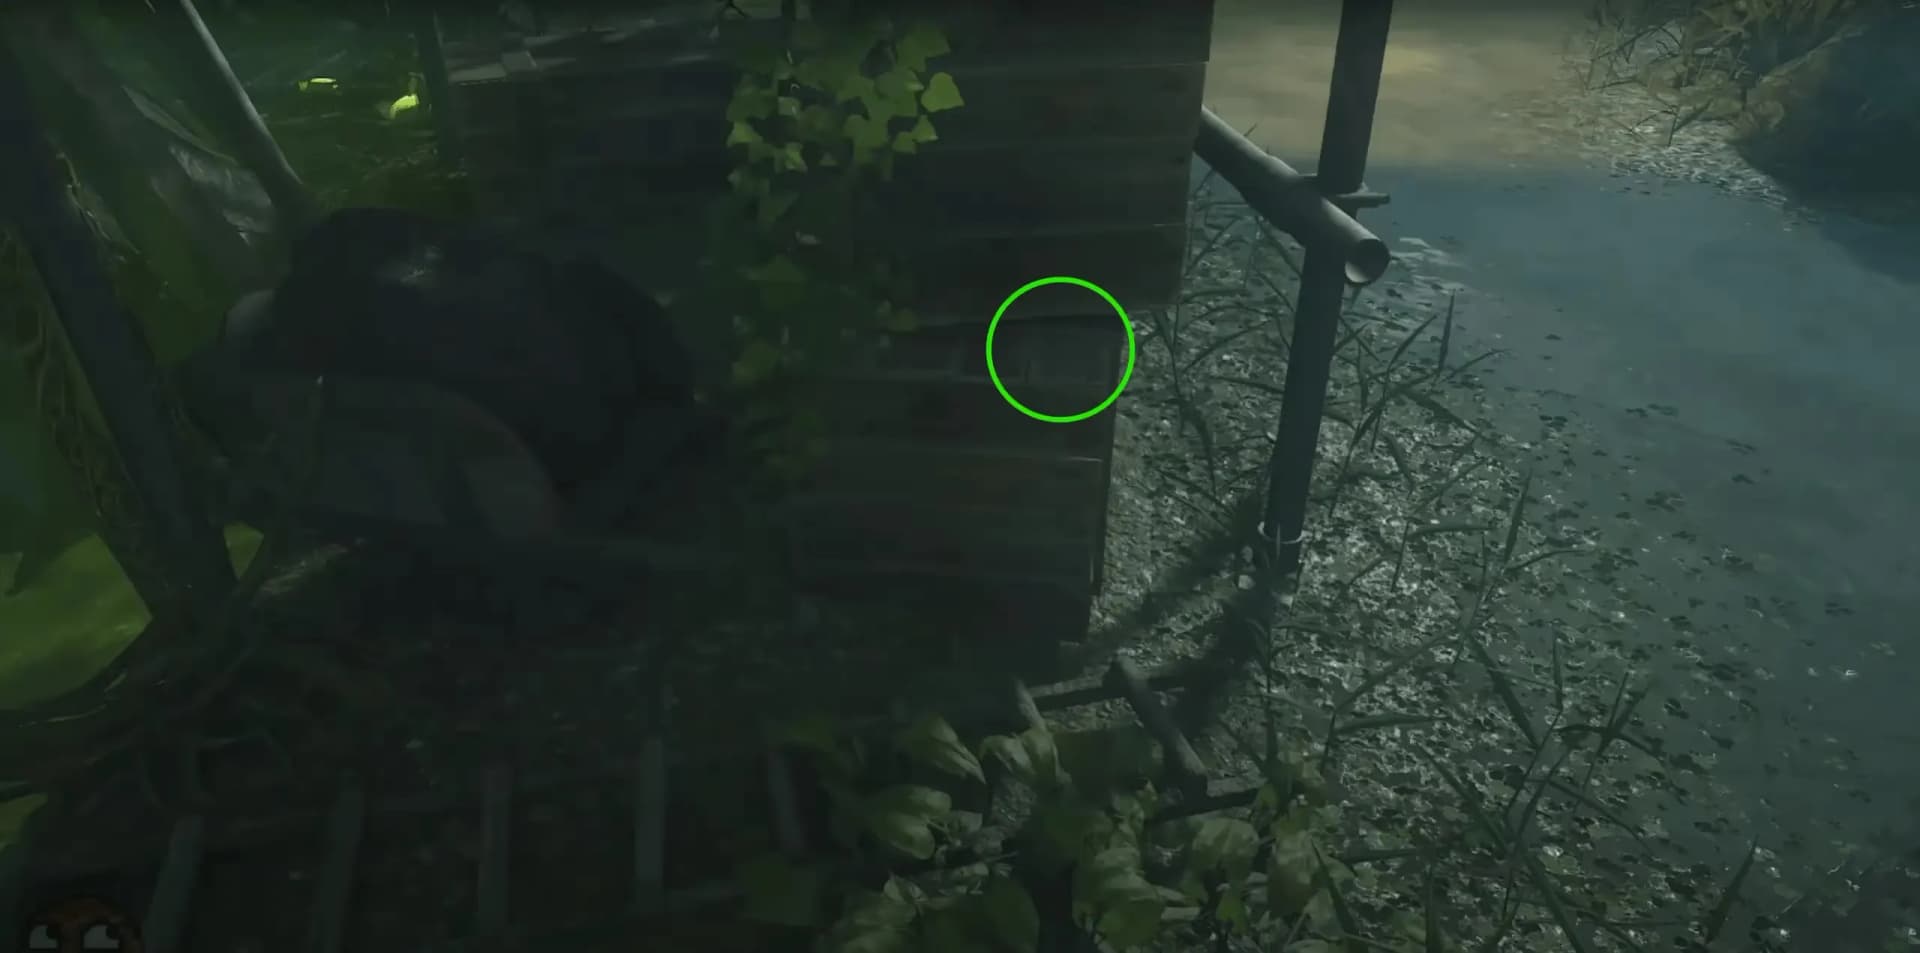
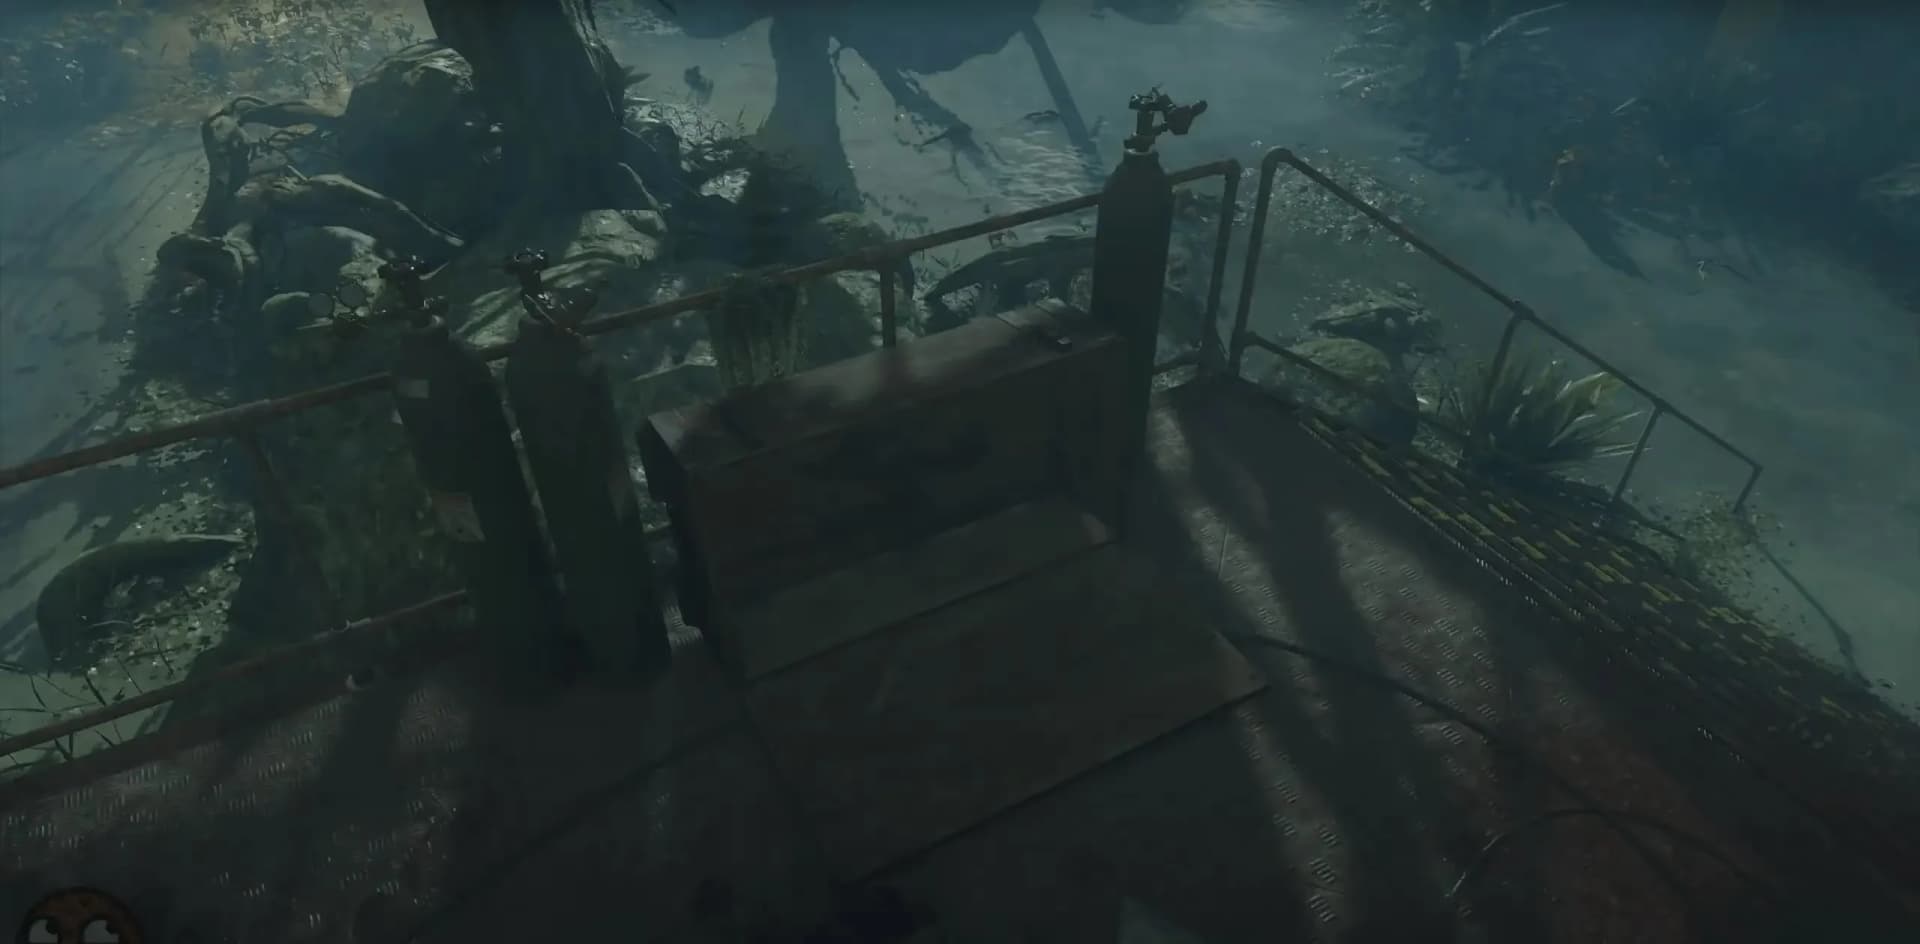
The final part is the Breathing Tube which can be found around the cleansing pedestal area near the Docks:
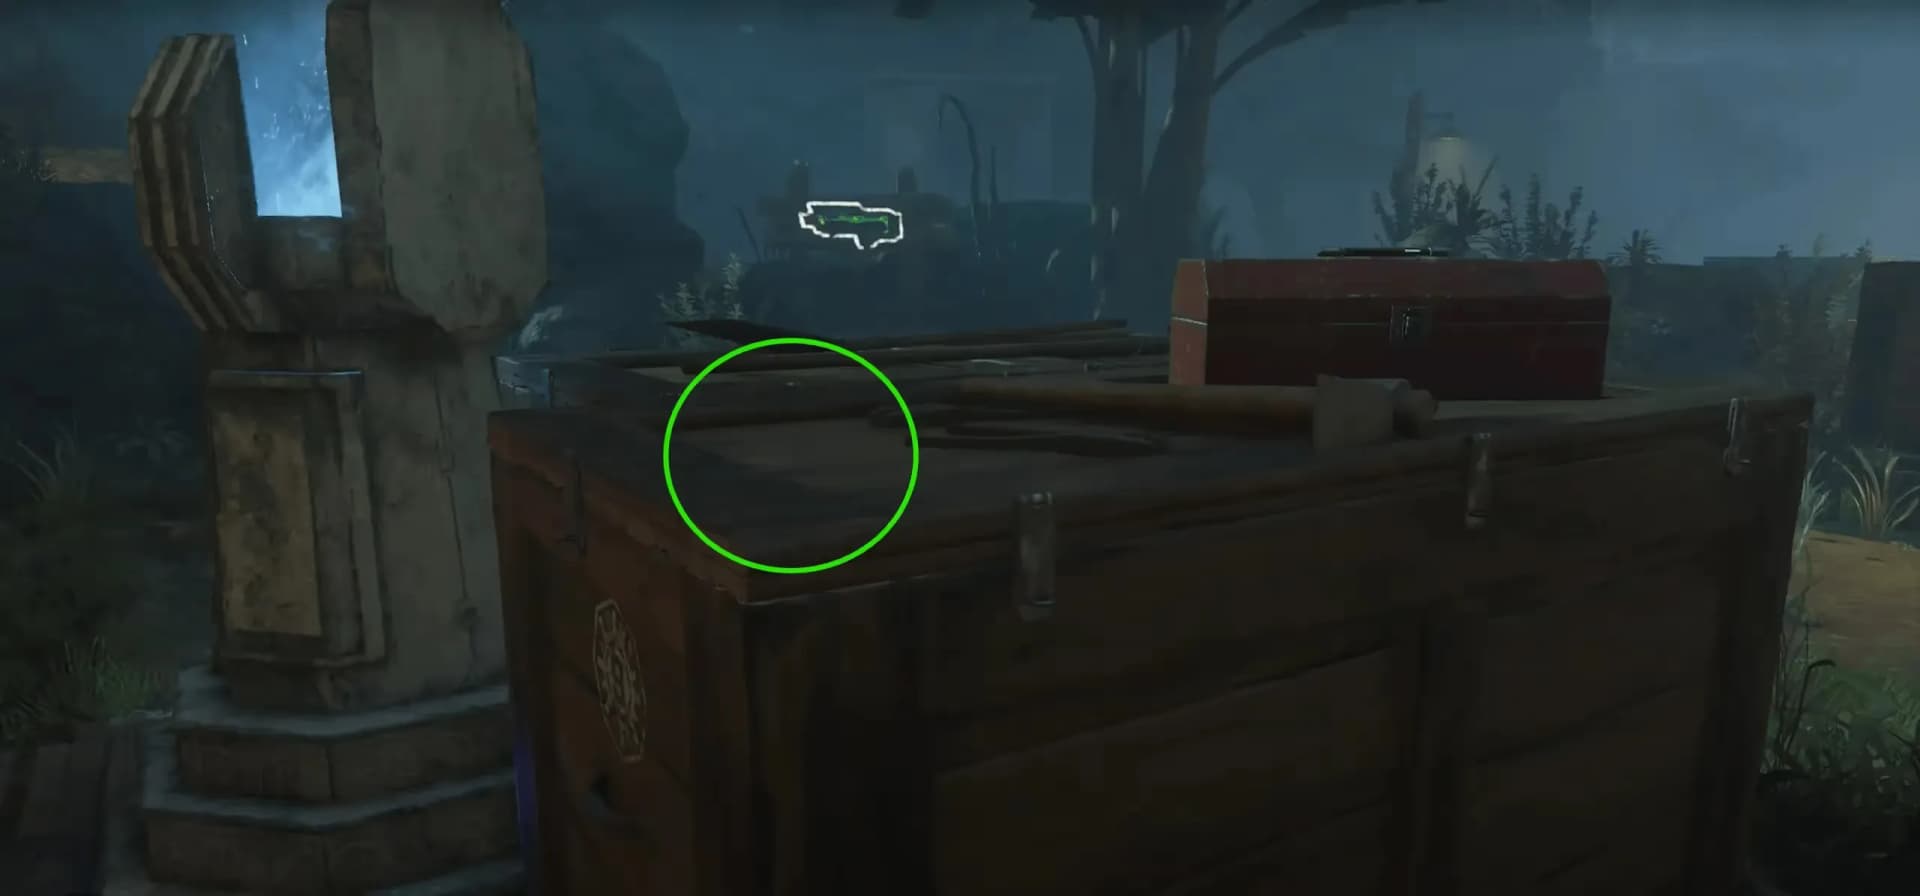
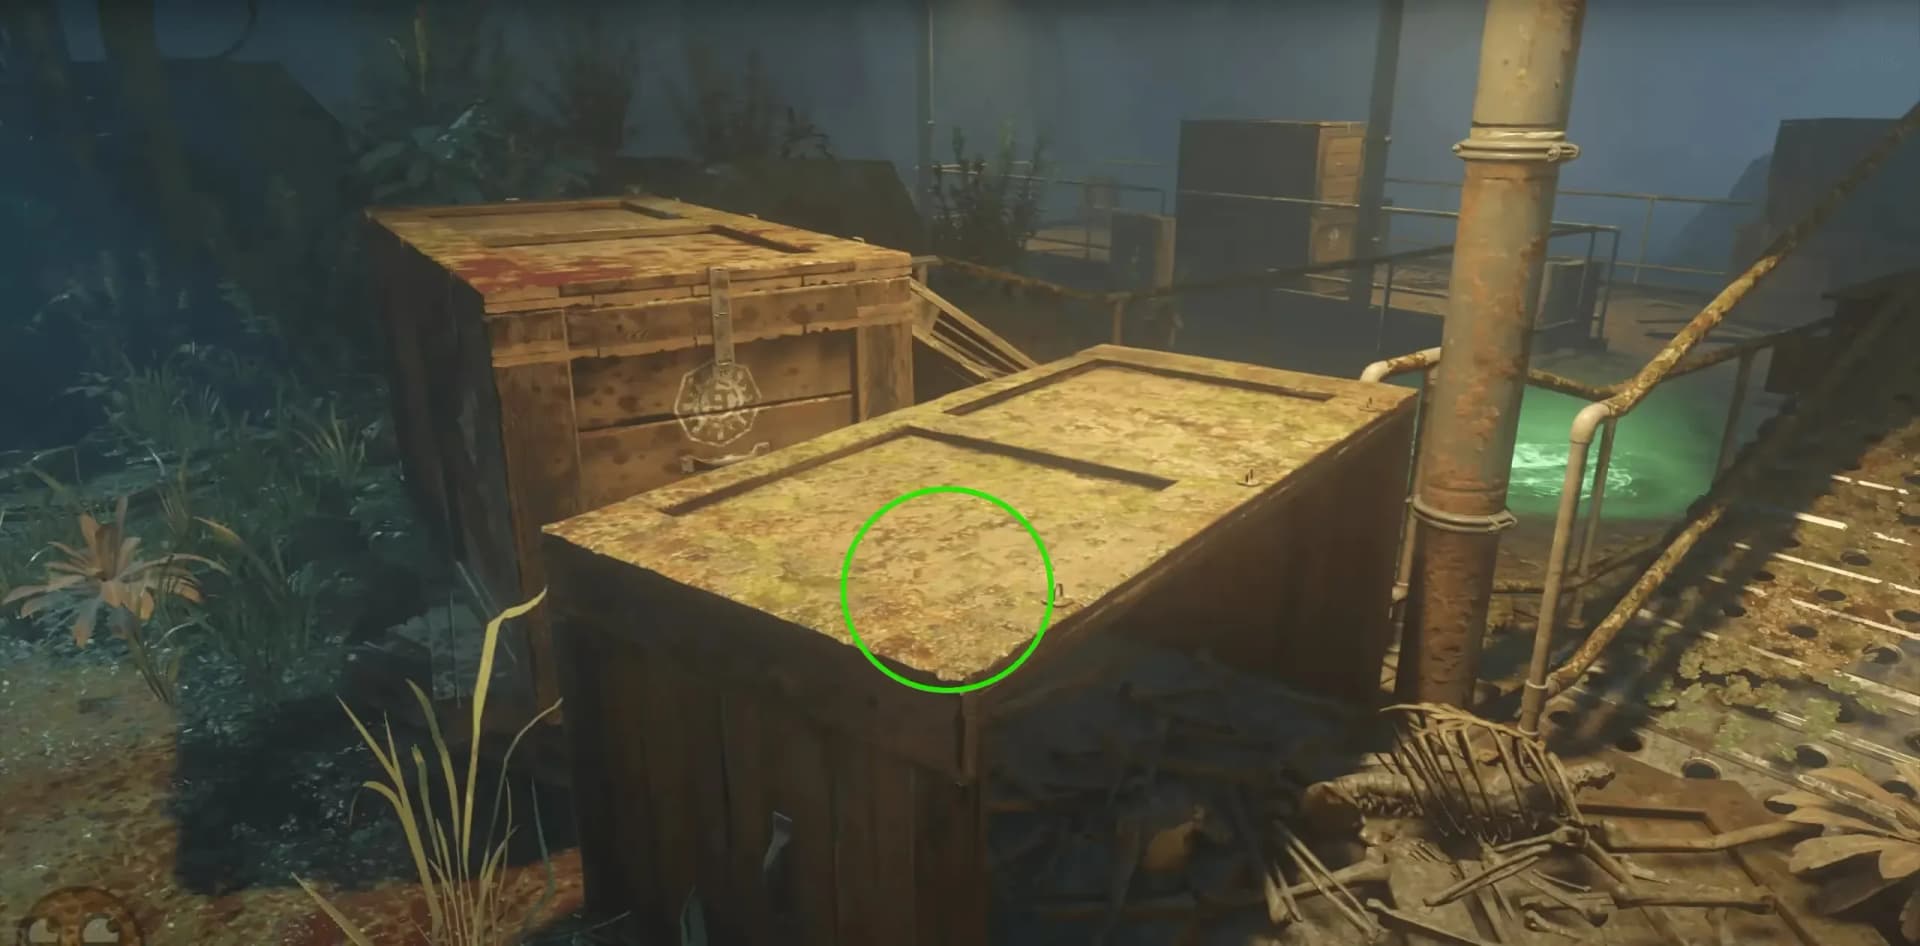
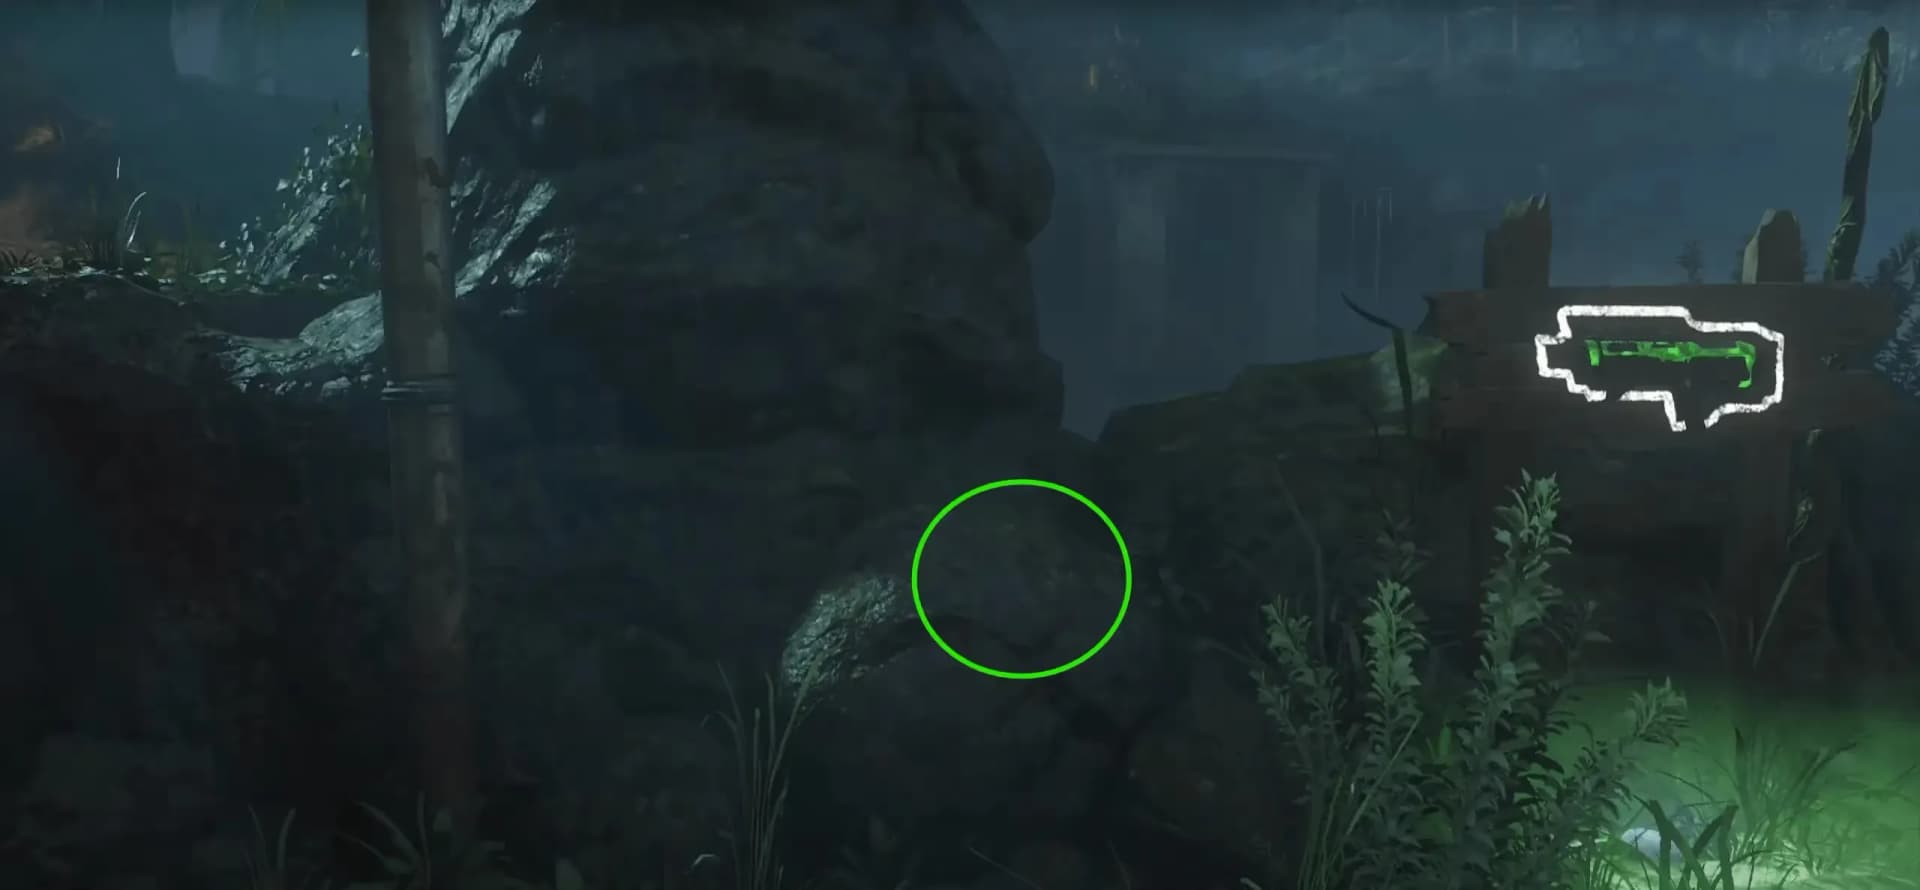
Once all three parts have been collected head to any workbench to build the Gas Mask.
Step 4: Thrasher Boss Fight
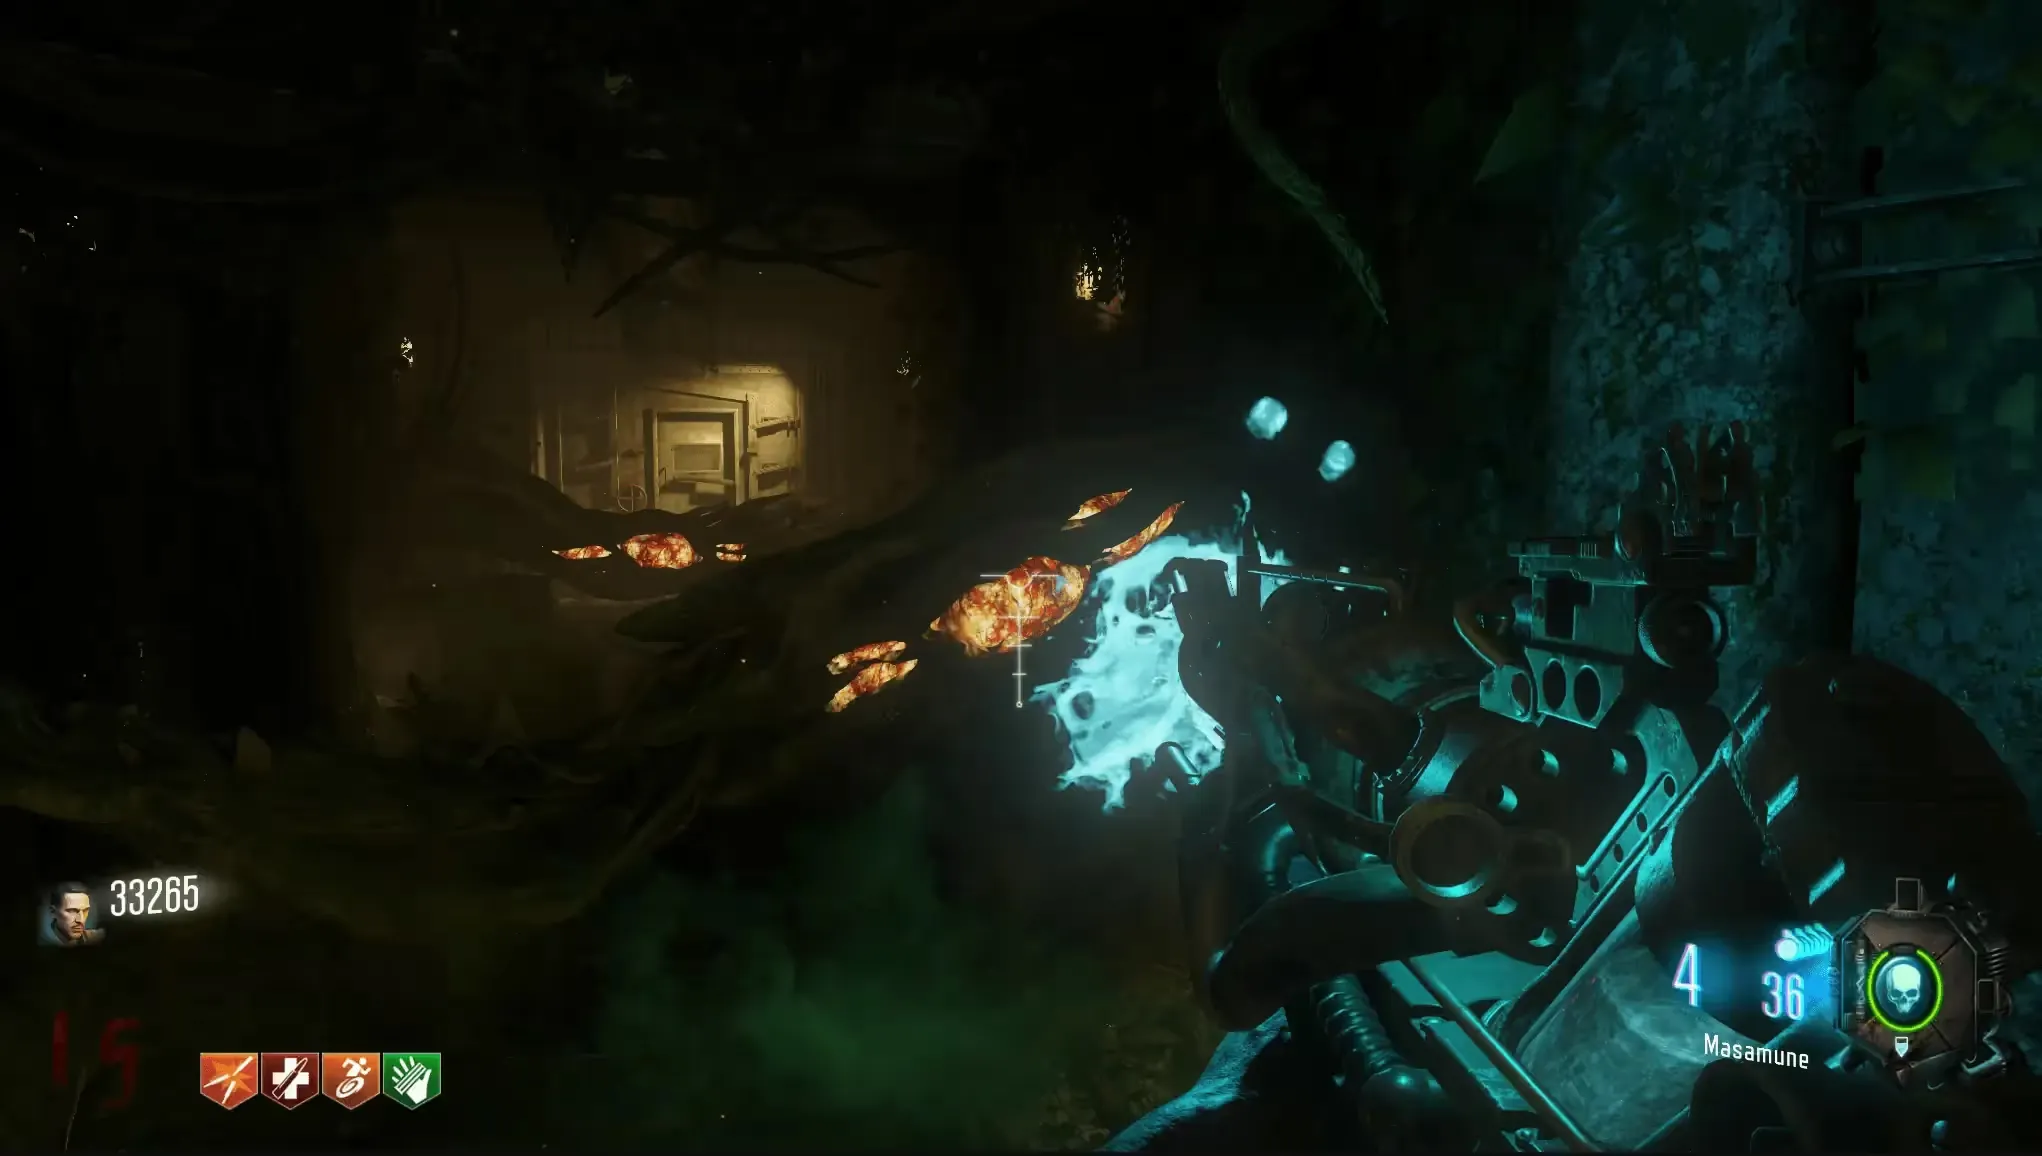
All players must enter the elevator when ready to enter the boss fight. Interact with the elevator, lowering you below the Bunker where the player with the Masamune must shoot the weak points in the vines in the path to the boss room.
Once in the boss arena, a Giant Thrasher can be found held captive. To start the fight, the player with the Masamune must shoot the weak point on one of the Thrasher's arms. There are four total weak points, each being time-gated and cannot be sped up.
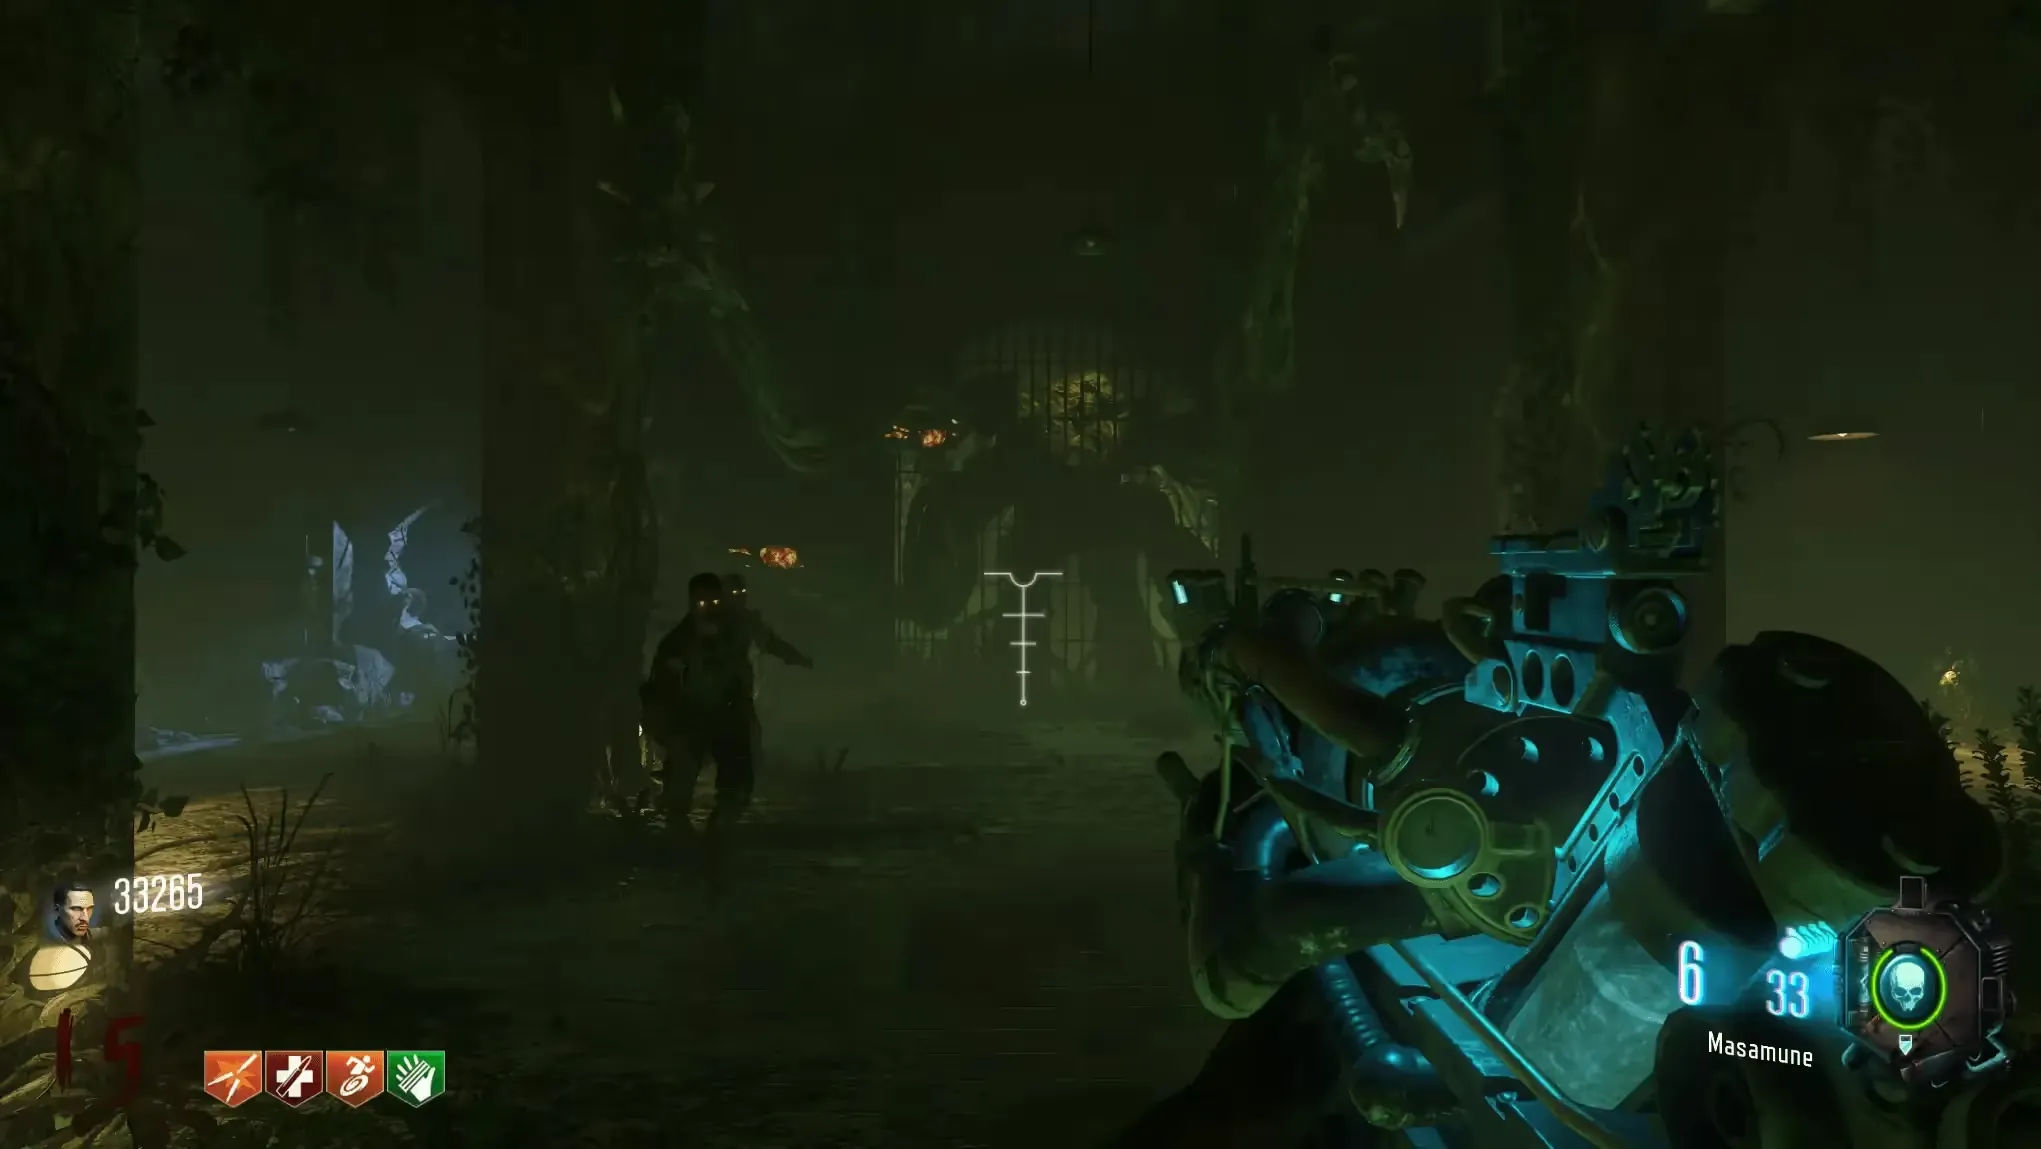
After shooting a weak point, you must survive an onslaught of zombies, Spider, and Thrasher with the occasional ground slam from the boss in the center of the room until another weak point becomes visible. When it does, the player with the Masamune must shoot it. Repeat this until the thrasher is killed.

Congratulations! You have beaten the Zetsubou No Shima main quest: Seeds of Doubt.
Video Guides
Solo Guide by NoahJ456
Co-op Guide by MrRoflWaffles
Credits
Some images used were sourced from the following community members:
