
Revelations
For the Good of All
The main quest for Revelations is called For the Good of All. Our Primis crew's goal in this quest is to defeat the Shadowman once and for all and resolve the paradox, for the loop must be broken.
Requirements
This main quest can be done completely solo. You will need a few items to complete this quest fully:
- Build the Keeper Protector
- Apothicon Servant (found in the Mystery Box)
- Lil' Arnies (found in the Mystery Box)
While not required for the main quest, you should take the Thundergun if you happen to get from the Mystery Box as it is one of the best Wonder Weapons in the game and is going to be extremely helpful for Recovering the Summoning Key and Defeating the Shadowman
Recommended Gobblegums
Step 1: Shoot the Tombstones
In the Spawn room outside the map, there are two floating islands containing two tombstones each. Etched on these tombstones are the names of our crew, and you must shoot these tombstones in the order that the Ultimis versions of our crew were killed:
- Edward Richtofen (Killed in The Giant intro cutscene)
- "Tank" Dempsey (Killed in the Der Eisendrache main quest)
- Takeo Masaki (Killed in the Zetsubou No Shima main quest)
- Nikolai Belinski (Killed in the Gorod Krovi main quest)
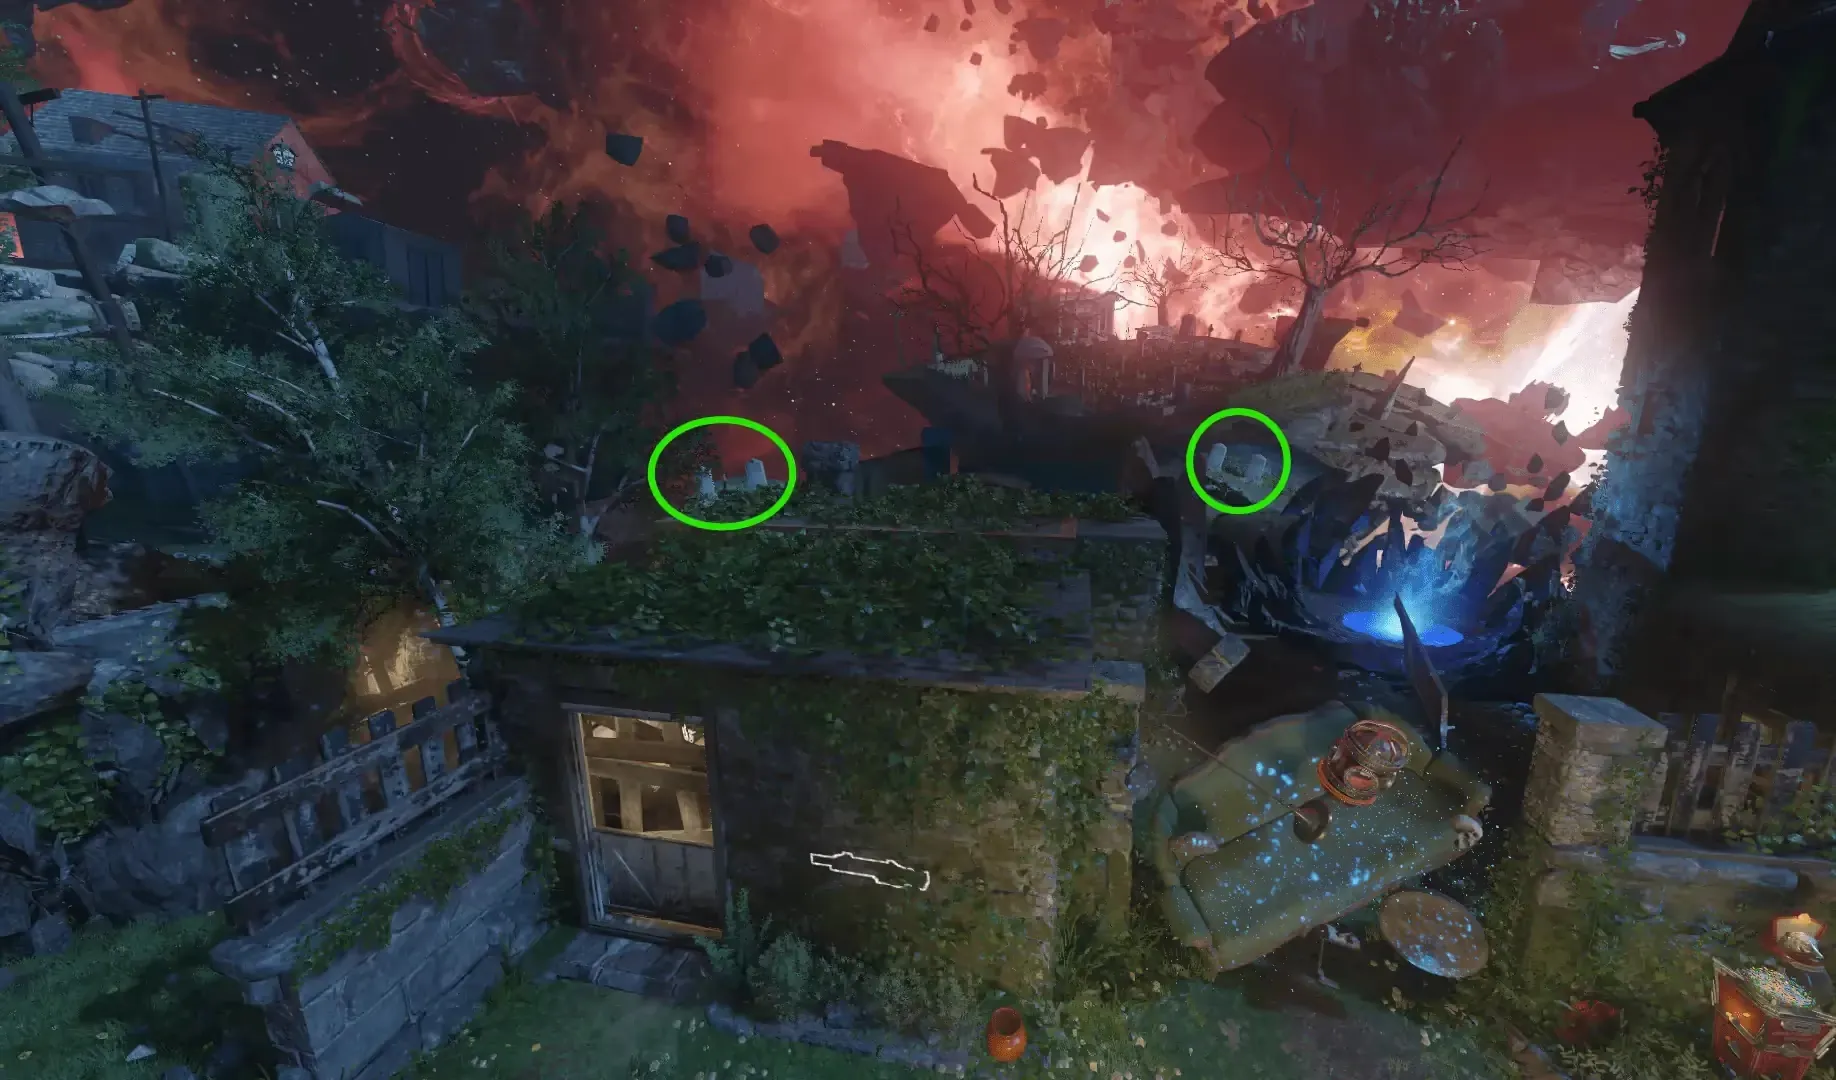
If you have trouble reading the tombstones, the correct order from left to right is: Second Tombstone, Third Tombstone, First Tombstone, Fourth Tombstone. If you input the wrong order, start again from Richtofen's tombstone. You can re-try this step as many times as you need.
Once the tombstones have been shot in the correct order, thunder can be heard and each of the tombstones will have a small red flame emitting from them for a short time.
Step 2: Collect the Audio Reels
Audio Reels must be collected in the order they are listed below, progress cannot be made on another Audio Reel until the one before it has been obtained and placed in it's respective audio player. You can begin working on another Audio Reel immediately after placing the previous Audio Reel in it's audio player, you do not need to listen to the contents of the Audio Reel.
Audio Reel 1
You must find a small pointy rock that will spawn at the back center of one of the three Jump Pads around the map:
- Shangri-La's Jump Pad leading back to the Spawn
- Mob of the Dead's Jump Pad leading to Verruckt
- Verruckt Jump Pad leading to Kino Der Toten
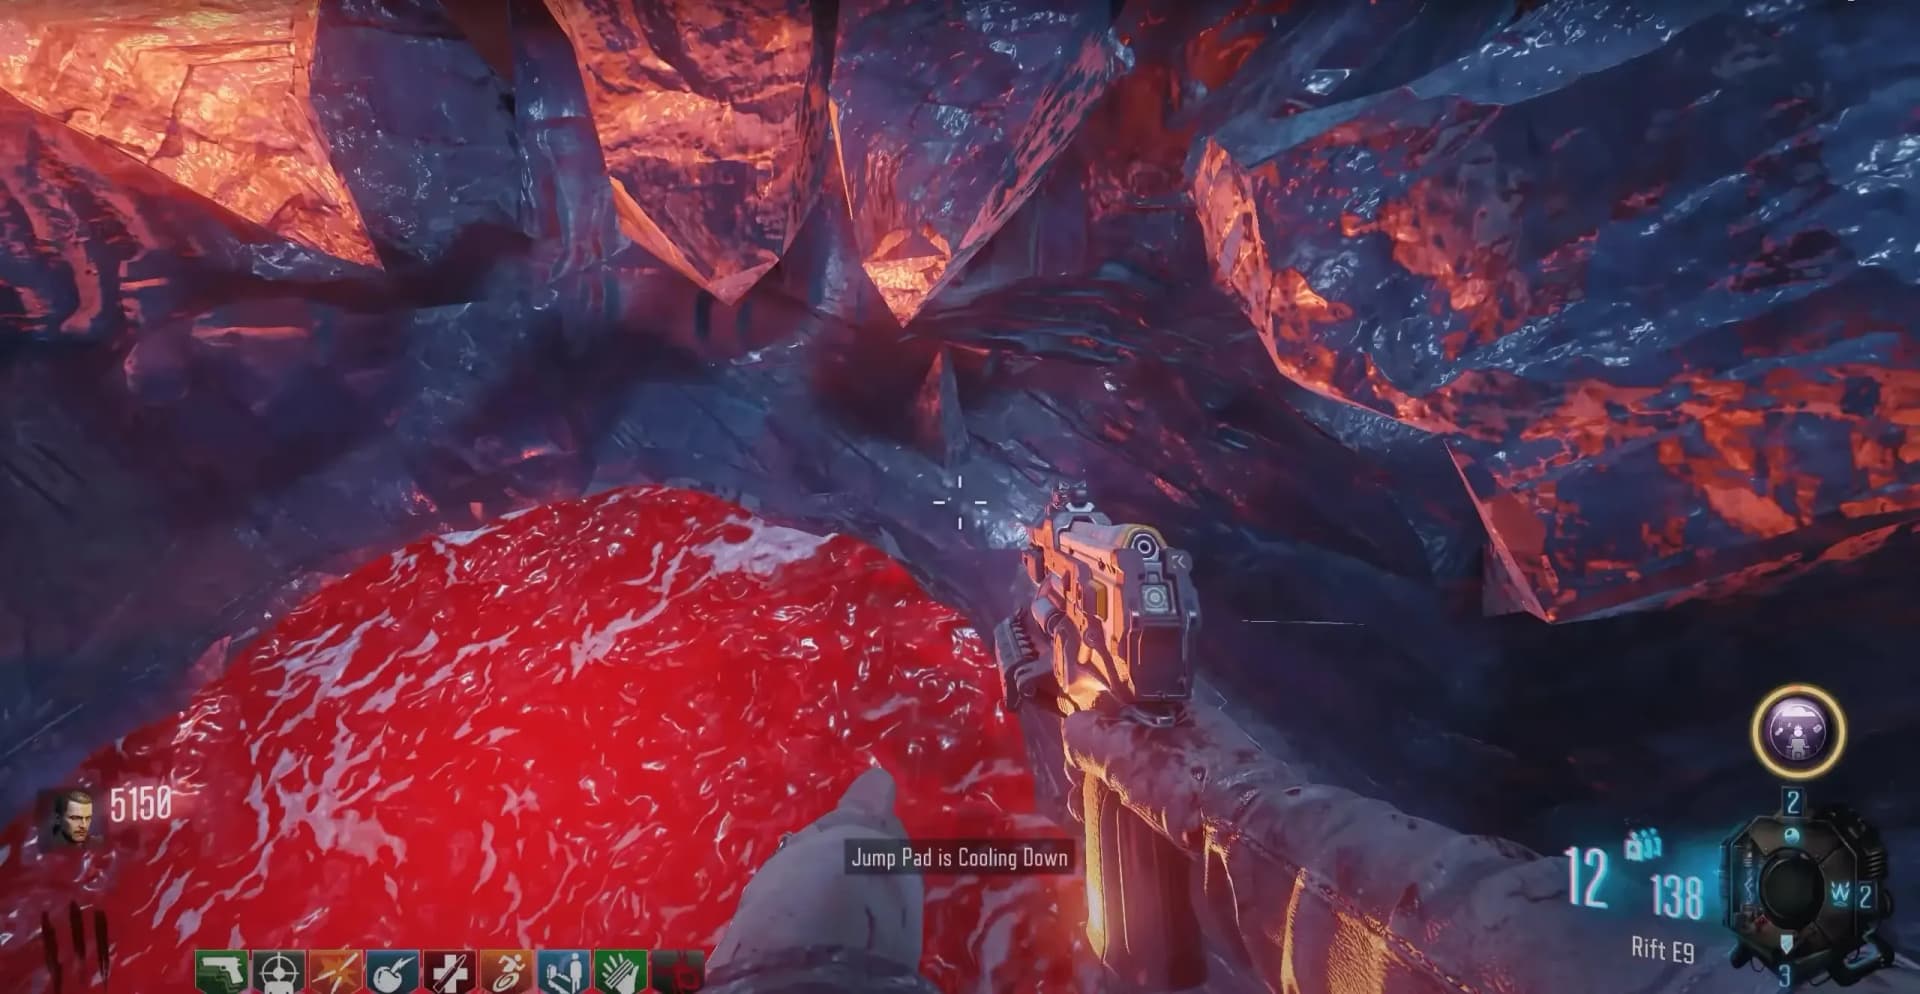
Once you have found the rock, build the Keeper Protector and lead it to the Jump Pad where the point rock is located. You will have to stand on the pointy rock for a couple of seconds while the Jump Pad is inactive for the Keeper Protector to begin a ritual and start chanting lasting 3 minutes. During this ritual, All zombies will prioritize the Keeper Protector and you must protect it until the ritual is complete.
During Parasite rounds, they will only attack players and not the Keeper Protector, if you are having trouble with this step, you can keep a Parasite alive for the entire duration for an easier time. Any Margwa that you hear spawn should be taken care of immediately, if a Margwa reaches the Keeper Protector it will infinitely use it's slam attack until it dies, failing the step.
Once completed, an Audio Reel will spawn directly in front of the Jump Pad where the pointy rock is located. You must pick this up and place it in the audio player on the top floor of Nacht Der Untoten.
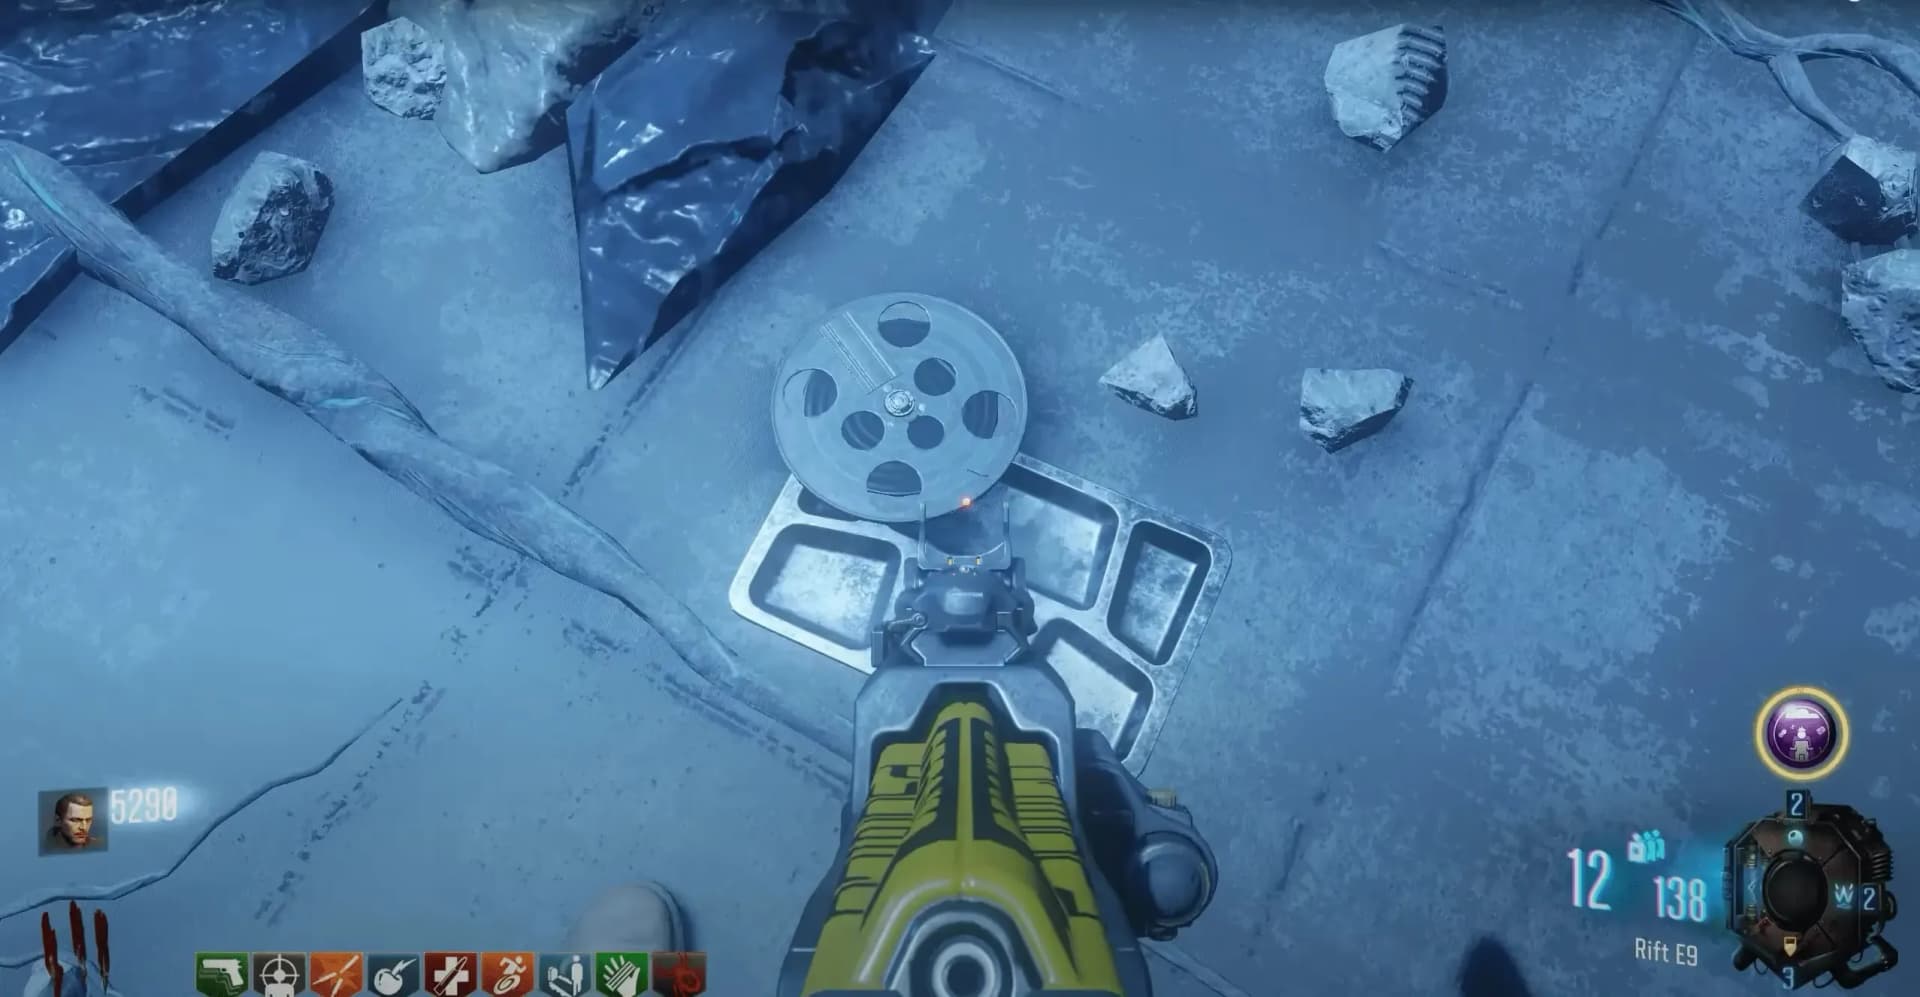
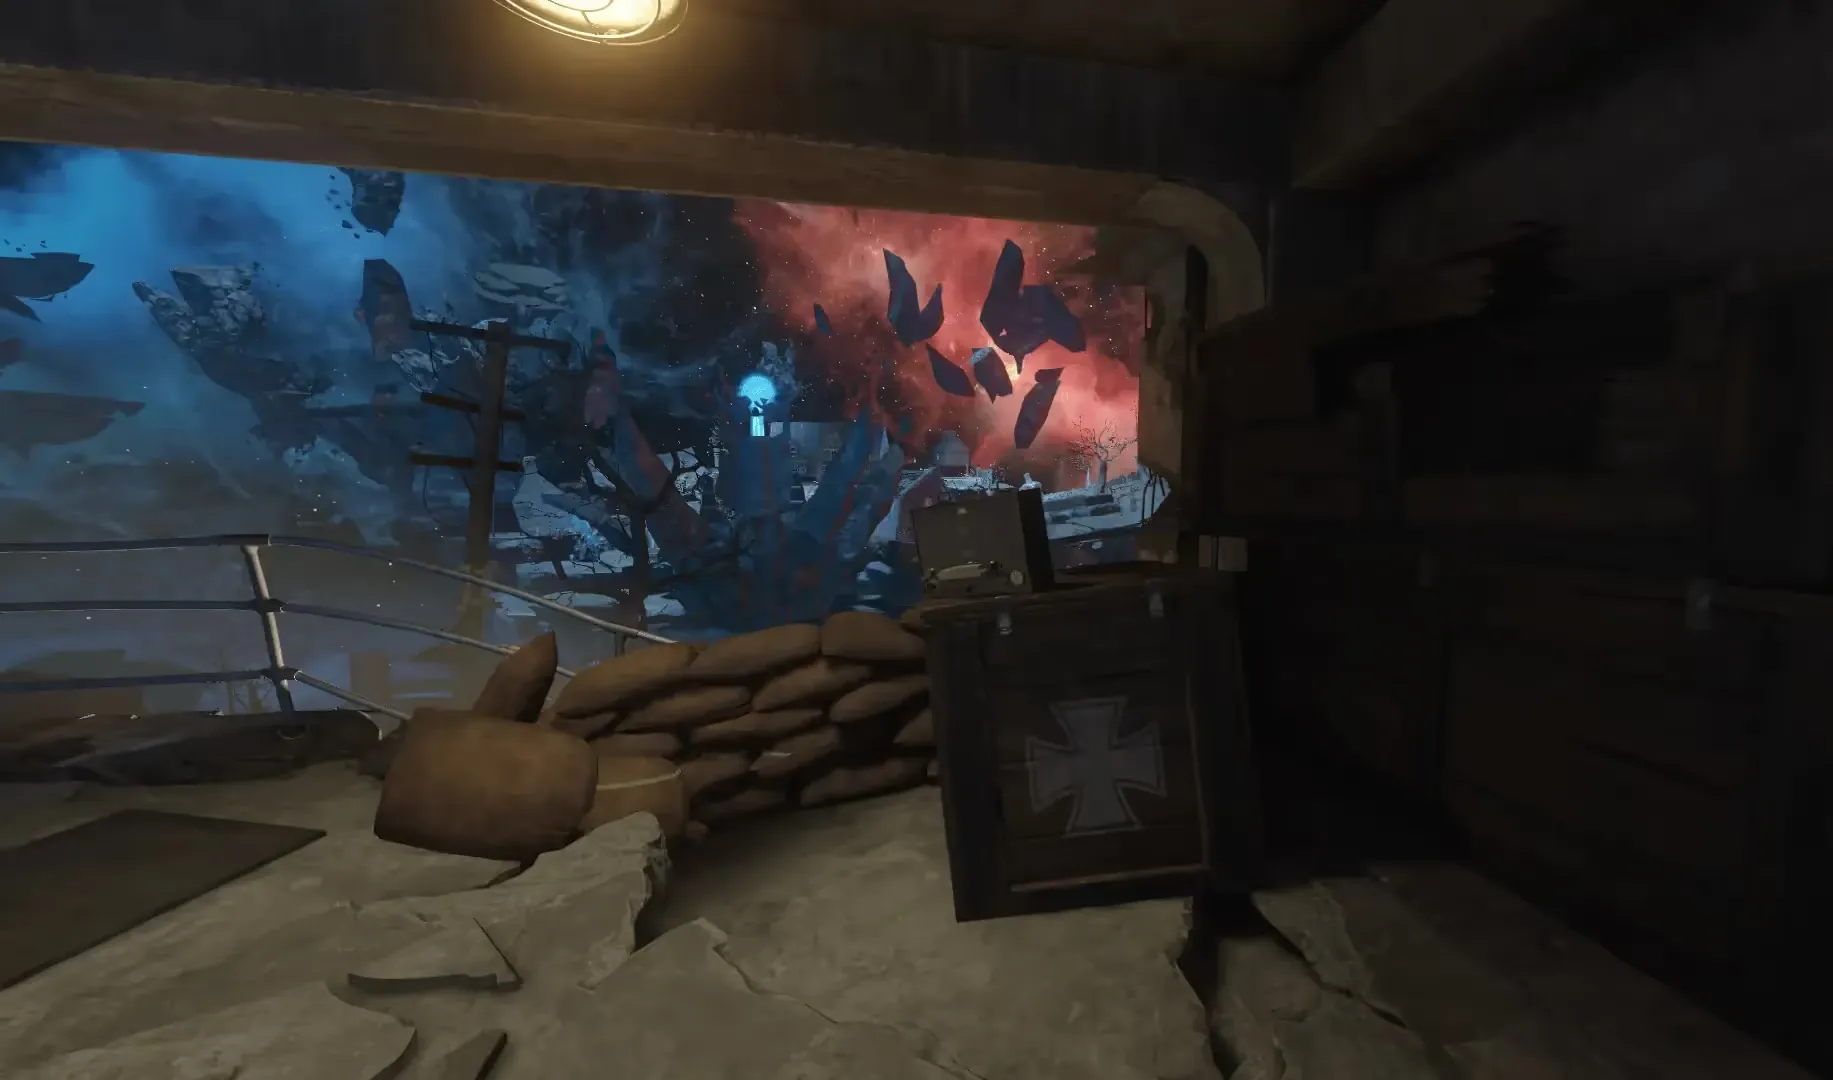
If you fail to protect the Keeper Protector, you will need to summon him again once available and try again.
Audio Reel 2
In the giant Apothicon where Pack-a-Punch is located, there are nine small holes around the edges that zombies spawn out of. You must throw Lil' Arnies into these holes one at a time, and it must be a different hole each time, this is easily done if you go prone in front of the hole and throw it in.
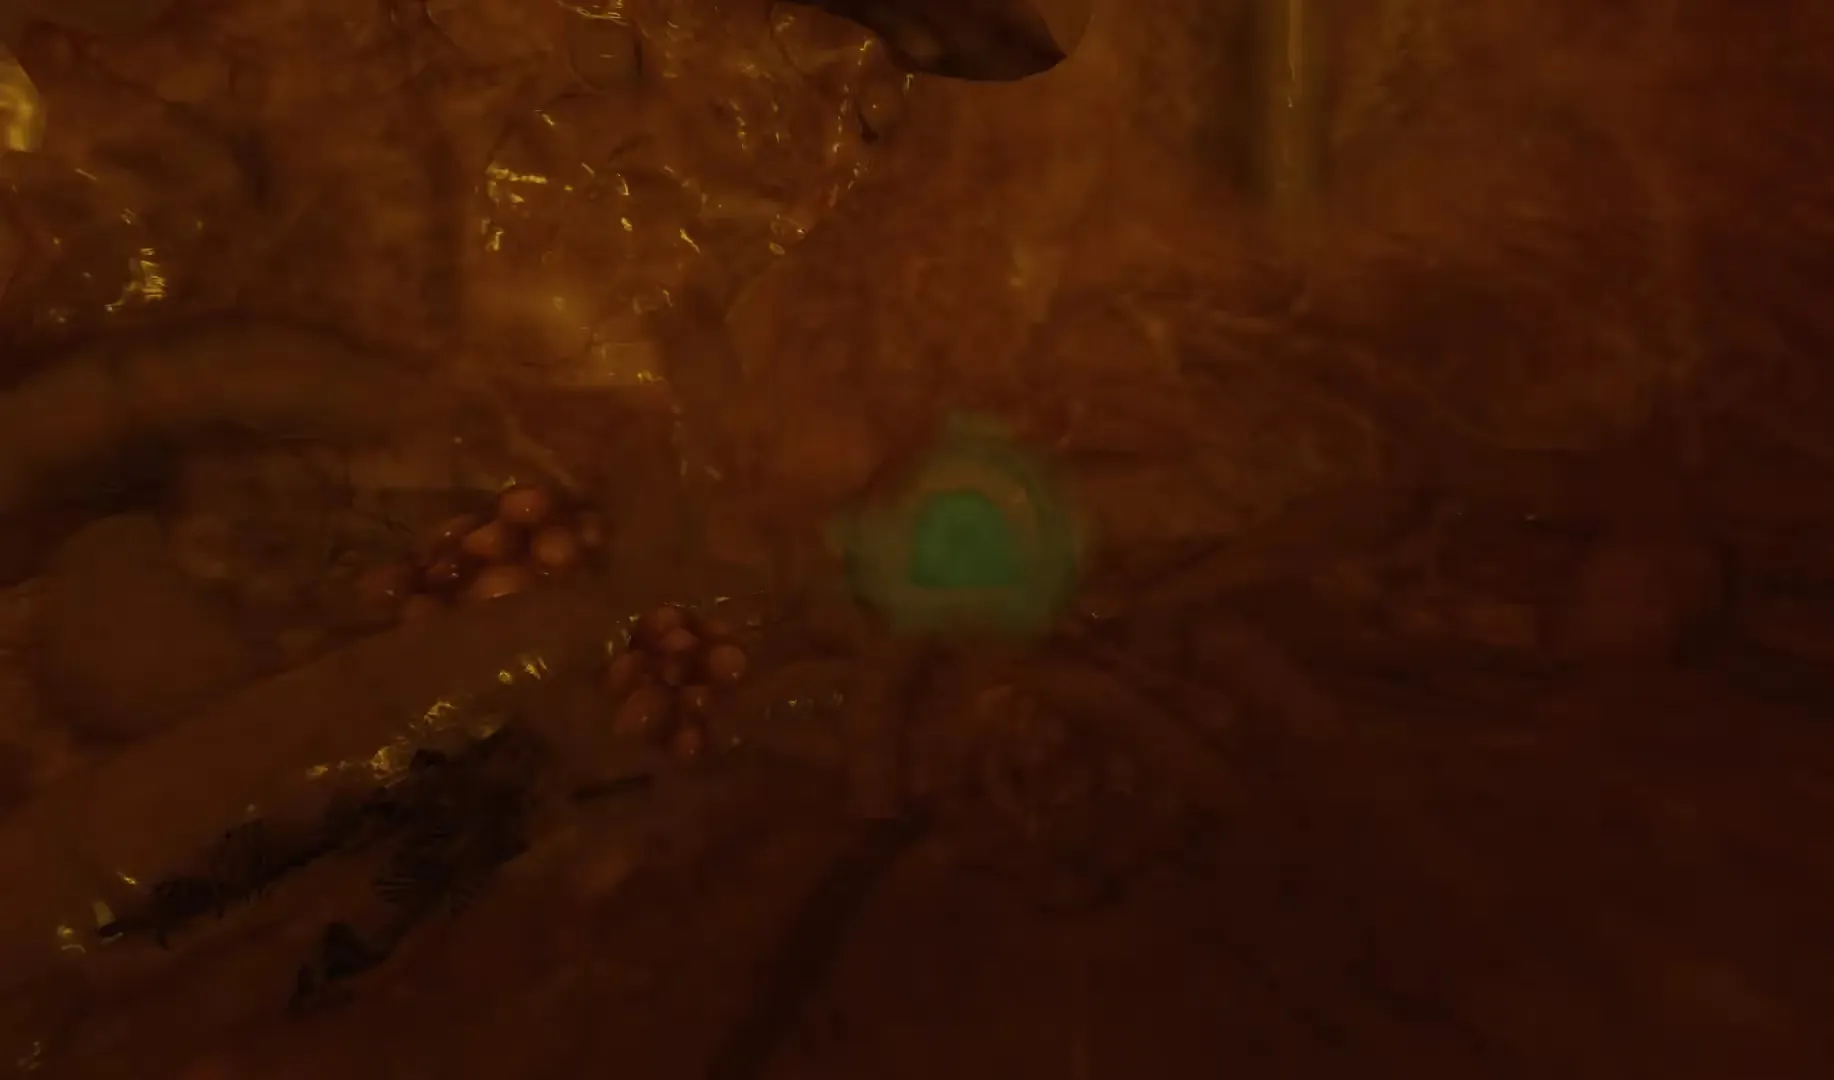
If solo, wait till the end of a round to attempt this to avoid getting swarmed when going prone. In co-op, you can have teammates protect the person throwing the Lil' Arnies if you want to do this mid-round or use a Monkey Bomb.
Every three holes will spawn three Margwa that you must kill. Group the nine holes into groups of 3 so you know which ones you have used to avoid wasting Lil' Arnies. If you have a way to spawn Max Ammos (e.g Gobblegums, Green Trial) or are in a co-op game and multiple people have Lil' Arnies, you can throw a Lil' Arnie in every single hole spawning in nine Margwa that when killed will immediately complete the step.
If solo, going down while fighting the Margwa will reset the holes meaning you will need to throw a Lil' Arnie in each of the three holes in that group again. If a hole is missed within a group of three, leaving the apothicon will reset these holes. This does not reset the progress of successful groups of three that spawned the Margwa, once a wave of Margwa is killed, progress is saved and you are able to leave the apothicon without any consequences. In co-op, only the player(s) who threw the Lil' Arnies must not leave the apothicon to avoid resetting progress.
Once all nine Margwa have been defeated, an Audio Reel will spawn in the middle of the top bridge within the Apothicon. You must place this Audio Reel in the audio player in Kino Der Toten on the right side of the stage.
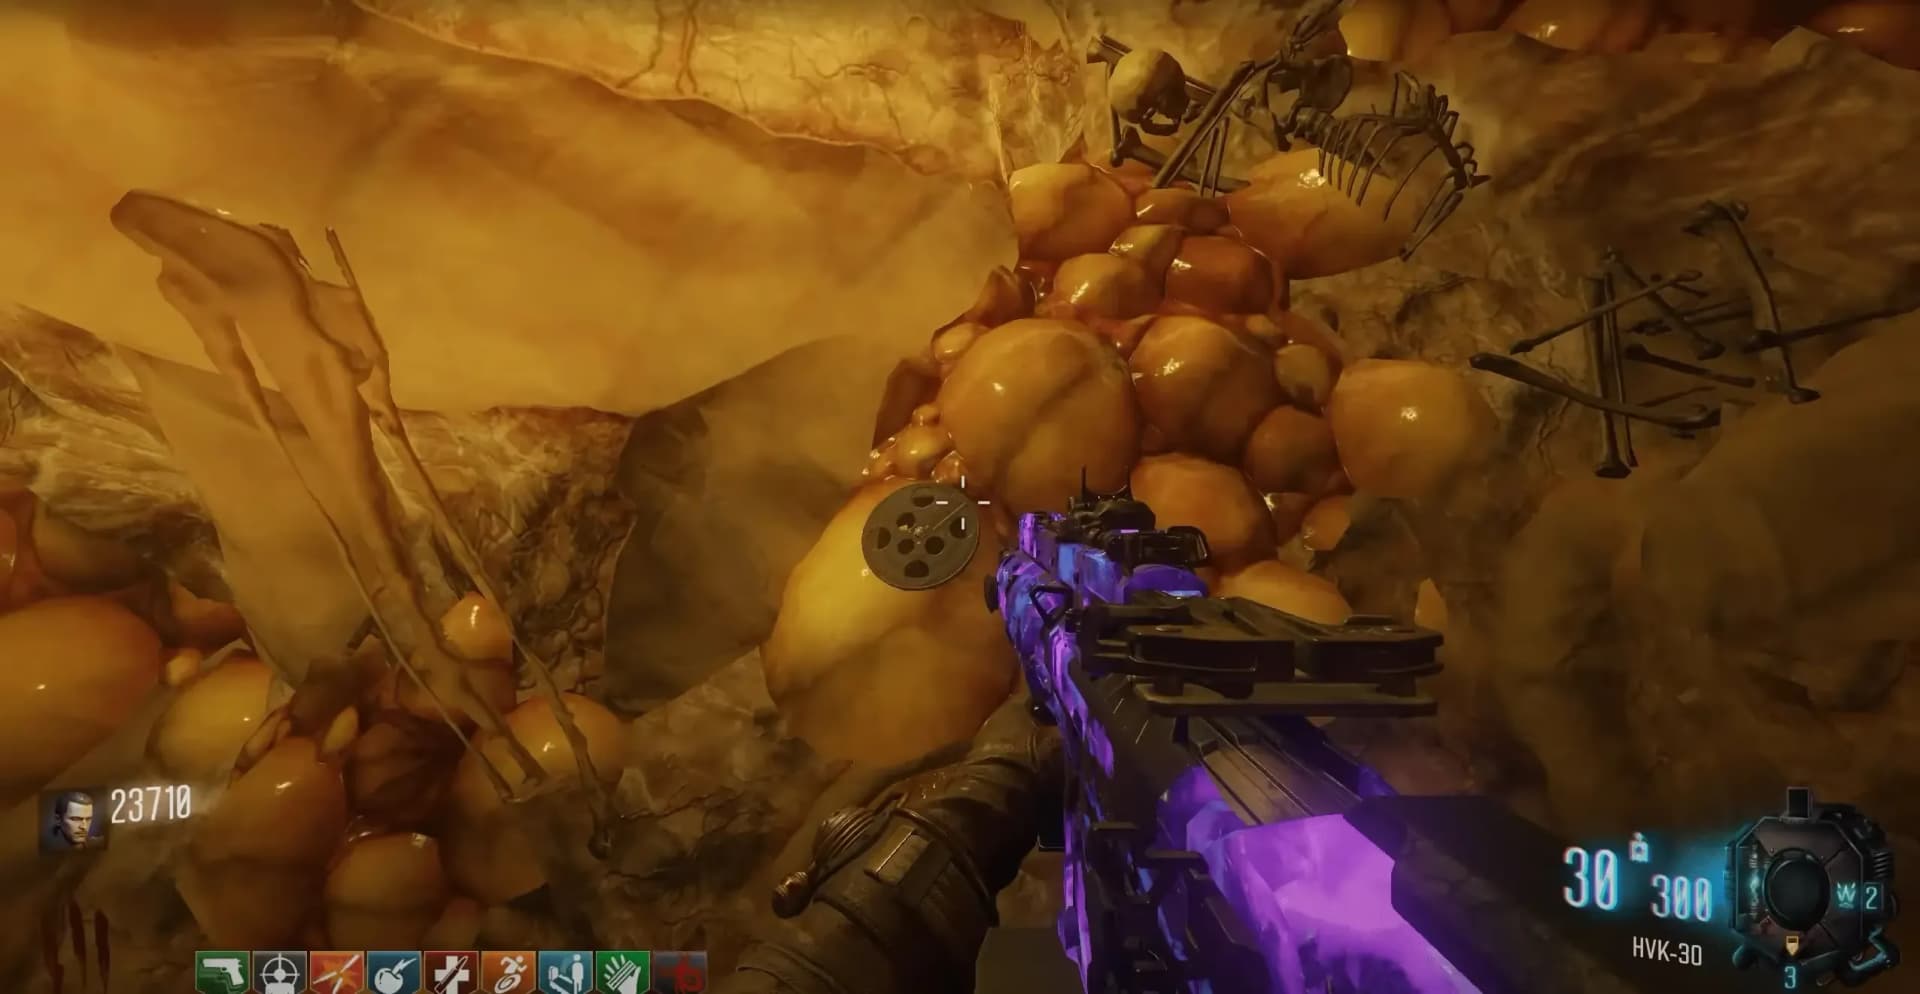
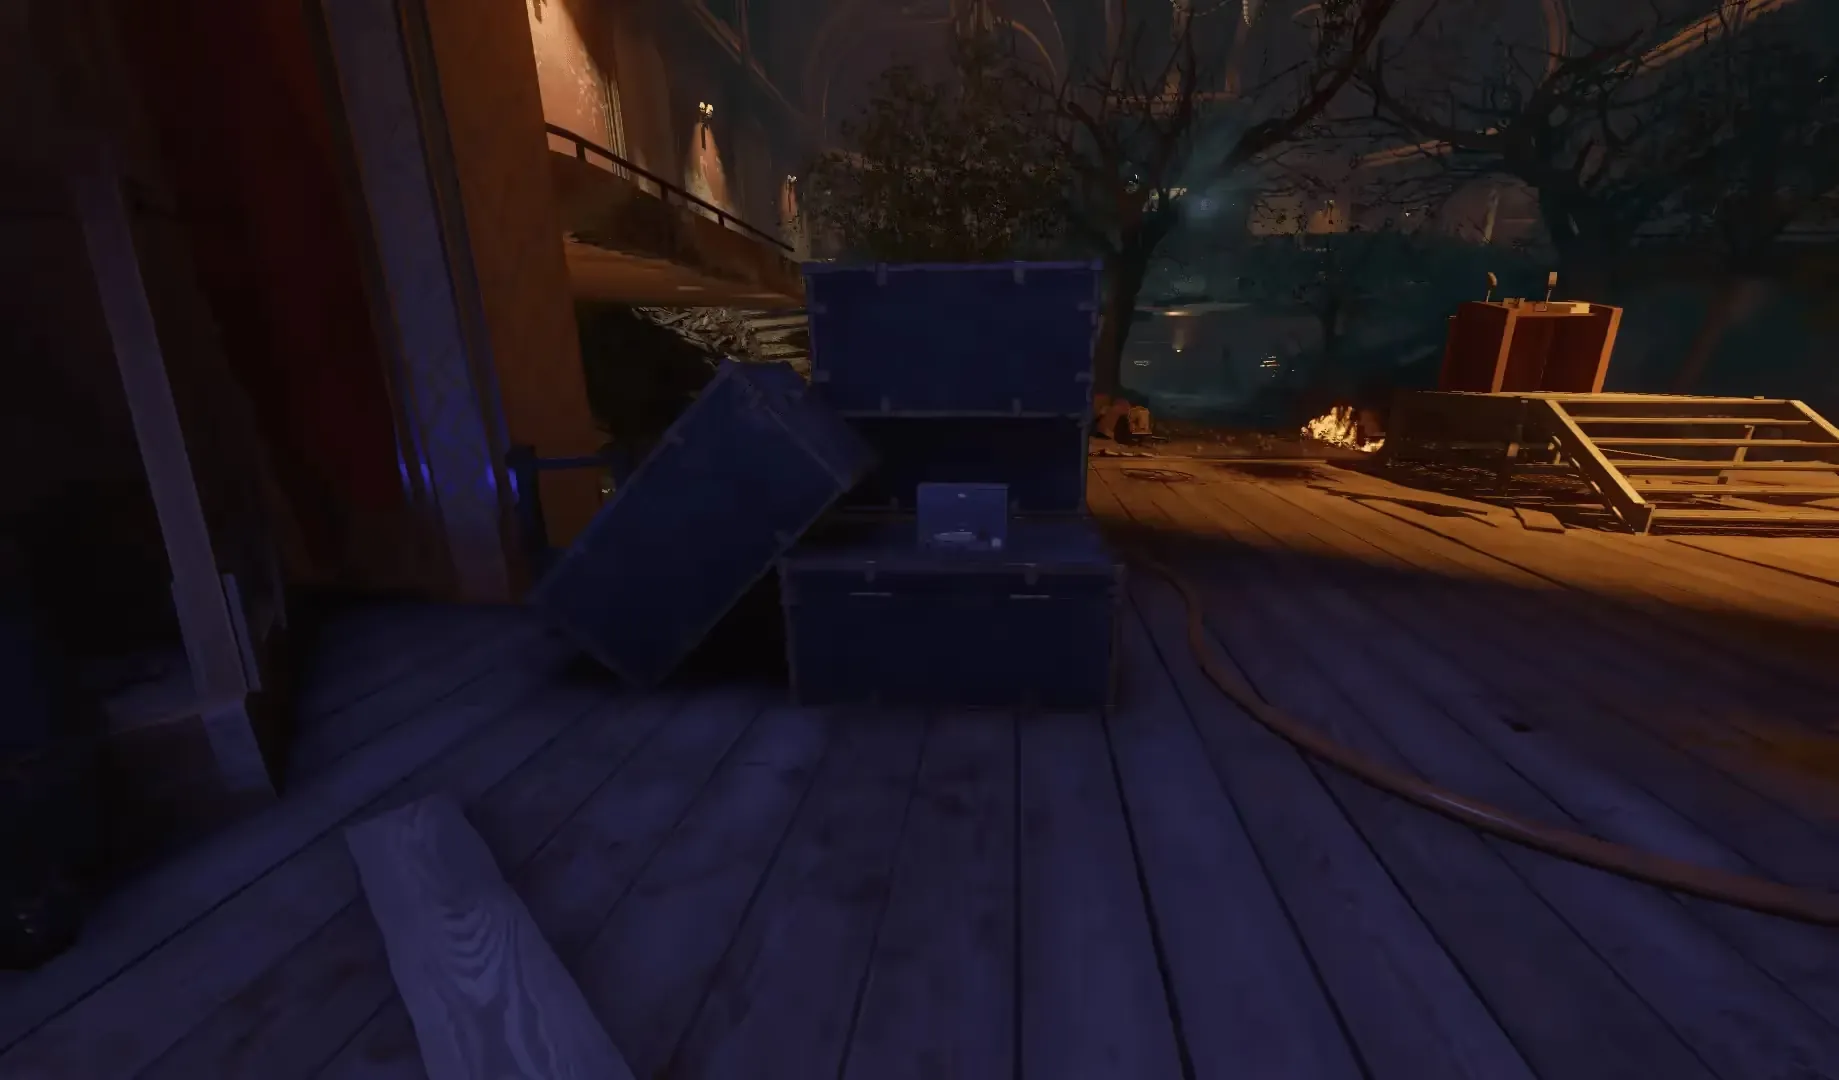
Audio Reel 3
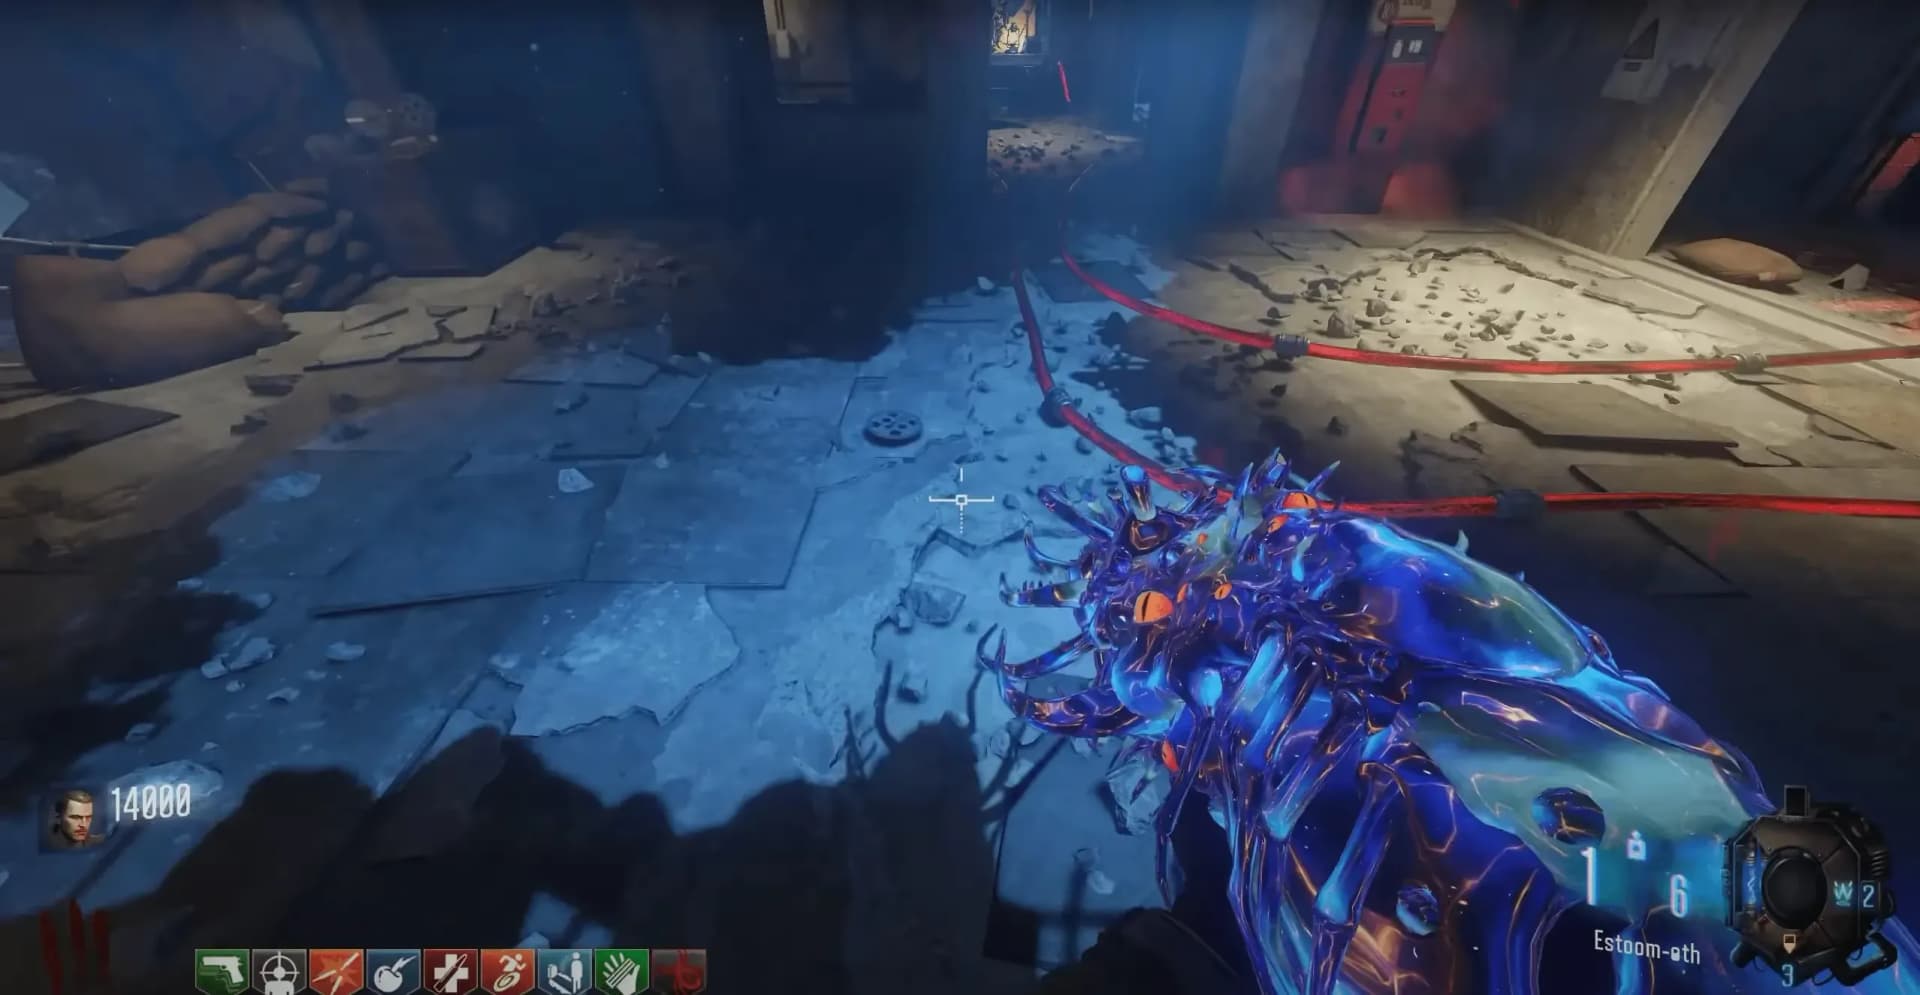
You must shoot six rocks scattered around the outside of the map with any Pack-a-Punched weapon except the Apothicon Servant, causing a bone of a skeleton to begin floating. You must collect this bone by shooting it with the Pack-a-Punched Apothicon Servant. The locations of the six rocks are:
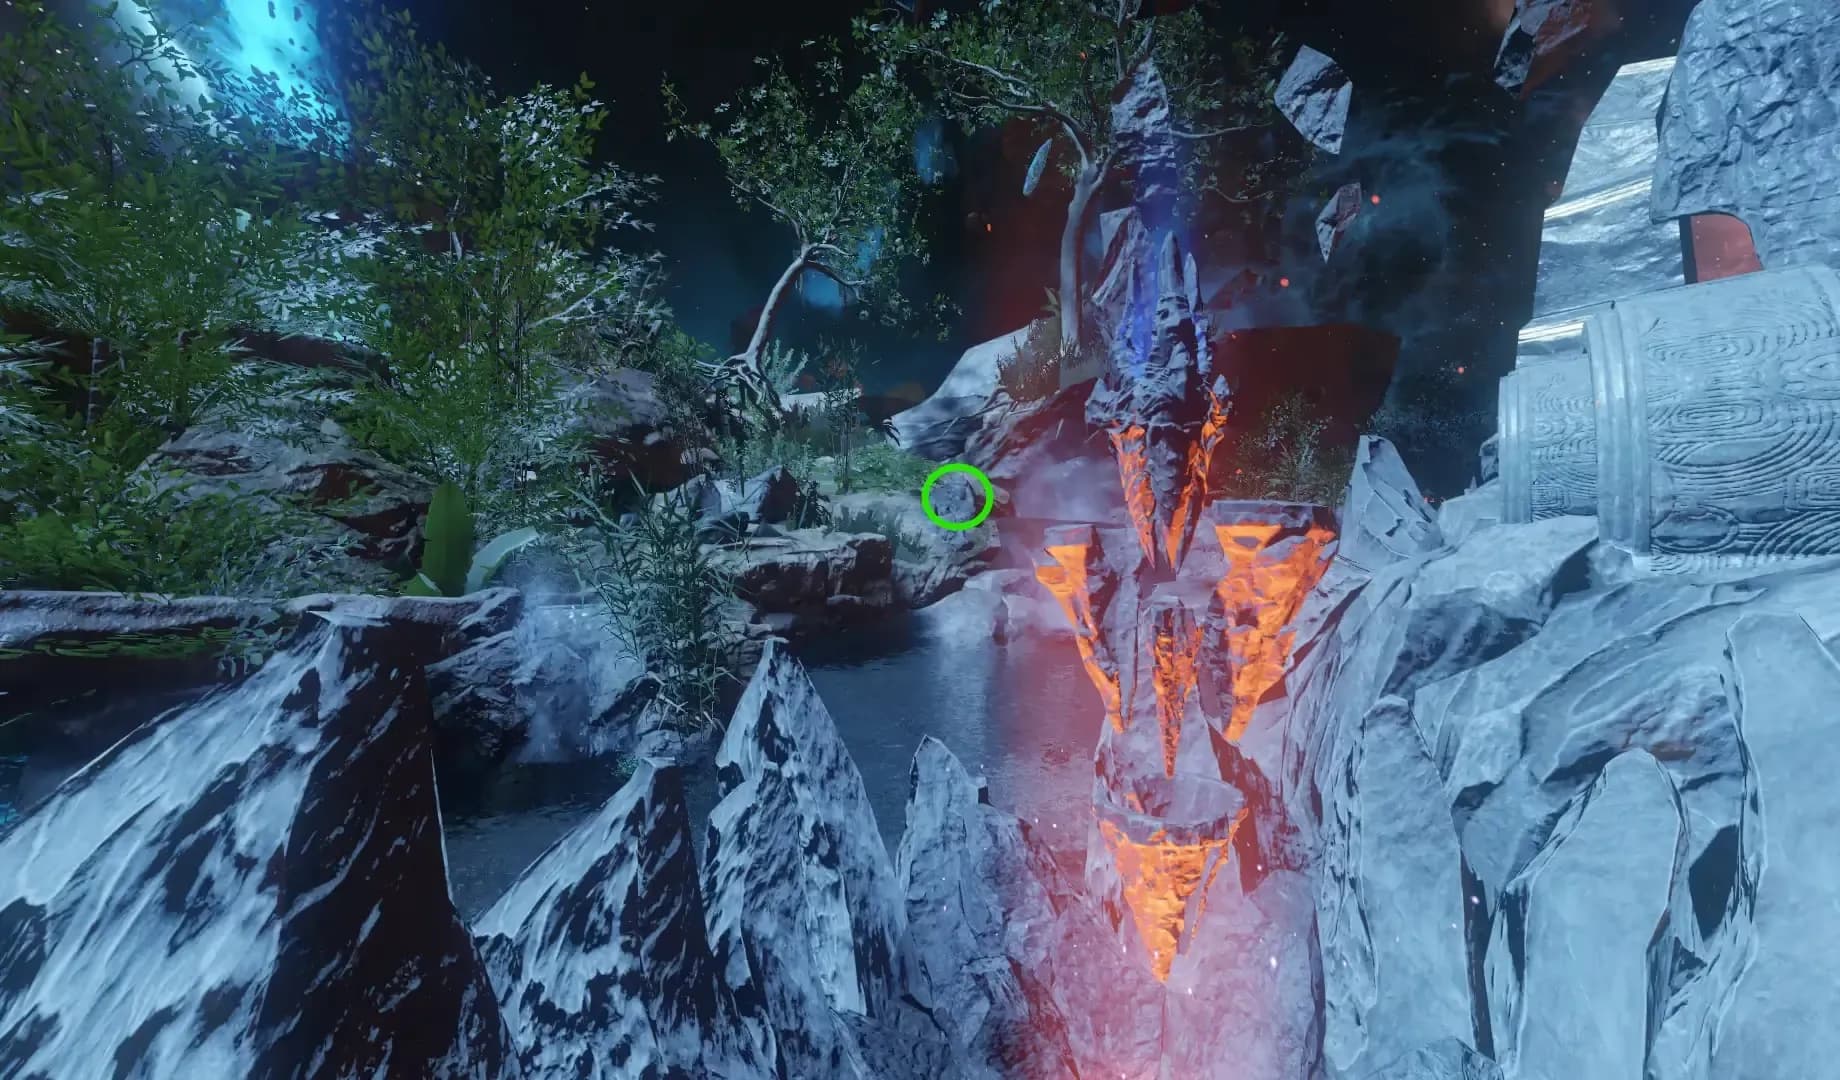
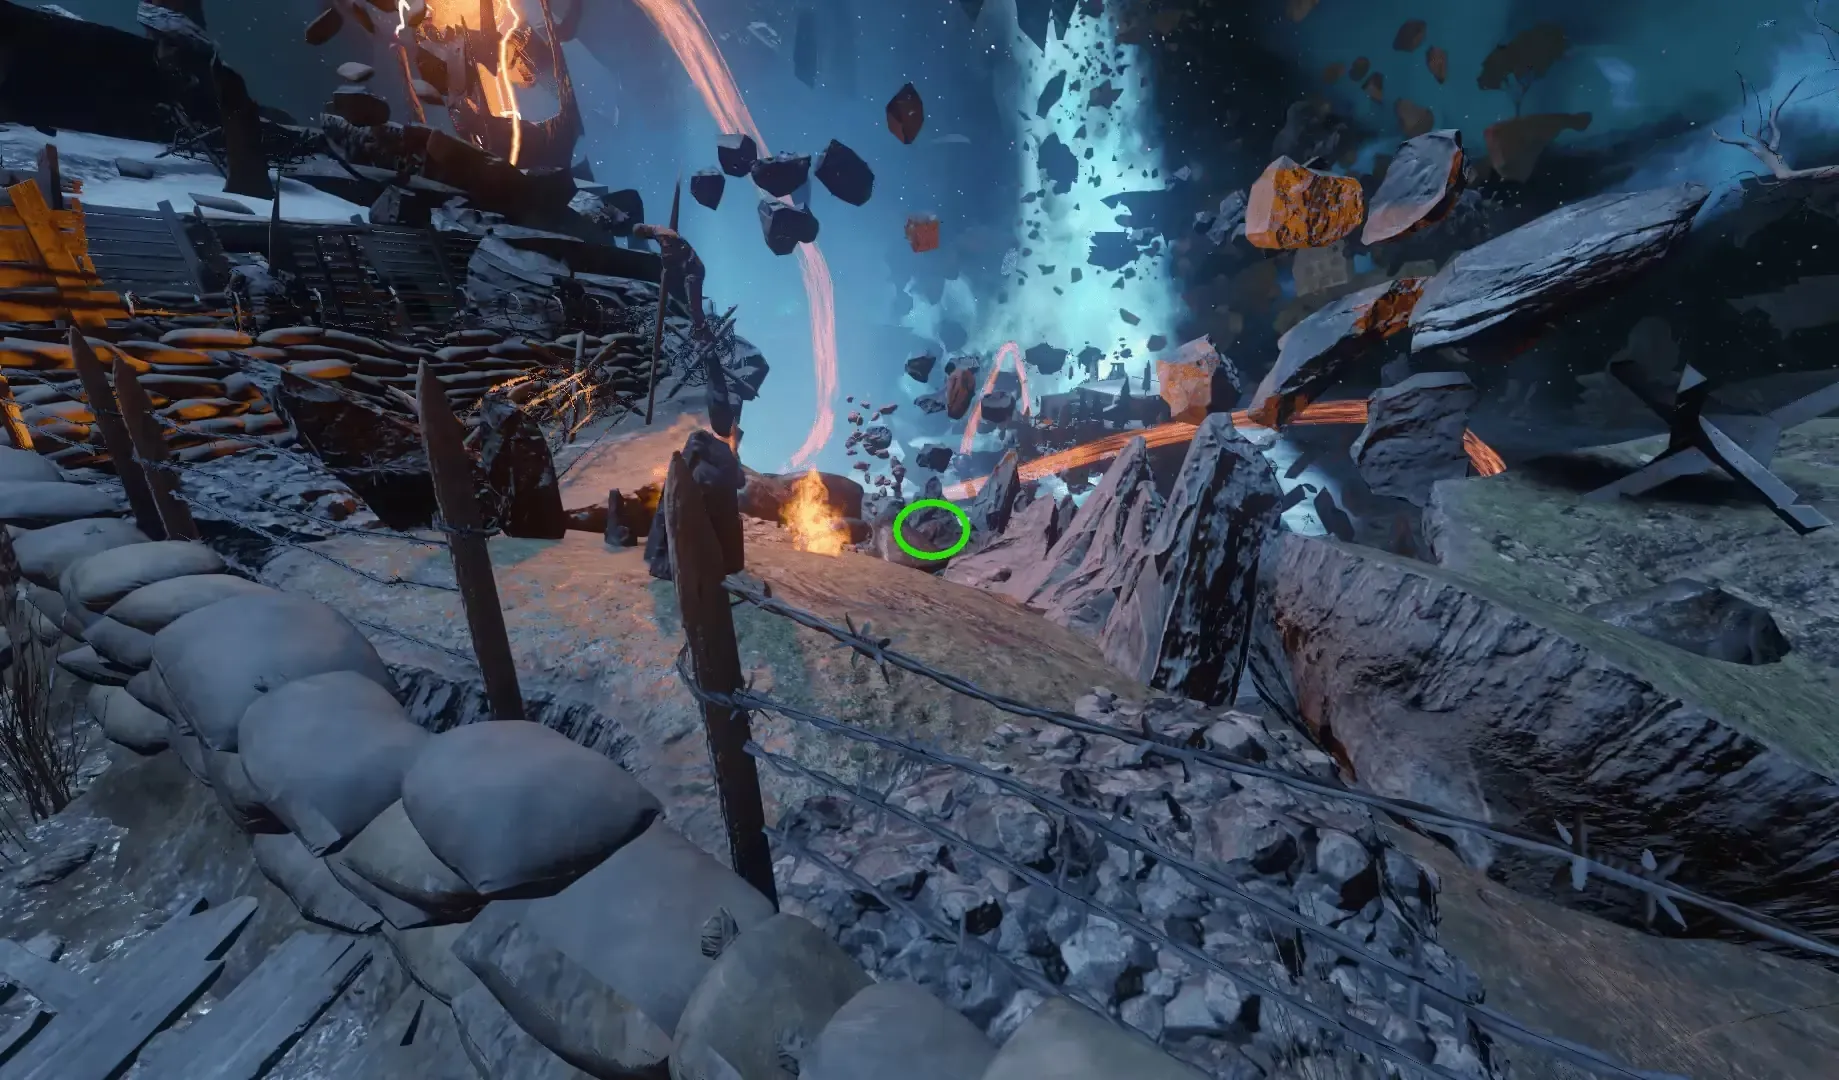
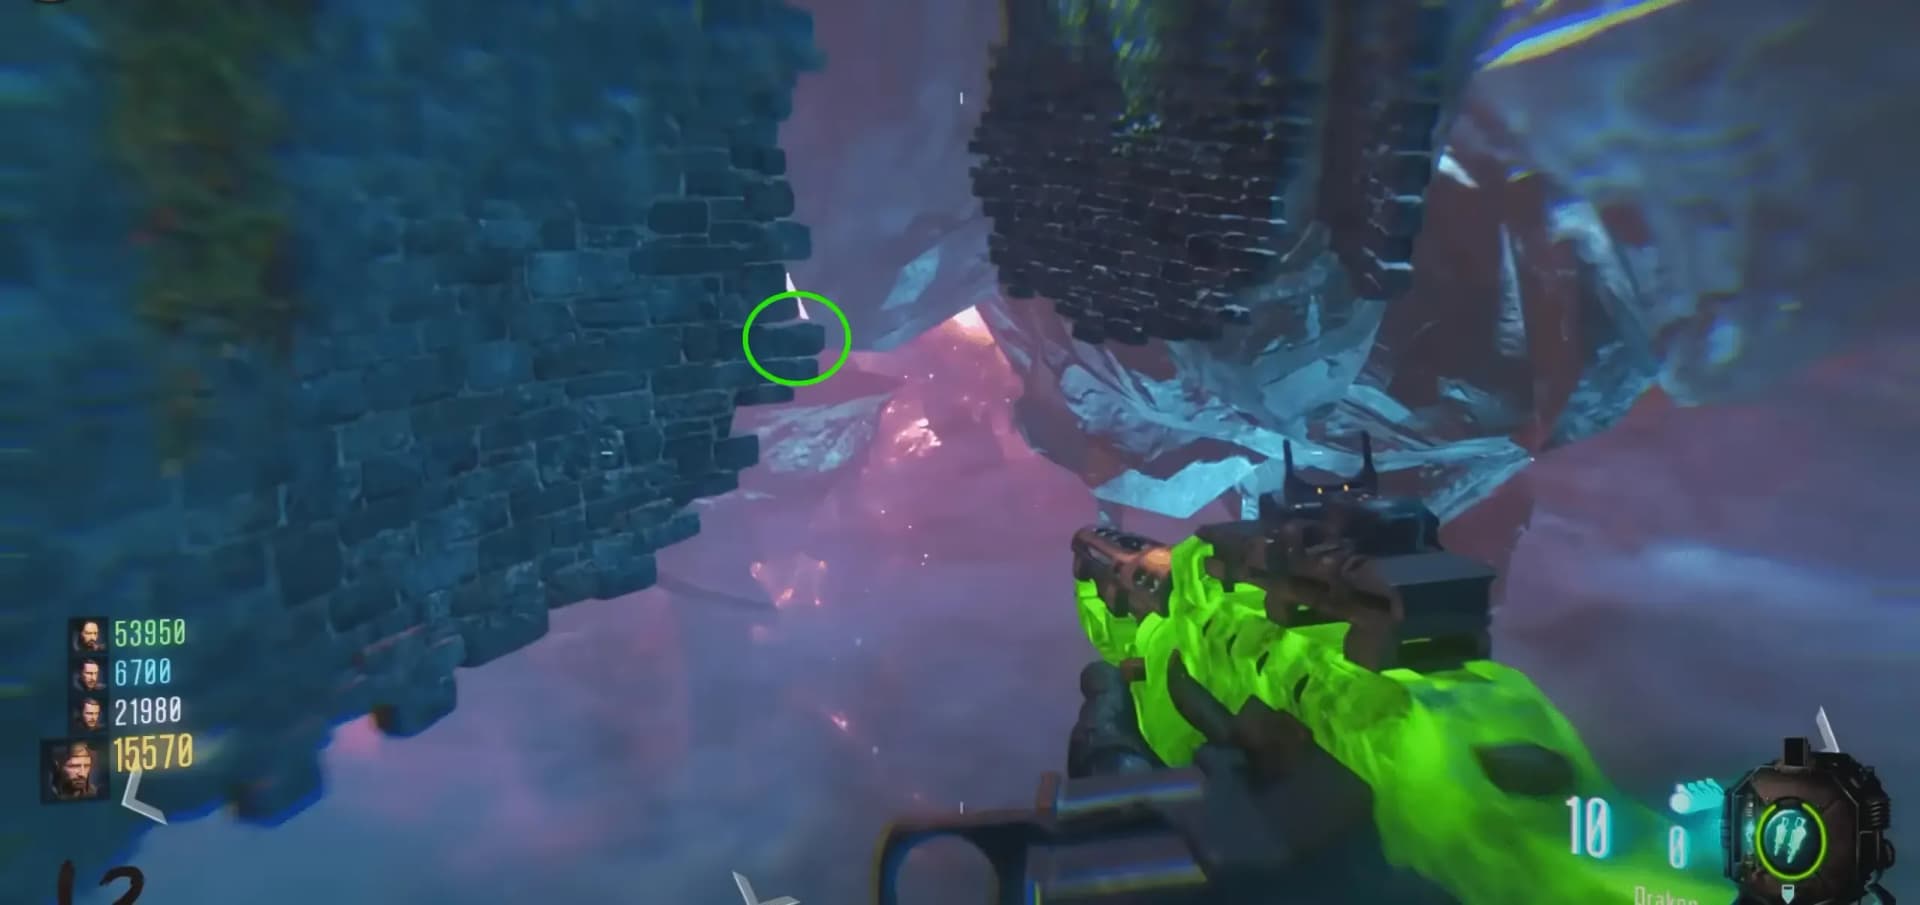
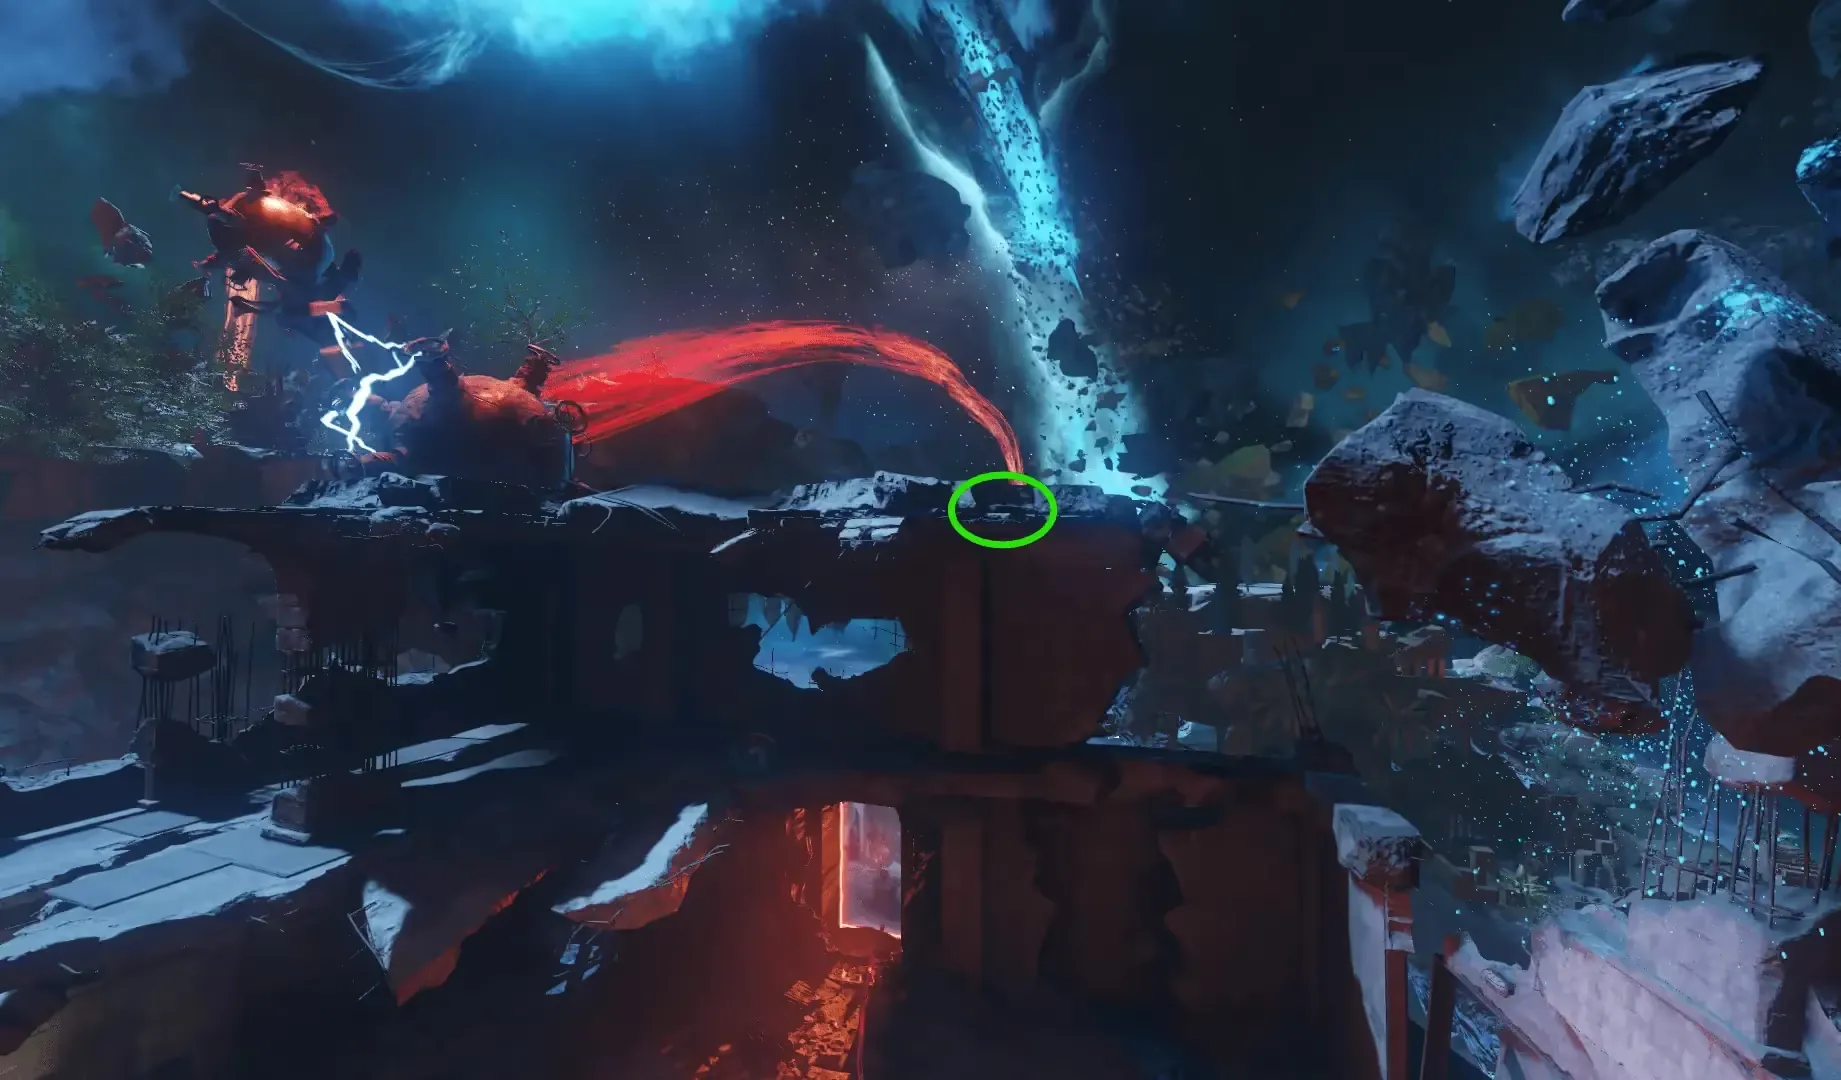
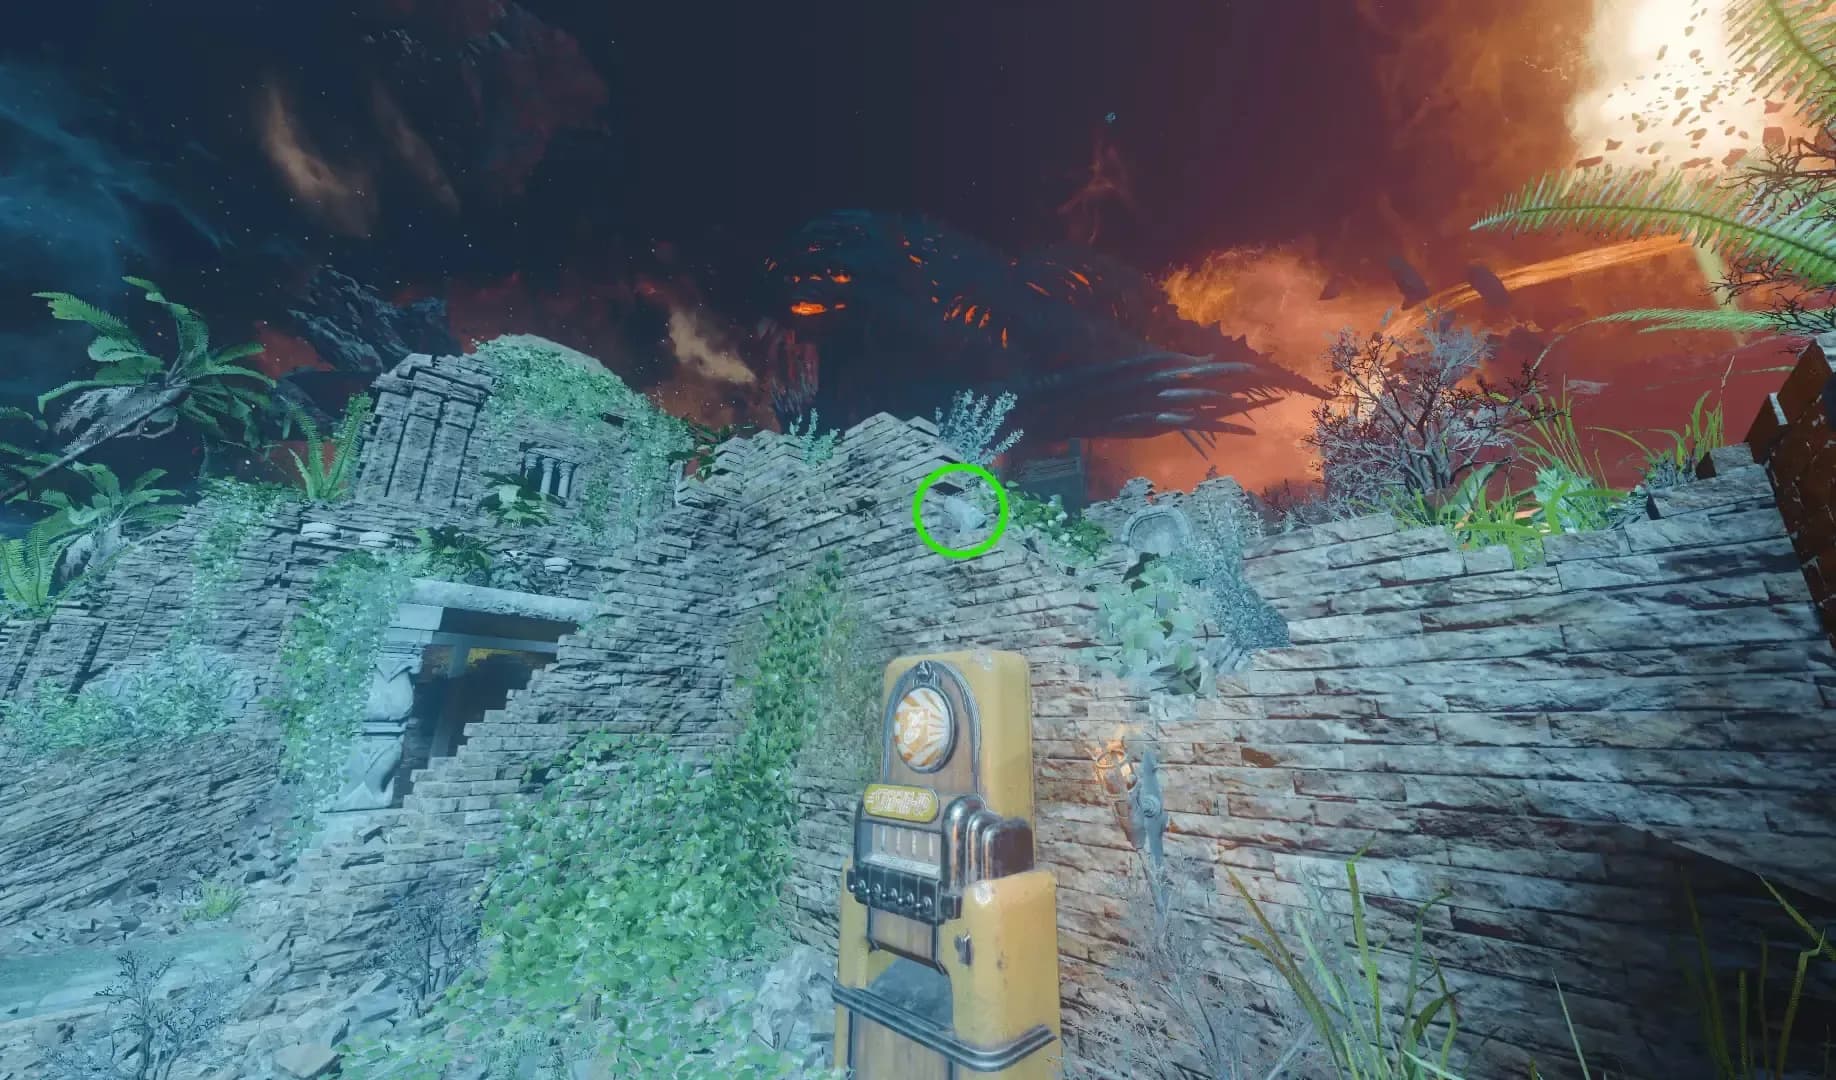

Some of these rocks are difficult to see with regular weapons, a Sniper Rifle or weapon with a zoomed sight can be helpful to see and shoot some of these rocks.
Once all bones have been collected, head to the top floor of Nacht Der Untoten to find the bones piled on the floor in front of the audio player. Shoot the pile of bones with the Pack-a-Punched Apothicon Servant to transform the bones into the zombie body of Sophia. Shoot her body with the Pack-a-Punched Apothicon Servant to absorb her body and spawn the final Audio Reel where her body was lying that you must place in the audio player atop of the Excavation Site in Origins.
Building the Keeper Protector
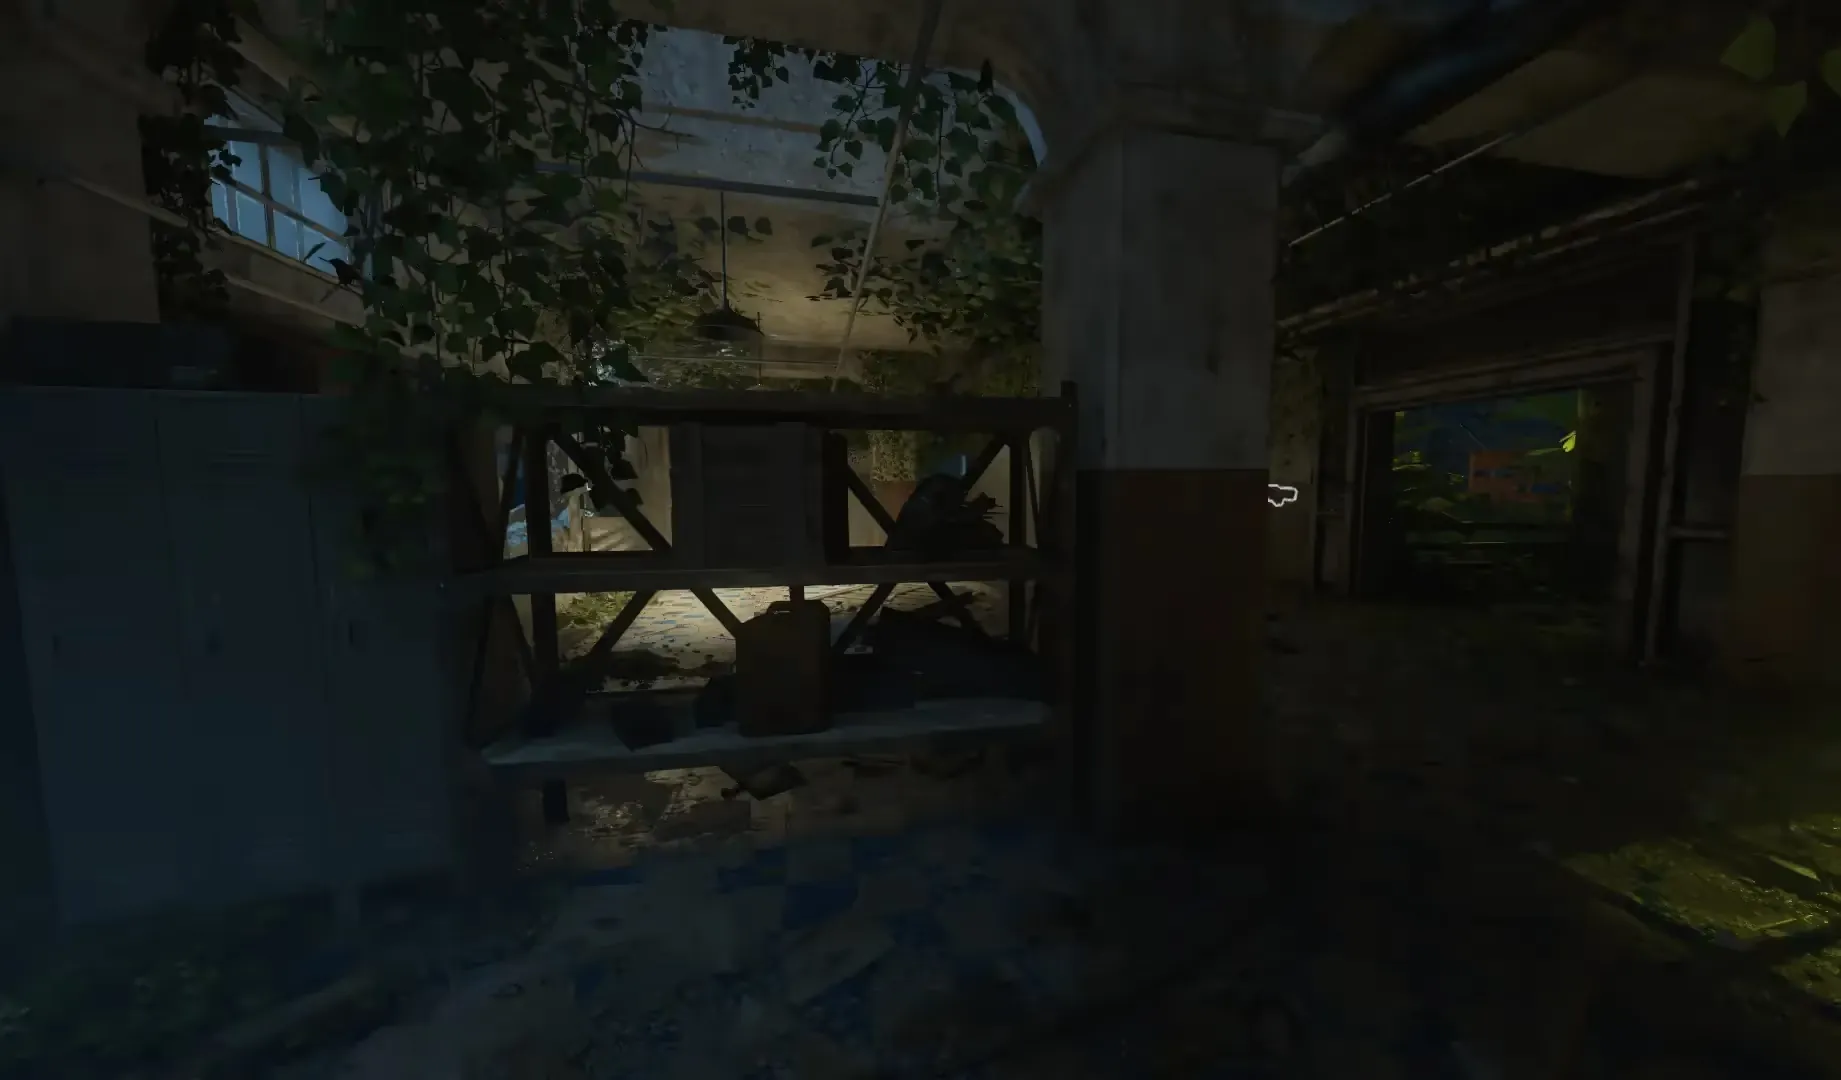
The Keeper Protector requires three parts to build and can be obtained at any point of the game
The first part is the Keeper Skull, which can be found in the Verruckt area of the map:
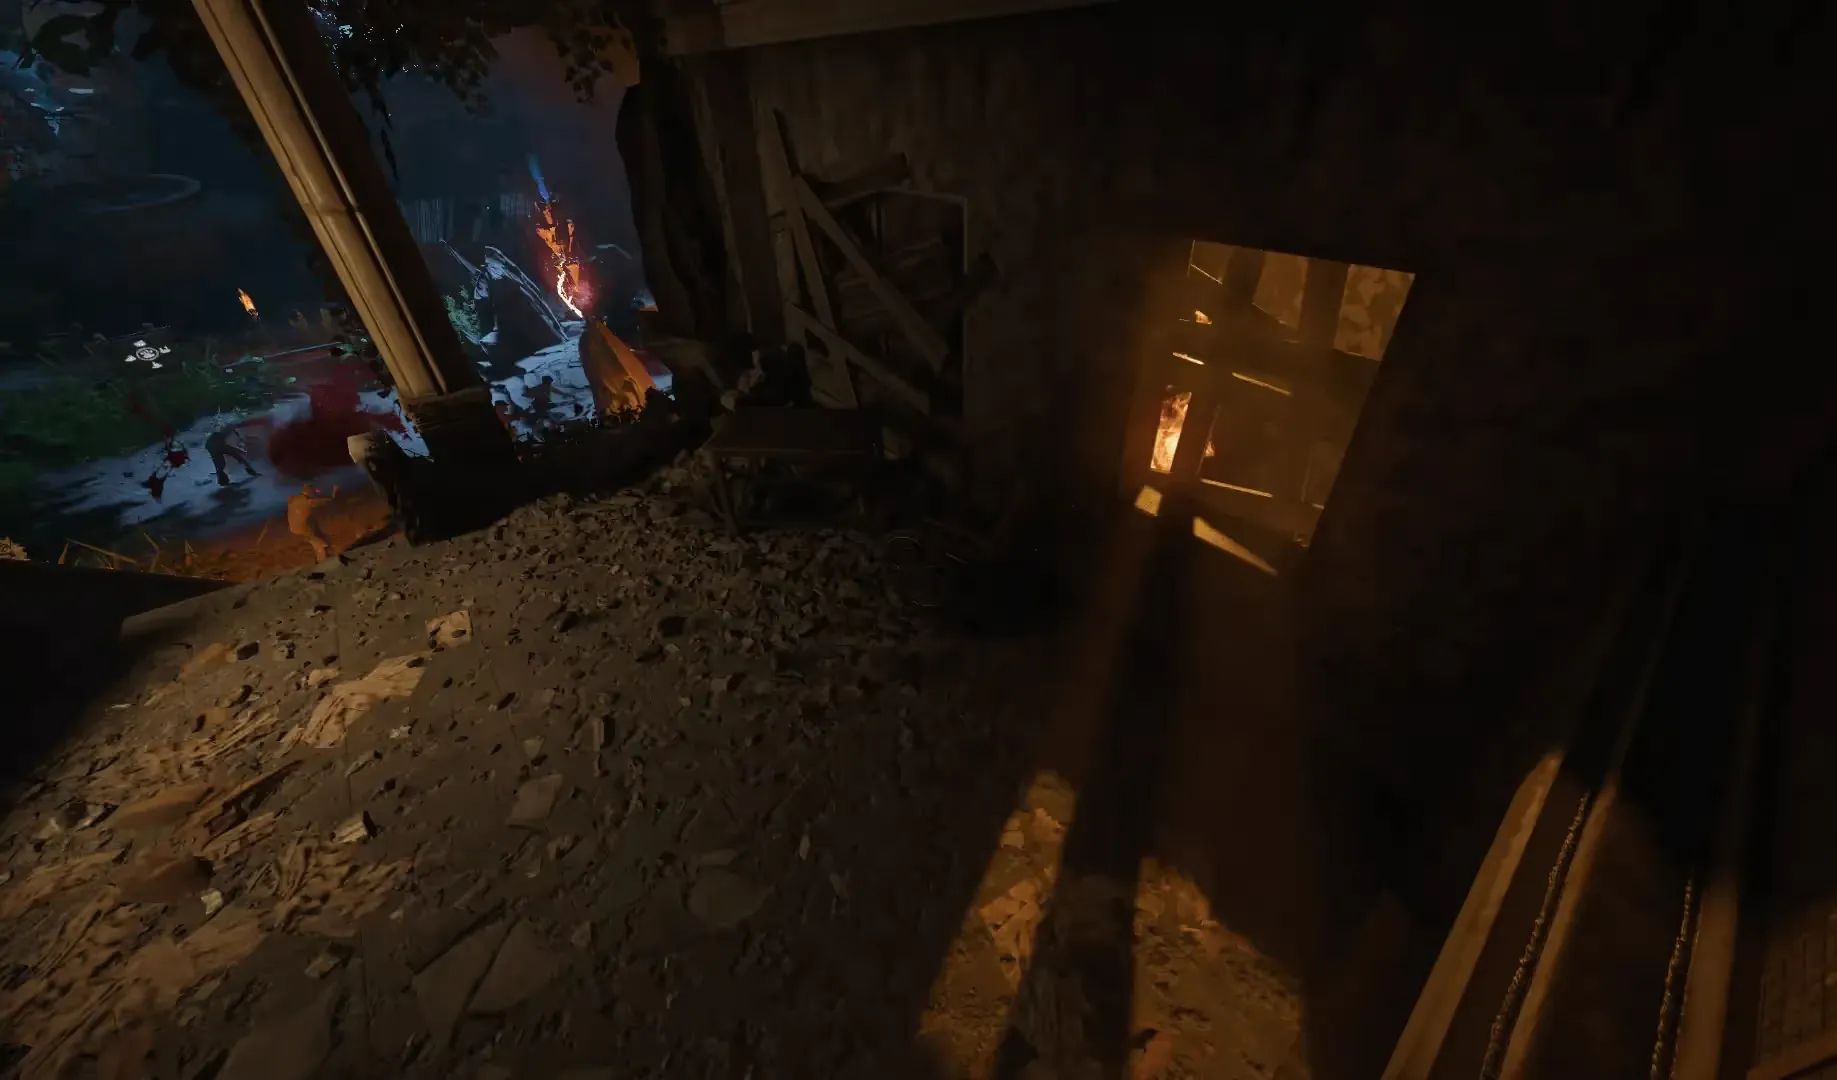

The second part is the Crystal, which can be found in the Der Eisendrache/Kino der Toten areas of the map:
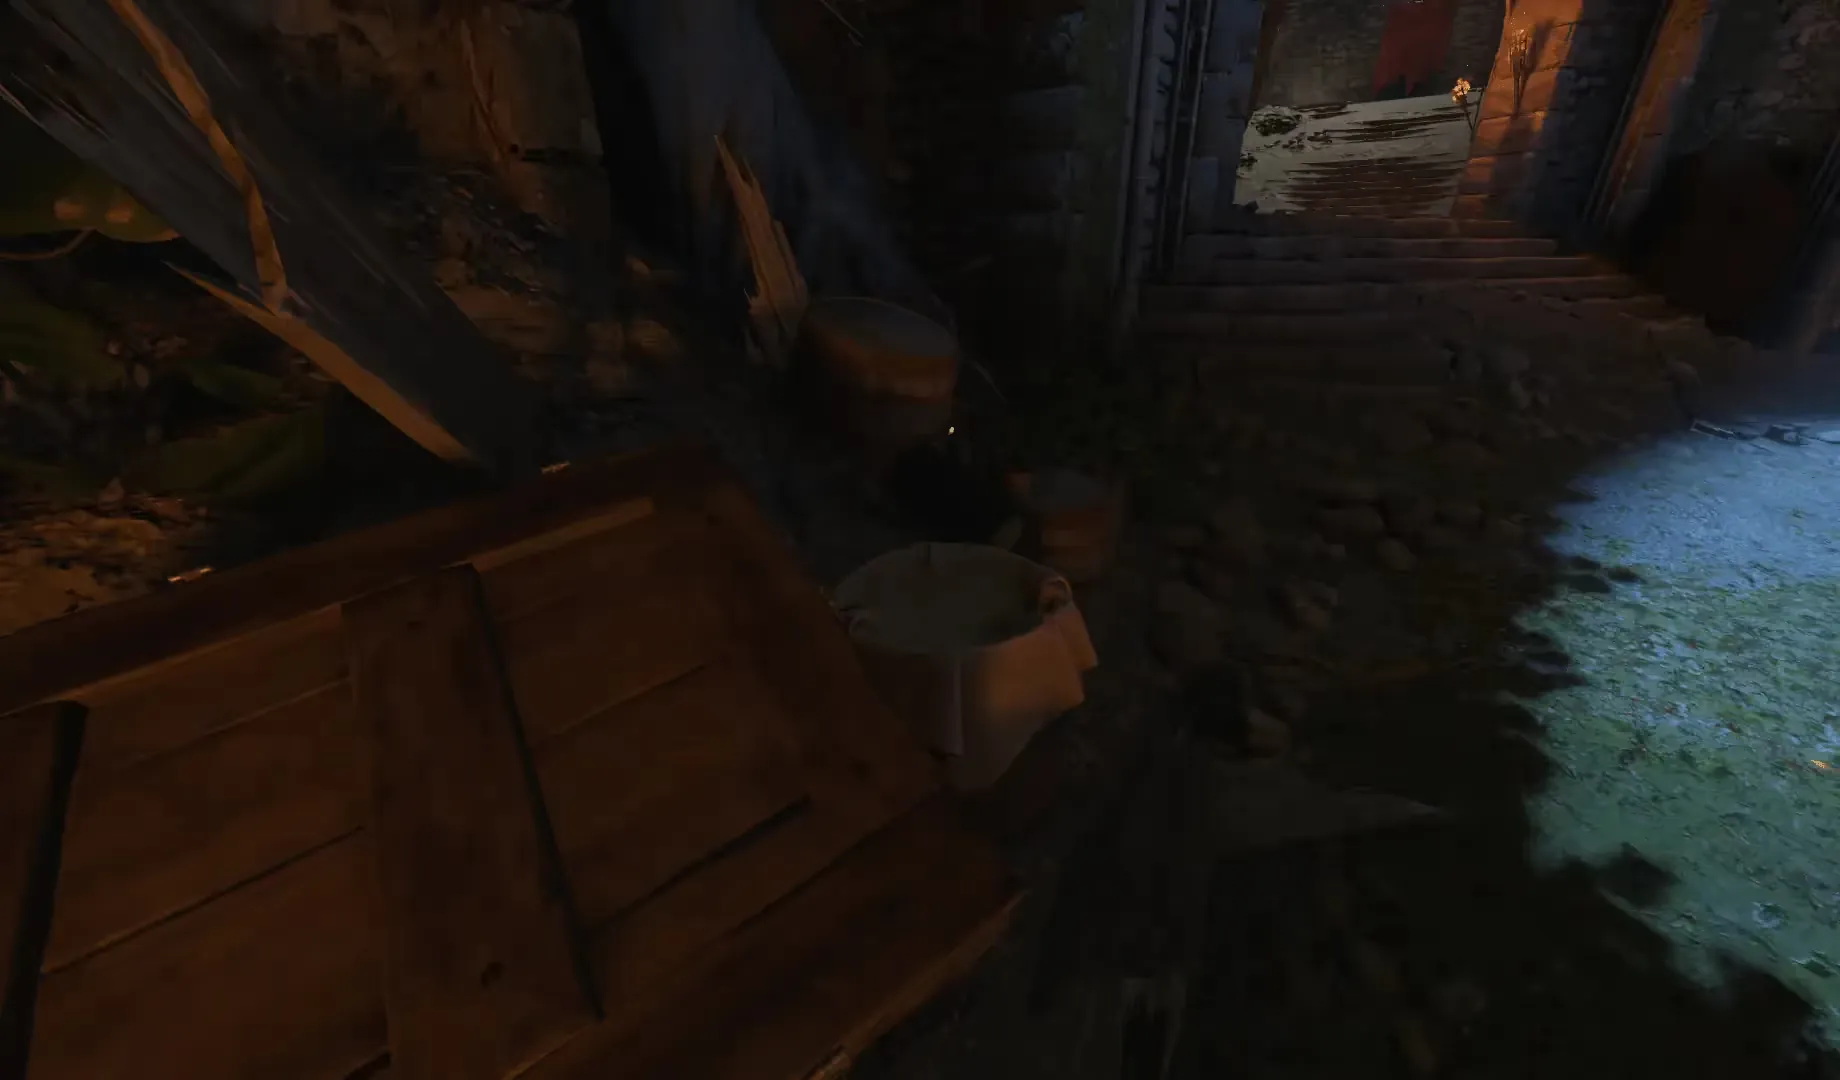
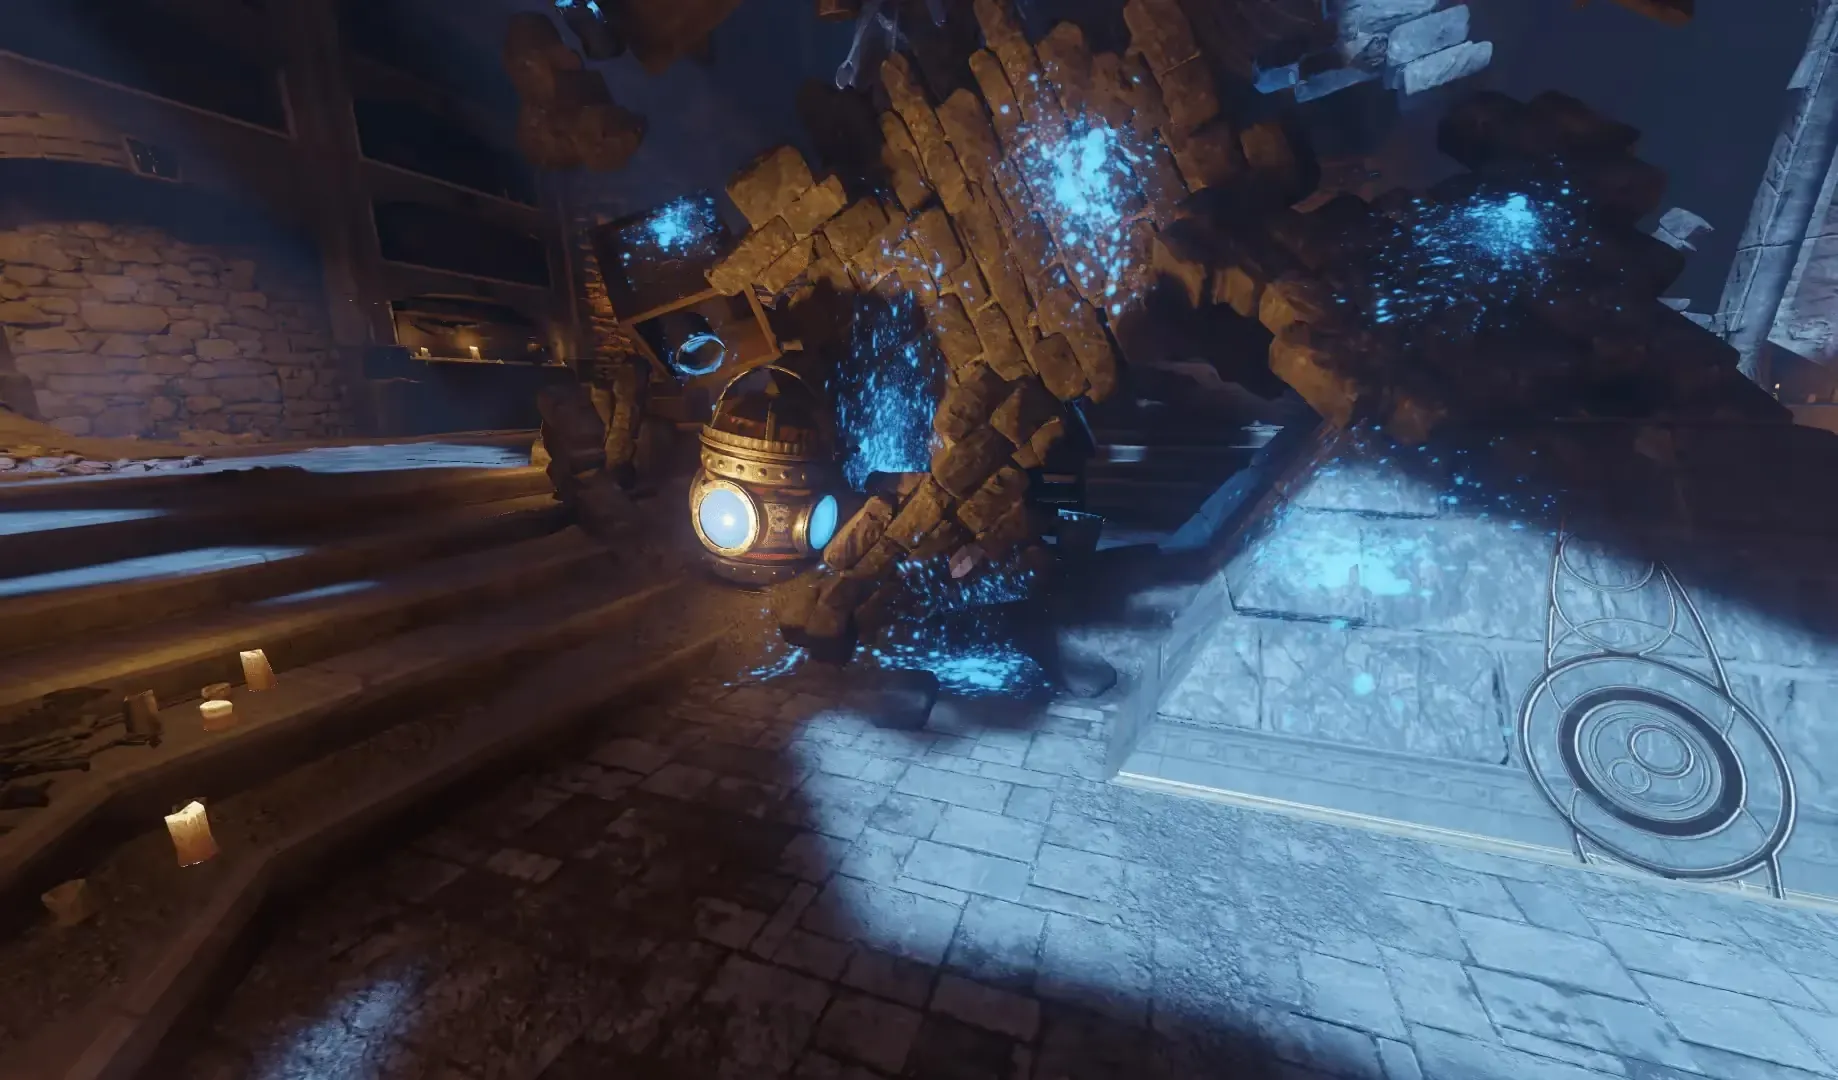

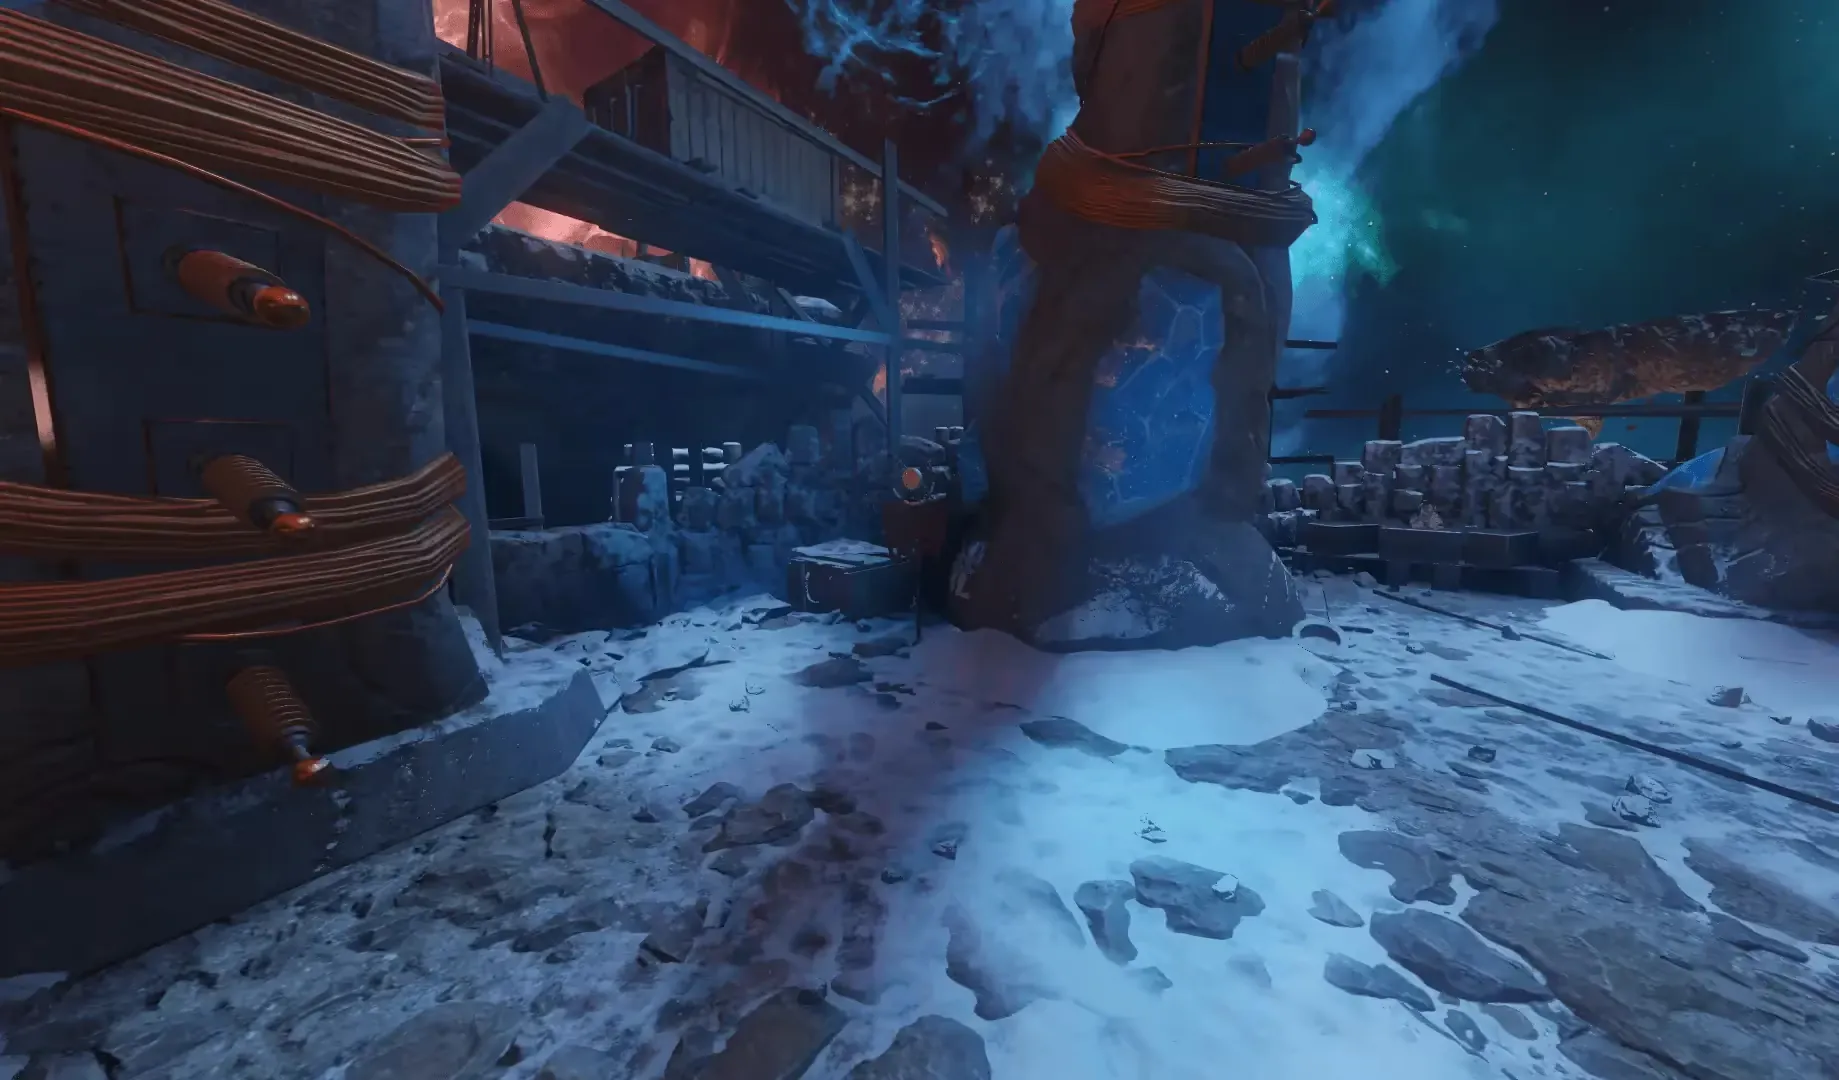
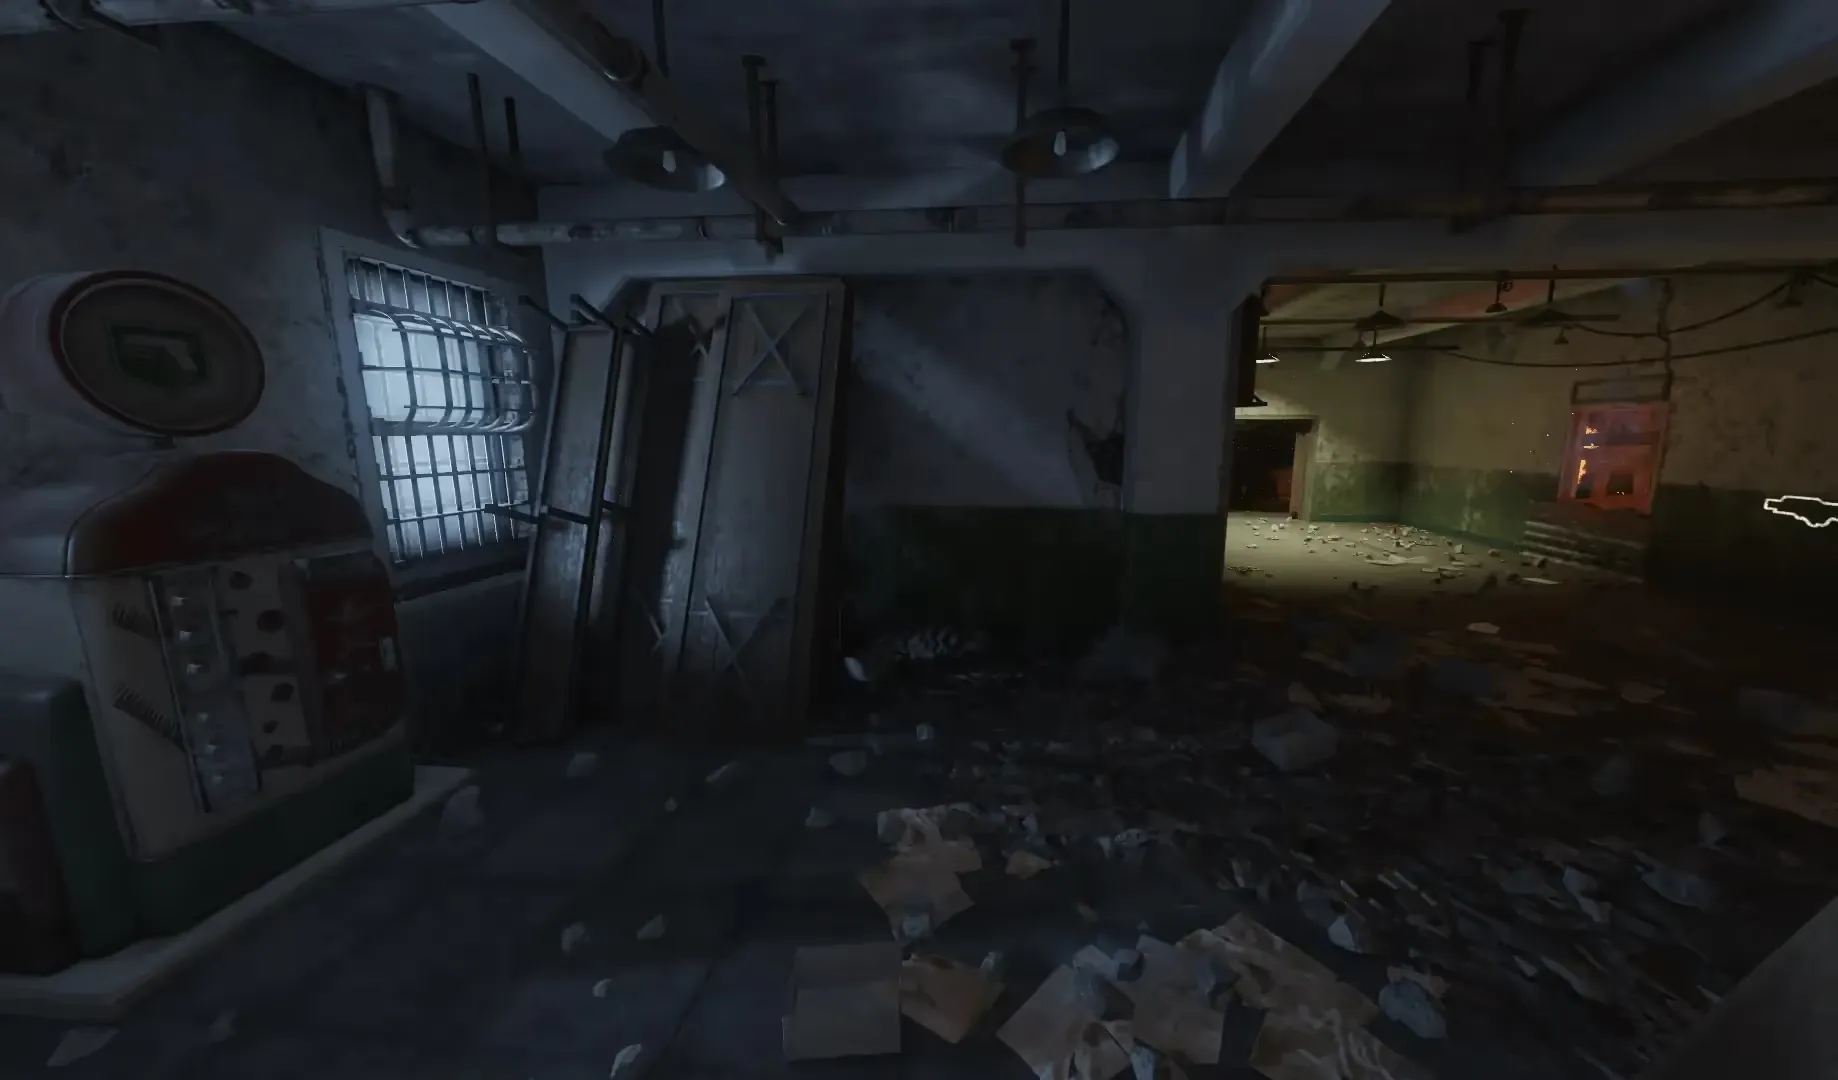
The final part is the Keeper Flag, which can be found in the Origins/MotD areas of the map:

Once all three parts have been collected, head to any summoning altar (Der Eisendrache, Kino Der Toten, Verruckt, or Origins) to build the Keeper Protector who you can now summon for 5000 points.
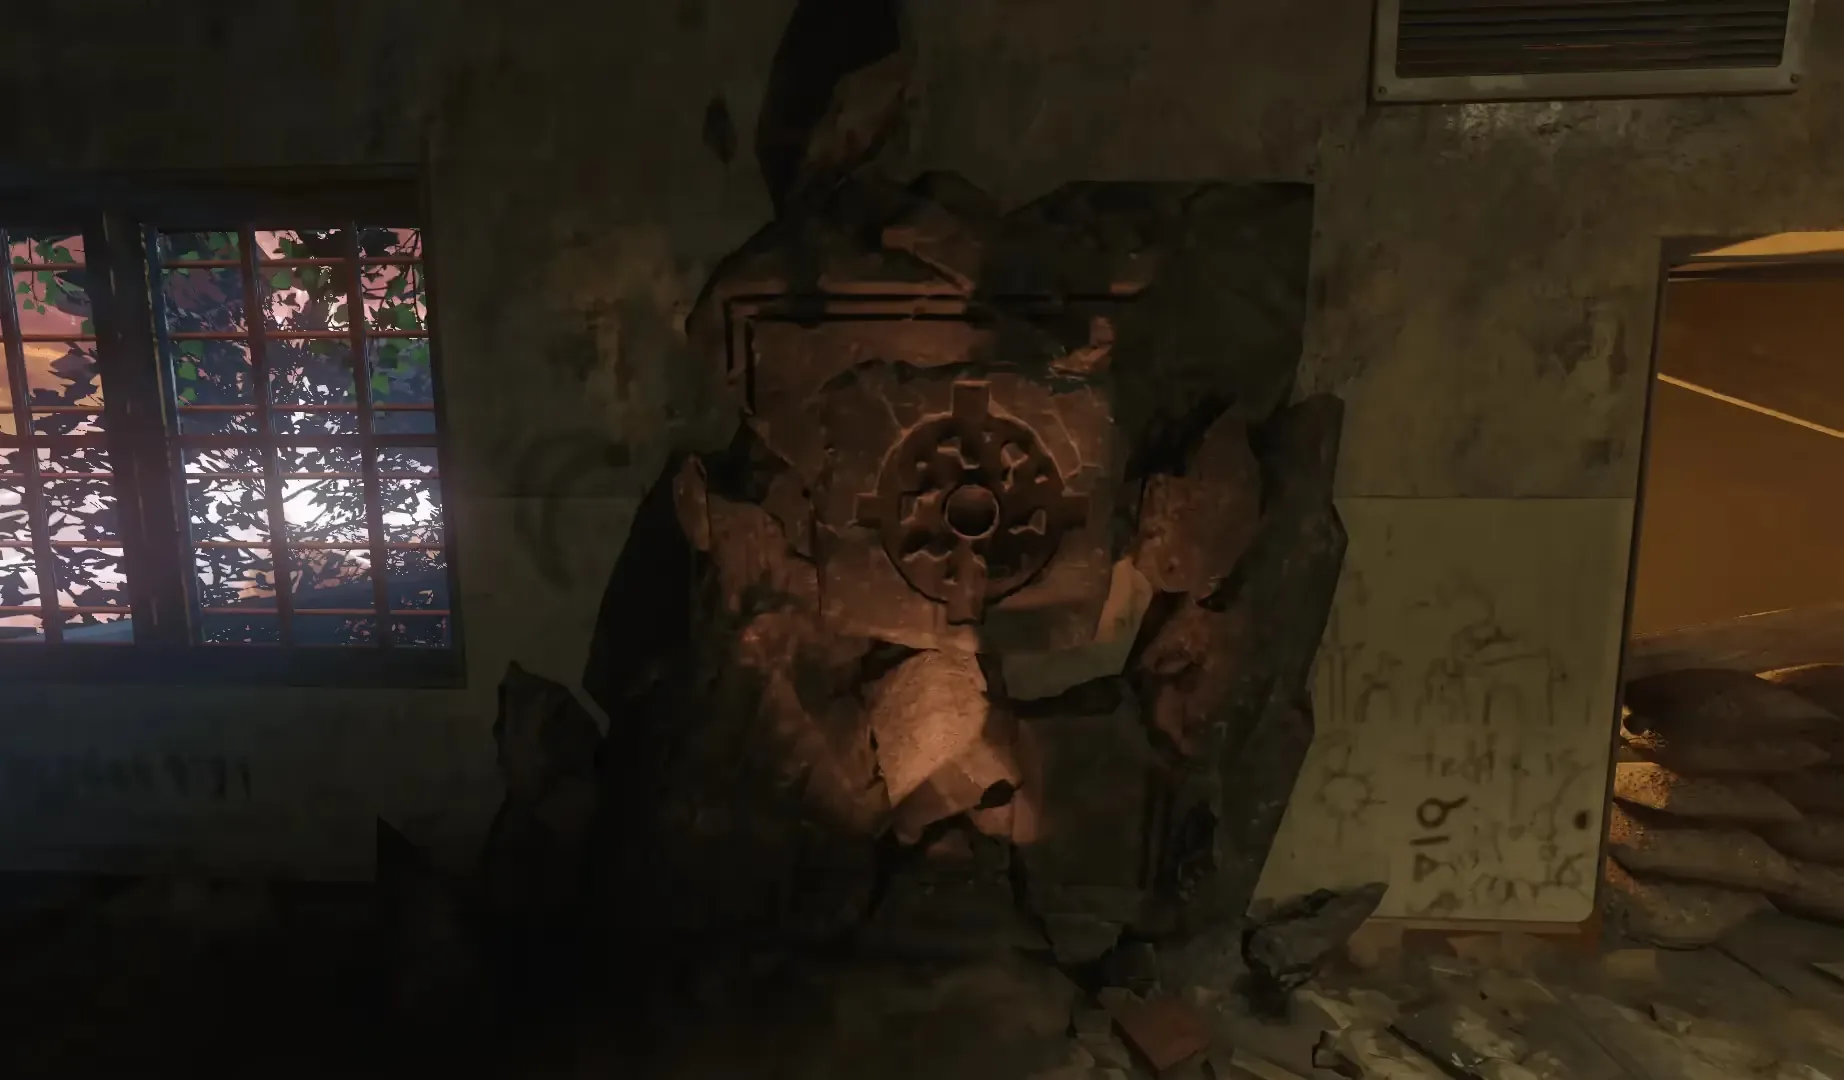
Upgrading the Apothicon Servant
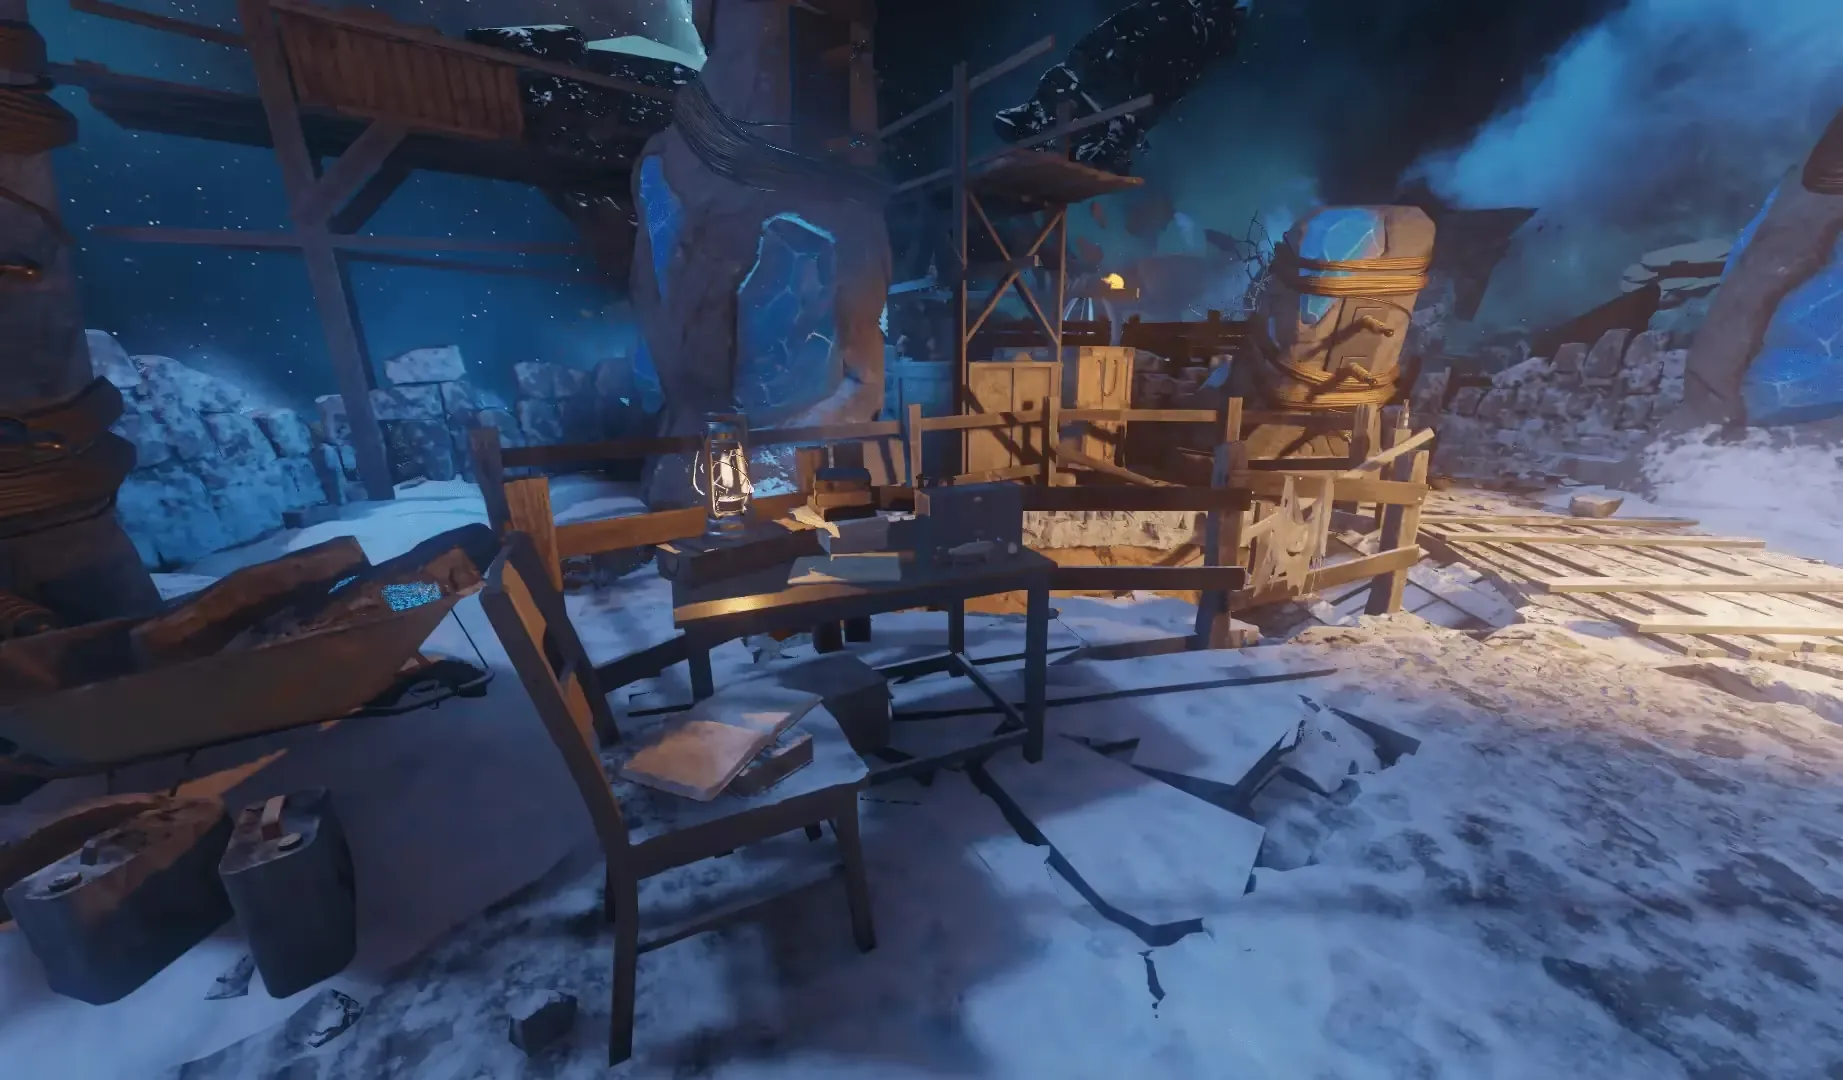
There are five small floating Element 115 rocks that you must shoot with the Apothicon Servant, teleporting these rocks to the Pack-a-Punch machine inside the giant Apothicon allowing you to Pack-a-Punch the weapon. The location of these five rocks are:
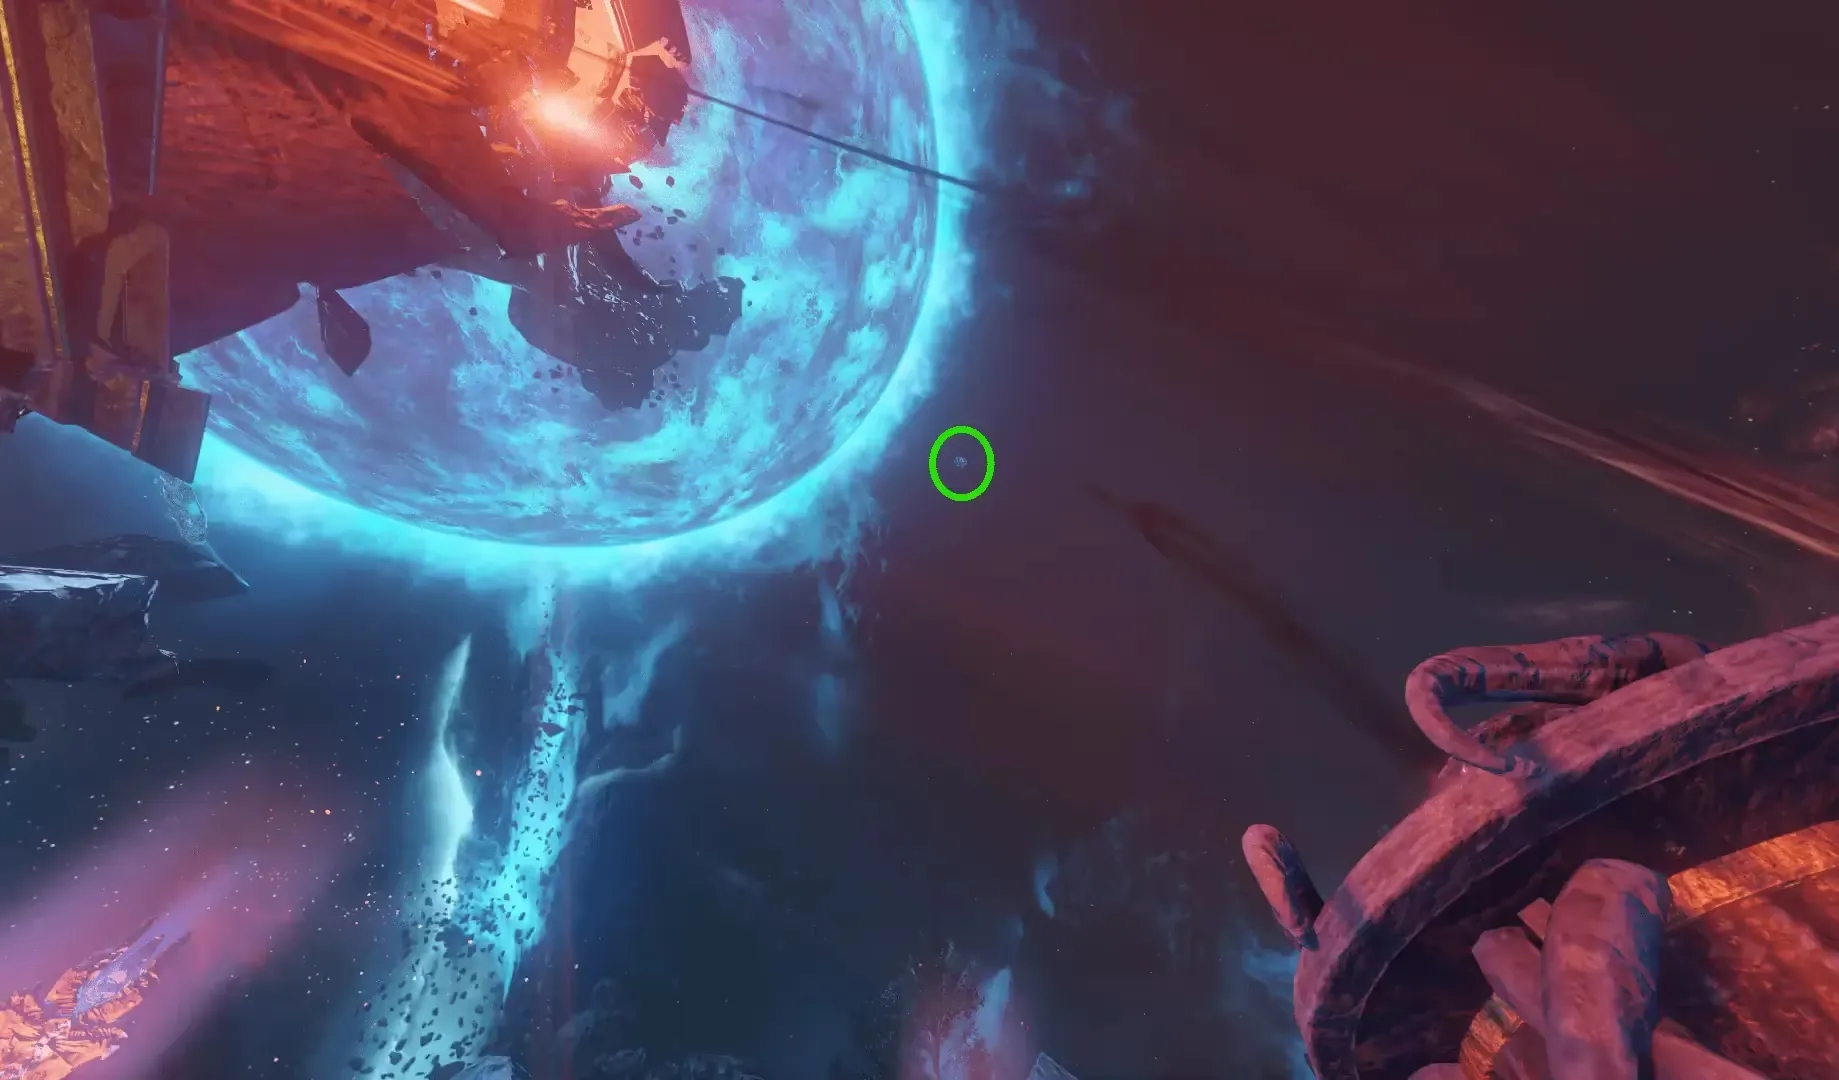
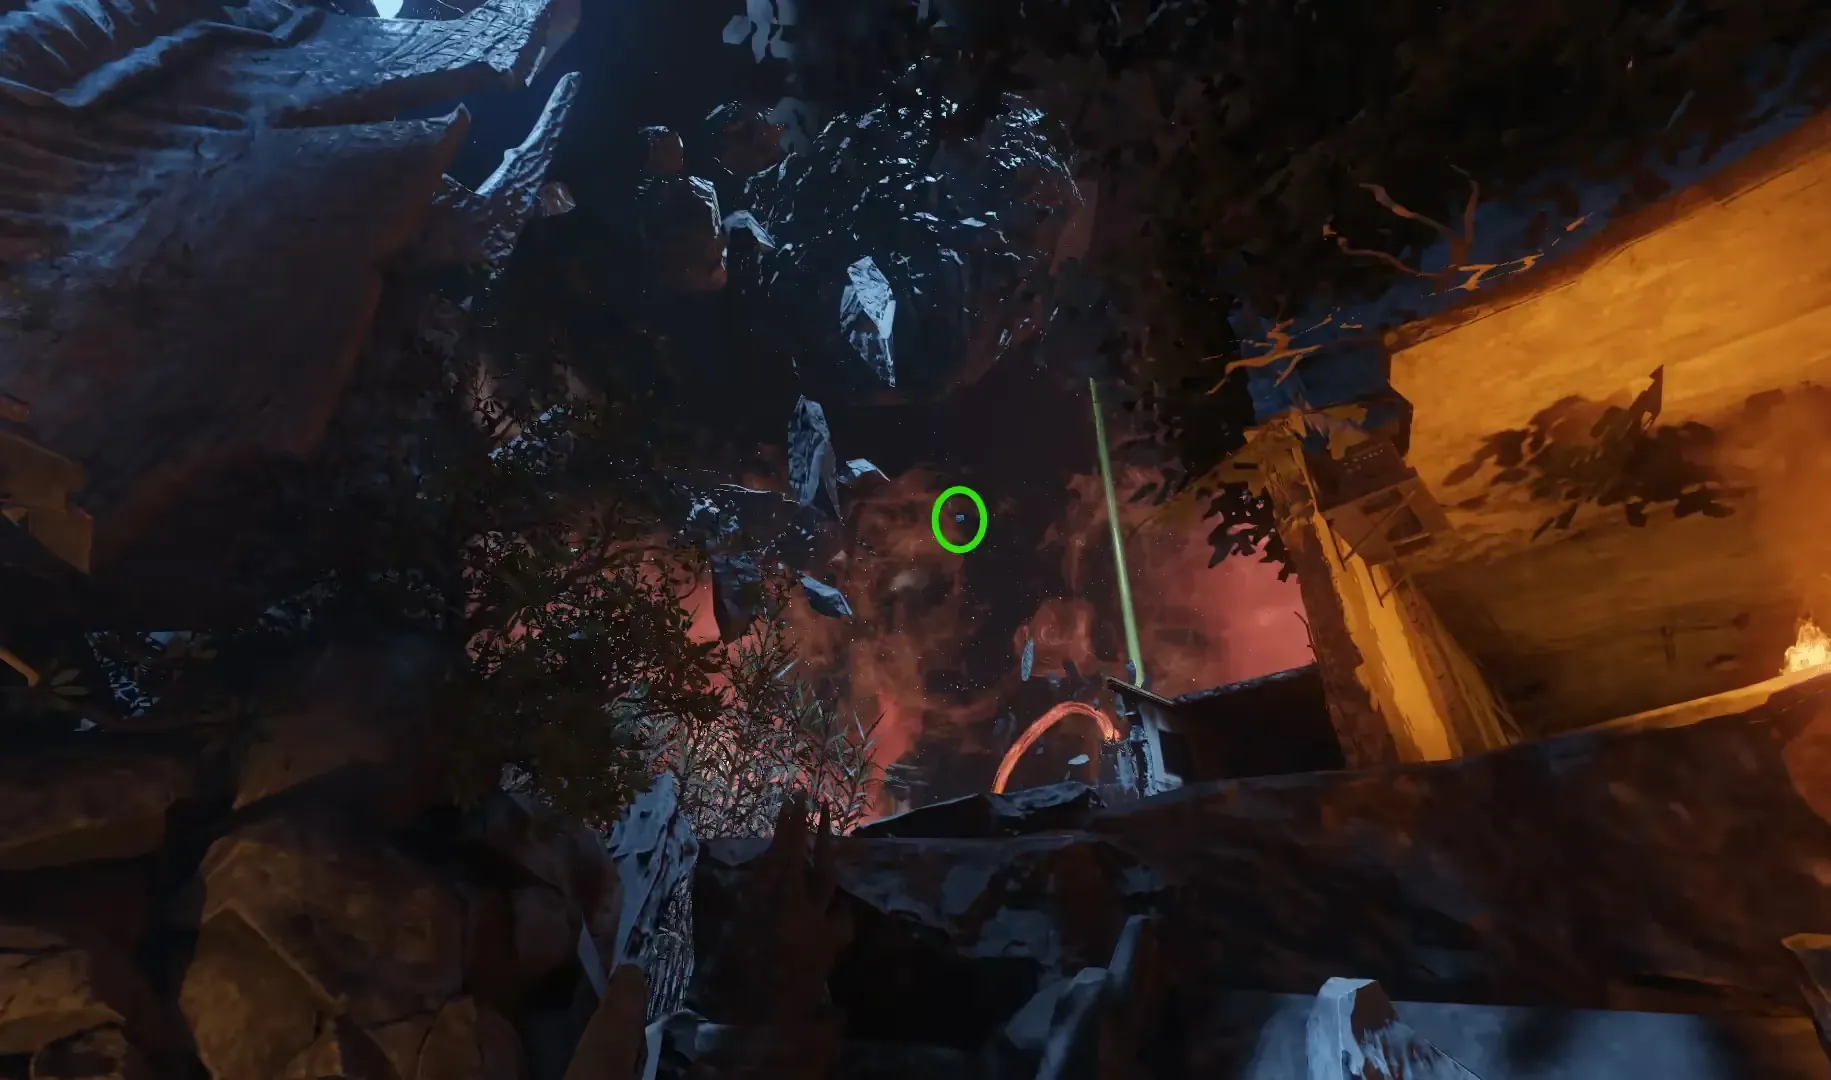
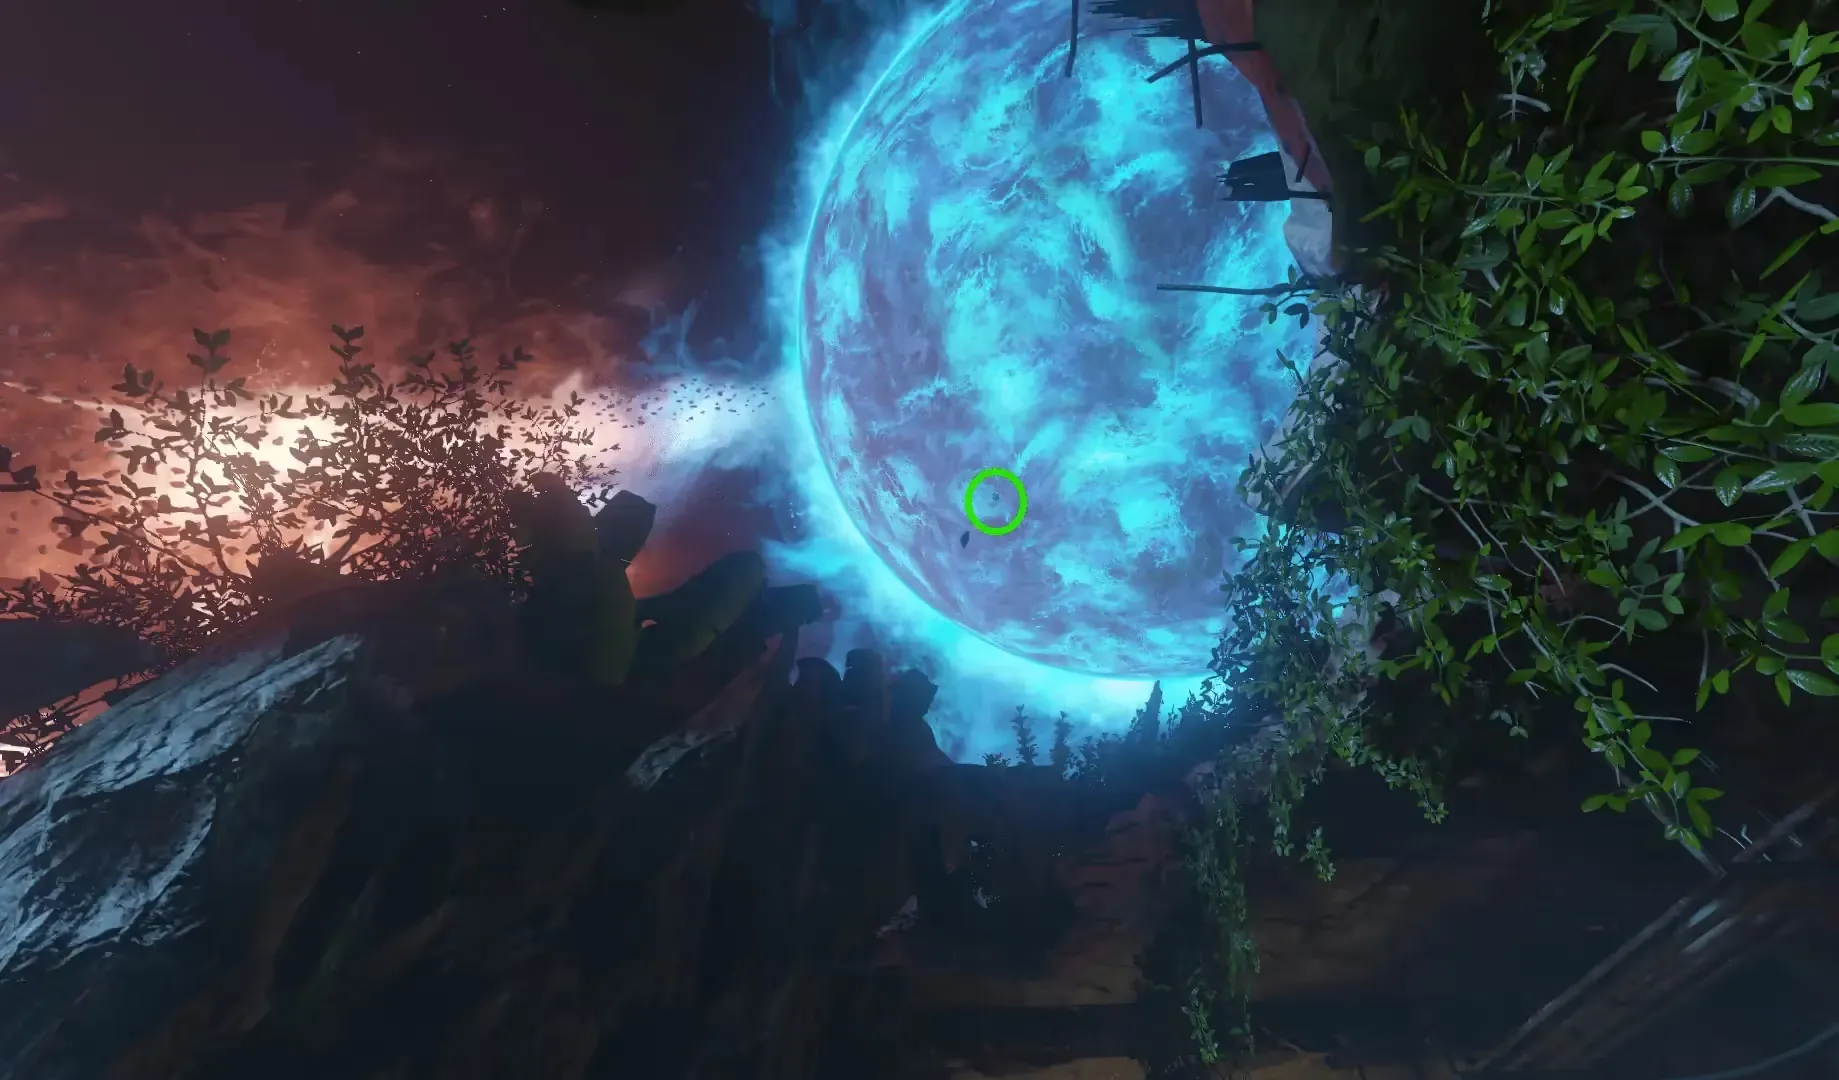

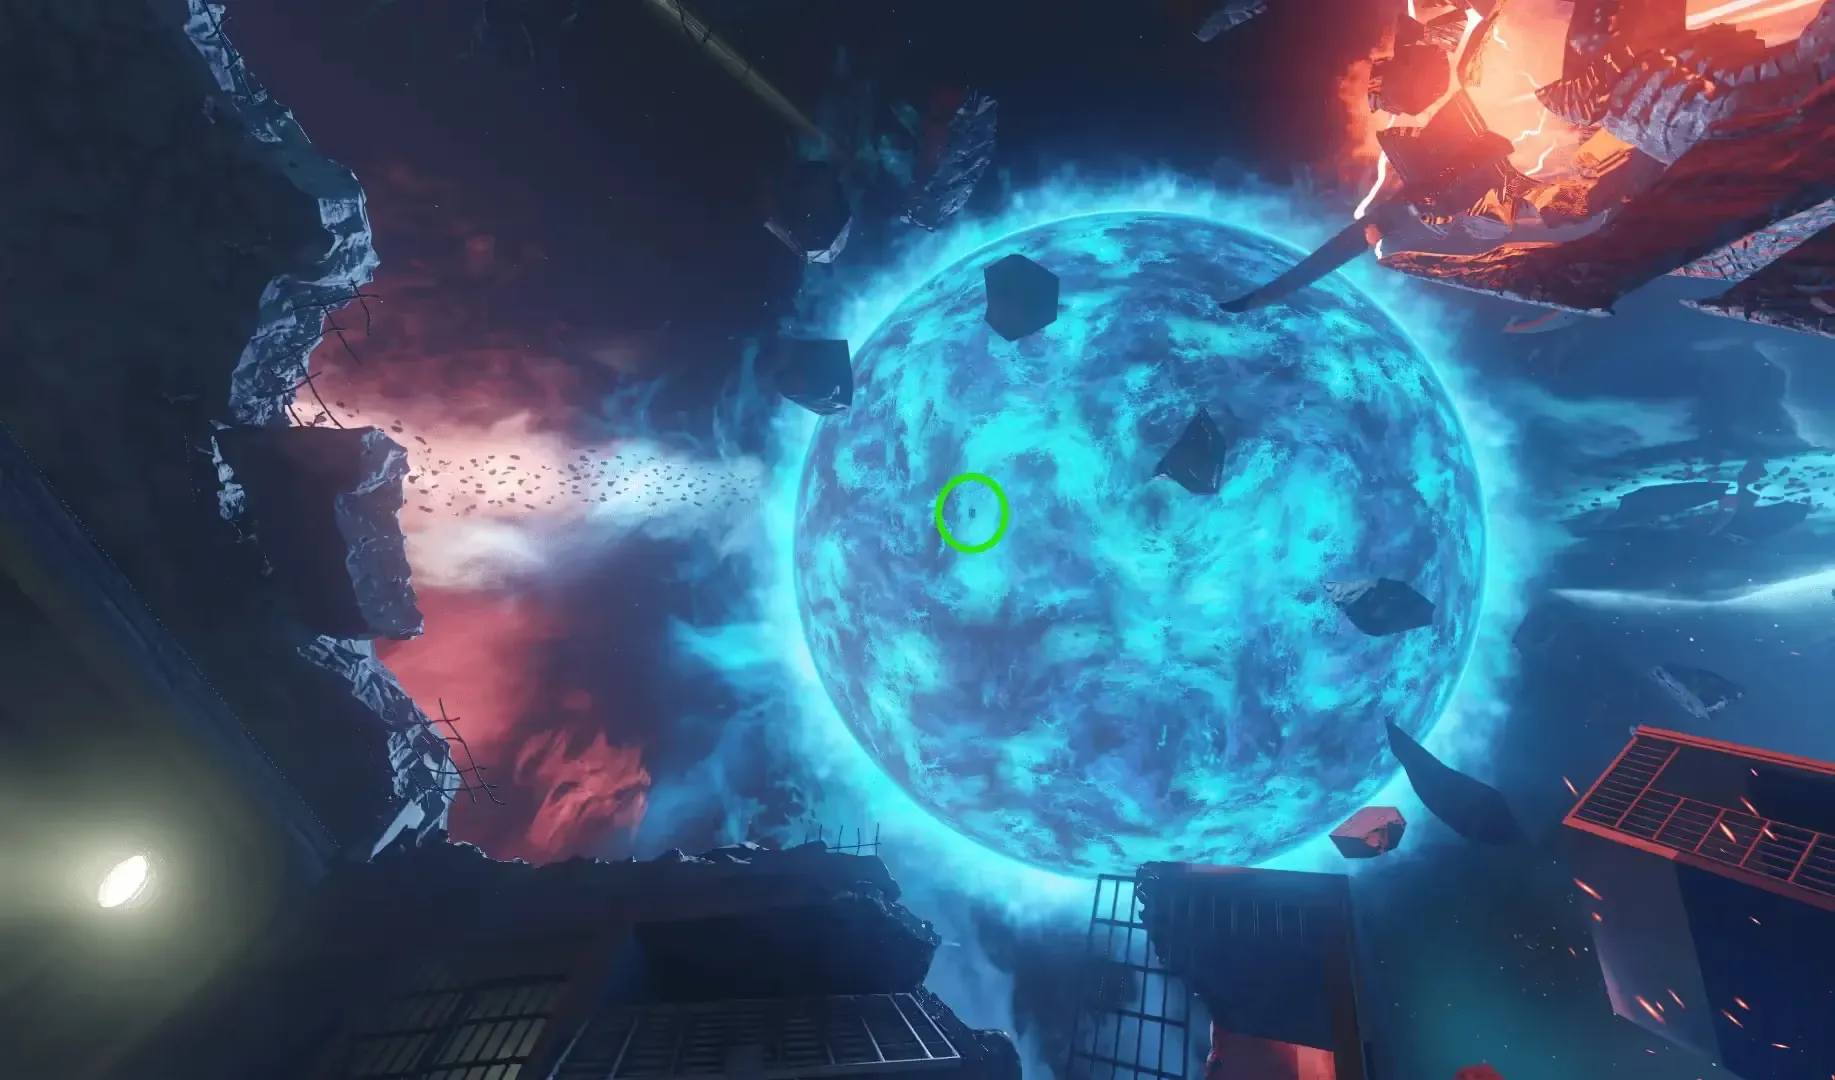
The description of the rock locations is just a generalization for a better understanding on where they are located in the sky. These rocks can be hard to see and can be seen and shot from many different locations, so it's best to just keep track of how many you have shot and use the list as a rough reference of where they are located. If you need more help locating these rocks, refer to the Video Guides Section.
Step 3: Materialize S.O.P.H.I.A.
S.O.P.H.I.A. will now appear as a transparent version of herself from Gorod Krovi. You must use the turrets at each of the Corruption Engines to shoot four big floating Element 115 rocks, requiring 8000 total points. You will be able to see two floating Element 115 rocks from each Corruption Engine, but, must always shoot the one to the left when facing the Nacht Der Untoten portal.
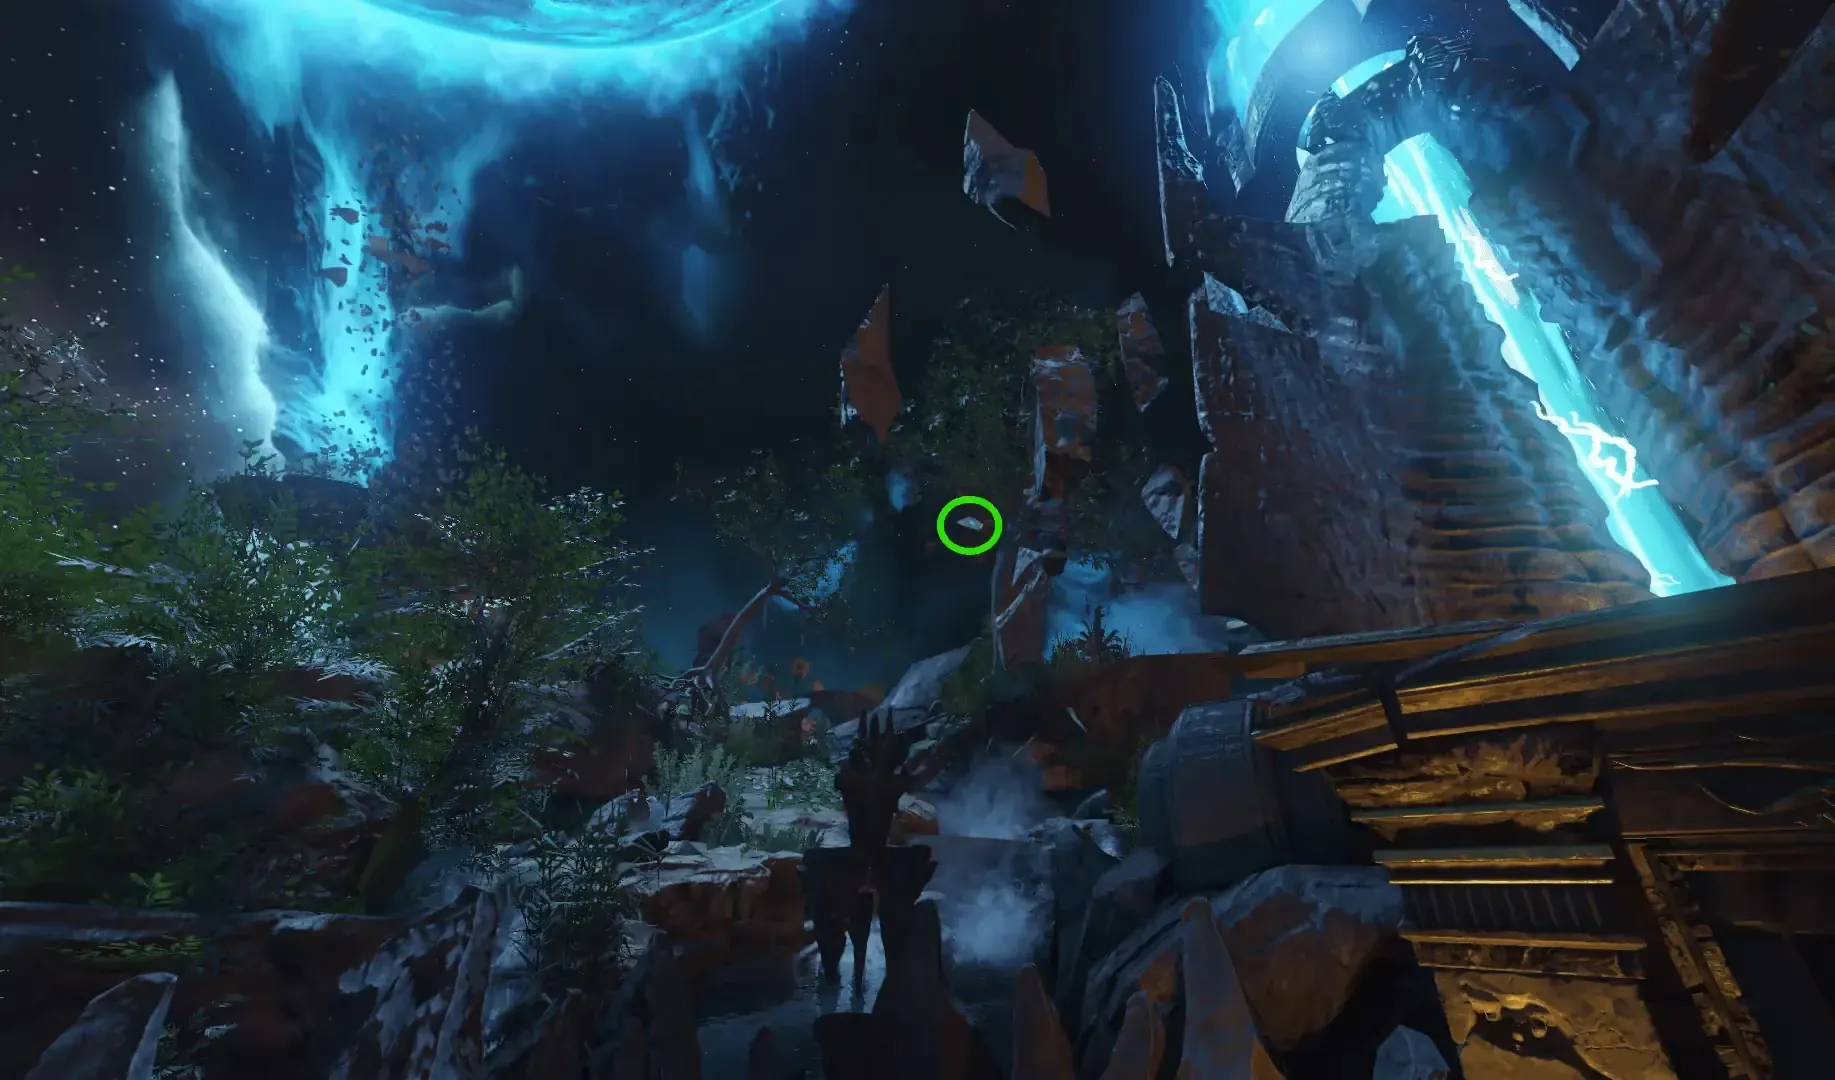
The angle at which you have to shoot these rocks is a bit weird, so be sure to just aim the turret around the center of the rock and move it around slowly until the turret locks in place and automatically kicks you off it, indicating successful alignment.
After shooting all four rocks, head back to the top floor of Nacht Der Untoten and interact with the transparent S.O.P.H.I.A., this will materialize her and you must follow her to the Kino Der Toten teleporter where she will sit atop, powering the teleporter and completing this step.

Step 4: Obtain the Kronorium
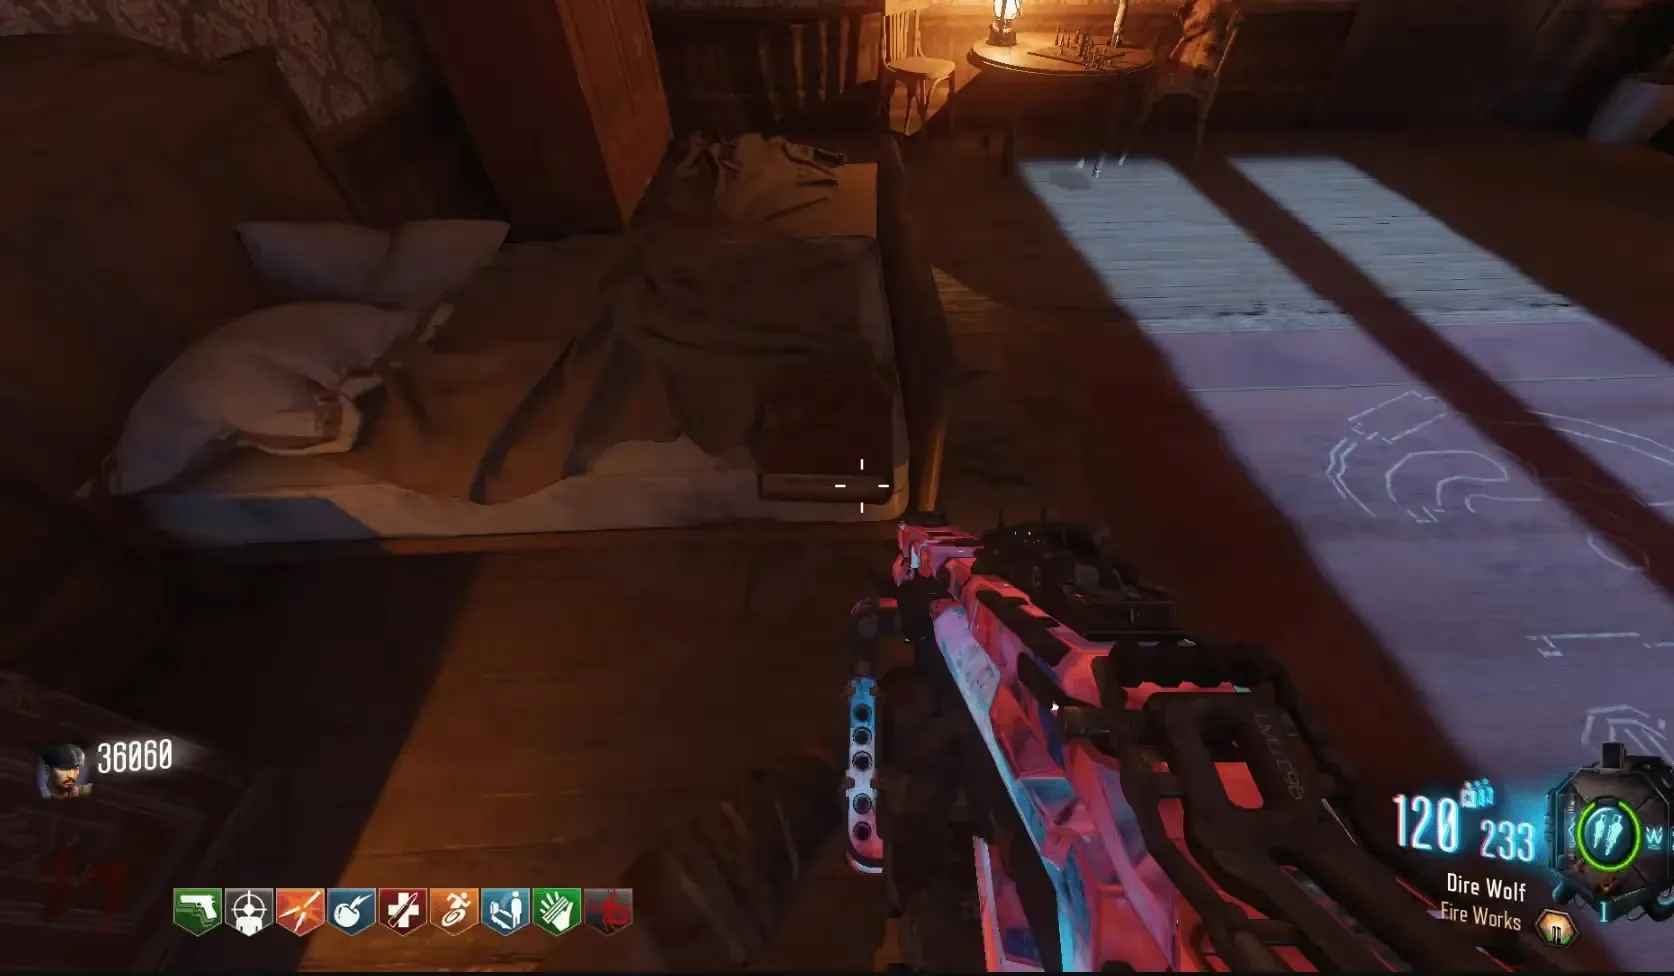
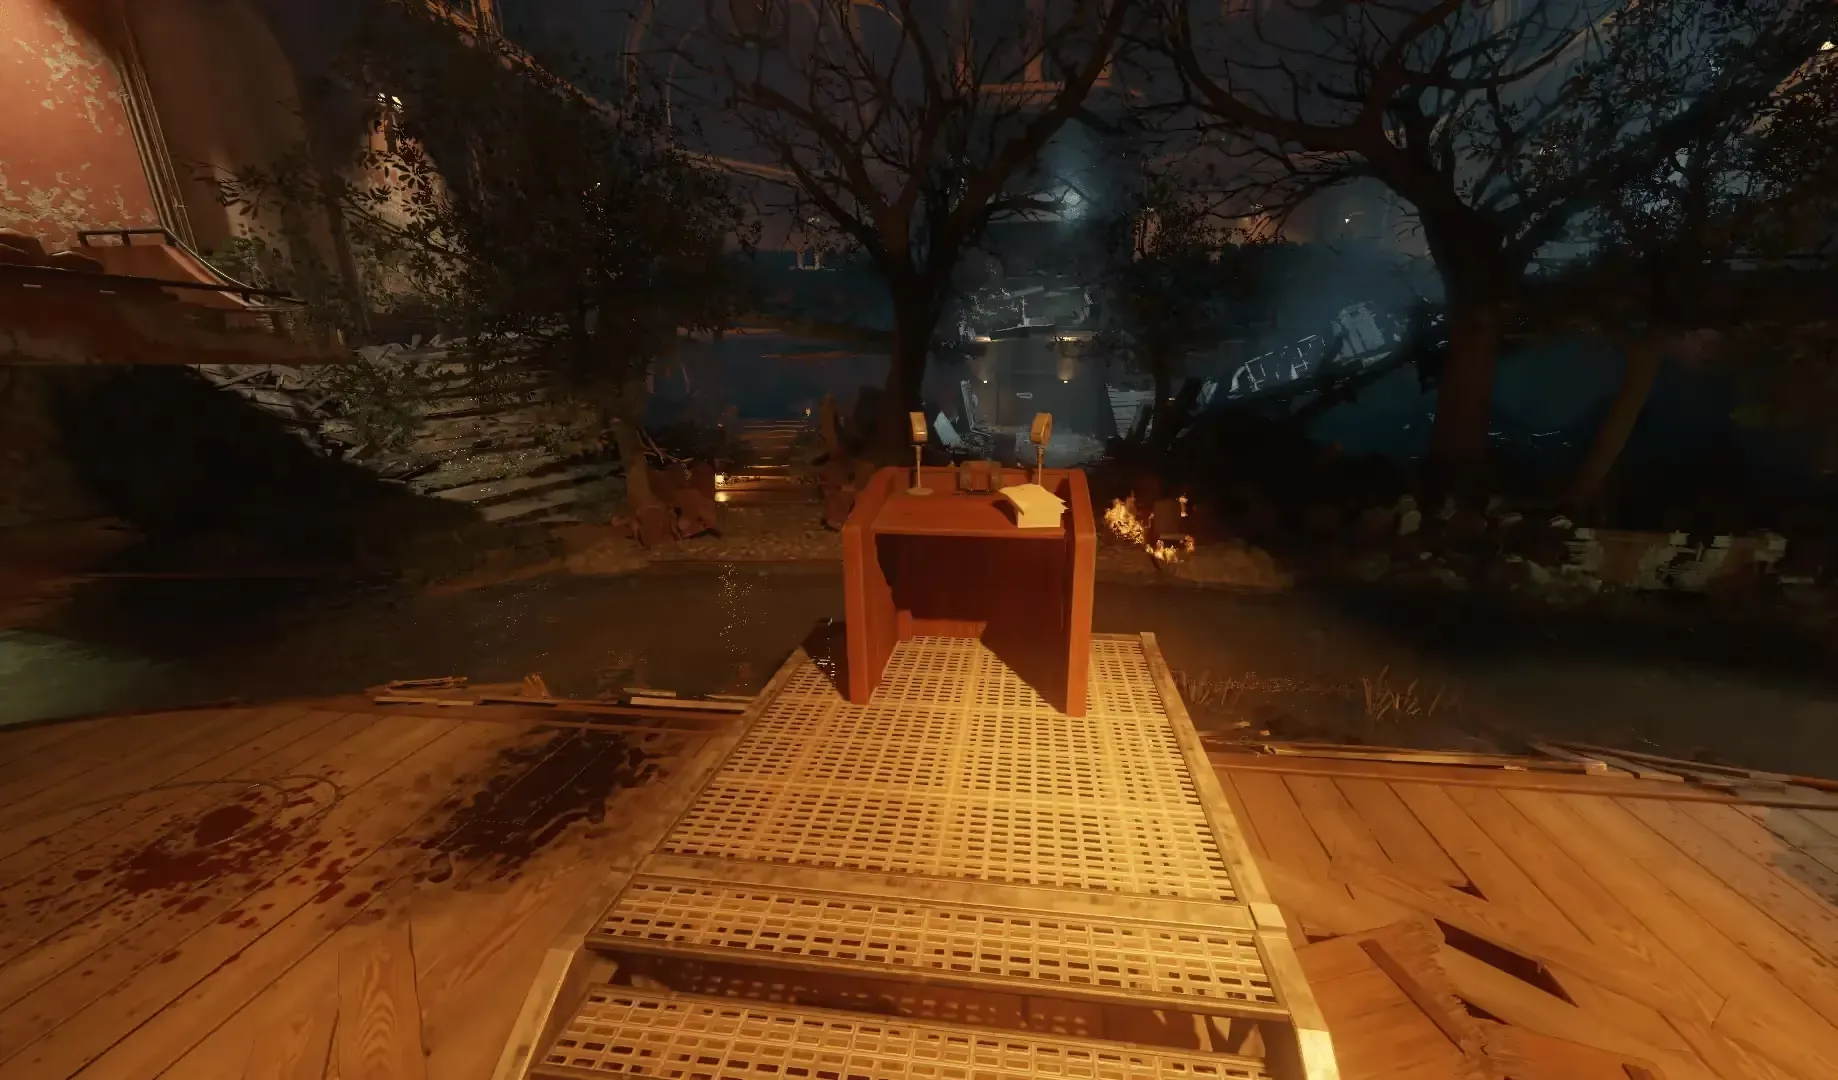
All players in the game must stand inside the teleporter at Kino Der Toten. This will teleport you to Samantha's bedroom where you must pick up the Kronorium on the edge of her bed. After picking up the Kronorium, you will be teleported back to Kino Der Toten. You must place the Kronorium on the podium on the stage causing four balls of energy to travel to the Projector Room.
Step 5: Acquire the Apothicon Eggs
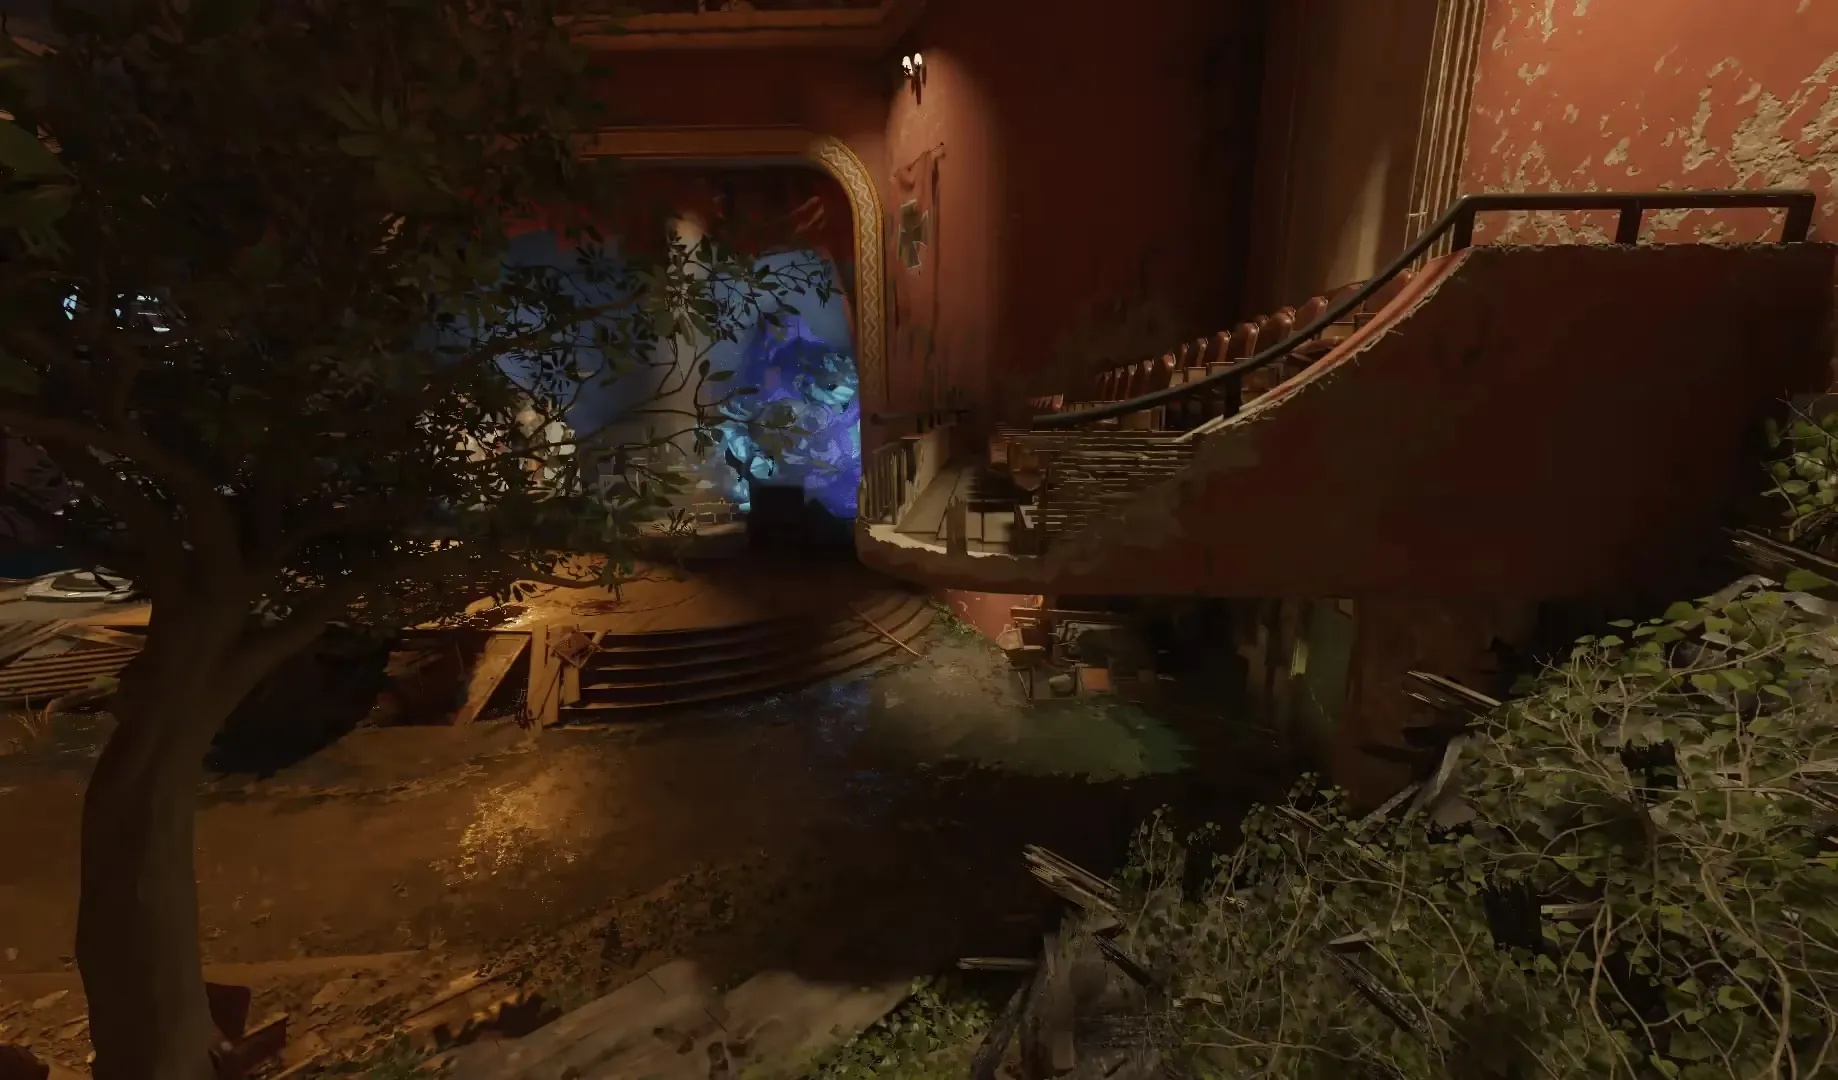
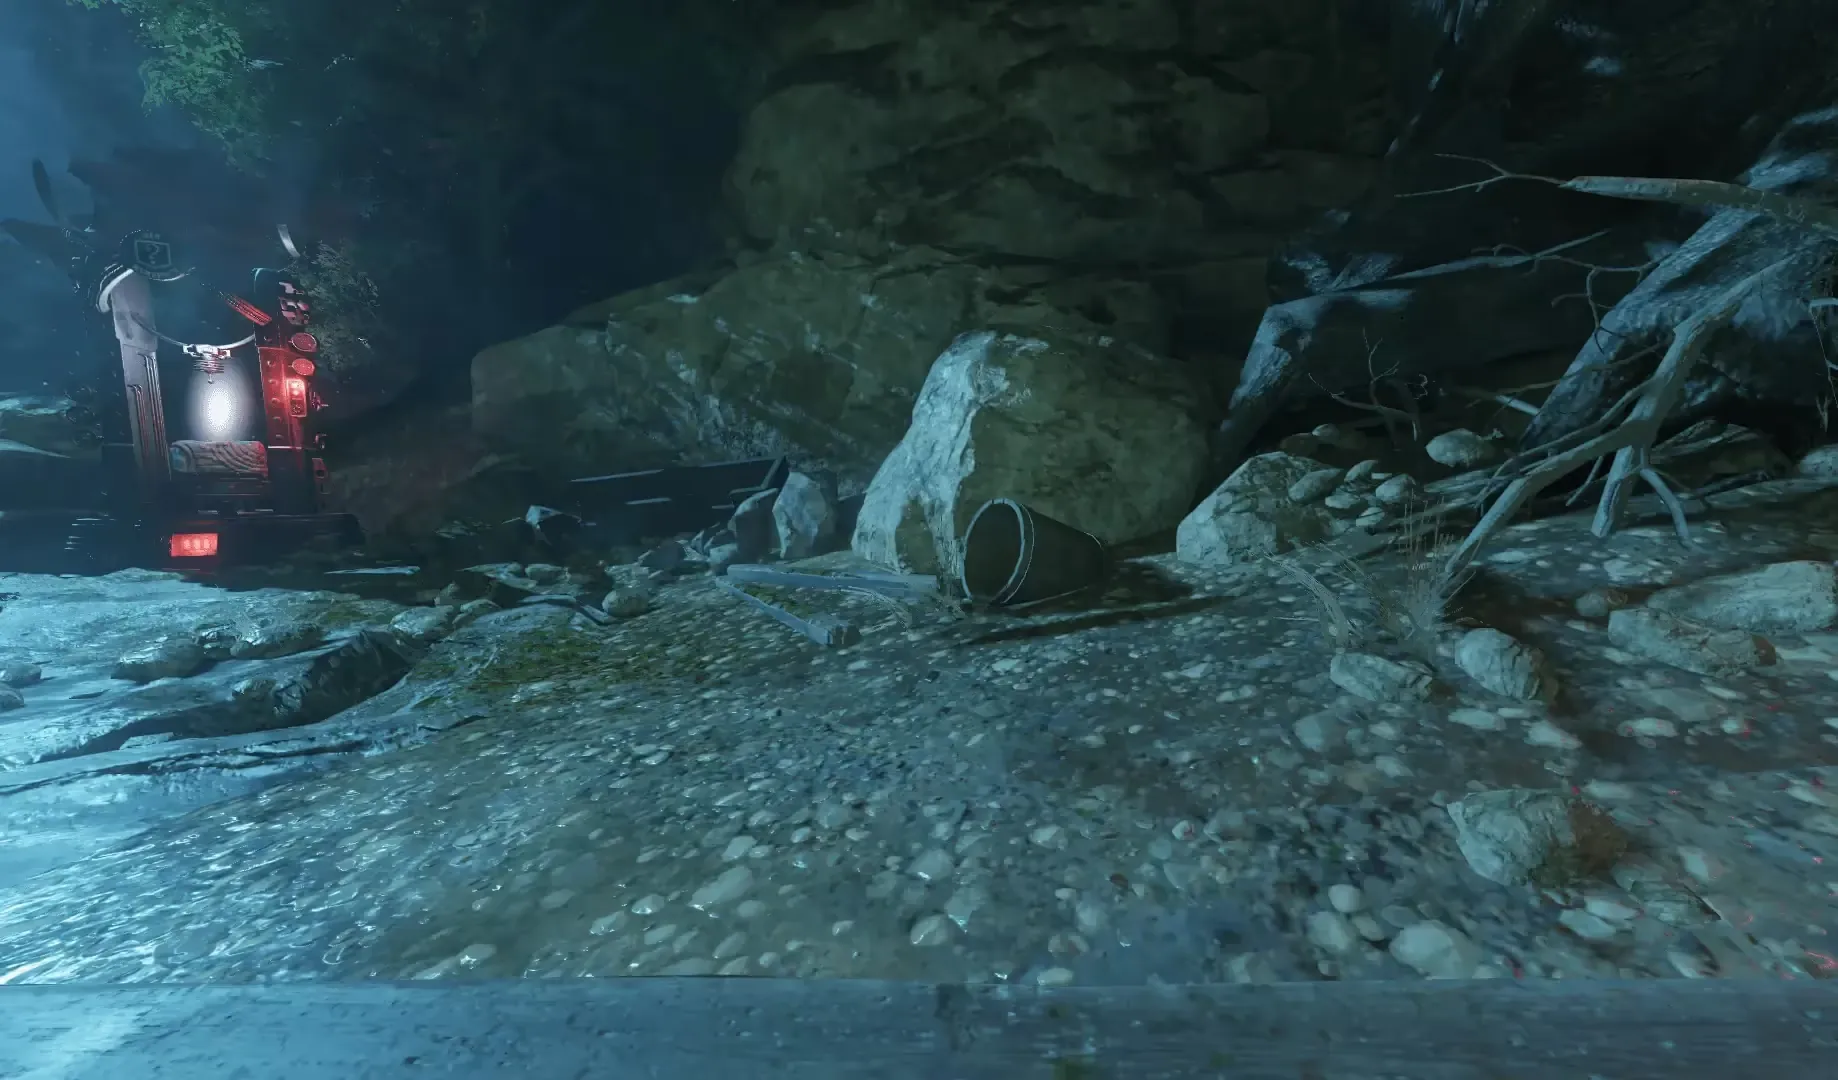
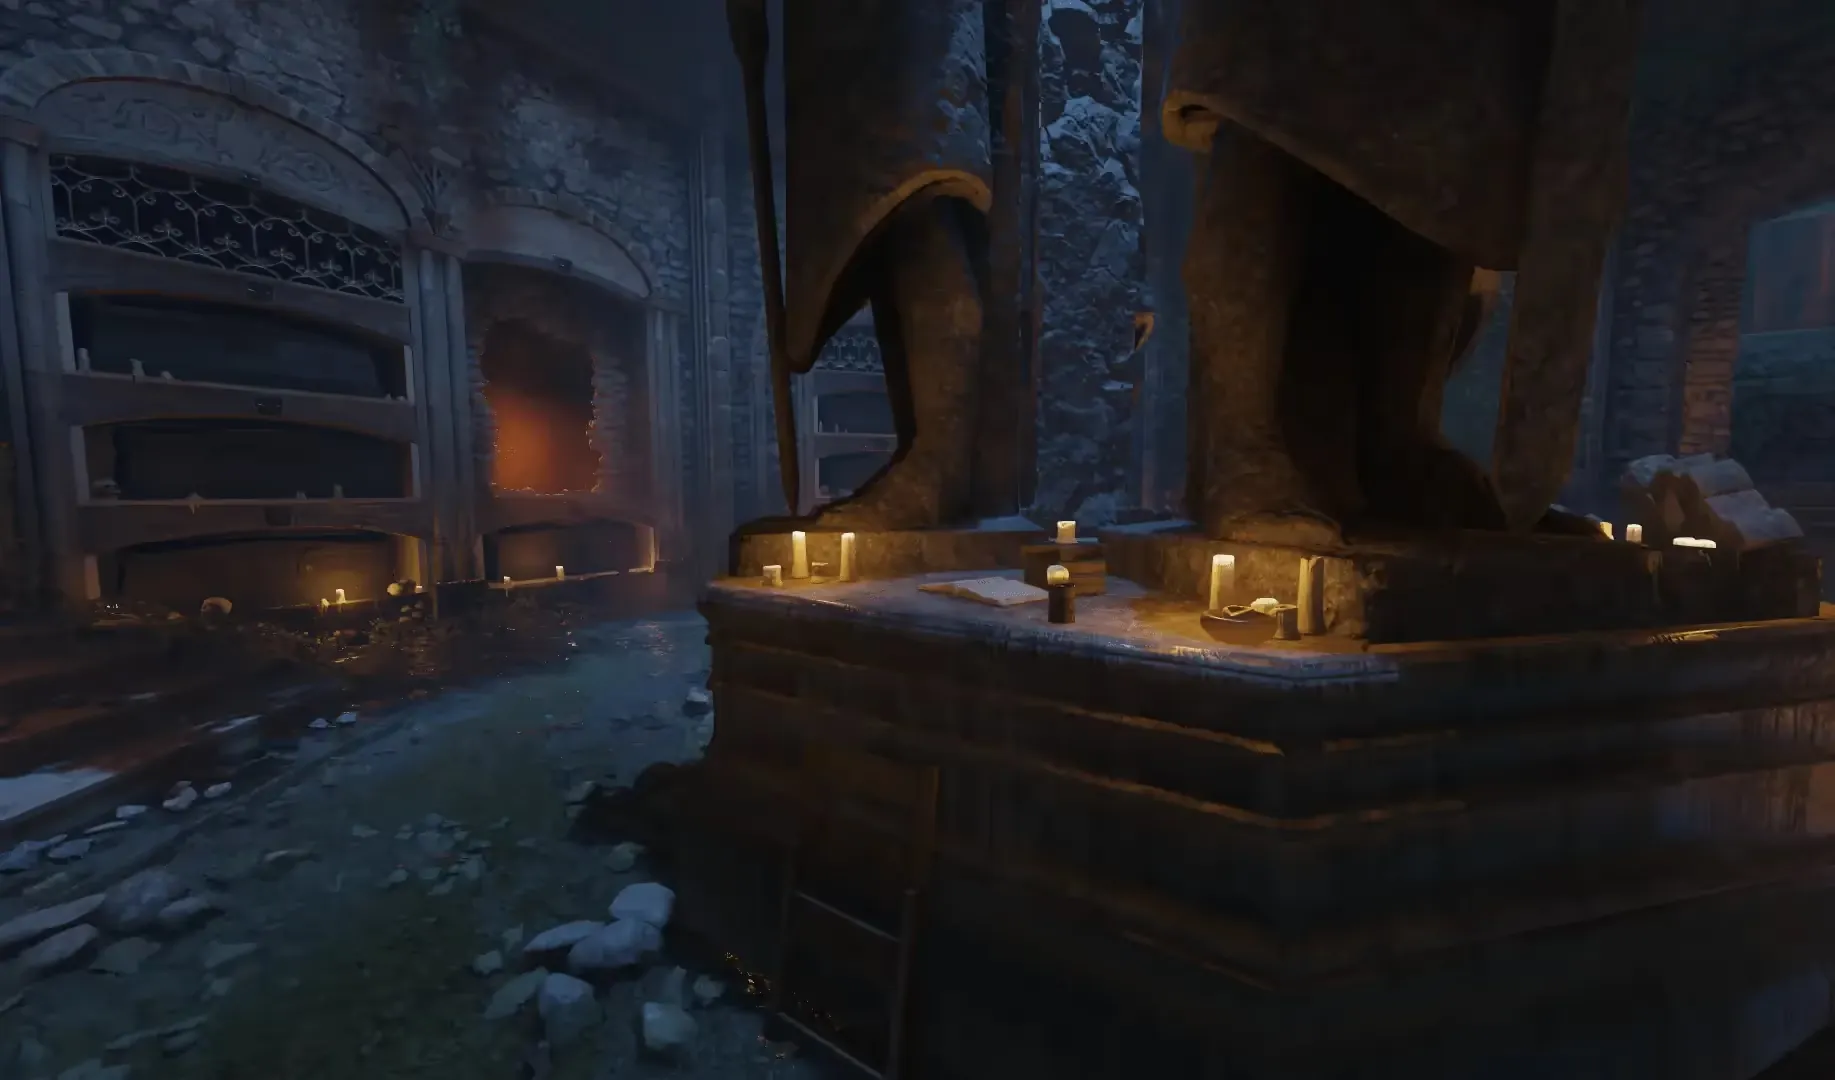
You must find four small yellow-orange Apothicon Eggs scattered around the map. Each player can only hold one egg at a time, each egg also has four spawns within a given area, but, once found within one of the listed areas that area does not need to be rechecked for the remainder of this step.
Shangri-La/Spawn Egg Locations
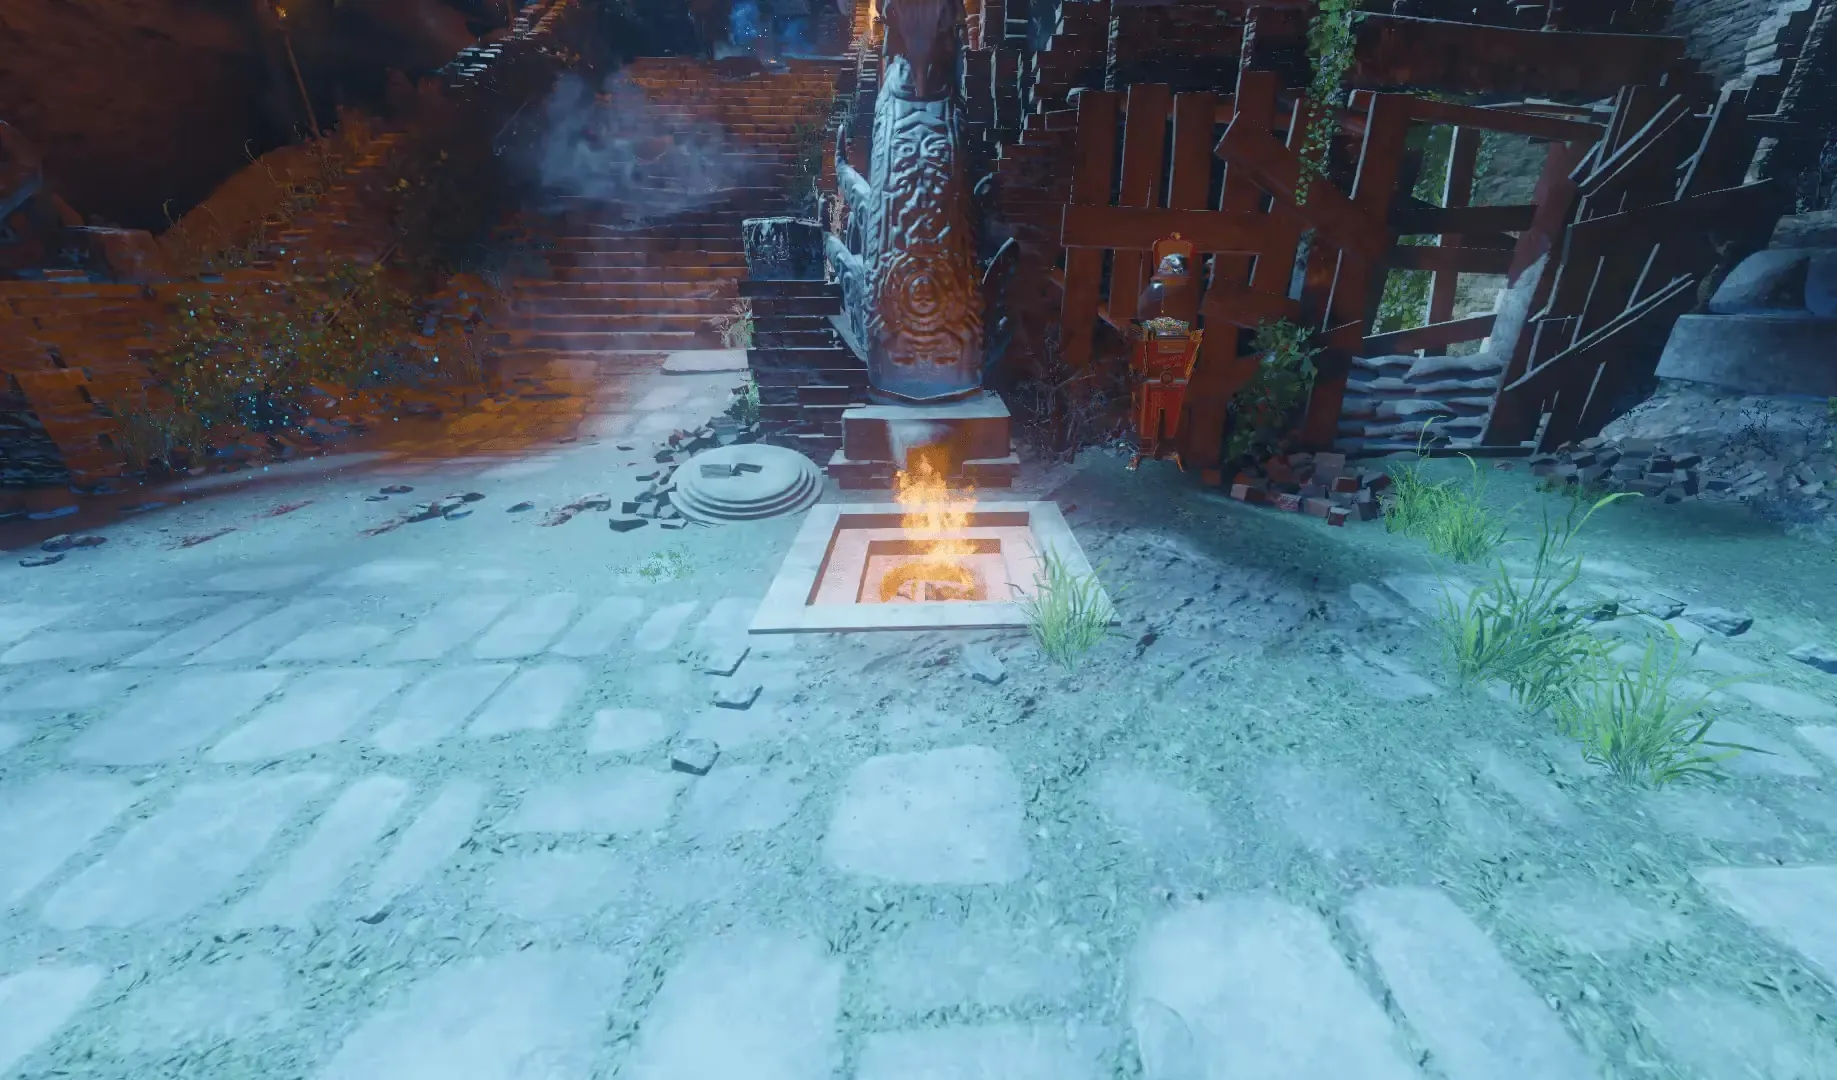
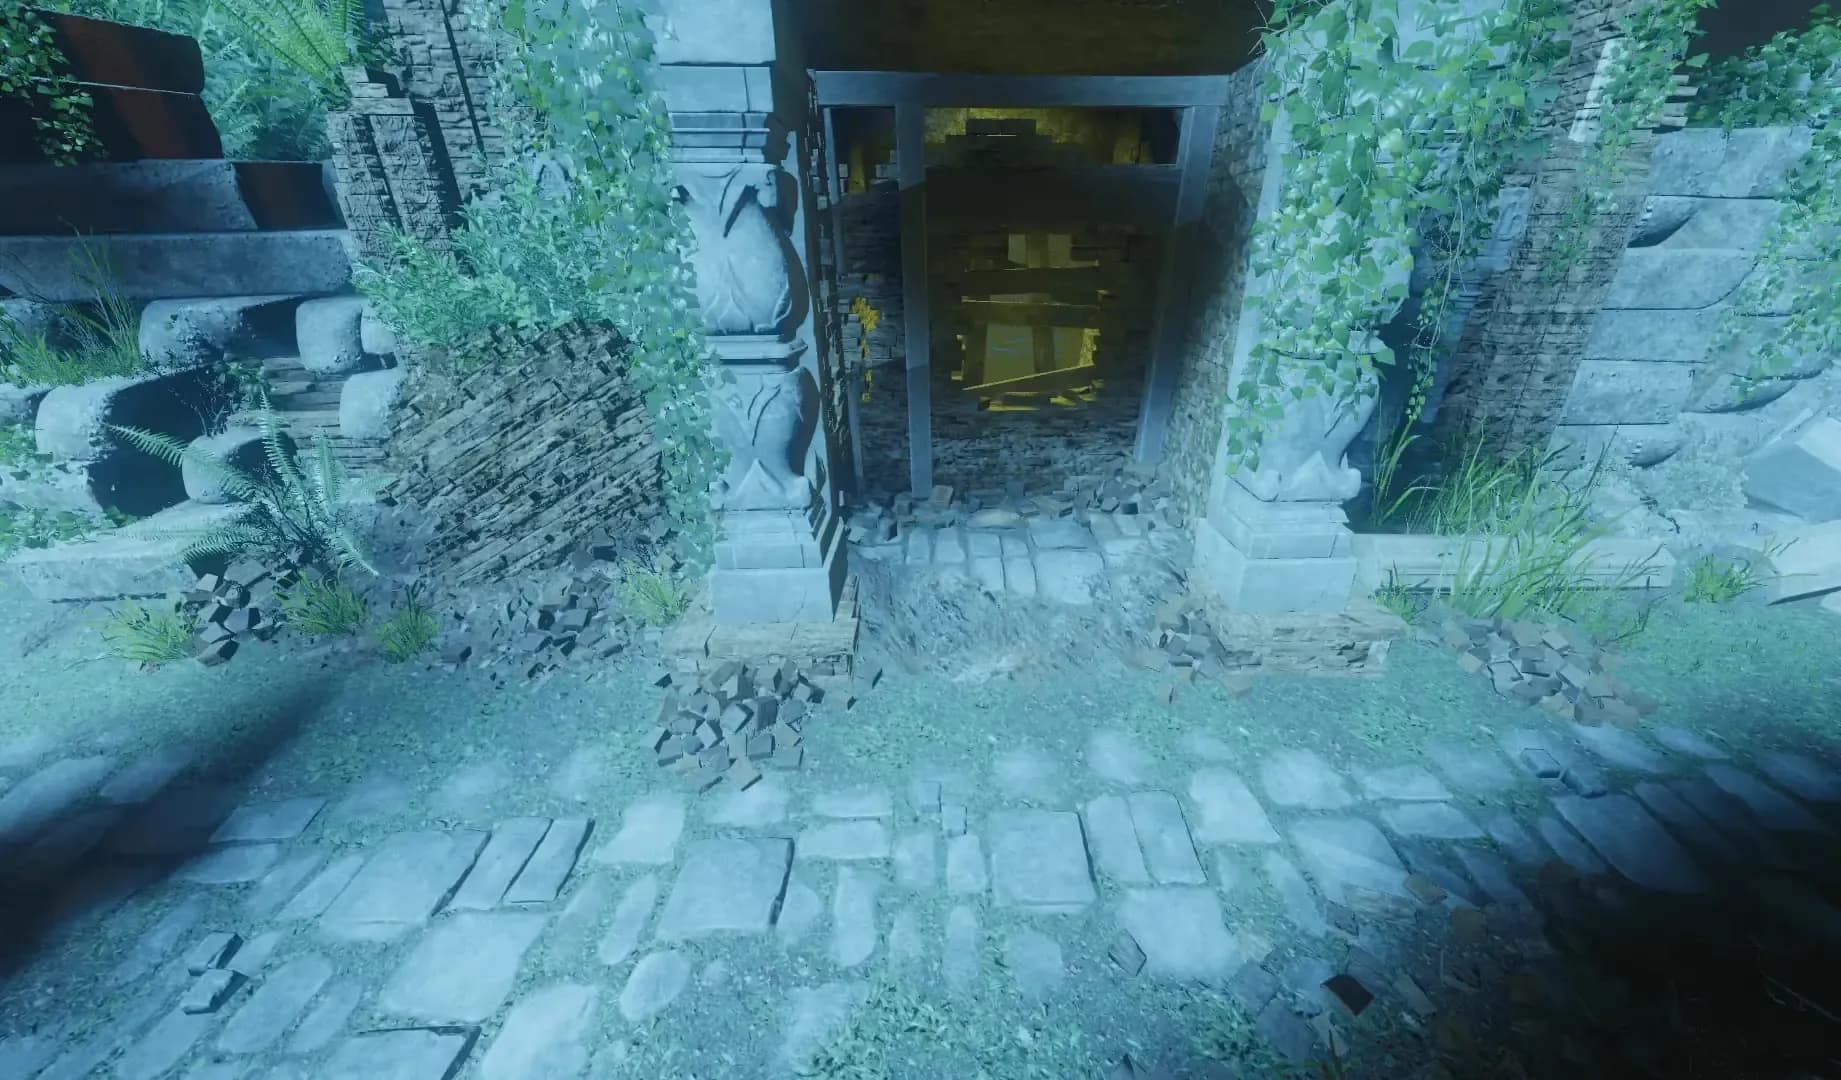
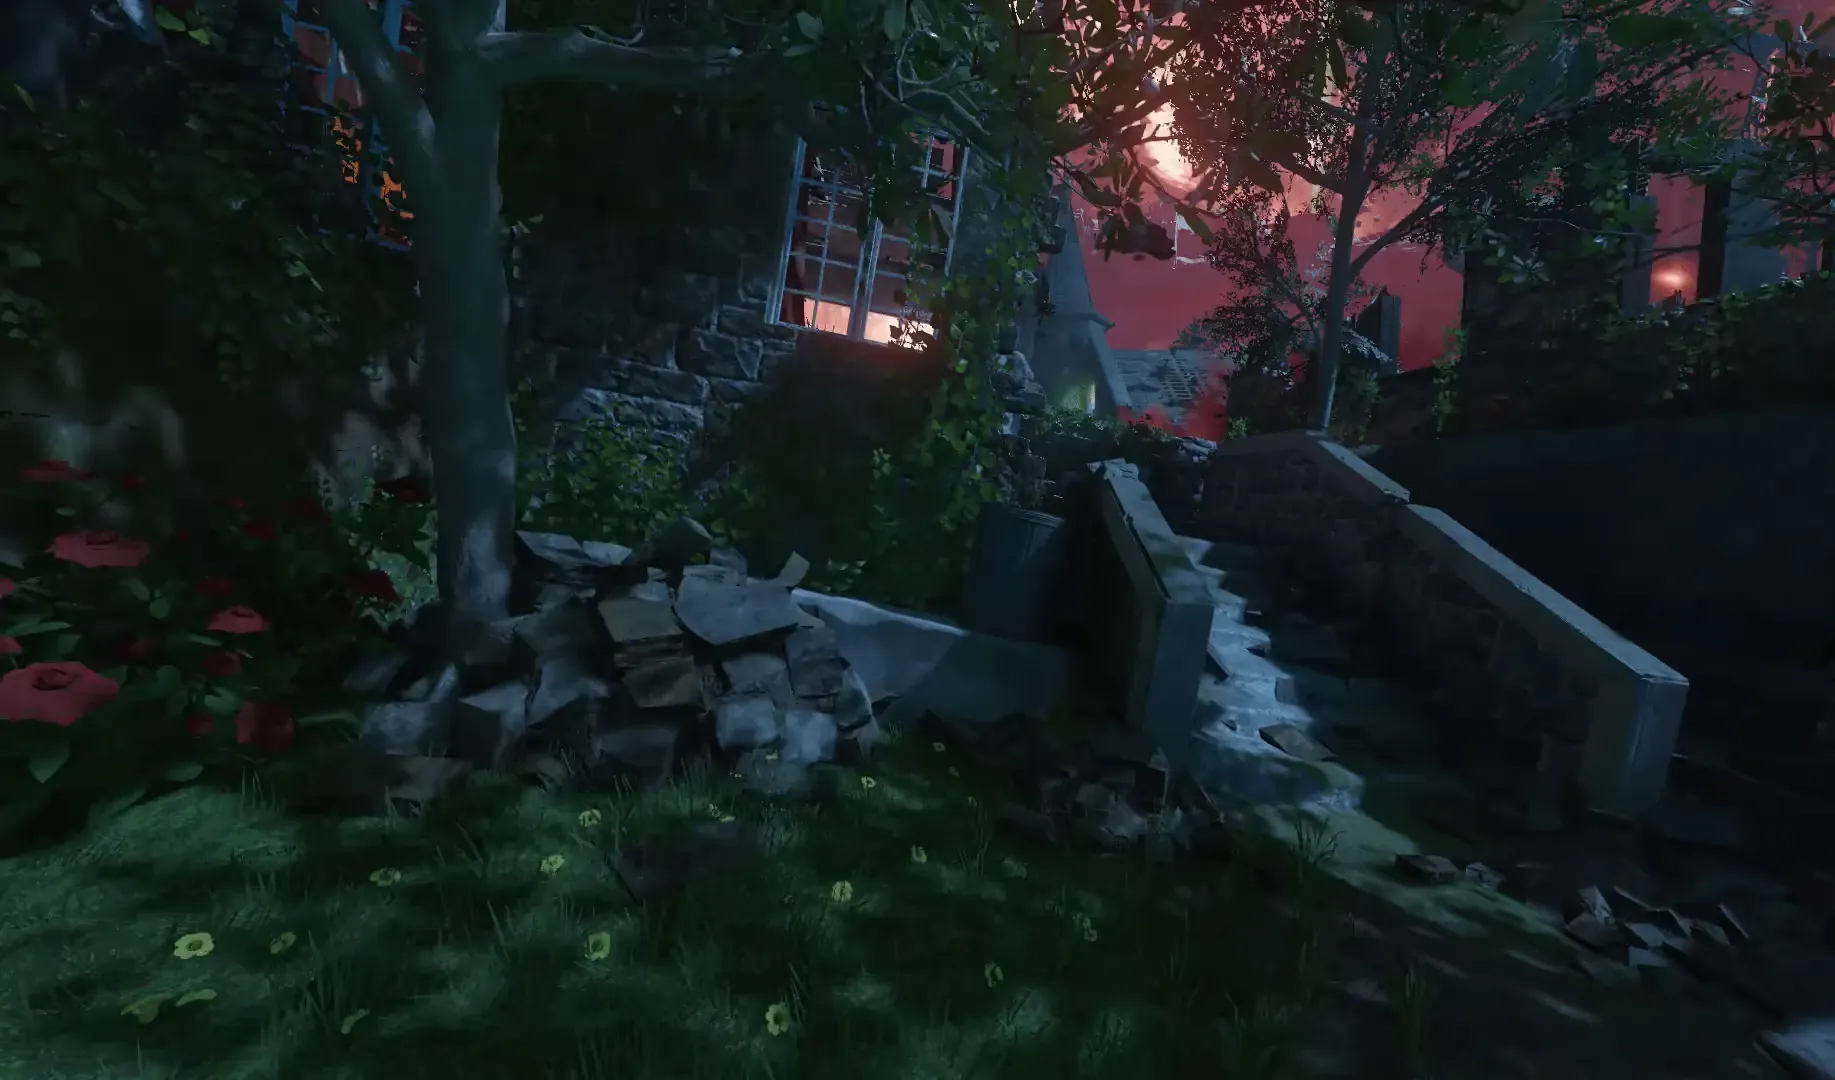
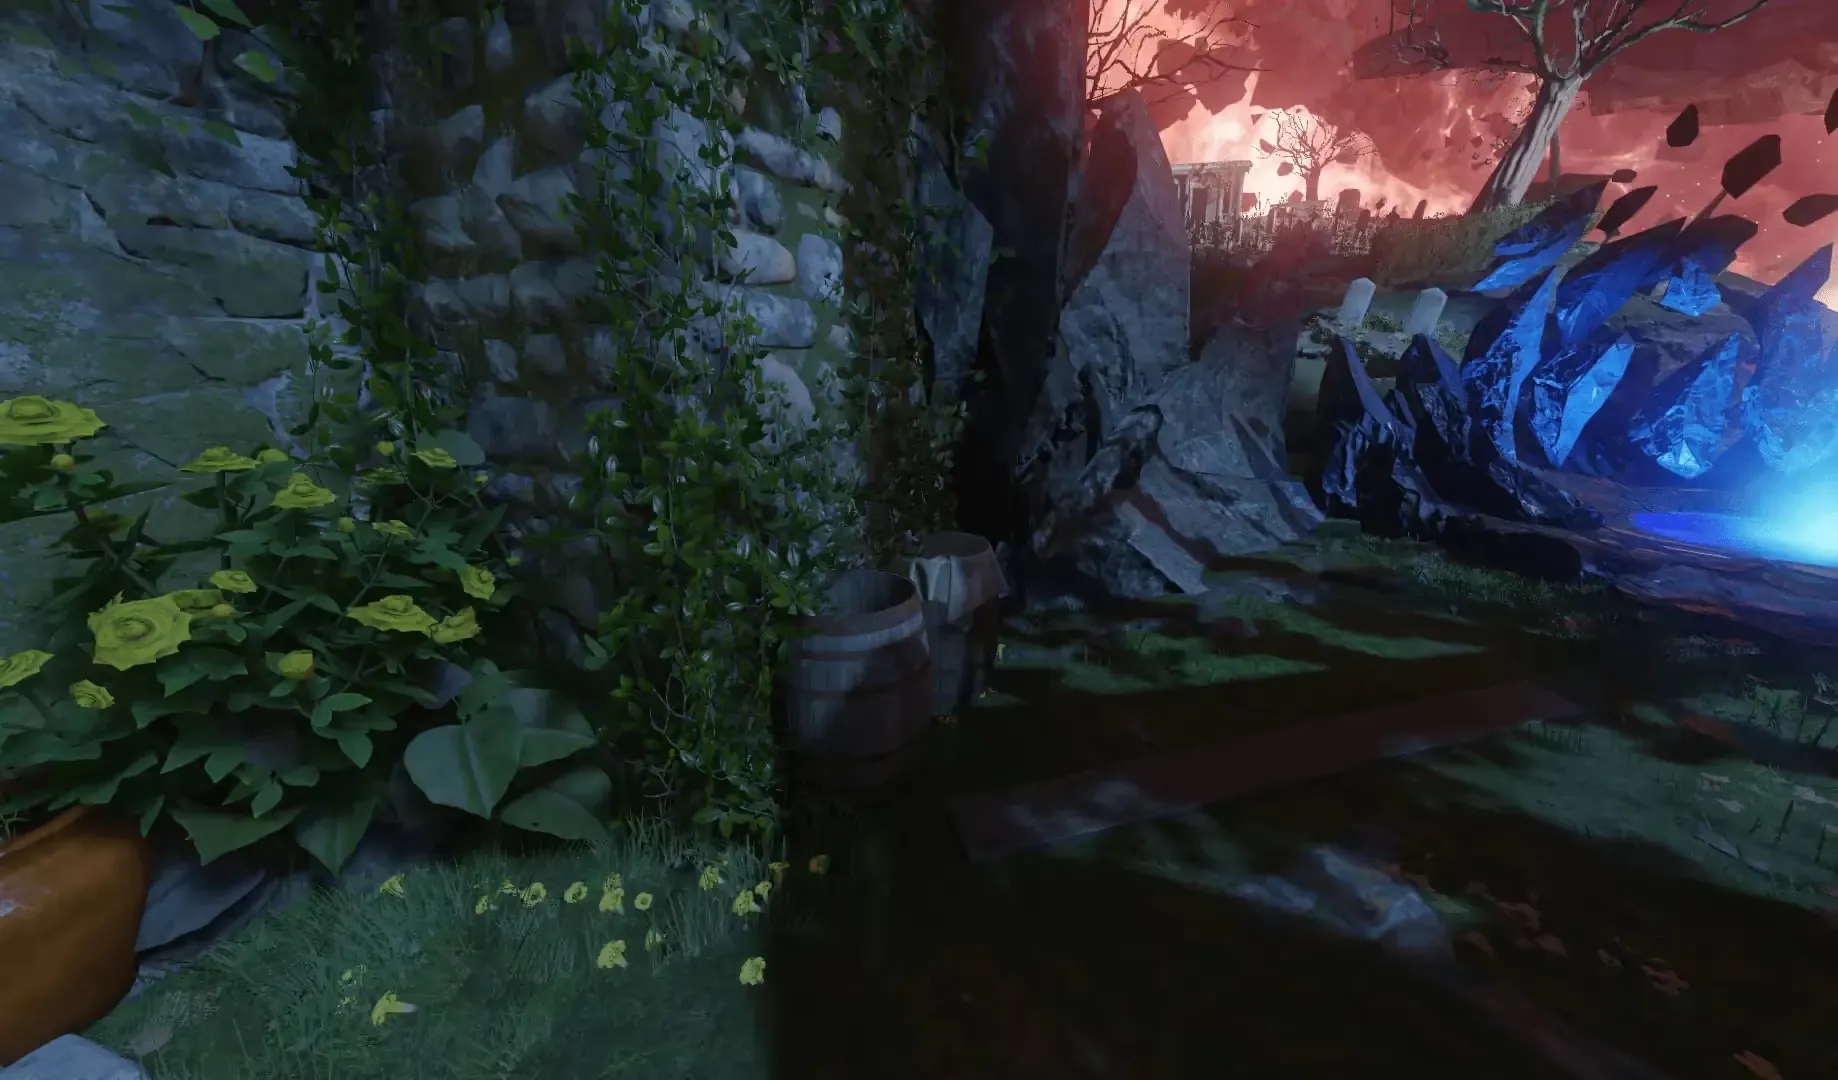
Kino Der Toten/Der Eisendrache Egg Locations
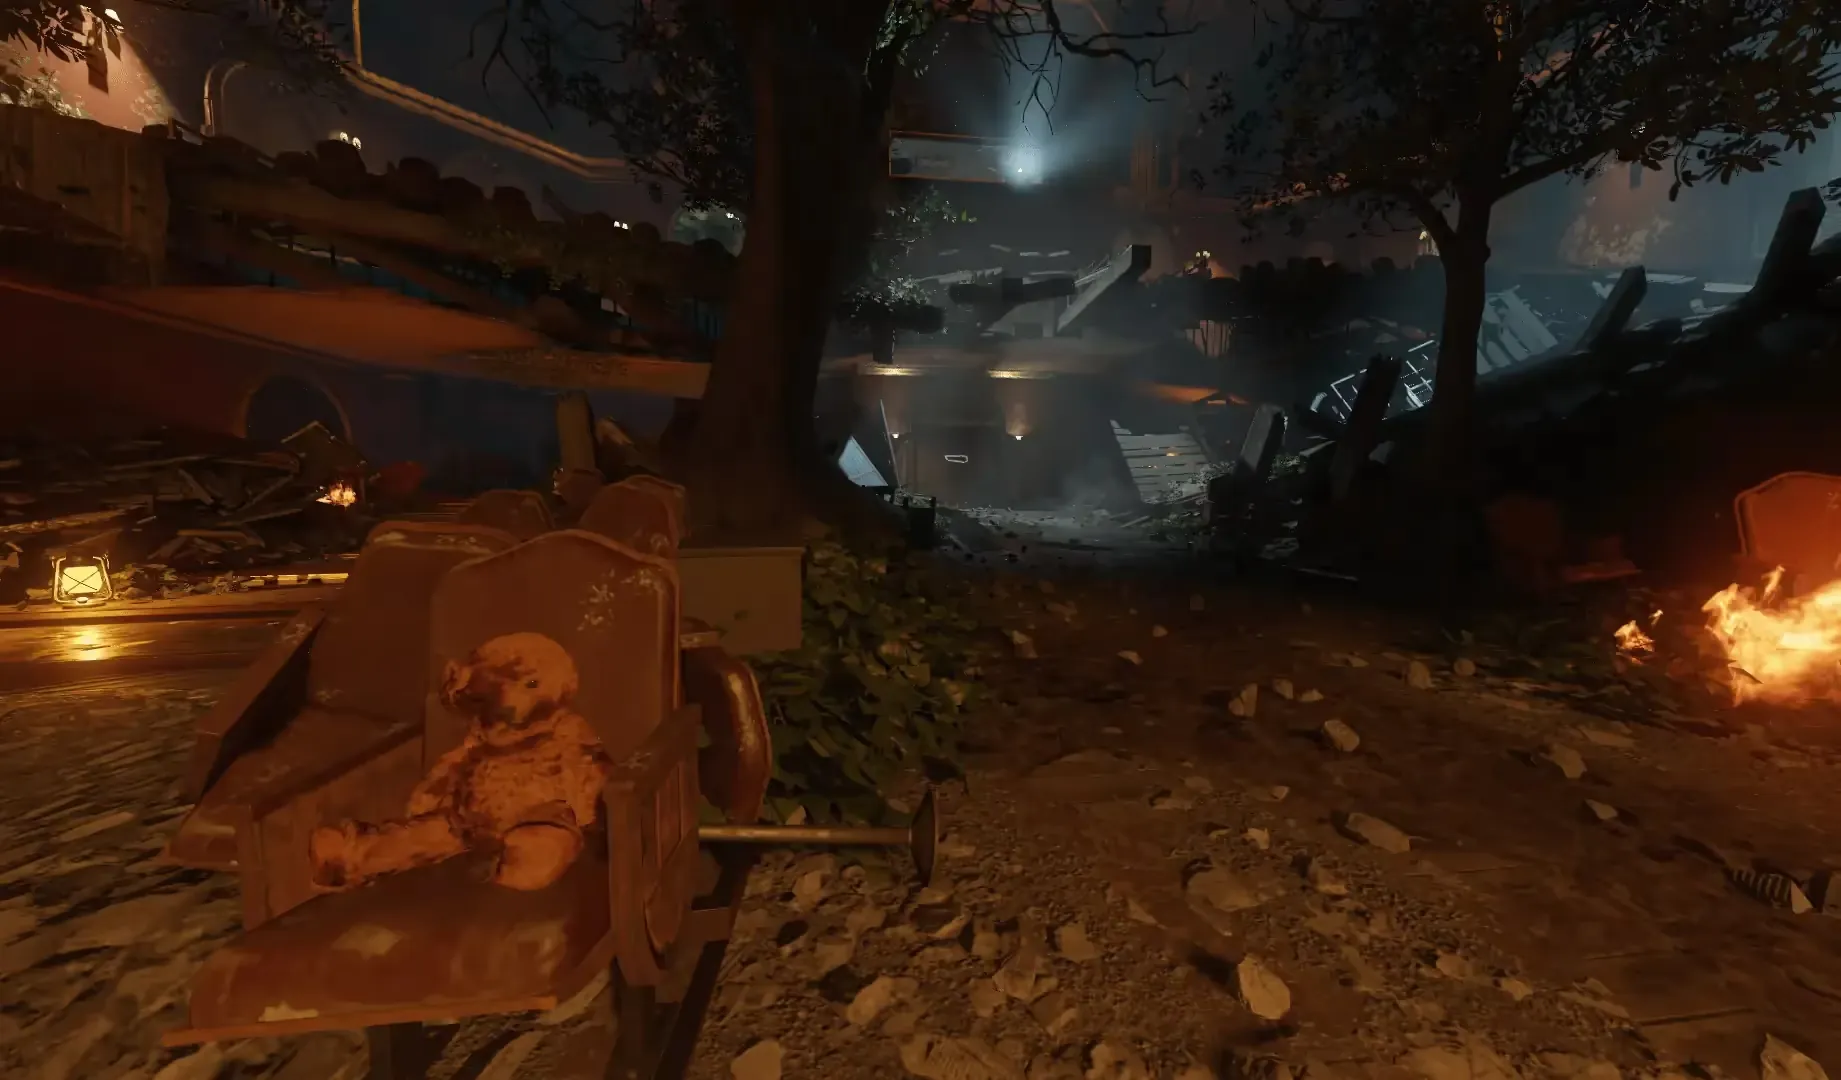
Verruckt Egg Locations
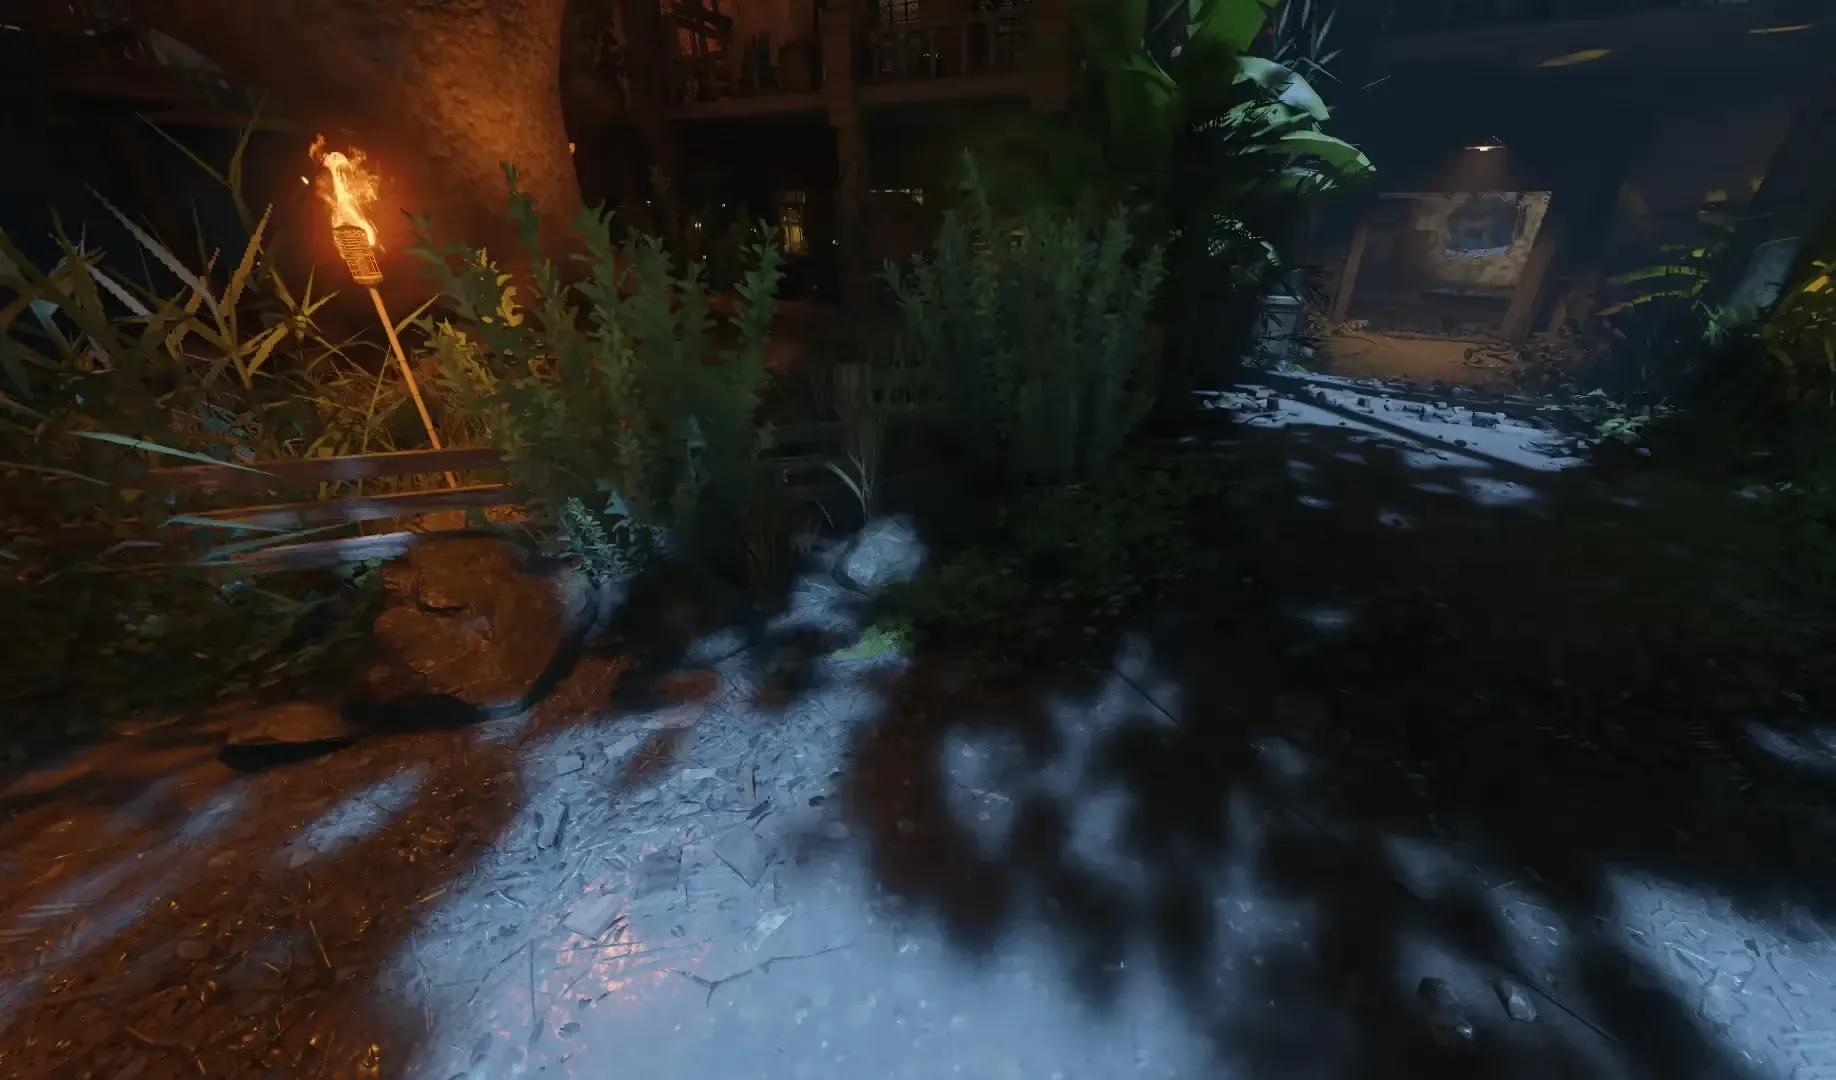
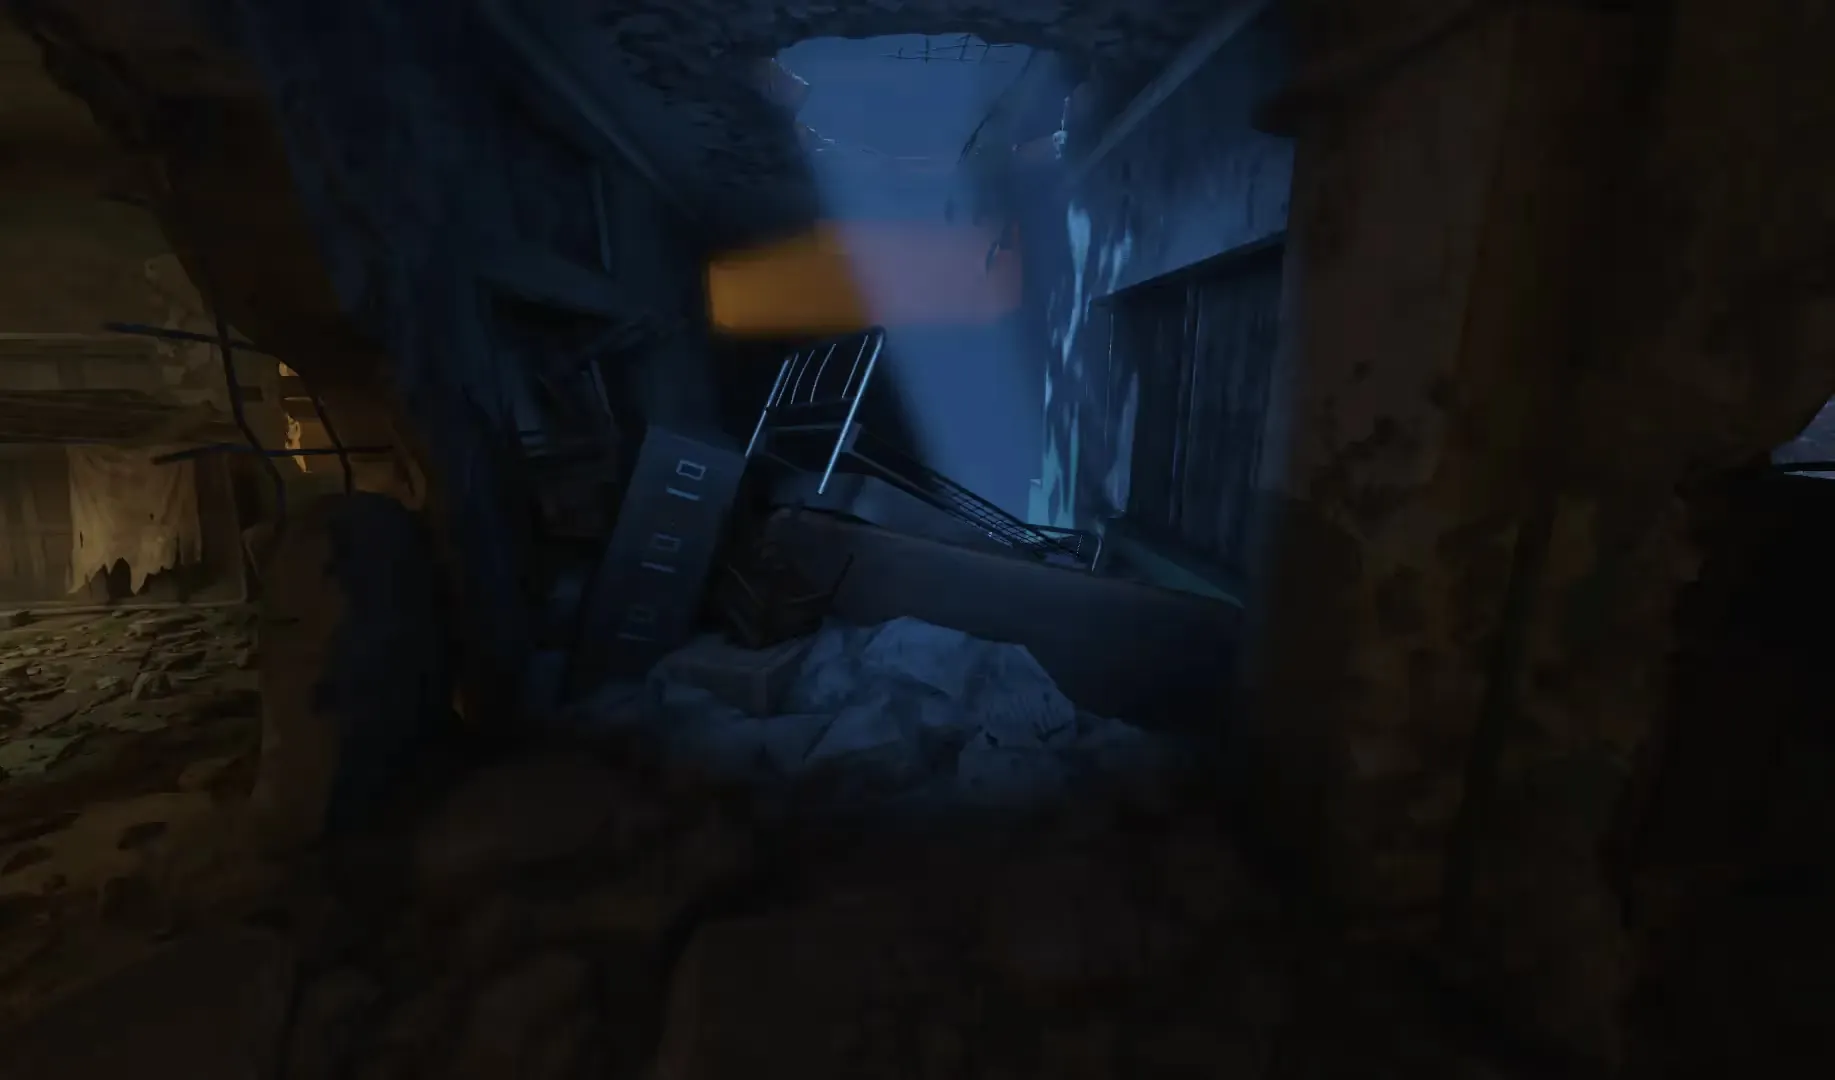
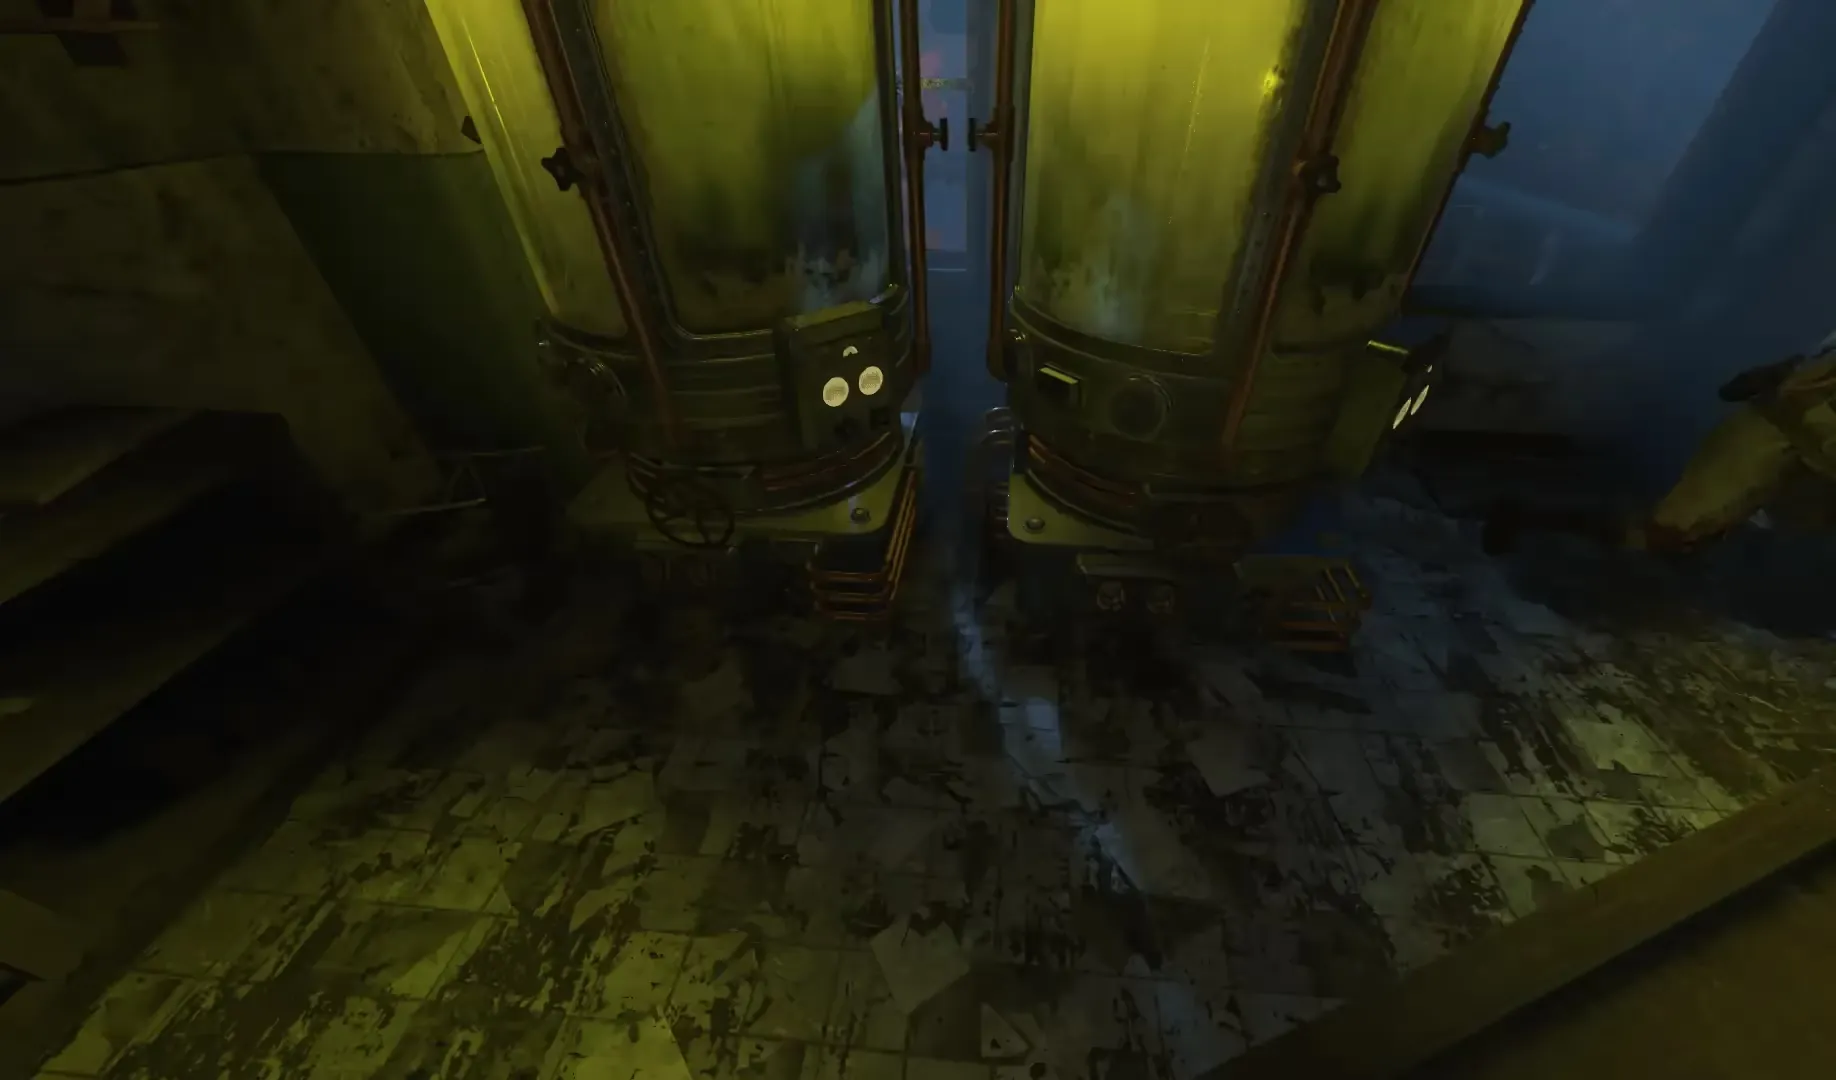
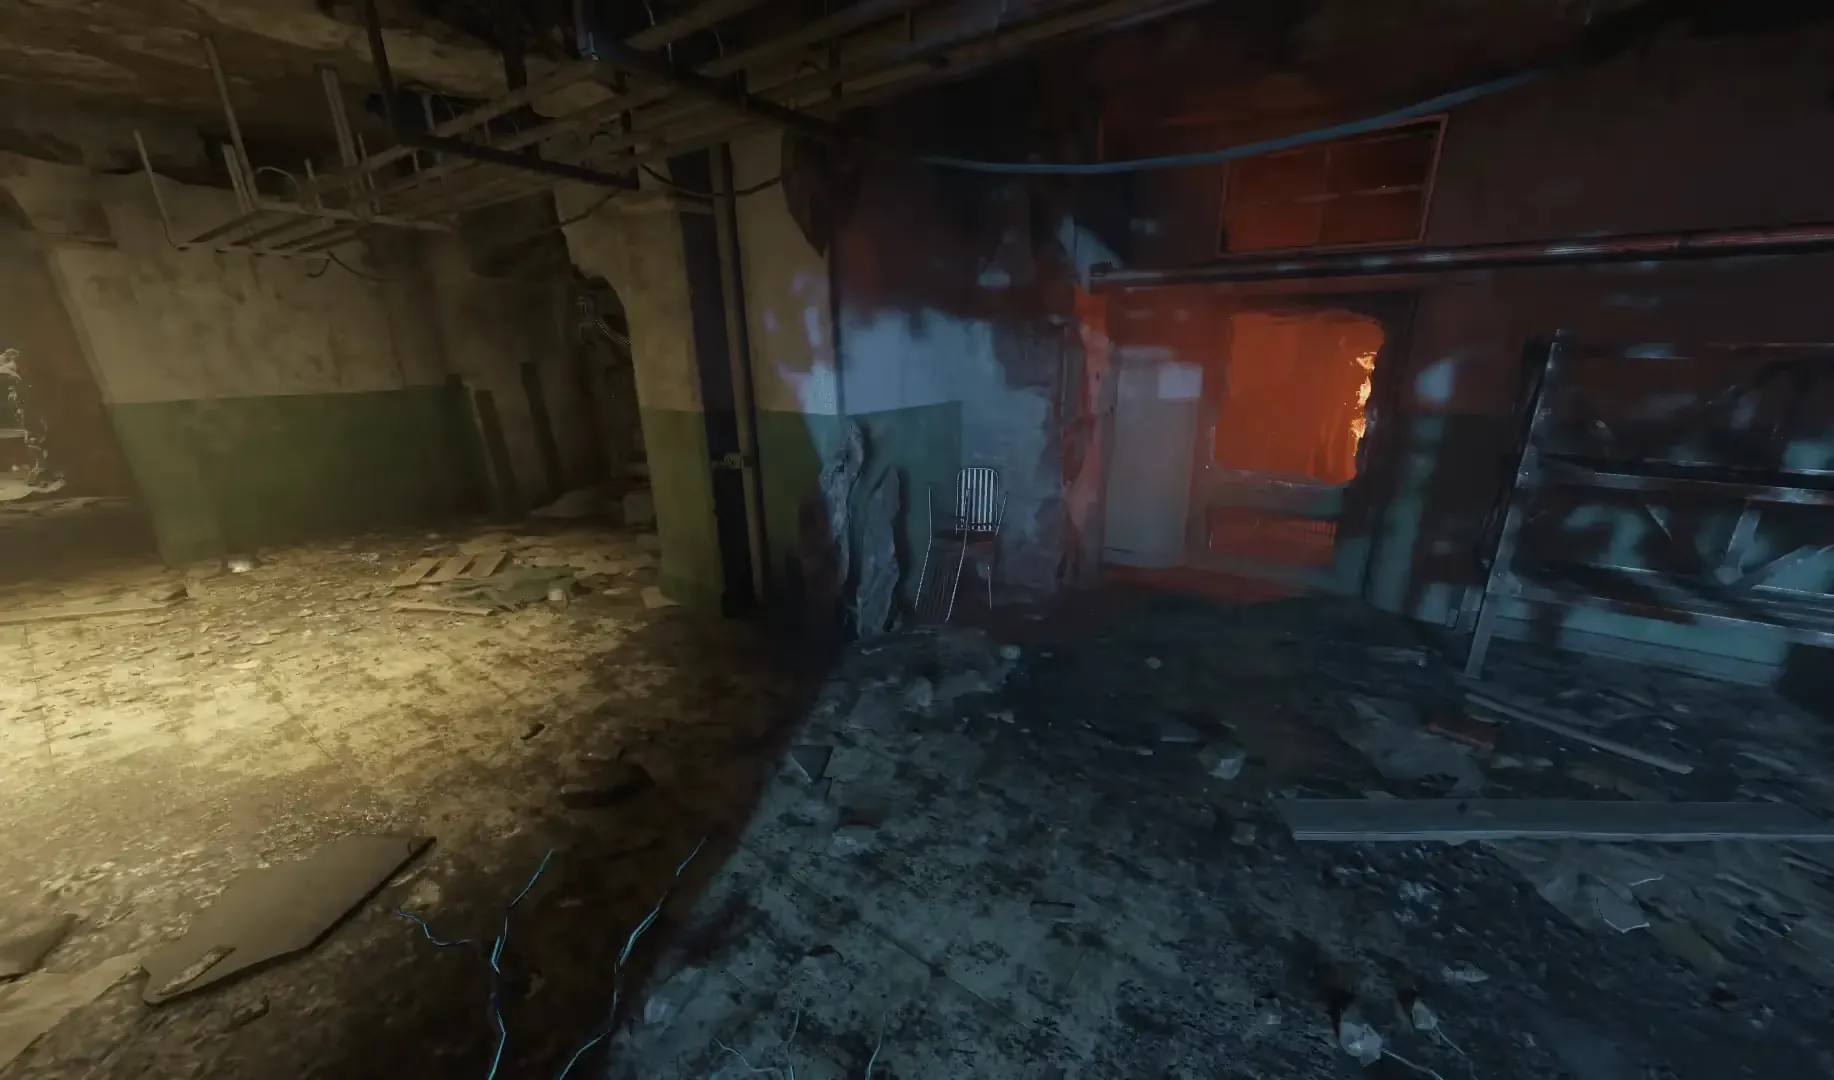
Mob of the Dead/Origins Egg Locations
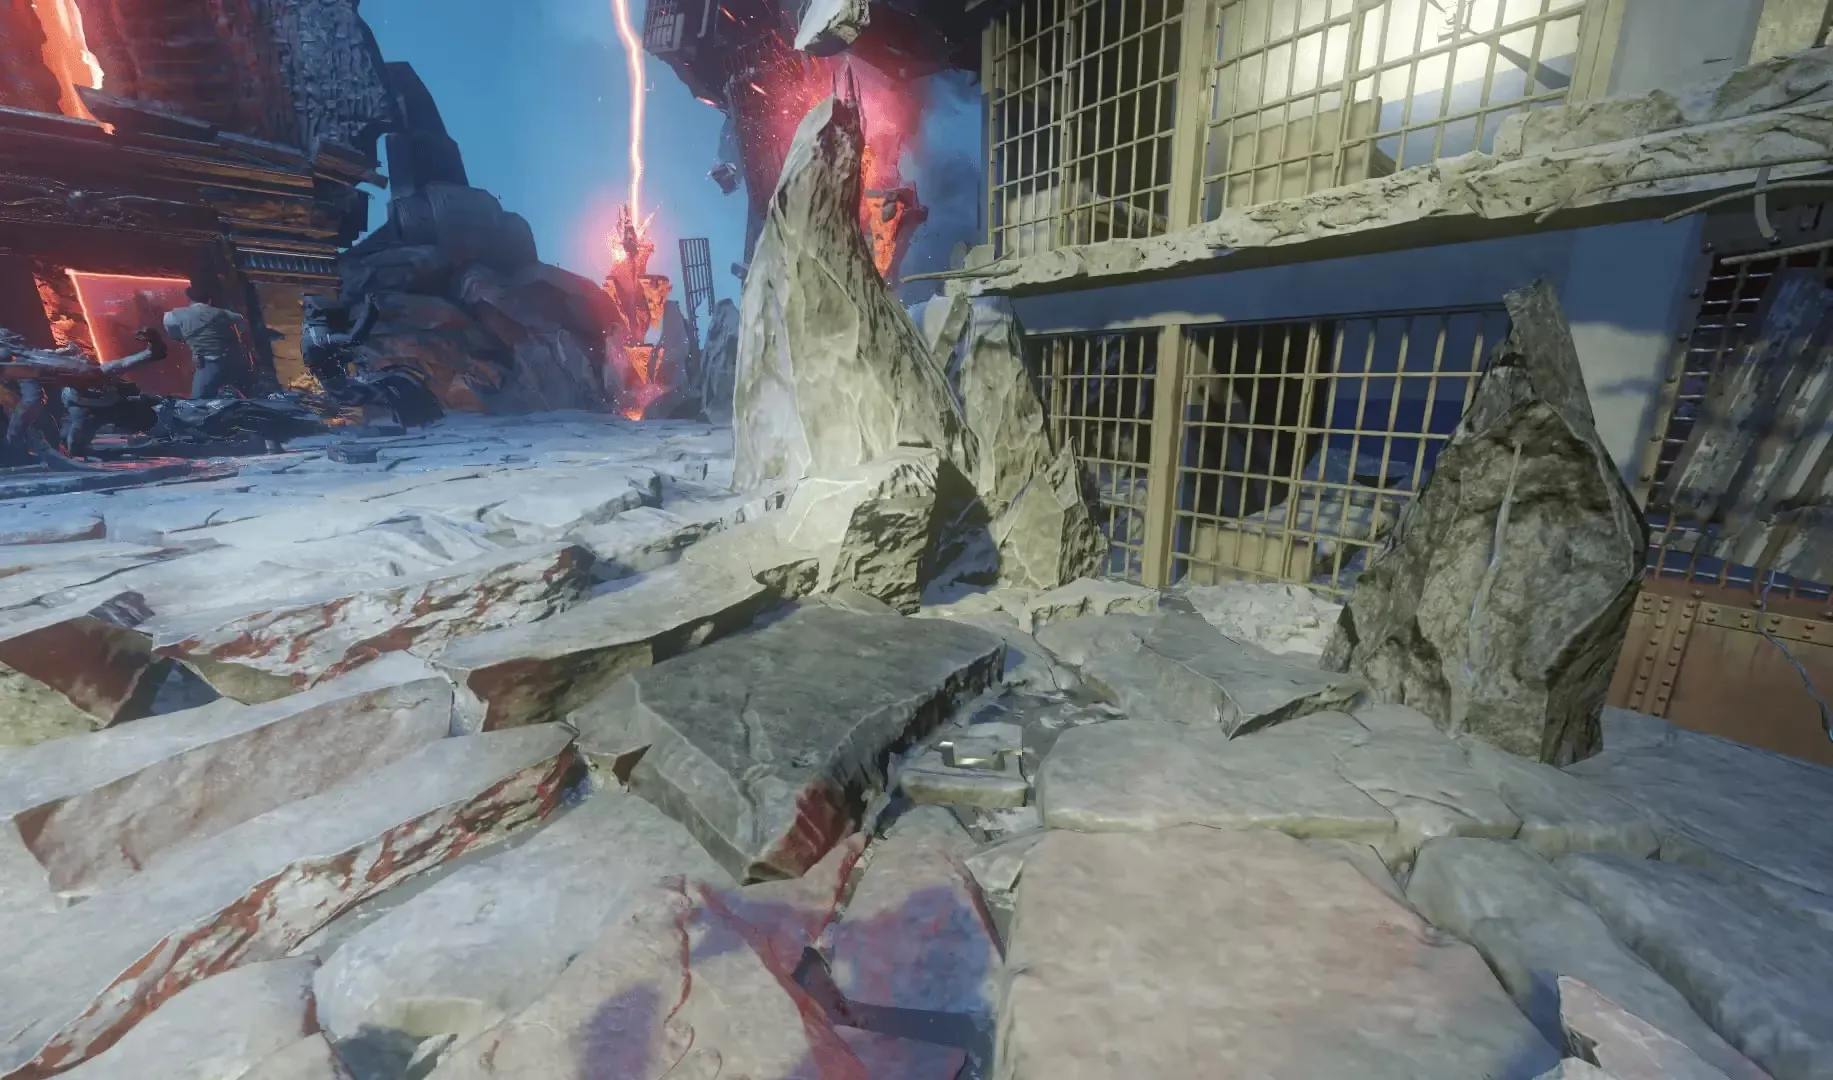
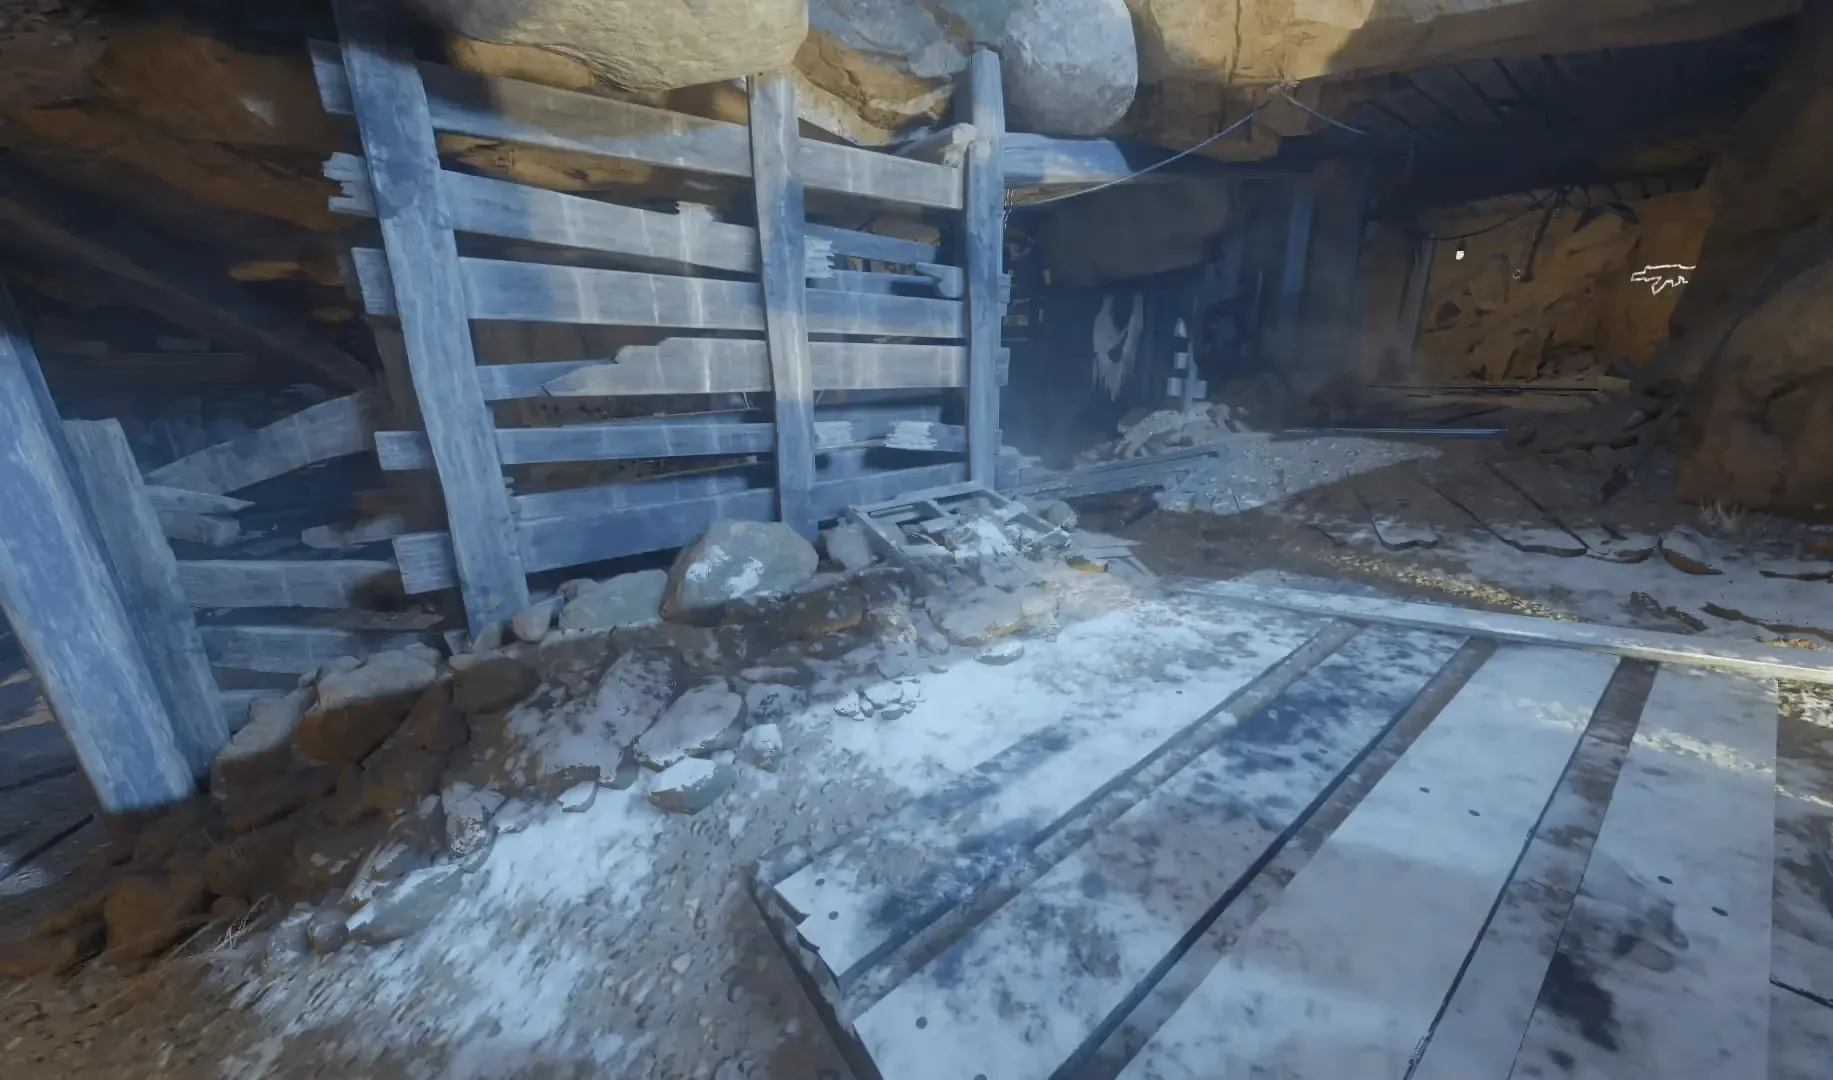


Once you have found an egg, bring it inside the giant Apothicon and place it within one of the four abscesses located in the stomach acid pool of the Apothicon. The egg can then be filled with zombie souls, 10 souls are needed to hatch the egg into a Gateworm that can only be picked up by the player who placed the egg. This must be done for all four eggs.
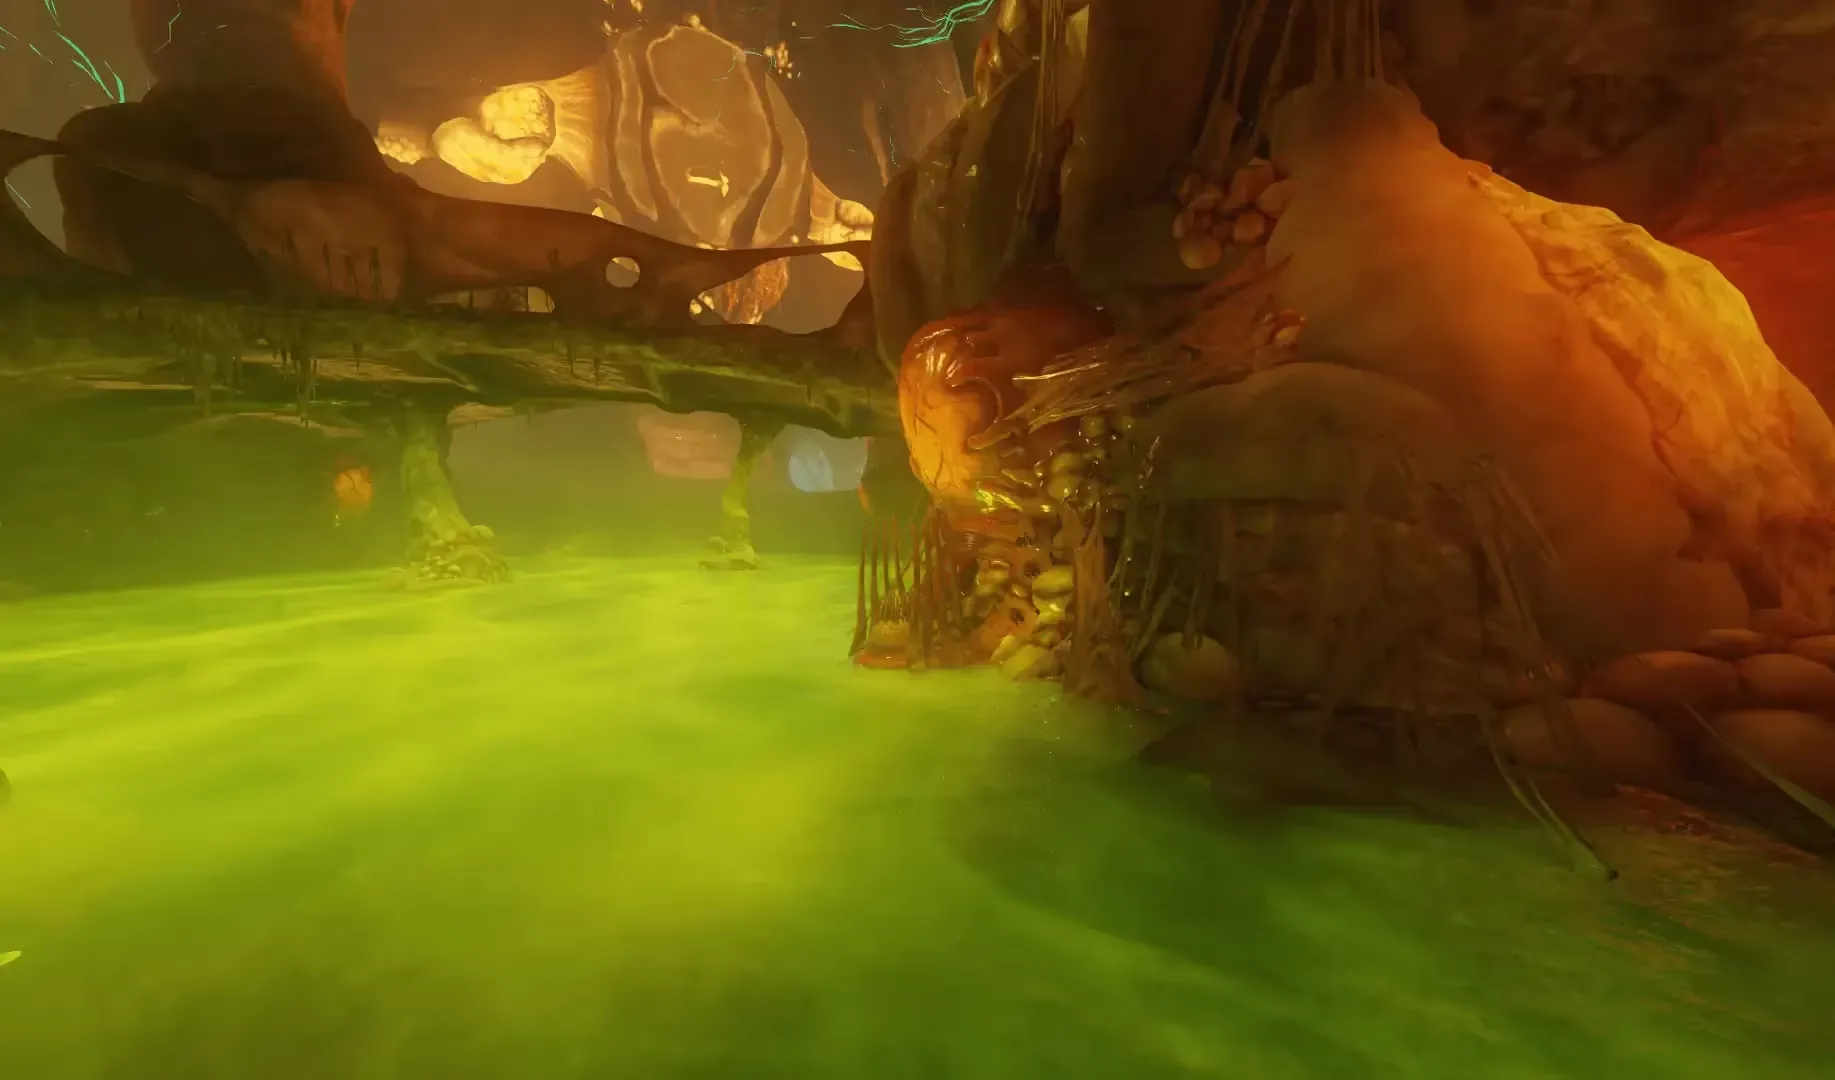
In co-op, only the person who placed the egg can collect souls to hatch that egg and pick up that specific Gateworm.
Step 6: Collect the Runes of Creation
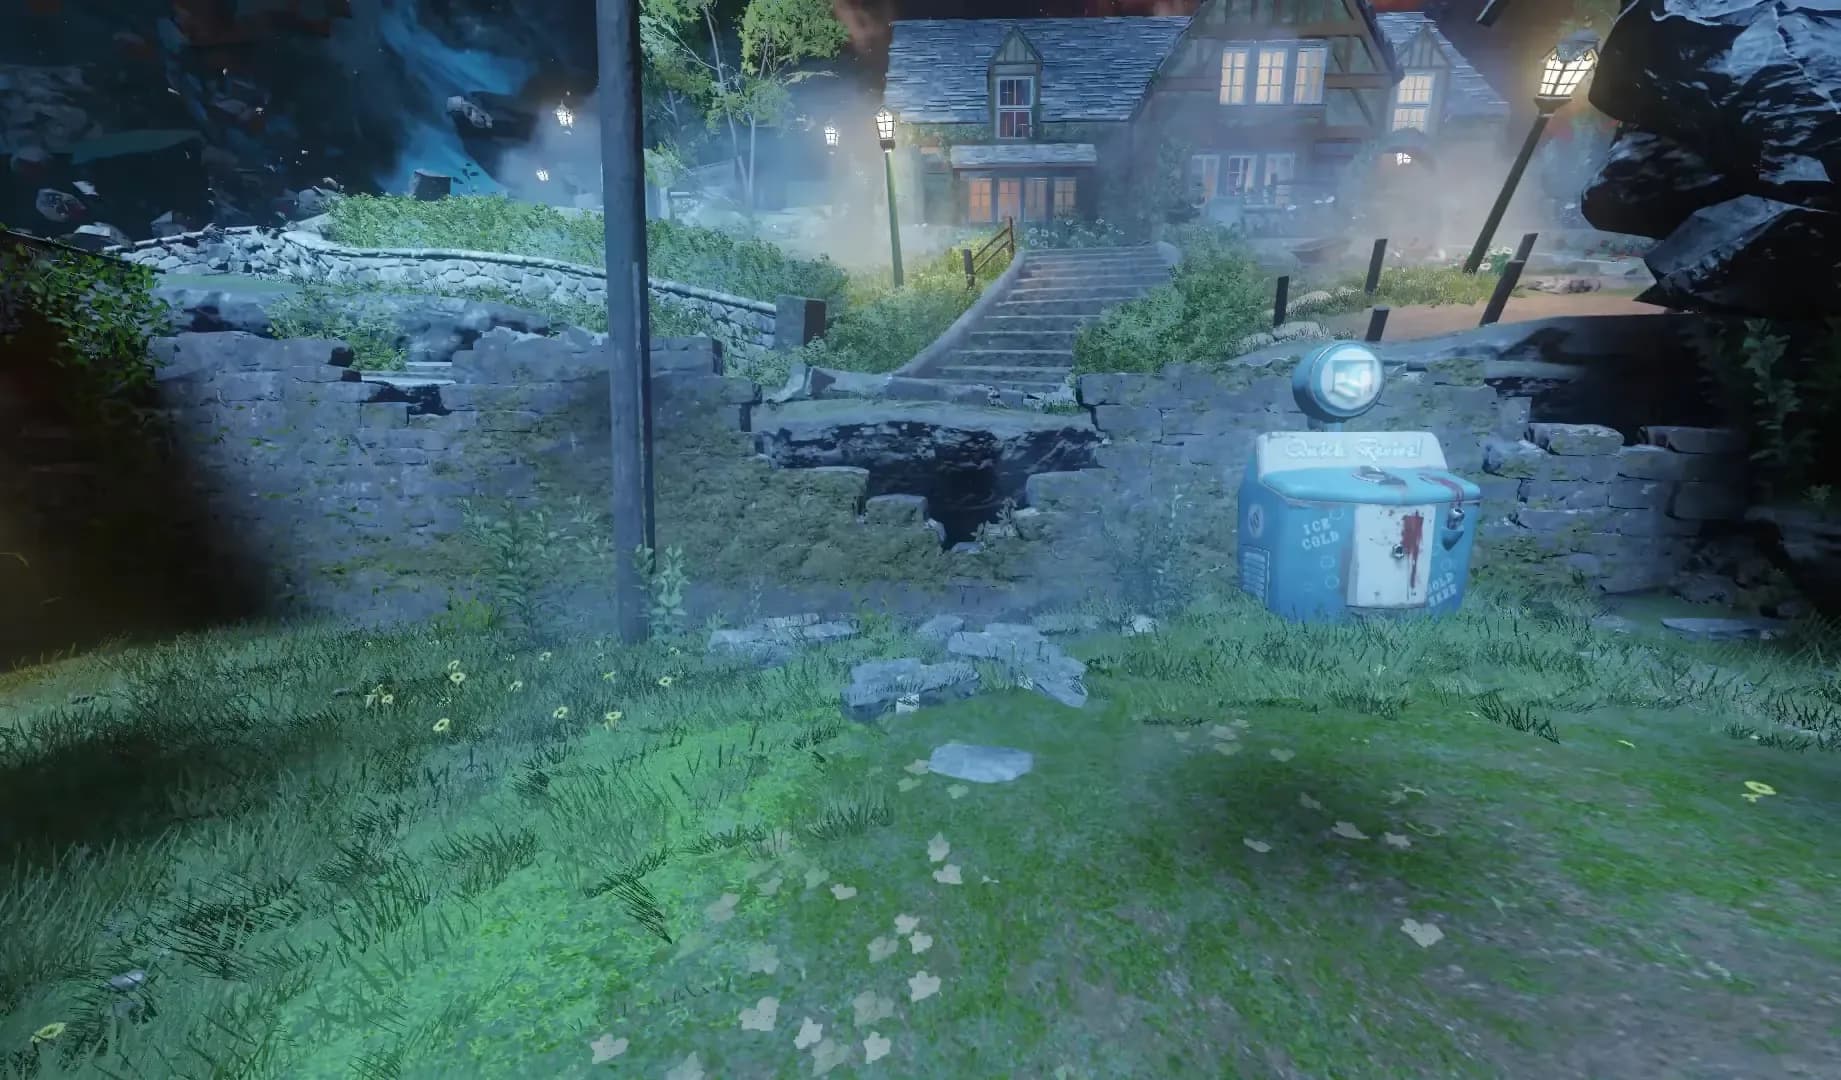
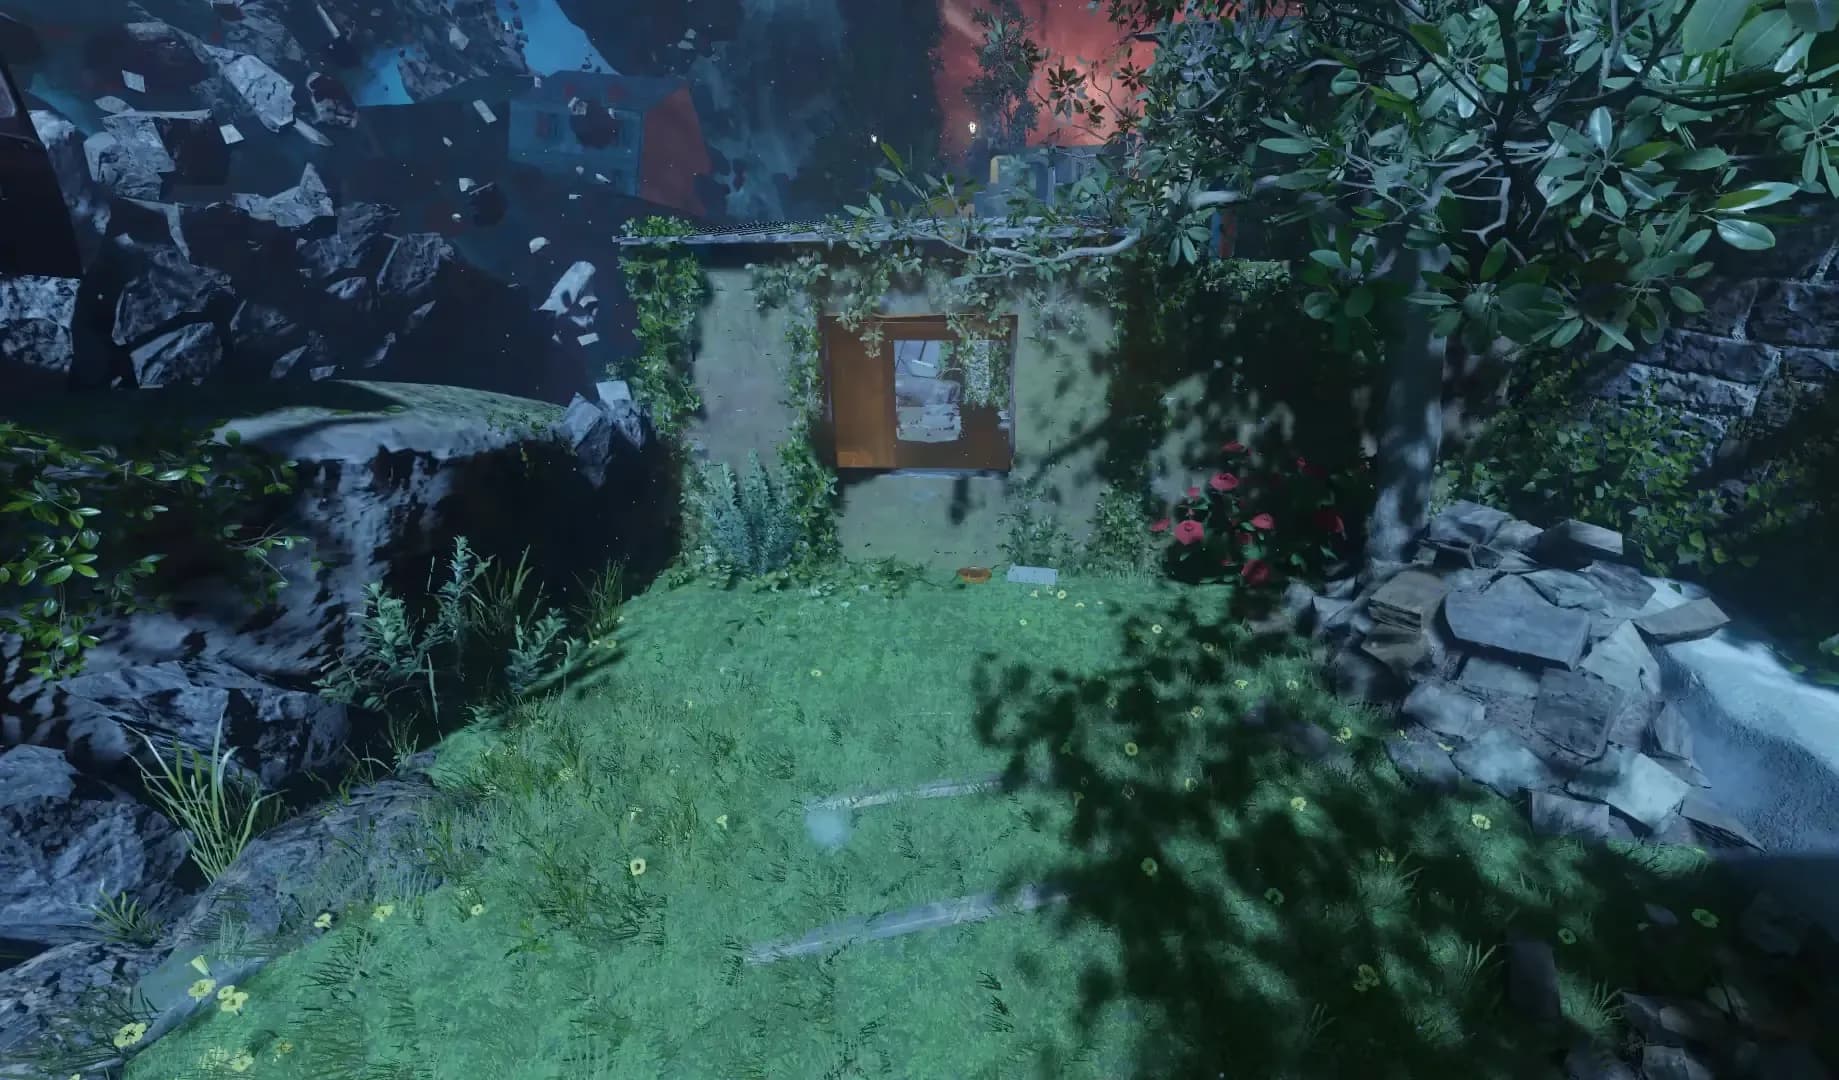
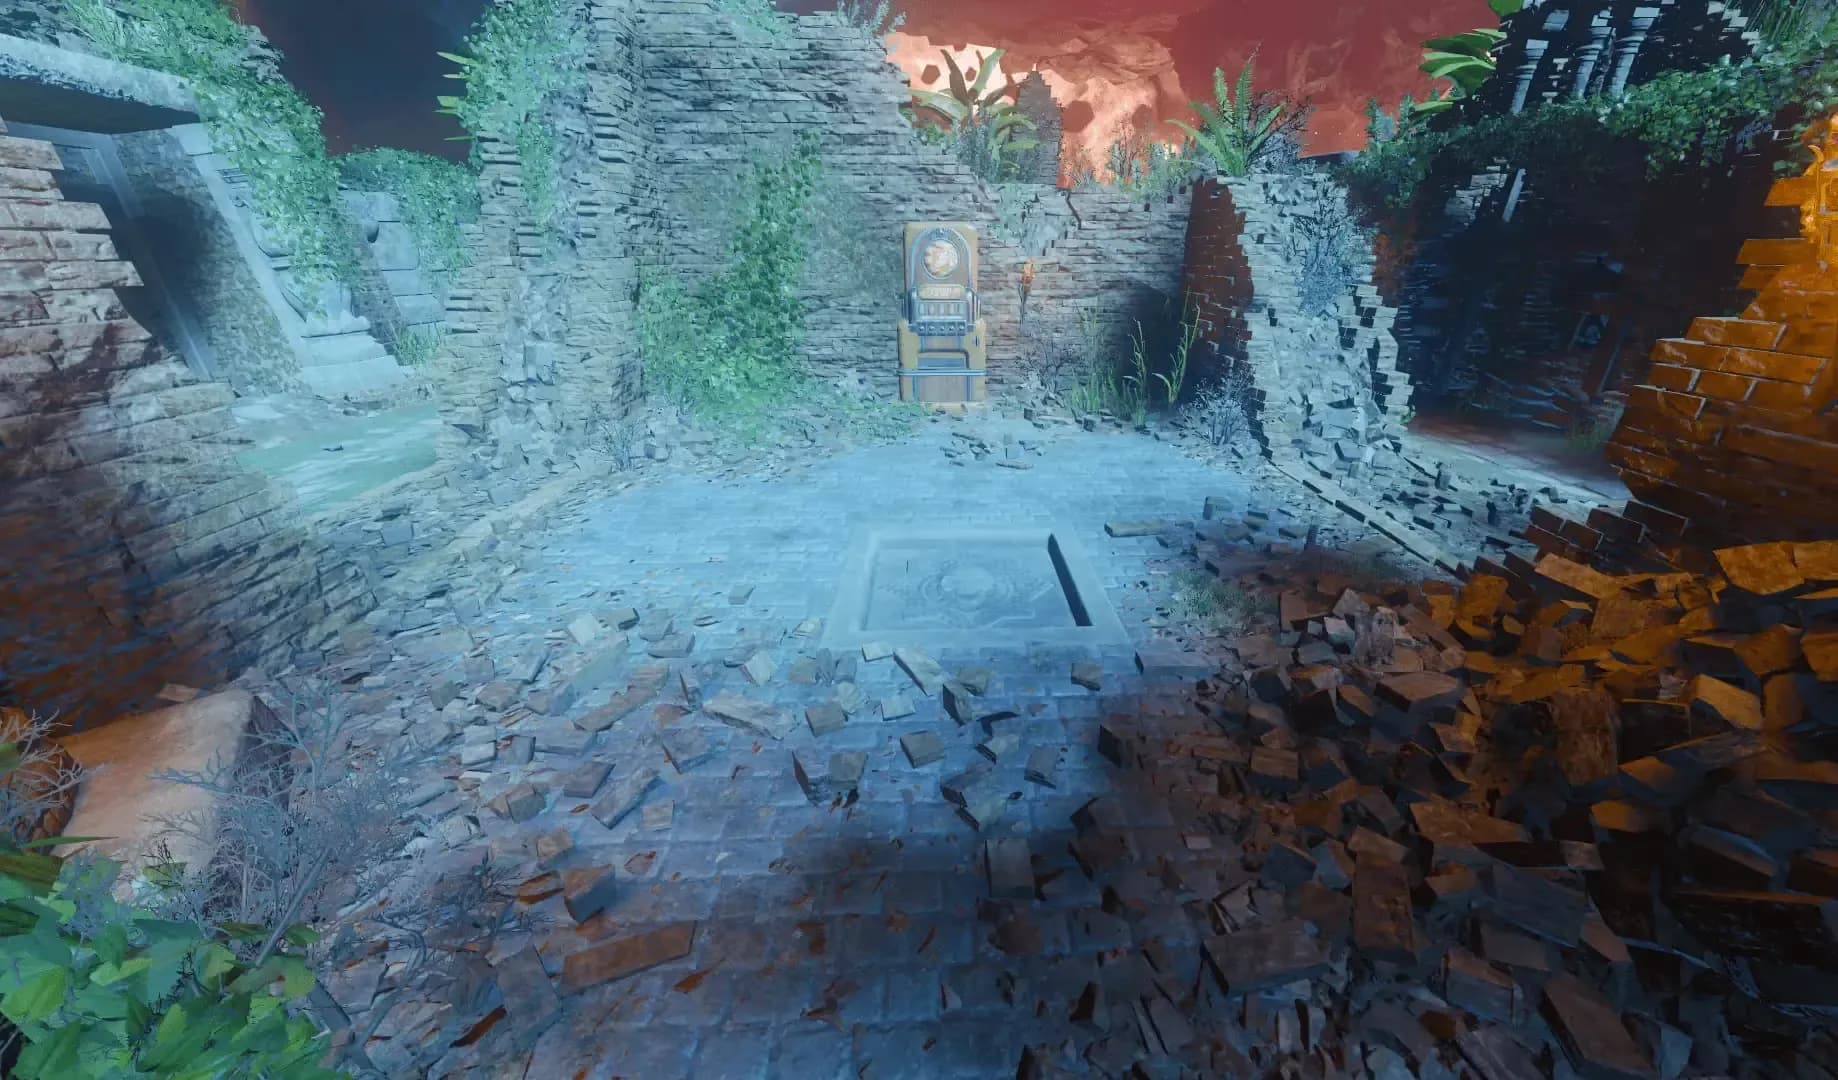
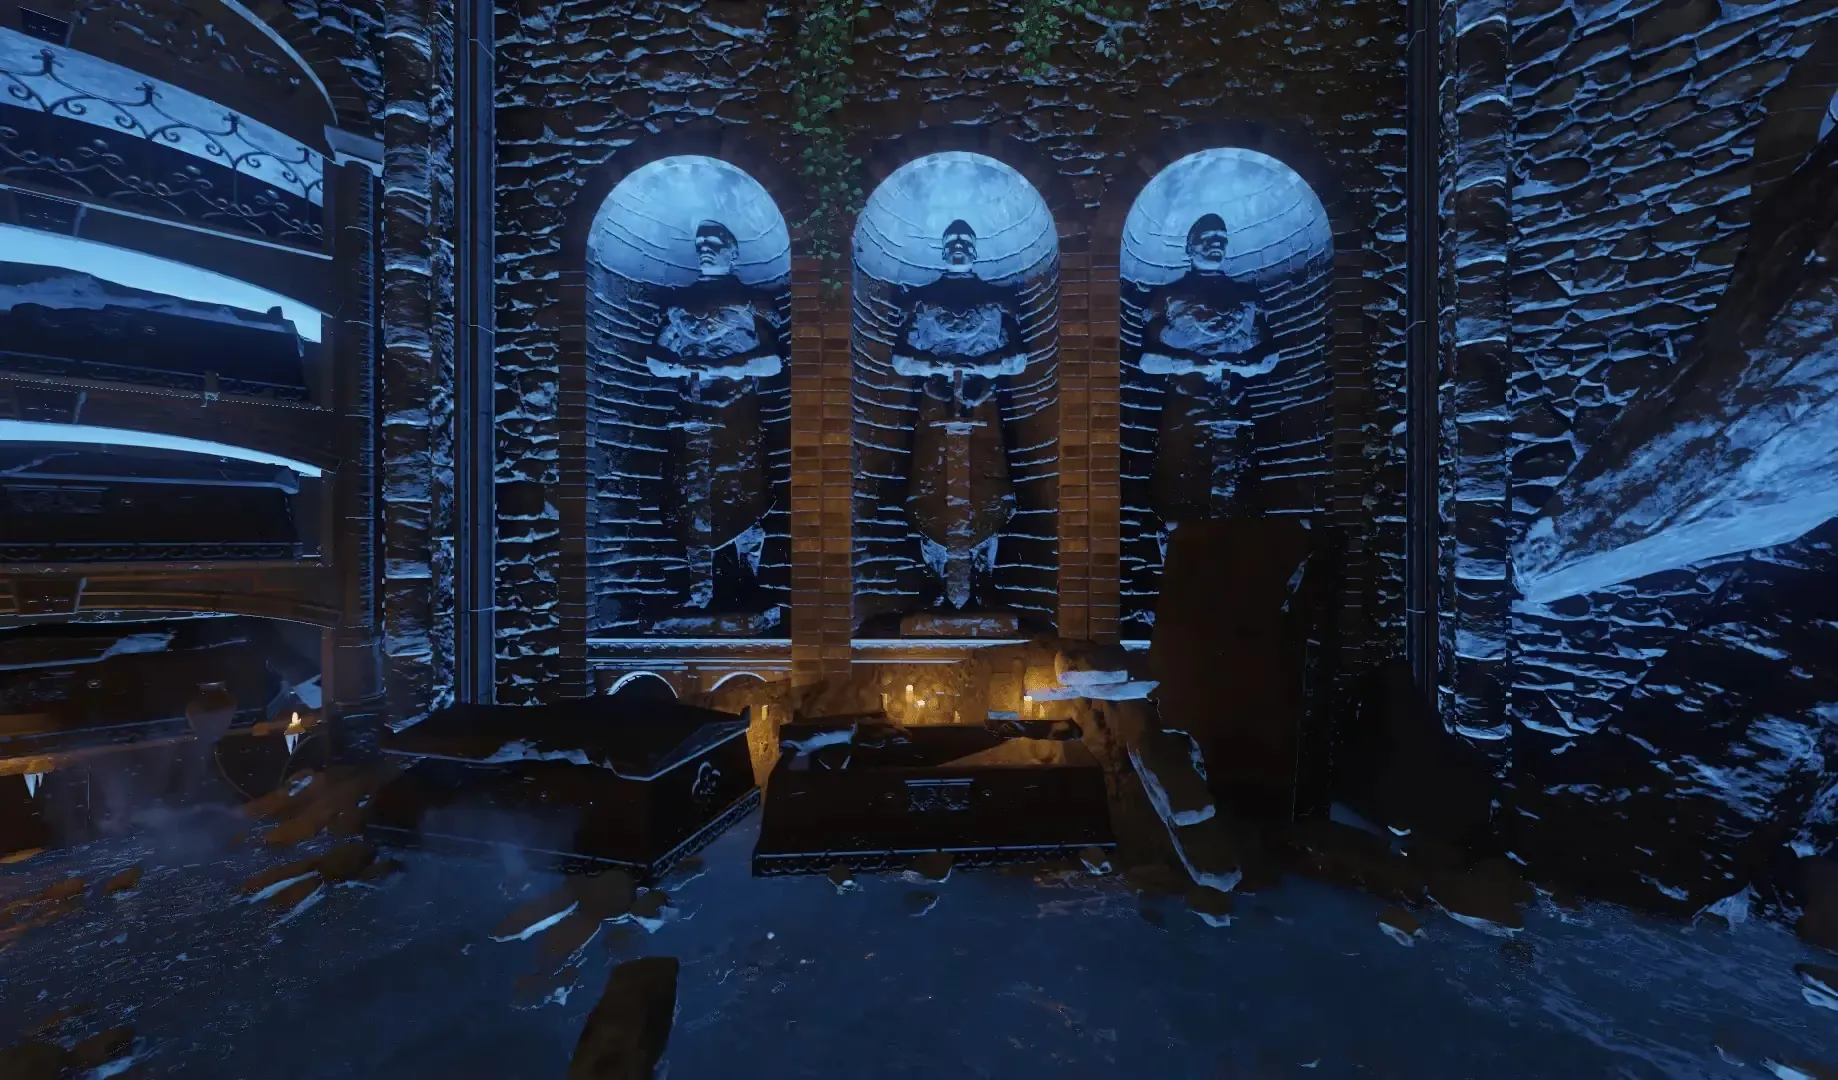
Each Gateworm is used to locate a Rune of Creation scattered across the map. Each area has three locations where a Rune of Creation can spawn. Like Acquiring the Apothicon Eggs, once one Rune of Creation is found in one of the listed areas it does not need to be rechecked for others and players can only hold one Gateworm at a time.
Spawn Rune Locations
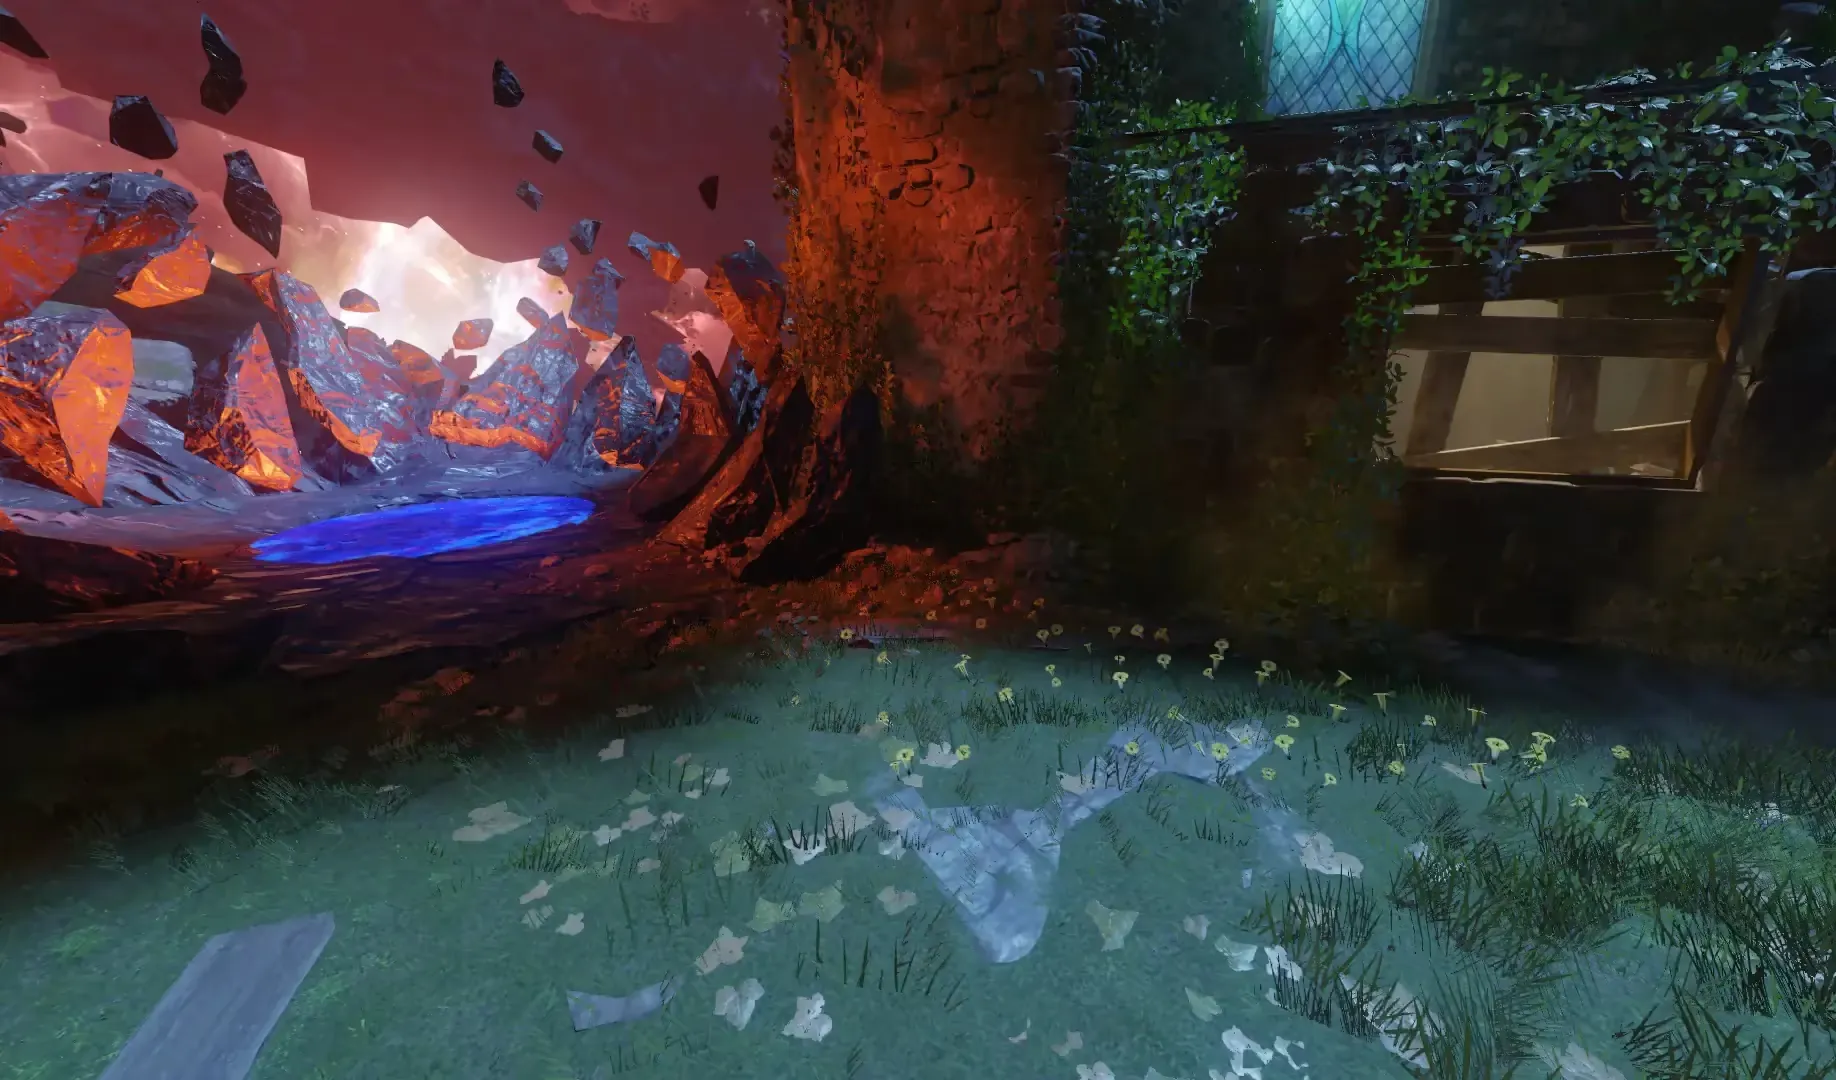
Shangri-La/Der Eisendrache Rune Locations
d
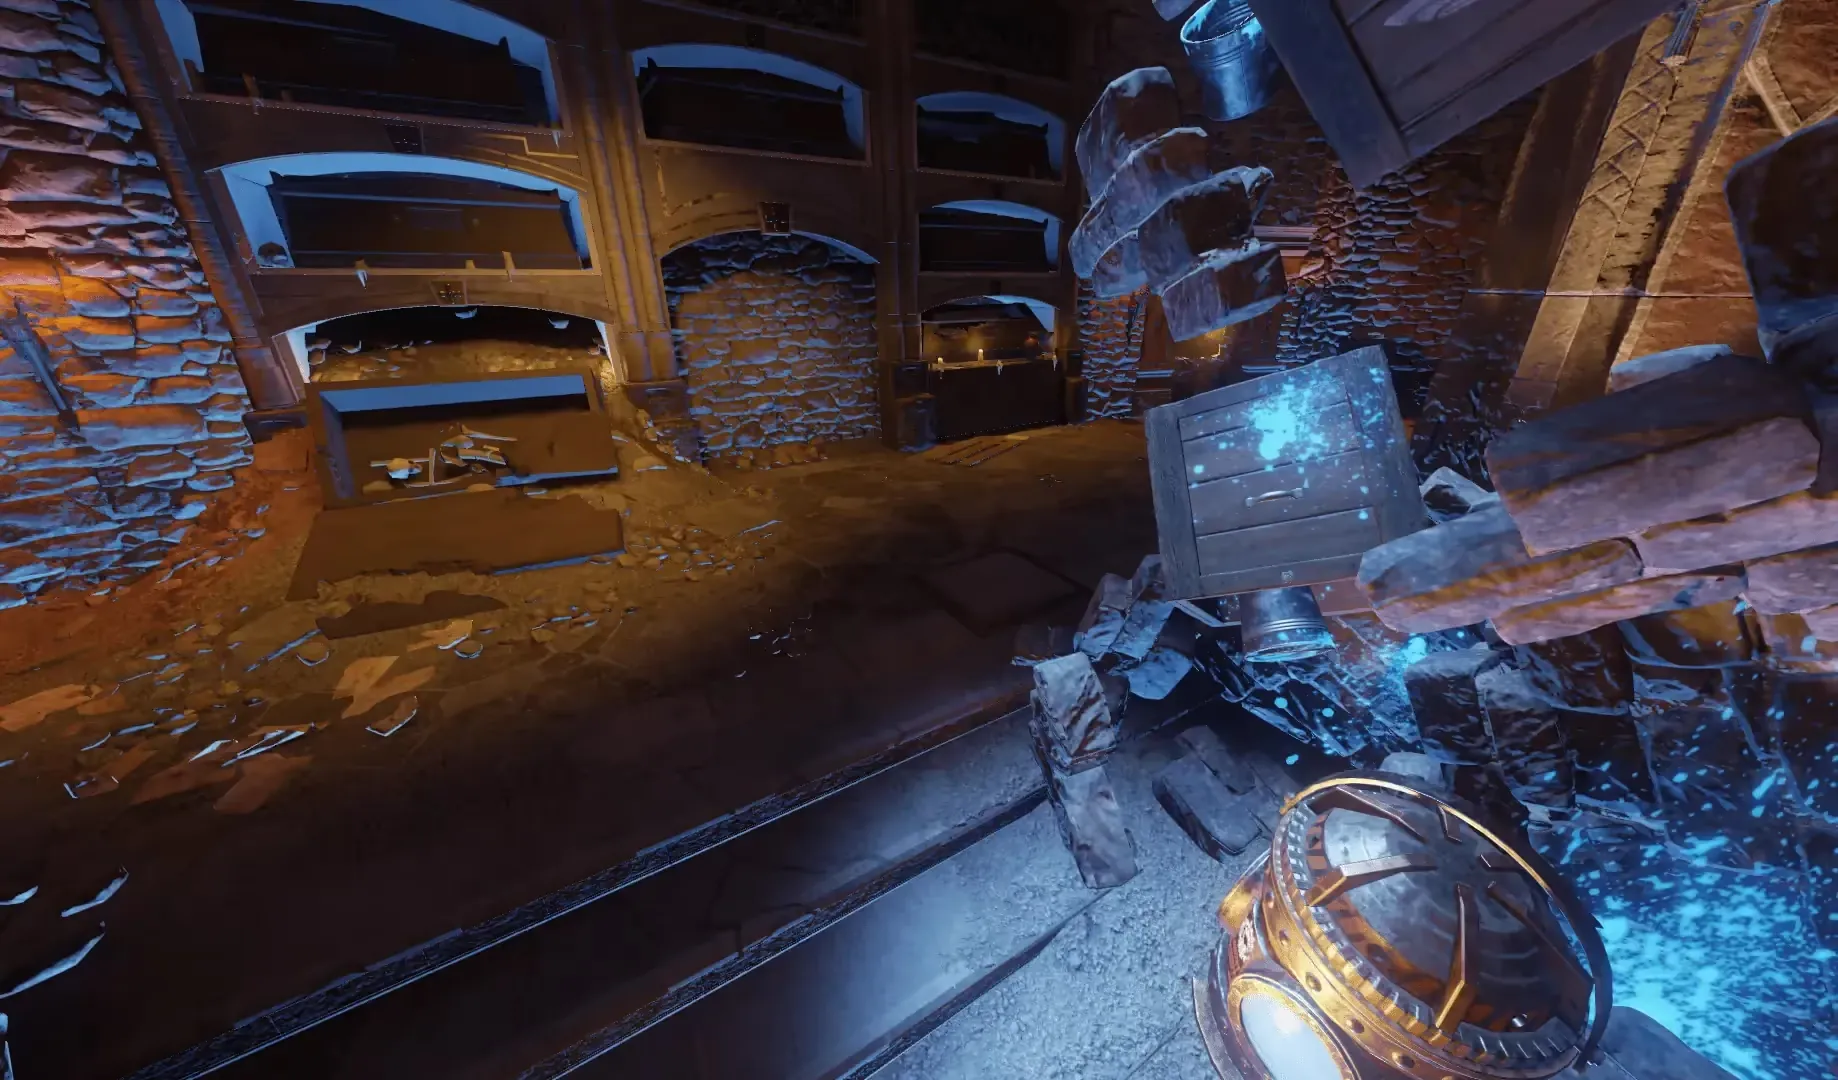
Verruckt Rune Locations
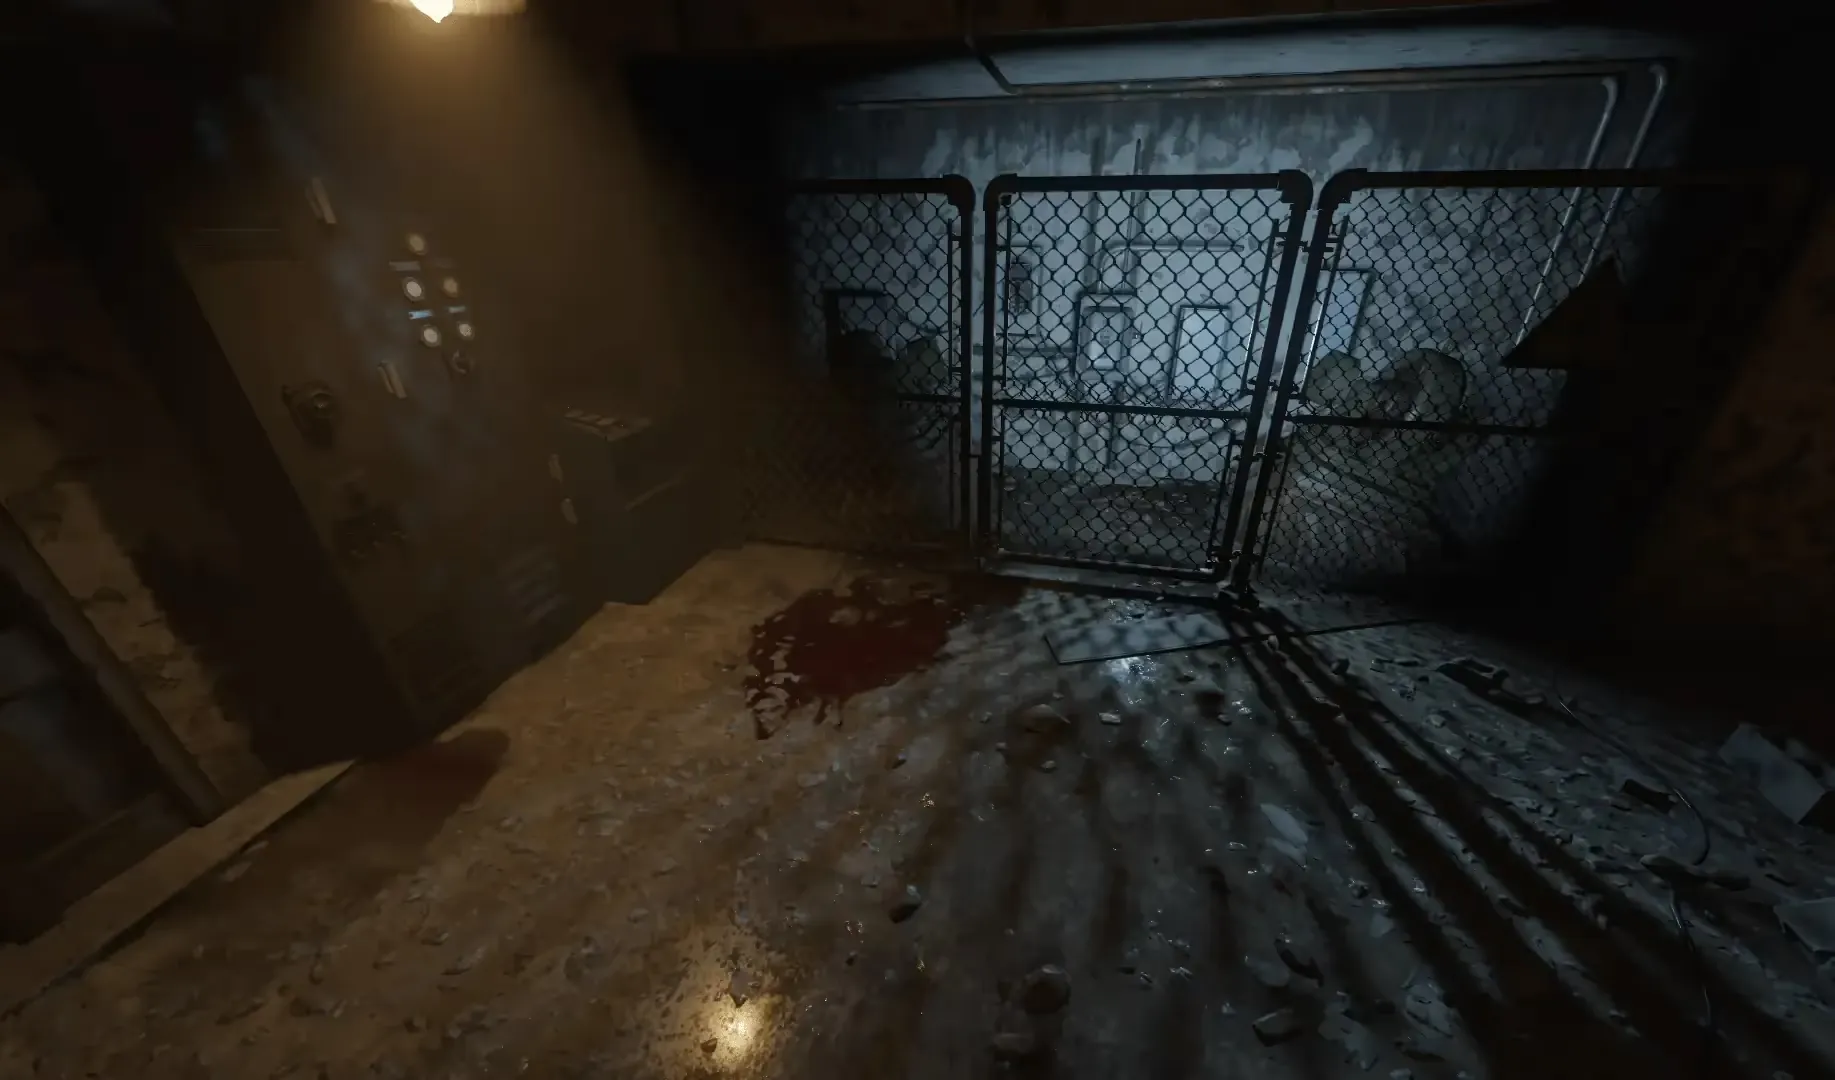
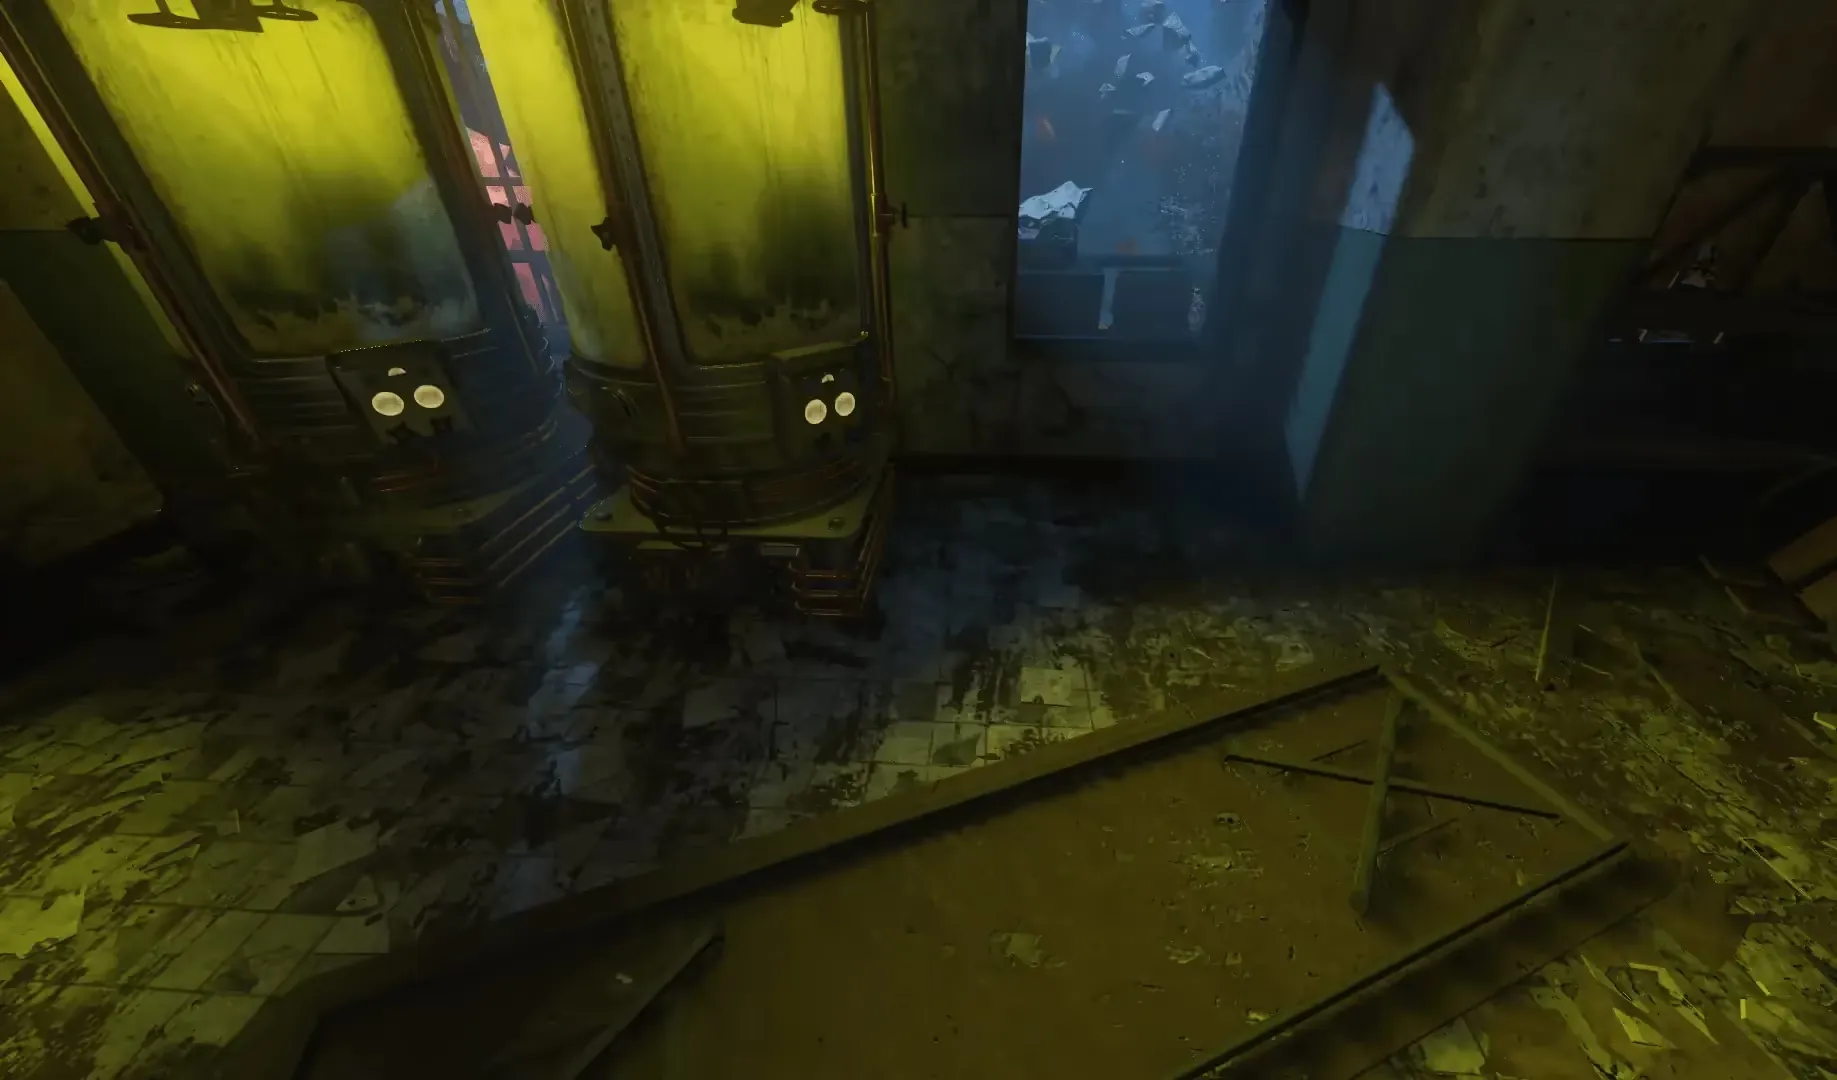
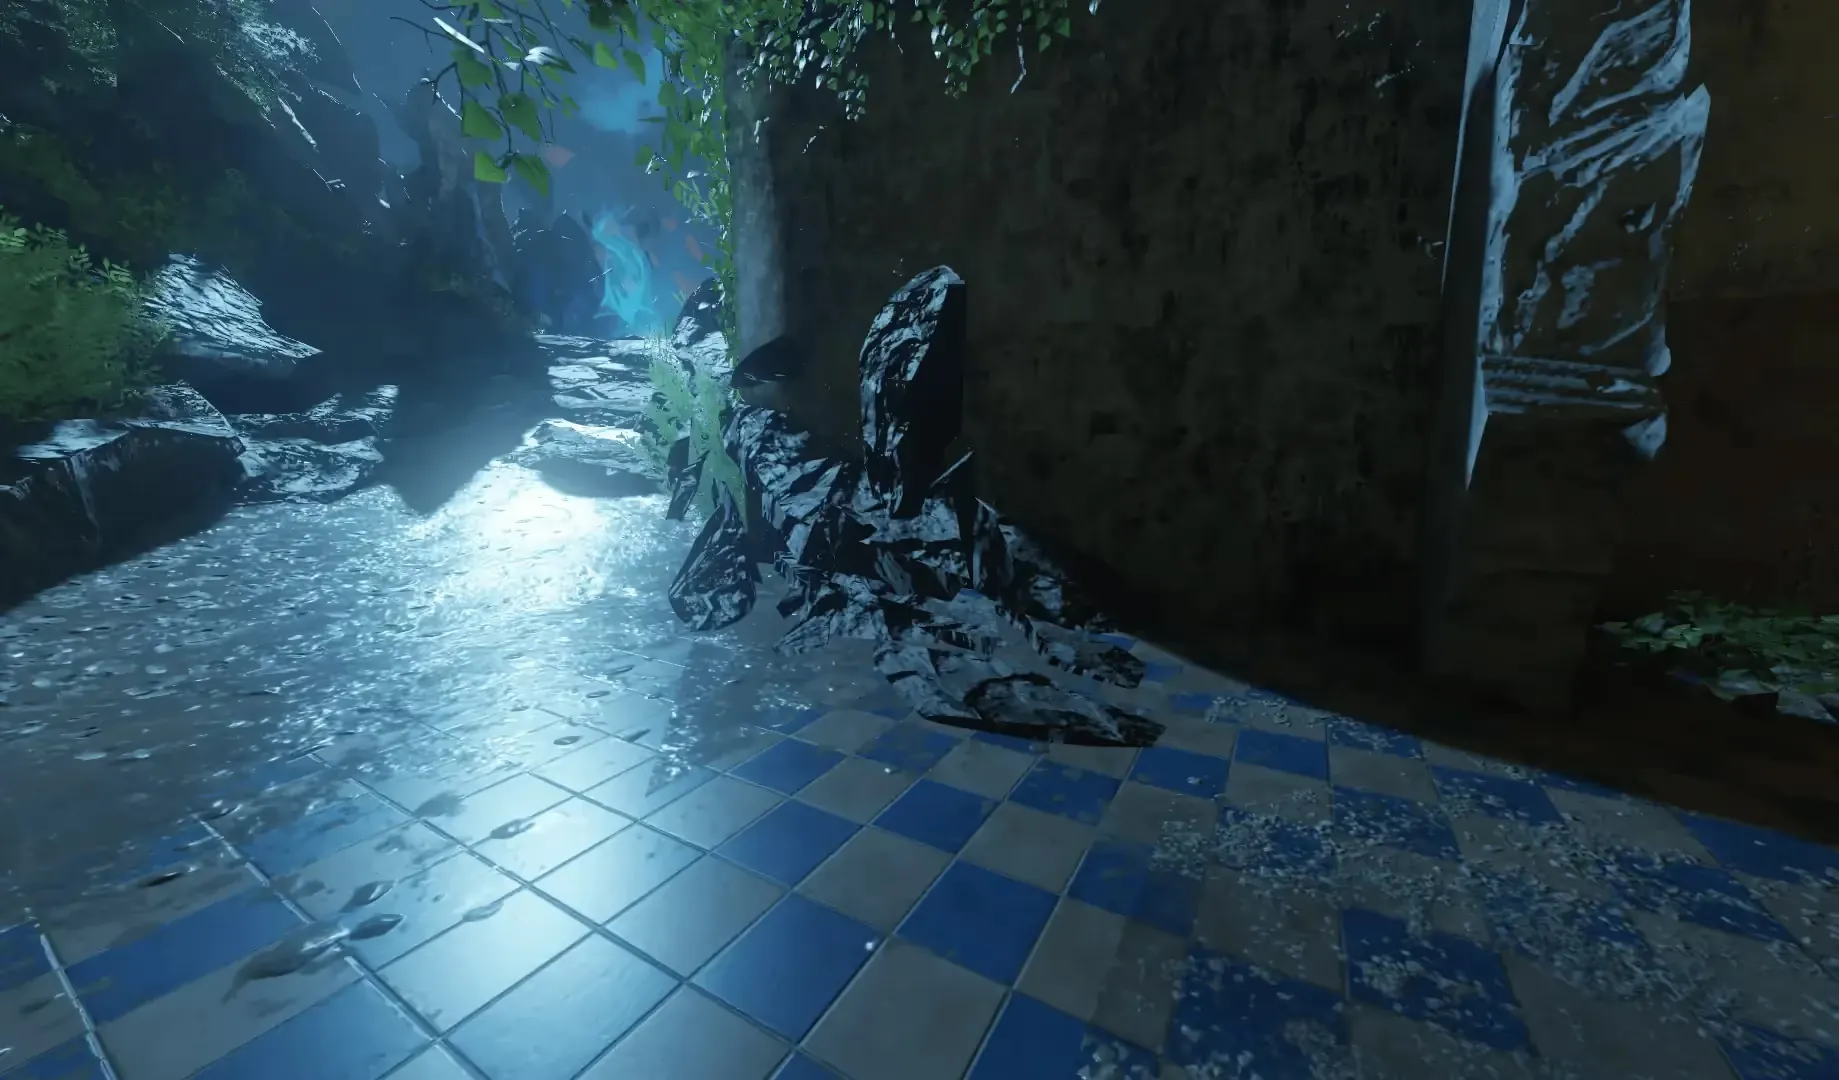
Mob of the Dead/Origins Rune Locations

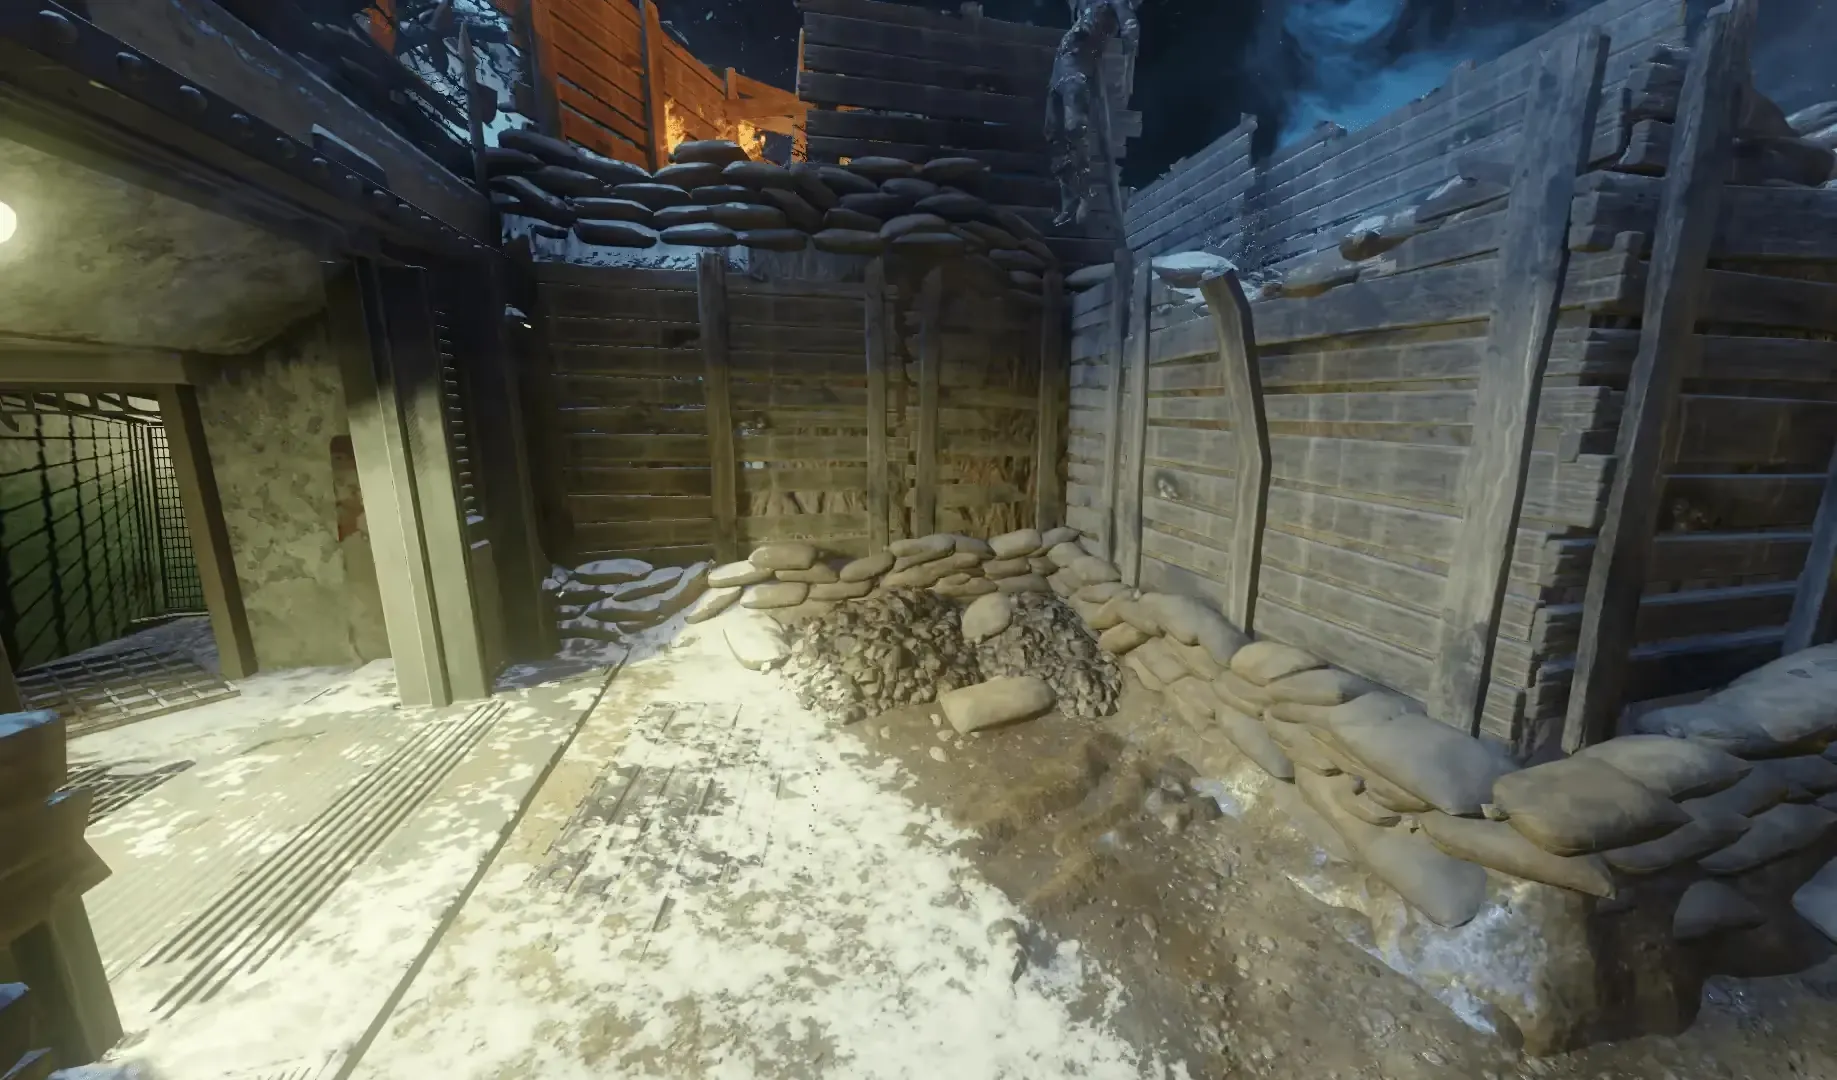
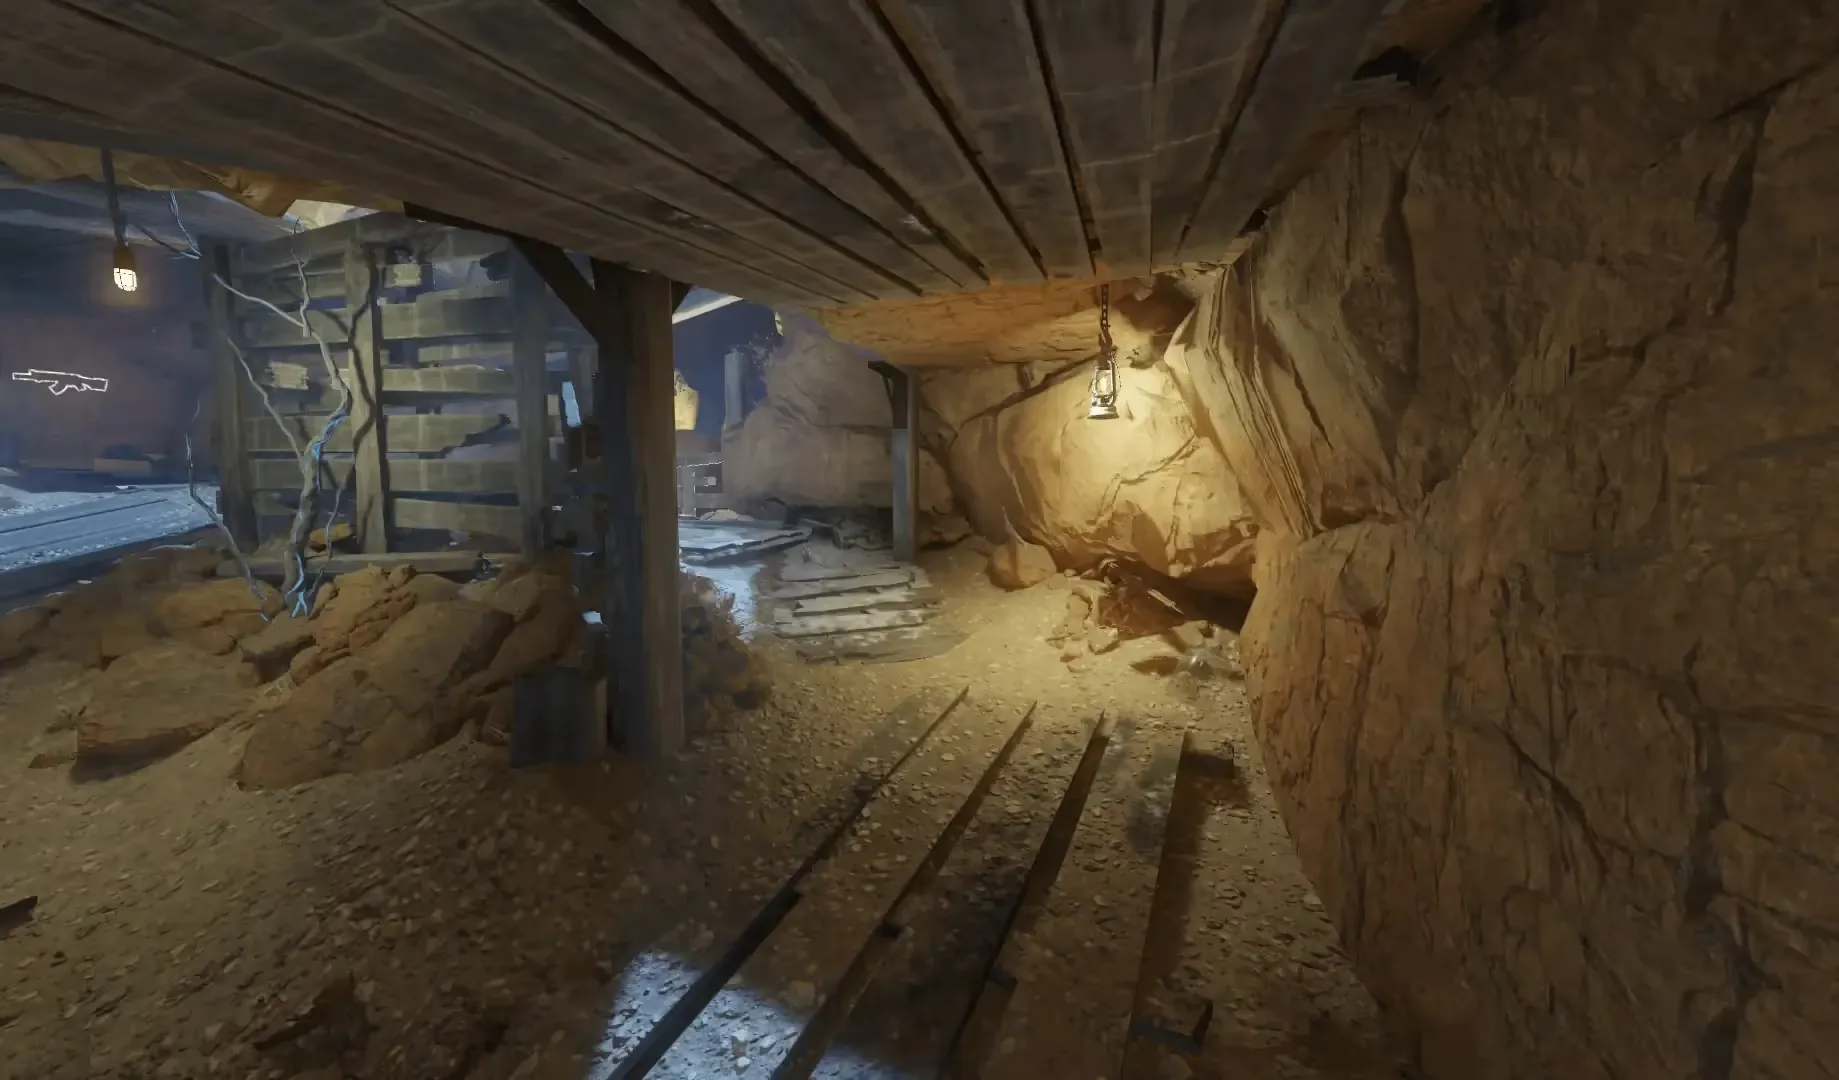
Once a Rune of Creation has been picked up, head back to the Apothicon and retrieve another Gateworm. You must repeat this process until all four Runes of Creation have been collected. Once all Runes of Creation have been collected, you should prepare for the next step involving a lot of Margwa and other enemies.
Step 7: Recover the Summoning Key
The Thundergun is extremely useful for dealing with Margwa enemies during this step, if you don't already have it, you should try to get it from the Mystery Box for an easier time. Be sure to have ammo in your Apothicon Servant and stocked up on Lil' Arnies.
Once fully prepared, all players must stand on the glowing purple circle in the center of the Projector Room in Kino Der Toten, teleporting you to the boss arena. Head to the pedestal in front of the Apothicon head and interact with the Kronorium; this will cause it to flip through four of its pages, revealing the four Rune of Creation symbols at random. You must remember the order the symbols were flipped through.
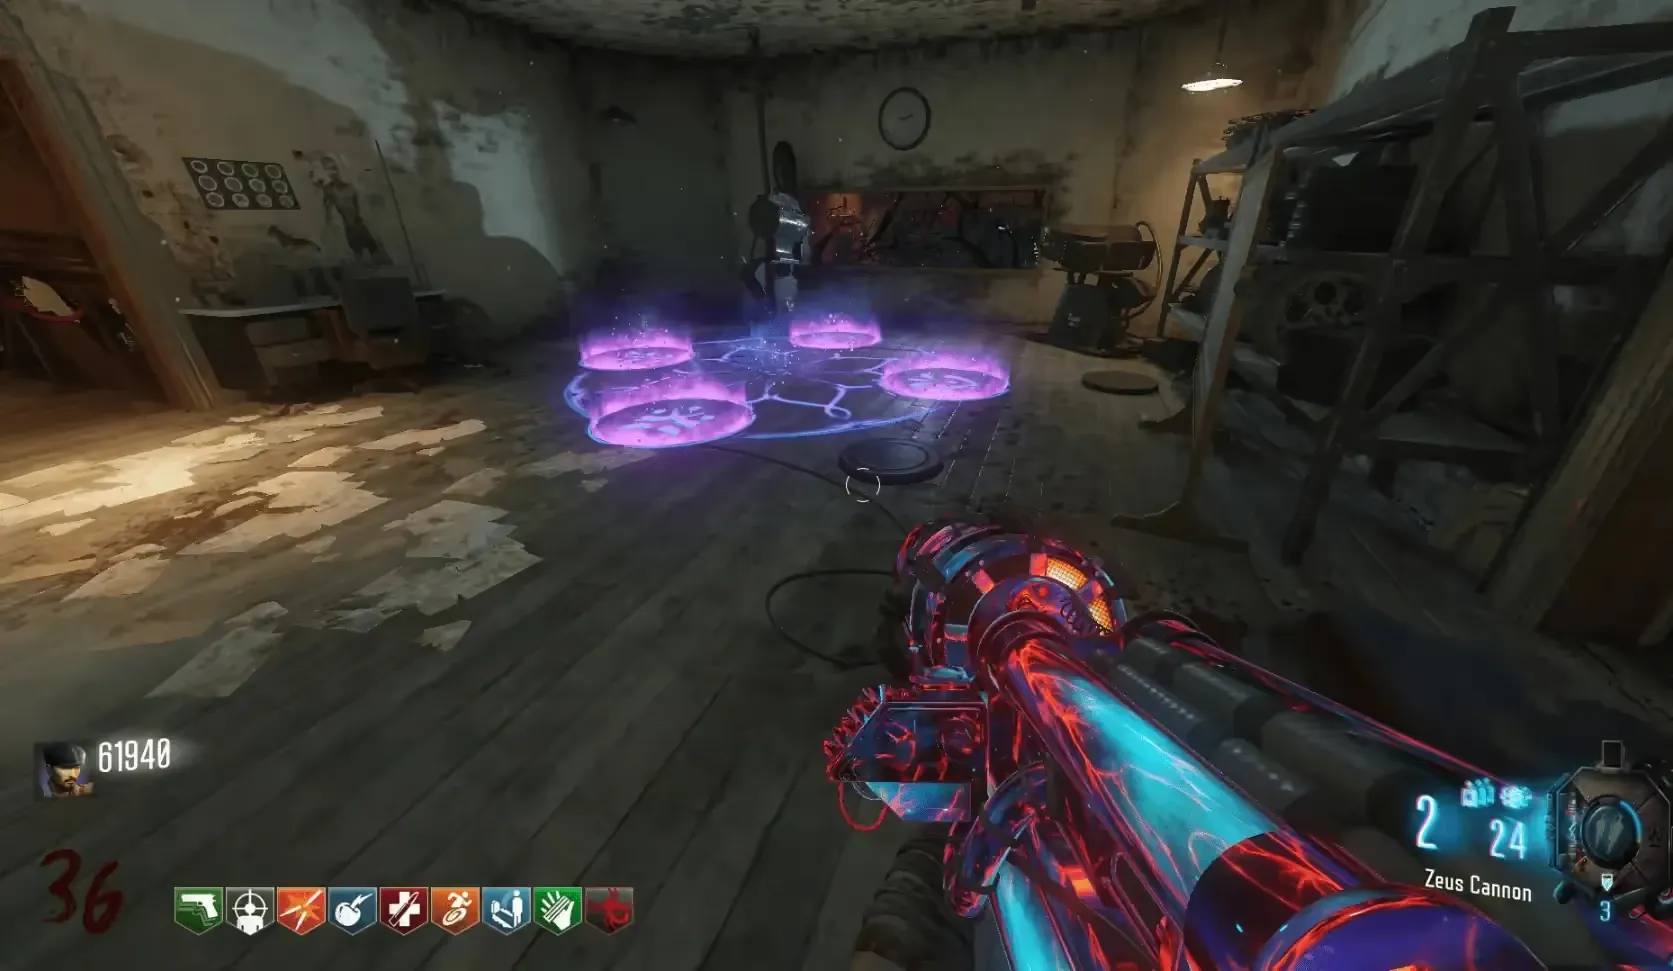
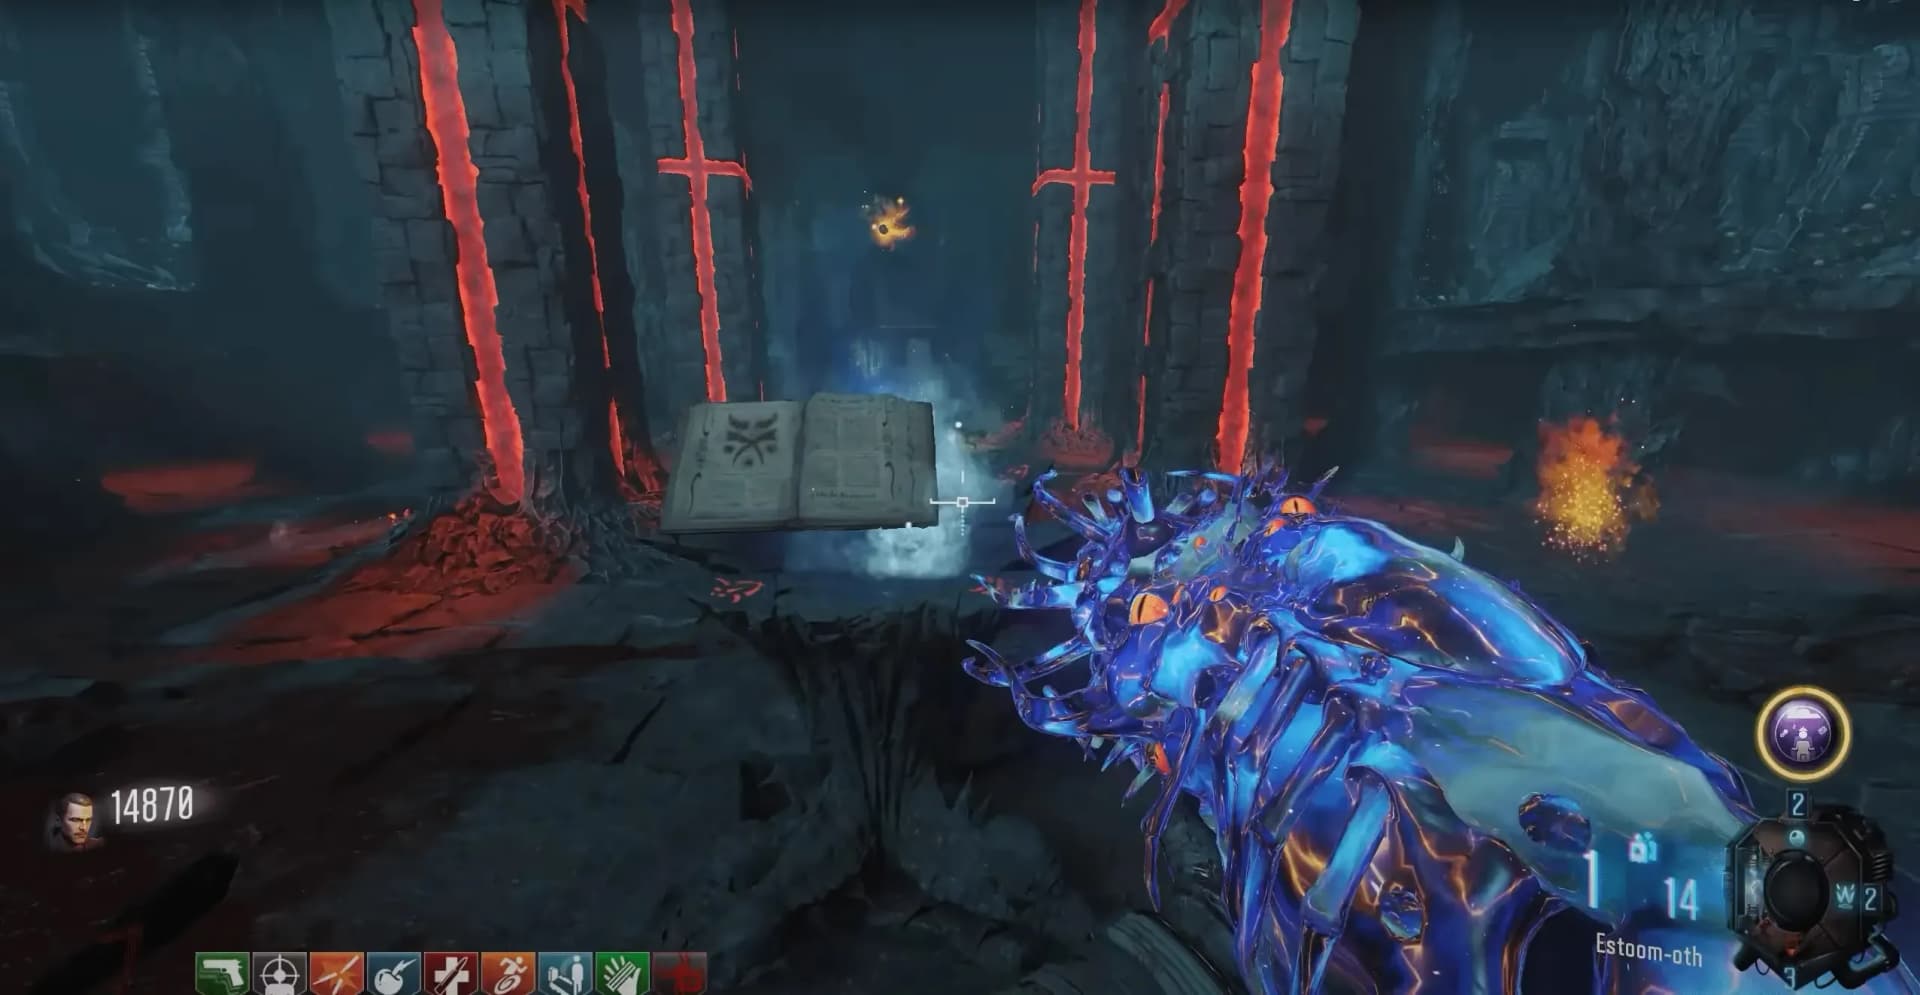
The symbols shown in the Kronorium will always be Rune of Creation symbols. You can pull up your scoreboard to see the symbols in your inventory and can use that as a reminder of what order the symbols were in, instead of trying to remember their shape simply number them 1-4 from how they appear in the scoreboard to easily remember the order and symbol.
Once you have the order, head to the platform straight ahead from the pedestal, where purple Apothicon symbols can be seen automatically cycling one after another. You must interact with the correct symbols in the correct order they were shown to you by the Kronorium, if done correctly the symbol will appear gold.
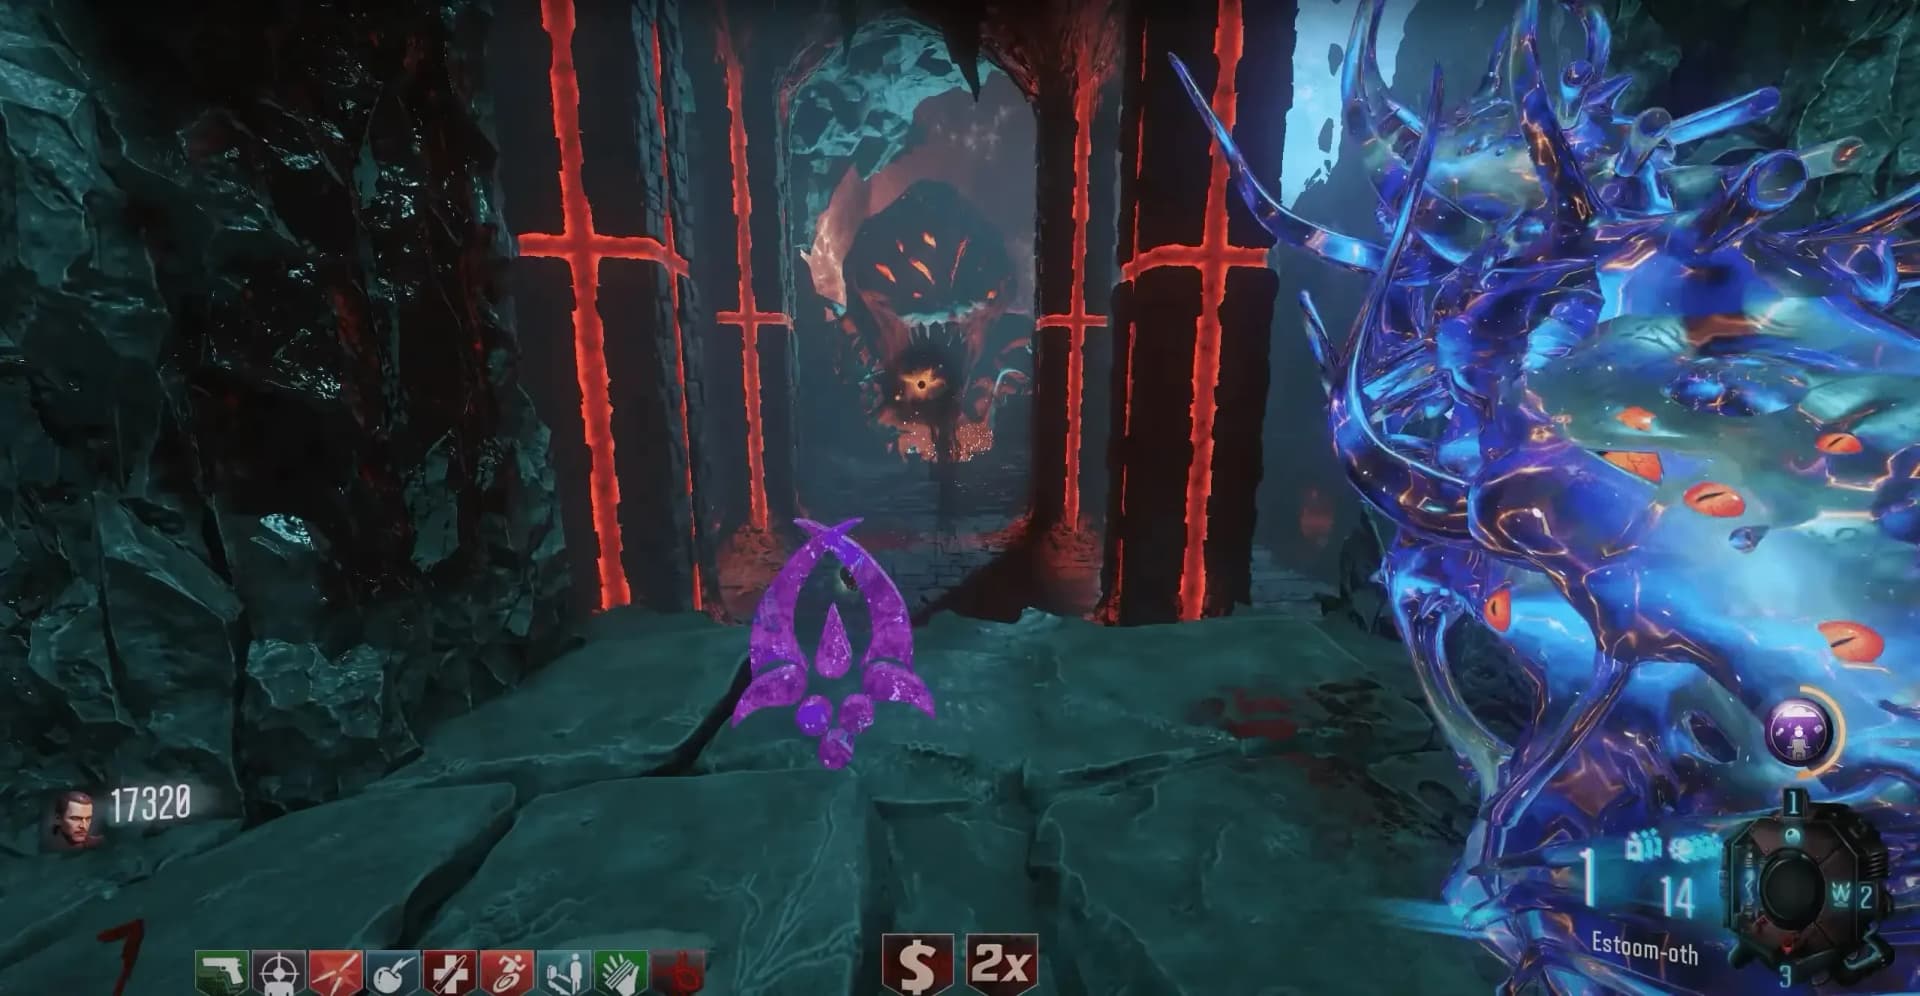
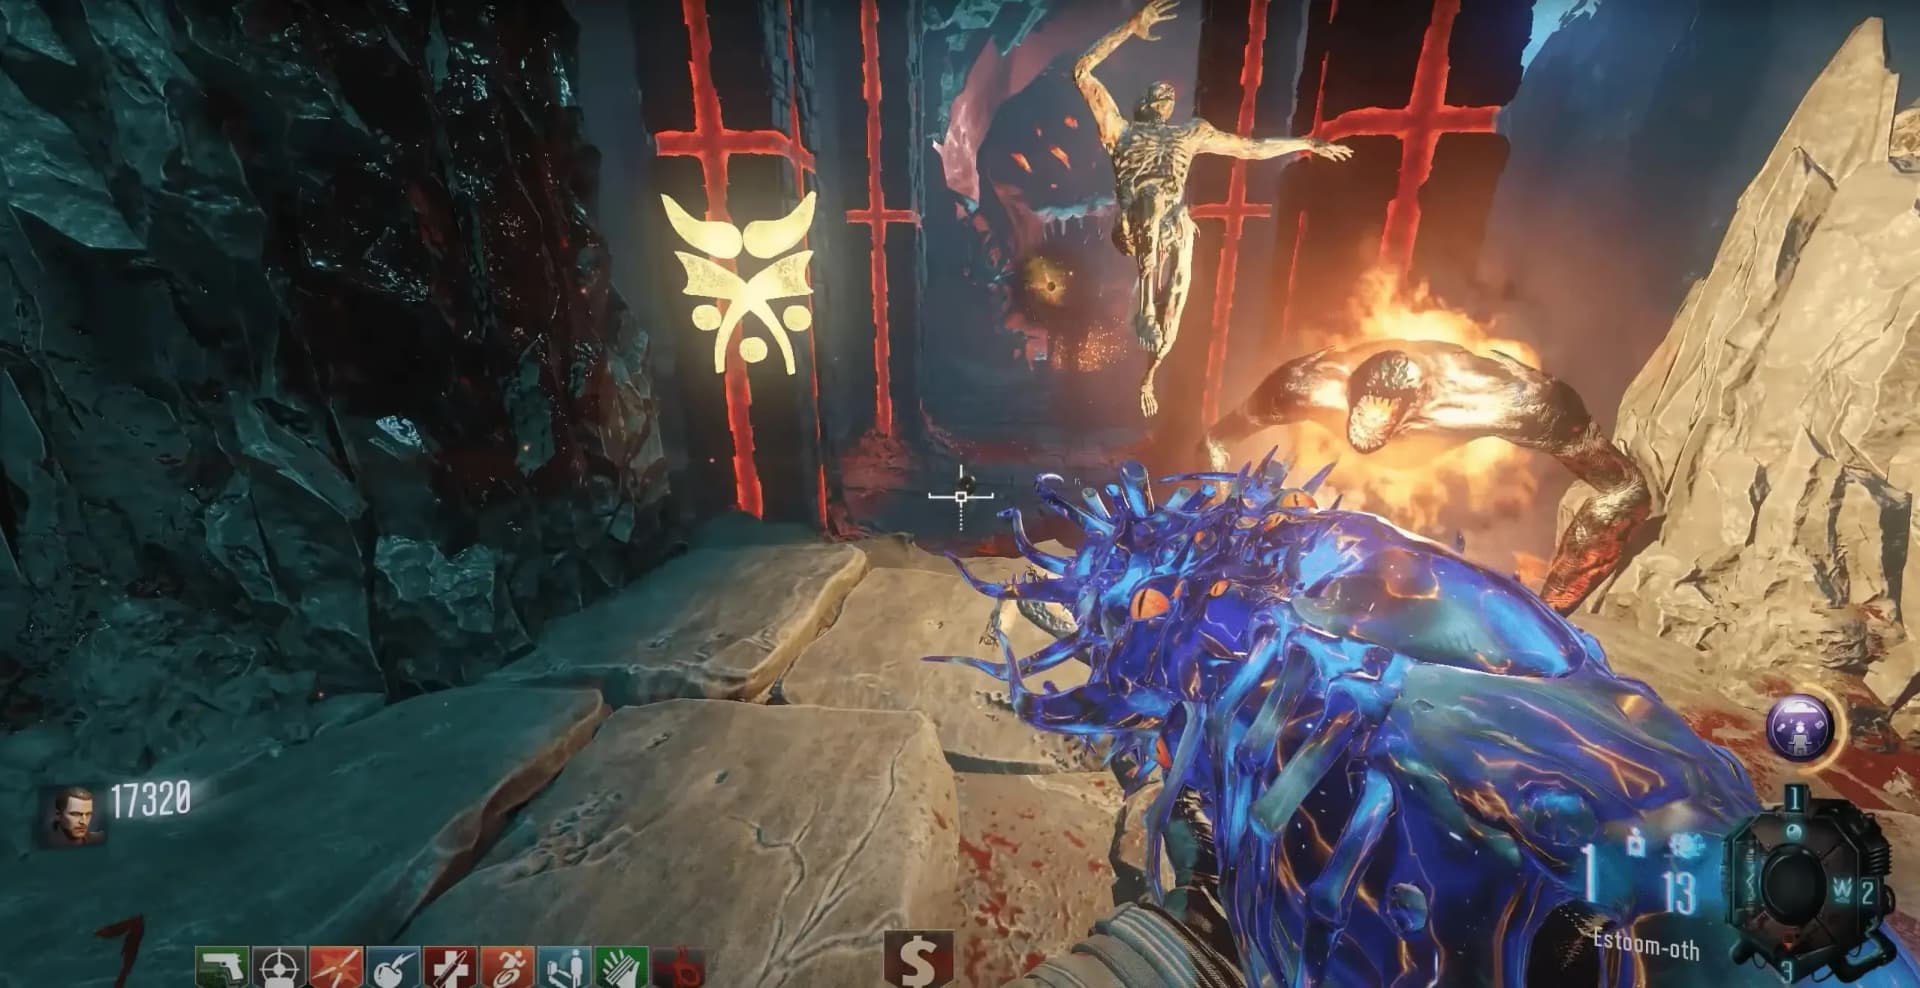
Unlike the Kronorium which only shows you Rune of Creation symbols, this platform cycles through all Apothicon symbols so you must look at your scoreboard for reference and interact with the correct symbols in the correct order to succeed. If you fail or wait too long to interact with the symbols, you will be teleported back to Kino Der Toten and must wait till the next round to try again.
Once the correct order has been inputted, a Max Ammo will spawn where the symbols were, and another Max Ammo by the Kronorium, these power-ups will last until picked up. Two Margwa enemies will then spawn, and there will be four waves of two Margwa (Margwa count is increased by one each wave in co-op) with each wave bringing a randomized terrain shift to the boss arena:
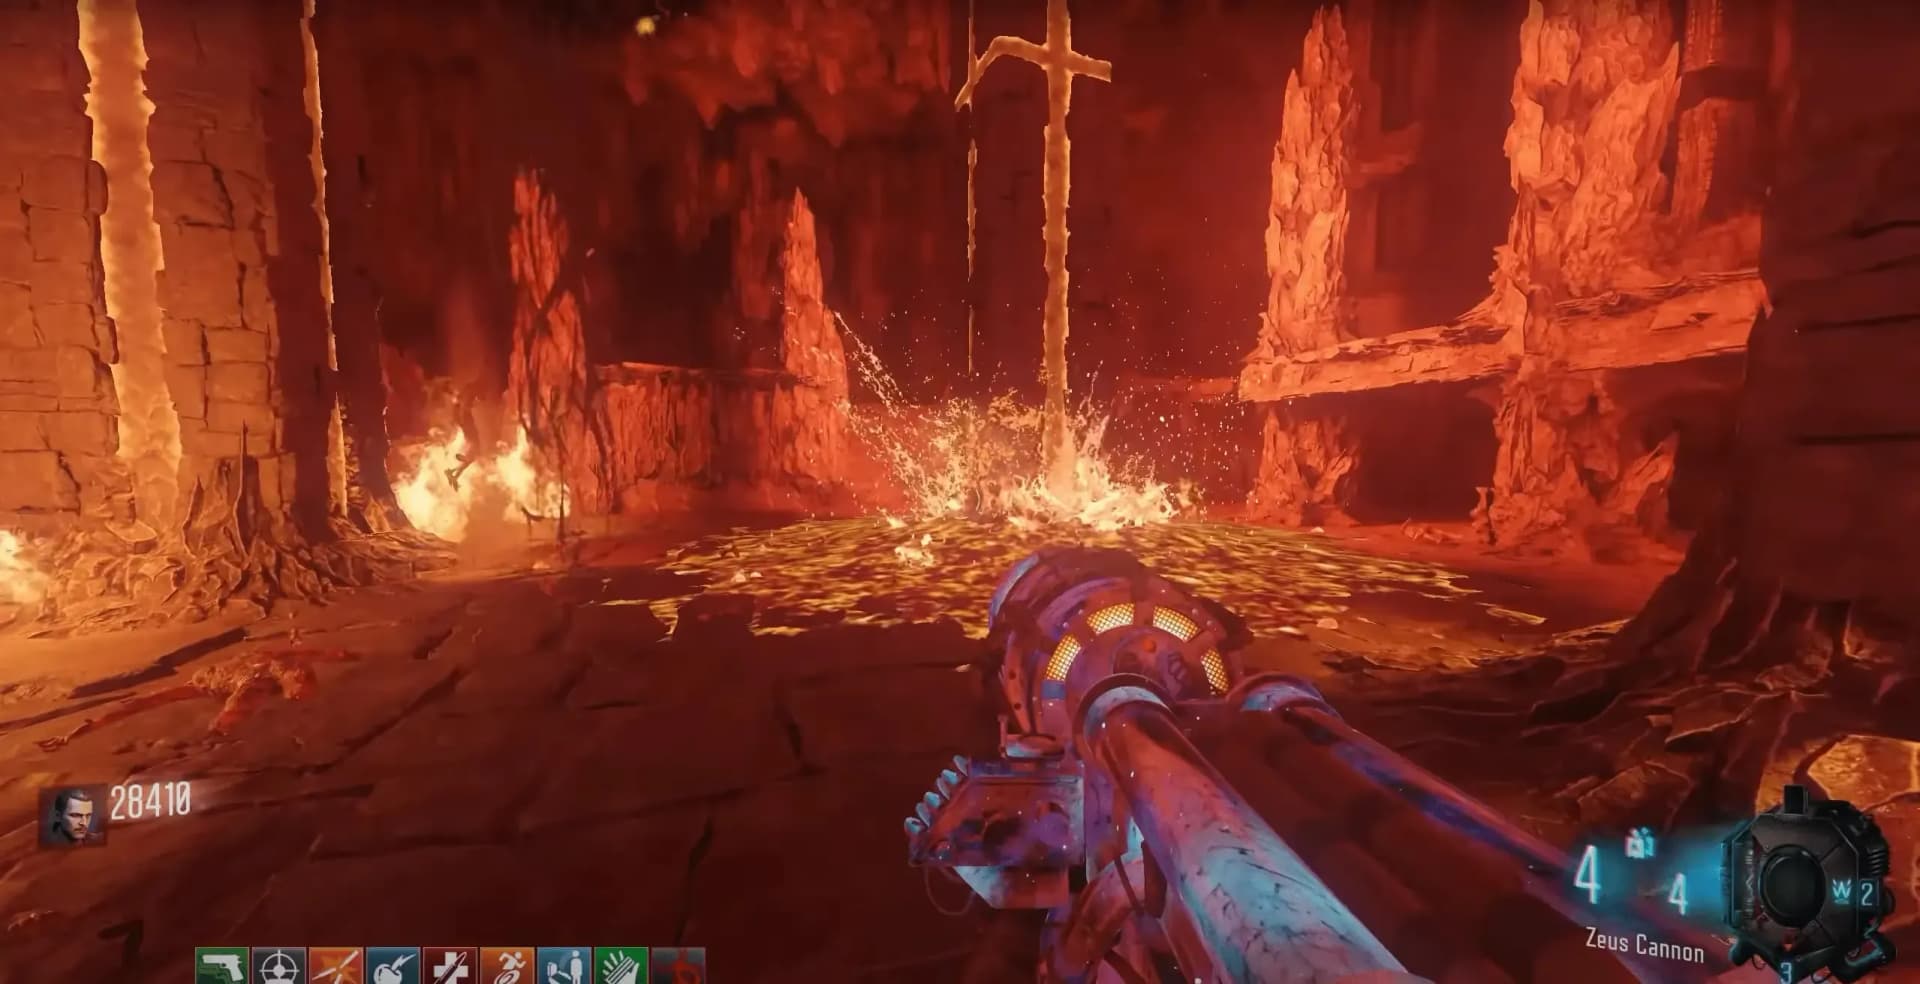
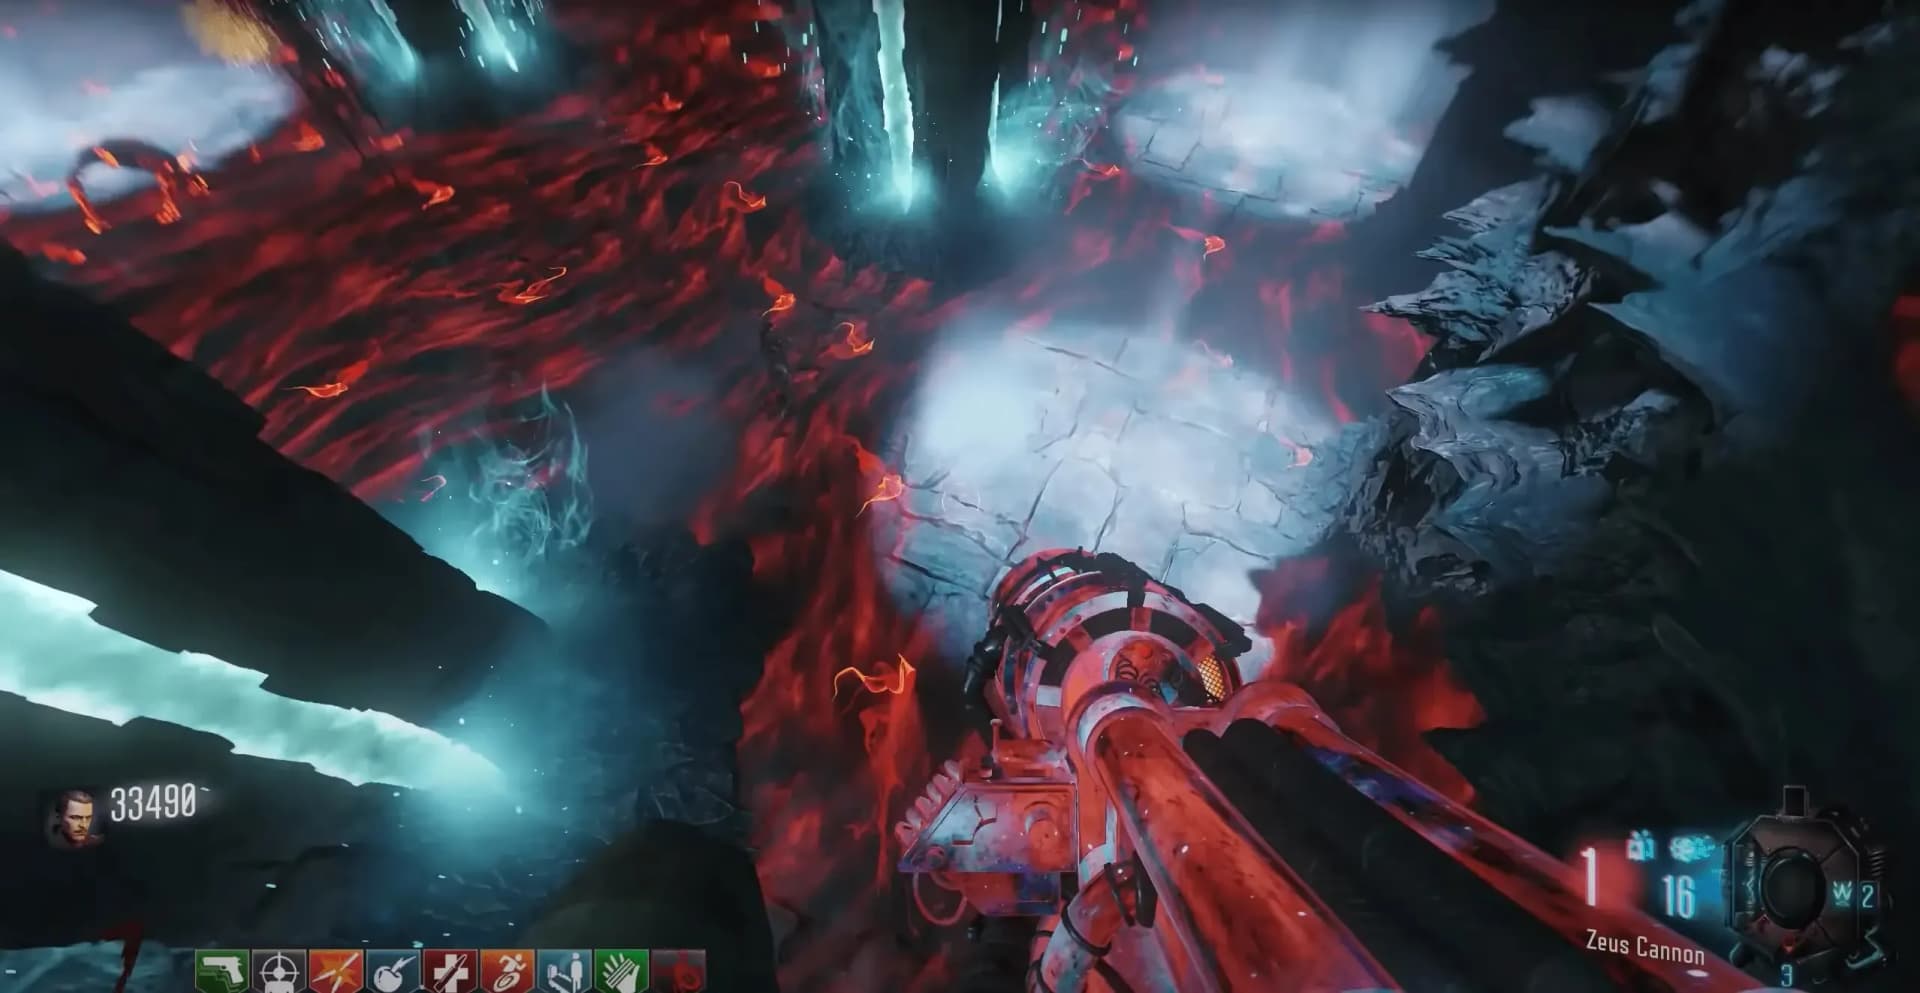
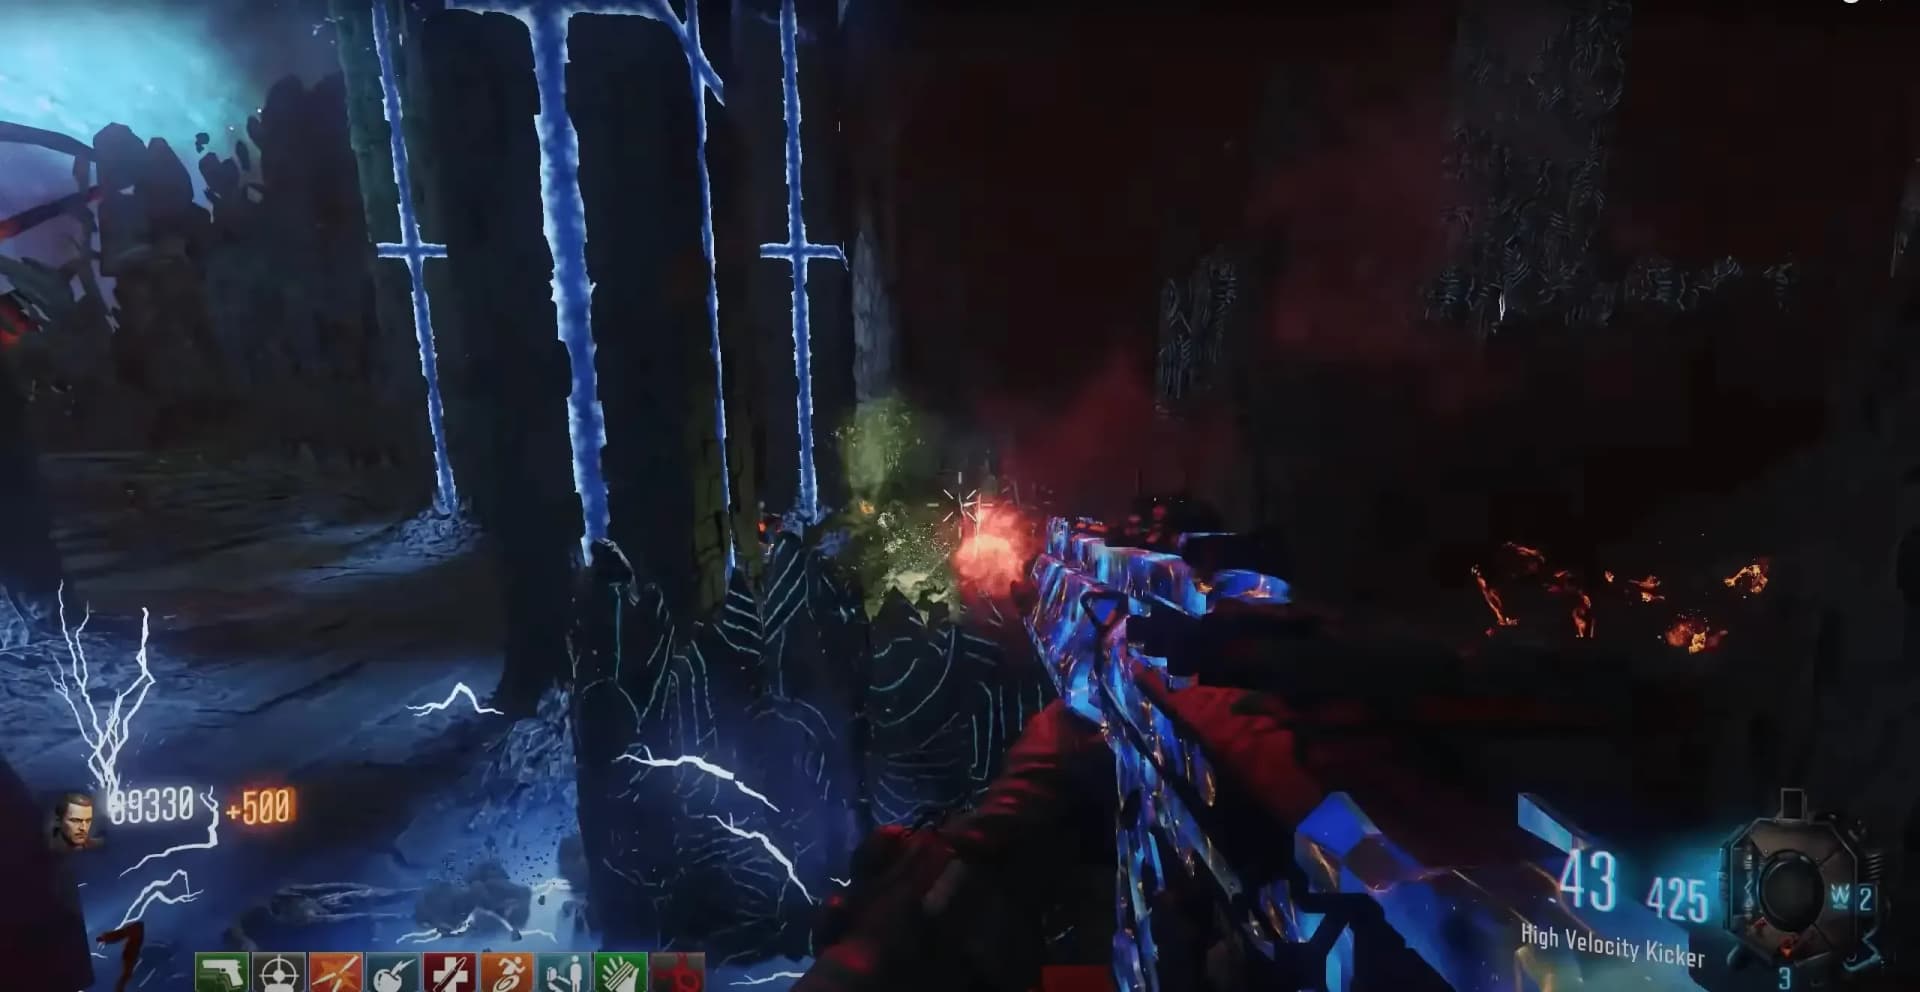
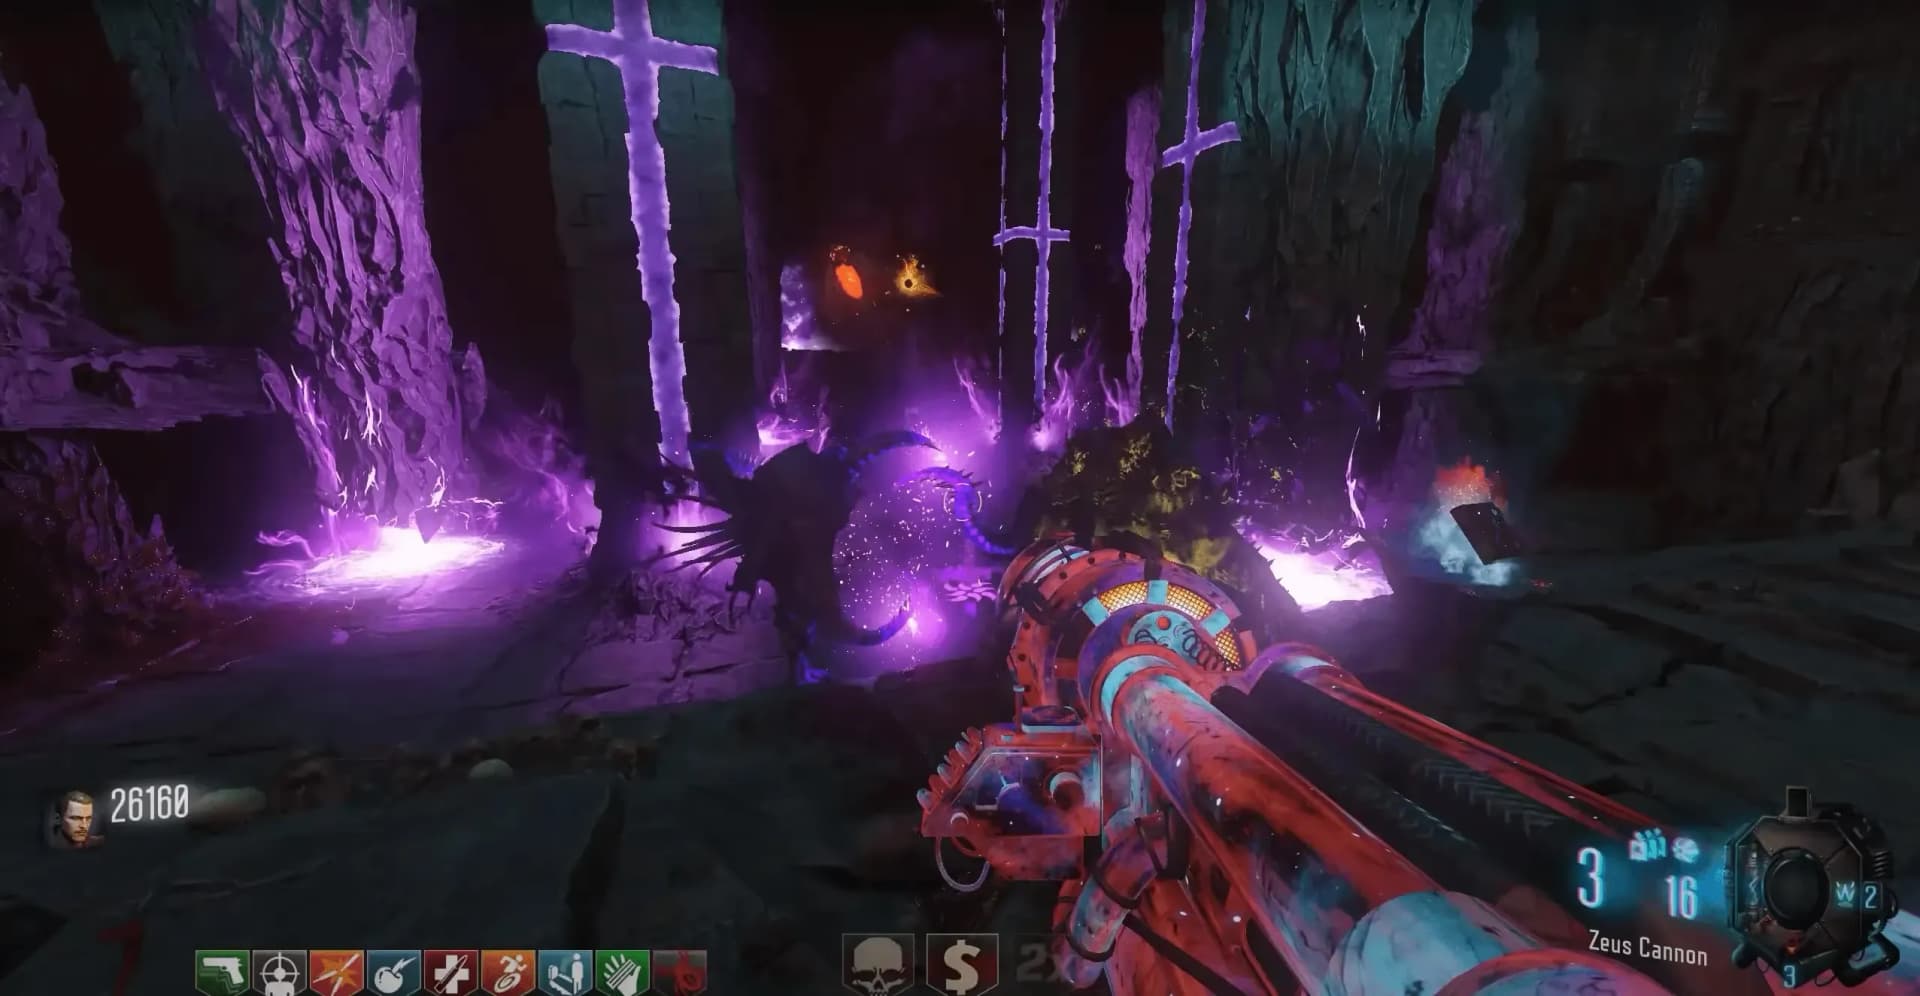
If you are quick enough to kill a Margwa before they fully spawn in it will immediately complete the wave so you won't have to kill the others. This is best done with the Thundergun.
Once you have completed all four waves by killing all the Margwa, the Summoning Key can be acquired from the center of the room. Upon grabbing the Summoning Key, all players will be teleported back to the main map, completing this step.
Step 8: Collect the Map Relics
You must throw the Summoning Key at multiple relics from previous map main/side quests. The Summoning Key will bounce back toward the player after a relic is successfully collected. If you cannot find the Summoning Key, it can be found via a bright beam in the sky similar to the Mystery Box. When a relic is successfully collected, an audio cue can be heard, and a toy animal will rotate by the relic.
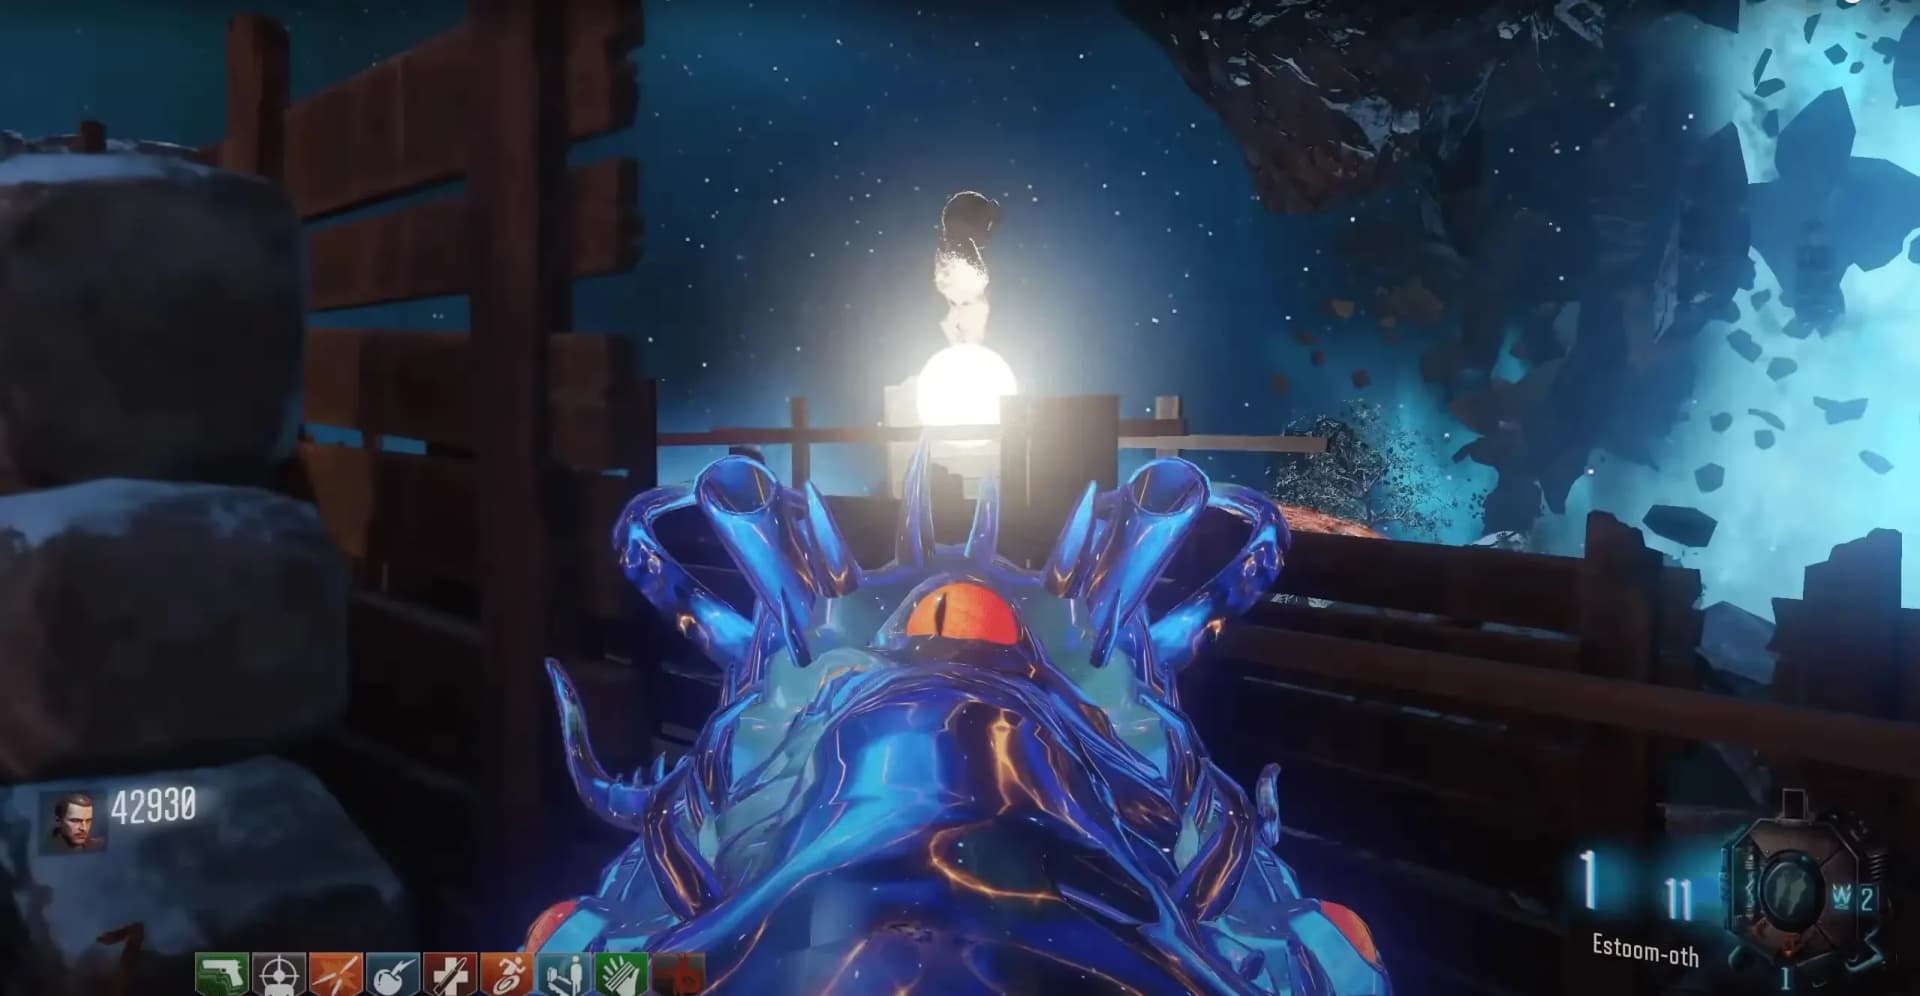
The Summoning Key can be very buggy and despawn when going through portals. Avoid taking portals with the Summoning Key and use the Jump Pads around the map instead, when you must take a portal (for the Nacht Der Untoten relic) make sure to melee as you enter the portal although this doesn't guarantee the Summoning Key won't despawn. If it does despawn, picking up a Death Machine power-up or going down will cause the Summoning Key to re-appear.
The relics that need to be collected with the Summoning Key can be collected in any order and are as follows:
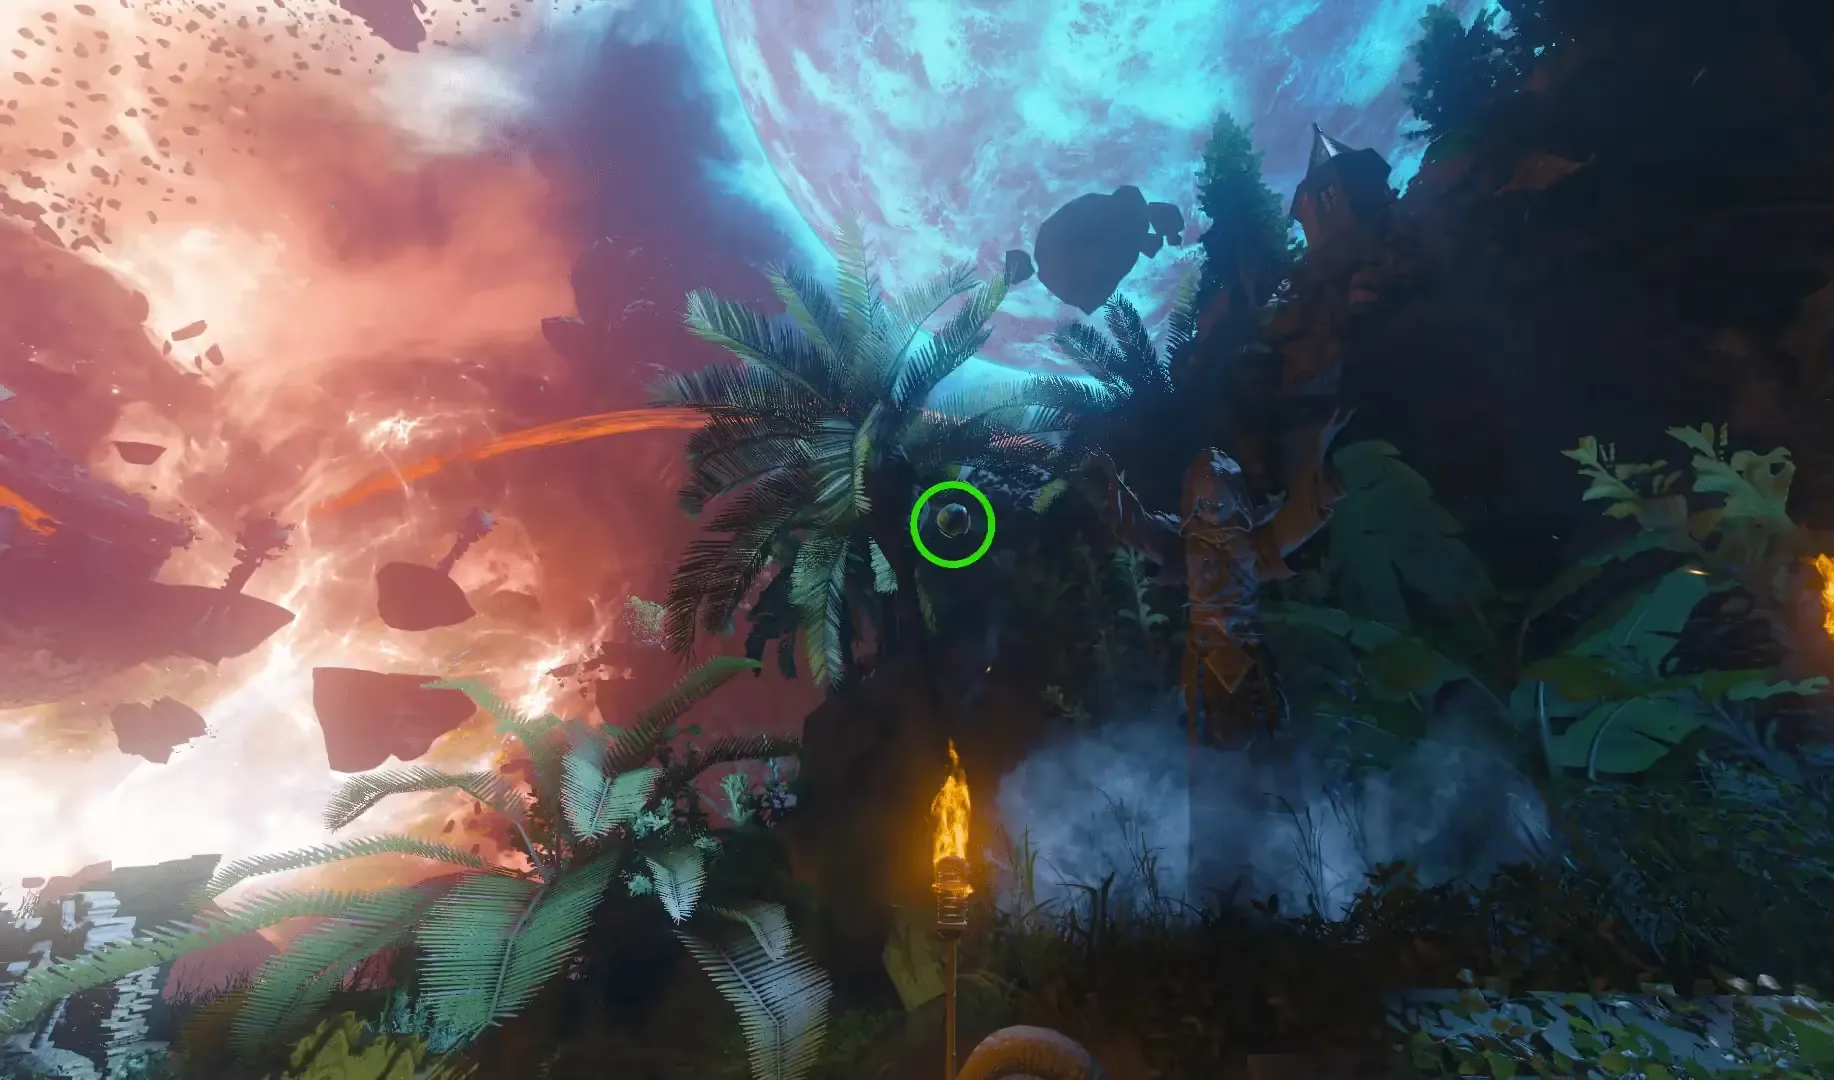
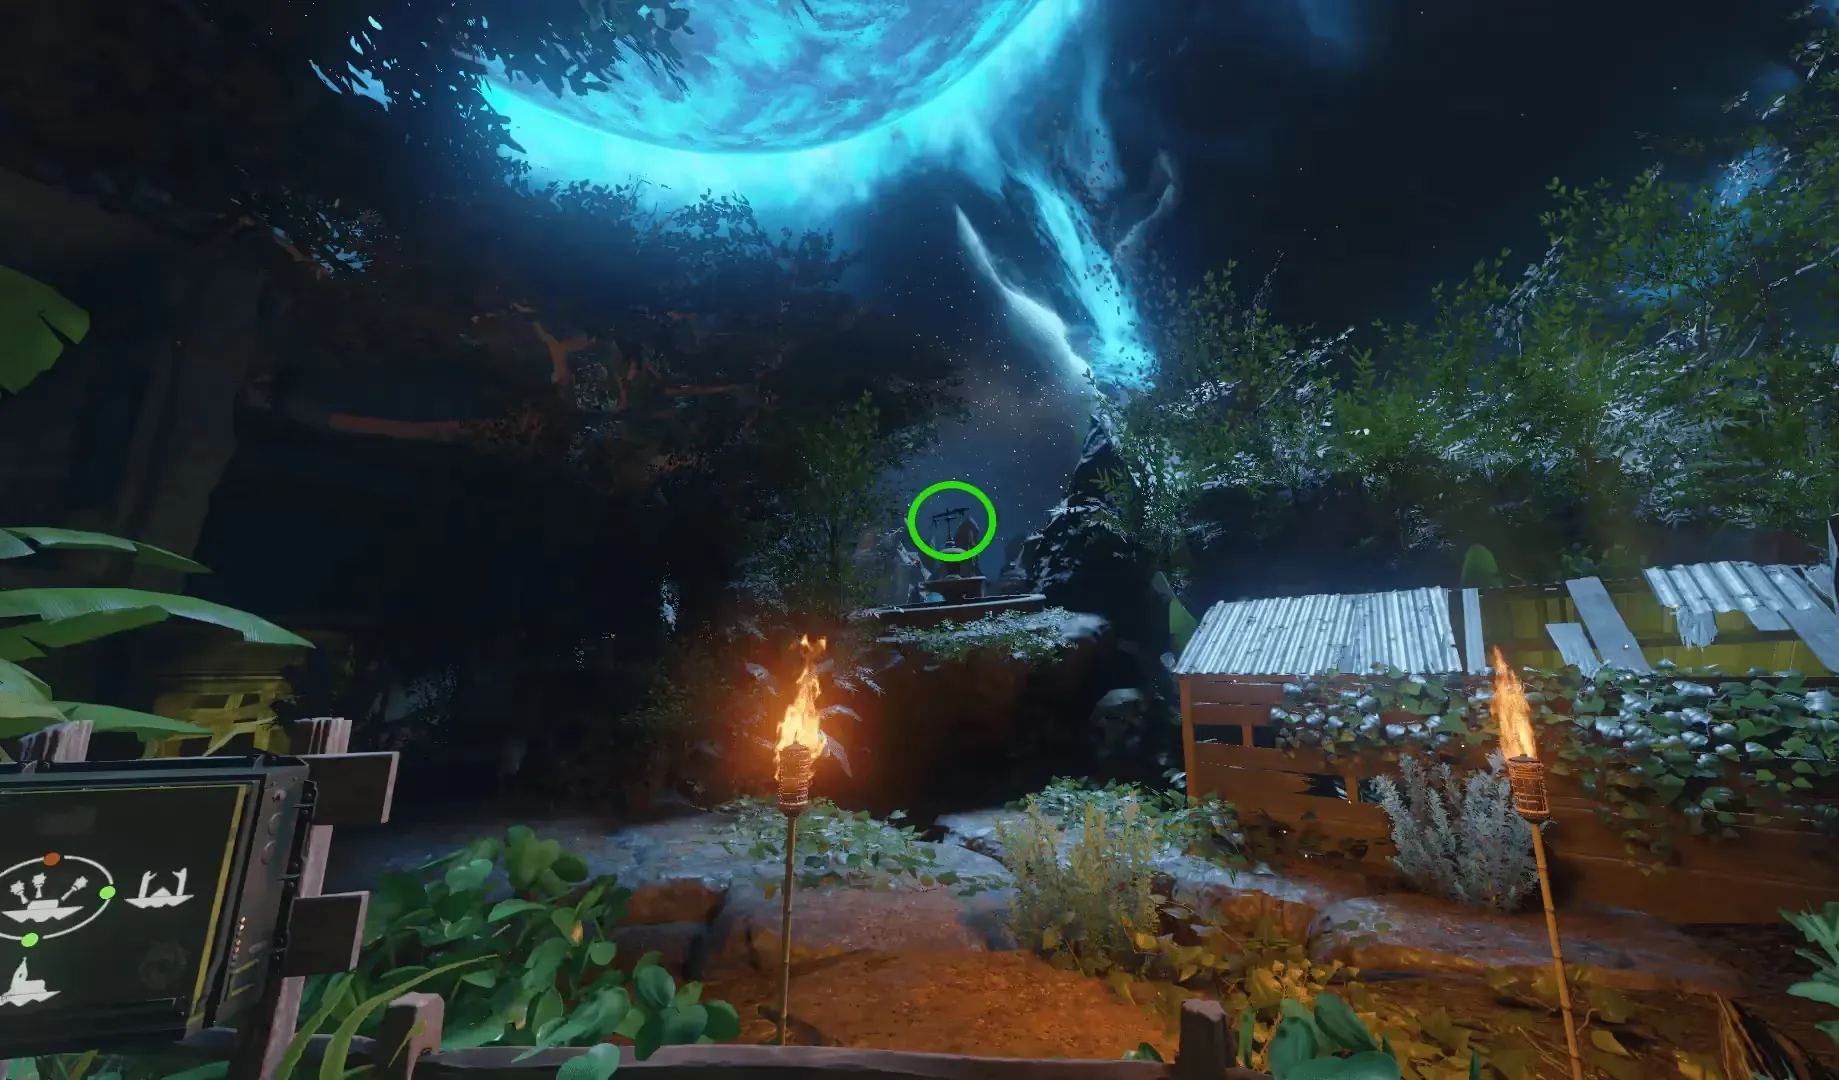
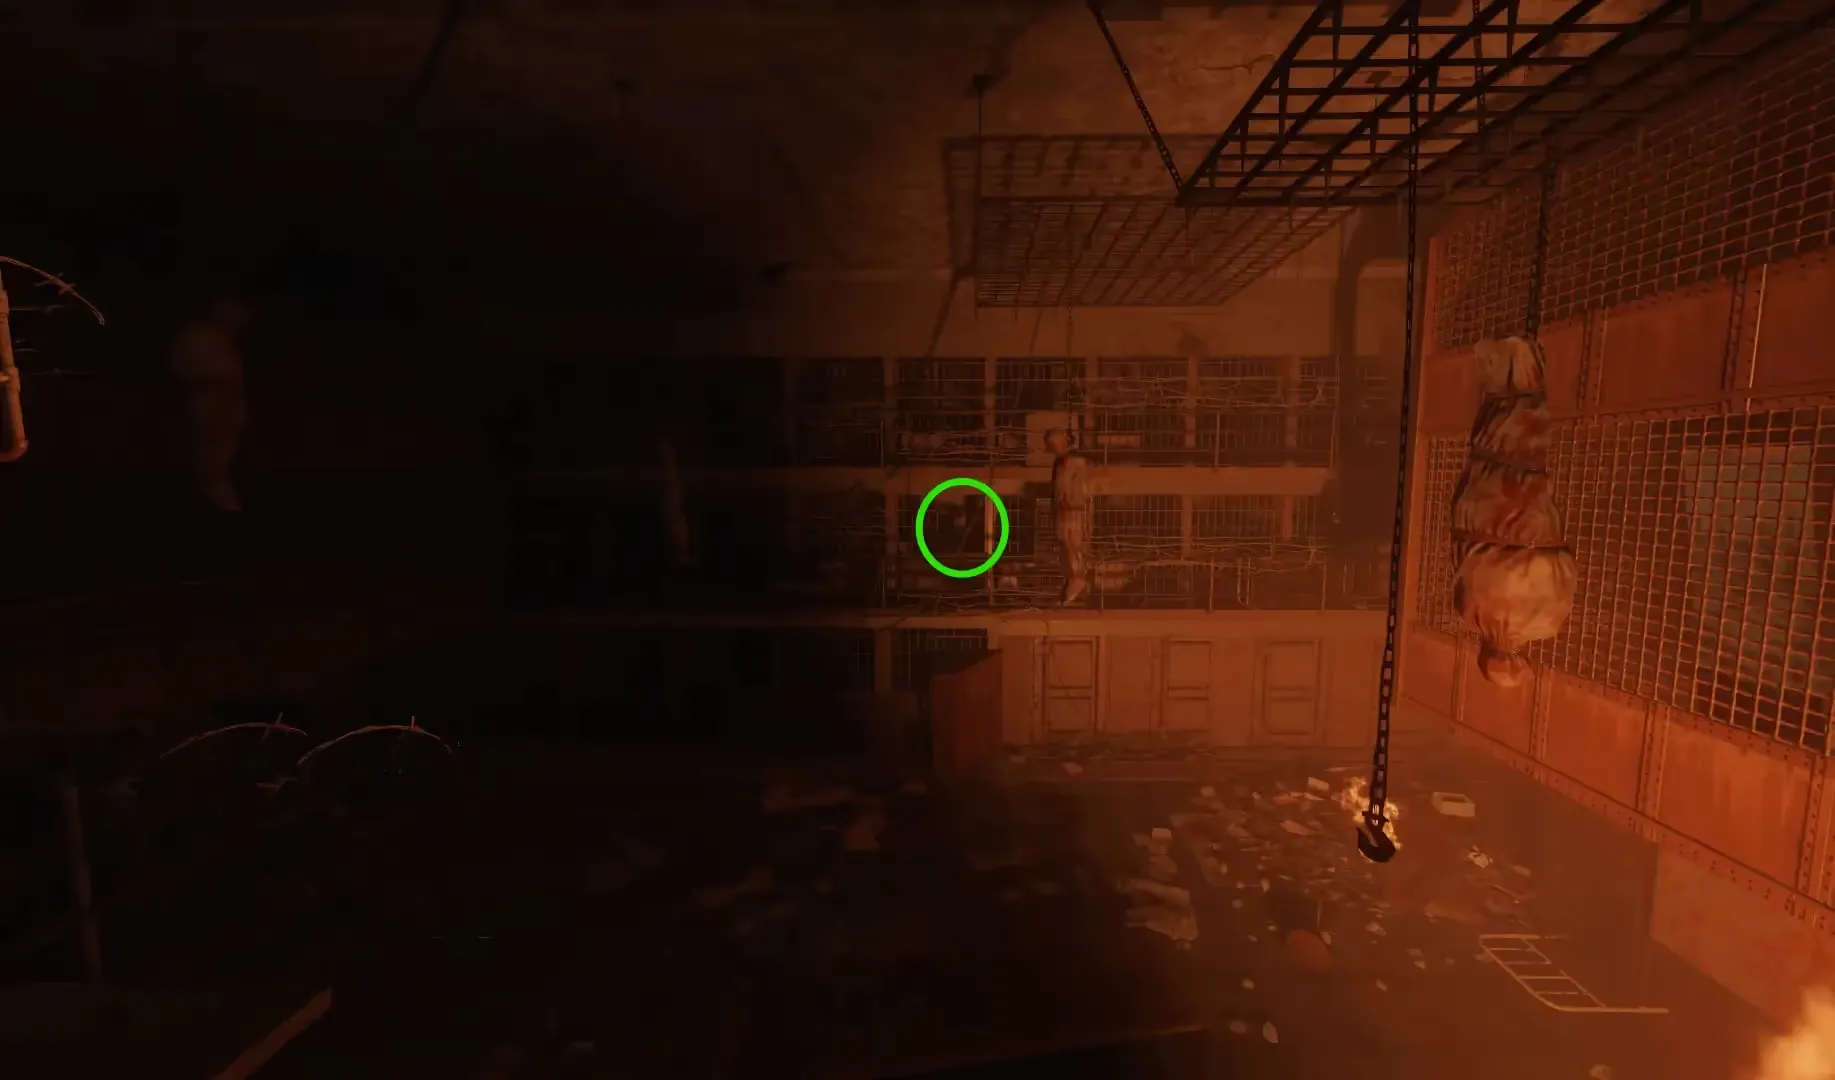
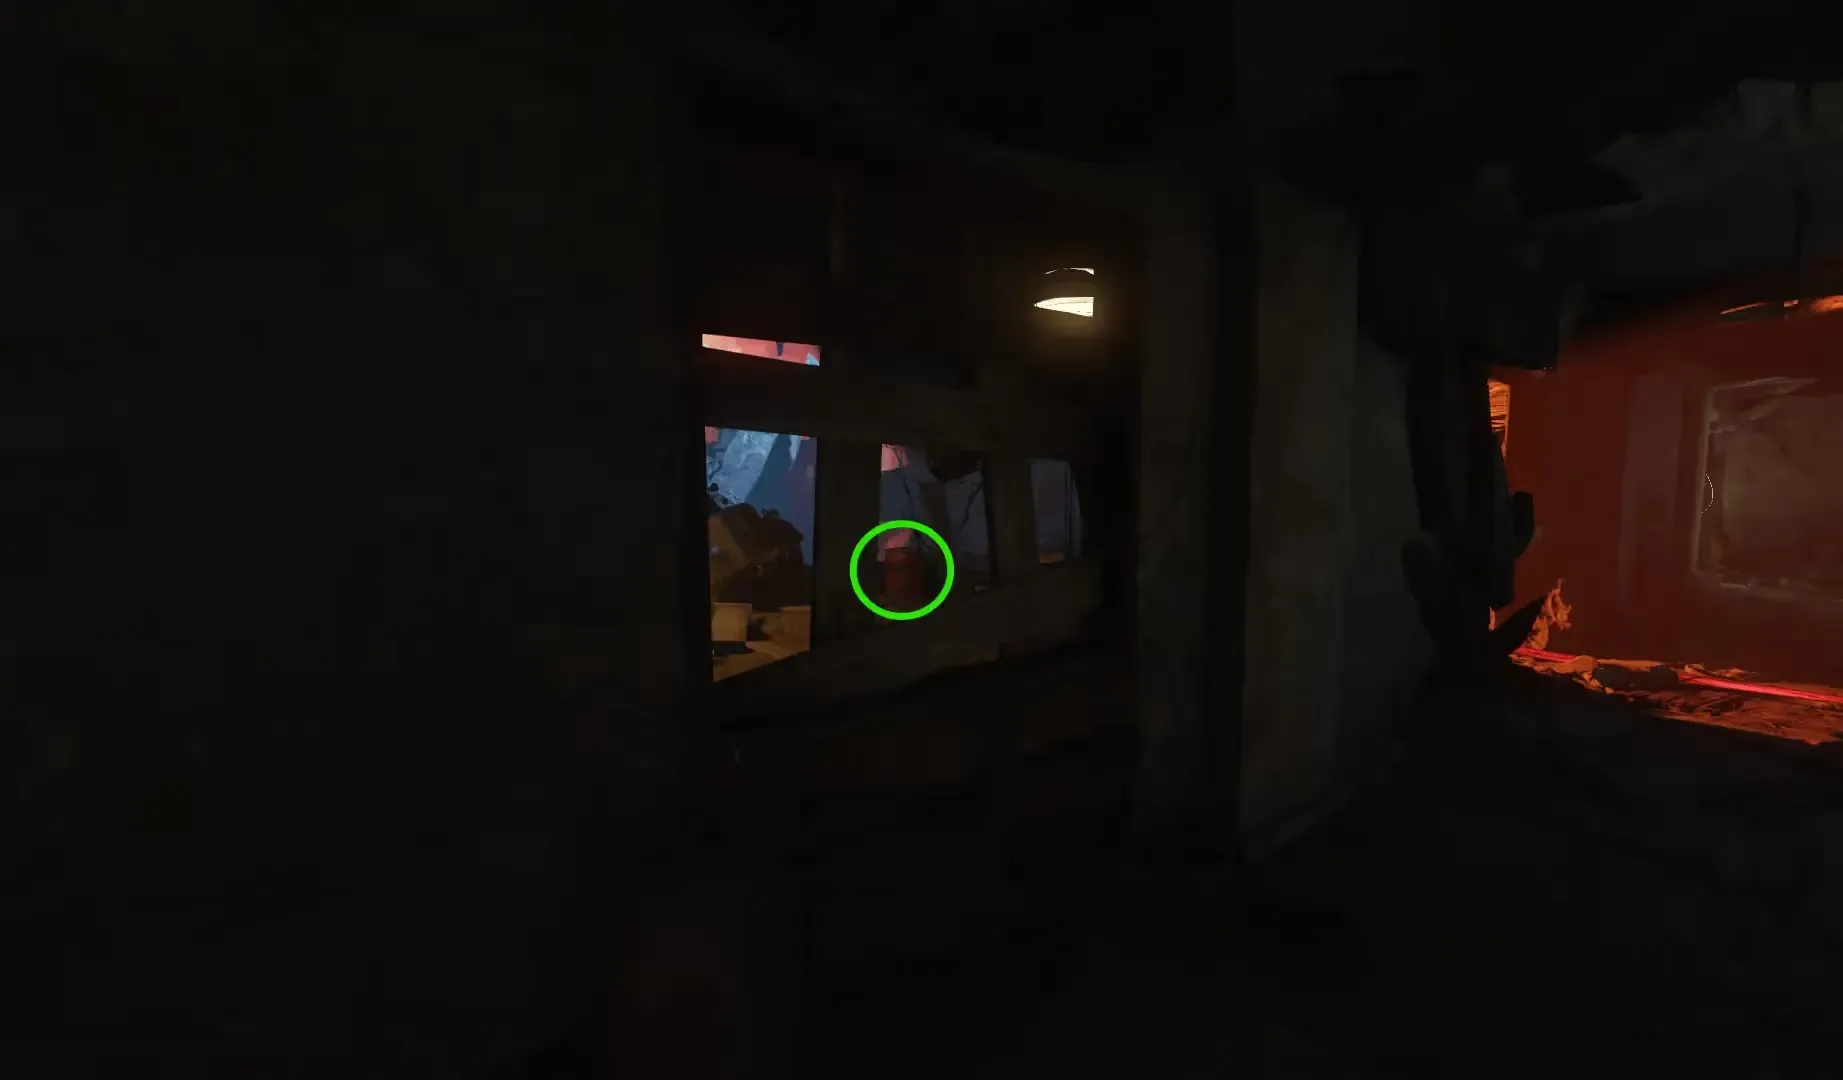
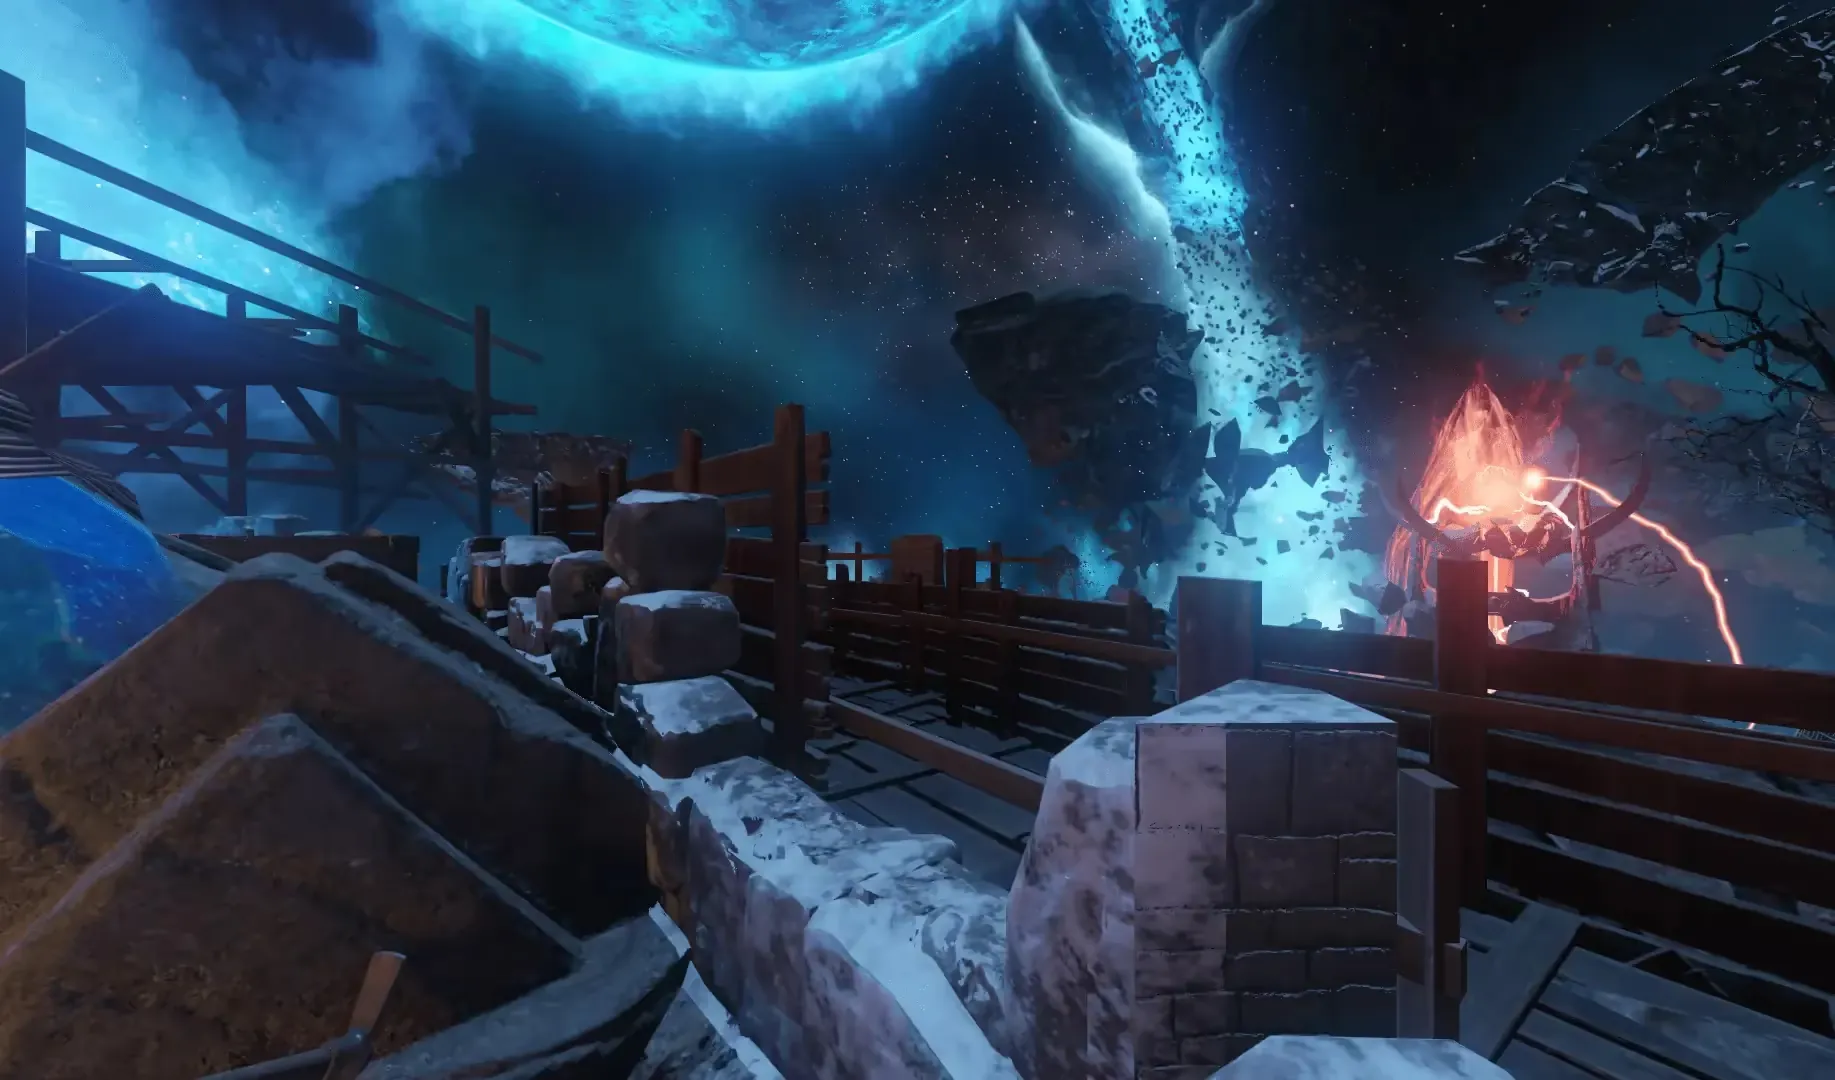
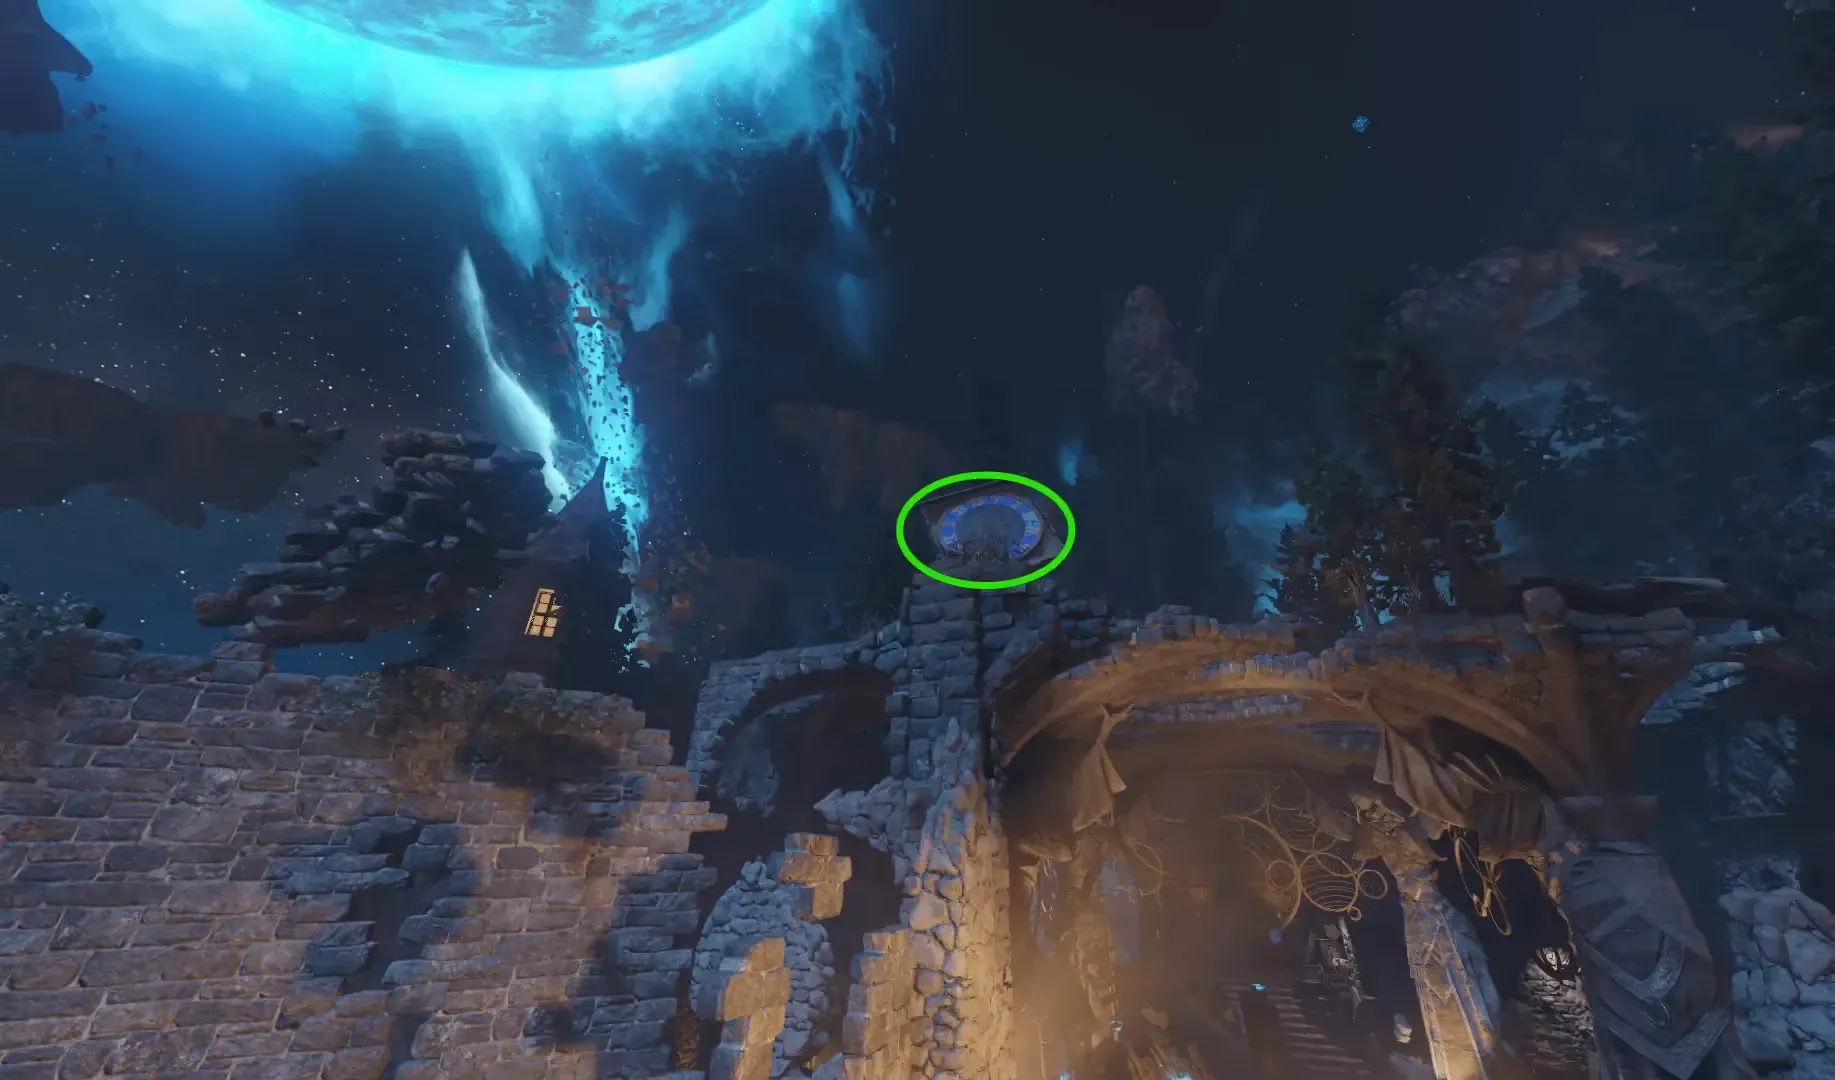
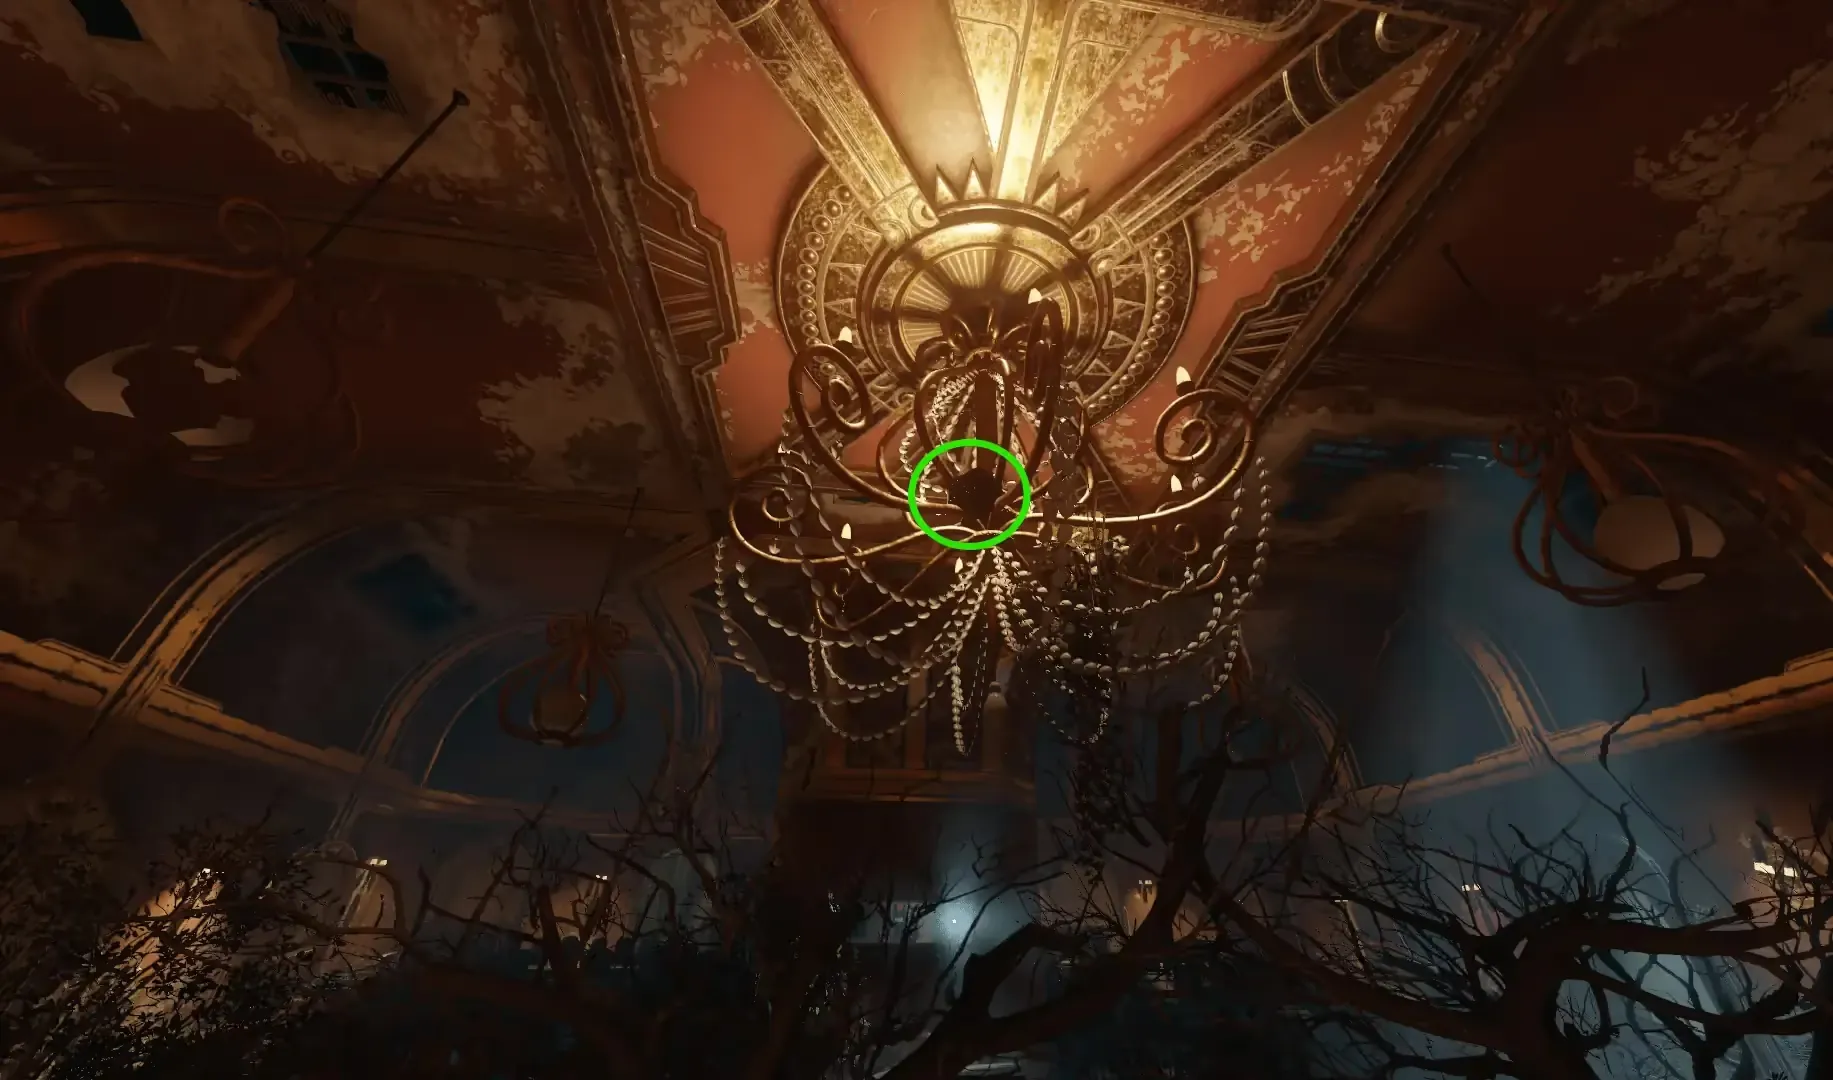
If all relics were collected successfully, the Summoning Key will not return to the player indicating the completion of this step. At this point, you should prepare for the final boss fight.
Step 9: Defeat the Shadowman
All players must enter the teleporter in Kino Der Toten teleporting them into the boss arena. The Shadowman will appear inside his shield over the Kronorium, with S.O.P.H.I.A. found transparent near the spawn point. Interact with any of the four green glowing pedestals in the four corners of the room, this will place the Summoning Key down and allow it to start collecting souls. You must kill 10 zombies near the Summoning Key to charge it with souls.

Once charged, pick up the Summoning Key and throw it at the transparent S.O.P.H.I.A., materializing her and enabling her to fire a laser at the Shadowman disabling his shield. All players should then focus fire on the Shadowman until he teleports into the mouth of the Apothicon, once inside, interact with the Kronorium to fire another beam at the Shadowman, killing him. If you fail to kill the Shadowman, repeat the process with another pedestal to try again.
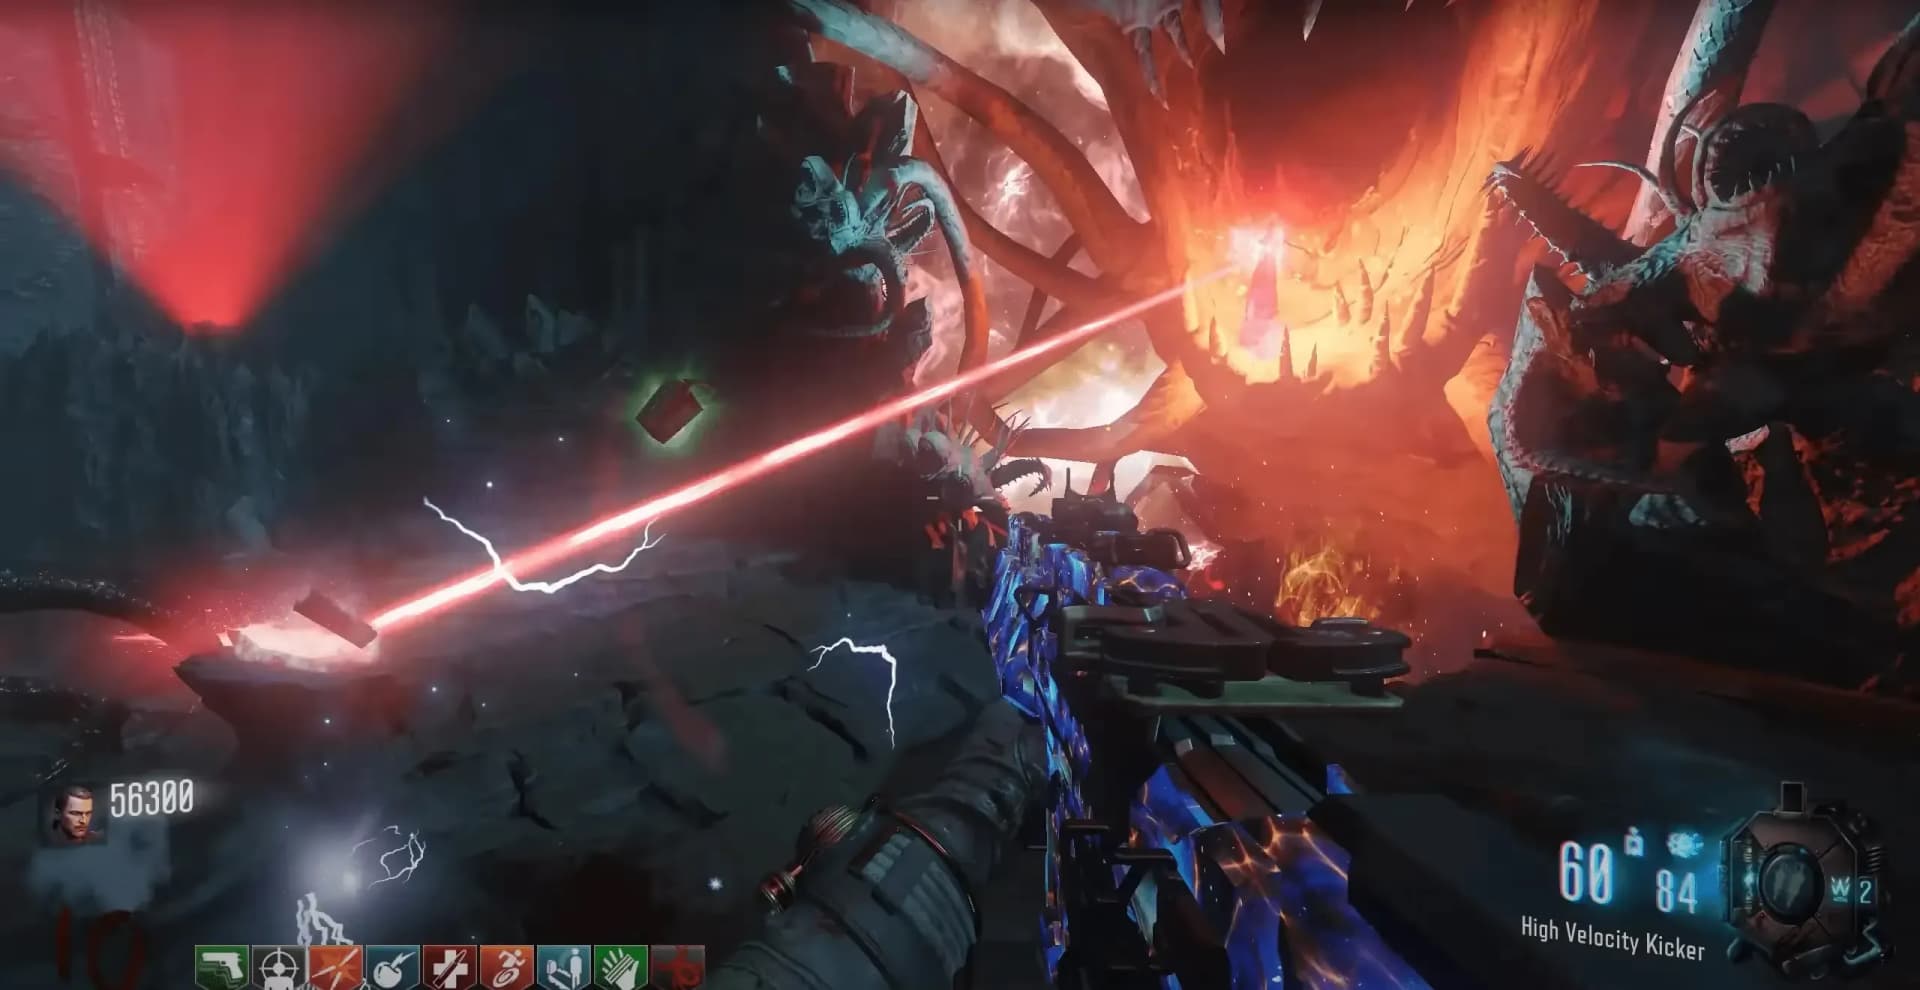
The Rift E9 burst pistol from the Mystery Box is extremely strong again the Shadowman as it shoots a high-damage three-round burst which is great for ammo conservation during the critical window the Shadowman's shield is down so you don't have to reload when damaging him.
Congratulations! You have beaten the Revelations main quest: For the Good Of All
Video Guides
Solo Guide by MZC
Co-op Guide by MrRoflWaffles
Credits
Some images used were sourced from the following community members:
