
Gorod Krovi
Love and War
The main quest for Gorod Krovi is called Love and War. Our Primis crew's goal in this quest is to "free" Ultimis Nikolai Belinski and harvest his soul using the Summoning Key.
Requirements
This main quest is possible with any number of players, but it does require some items that you will need to obtain to complete this quest fully:
While not a requirement, the GKZ-45 MK3 (aka the RayGun MKIII) is extremely helpful during the entire main quest and especially during the boss fight. You can find this wonder weapon in the Mystery Box.
Recommended Gobblegums
Step 1: Power the Generator
This step can only be done after building the Dragon Network Controller, since you will need to travel to the Hatchery.
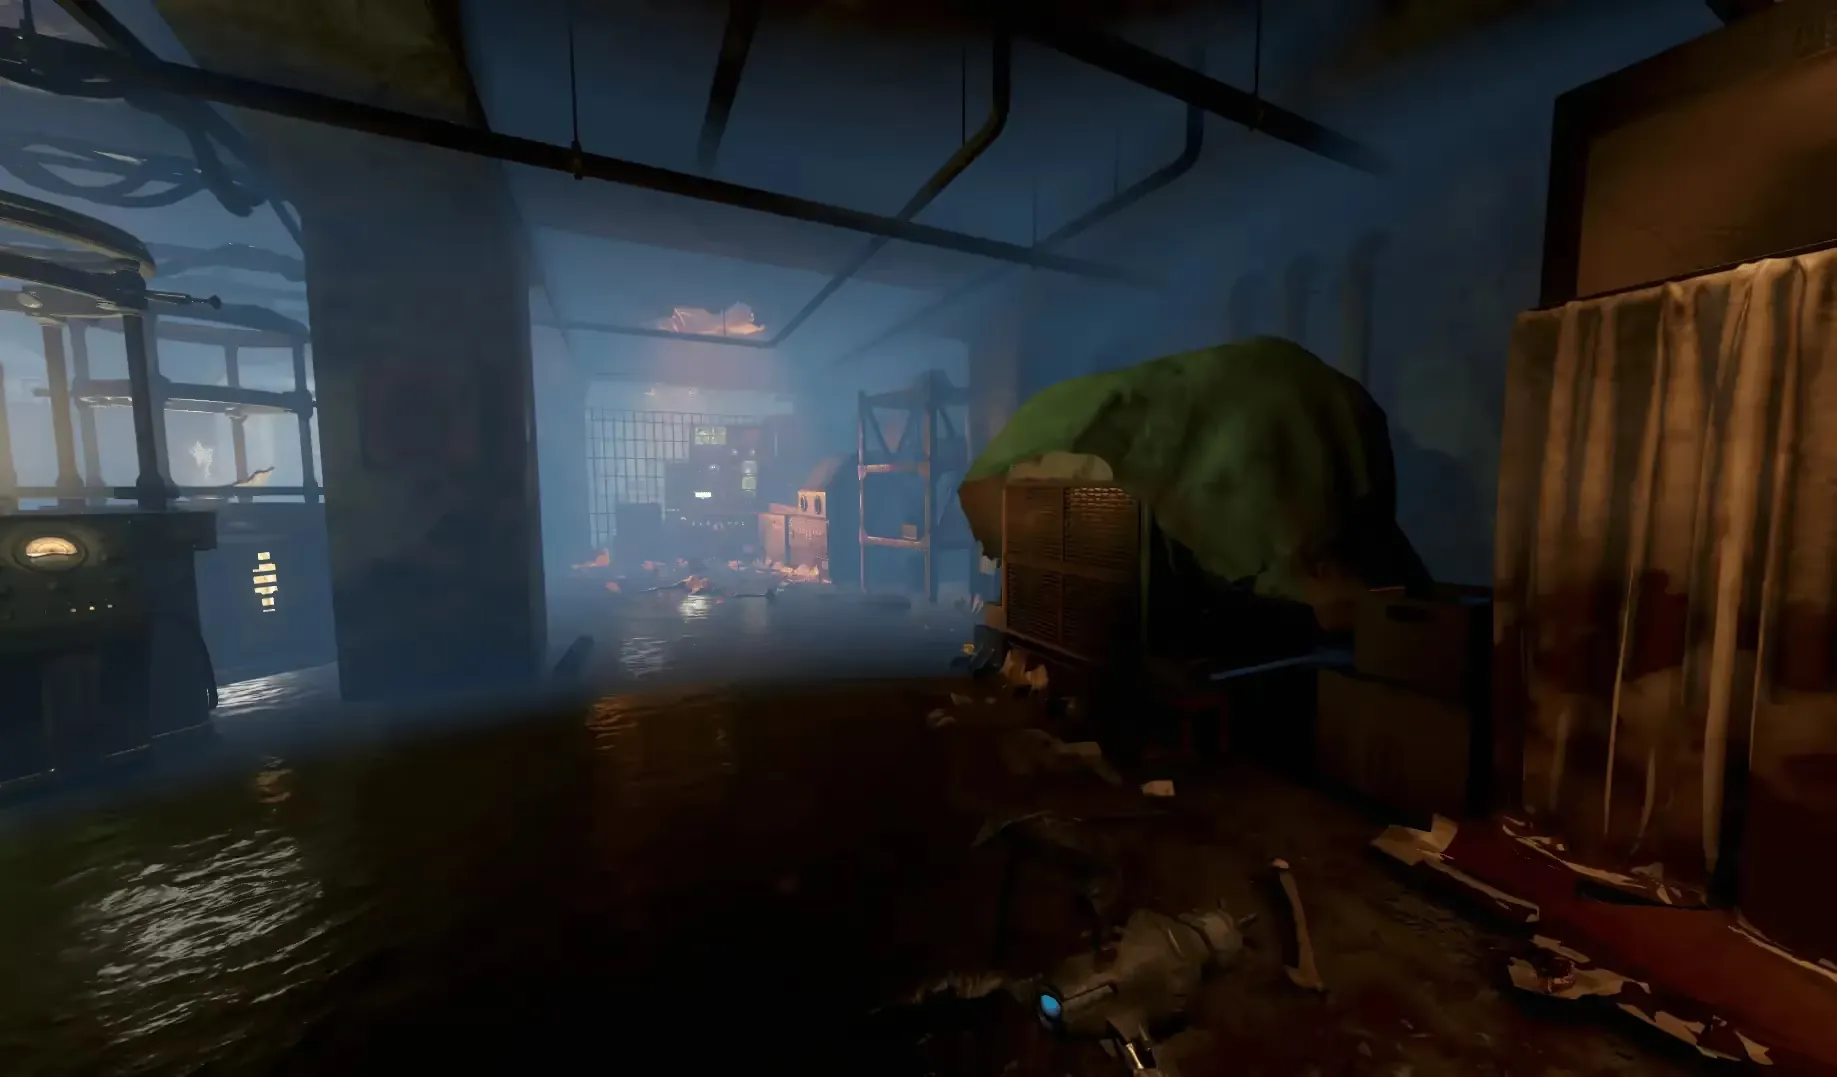
Head to the Hatchery, inside the basement, you'll find a generator with a clothe over it, right of the incubators. You must kill a Valkyrie Drone near the generator (or have it shoot the generator) to power the generator and start a 5-minute countdown to complete the Valve Step. You can also obtain the dragon egg for the Gauntlet of Siegfried before leaving the Hatchery.
Building the Dragon Network Controller
Head to Dragon Command, turn on the power, and interact with S.O.P.H.I.A. This will cause killed zombies to occasionally drop one of three code cylinders for terminals located in:
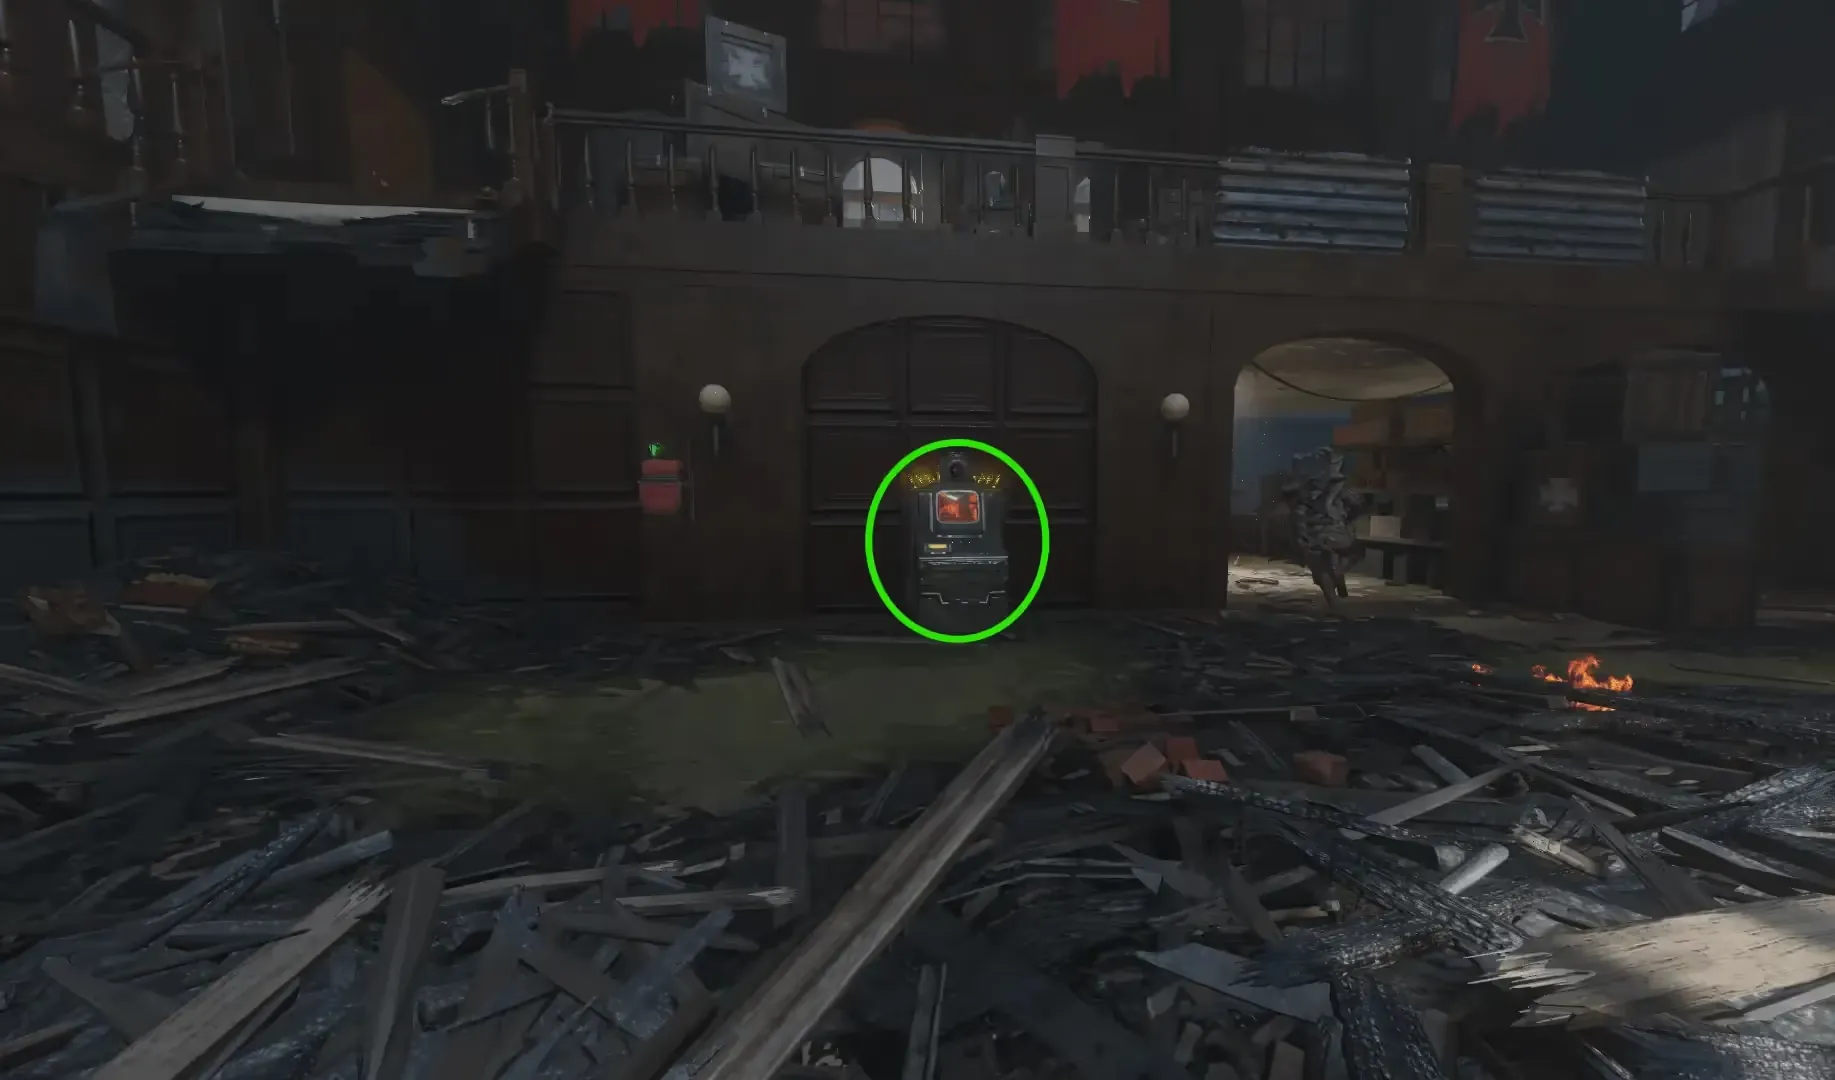
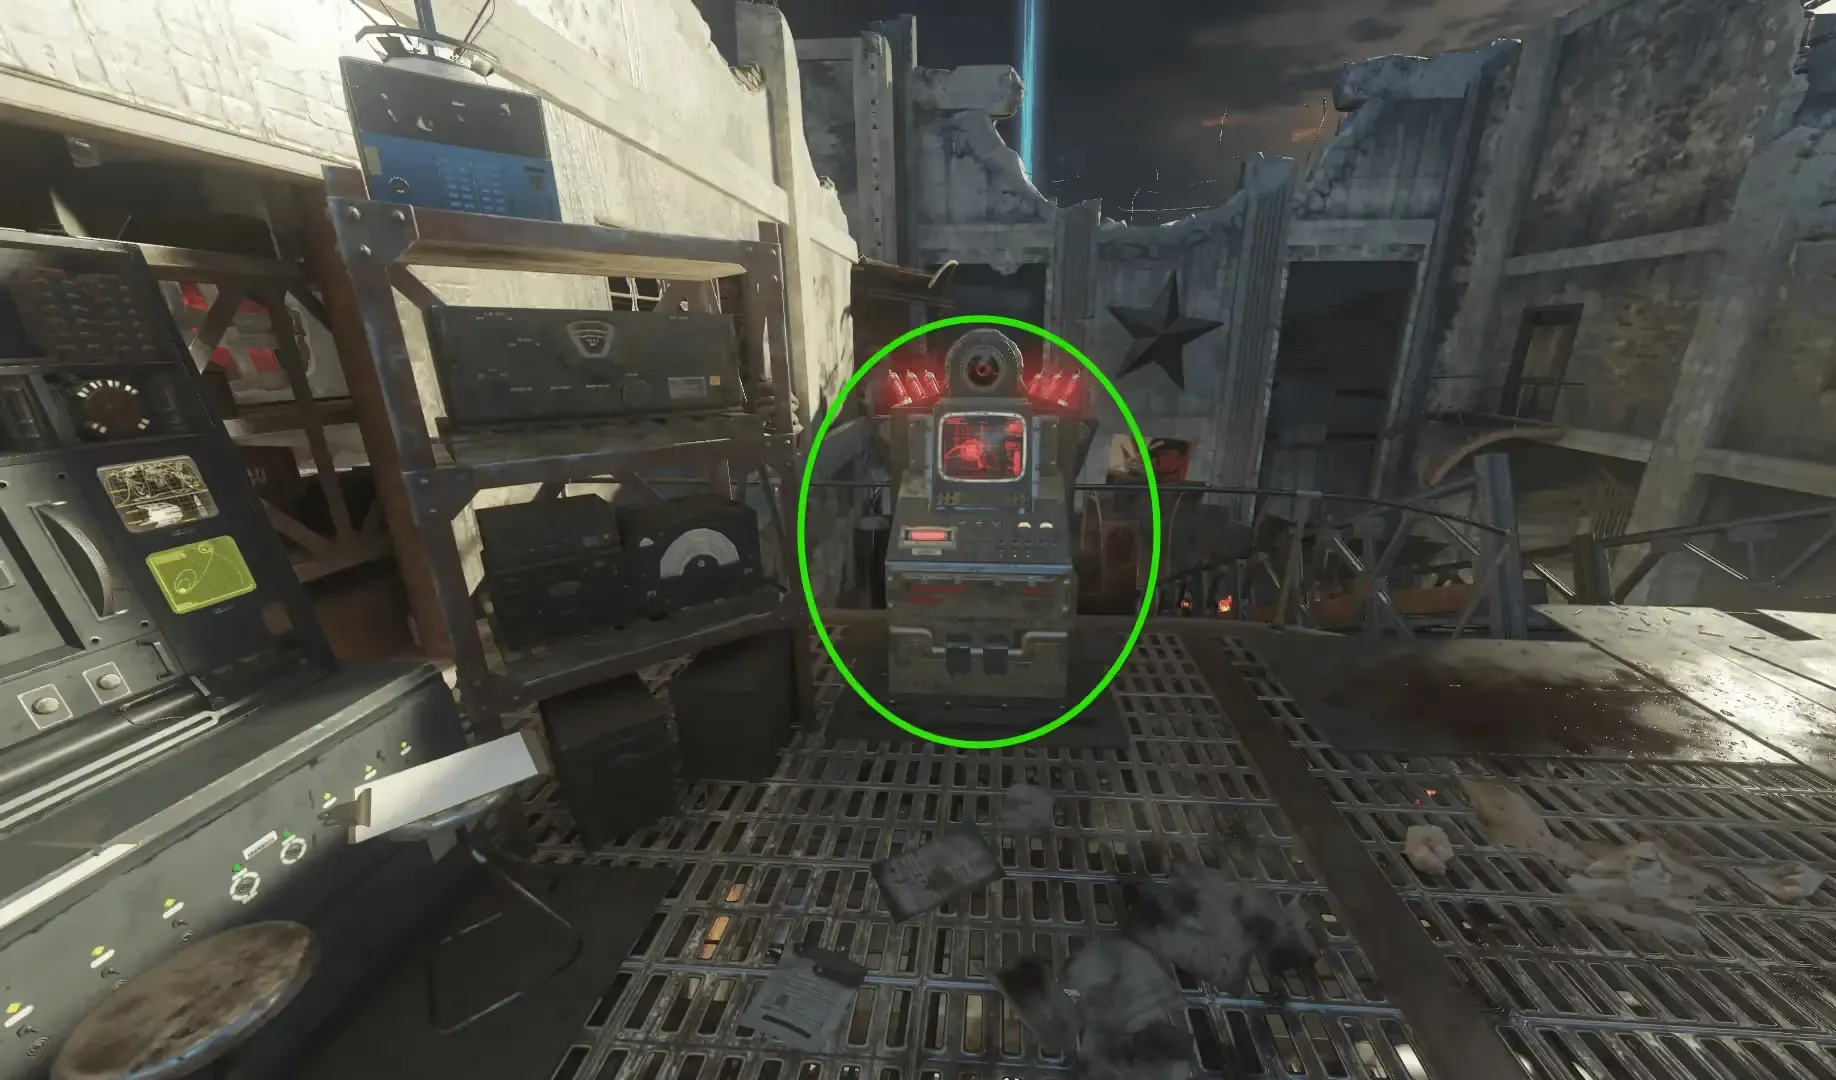
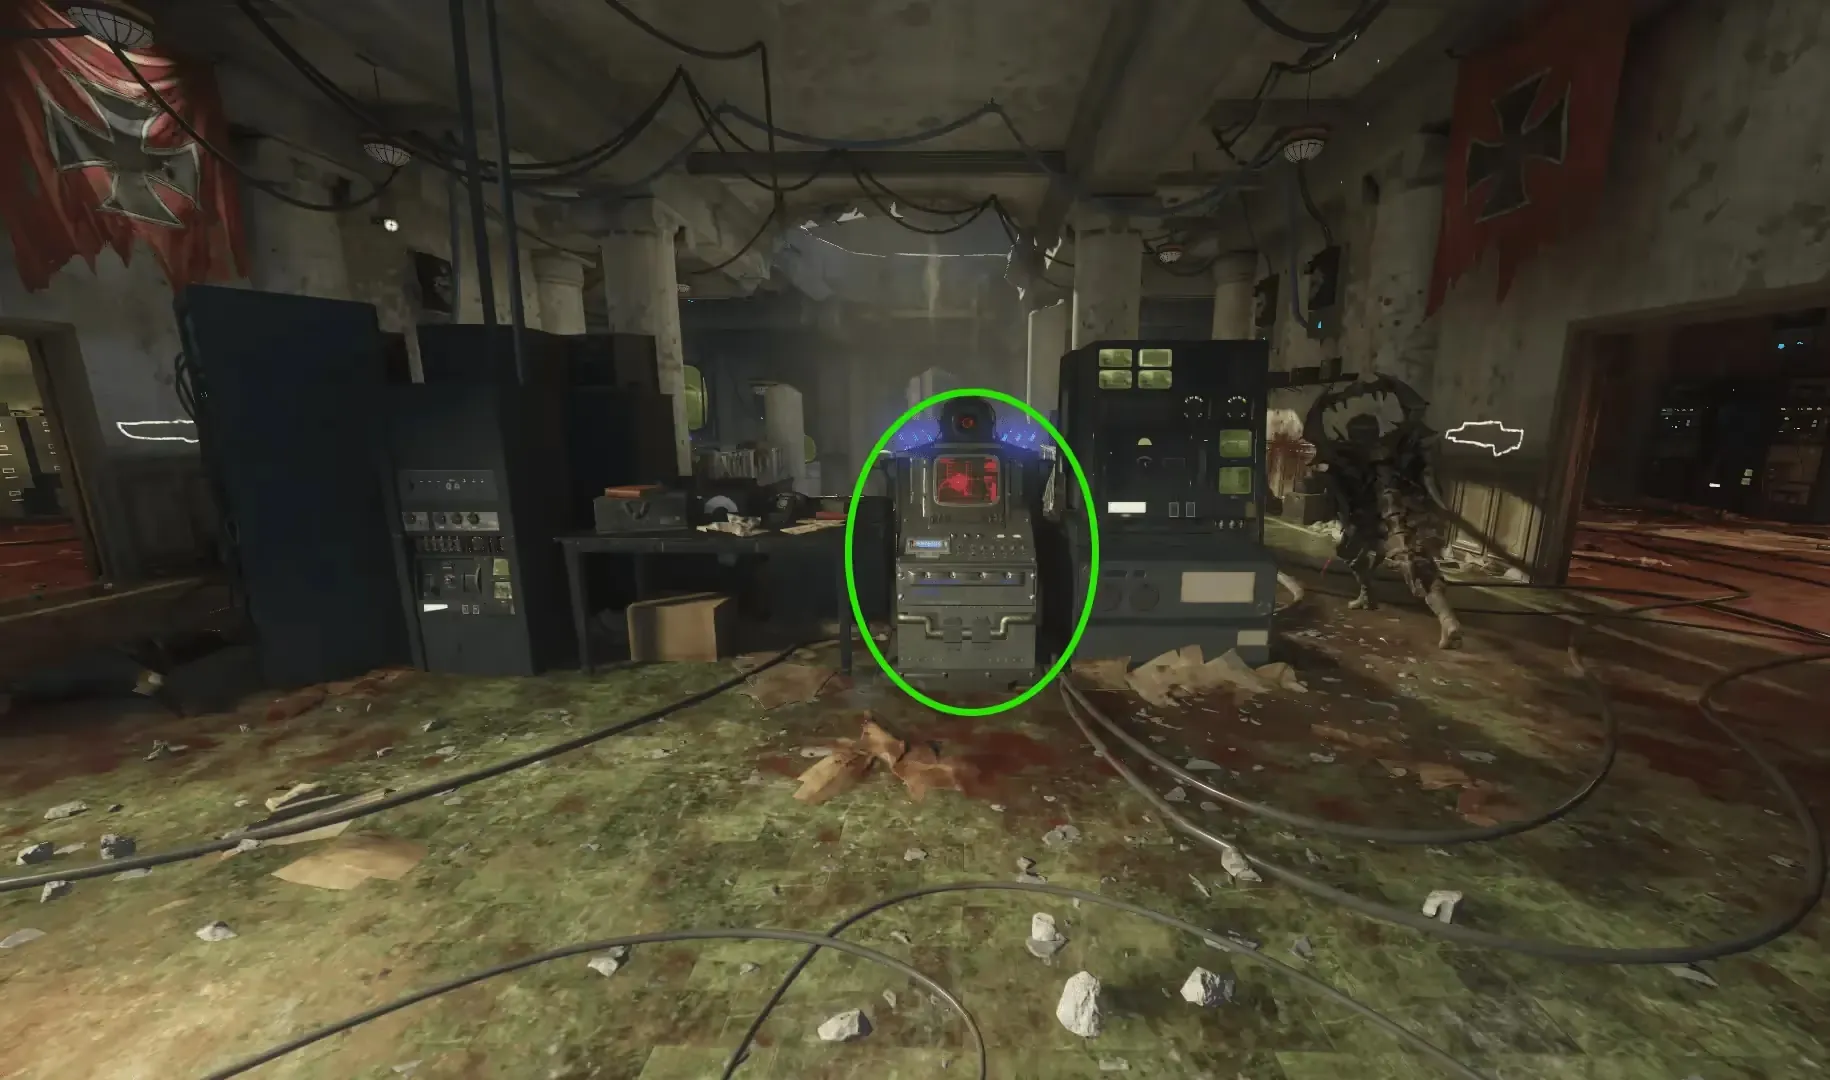
These code cylinders will always drop in the above order, Dragon Command being Blue, Supply Depot being Yellow, and Tank Factory being Red code cylinders.
When dropped, you must insert the code cylinder in its respective terminal, causing a Groph Pod to fall onto a random location in the map indicated by a green beam of light in the sky, that you must defend from a wave of zombies. After killing around 15 zombies near the Groph Pod, the pod will open, revealing a part for the Dragon Network Controller that you must pick up.
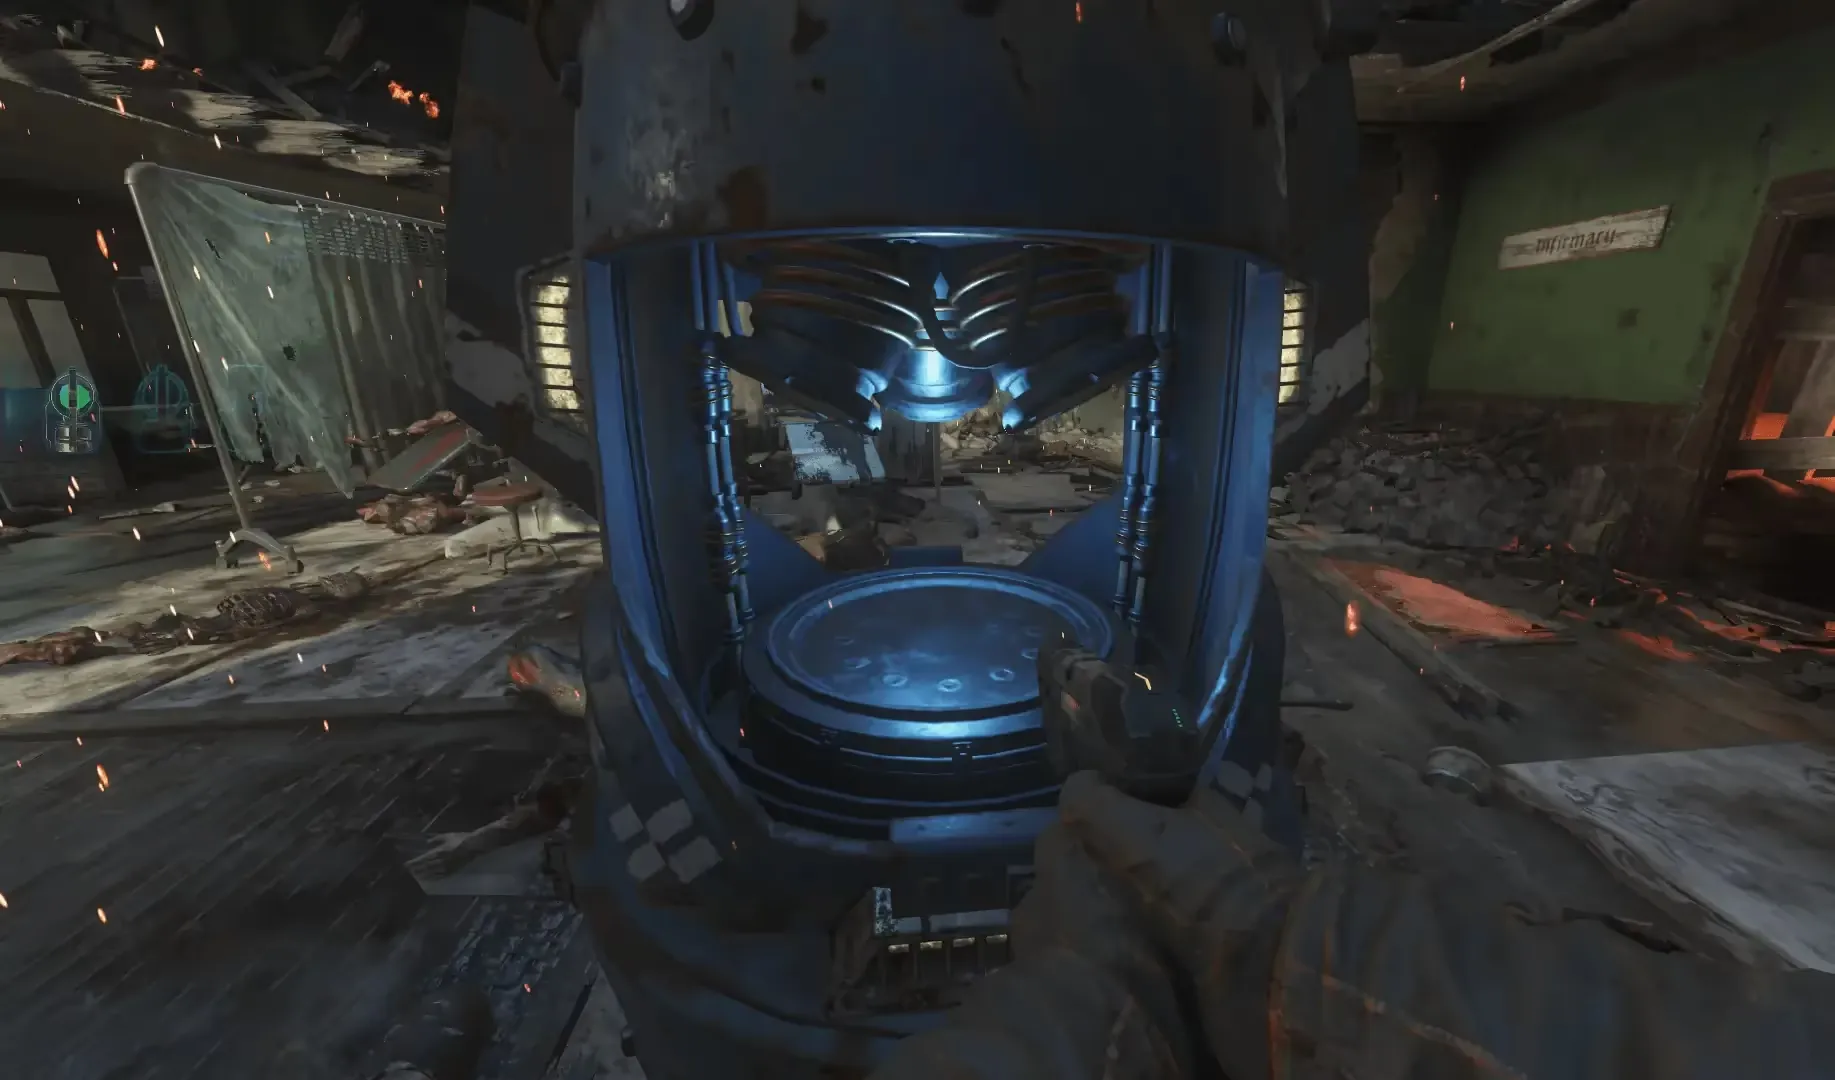
You must do this for all three code cylinders to obtain all three parts for the Dragon Network Controller.
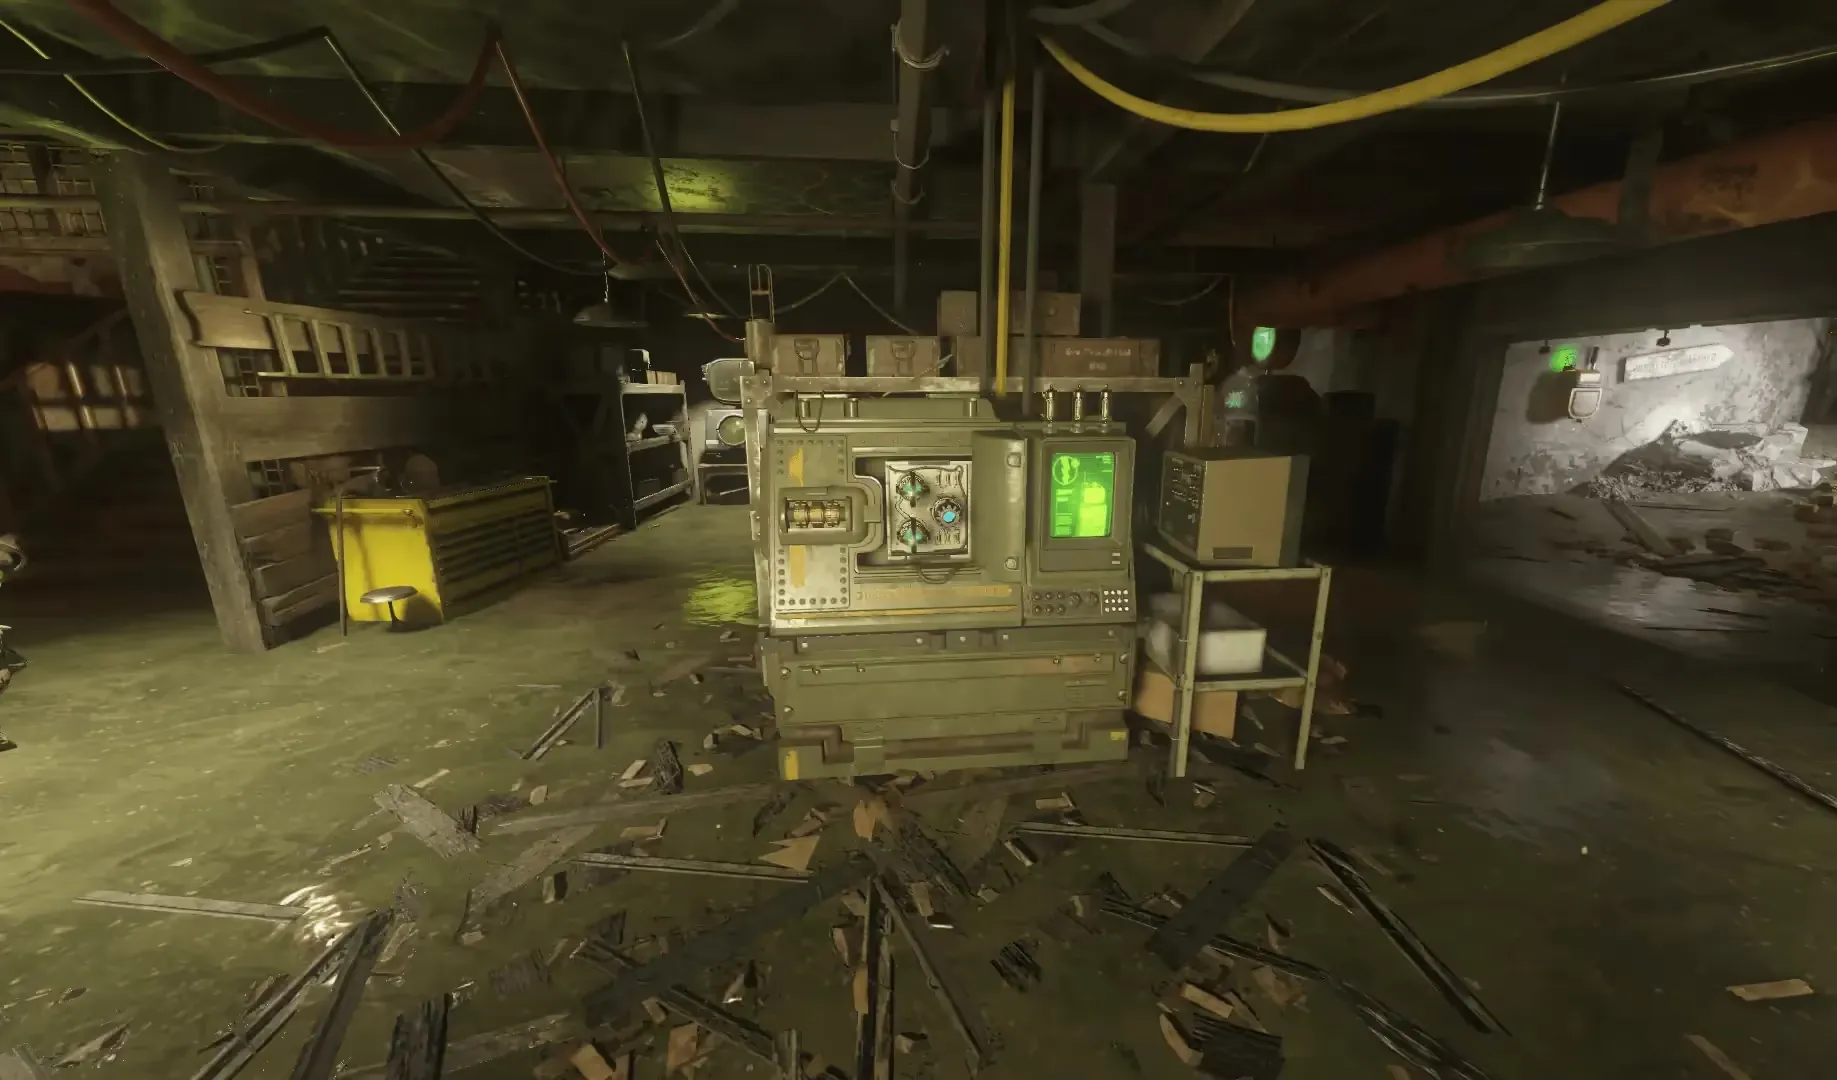
Once all three parts have been obtained, head to the Operations Bunker and insert the parts into the Dragon Network Console located near the center of the room. You will now be able to call a Dragon from any of the three terminals to travel to the Hatchery.
Step 2: Valve Step
As mentioned in the previous step, you have a 5-minute window to complete this step before the generator will turn off forcing you head back to the Hatchery and interact with the generator to turn it back on.
There are six valves located around the map. You must find two valves: one with a green light and one emitting a whistling-like sound, containing a pink code cylinder trapped within it. These Valves are located in the following locations:
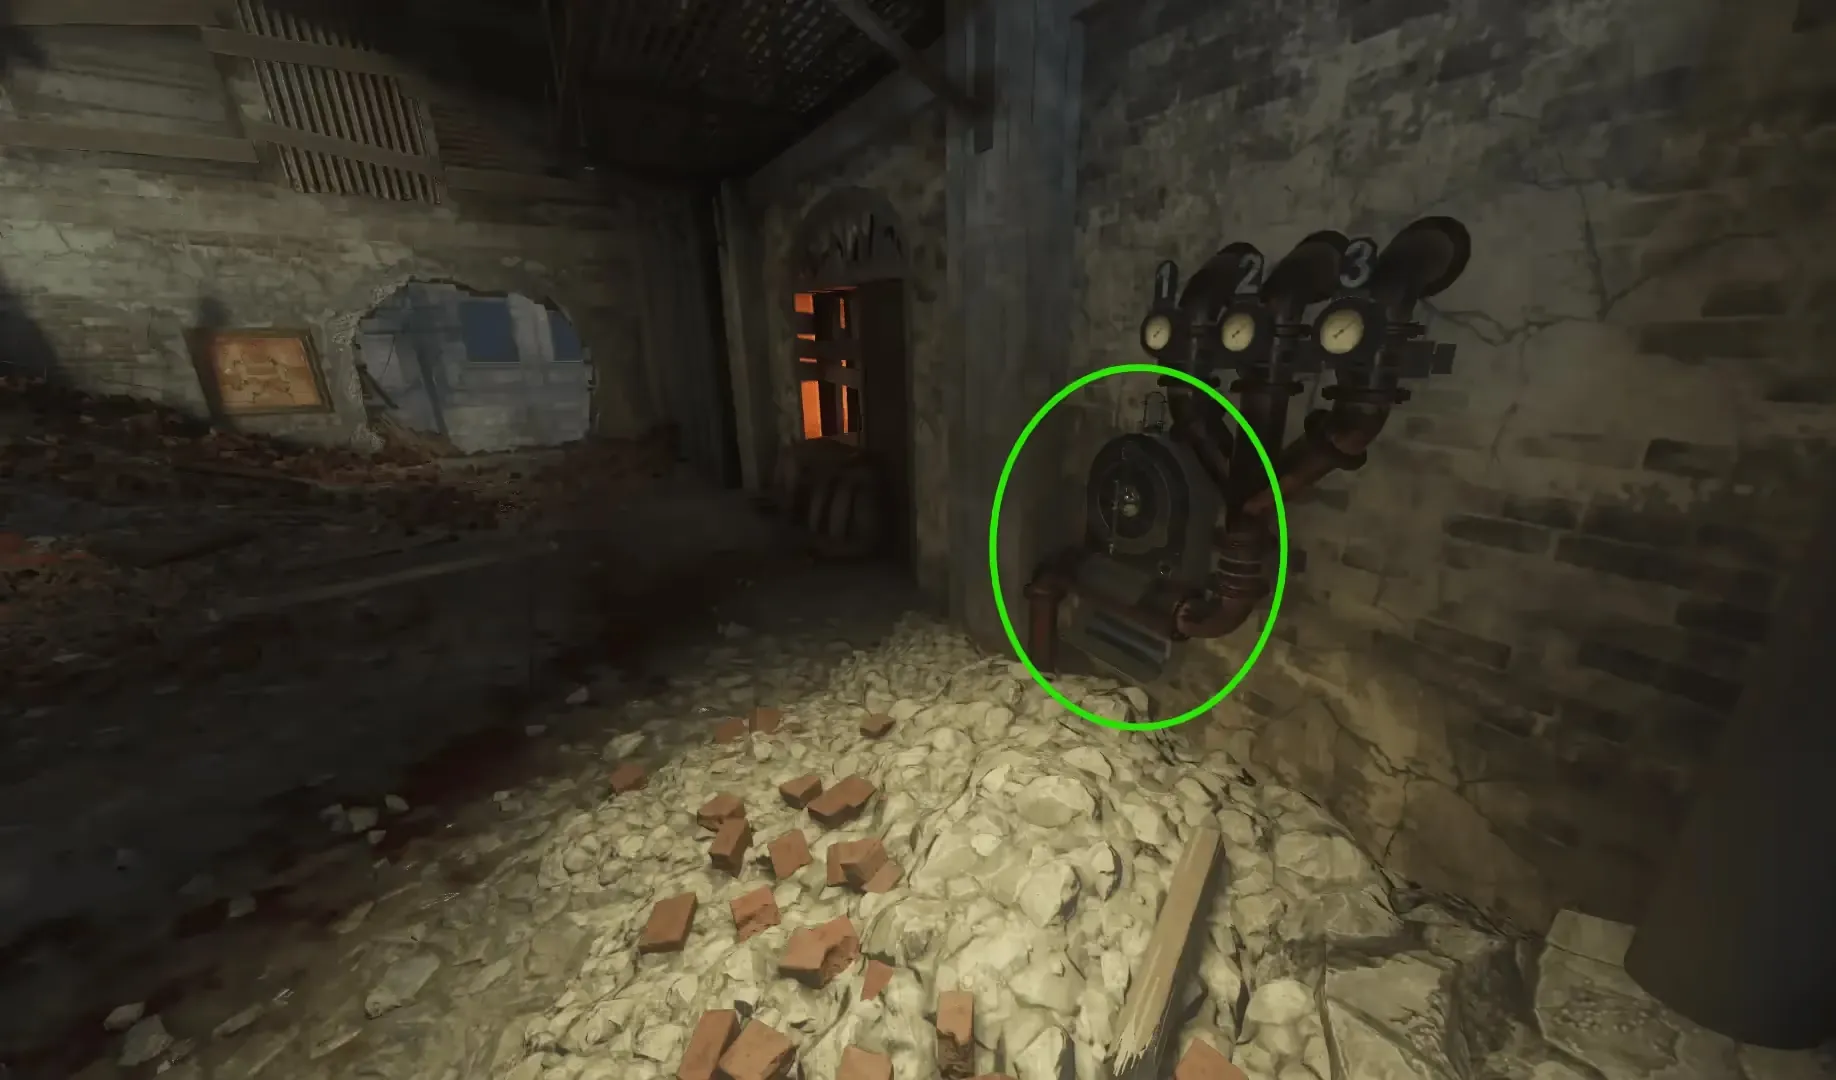
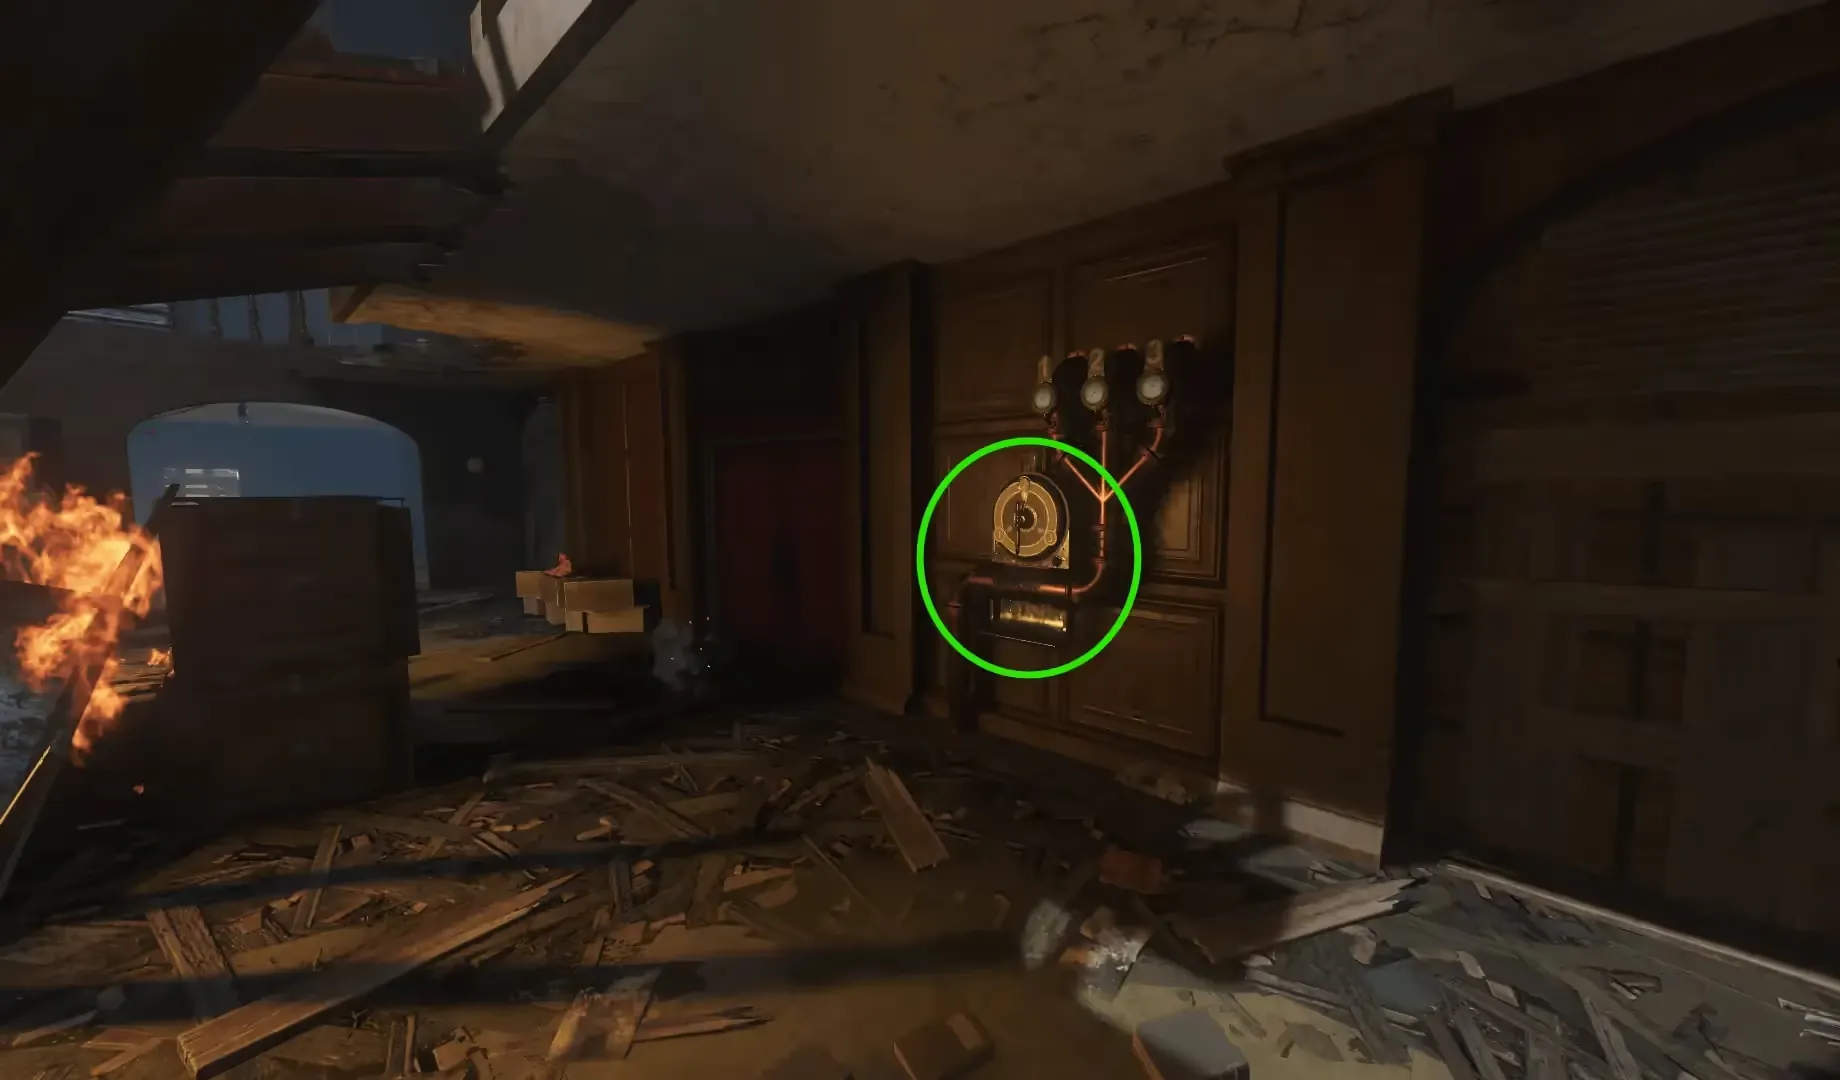
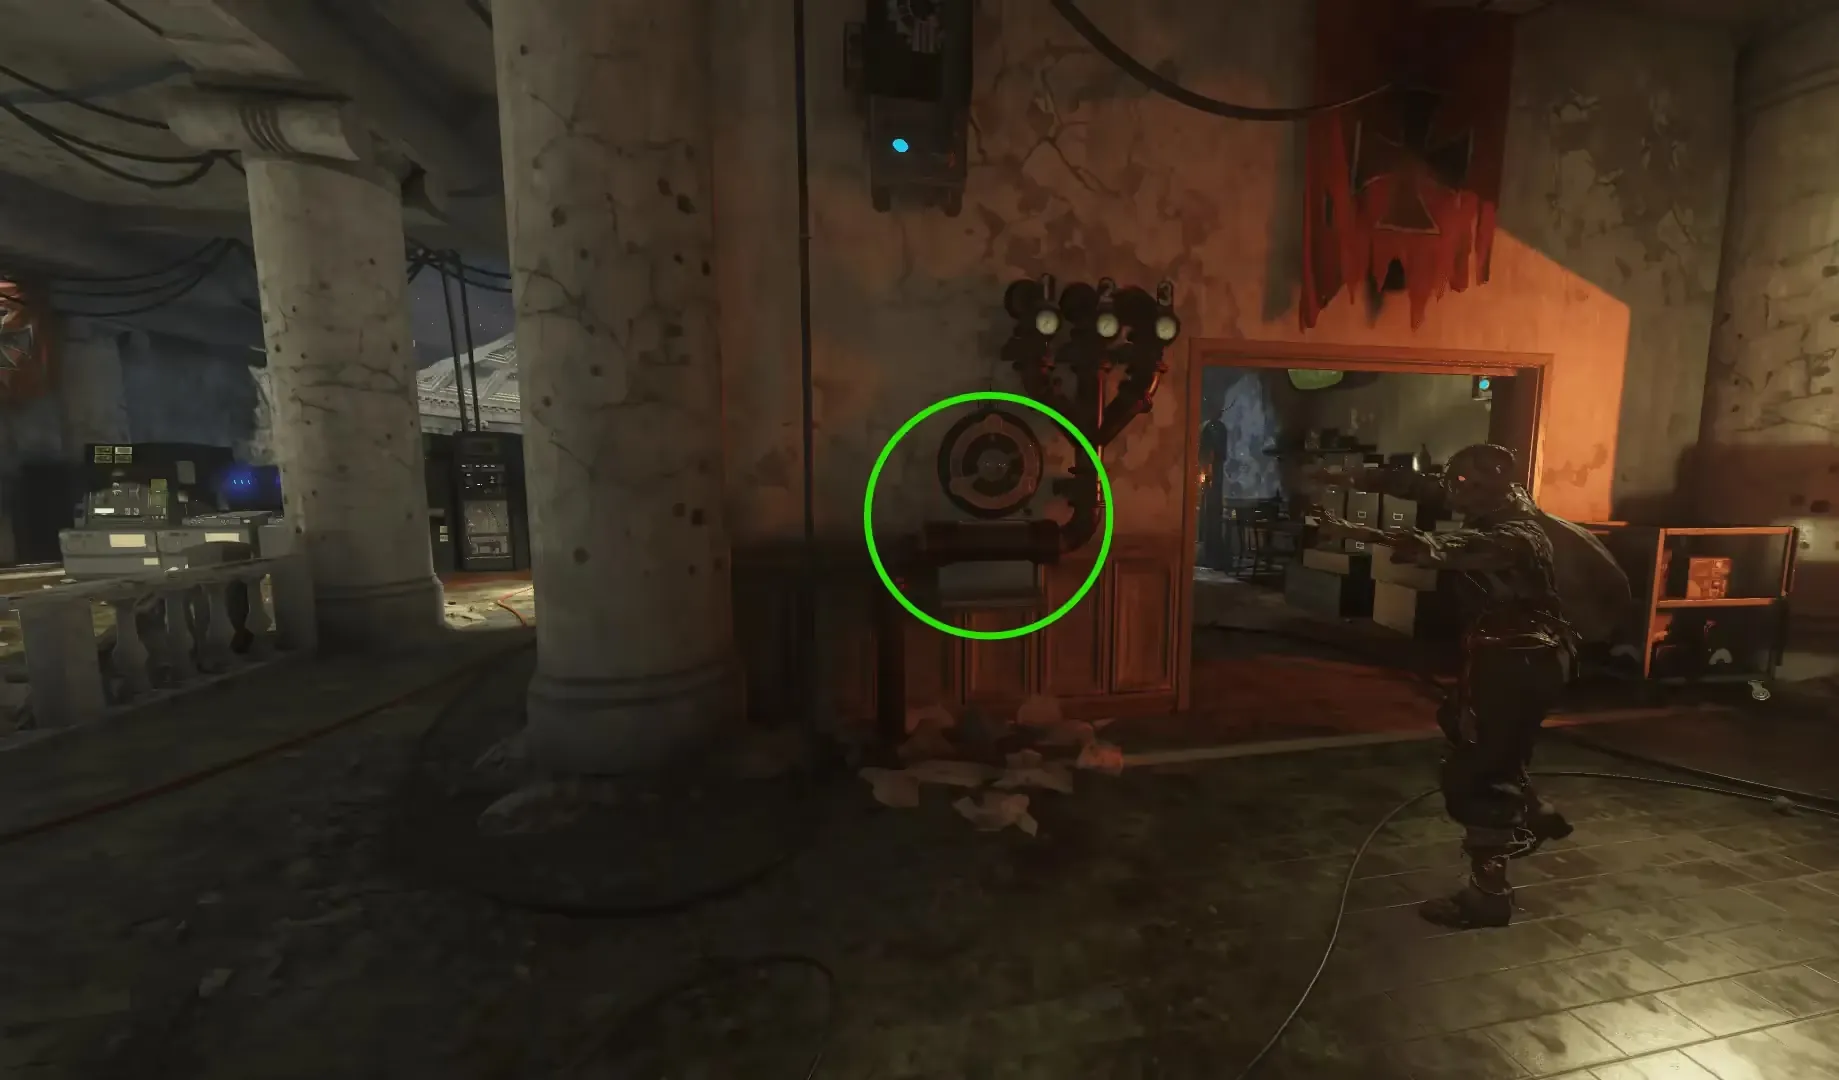
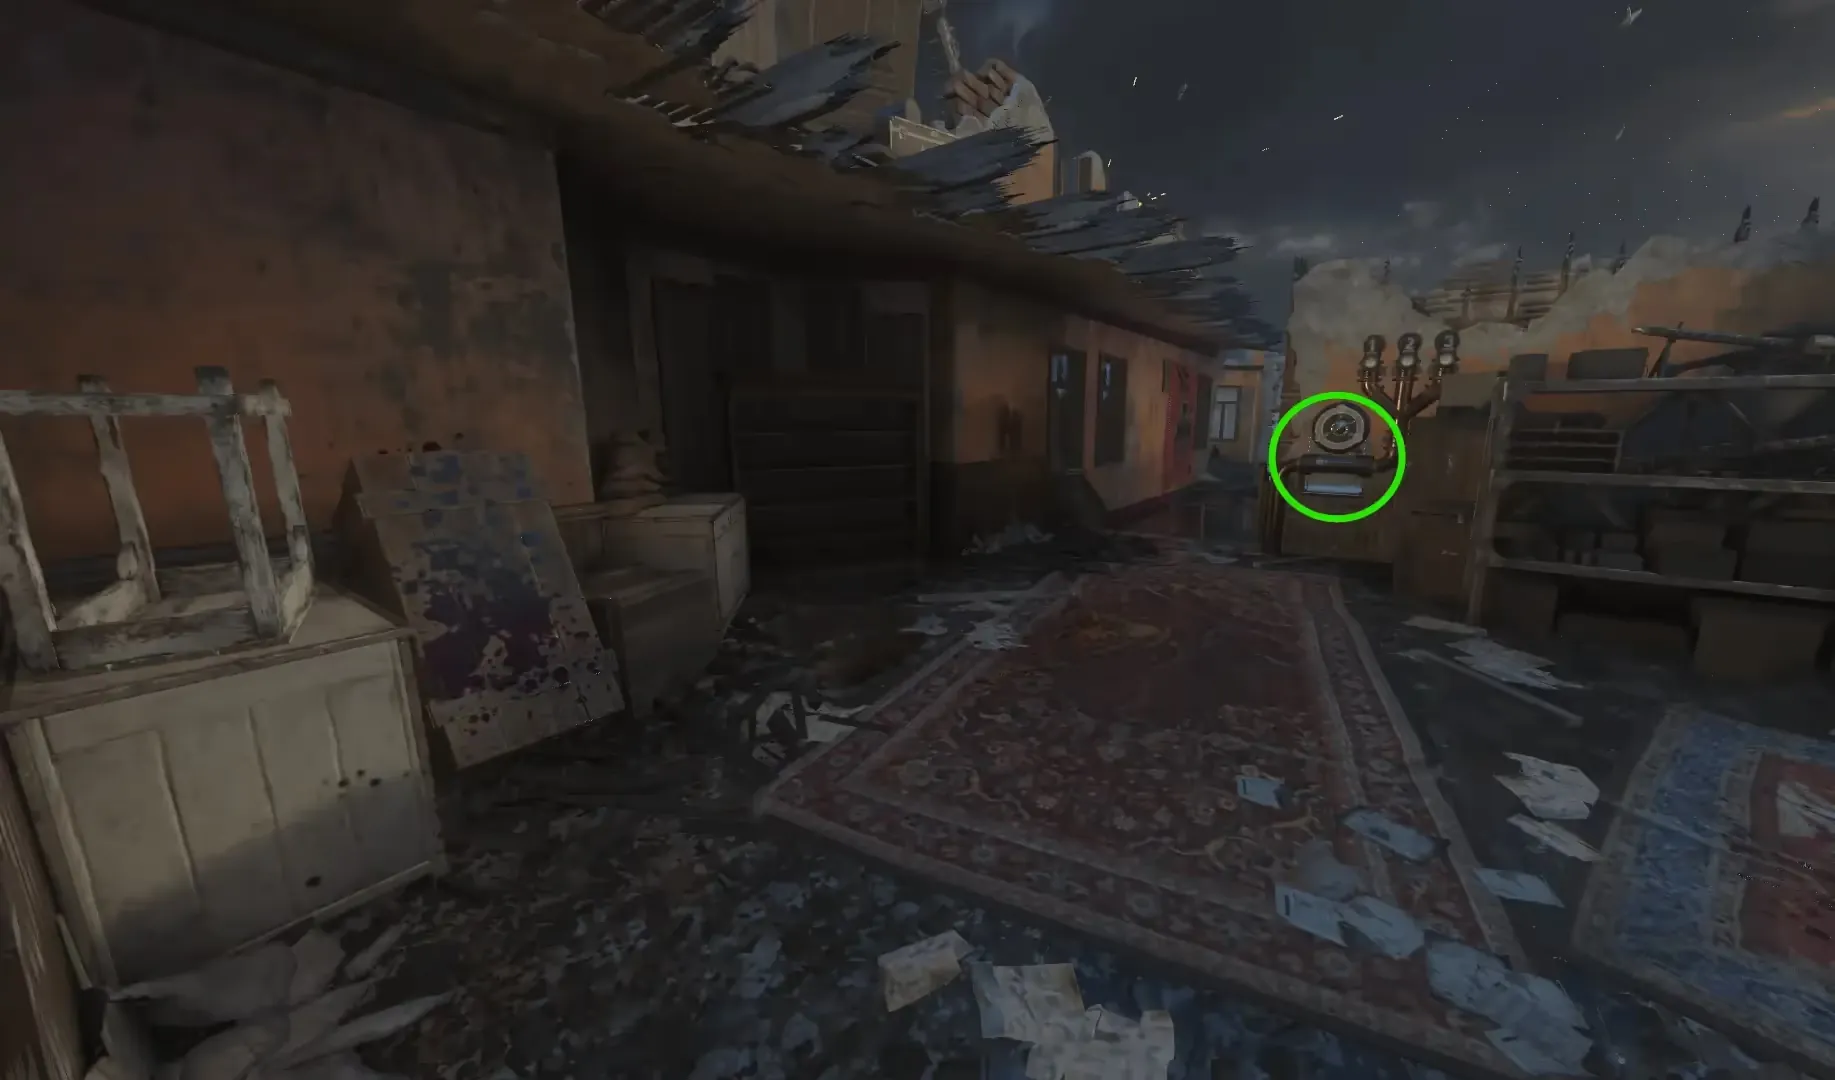
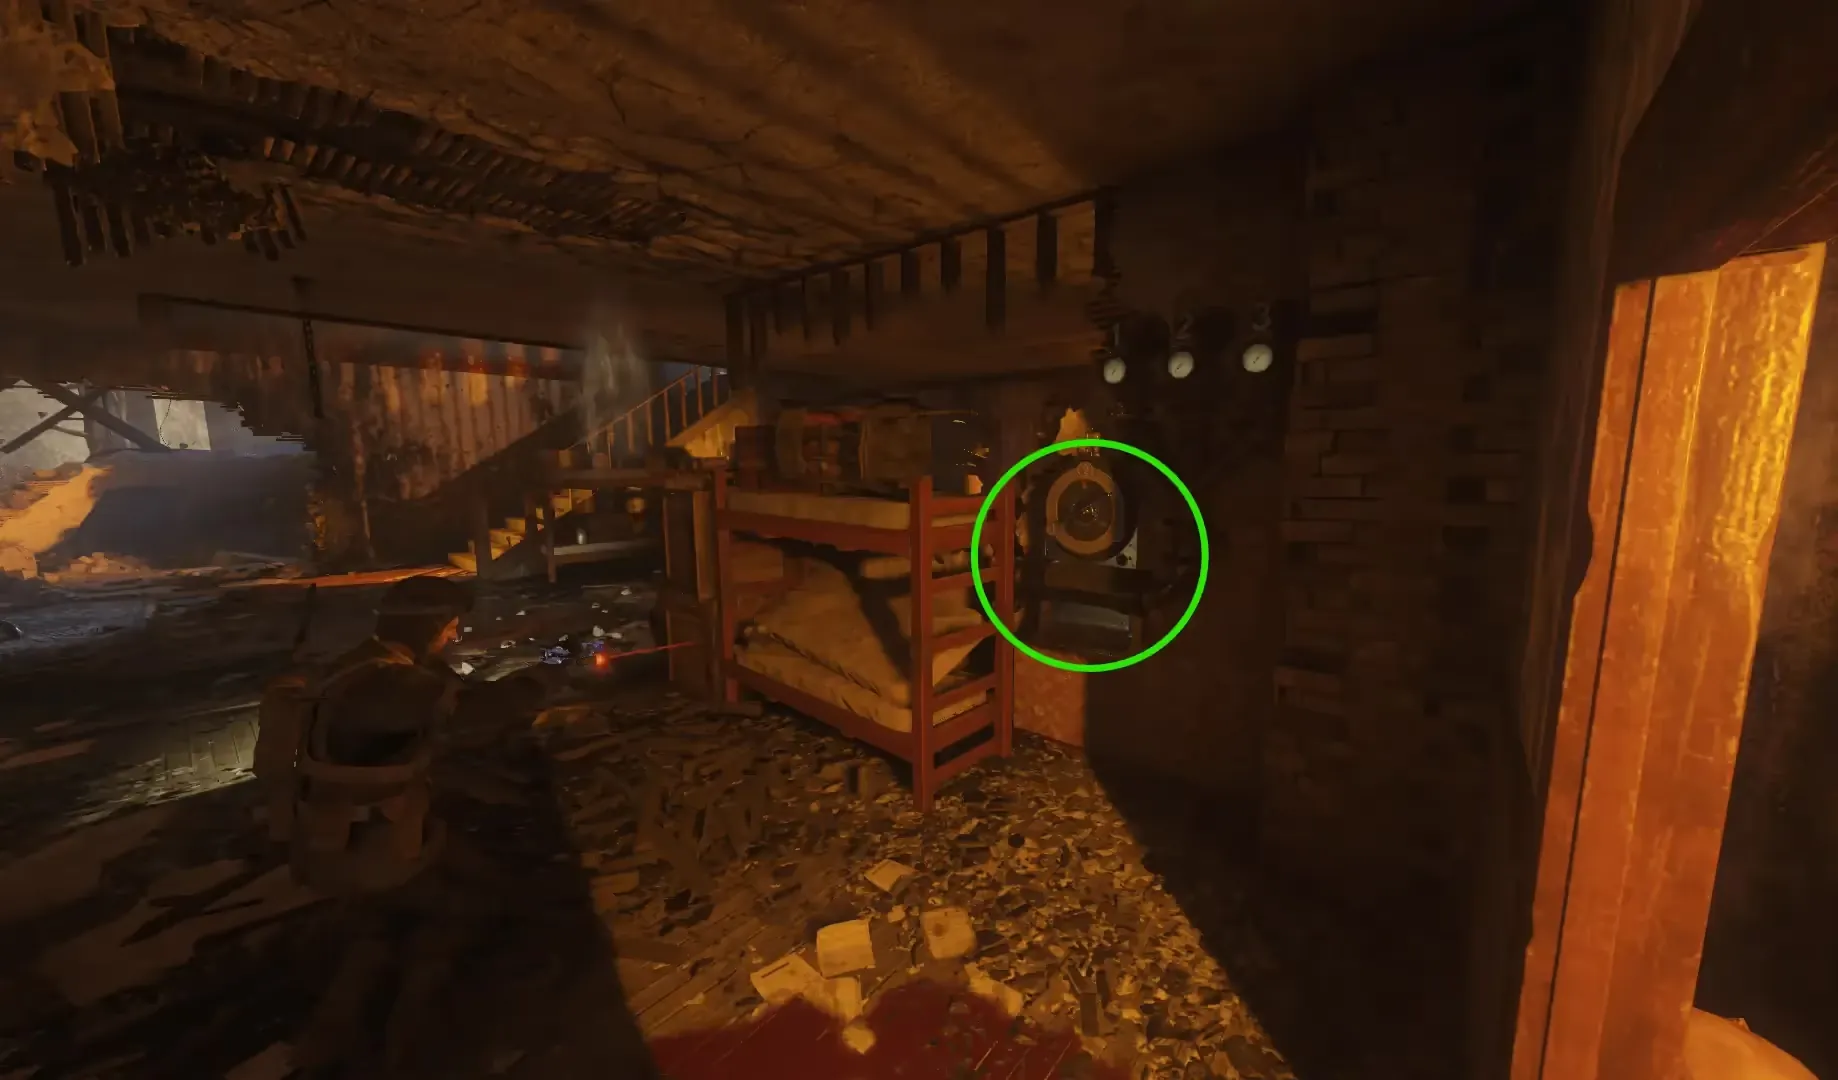
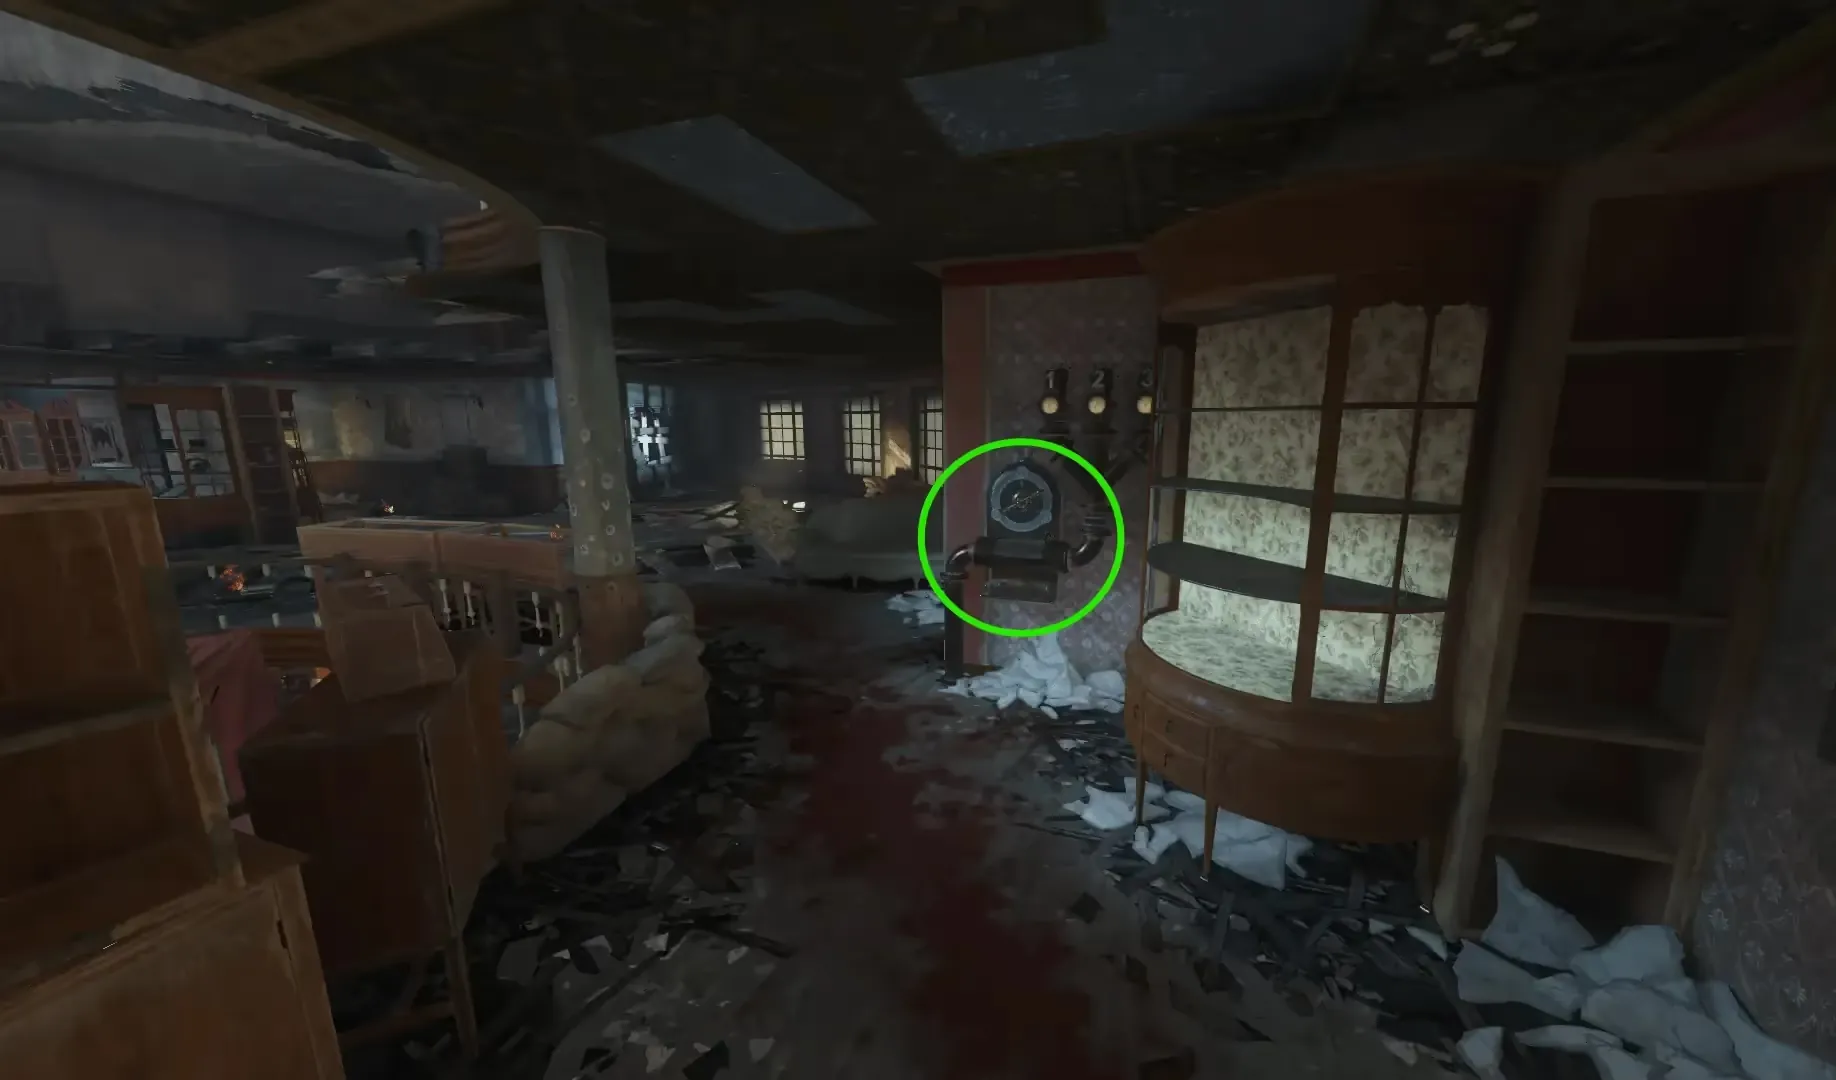
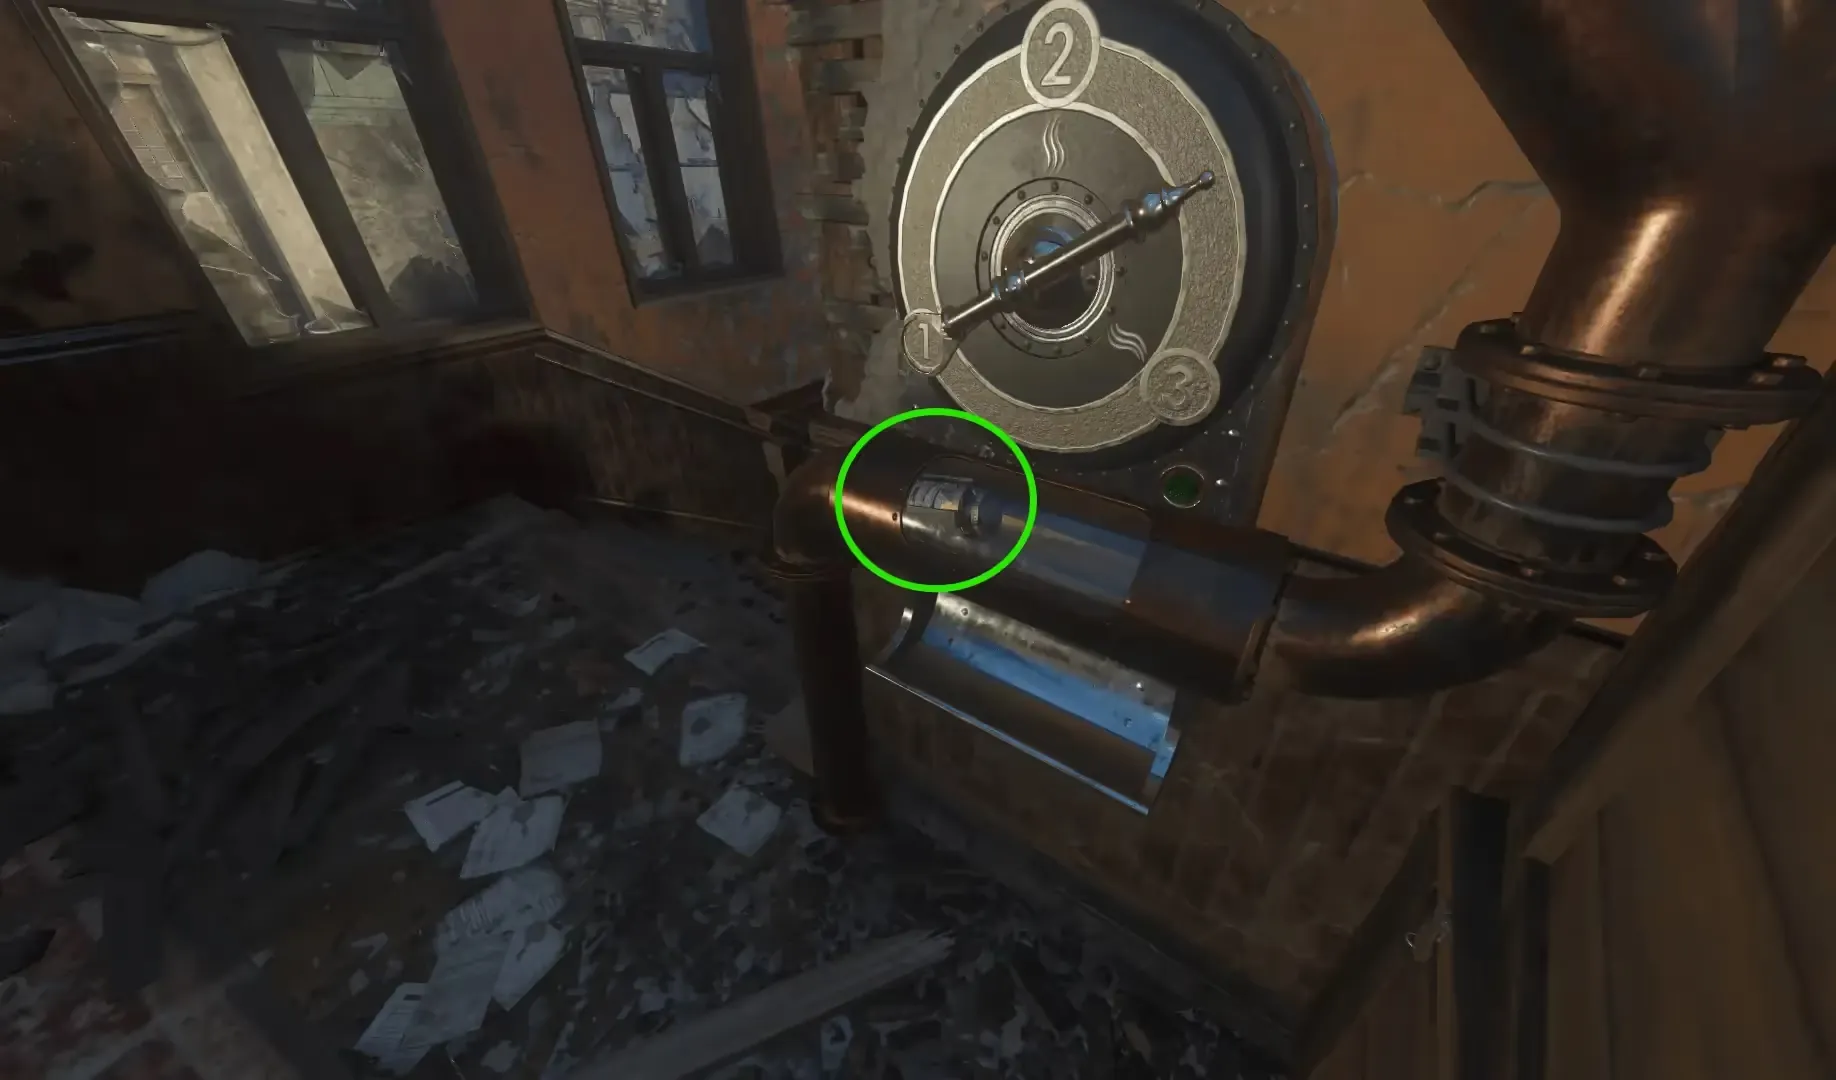
Which valves have a green light or a pink code cylinder is randomized each game.
Once you have located the valves with the green light and the pink code cylinder, select them below to reveal the values. You must set all valves except the one containing the pink code cylinder to release the pink cylinder for you to pick up.
Once all valves have been set correctly, you must pick up the pink code cylinder and return it to S.O.P.H.I.A. at Dragon Command. This is a good point to place the Dragon Egg for the Gauntlet of Siegfried down at the nest in front of Dragon Command at the bottom of the stairs.
Step 3: Inputting the Password
After returning the pink code cylinder to S.O.P.H.I.A., you must input the password KRONOS by shooting the individual letters on the wheel left of S.O.P.H.I.A. from top to bottom. Once entered, interact with S.O.P.H.I.A. to complete the step.

If you enter the code incorrectly, you must wait until the next round to re-enter the code.
Step 4: Collecting the Trophies
Some of these trophies can be obtained at any point in the game, while others require items like the Gauntlet of Siegfried, Guard of Fafnir, and Dragon Strike to obtain.
There are six hidden trophies around the map that you must pick up. Each trophy has a unique thing a player must do to reveal and ultimately acquire the trophy. Below are all six trophies and how to obtain them.
Gersh Trophy
Head to the Dragon Command stairs, and when at the bottom of the stairs, turn around so you are facing away from Dragon Command. On the wall of the building are some statues, the right statue has its left hand raised, and you must shoot this hand to drop the trophy, which you can pick up just below the statue.

Valkyrie Drone Trophy
Head to the ![]() Double Tap perk machine at the Tank Factory, using the Guard of Fafnir you must shoot the left window of
the two windows next to
Double Tap perk machine at the Tank Factory, using the Guard of Fafnir you must shoot the left window of
the two windows next to ![]() Double Tap, this will hit a pipe that is behind that window causing the trophy to be ejected from the pipe and dropped onto the
floor next to
Double Tap, this will hit a pipe that is behind that window causing the trophy to be ejected from the pipe and dropped onto the
floor next to ![]() Double Tap.
Double Tap.
Mangler Trophy
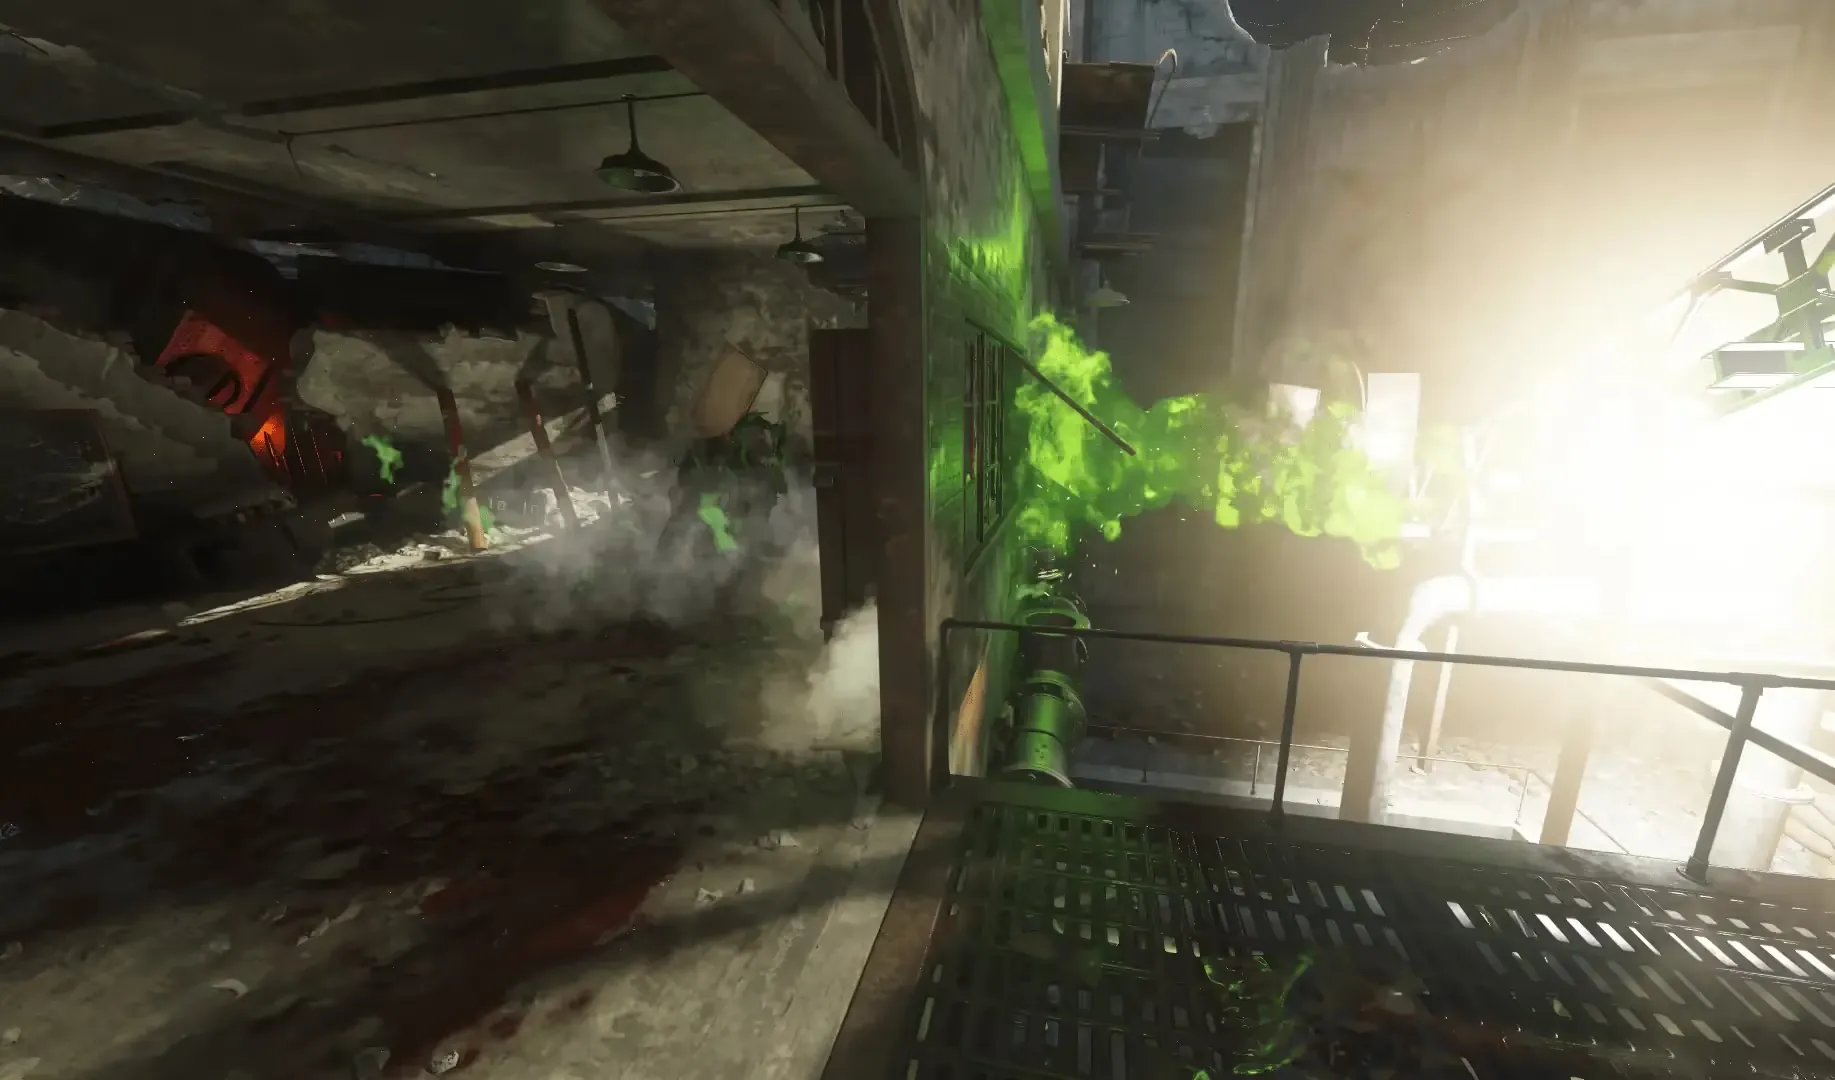
Head to the Supply Depot, activate the Giant Laser Beam Trap, and wait for it to finish. Once finished, it will reveal the trophy hidden beneath the floorboard where the laser was hitting.
Bomb Trophy
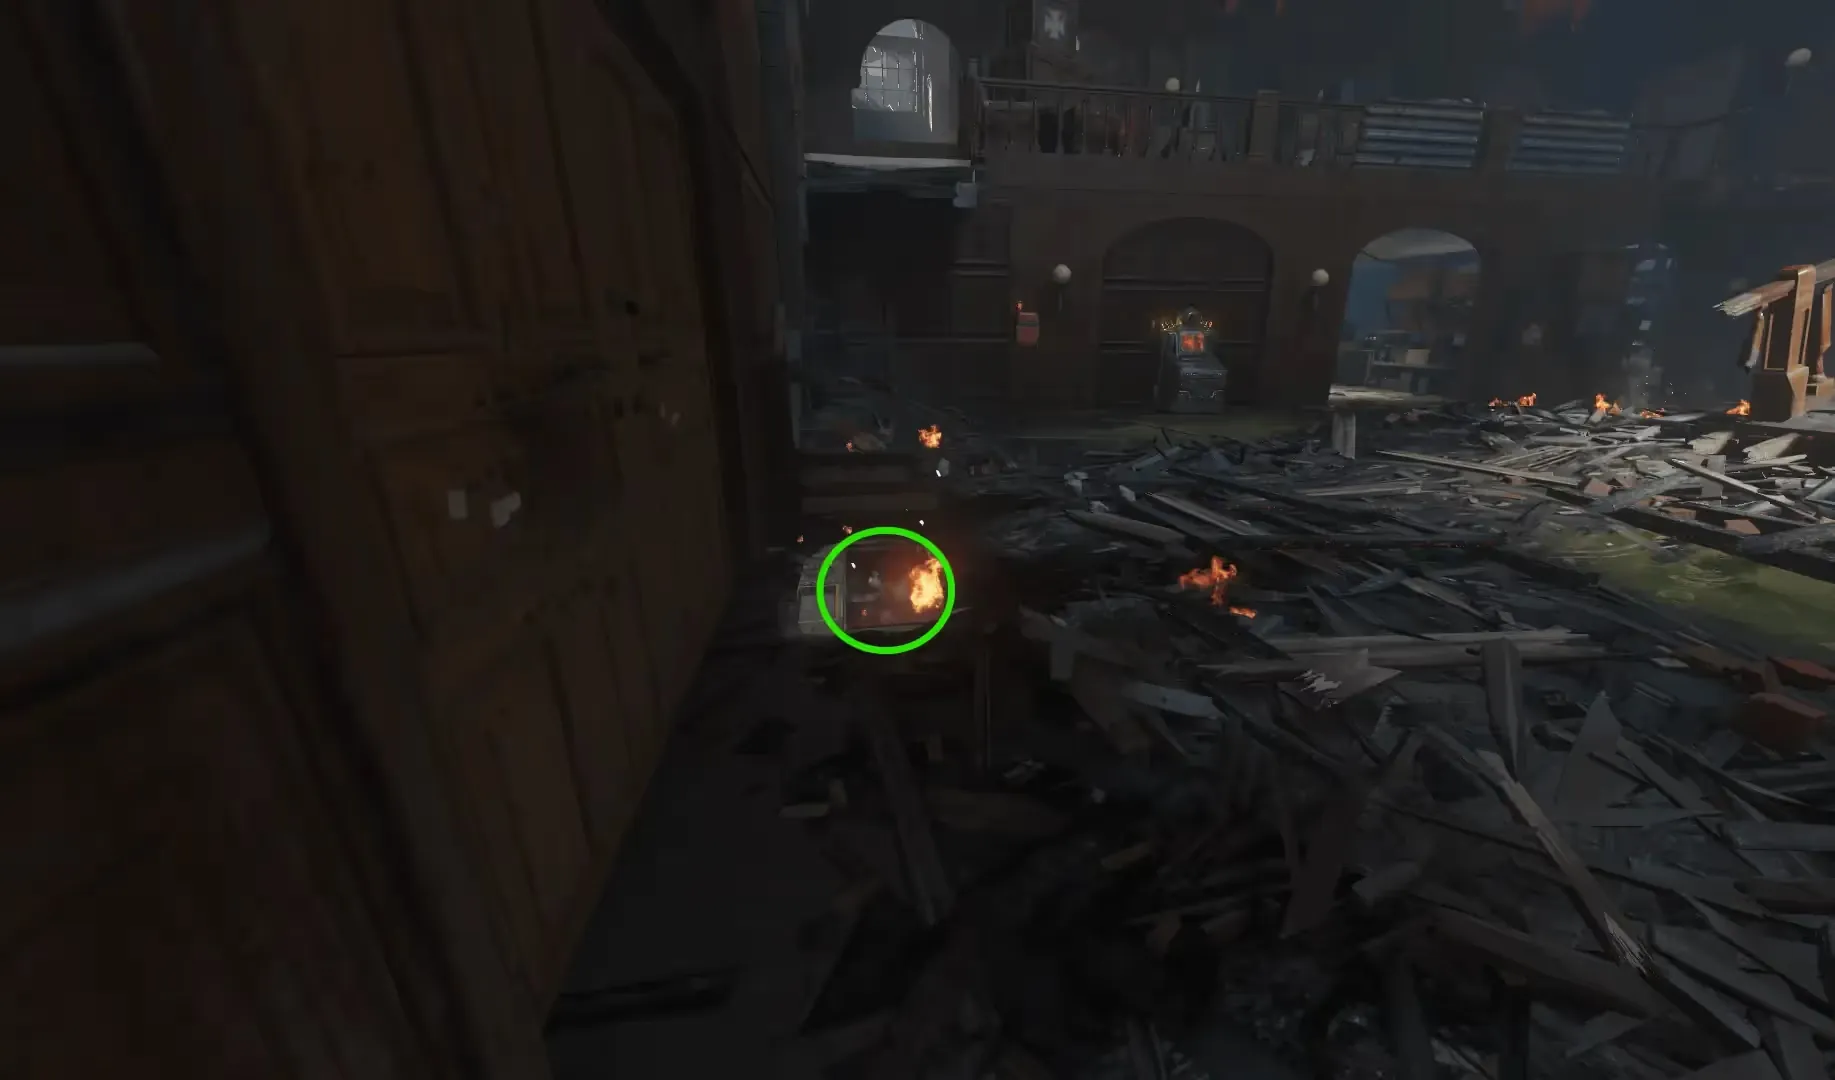
Head to the area just outside the Supply Depot, using the Dragon Strike, you must launch a dragon strike on the puddle closest to the overhead path connecting the Armory to the Supply Depot, revealing the trophy.
Groph Pod Trophy
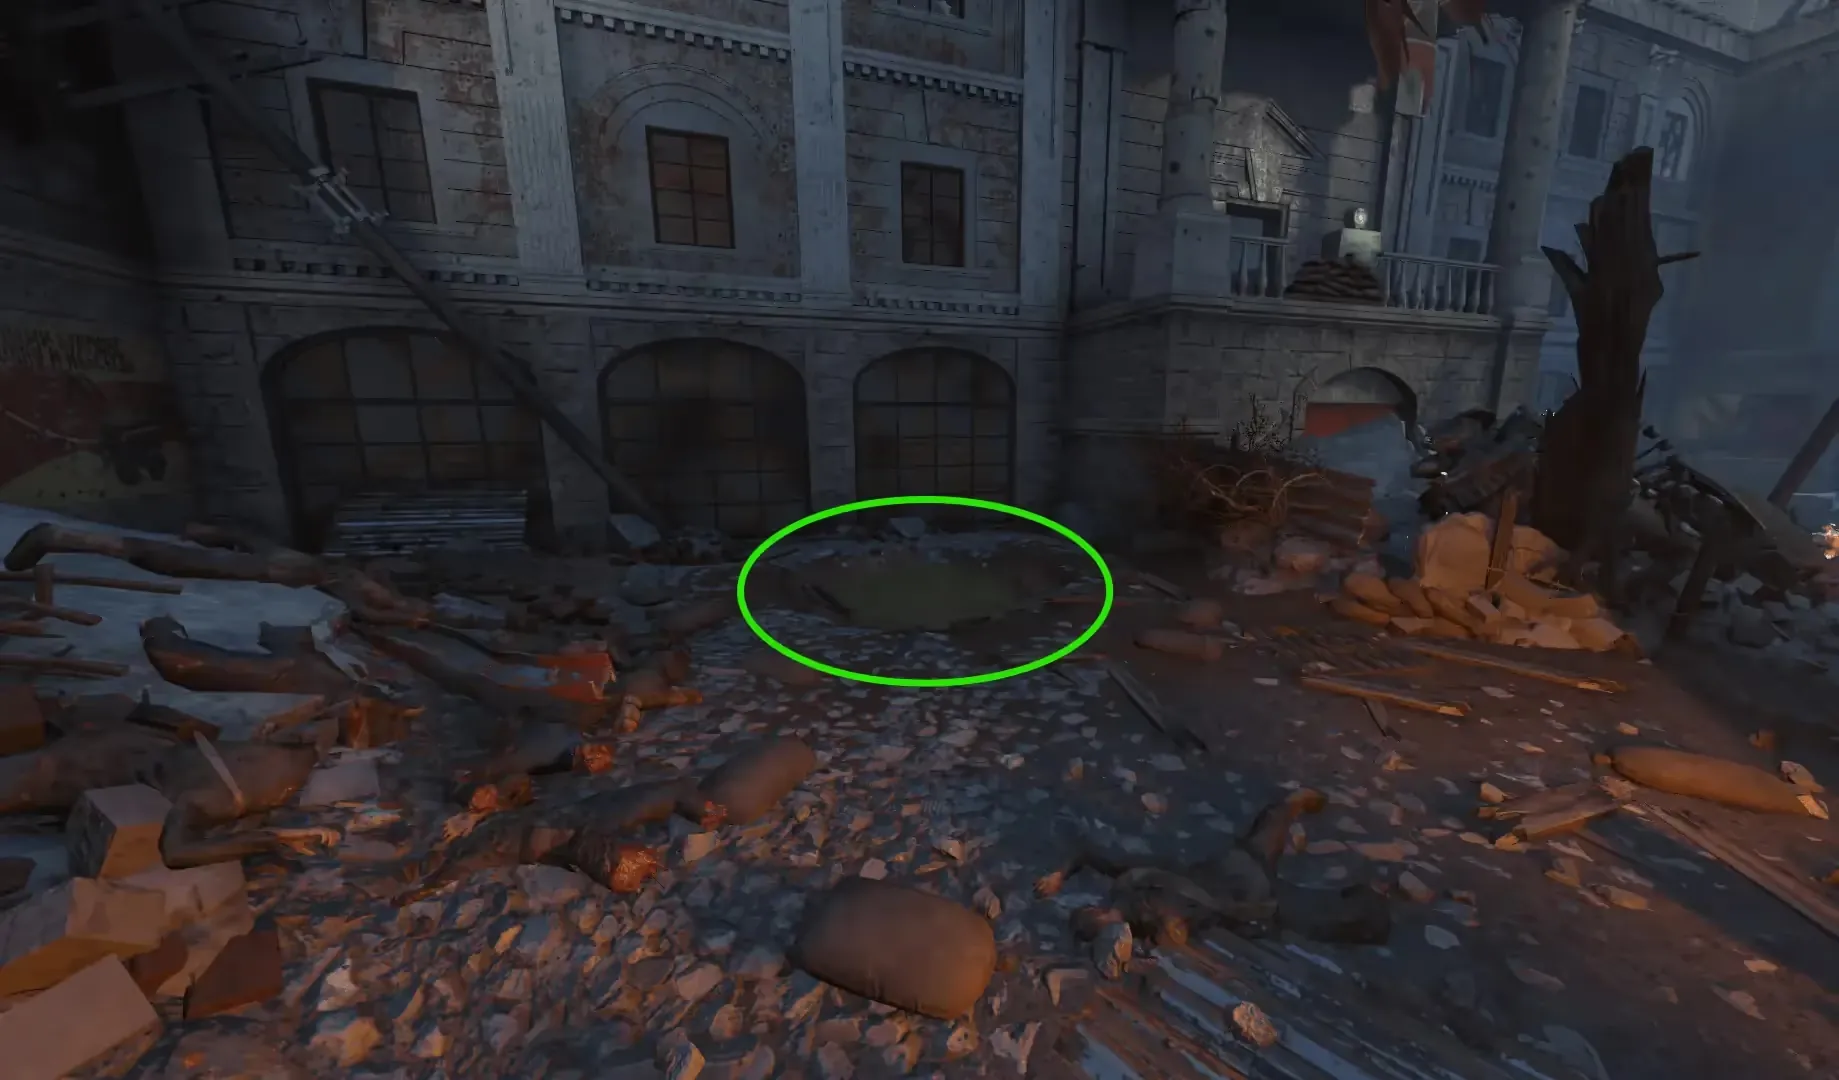
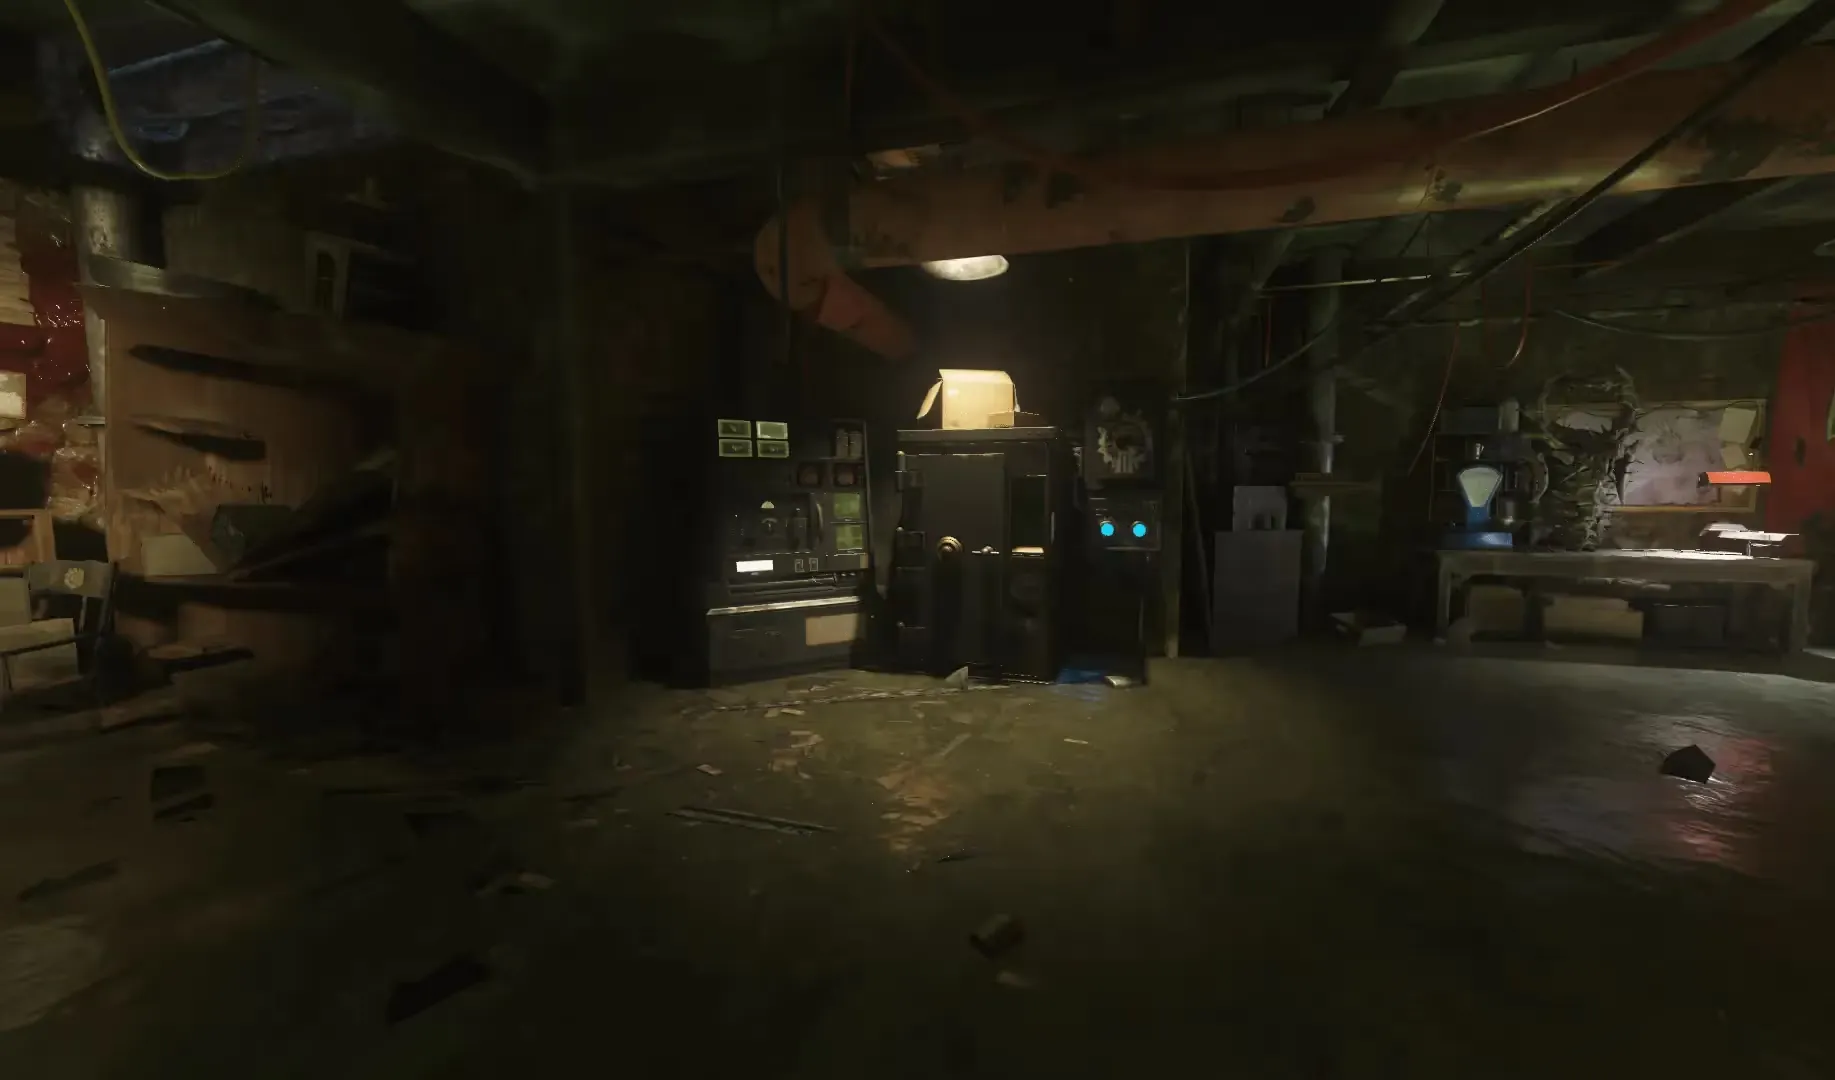
Head to the Operations Bunker, using the Gauntlet of Siegfried, you must launch your Welp ability, then use the melee of the gauntlet to smash open the safe left of the workbench, revealing the trophy.
Group 935 Trophy
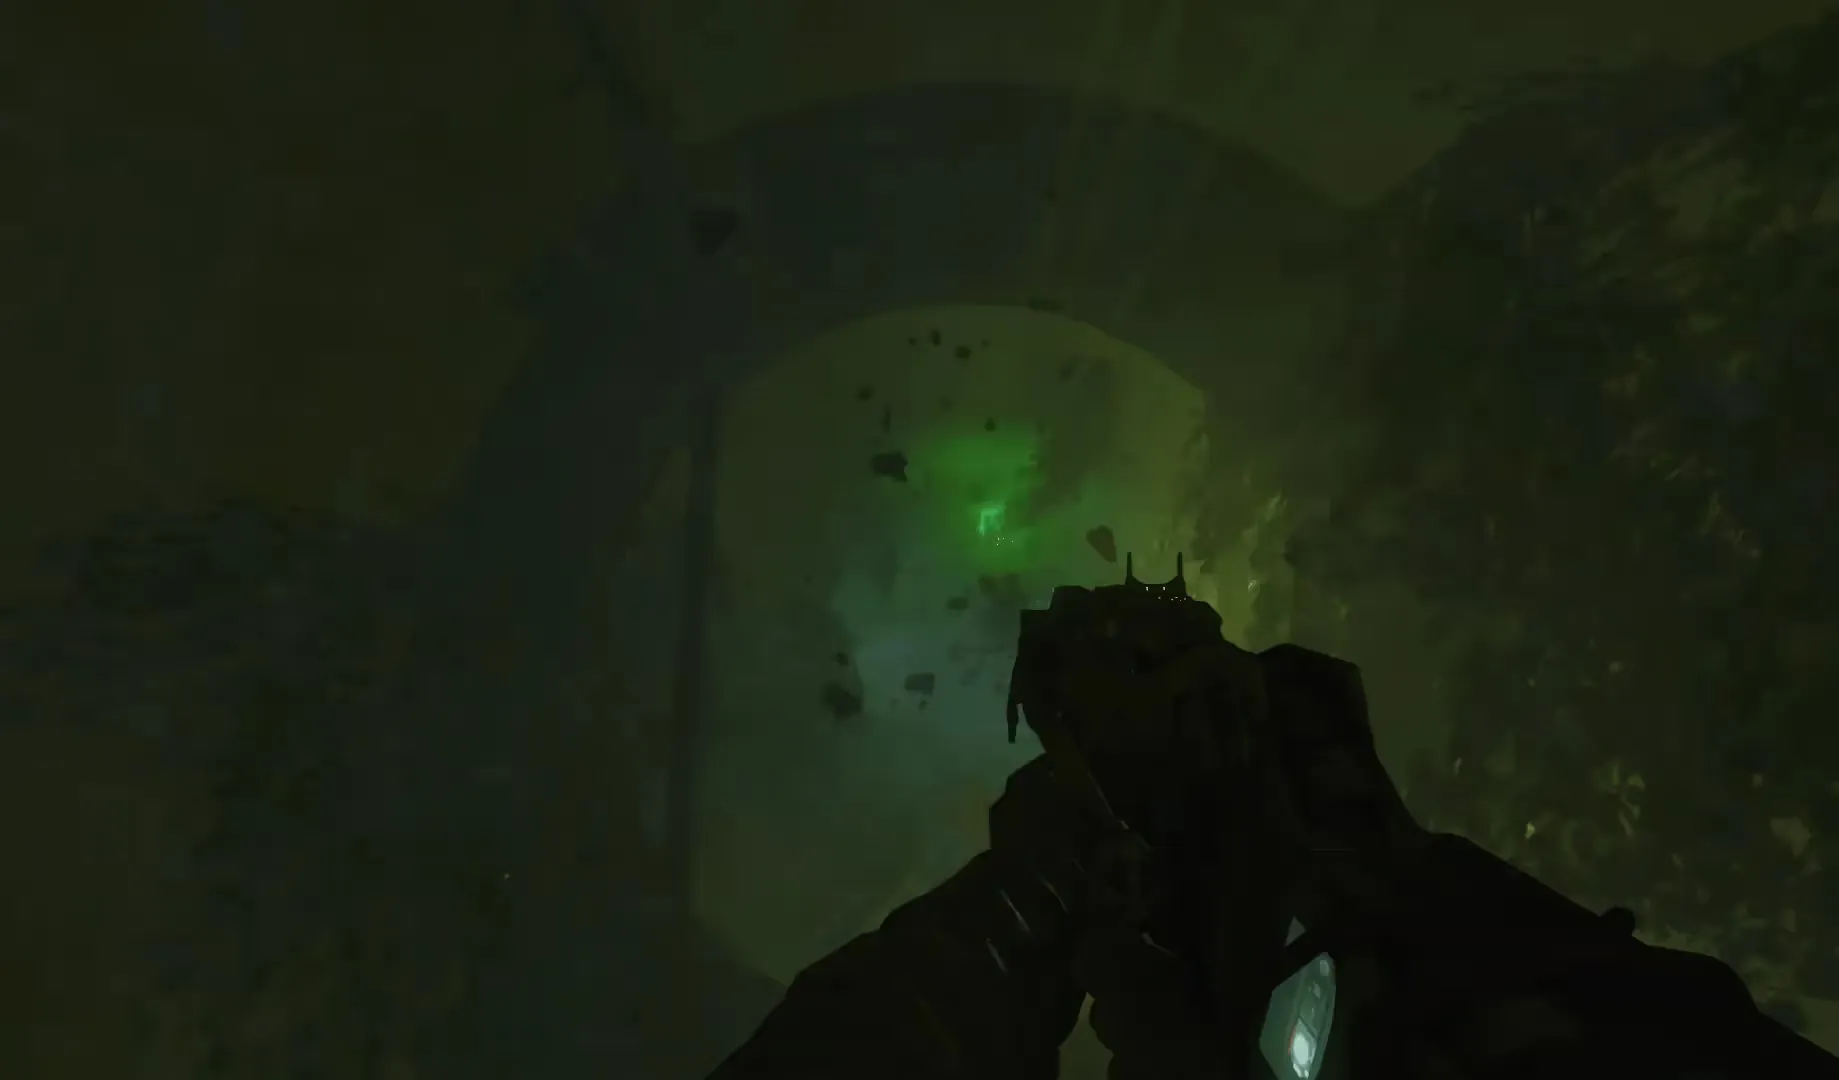
When leaving the Hatchery via the sewage system, you must shoot a red light on the roof of the sewage pipe as you are traveling back to the Spawn. If done successfully, the light will turn green, and the trophy can be found in the toilet in the Hatchery on the same floor as the Pack-a-Punch.
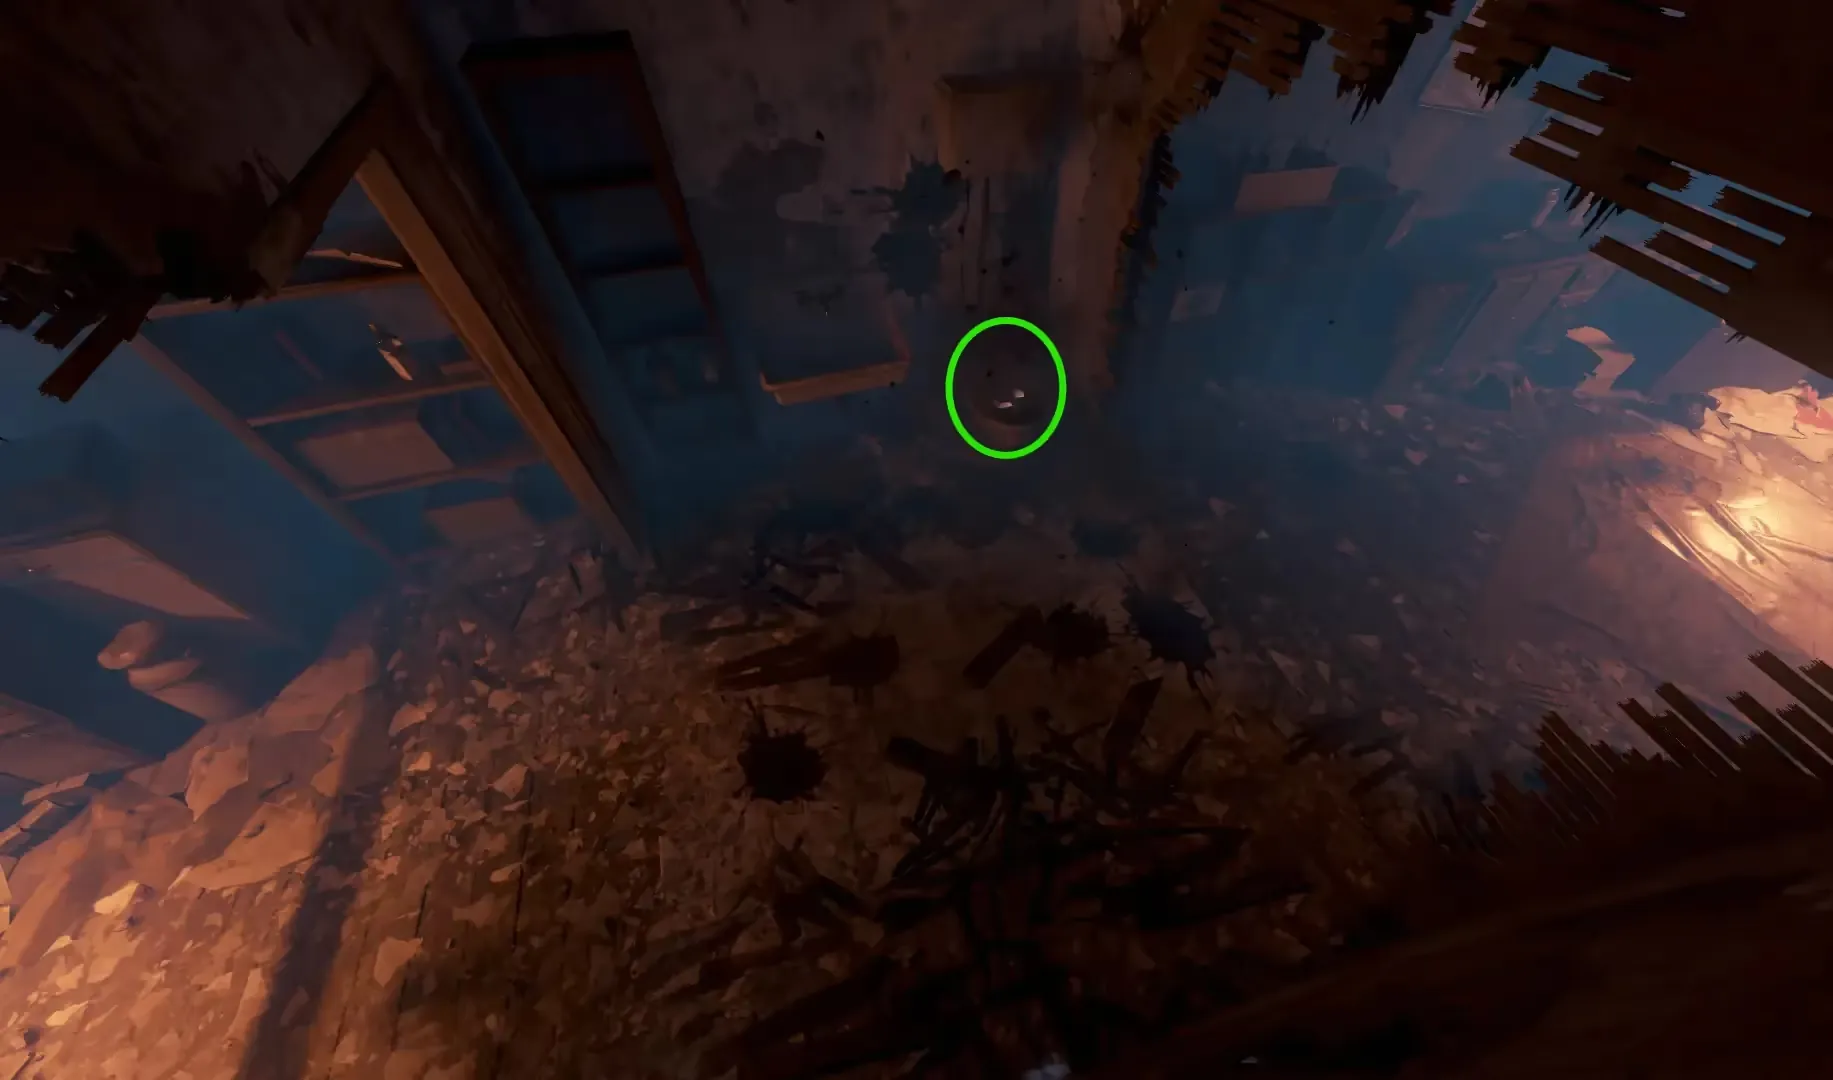
Building the Guard of Fafnir
The Guard of Fafnir requires three parts to build and can be obtained at any point of the game
The first part is the Dragon Visage, which can be found in the Infirmary:
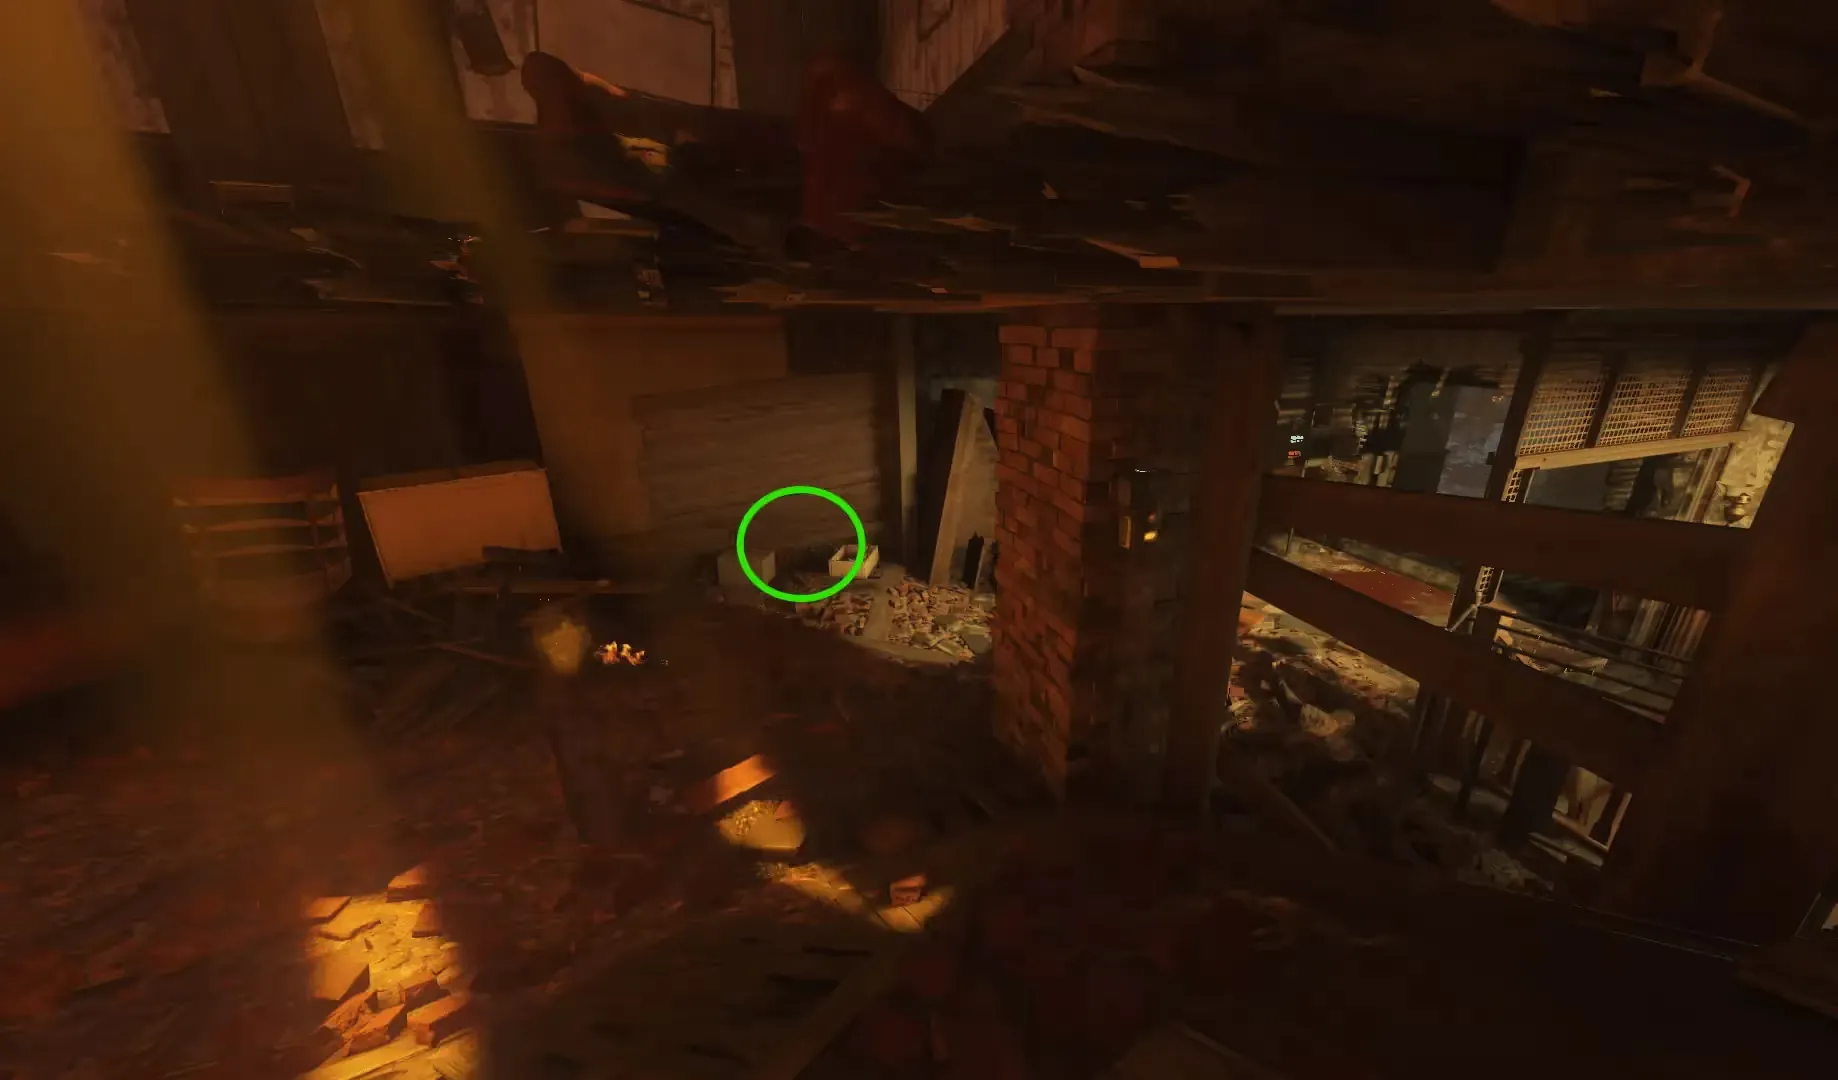
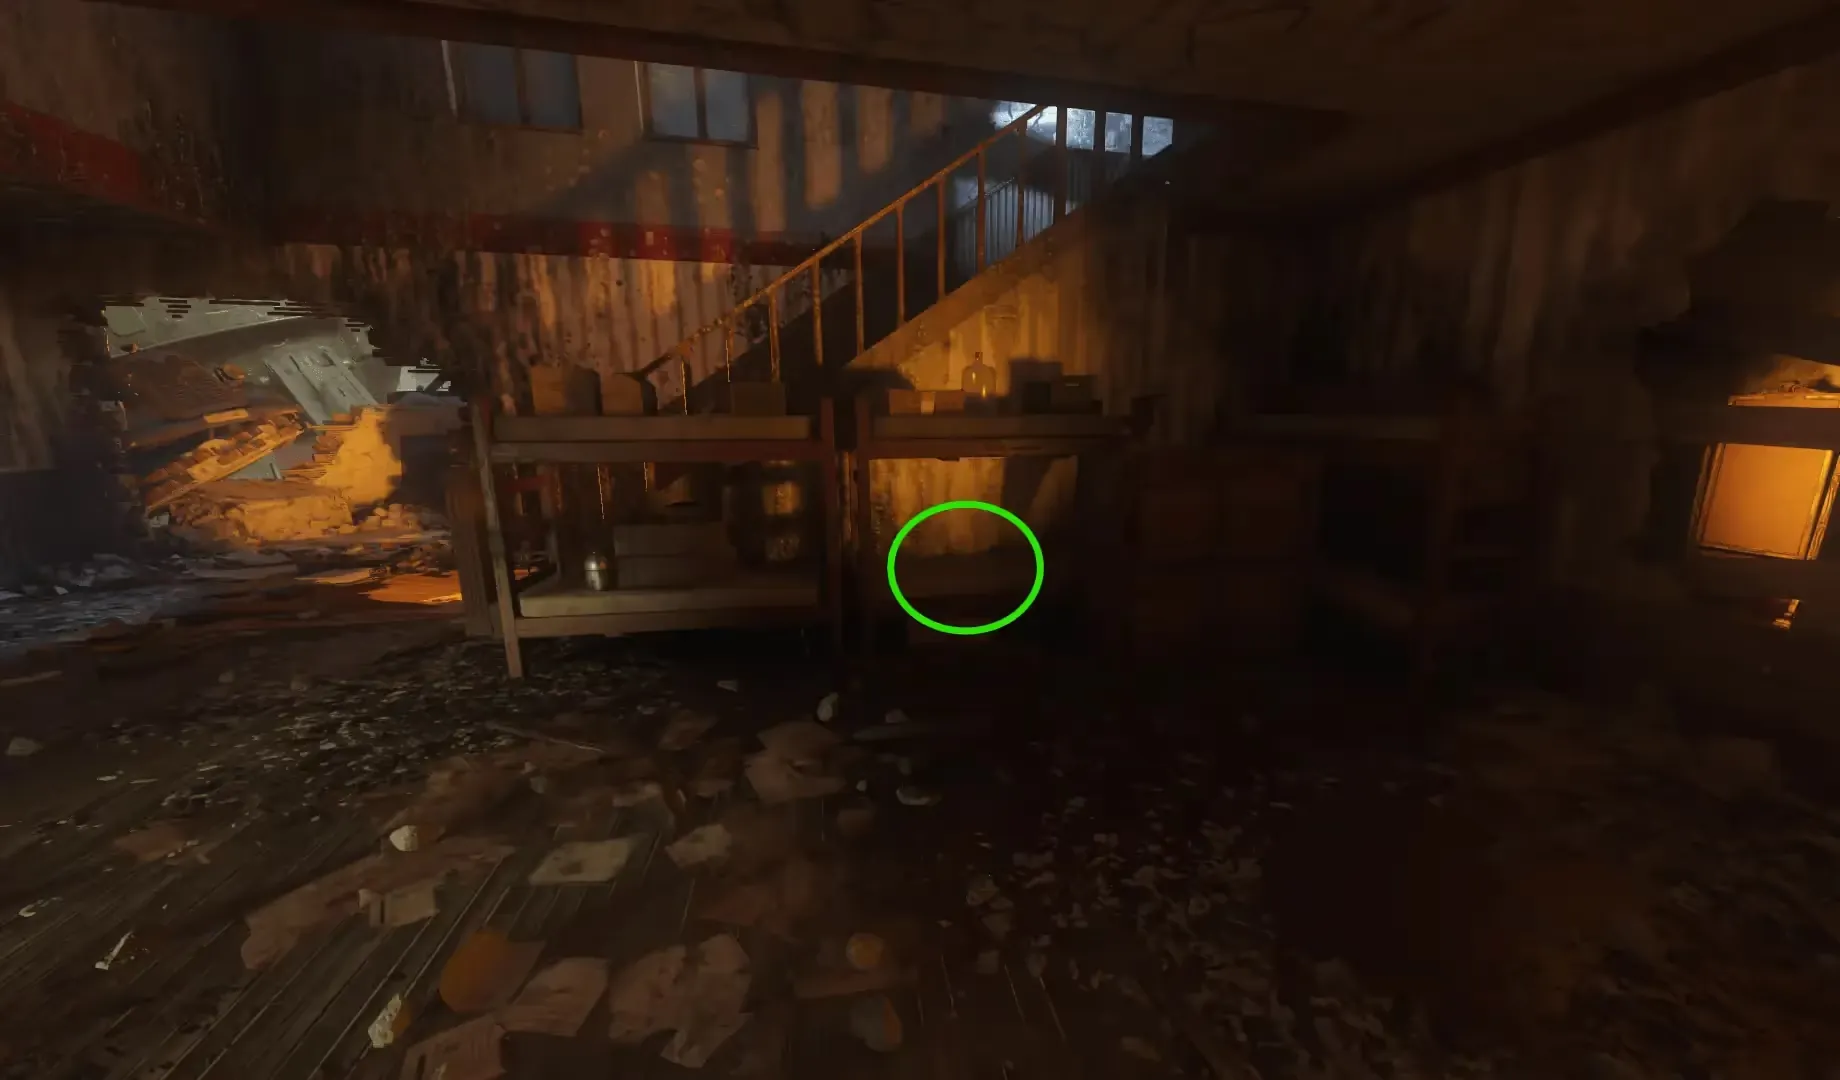
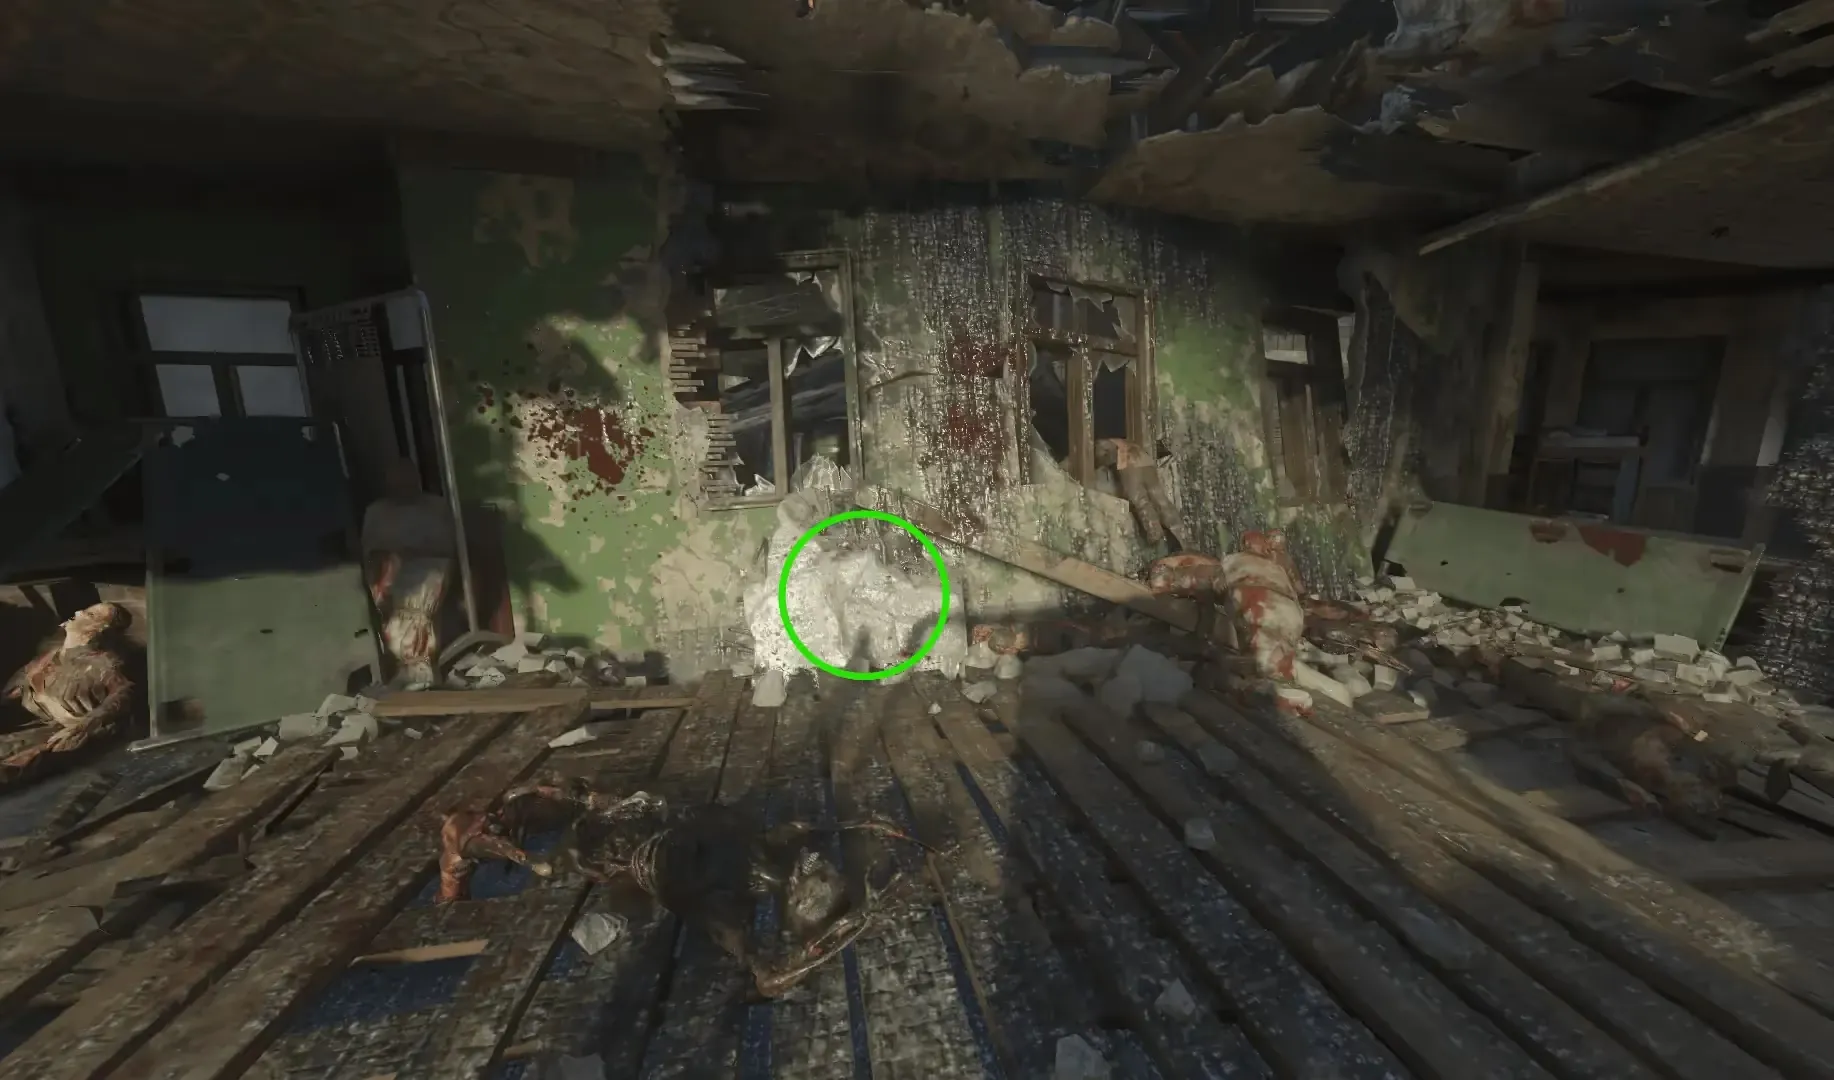
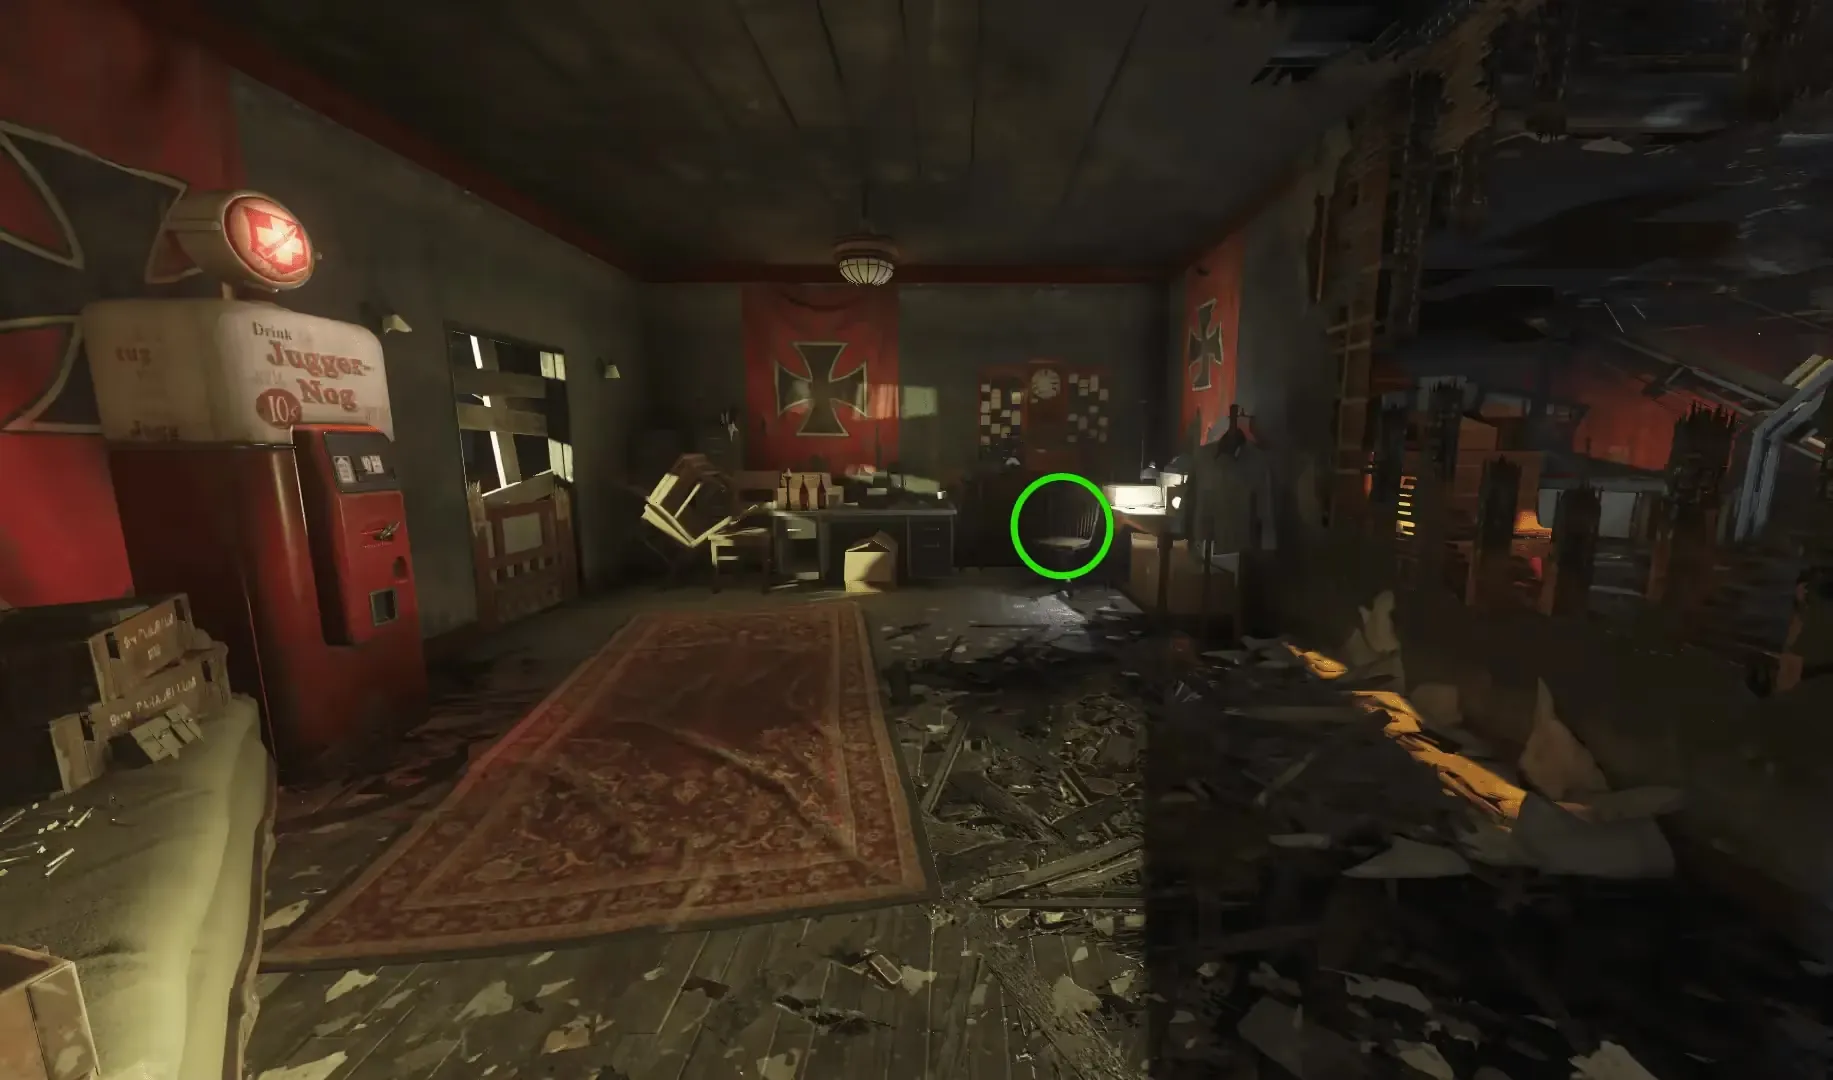
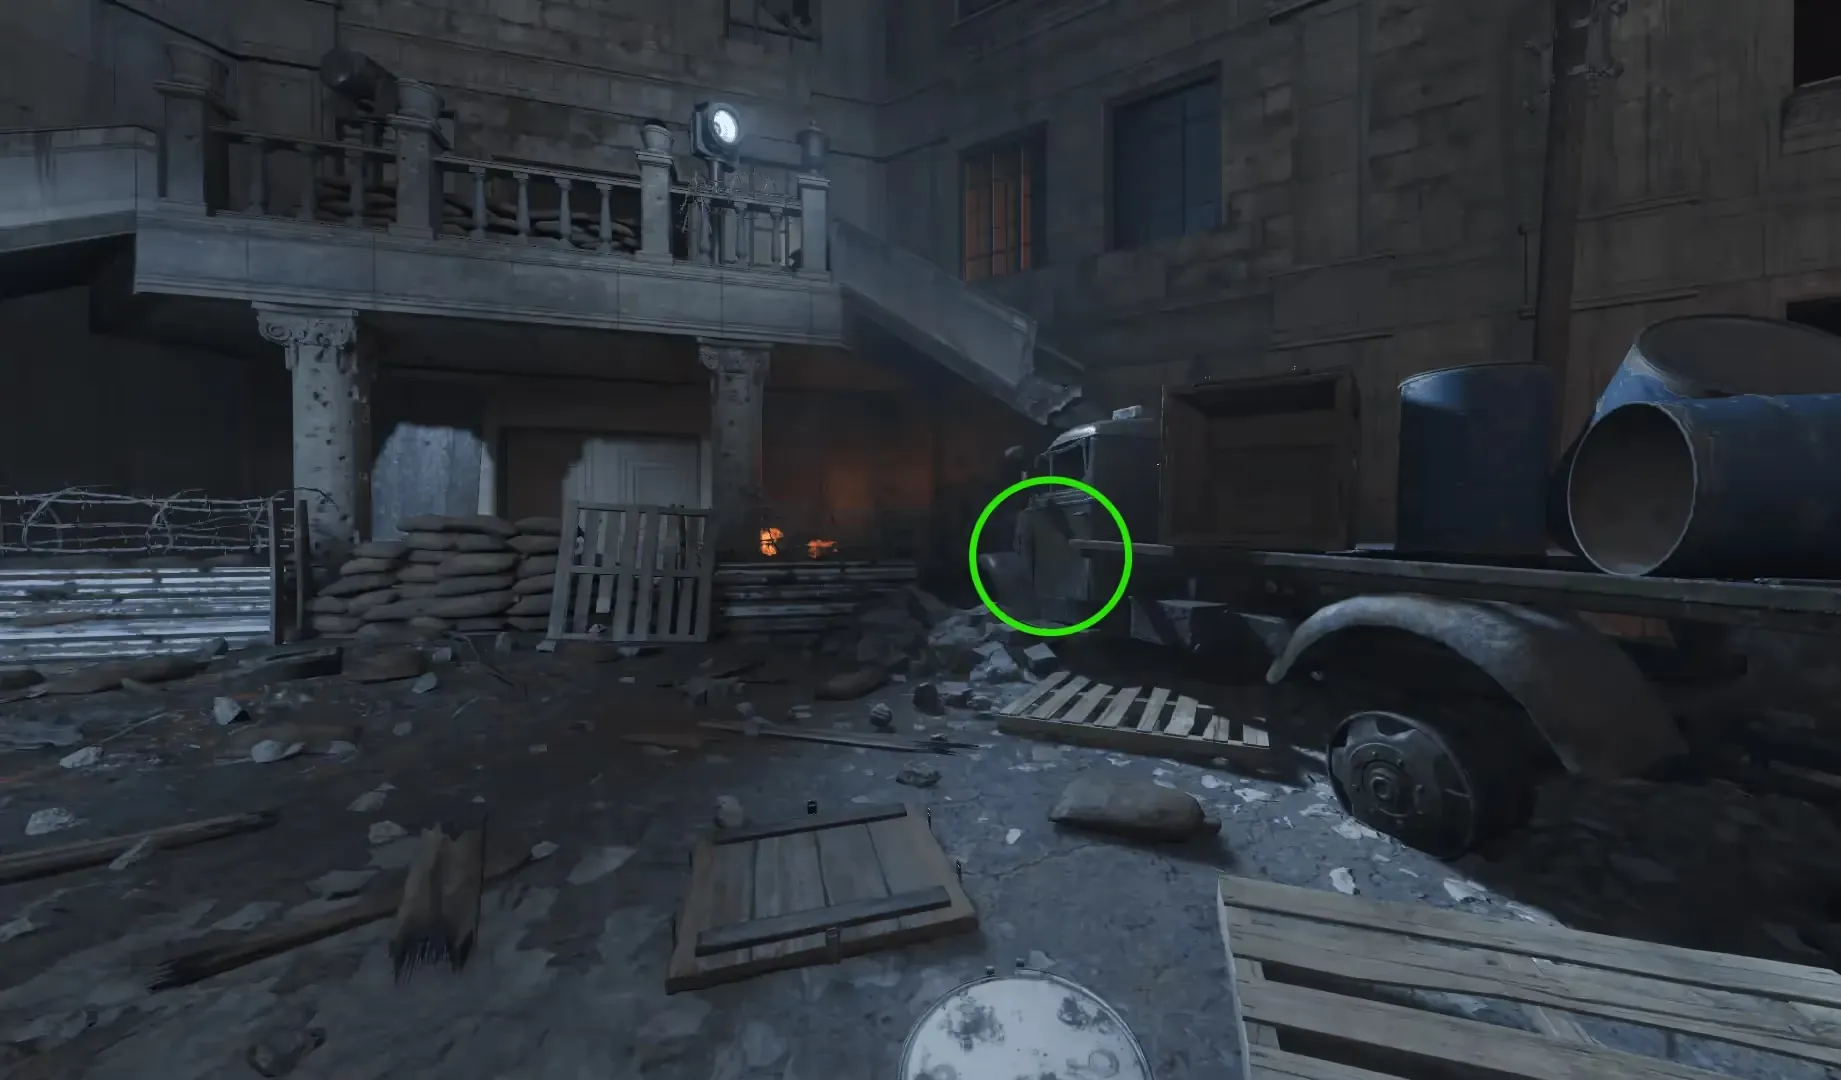
The second part is the Core, which can be found around the Operations Bunker or Department Store:
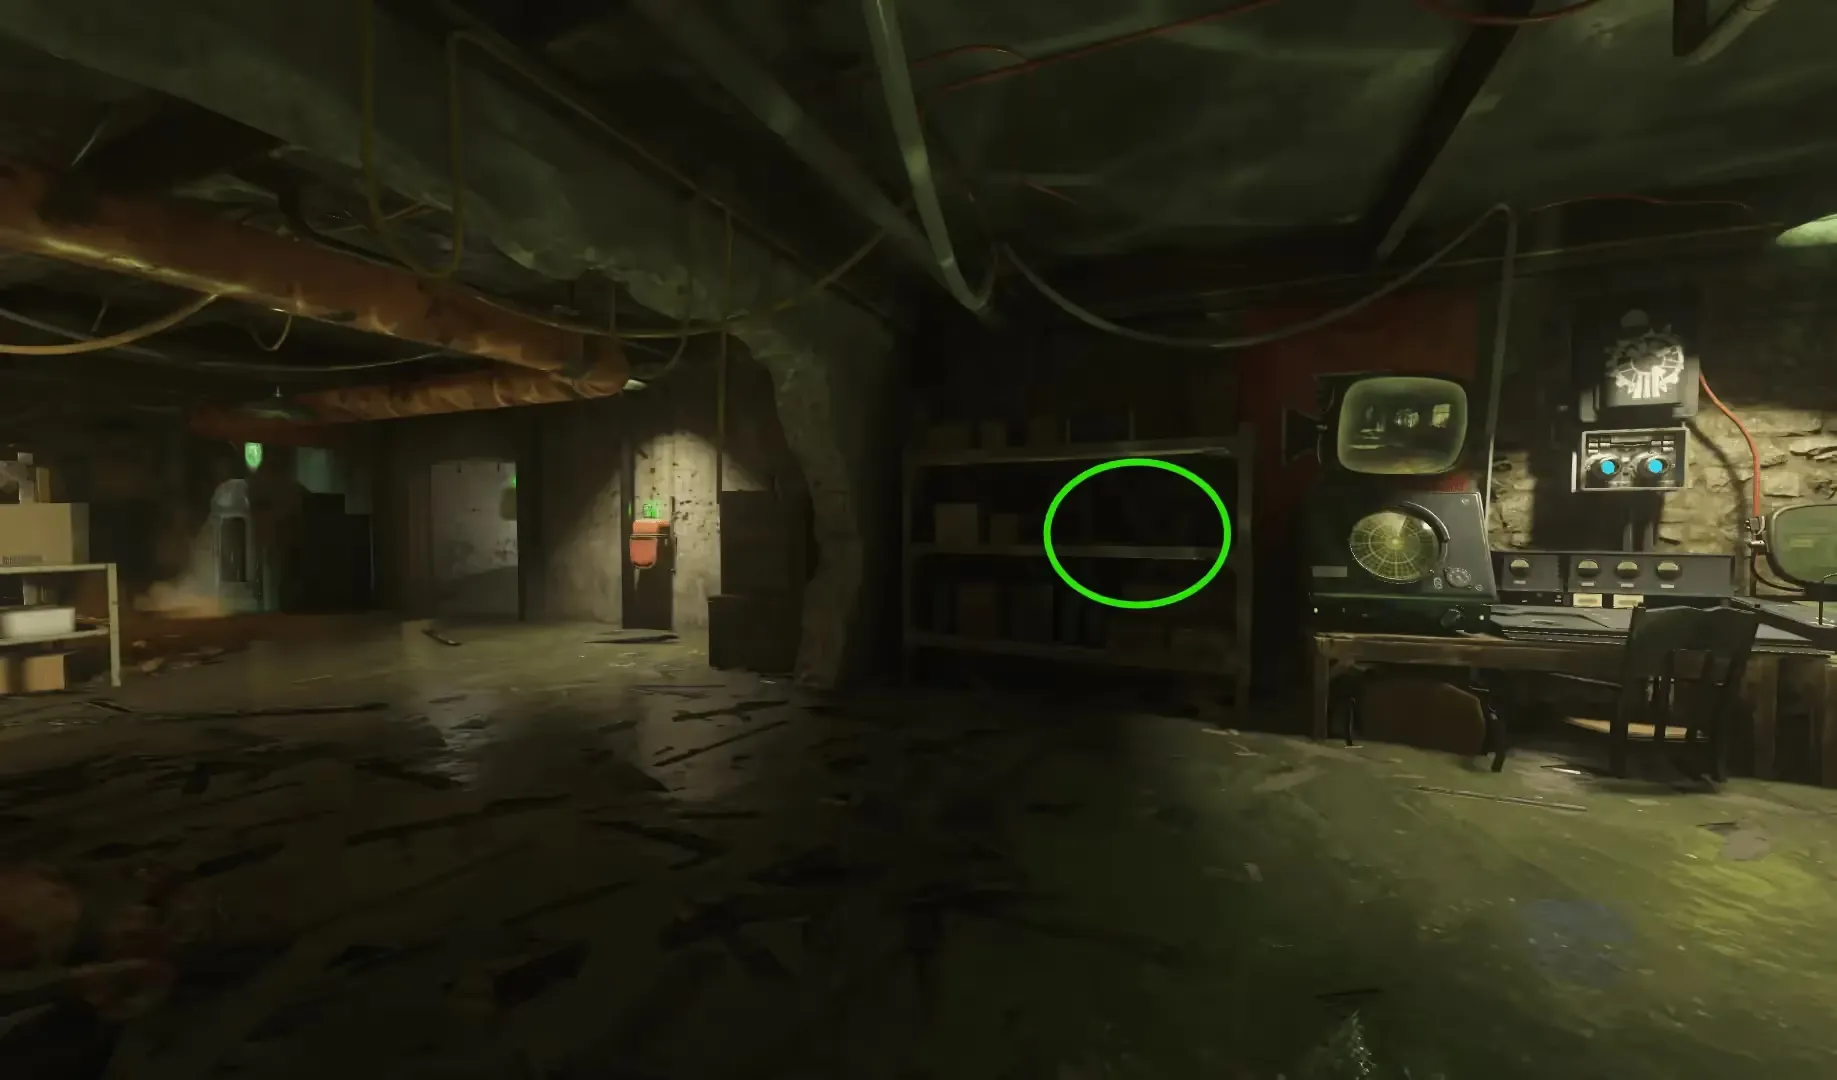
The final part is the Maw, which can be found in the Armory:
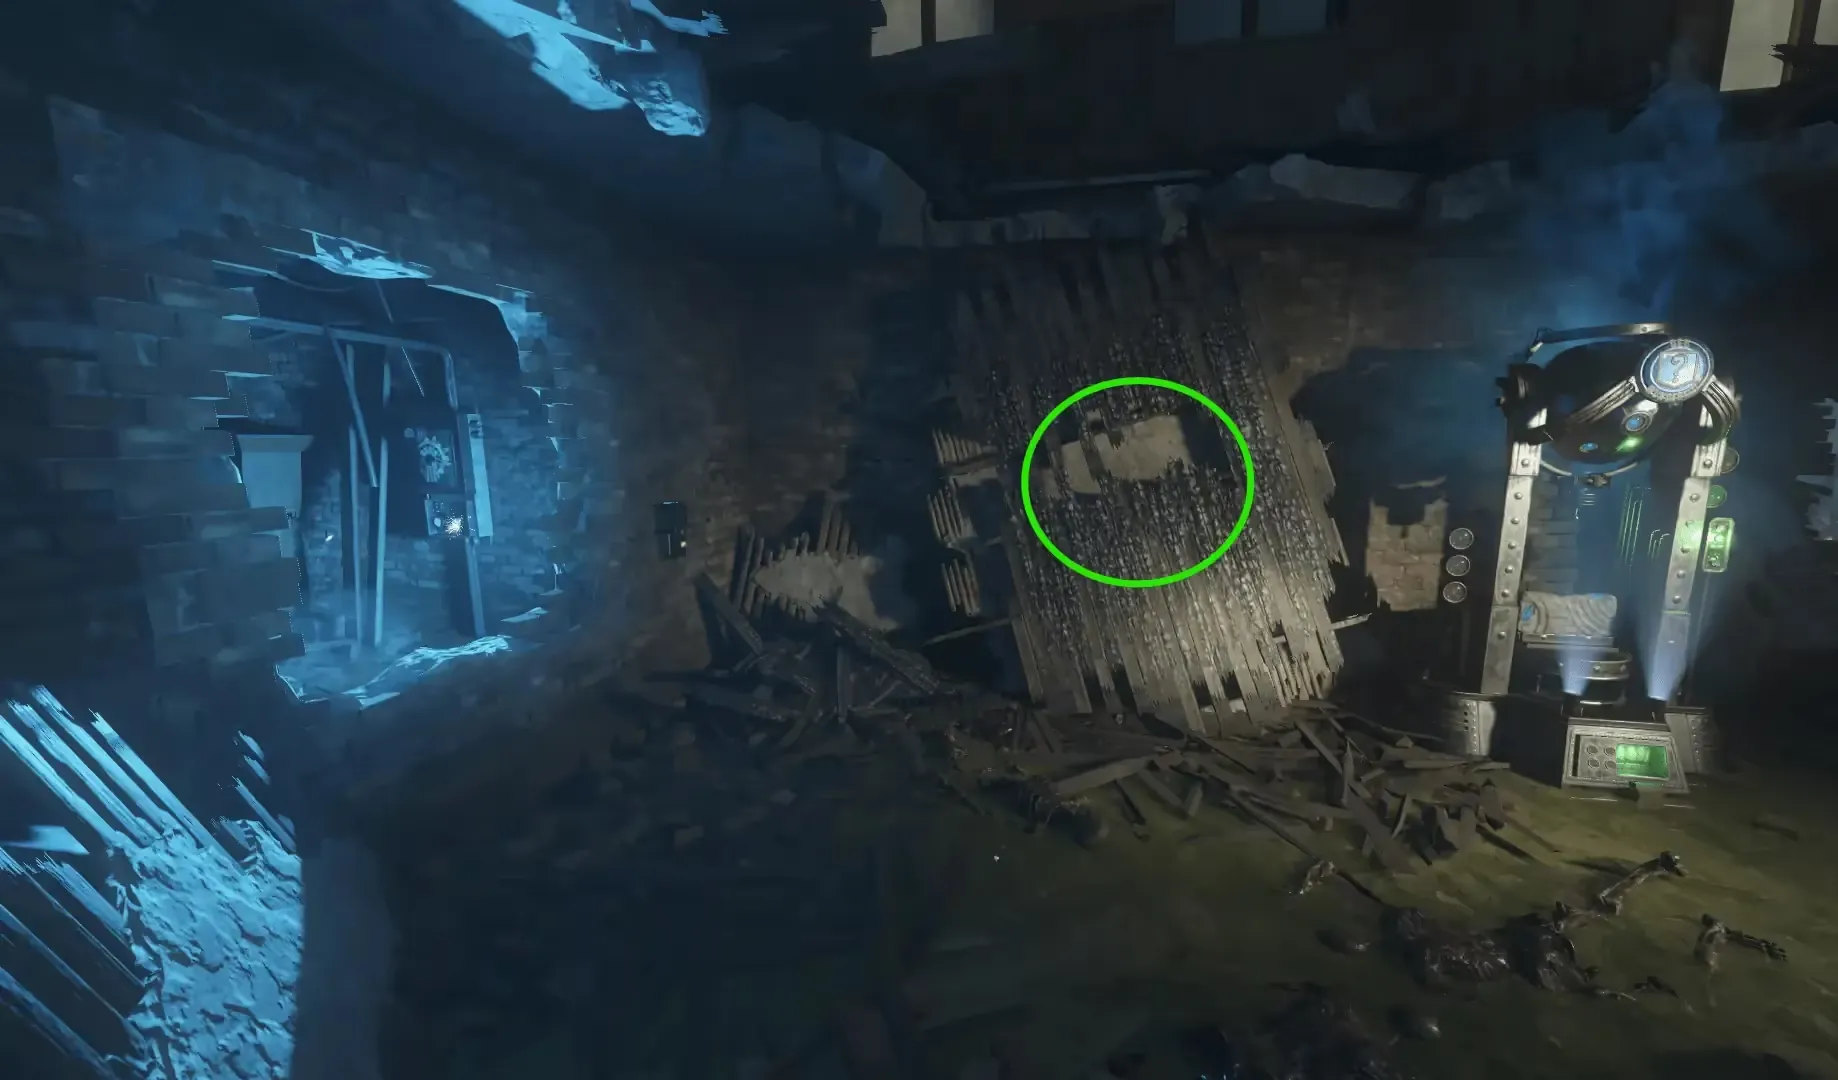
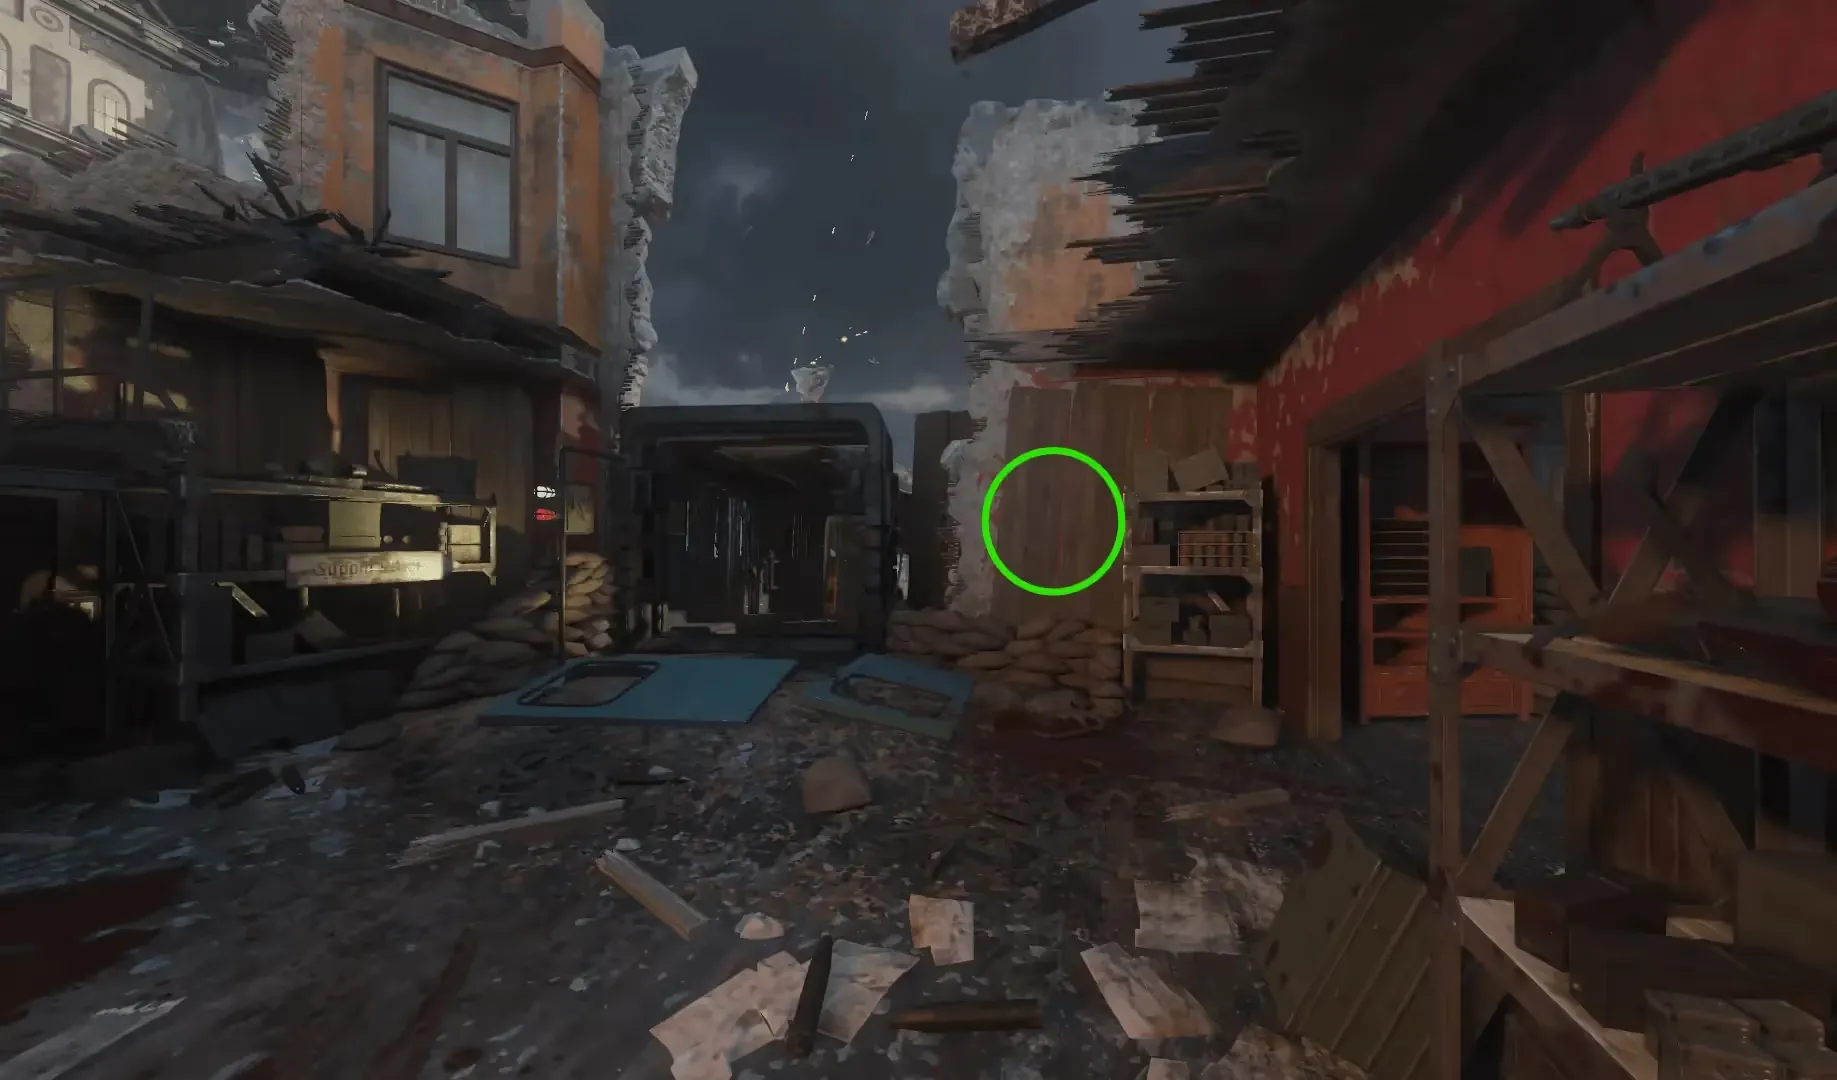
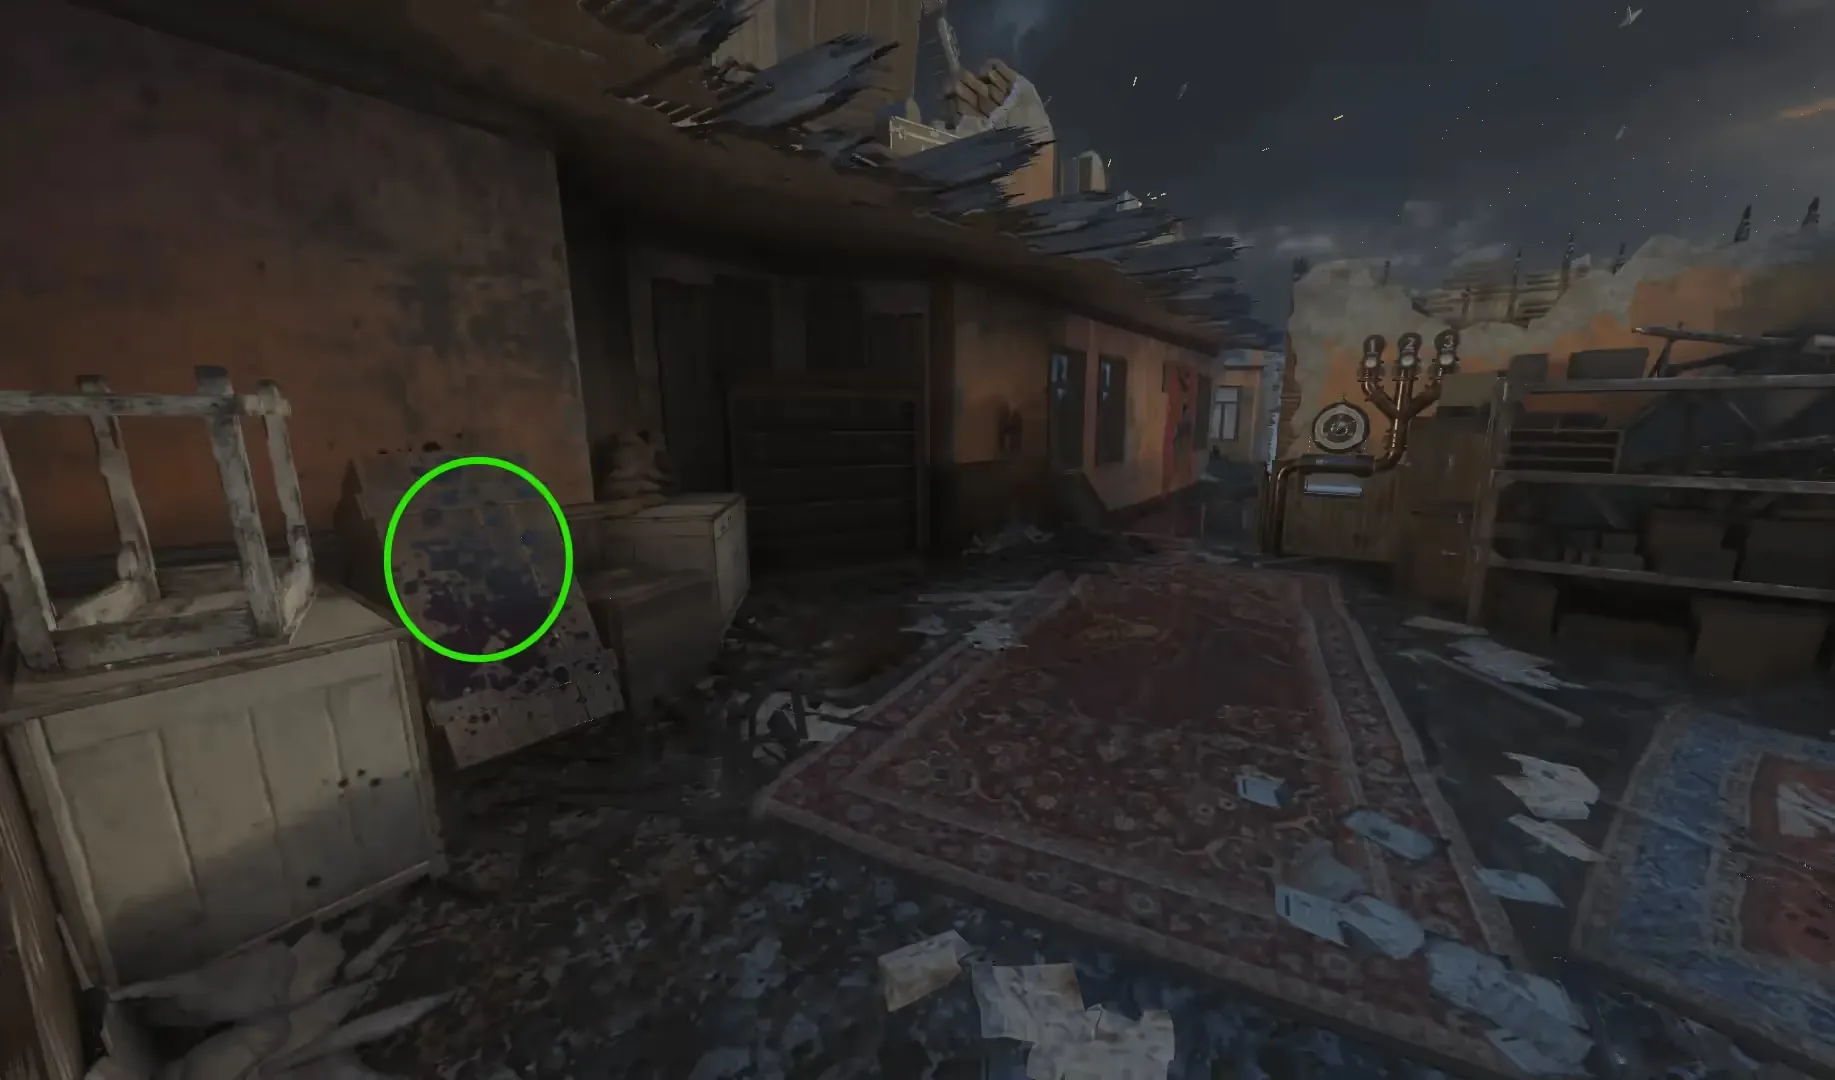
Once all three parts have been collected, head to the workbench in the Operations Bunker to build the Guard of Fafnir.
Obtaining the Dragon Strike
Head to the Hatchery, on the top floor, is a crystal that all players in the game must interact with to begin a lockdown event. This lockdown event contains four waves where zombies, Valkyrie Drone, and Mangler will appear.

After surviving all four waves of the lockdown, all players in the game can obtain the Dragon Strike by interacting with the crystal again.
This lockdown event ideally should be saved until you are at the point where you need penetration kills for the Gauntlet of Siegfried as using the MG for 1000 points makes getting penetration kills extremely easy during the lockdown.
Obtaining the Gauntlet of Siegfried
Head to the Hatchery, on the bottom floor above the sewage exit, is a Dragon Egg that must be collected by shooting it, knocking it down, then picking the Dragon Egg up.
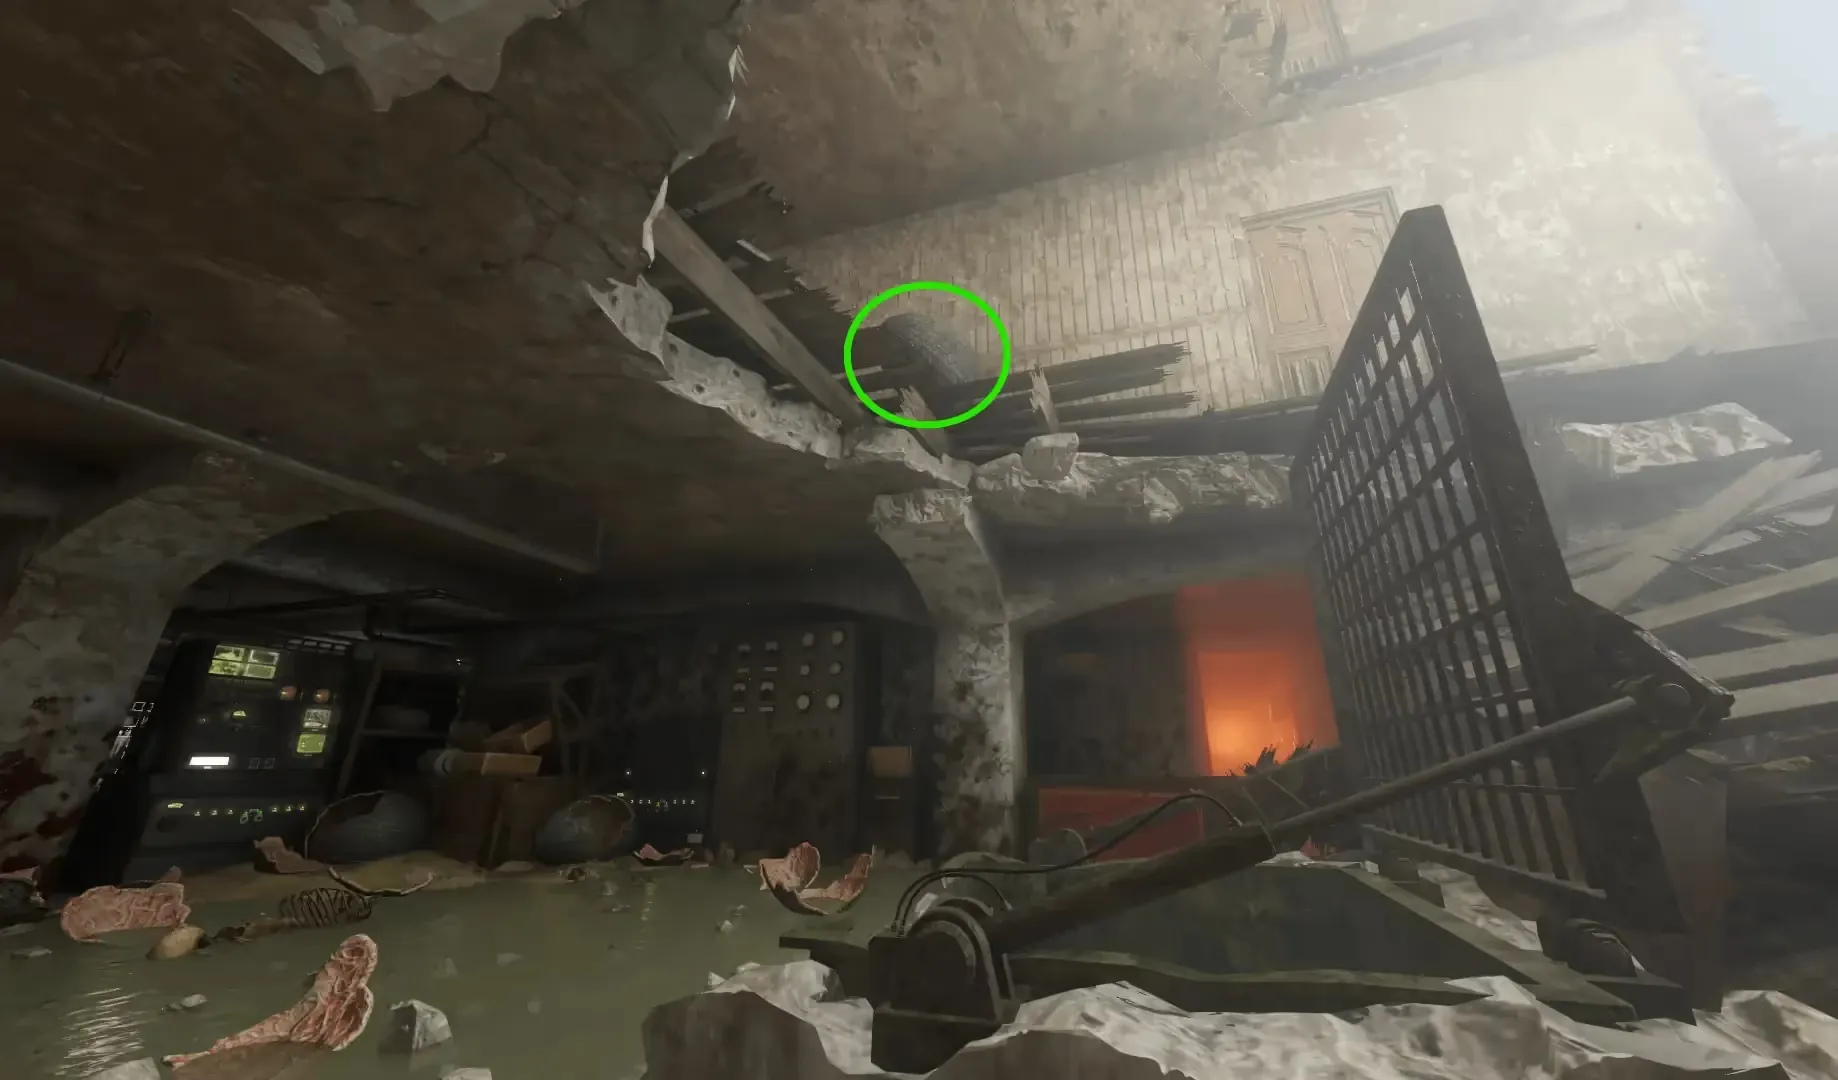
After collecting the Dragon Egg, head back to the main area of the map where you'll have to place the Dragon Egg down on any nest that is located anywhere the dragon breathes fire onto the map. Ideally, you should place the egg on the nest in front of the Dragon Command stairs.
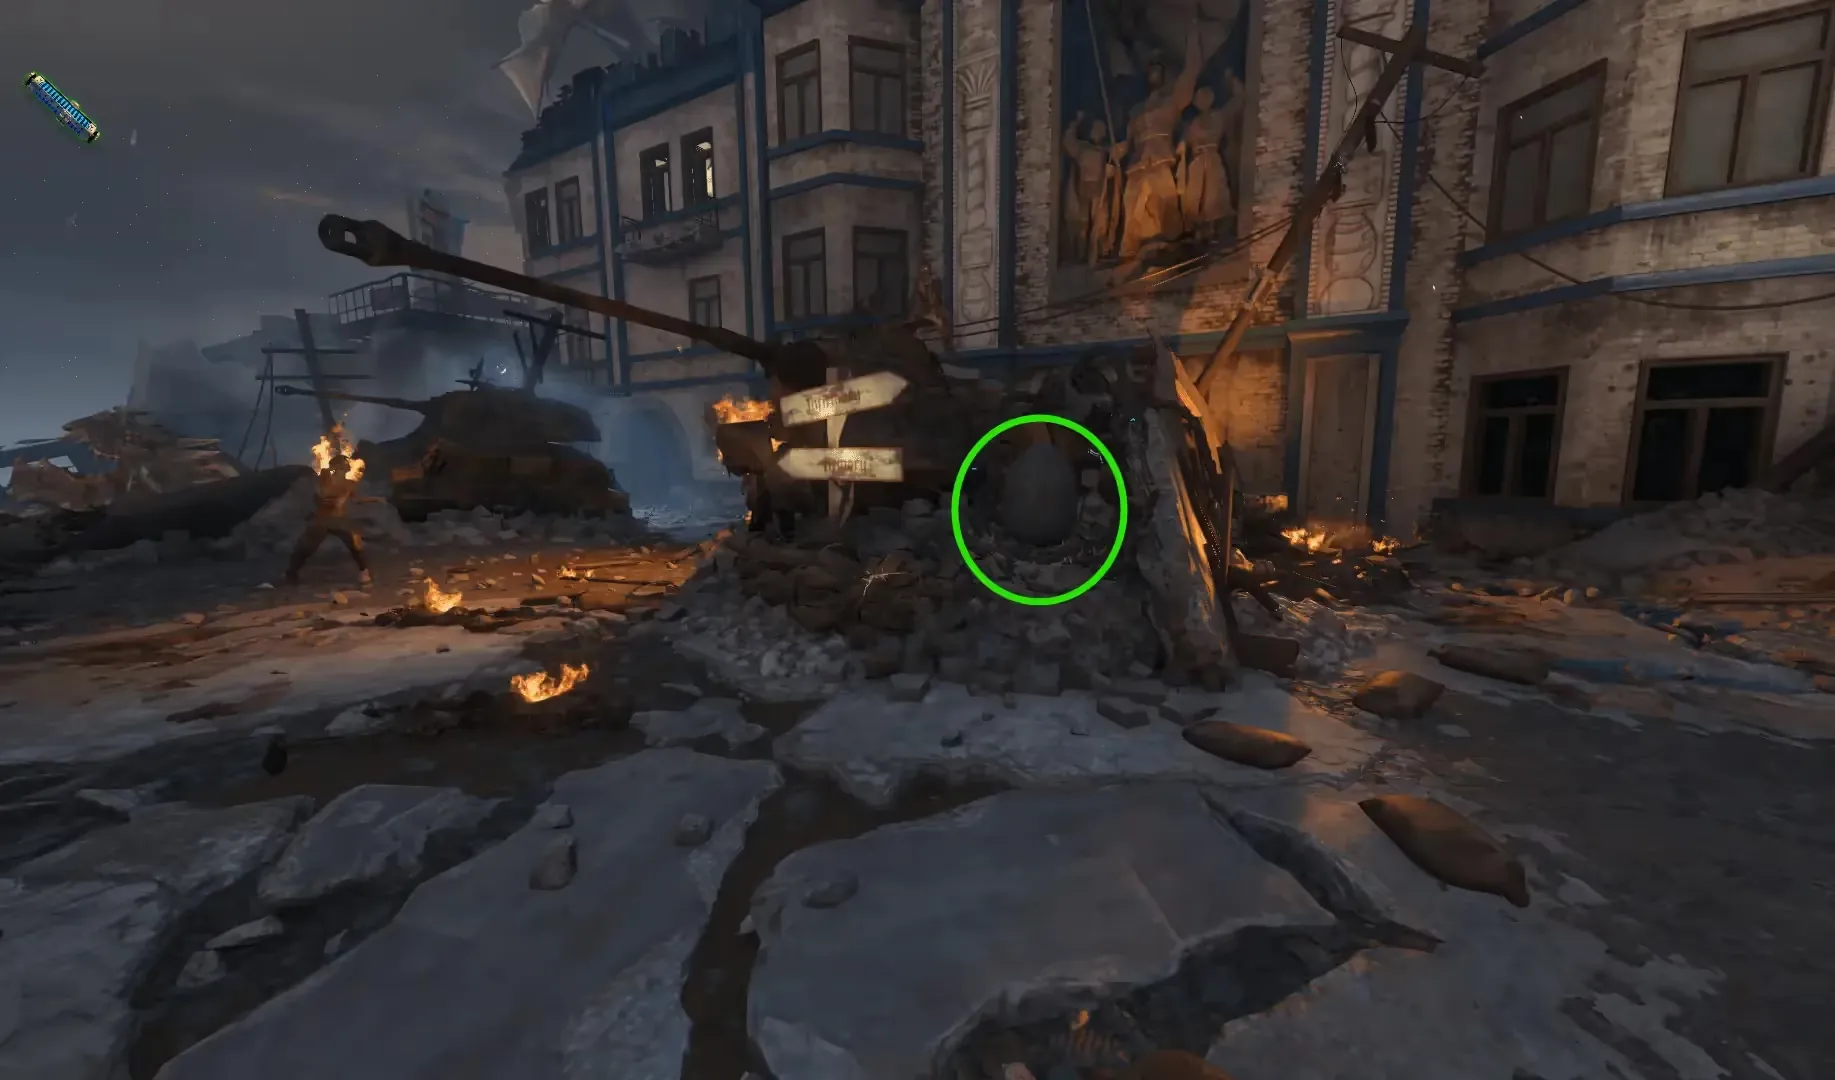
The reason this location is ideal is because this is the most traversed area of the map, so it is convenient to have the Dragon Egg always nearby to be picked up when ready.
Once the egg is placed, you must wait for a dragon to breathe fire down on the egg, which will need to be cooled by waiting a full round. Afterward, you can pick up the egg and are now able to complete challenges to get the egg ready for incubation. There are 3 challenges you must complete in order:
- Killing Napalm Zombies (zombies that have had fire breathed on them by the dragon)
- Penetration multi-kills (MG in the Hatchery is ideal, otherwise any Sniper Rifle will do)
- Melee kills (can use the Knife, Bowie Knife, or Guard of Fafnir melee/fireball attack)
For the penetration kills, the MG at the Hatchery is by far the easiest method due to a bug where any kill with the MG counts as a penetration multi-kill allowing for easy completion without needing to hit the box.
Once all challenges have been completed, return to the Hatchery where you can now place the Dragon Egg in an incubation chamber on the bottom floor of the Hatchery.
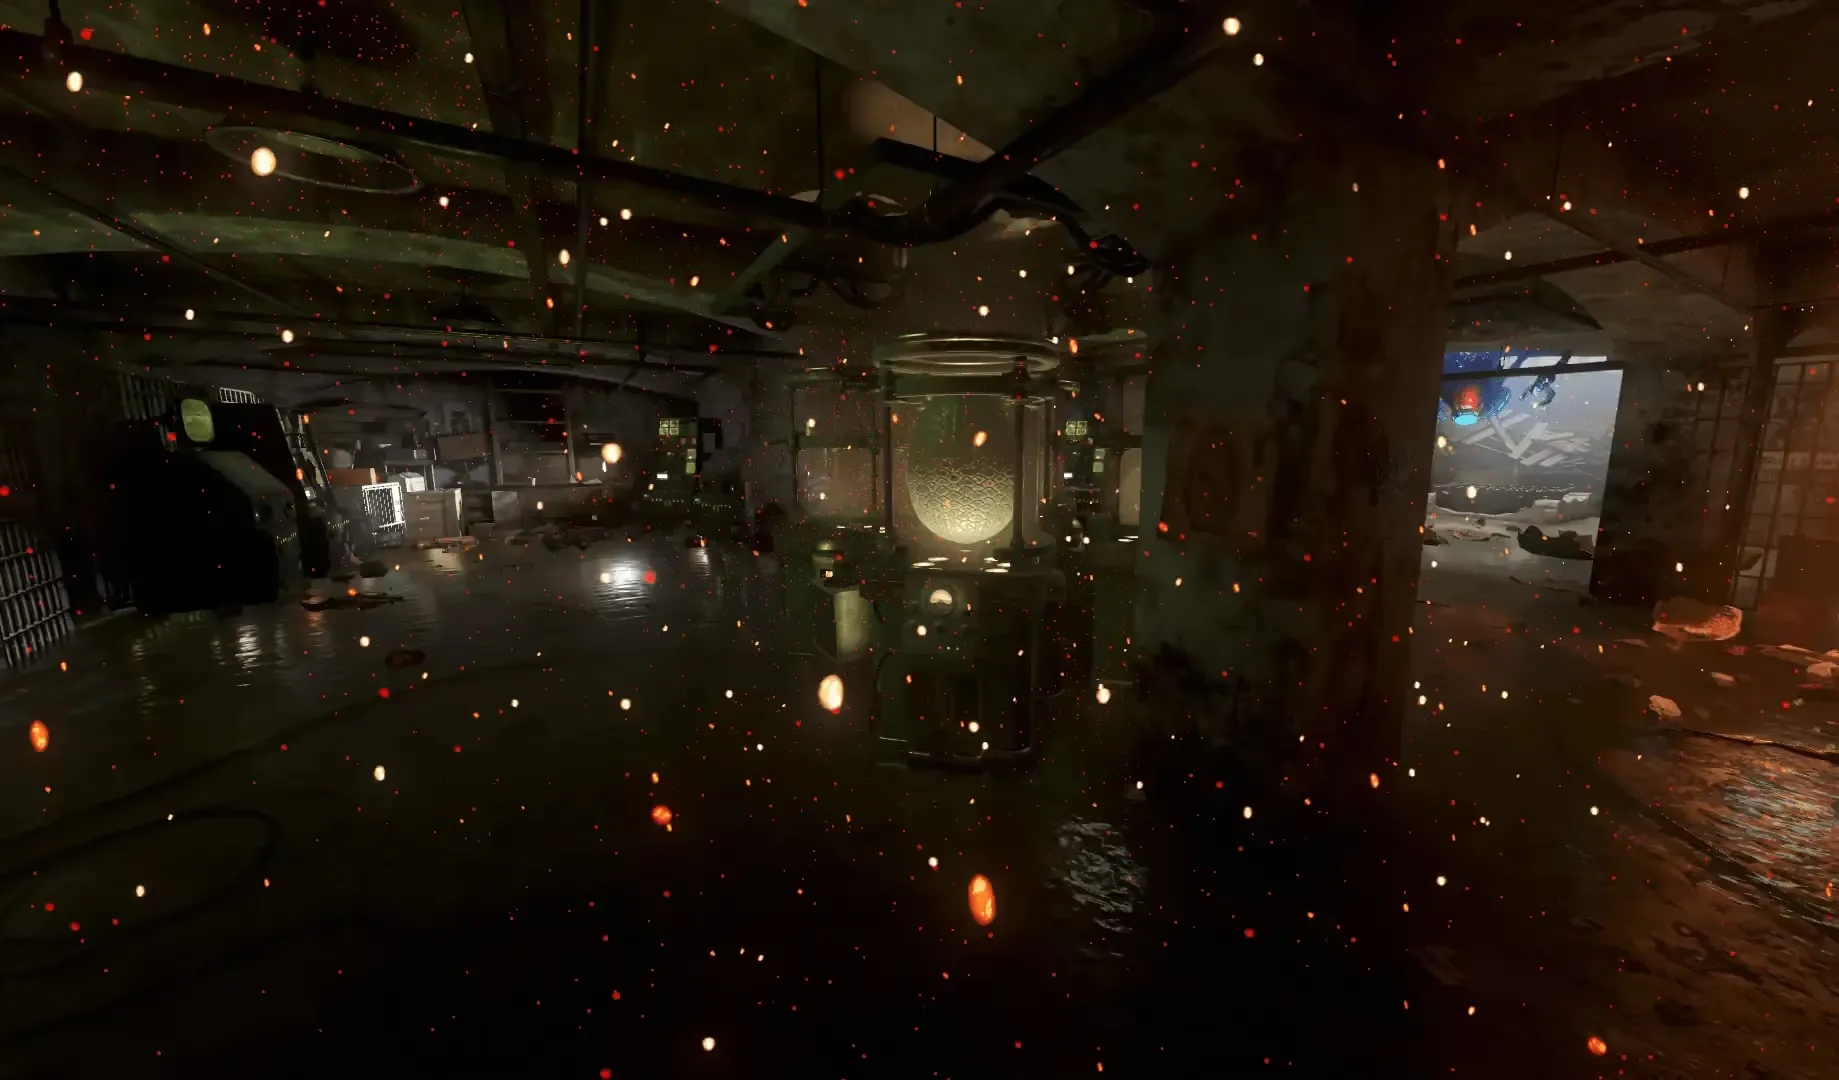
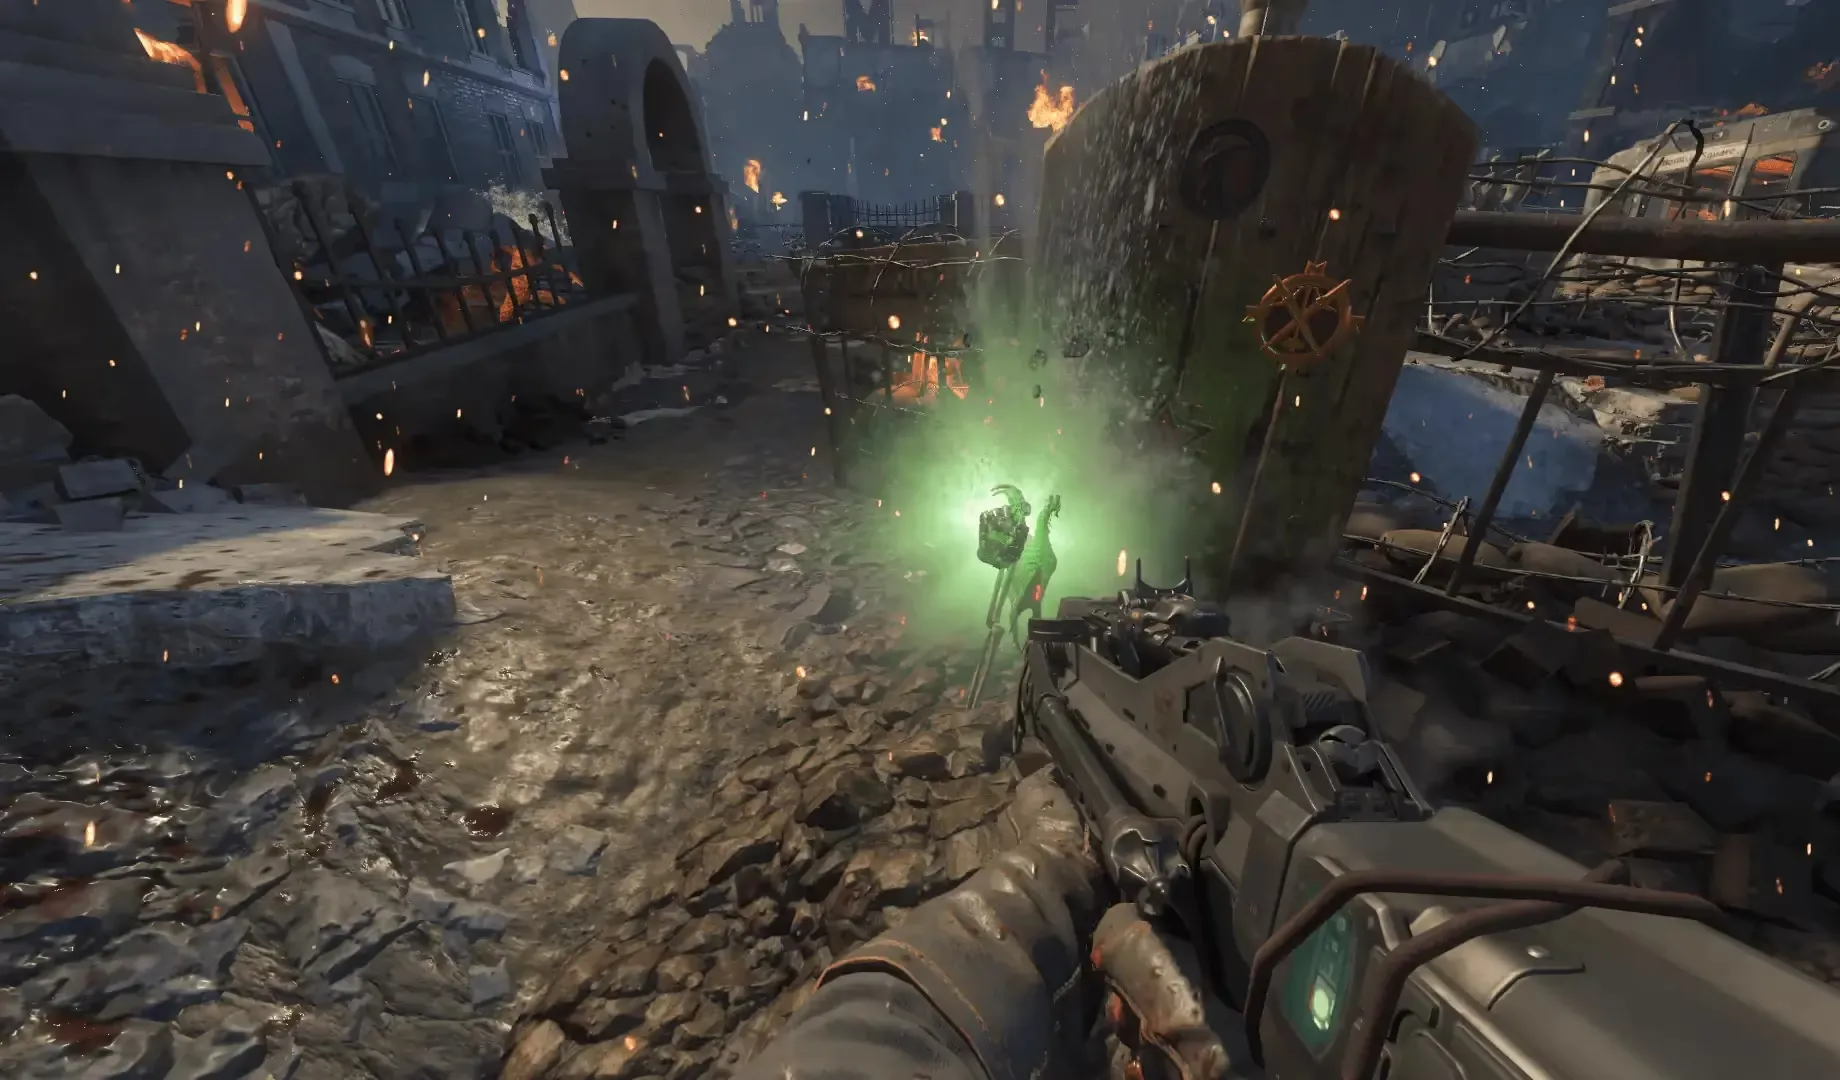
This will cause a lockdown event similar to building the Dragon Network Controller Groph Pod defense, where once completed, the egg will need to cool for another round. Afterward, you can pick up the Dragon Egg and return to the Spawn trials grave to claim the Gauntlet of Siegfried.
Step 5: Completing the Six Challenges
Head to Dragon Command, underneath the main monitor opposite S.O.P.H.I.A. you must interact with the placeholders to place the six trophies you collected in the previous step.
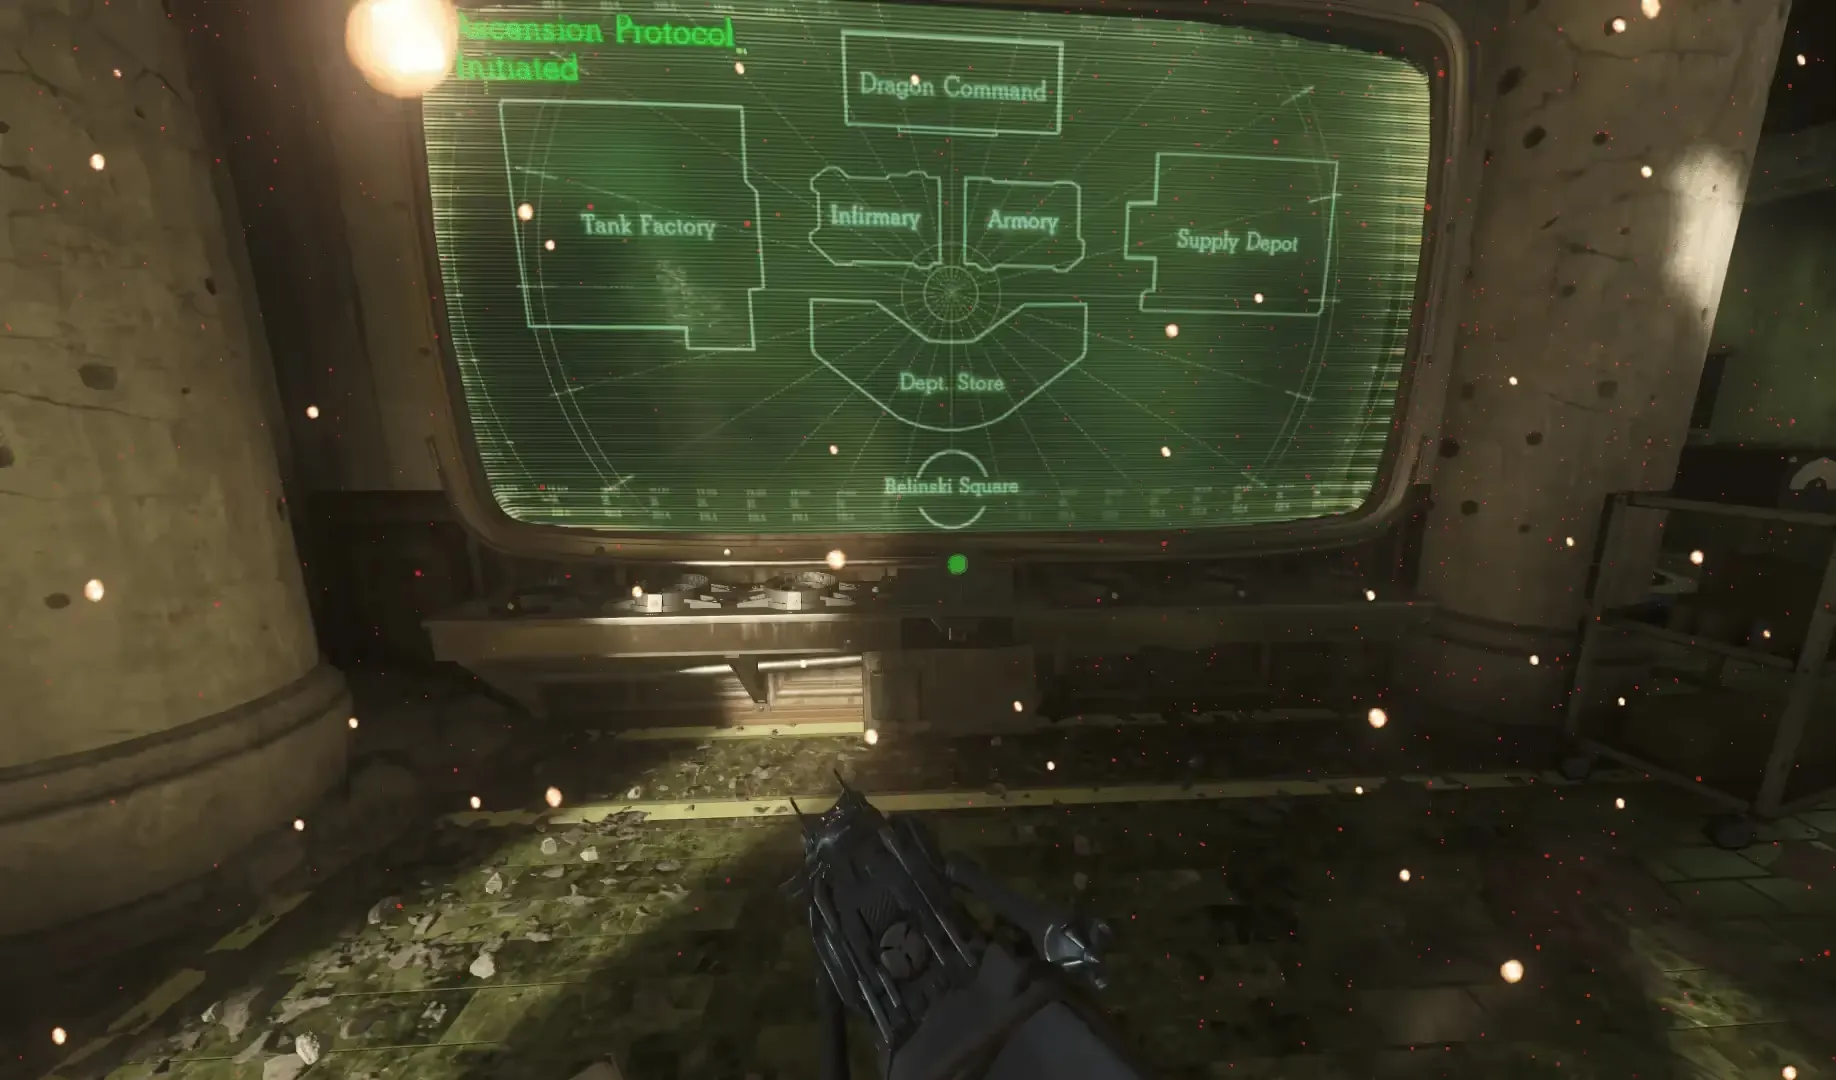
Once placed, interact with the button in the middle, slightly below the placeholder, to have a random challenge selected for you to complete. If you fail a task, you'll have to wait a round to be able to interact with the button and try the same challenge again.
The first five tasks will be chosen at random, however, the sixth/final challenge will always be the Information Download. You cannot begin these challenges on Valkyrie Drone rounds. The challenge that is selected is indicated by a spotlight appearing underneath the trophy.
Bomb Challenge
The main monitor will show the six areas around the map and quickly flash through all of them, then it will flash through them again, but much slower, and you must remember the order in which they flashed the second time.
When solo, you can pause your game when the monitor is flashing the areas to be able to write down the names of the areas in order. In Co-Op, having one or more players looking at the monitors and calling out the names in order while another writes them down is ideal if memory is an issue.
The order in which the areas flashed the second time around is the order in which you need to defuse bombs located around the map, one in each of the six areas:
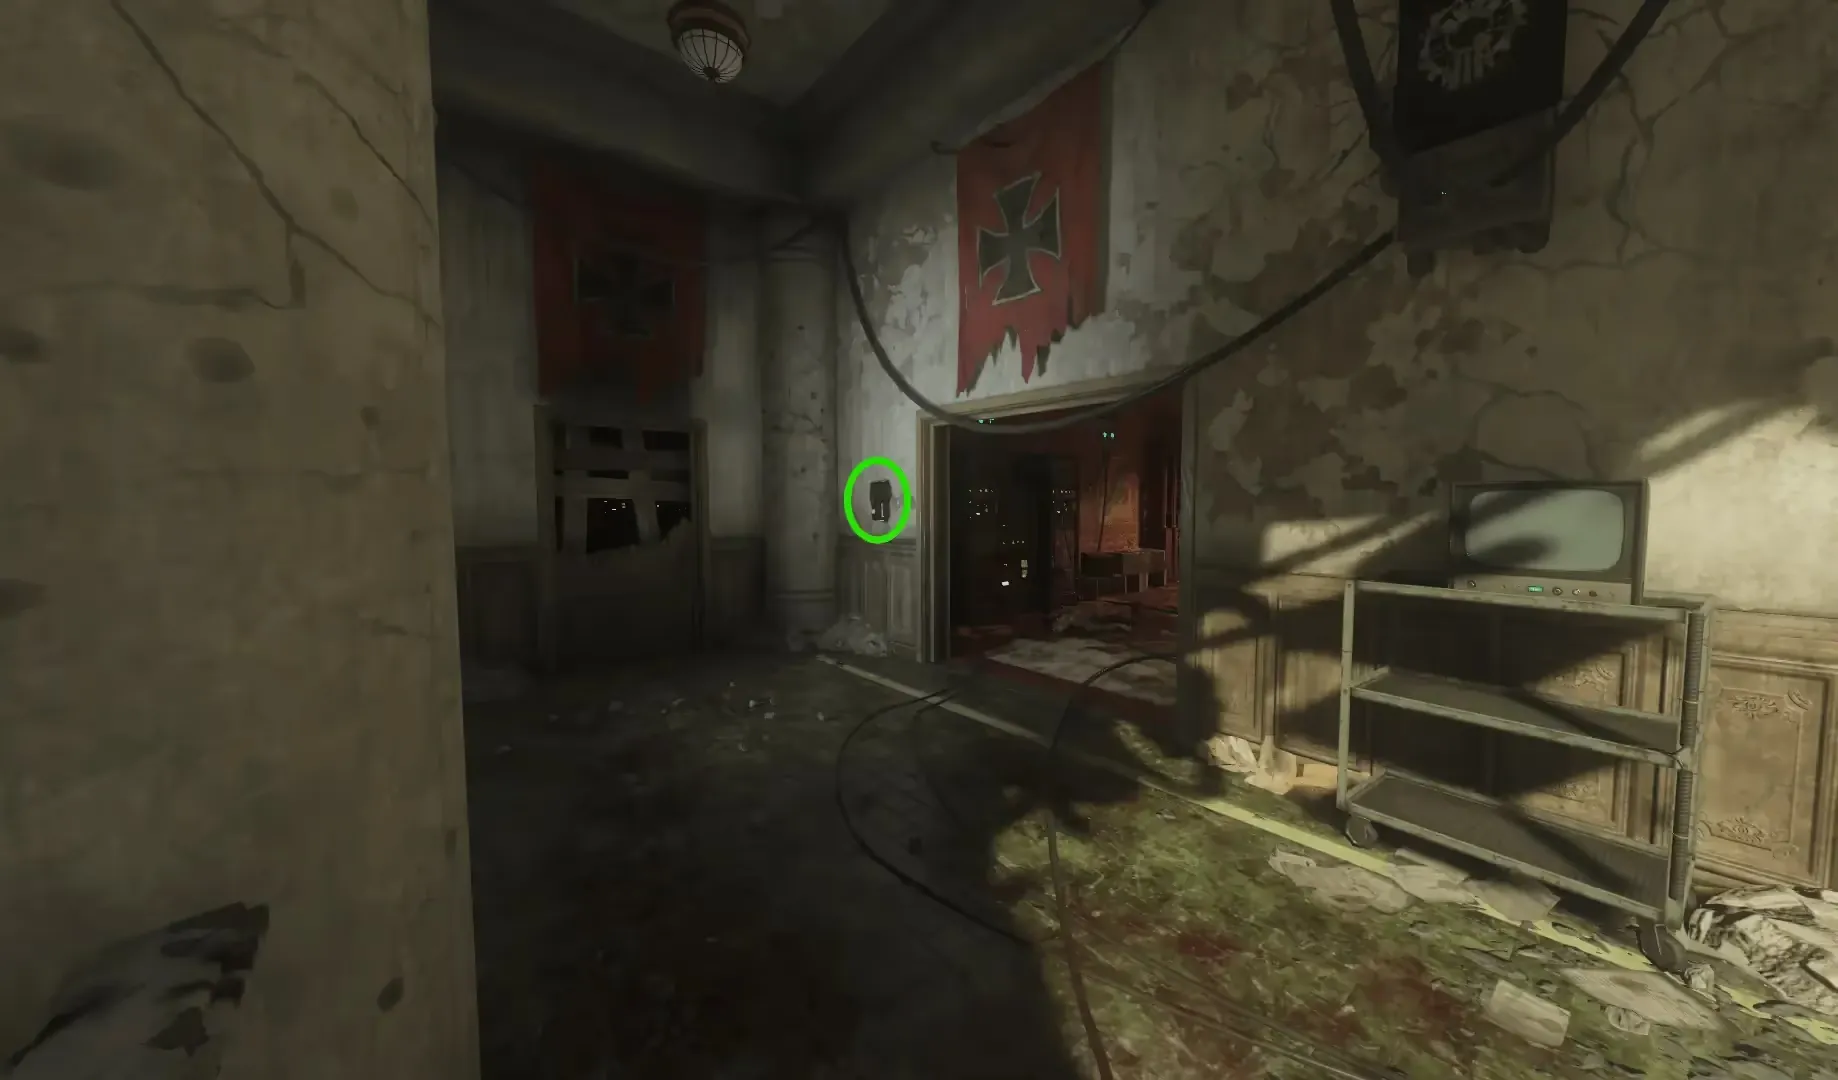
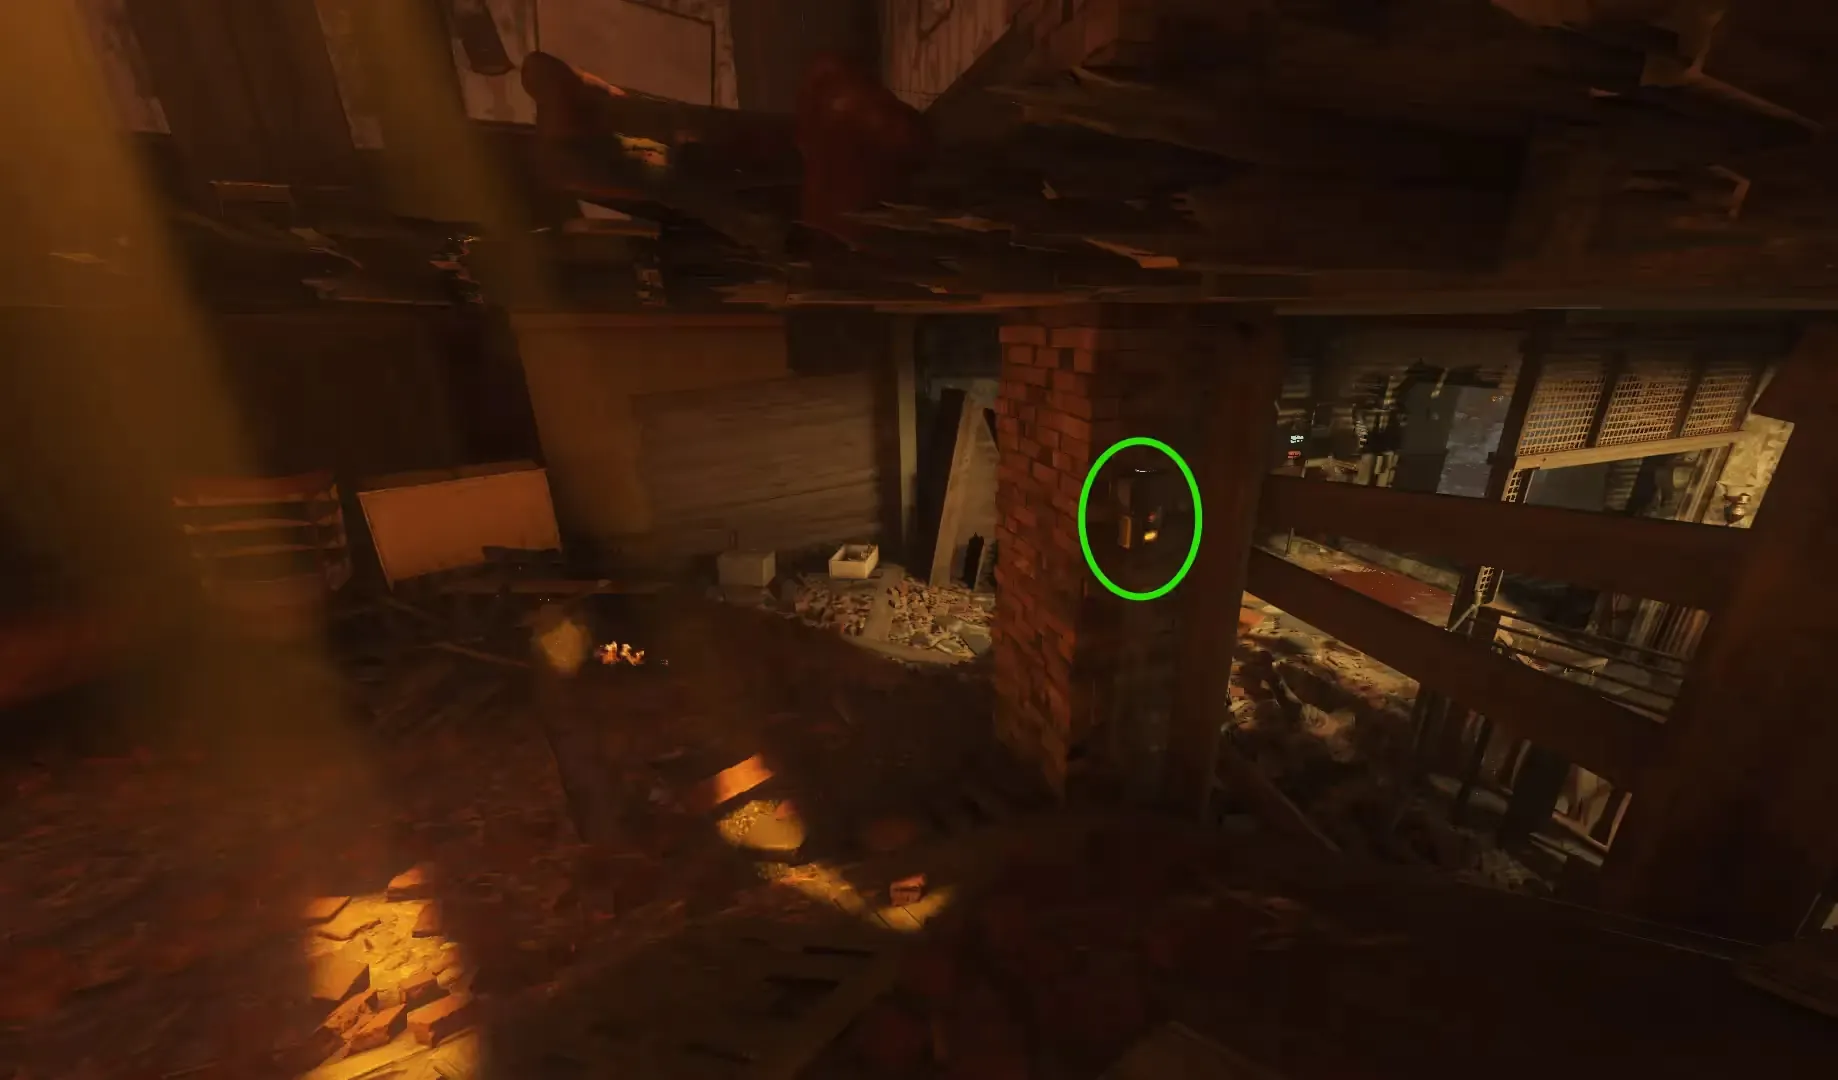
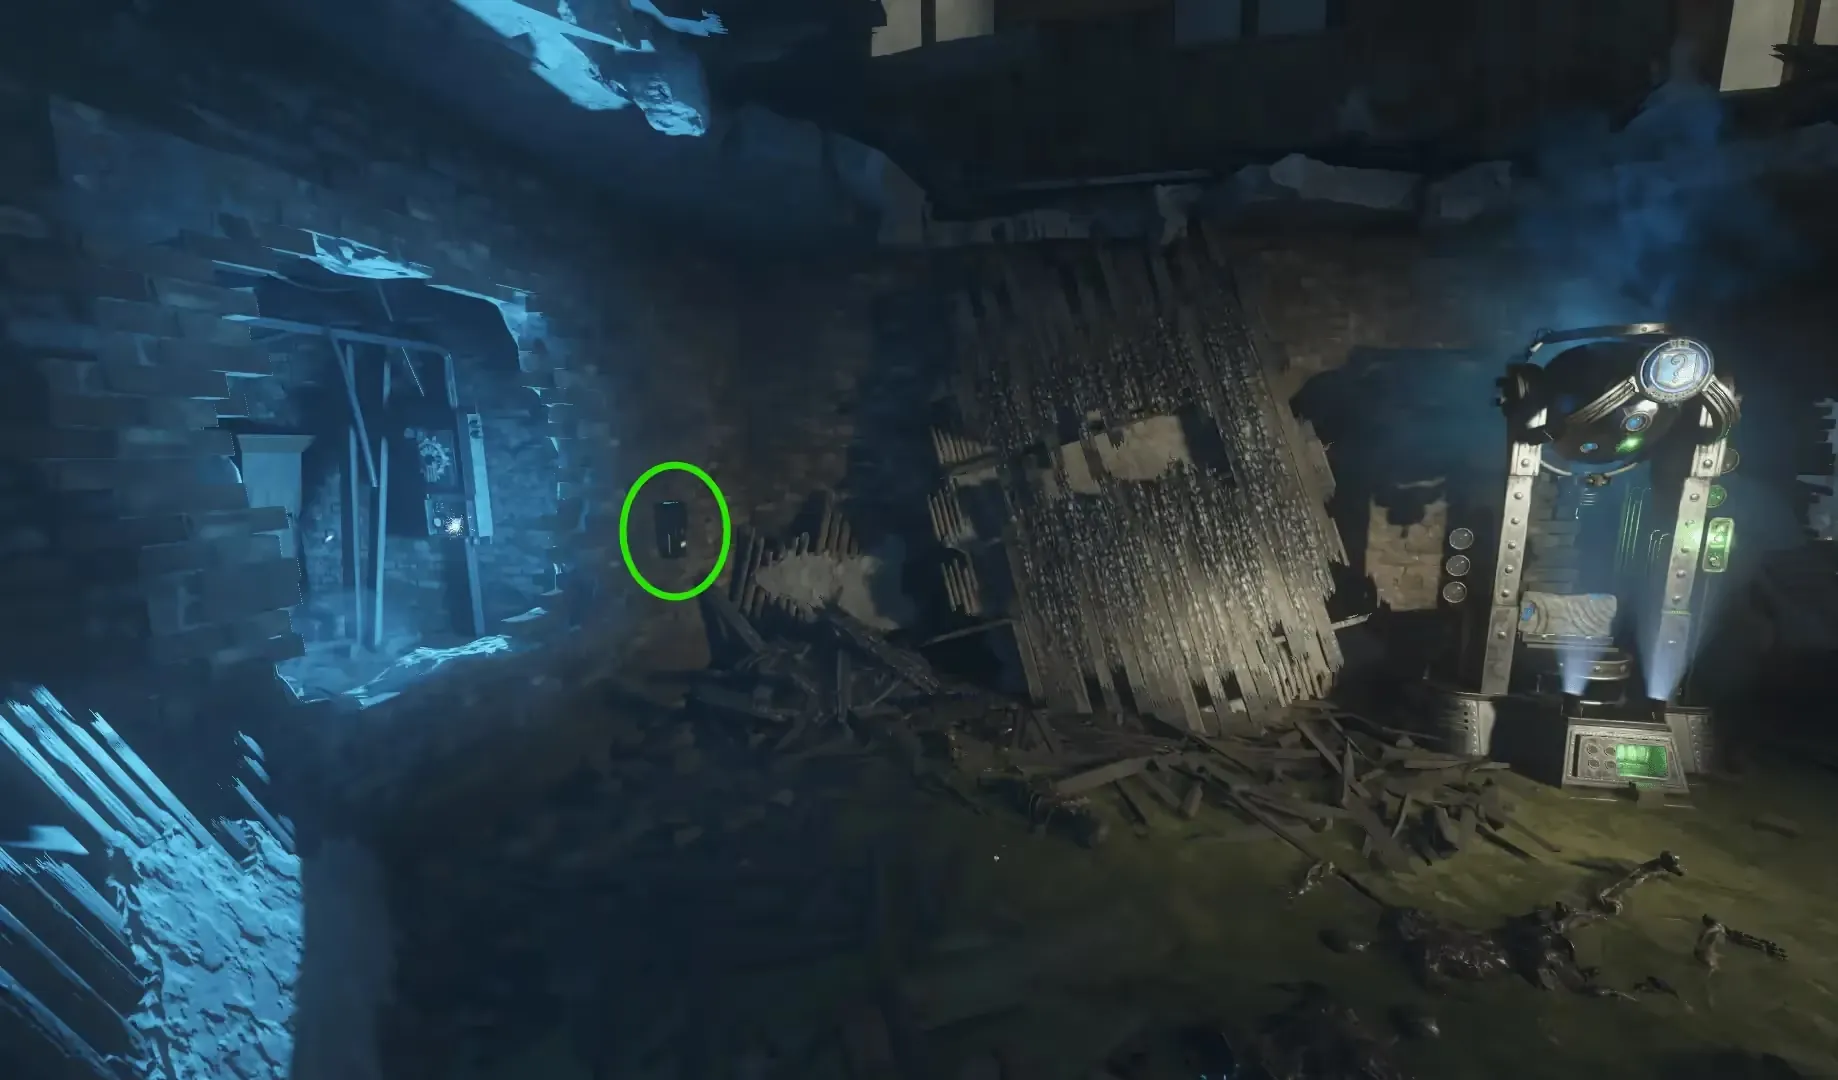
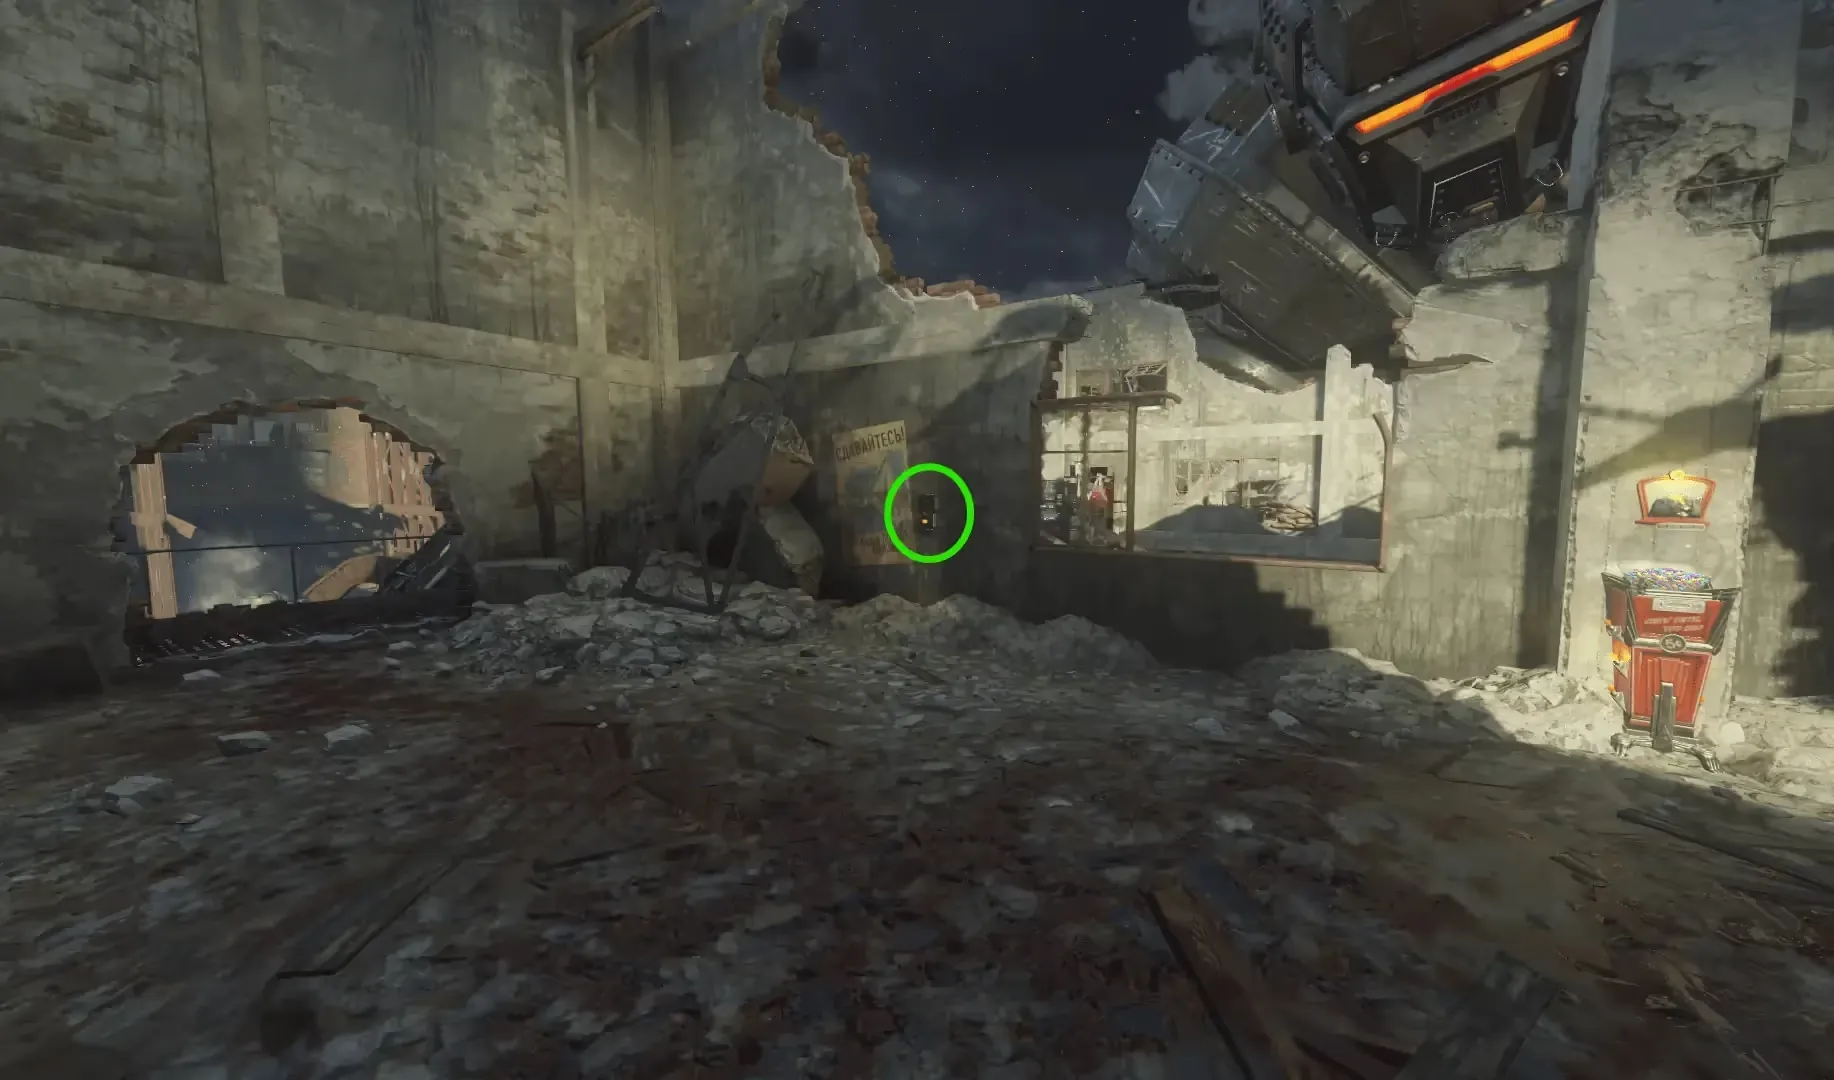

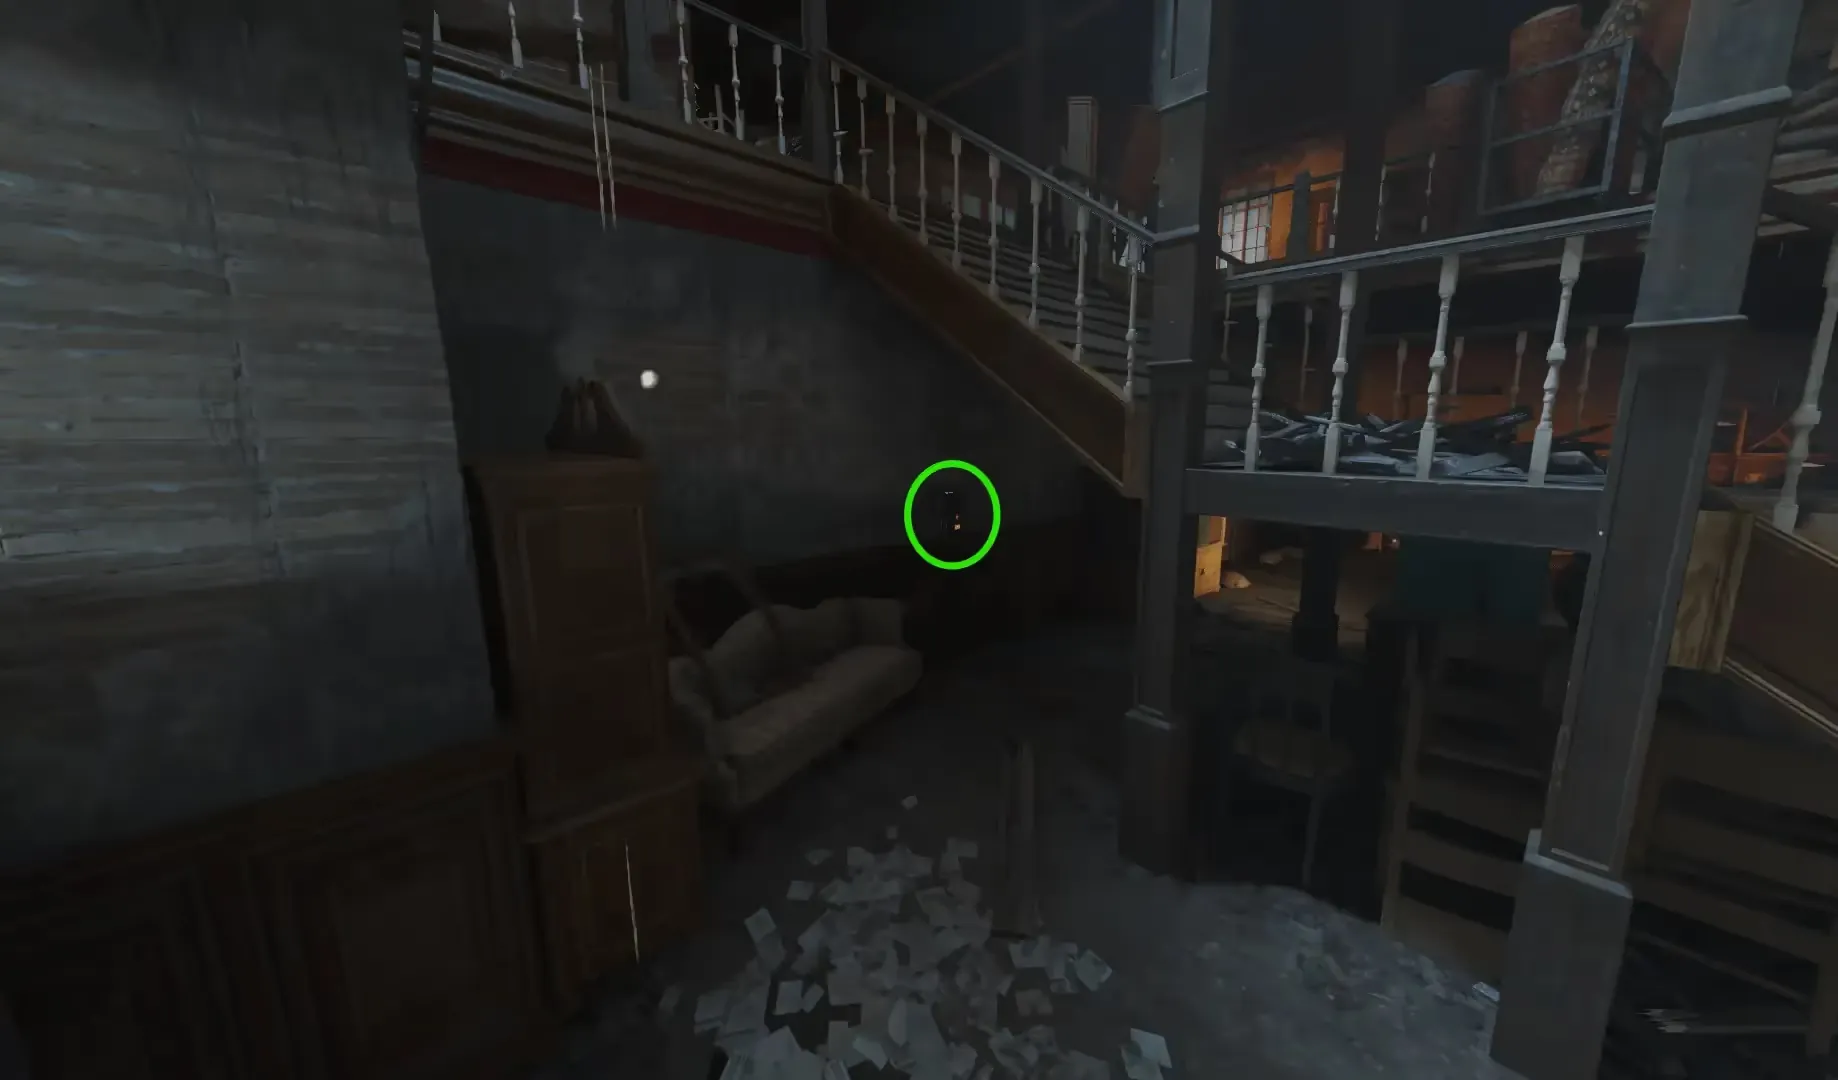
In Co-op, depending on the amount of players you have in your game you should try to evenly spread players out to defuse the bombs in sections of the map. Organize with your team and find what works for you.
Failure to defuse the bombs in order will take down anyone not at the back of the Spawn, in the Hatchery, or riding a Dragon. This means on Co-op, if all players
are near bombs during failure, this will immediately end the game. In solo, however, as long as you have ![]() Quick Revive uses left or are using the
Quick Revive uses left or are using the
![]() Near Death Experience/
Near Death Experience/![]() Self Medication Gobblegum, you will survive the failure.
Self Medication Gobblegum, you will survive the failure.
In Co-op, you have around 60-seconds to defuse all bombs in order before they detonate. In solo, you have 3-minutes before they detonate, for this reason
Stamin-Up is almost required to complete this challenge on solo.
If done successfully, S.O.P.H.I.A. will say "Self Destruct Sequence stopped, thank you for preventing our extermination".
Gersh Challenge
Anton Gersh will spawn on the map as a yellow soul orb. You must find Gersh and shoot him with any Pack-a-Punched weapon to damage him enough until he glows purple and warps to a new location.
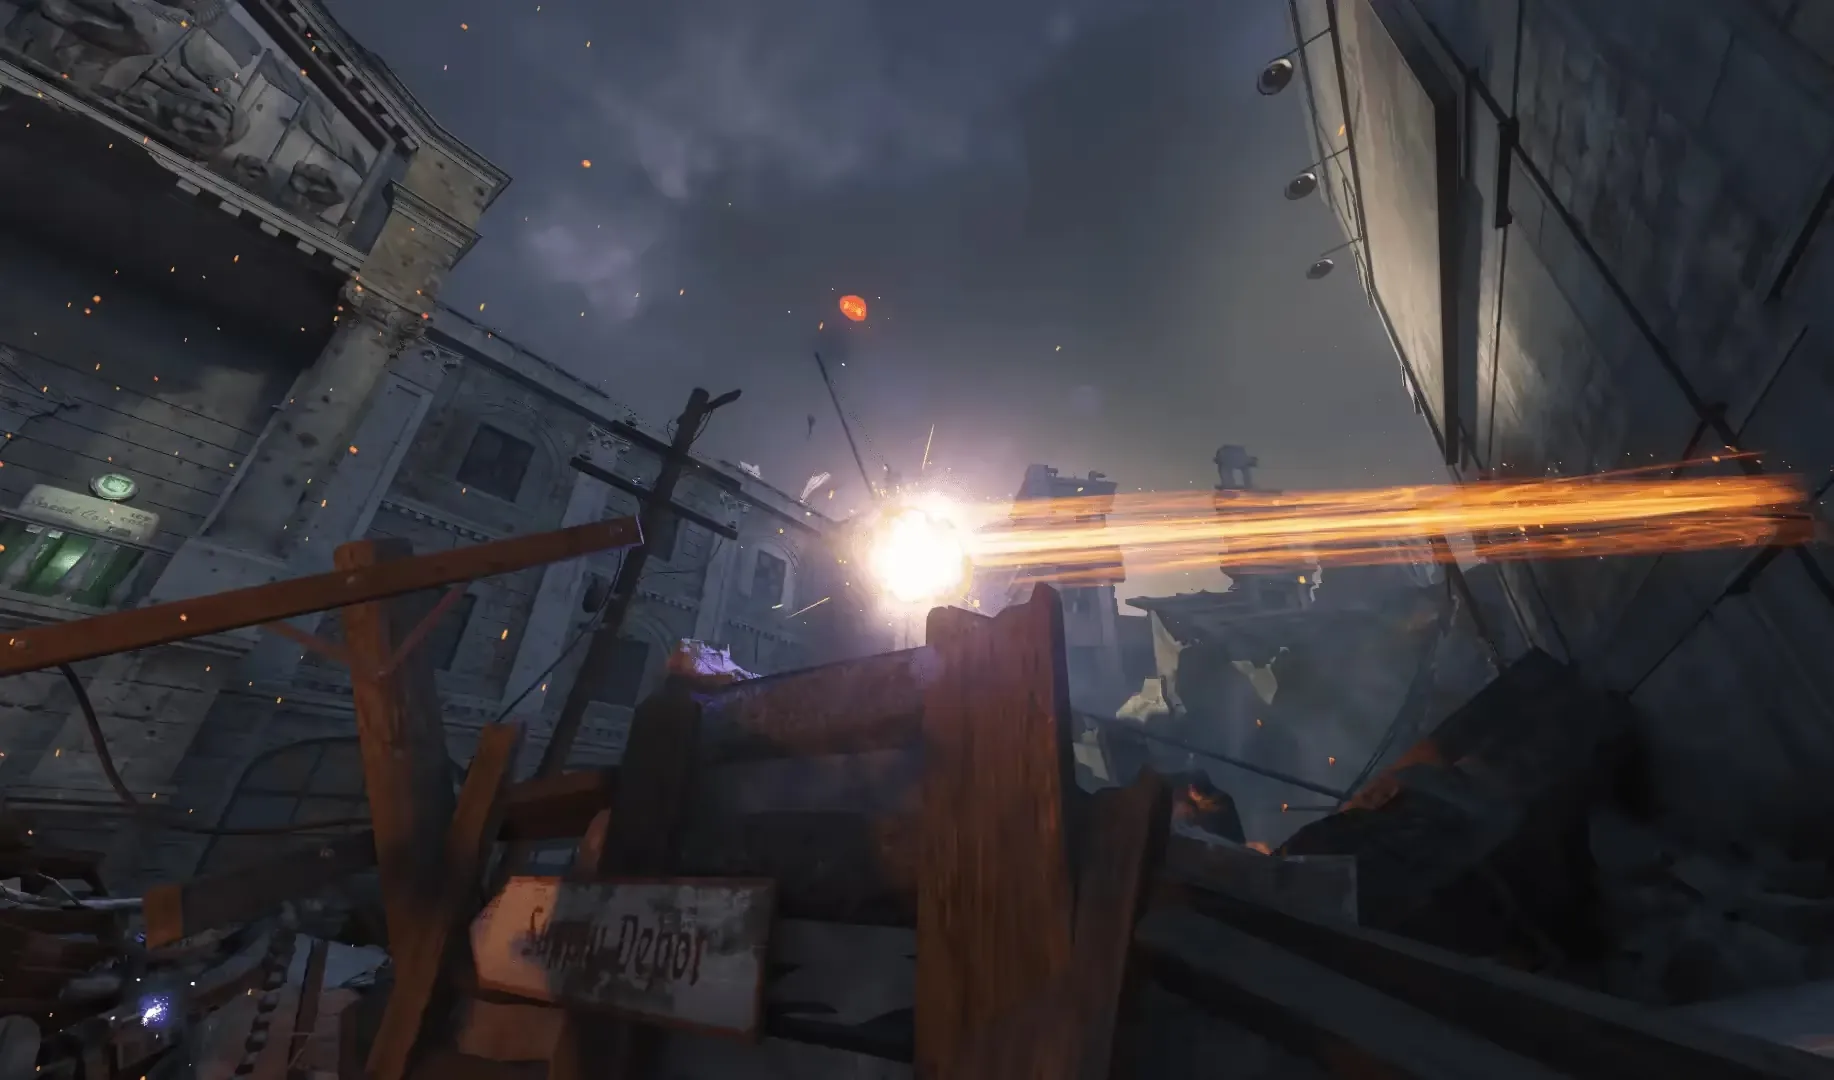
To make it easier to locate Gersh, you can listen for a humming like sound. The best weapons to damage Gersh are (only Pack-a-Punched weapons): GKZ-45 MK3, Drakon, LMGs, RayGun, and the KRM-262.
Once Gersh has been damaged enough a total of three times, our Primus crew will tell Gersh to head to Dragon Command, where he will be collected.
This challenge can be failed if Gersh is not damaged at all for about 2-minutes. If you fail, you can try again on the next round.
Valkyrie Drone Challenge
Head to the Spawn, near the tombstones, a friendly Valkyrie Drone will be entering from outside the map that has 1HP that you must escort safely to Dragon Command. Zombies will not attack this Valkyrie Drone, but you must be very close to the drone to escort it, and if you damage the drone at all, it will be destroyed, failing the challenge.
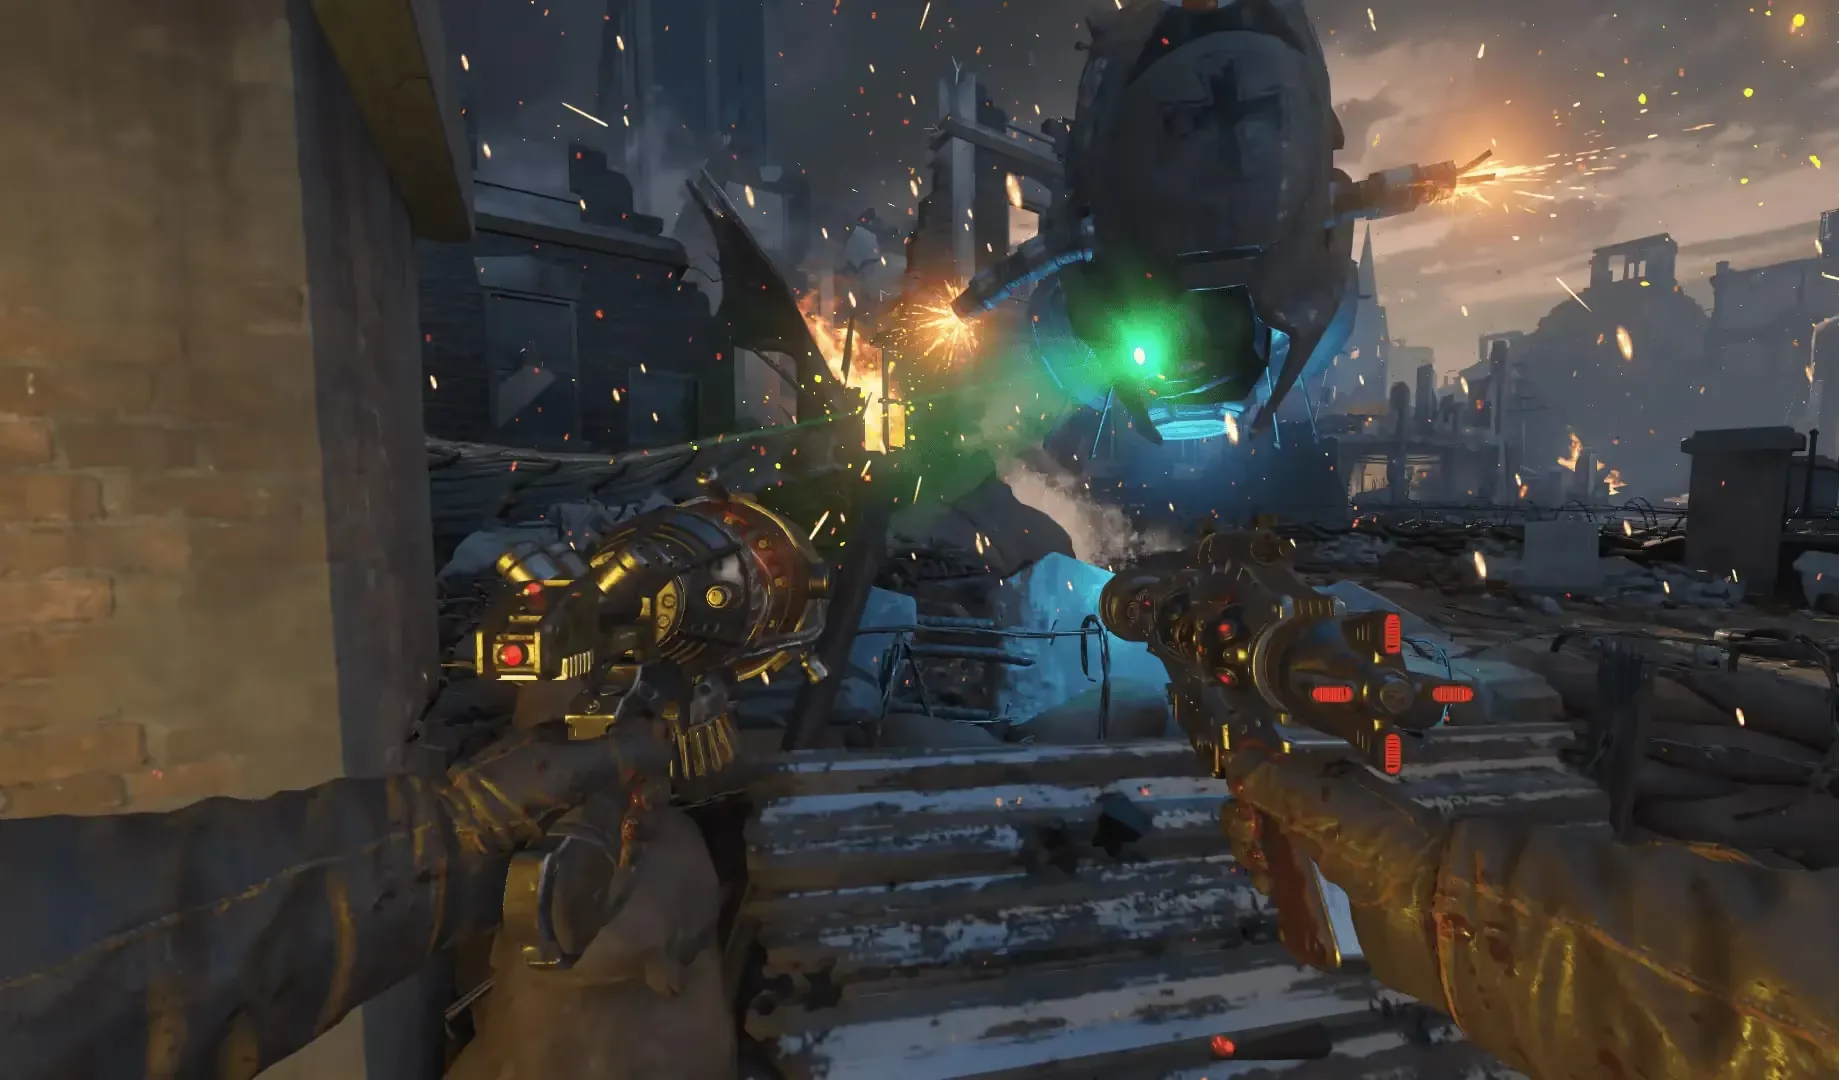
The alternate fire of the GKZ-45 MK3s are extremely helpful here in slowing down zombies as this does 0 damage so you cannot destroy the drone with this and can prevent yourself from dying. The
Undead Man Walking,
In Plain Sight, or
Idle Eyes Gobblegums are extremely helpful for this challenge.
Once the Valkyrie Drone reaches Dragon Command, it will go onto the pad right of the main monitor to be collected.
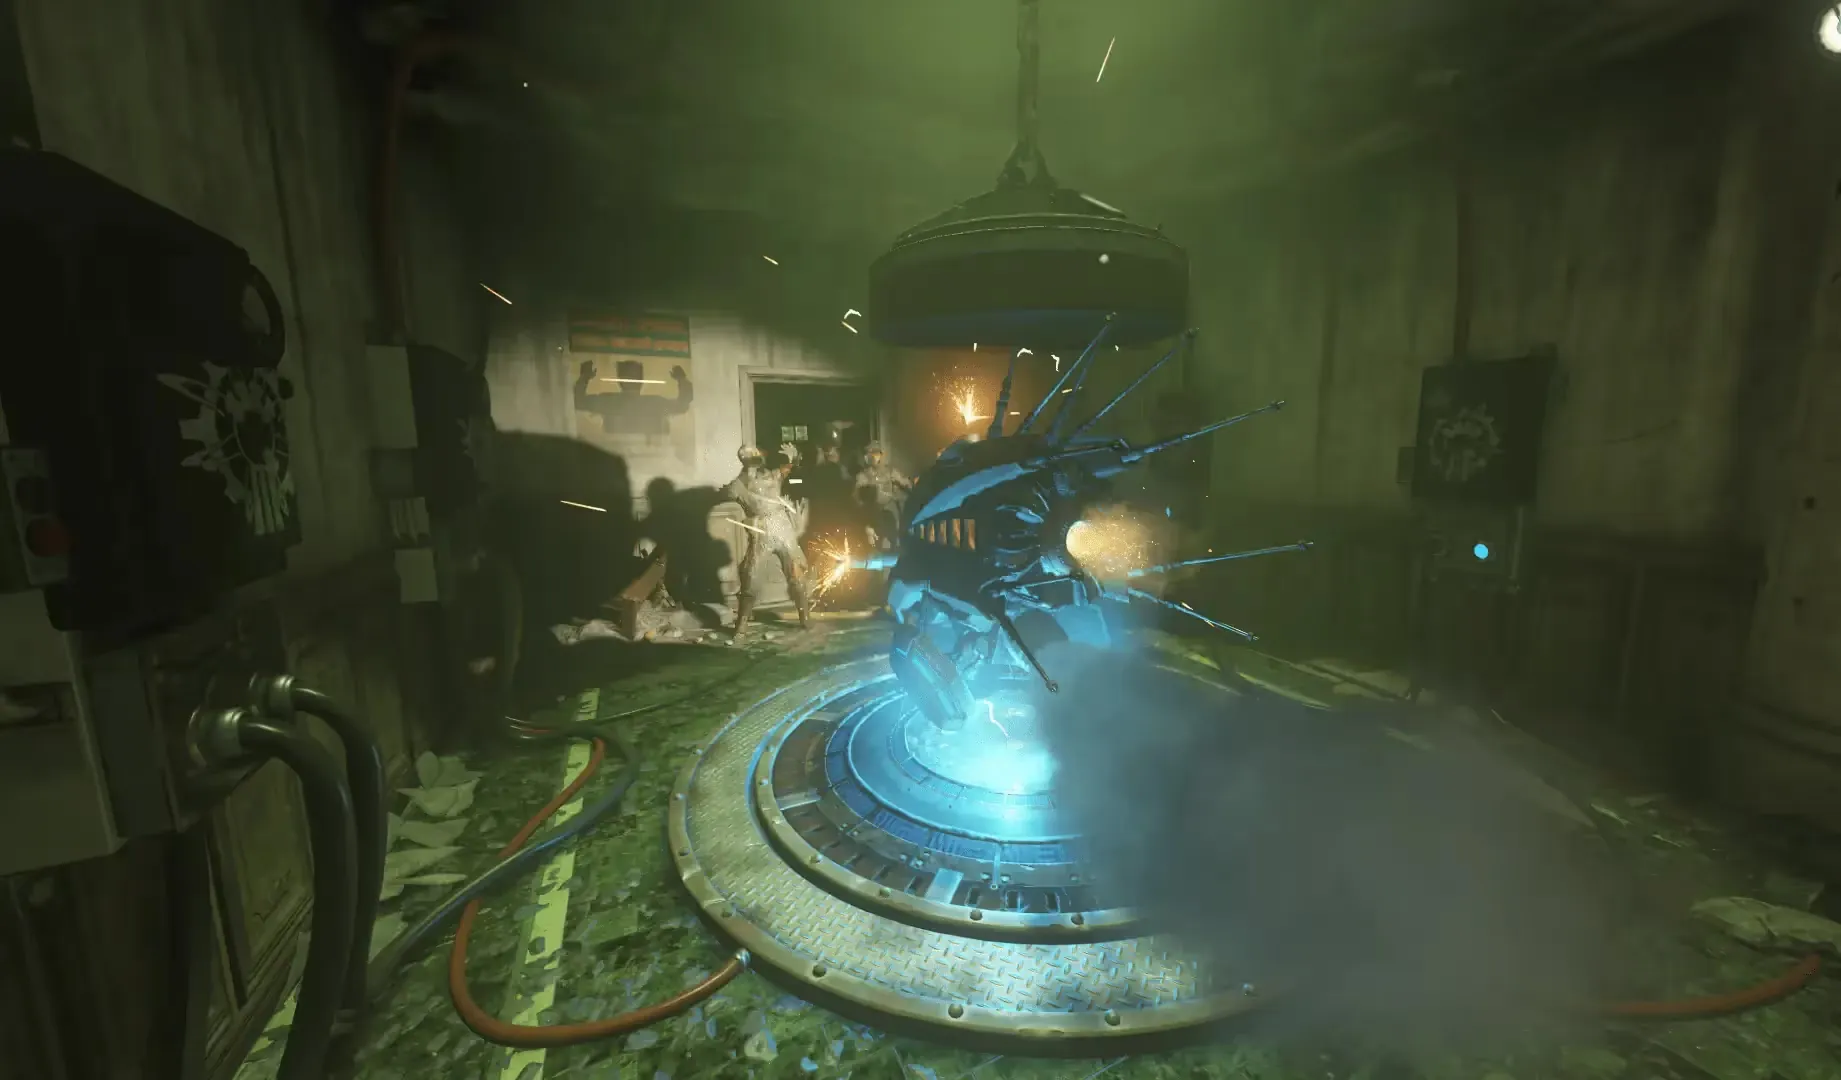
You can actually complete this challenge faster by destroying the drone once it is halfway up the Dragon Command stairs. This method saves time while also providing an easier time if you are having trouble defending yourself/the drone.
Mangler Challenge
You must find and escort a green-eyed Mangler that will spawn in one of four locations around the map:
- Tank Factory
- Infirmary
- Armory
- The top floor of the Department Store
Once located, you must escort the Mangler to Dragon Command without killing him. The Mangler will attack you and spawn infinite zombies regardless of the round until escorted. You can shoot the arm cannon off the Mangler by shooting his right shoulder to get him to run towards you, allowing you to escort him much faster.
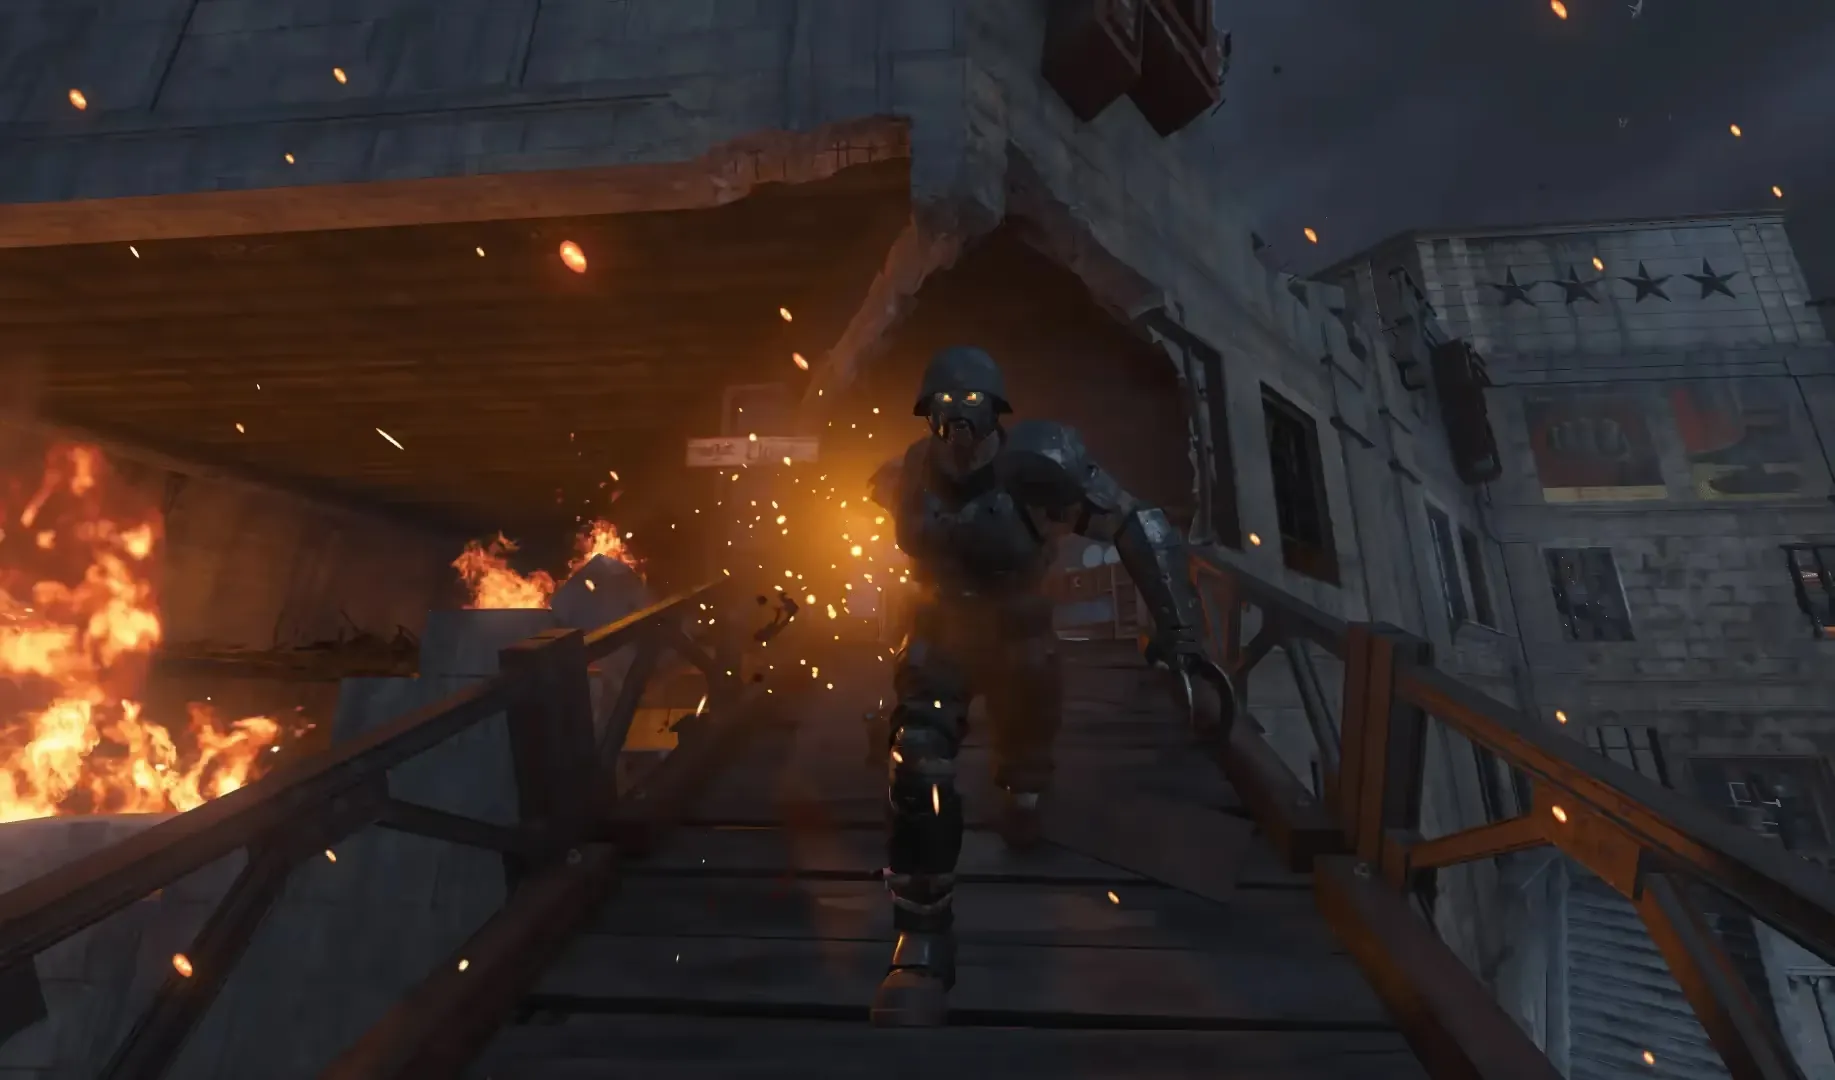
Since this Mangler isn't friendly, previously mentioned Gobblegums like
Undead Man Walking,
In Plain Sight, or
Idle Eyes should not be used as this will affect the Mangler, the latter two will actually fail the challenge for you if solo as the Mangler needs to maintain a direct line of sight to a player the entire way to Dragon Command.
Groph Pod Challenge
Similar to building the Dragon Network Controller, a Groph Pod will spawn somewhere on the map indicated by a green beam of light in the sky, and the main monitor will flash the location where the pod will drop in.
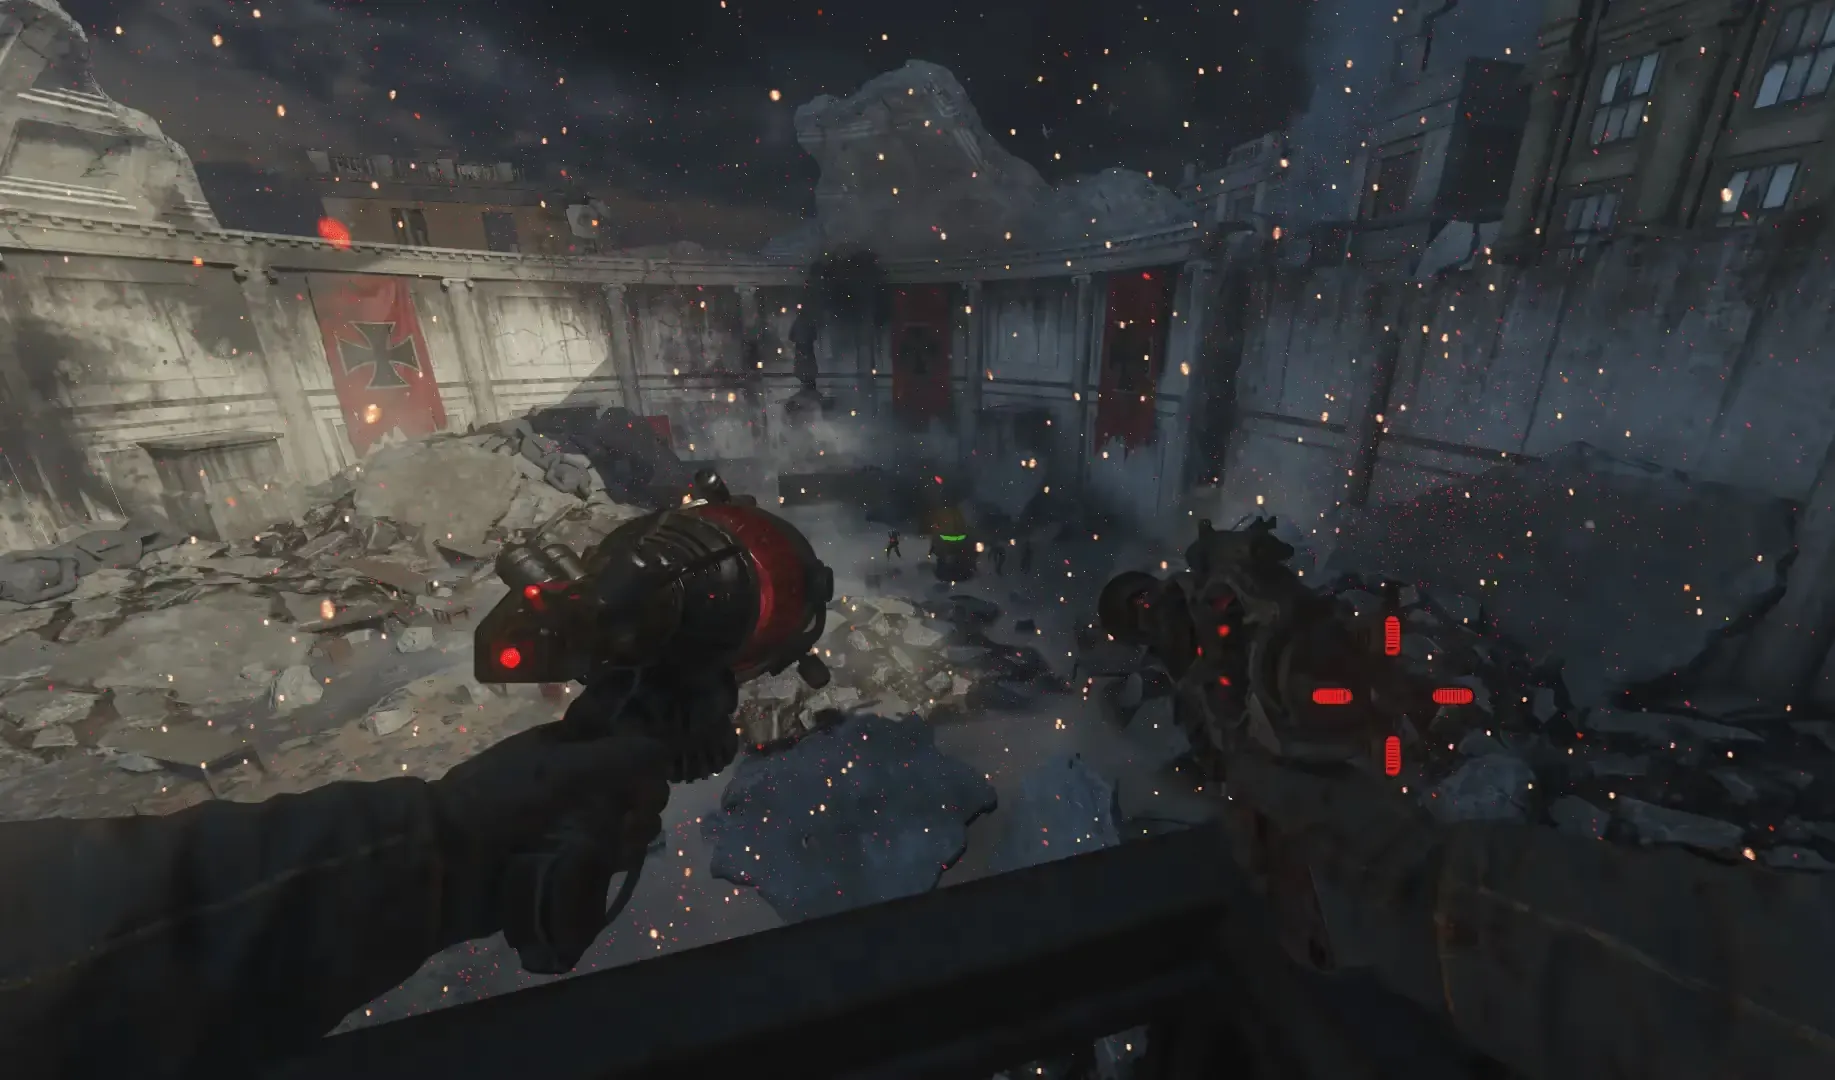
You must defend this pod; the pod will be outside the map, so a ranged weapon is required to deal with the zombies attacking the pod. The ideal weapons for this are: GKZ-45 MK3, LMGs, and Snipers, along with the Dragon Strike.
In solo, zombies will only spawn to attack the Groph Pod so you can defend the pod without being attacked. In Co-op however, zombies will attack the players in the playable area of the map.
Once the defense is completed, the Groph Pod will open, revealing some cargo you must bring to S.O.P.H.I.A. You must send the Whelp from the Gauntlet of Siegfried to retrieve this cargo.
Information Download
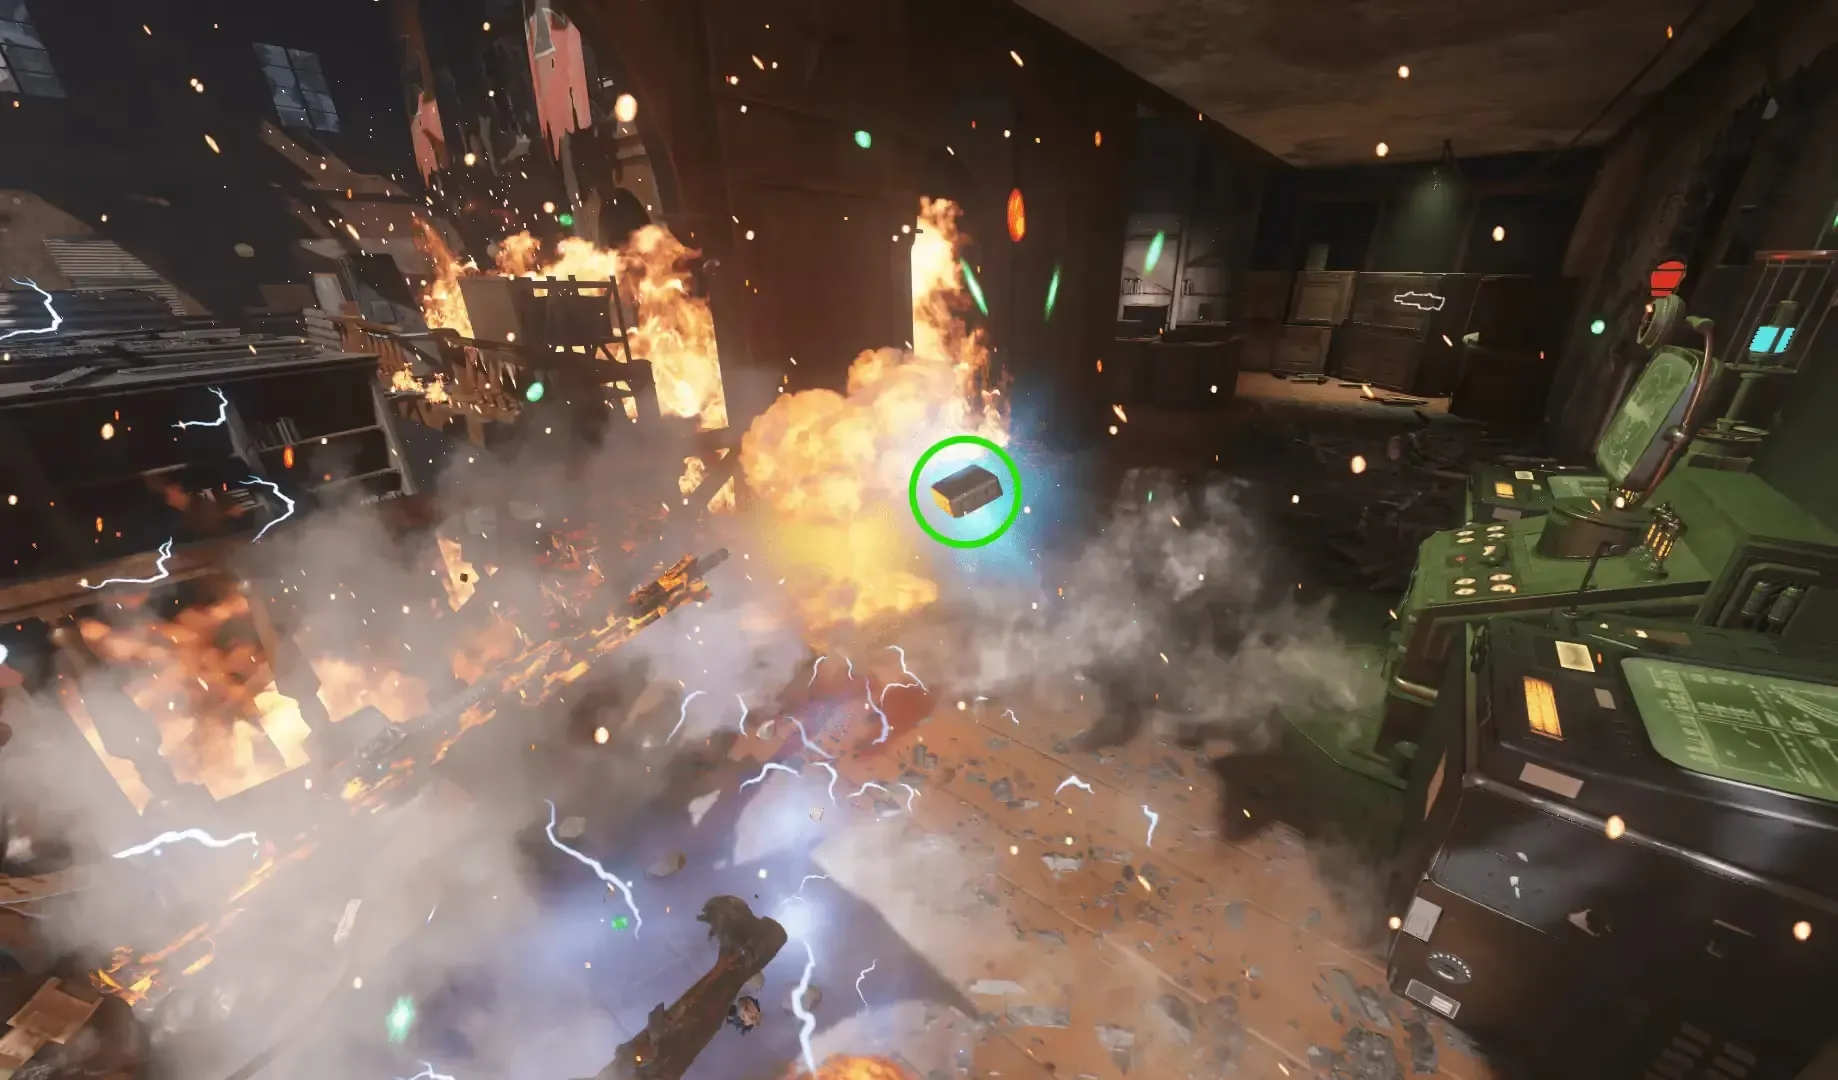
After pushing the button underneath the main monitor, a drawer under the button will open, revealing a keycard that you must pick up and bring to the Hatchery and insert into the terminal on the same floor as the Pack-a-Punch, which will begin a lockdown event similar to obtaining the Dragon Strike.
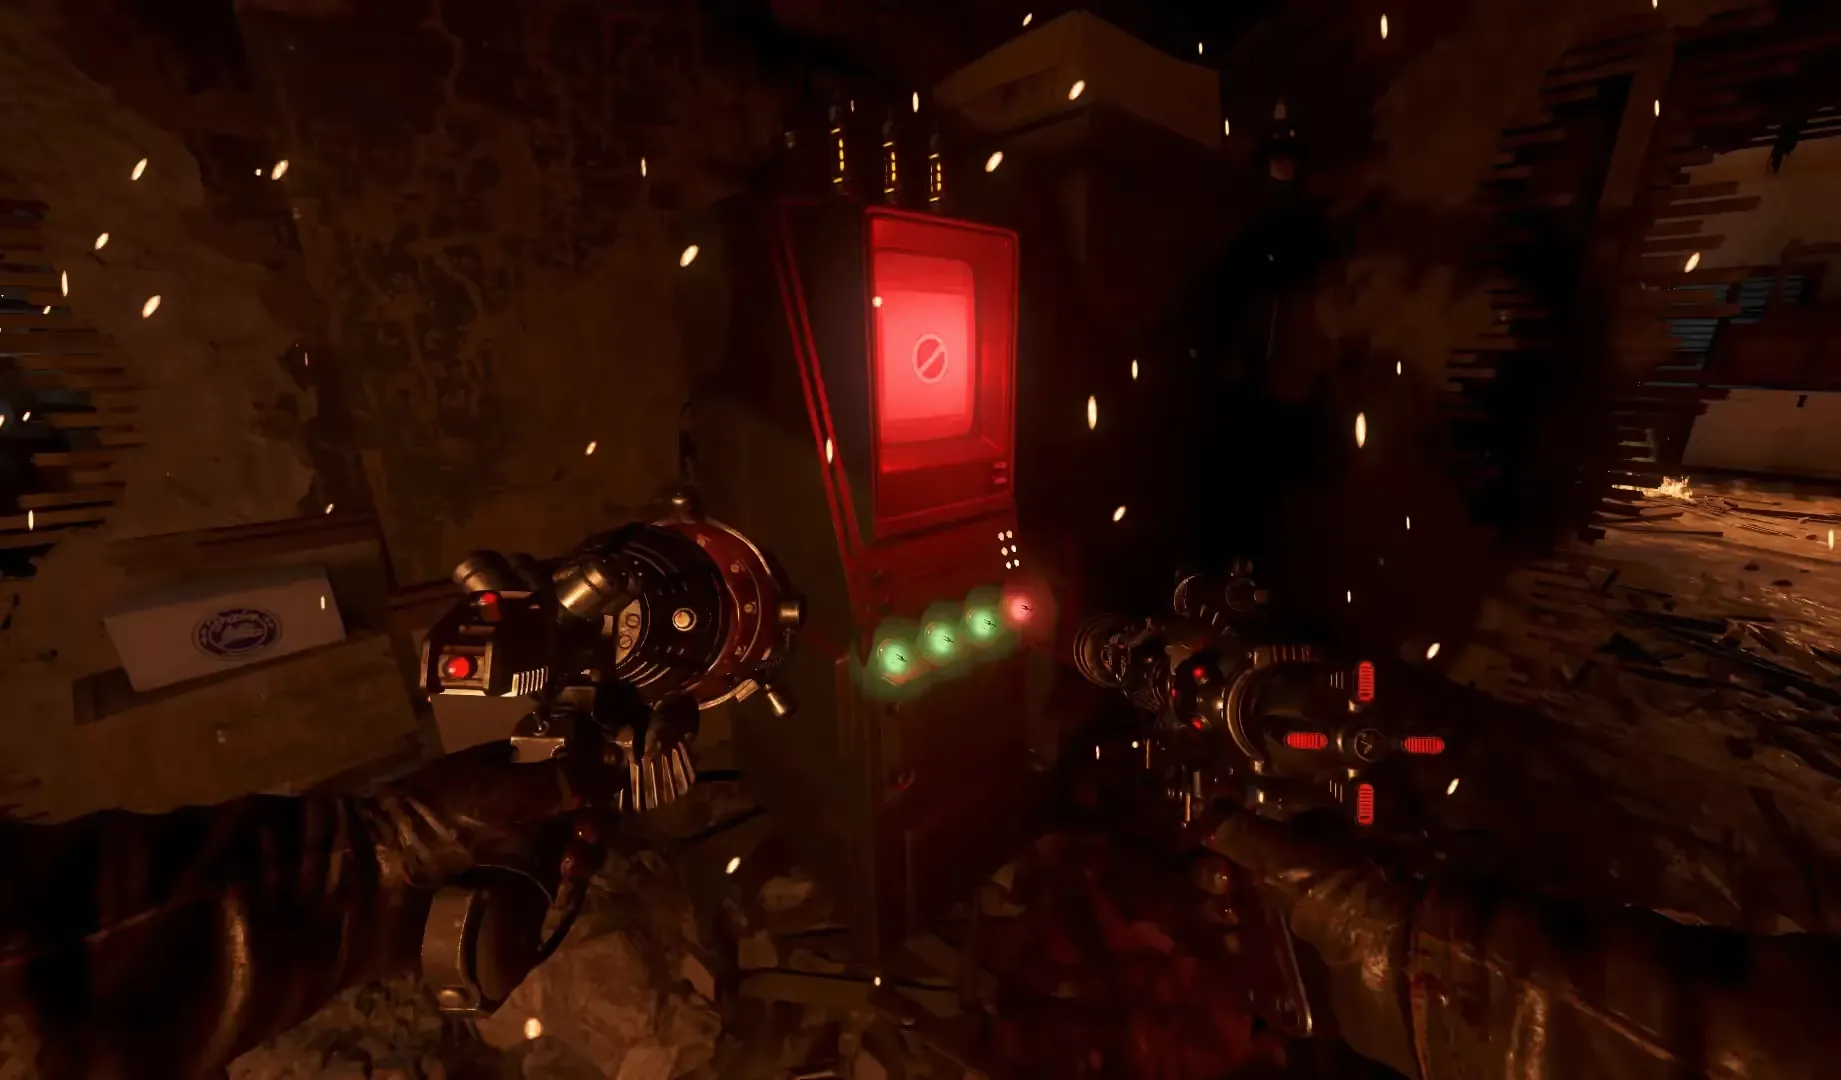
During this lockdown, only Mangler zombies will spawn, and you must defend against them until the download is complete. The terminal will not be attacked despite S.O.P.H.I.A. saying to "Protect the Download".
Once the download is complete, you must interact with the terminal to pick up a keycard you must take back to S.O.P.H.I.A. Insert the keycard into the tray underneath S.O.P.H.I.A. to complete this challenge.
Step 6: Power Ultimis Nikolai
Interact with S.O.P.H.I.A., and she will give you a power core for Ultimis Nikolai's mech. Afterward, head to the back of the Spawn and launch the Welp from the Gauntlet of Siegfried, which will return the power core to Ultimis Nikolai's mech.
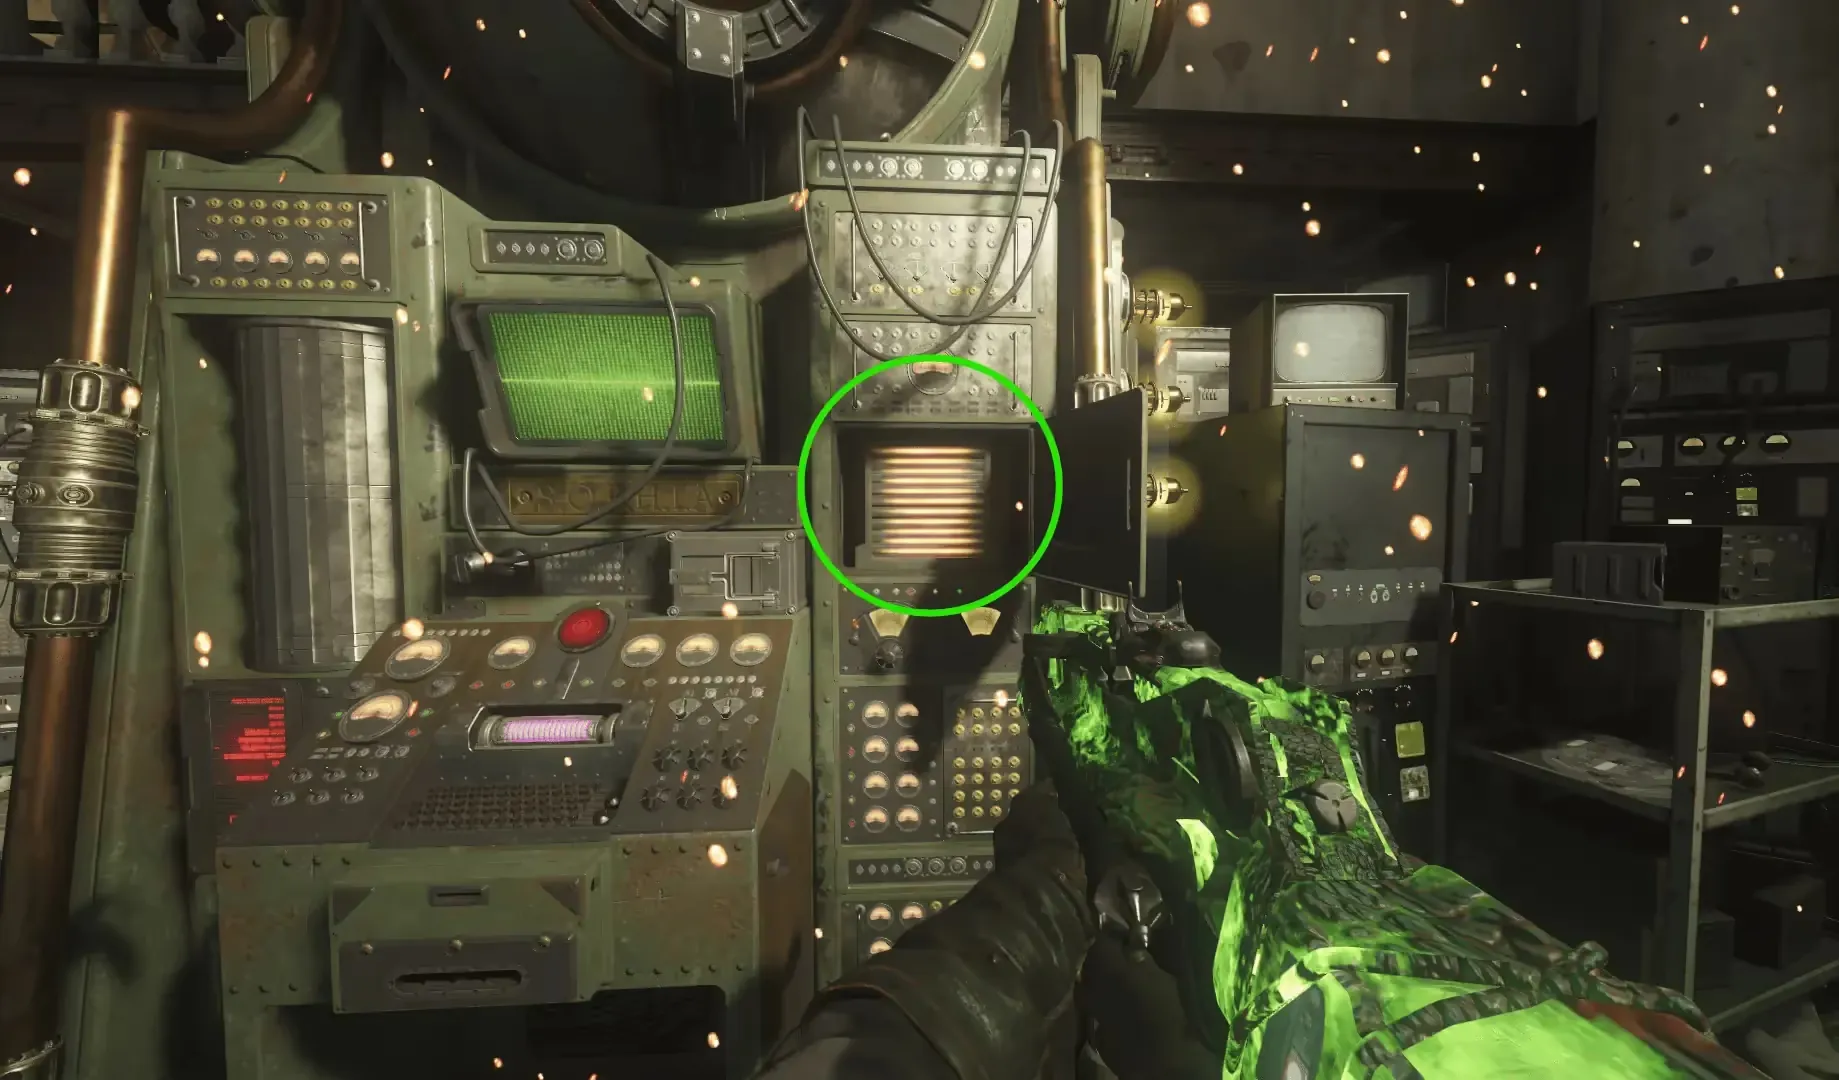
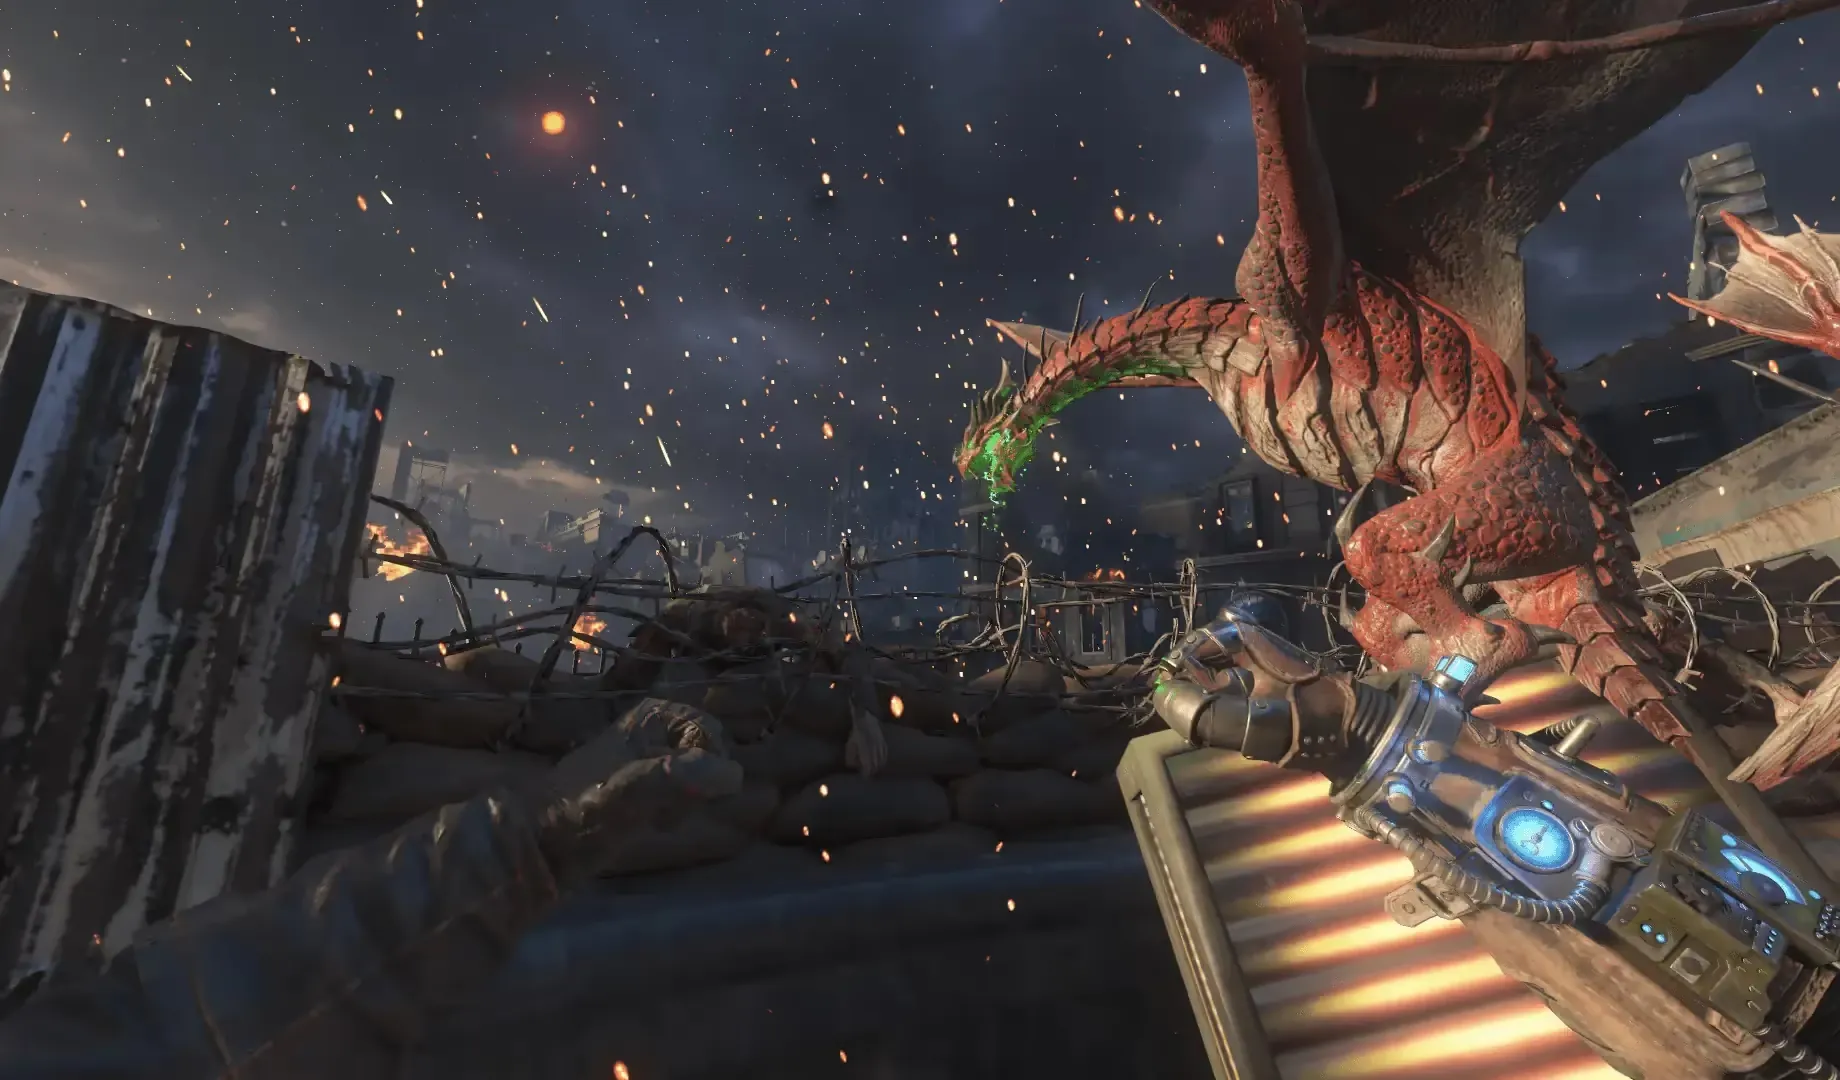
Once completed, return to S.O.P.H.I.A. She will then detach from the machine and fly toward the sky. At this point, you are ready to enter the boss fight and should begin your final preparations before entering the boss fight.
Step 7: Boss Fight
Once ready, all players must stand on the metal grate that is now visible where S.O.P.H.I.A. used to be. This will drop you into a sewer pipe, bringing you to the boss arena behind the Spawn.
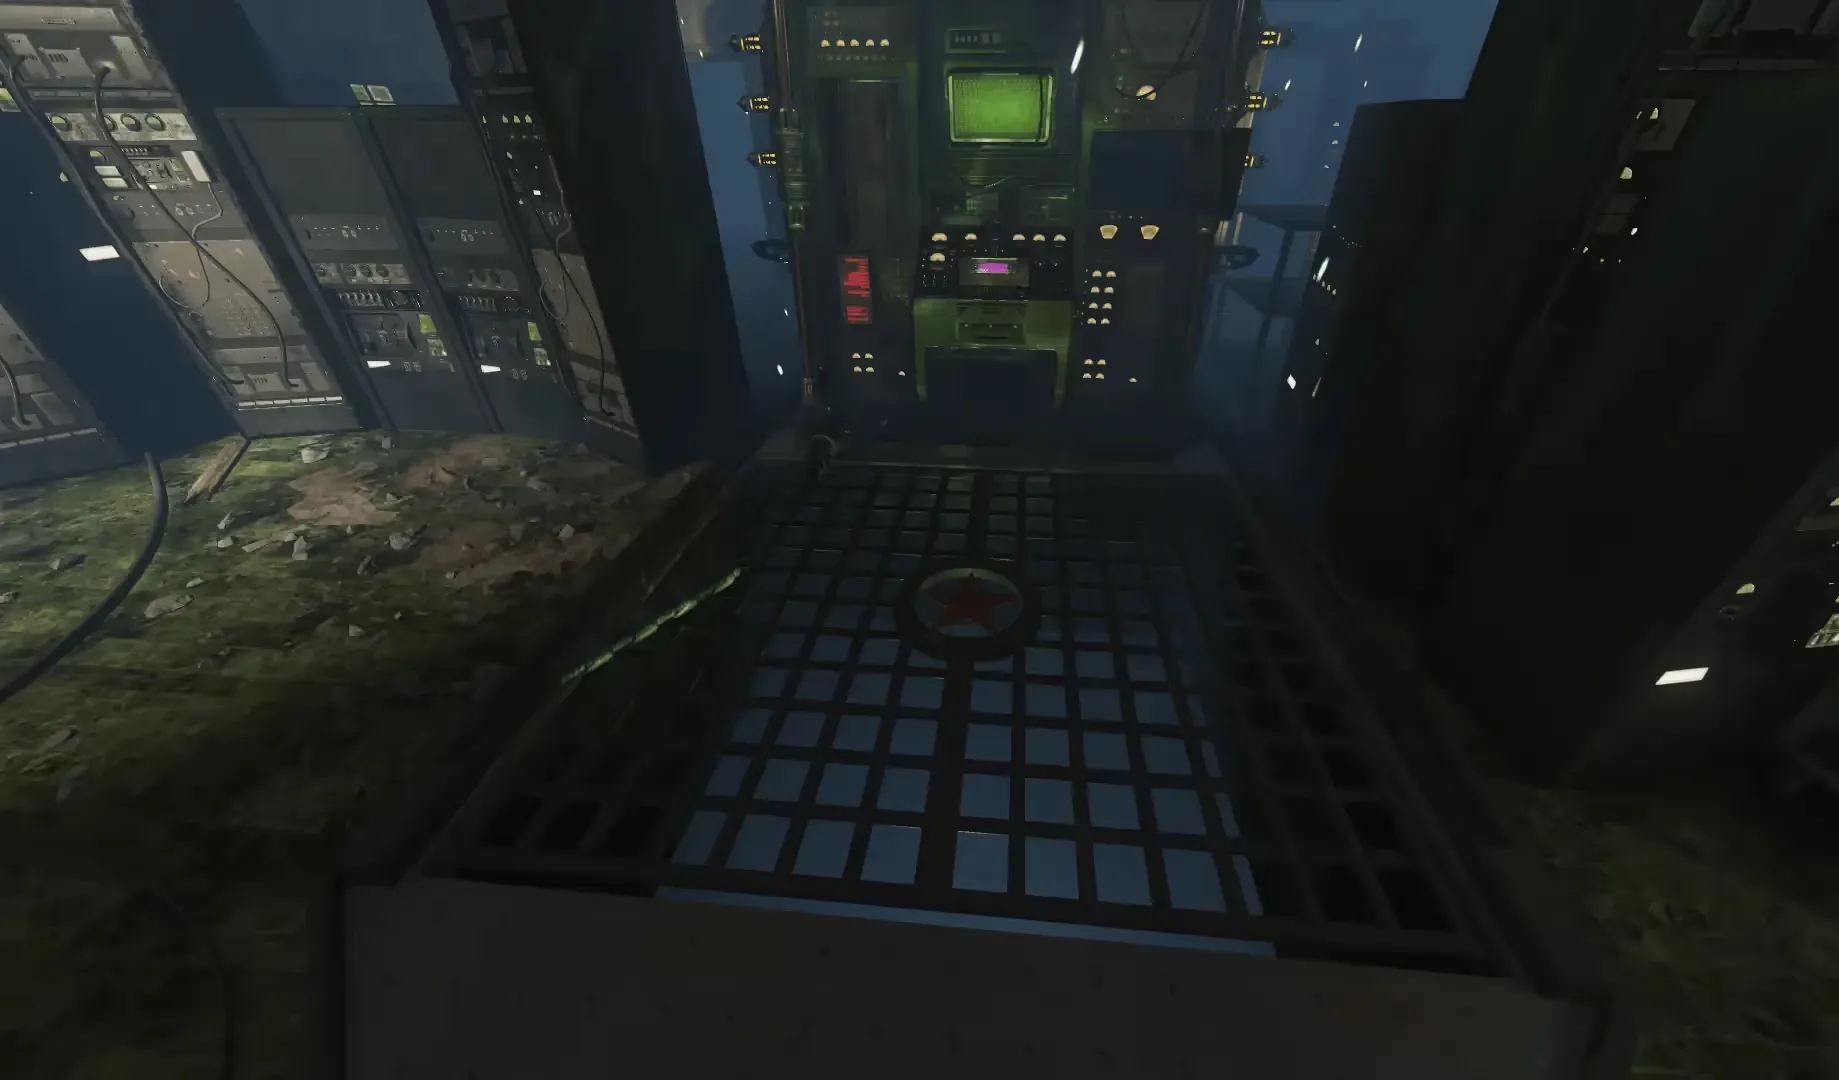
Once in the arena, head to the circular area surrounded by pillars. You must press the button in this area to have a Giant fire a laser at a pile of debris, freeing Ultimis Nikolai.
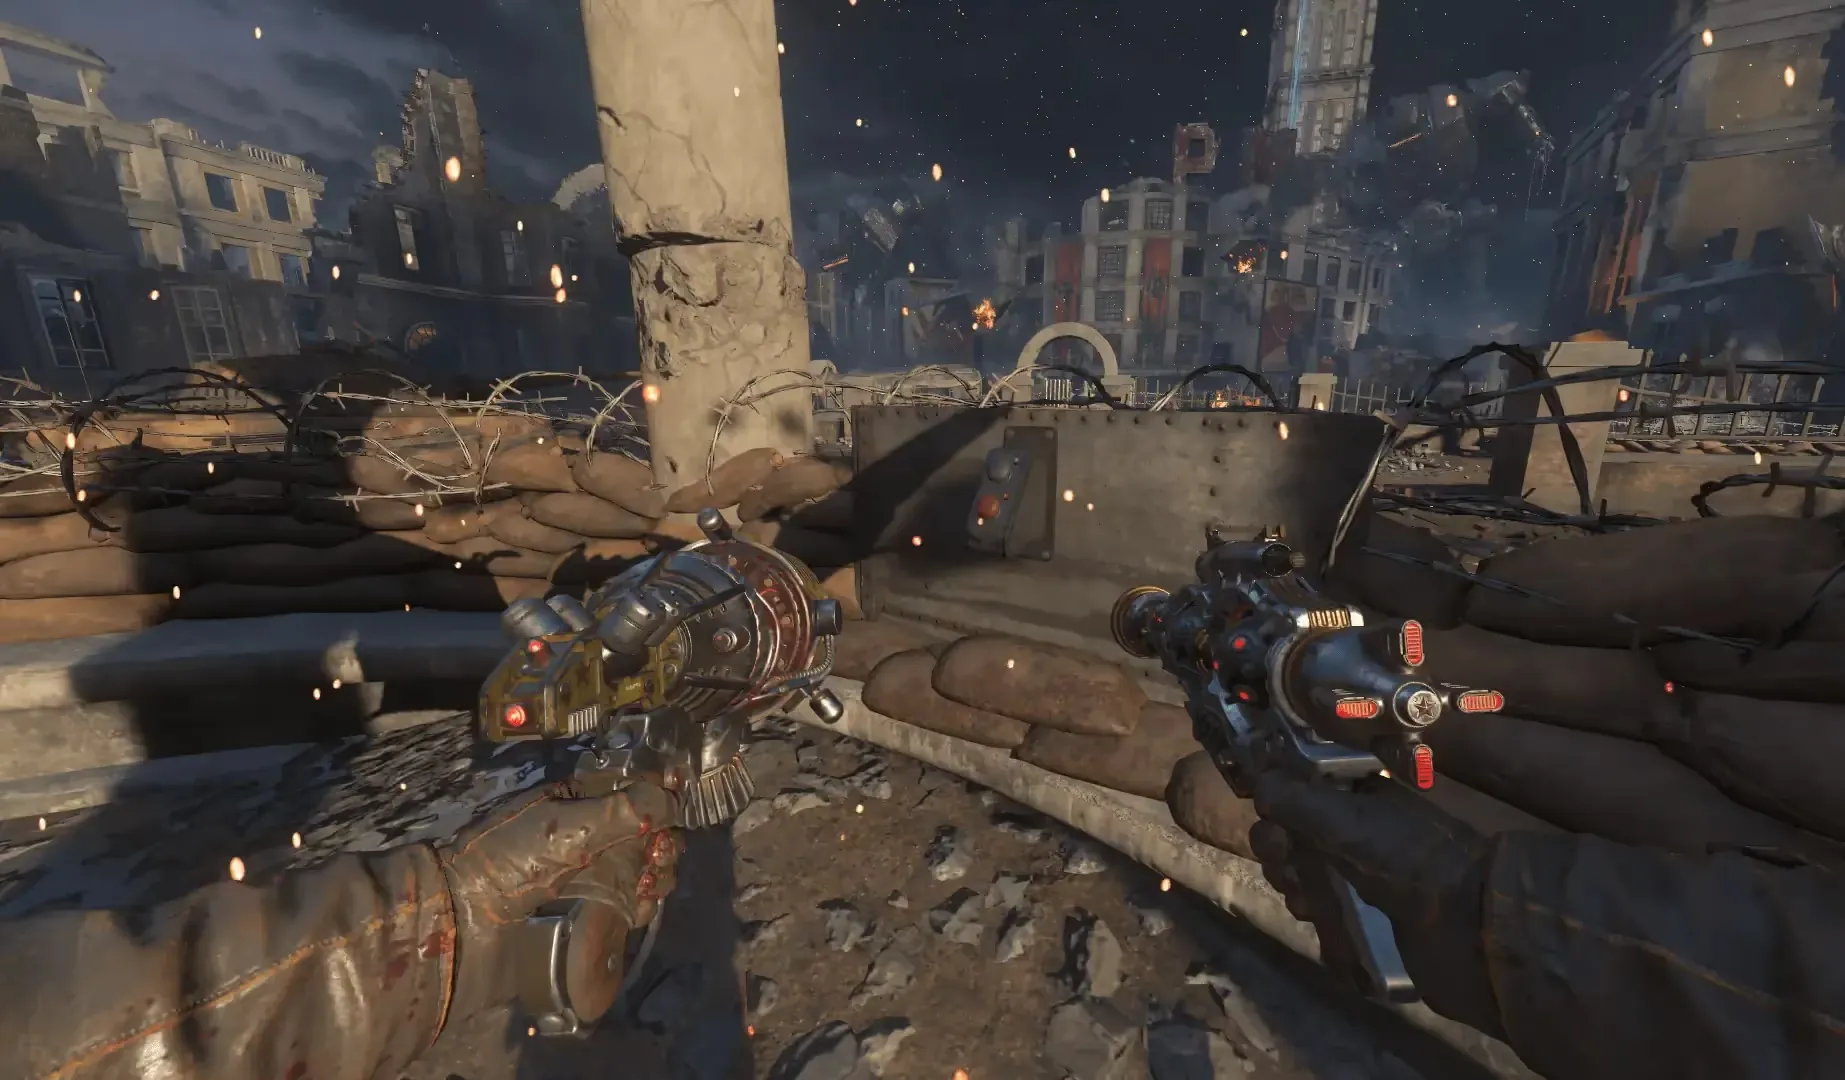
Dragon Fight
For the first part of this boss fight, Ultimis Nikolai will assist you in defeating a Dragon. The Dragon will breathe fire over areas of the arena that you must avoid, or you can use the Guard of Fafnir to negate all fire damage.
Be careful not to break your shield while using it to negate fire damage, you will not be able to get a new one during the fight.
Afterward, Ultimis Nikolai will shoot a harpoon at the Dragon, revealing a weak point that you must shoot to damage the Dragon. You must repeat this three more times until the Dragon is defeated.
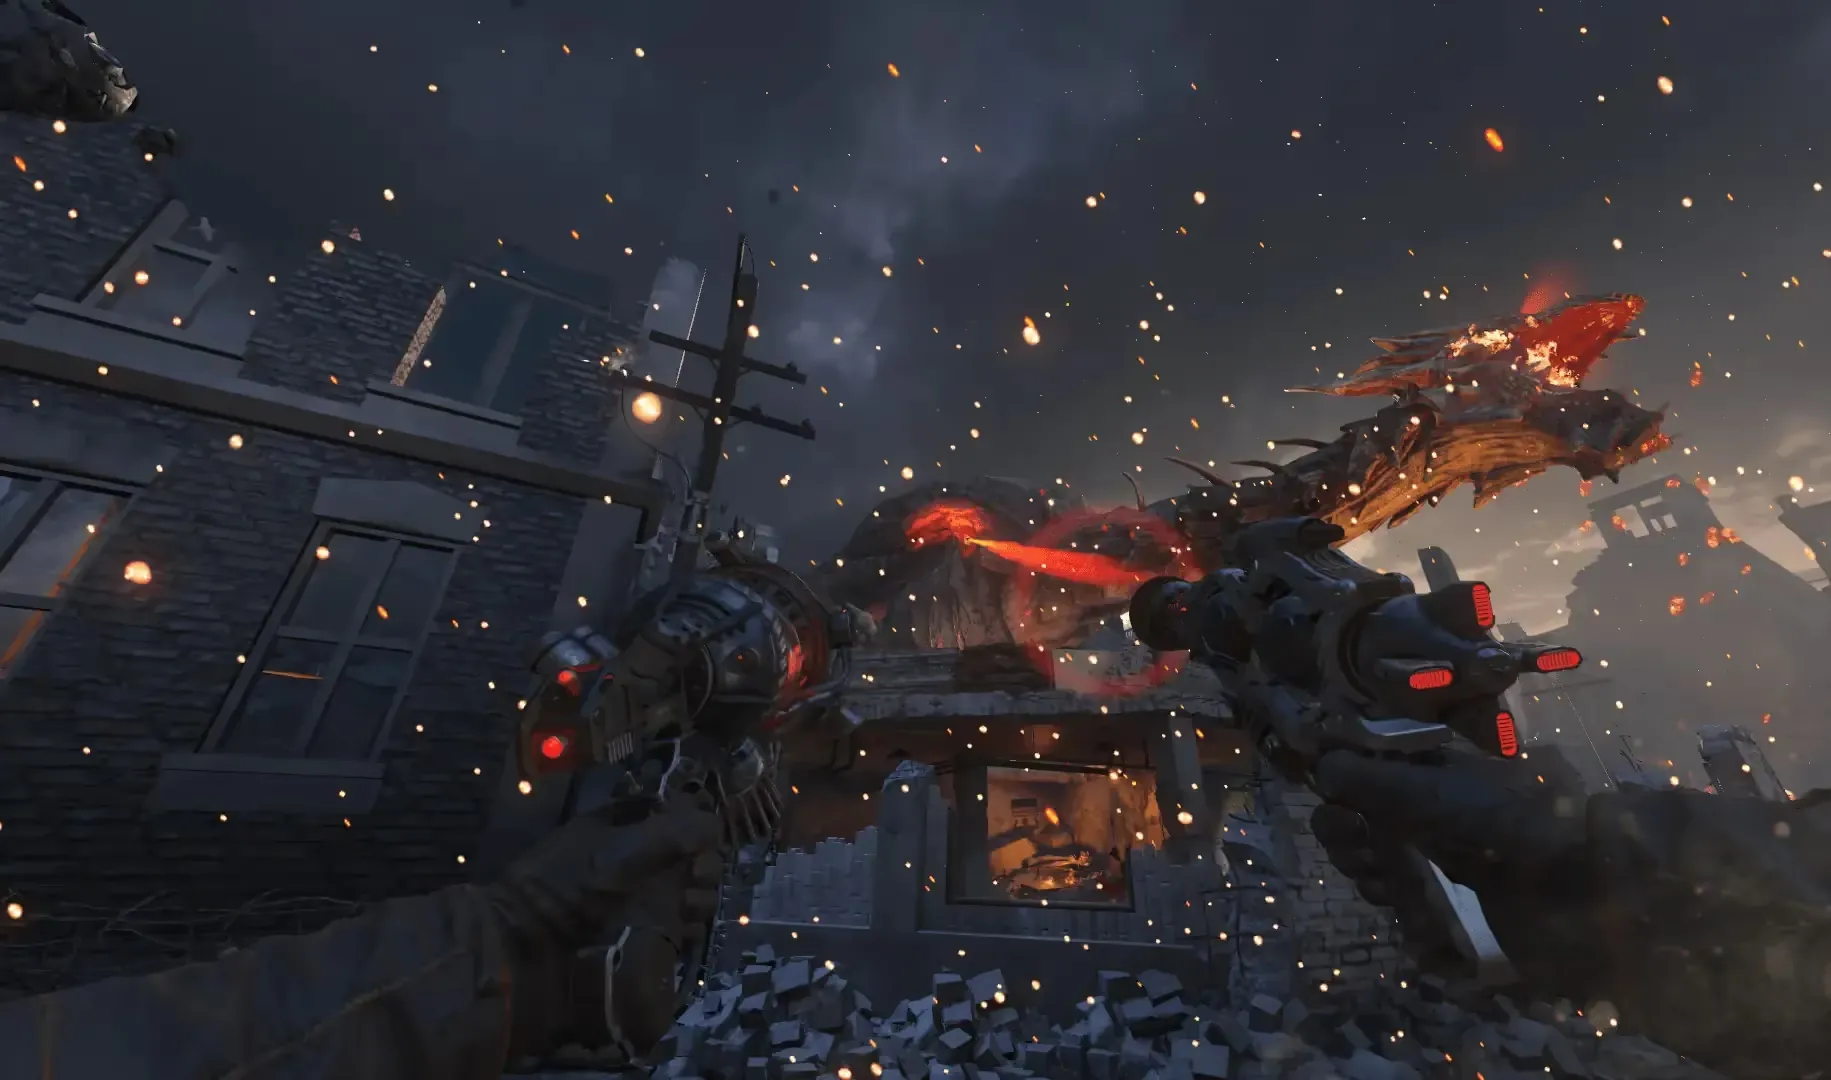
After the Dragon is defeated, a small cutscene will play showing the player talking to Ultimis Nikolai, who is now hostile and must be defeated just like the Dragon.
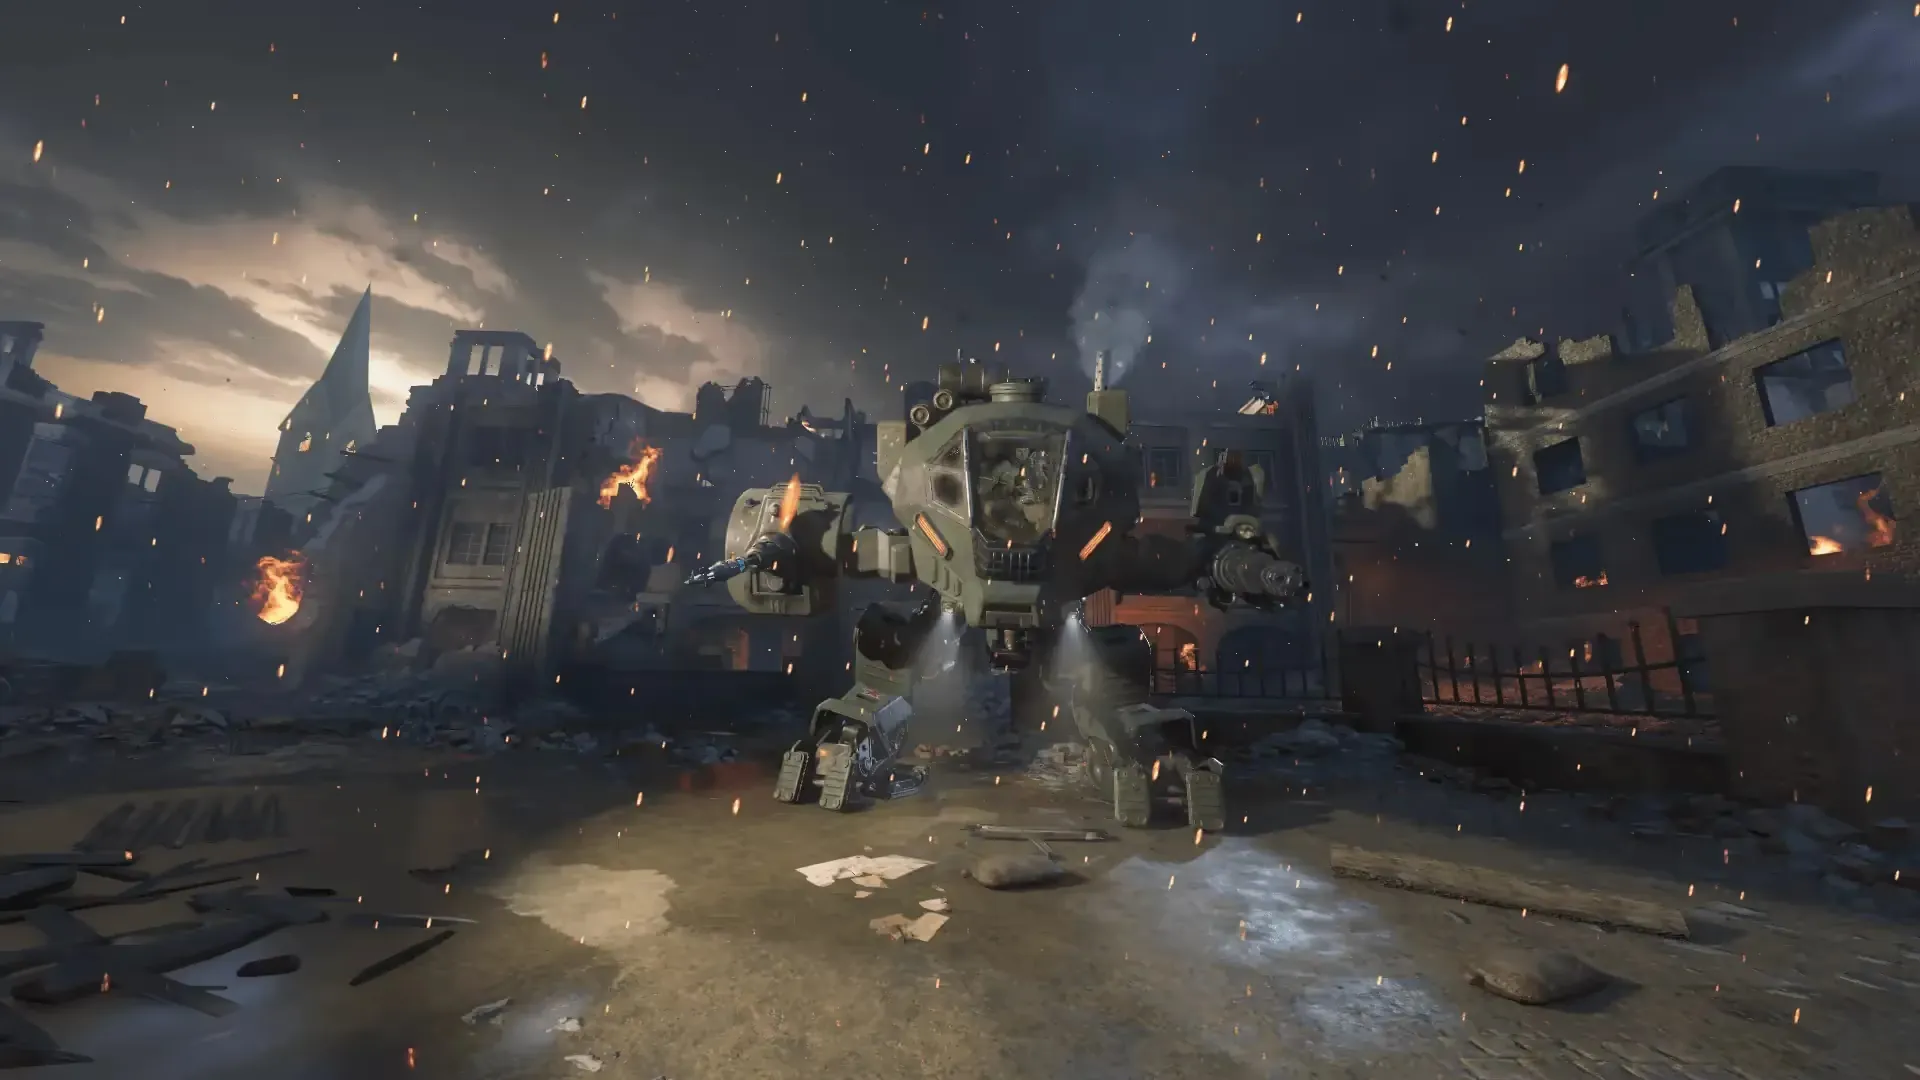
Ultimis Nikolai Fight
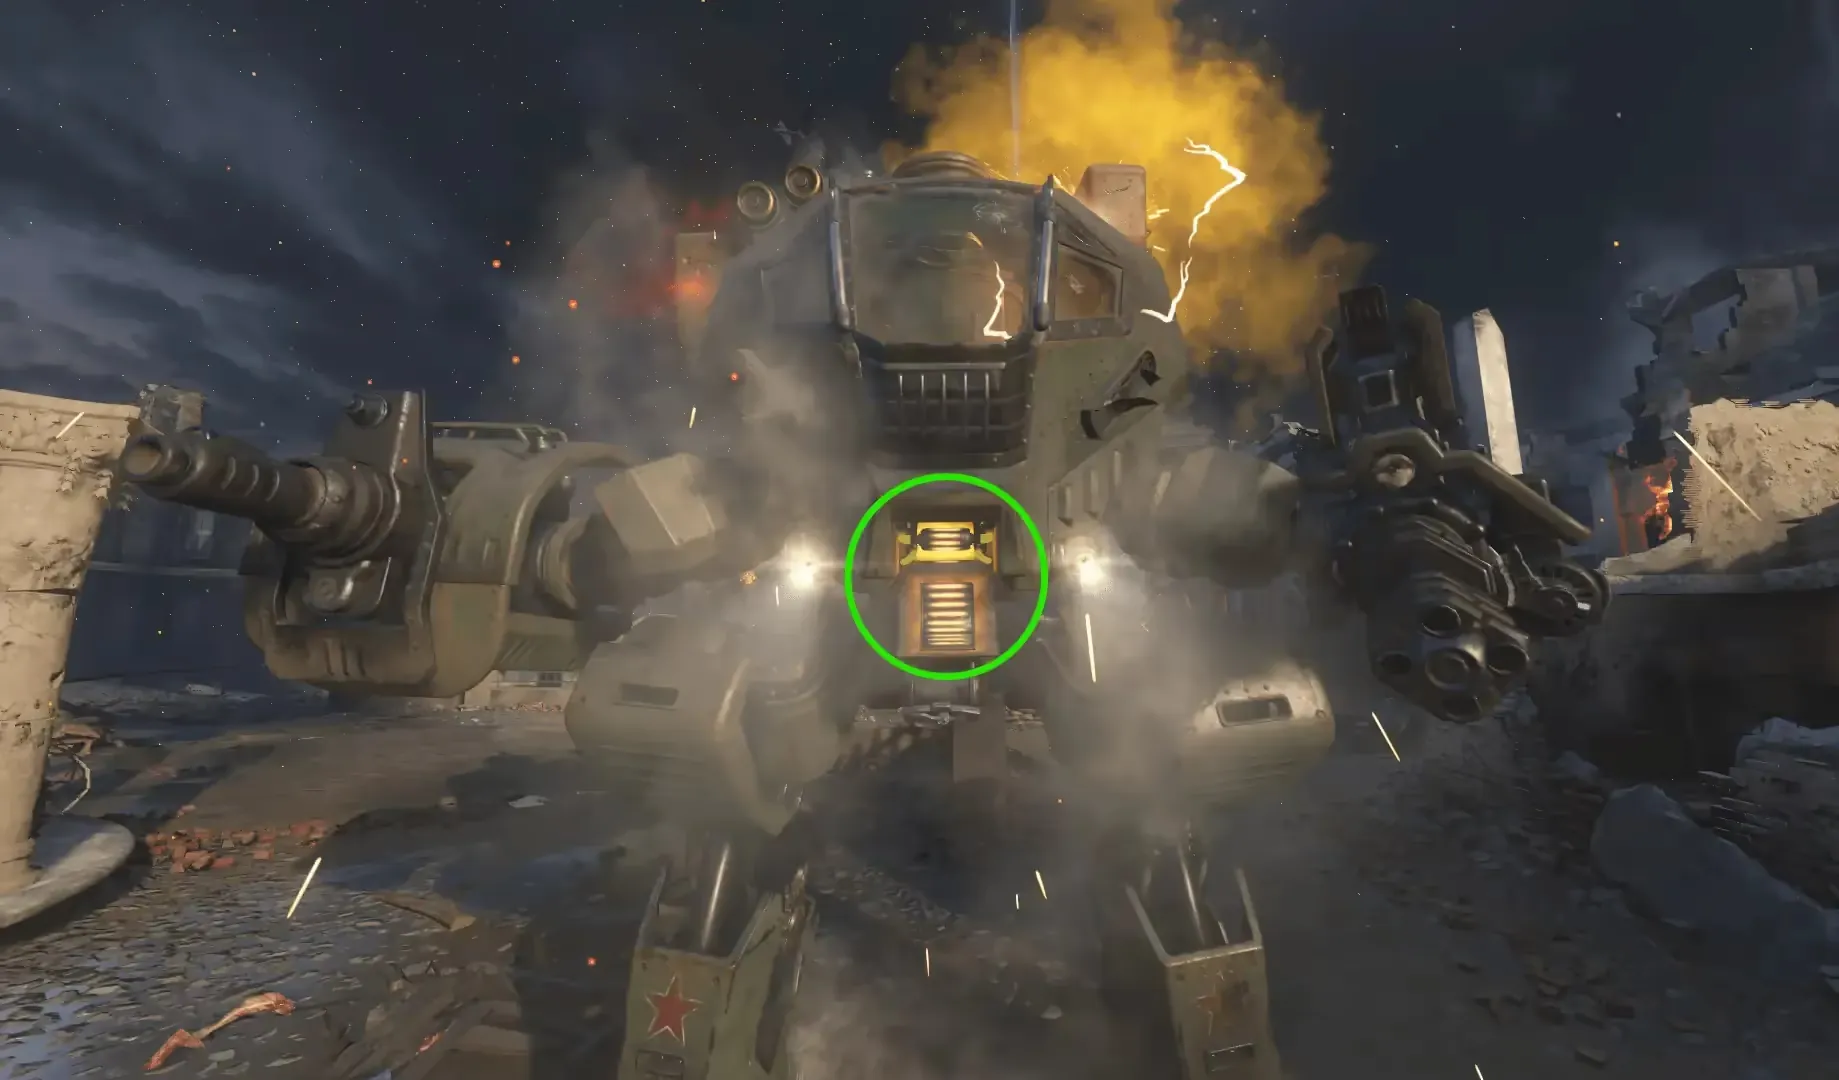
You must shoot four different weak points on the mech to defeat the Nikolai Mech. The two yellow lights are on the front of the mech, and the two power cores are on the top of the mech. The power cores are only visible when the Nikolai Mech attacks the player.
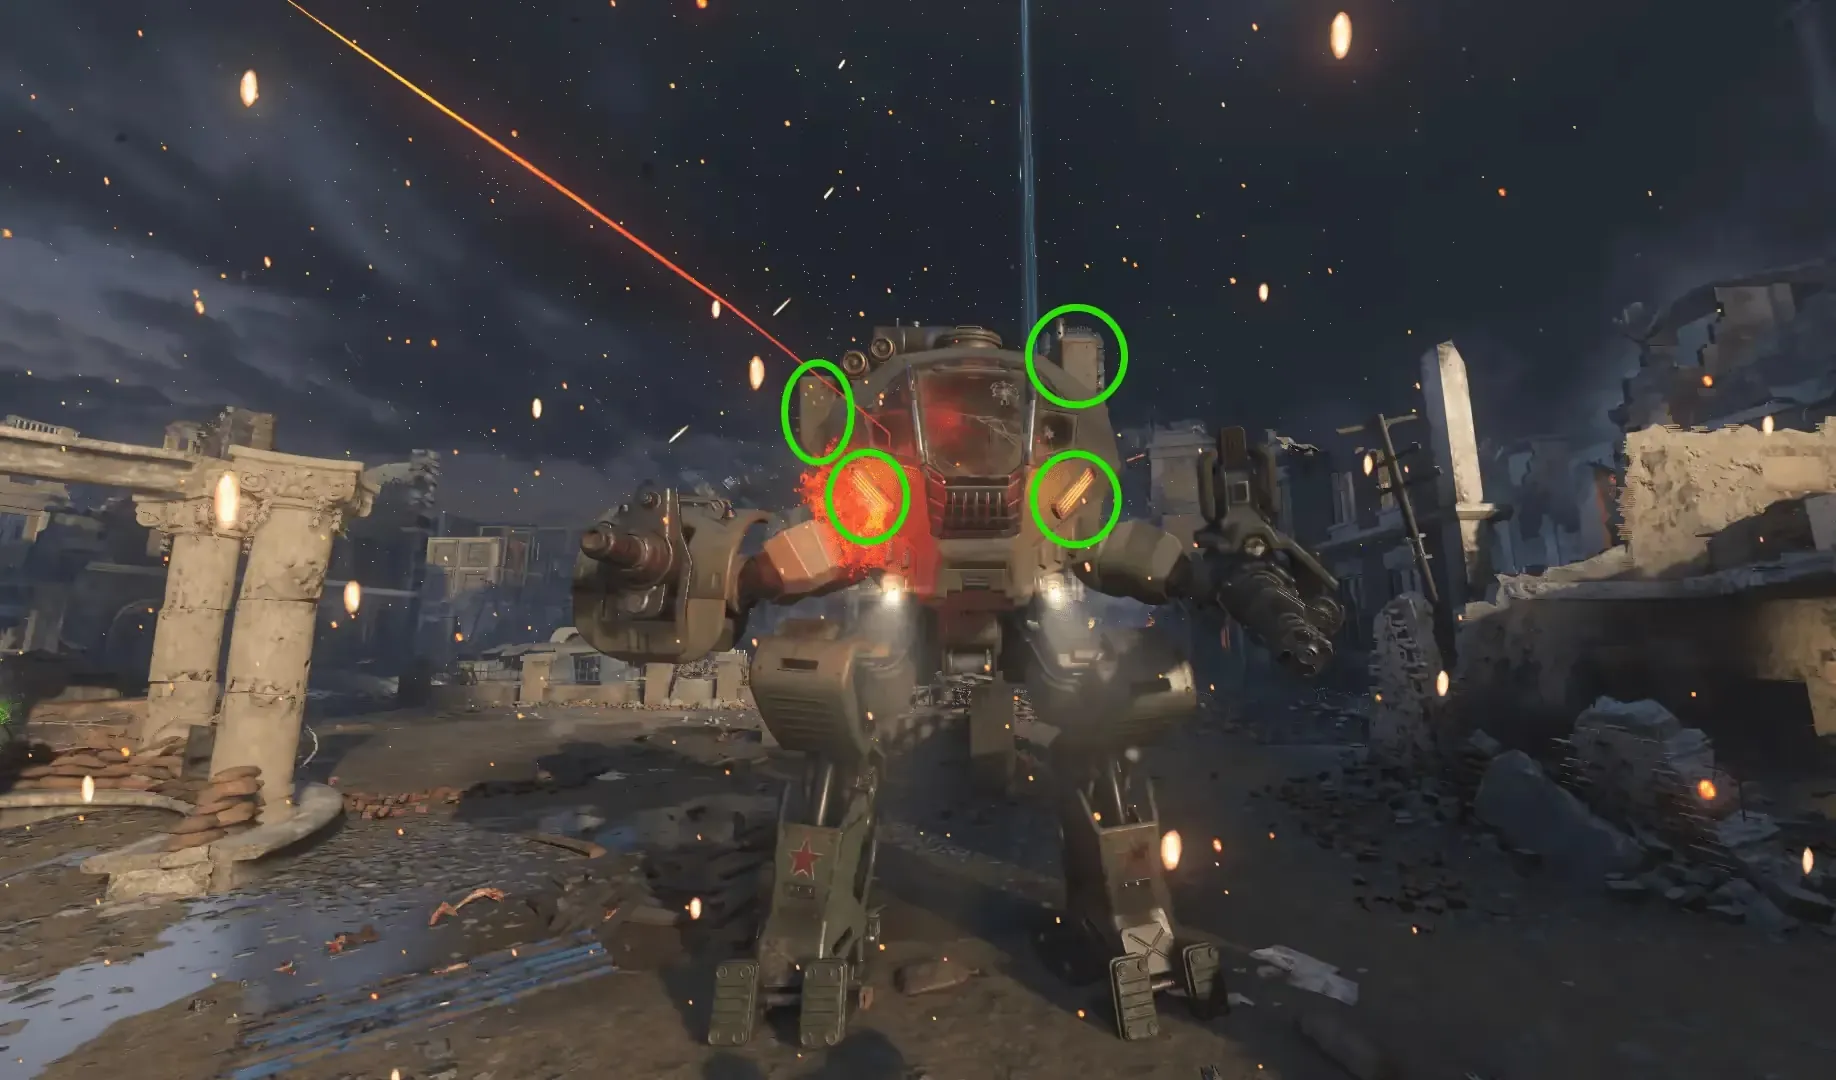
After destroying all four weak points, you must shoot a final weak point visible in the center of the mech, which will destroy the mech, defeating Nikolai Mech and triggering the final ending cutscene.
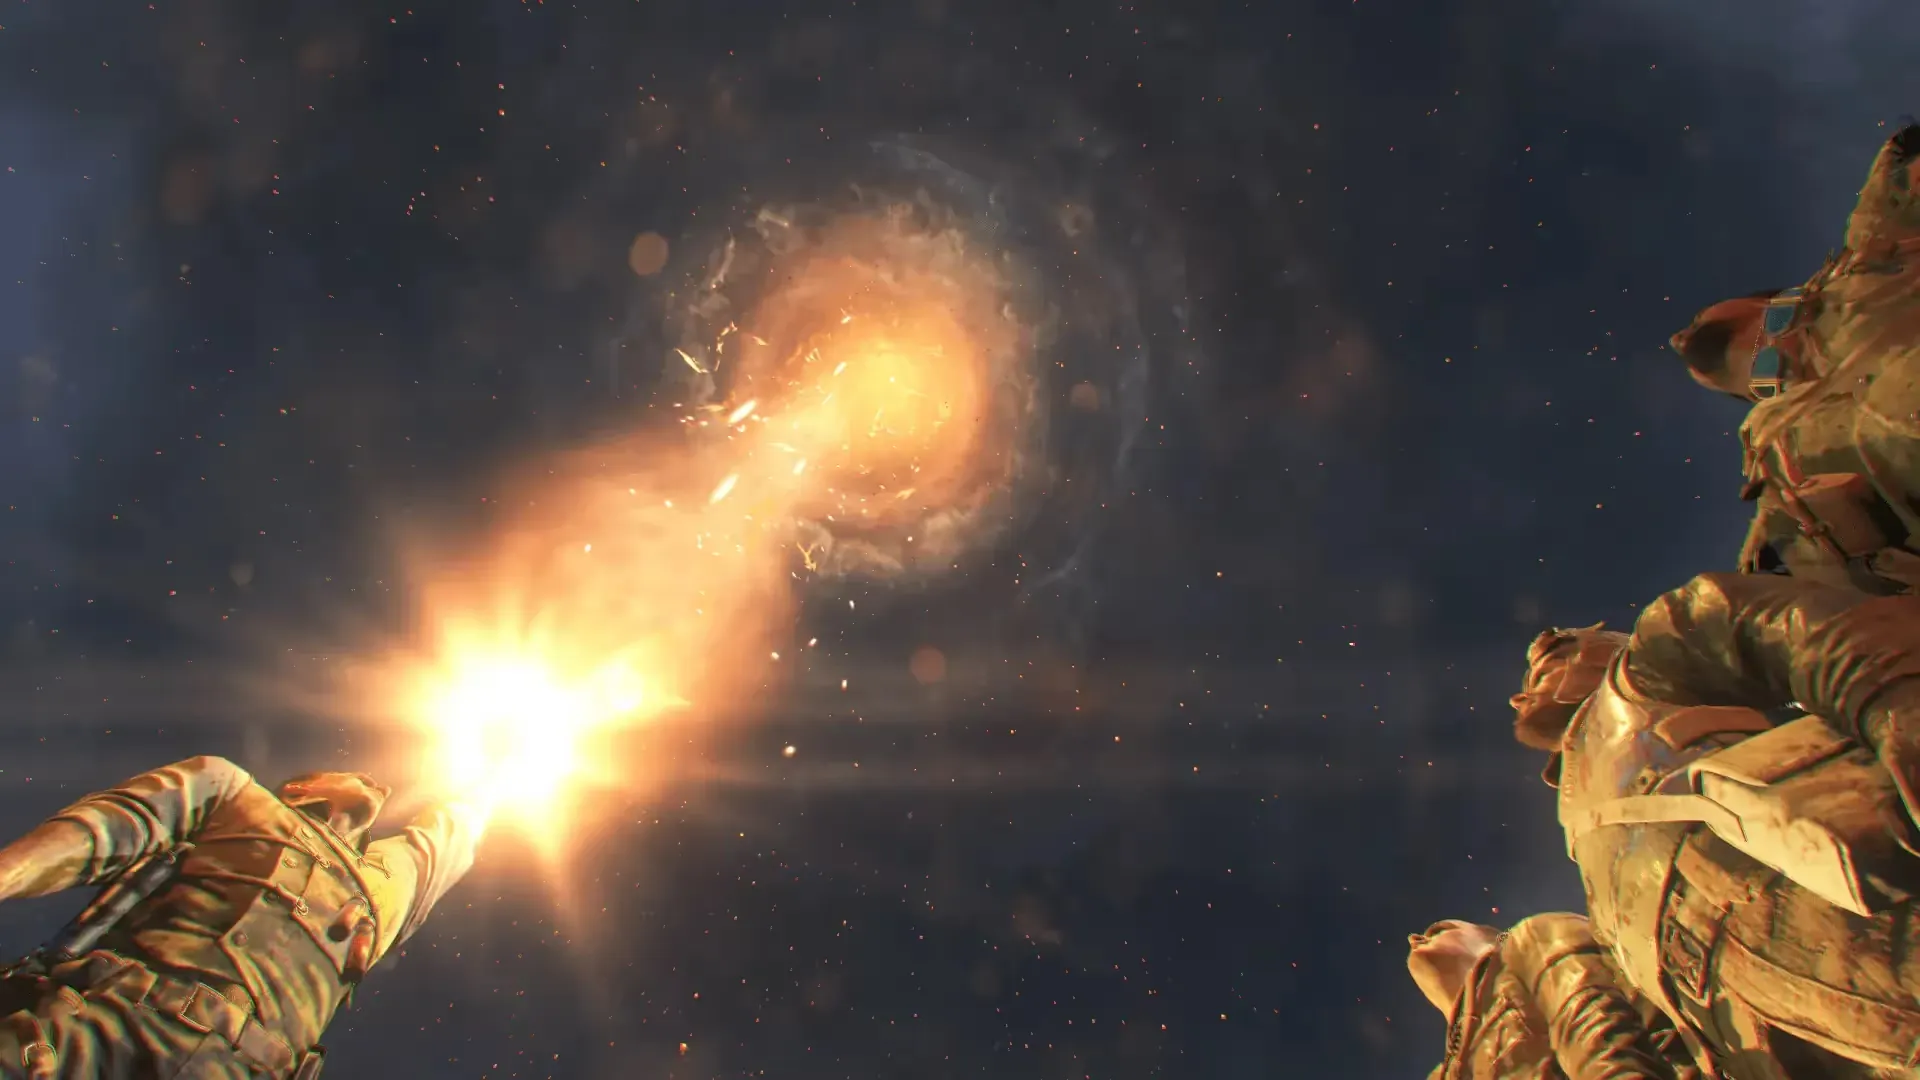
Congratulations! You have beaten the Gorod Krovi main quest: Love and War.
