
Voyage of Despair
Abandon Ship
The main quest for Voyage of Despair is called Abandon Ship. Our Chaos story crew's main goal in this quest is to complete a set of trials given to them by a mysterious Sentinel Artifact.
You must be playing on Normal difficulty or higher to do this main quest.
Requirements
This main quest can be done with any number of players. You will need to obtain the following items to complete this quest fully:
- Kraken (can also be found in the Mystery Box)
- Distillation Kit
- Hellion Salvo (found in the Mystery Box)
- Homunculus (found in the Mystery Box)
While the Hellion Salvo and Homunculus are not truly required to complete this main quest, I have included them as a requirement because of how powerful both of these items are, and they will make your time doing this main quest much more enjoyable and achievable.
Recommended Class Setups
| Special Weapon | Perks | Start Weapon | Equipment |
|---|---|---|---|
| Viper and Dragon | Strife | Wraith Fire | |
| Chakrams of Vengeance | Strife | Wraith Fire |
Winter's Wail should be put into the Modifier slot. You could also run the Scepter of Ra if you are in a group to help during the boss fight, but, other than that the two recommended special weapons will be much more useful throughout the main quest.
Recommended Elixirs
Step 1: The Sentinel Artifact is yours for the Taking
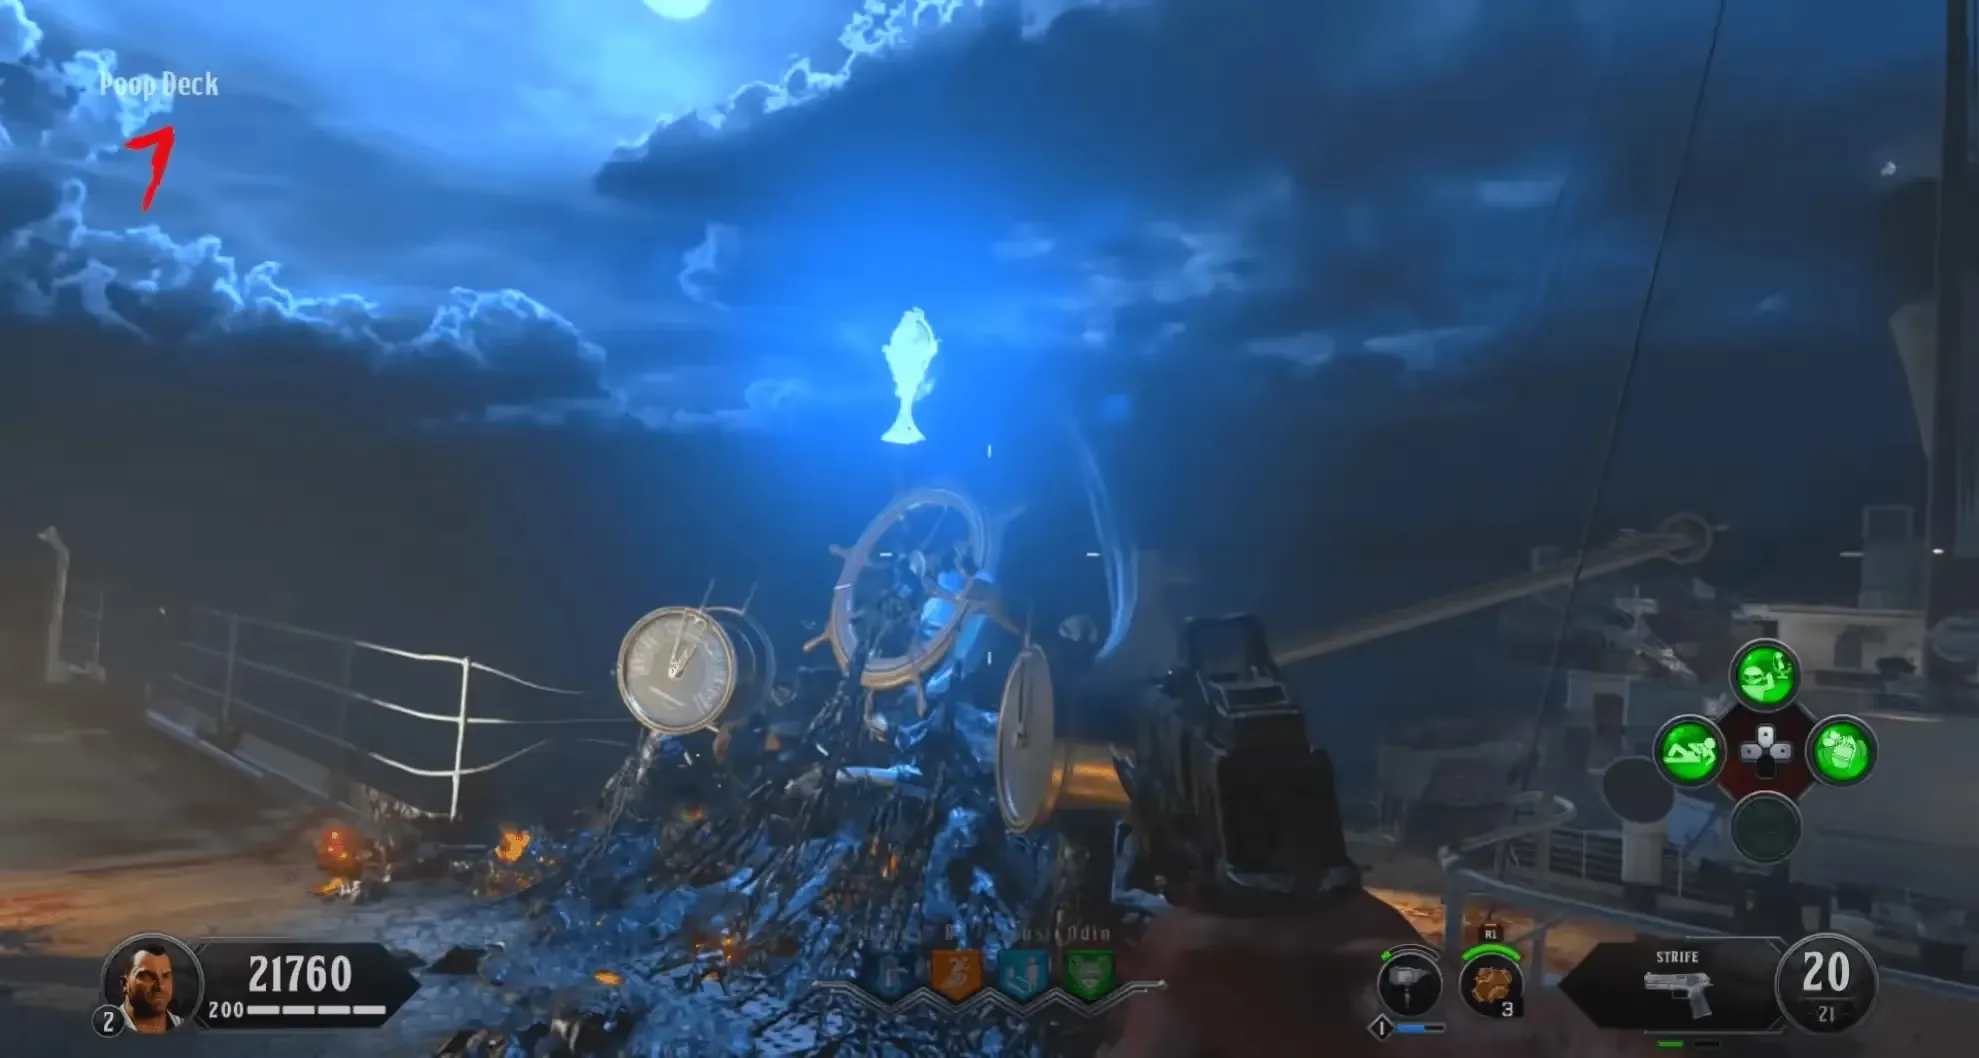
Head to the Poop Deck, and you must interact with the Sentinel Artifact hovering just above the wheel to activate it. This will open portals around the map that you can enter to activate Pack-a-Punch.
Step 2: For the Elements are Four and Must be Attuned
Activate the Pack-a-Punch pedestals in each of the following locations:
- Poop Deck
- Turbine Room
- Lower Grand Staircase
- Cargo Hold
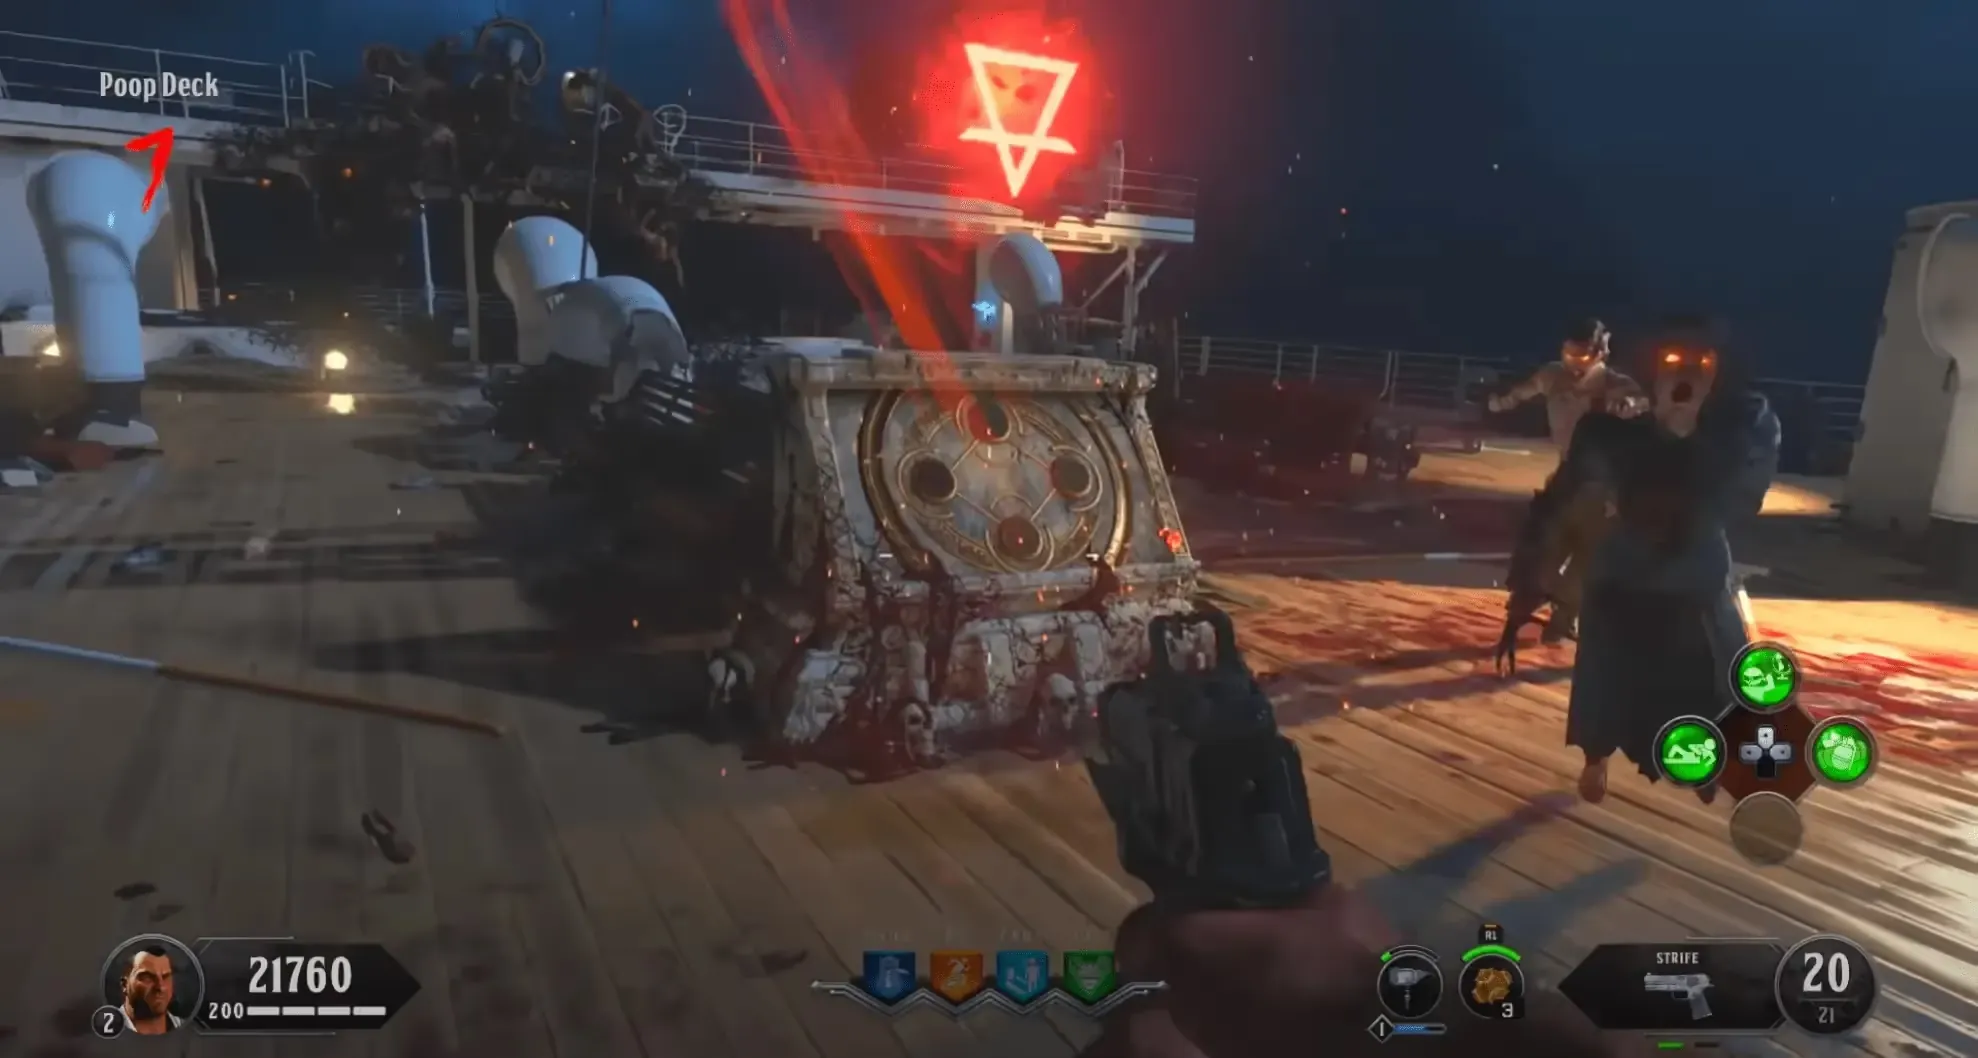
After activating all four of these pedestals, Pack-a-Punch will appear in the location of the final pedestal you interacted with.
Step 3: To Change the Agents of Change is to Change Everything
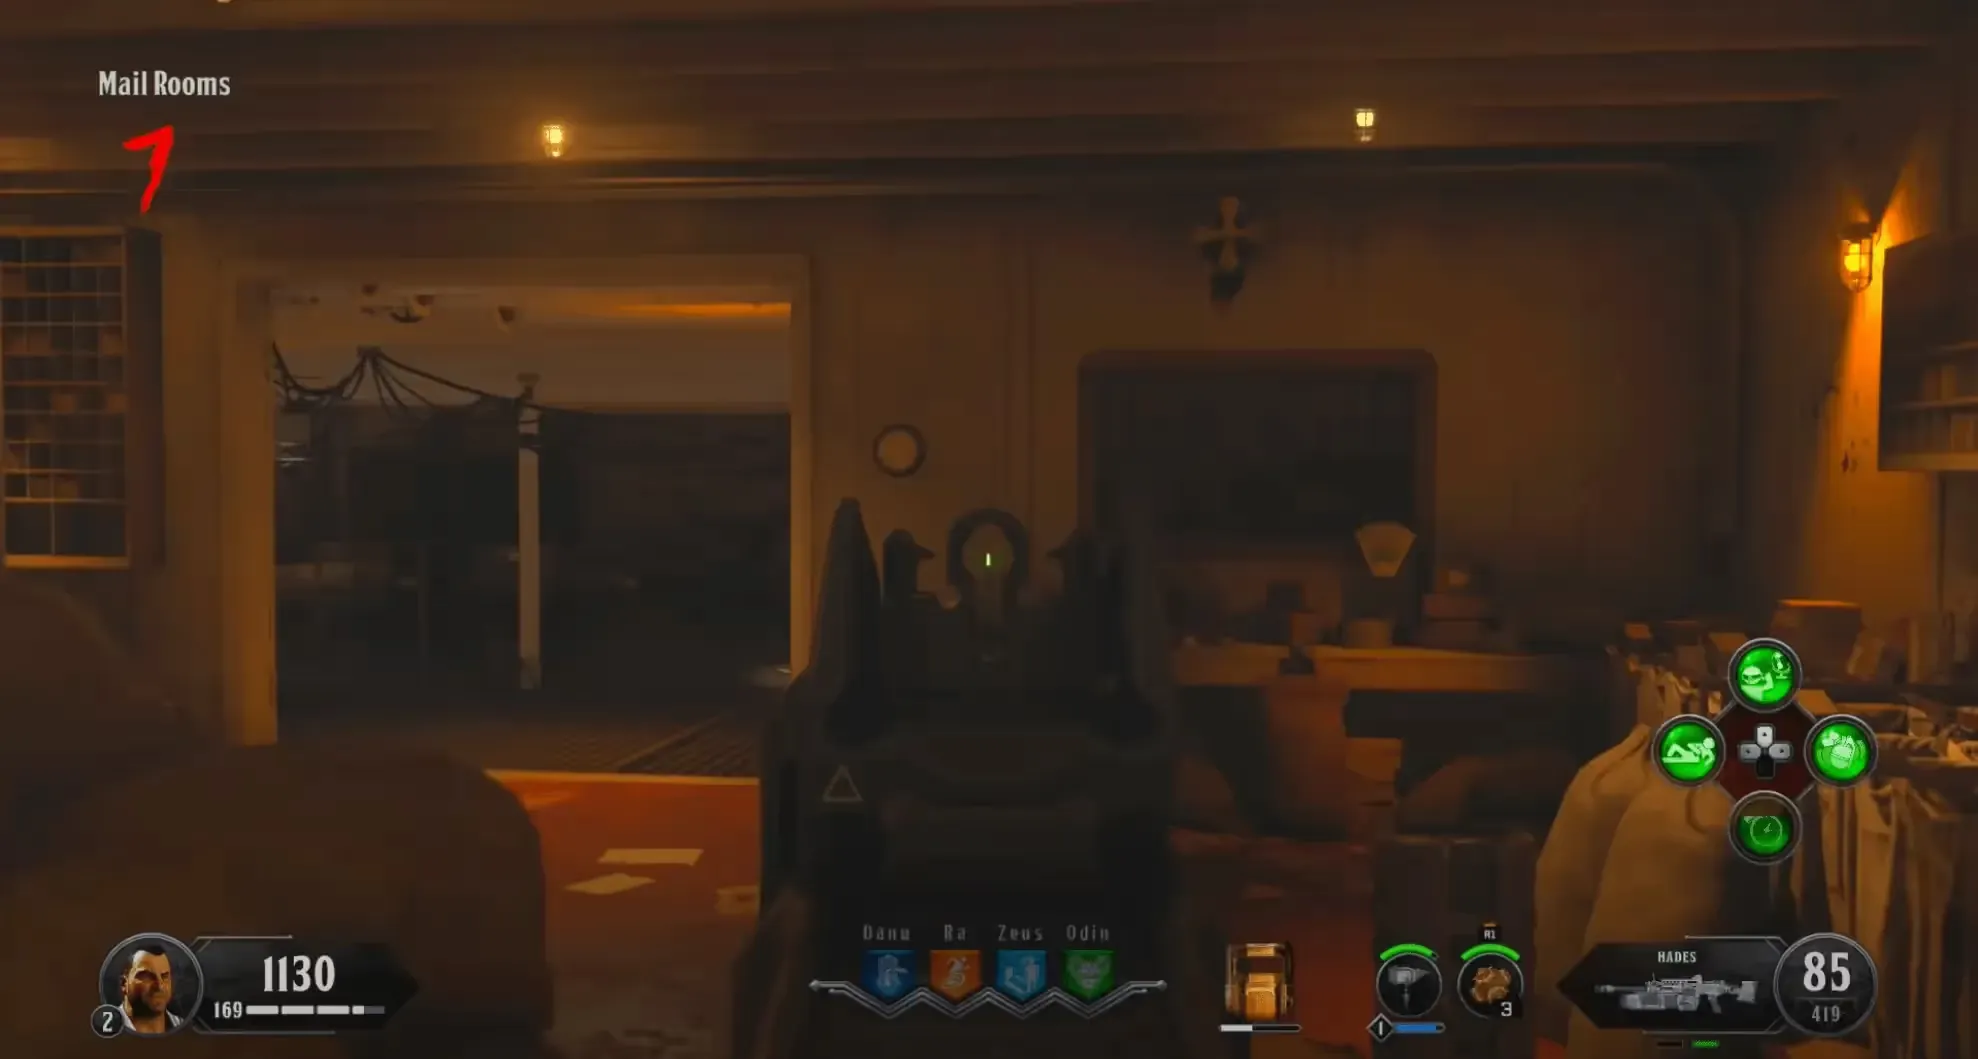
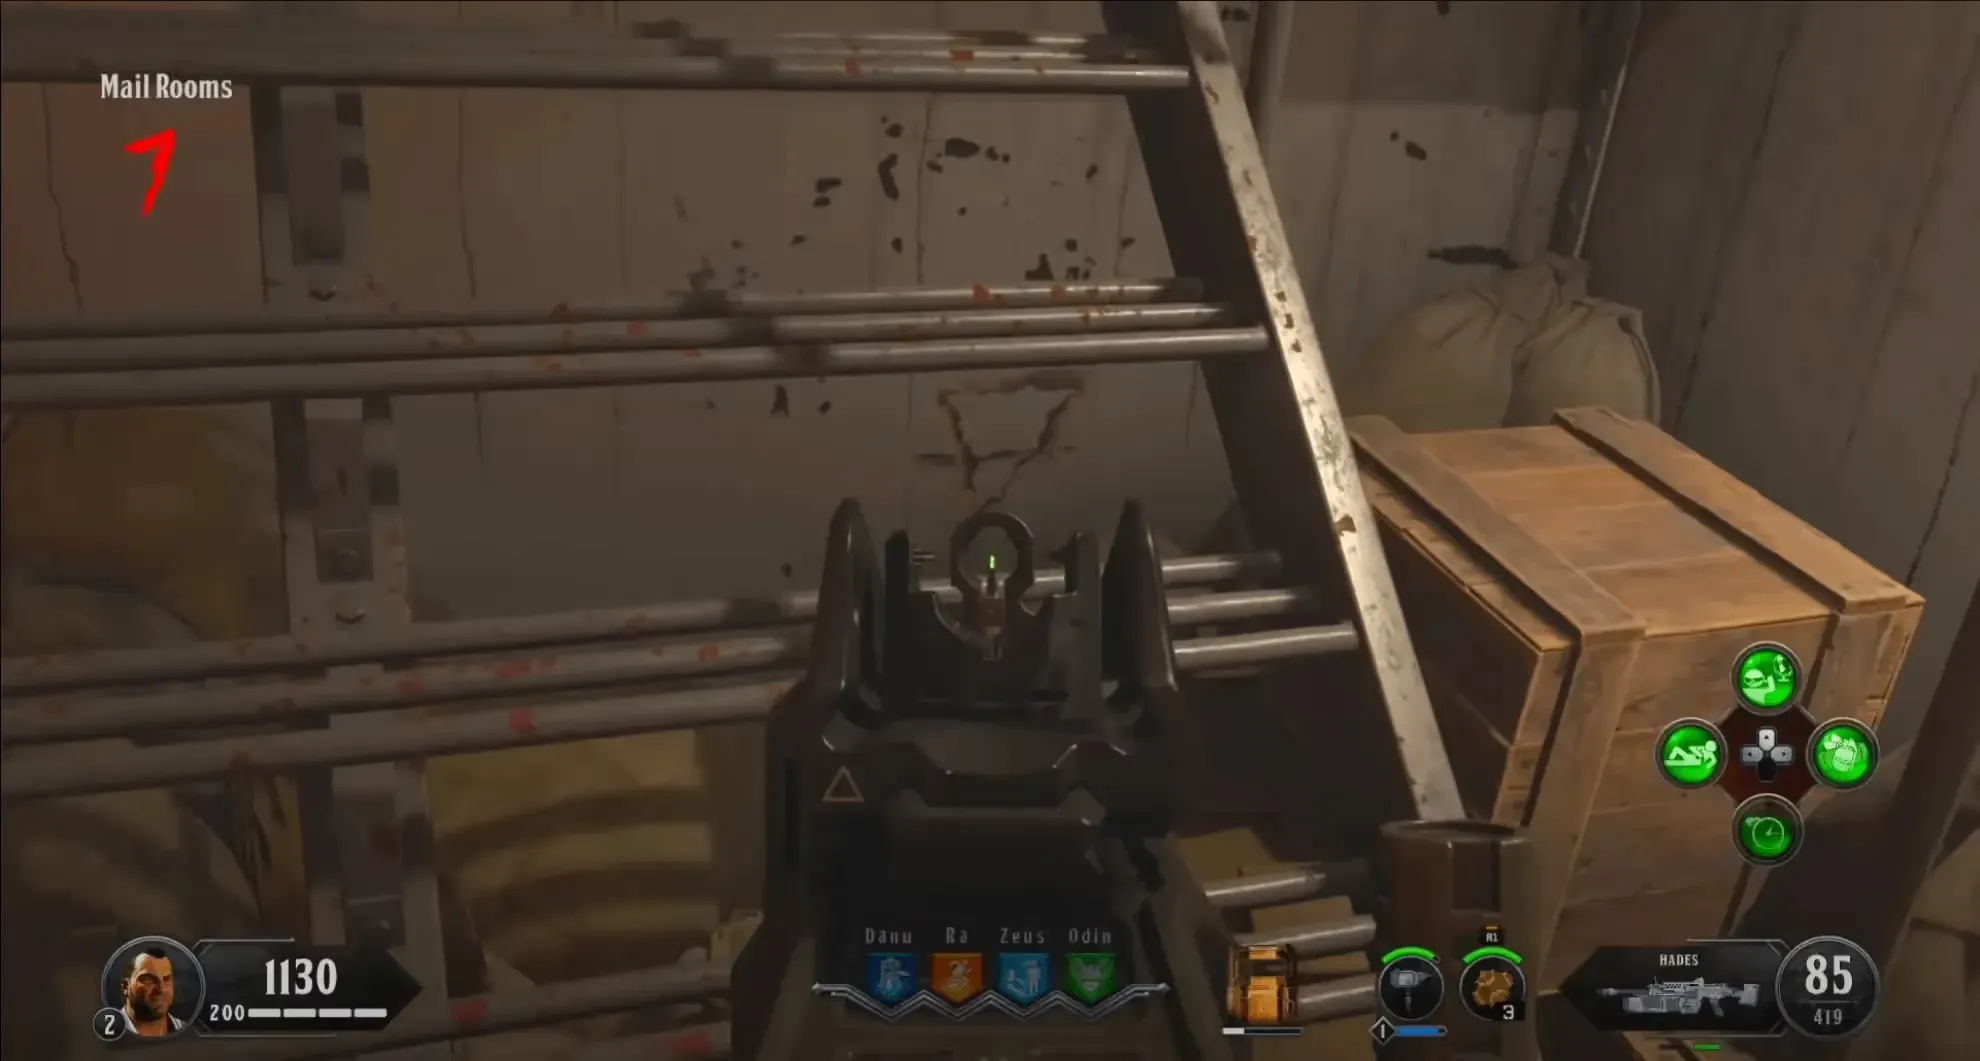
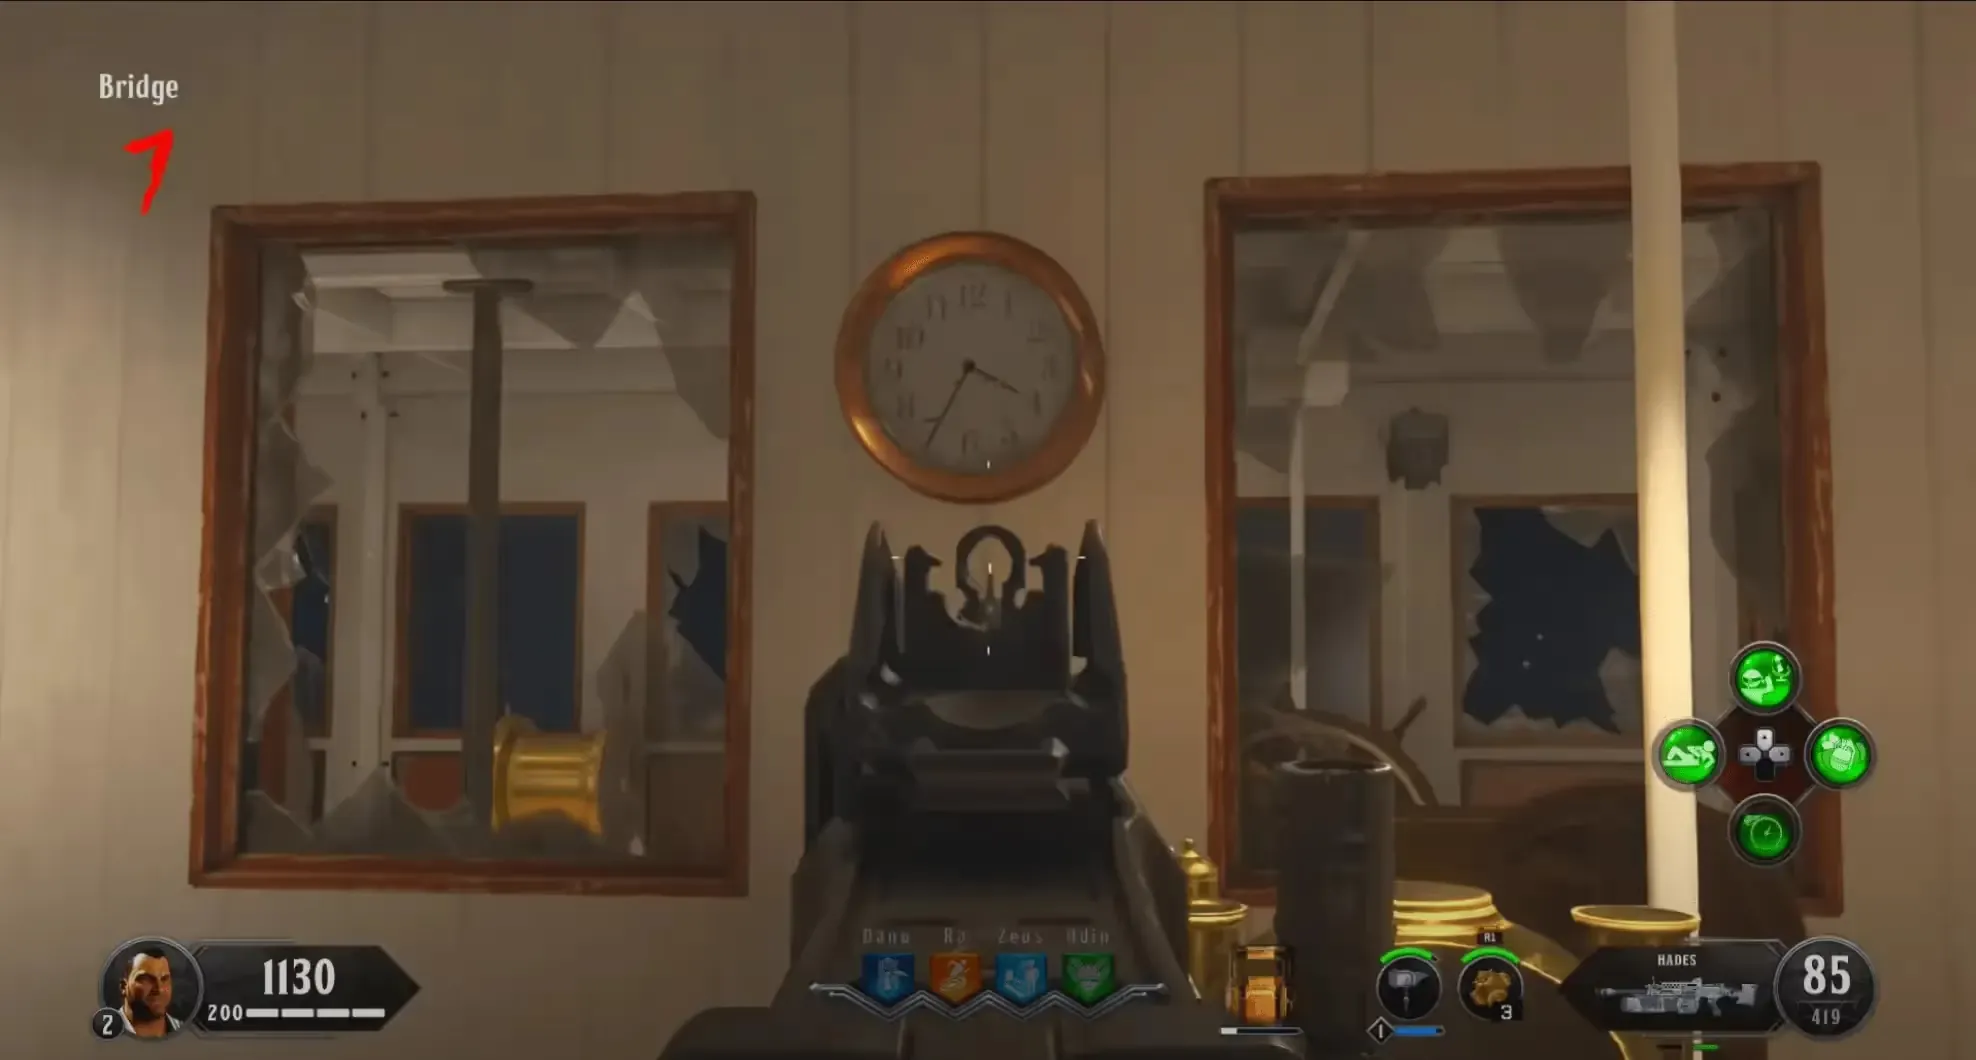
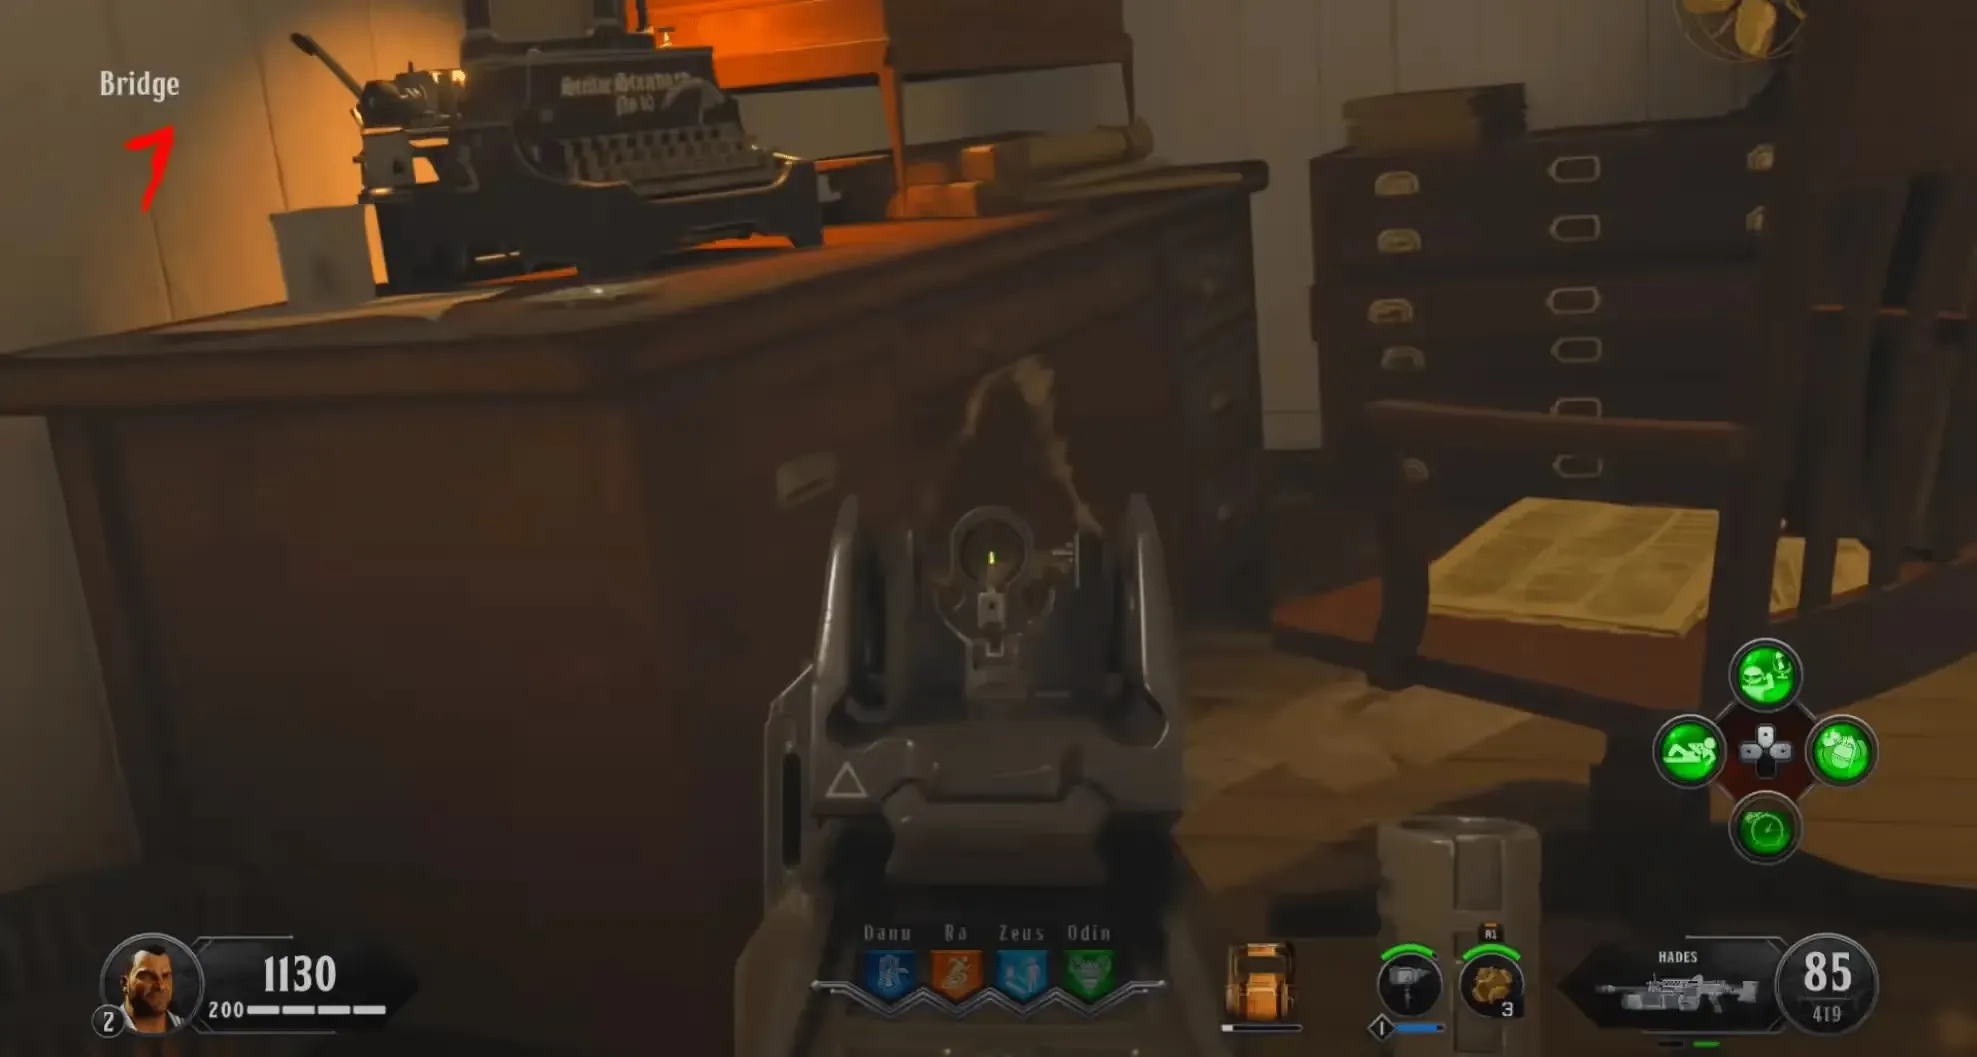
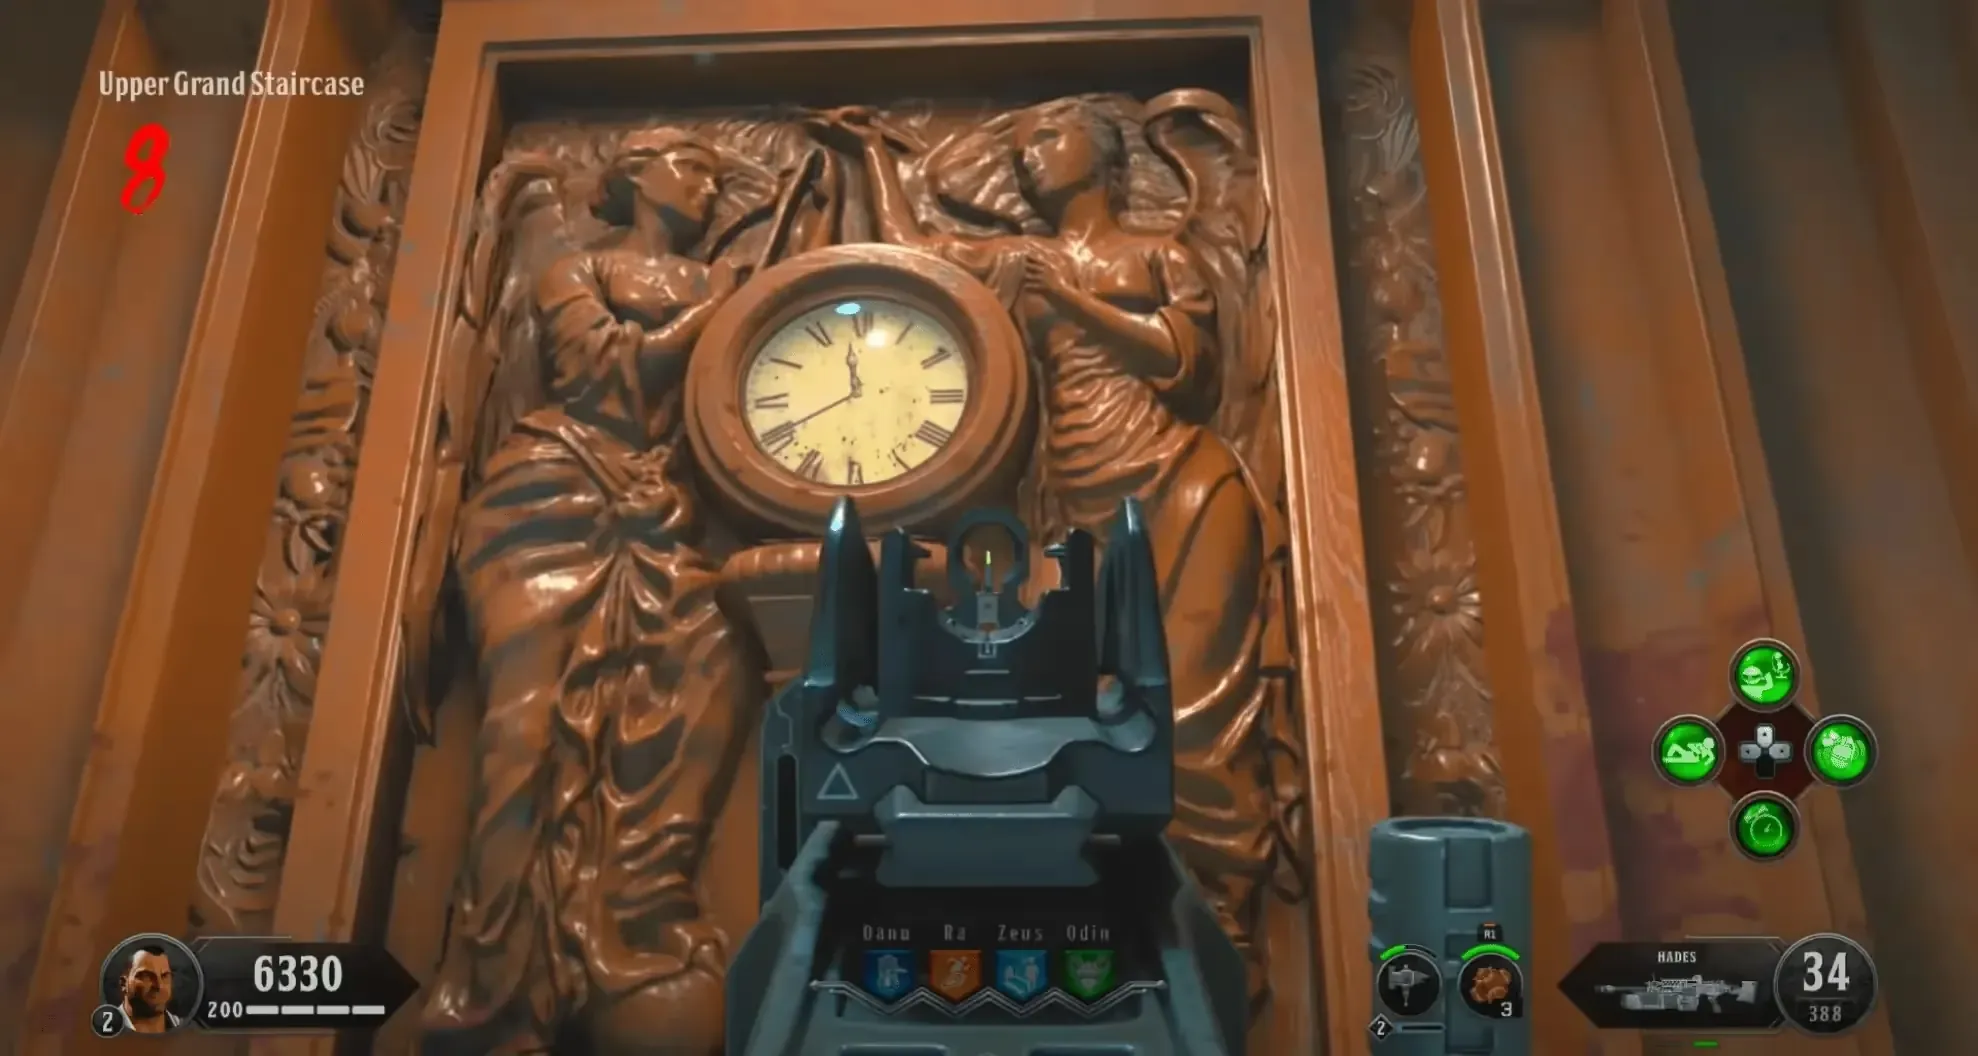
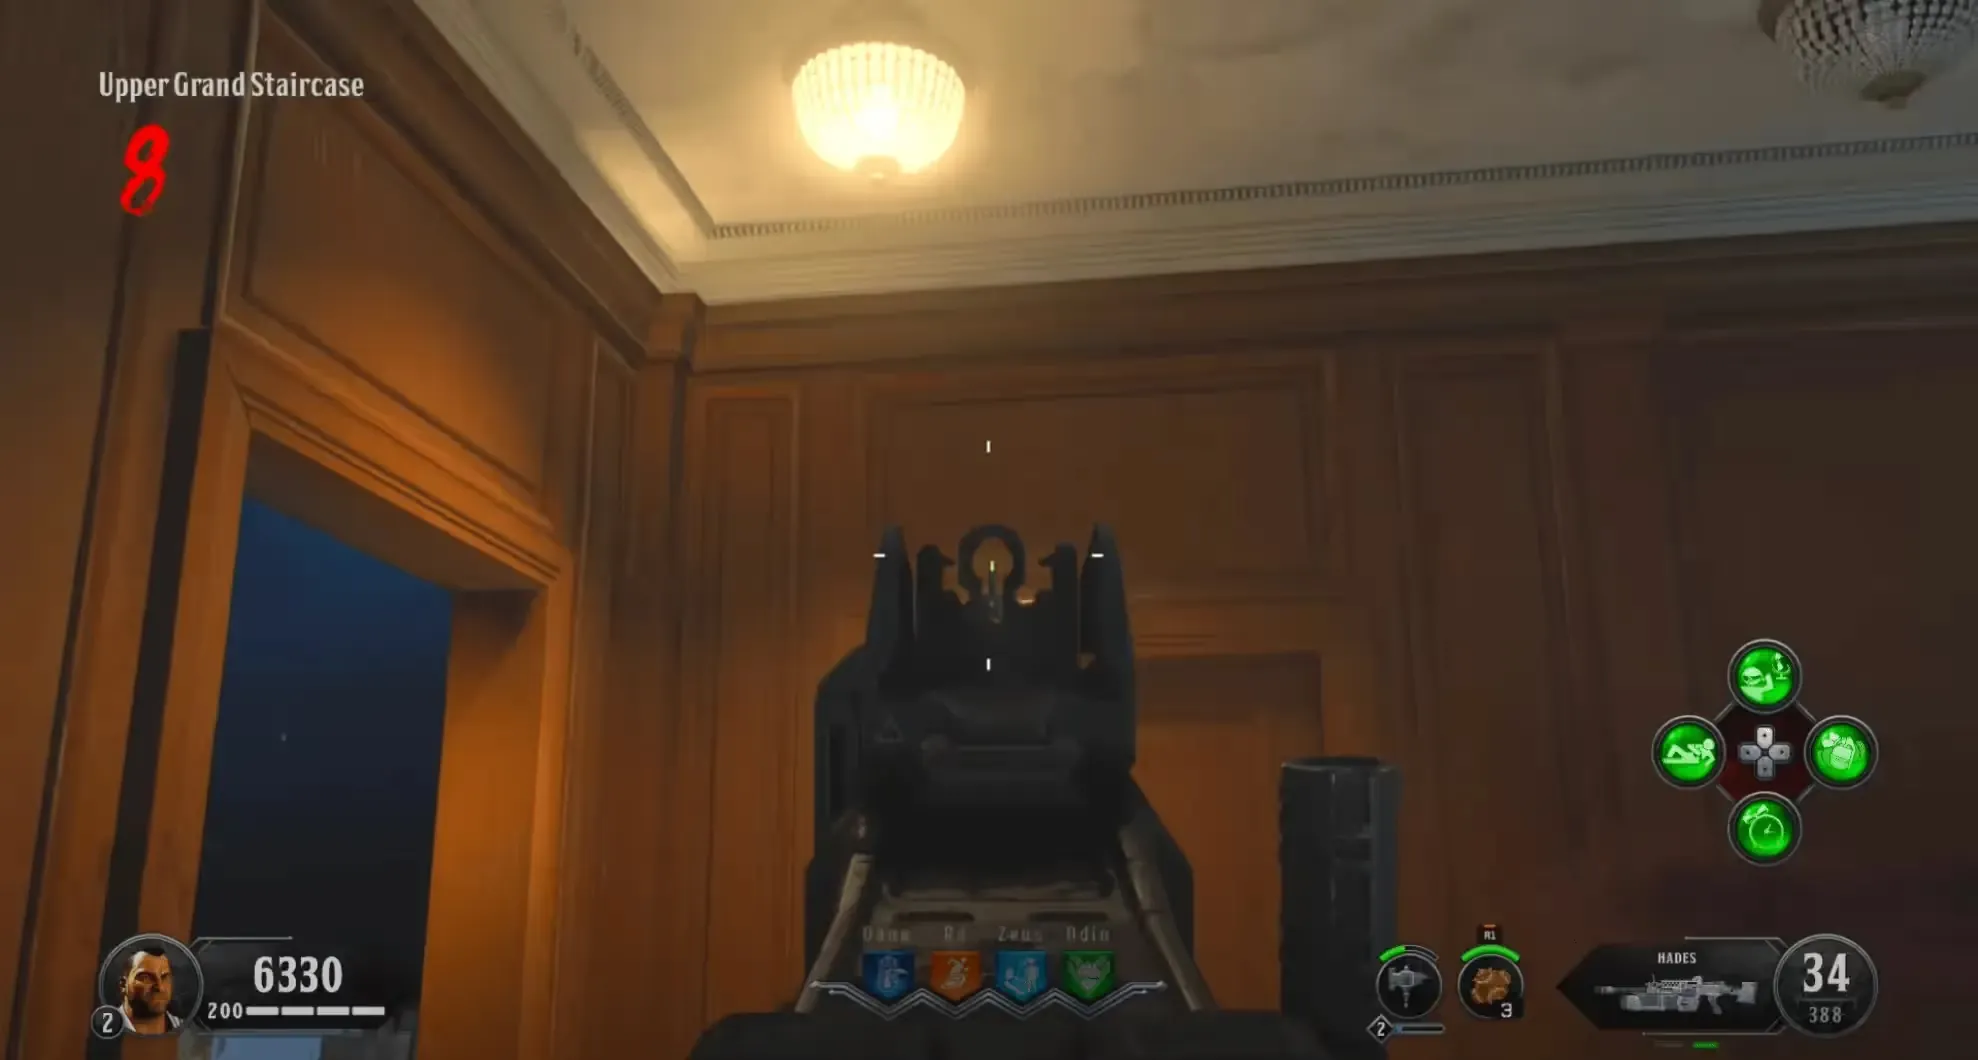
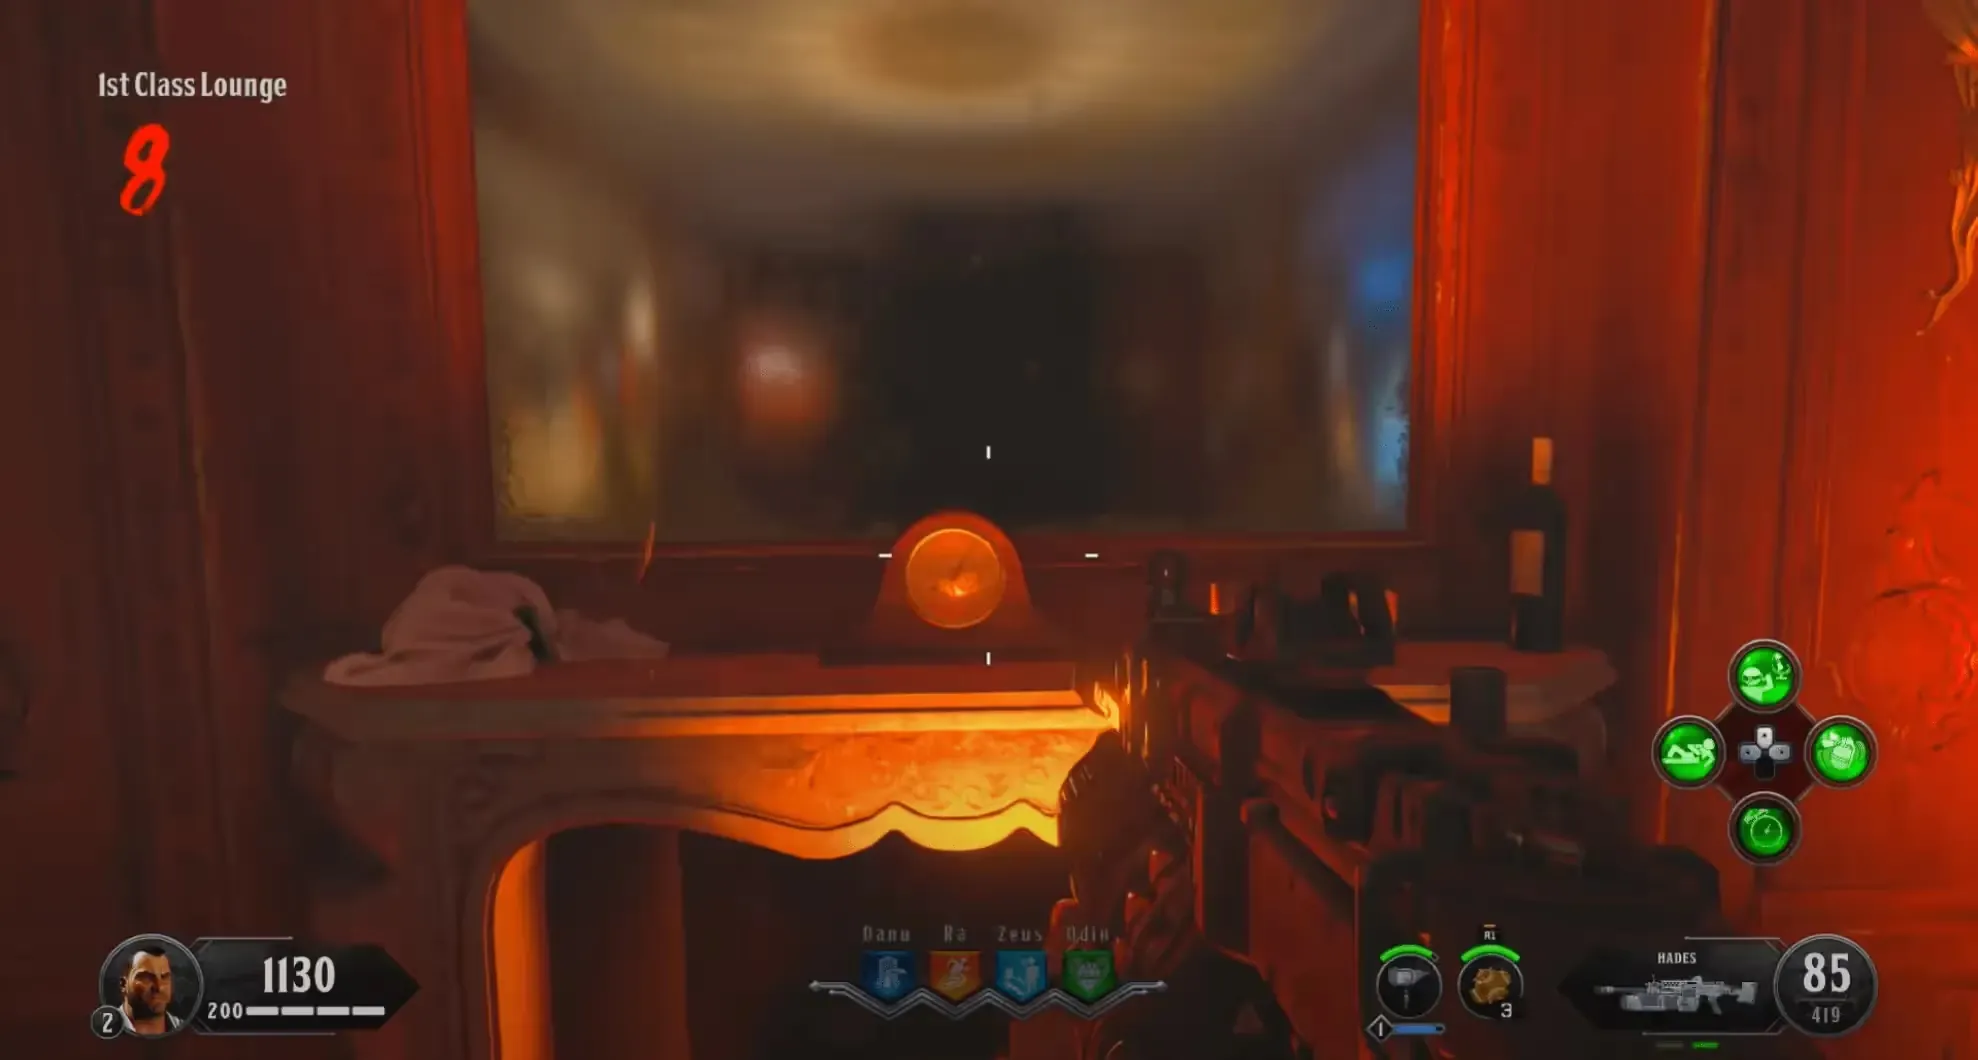
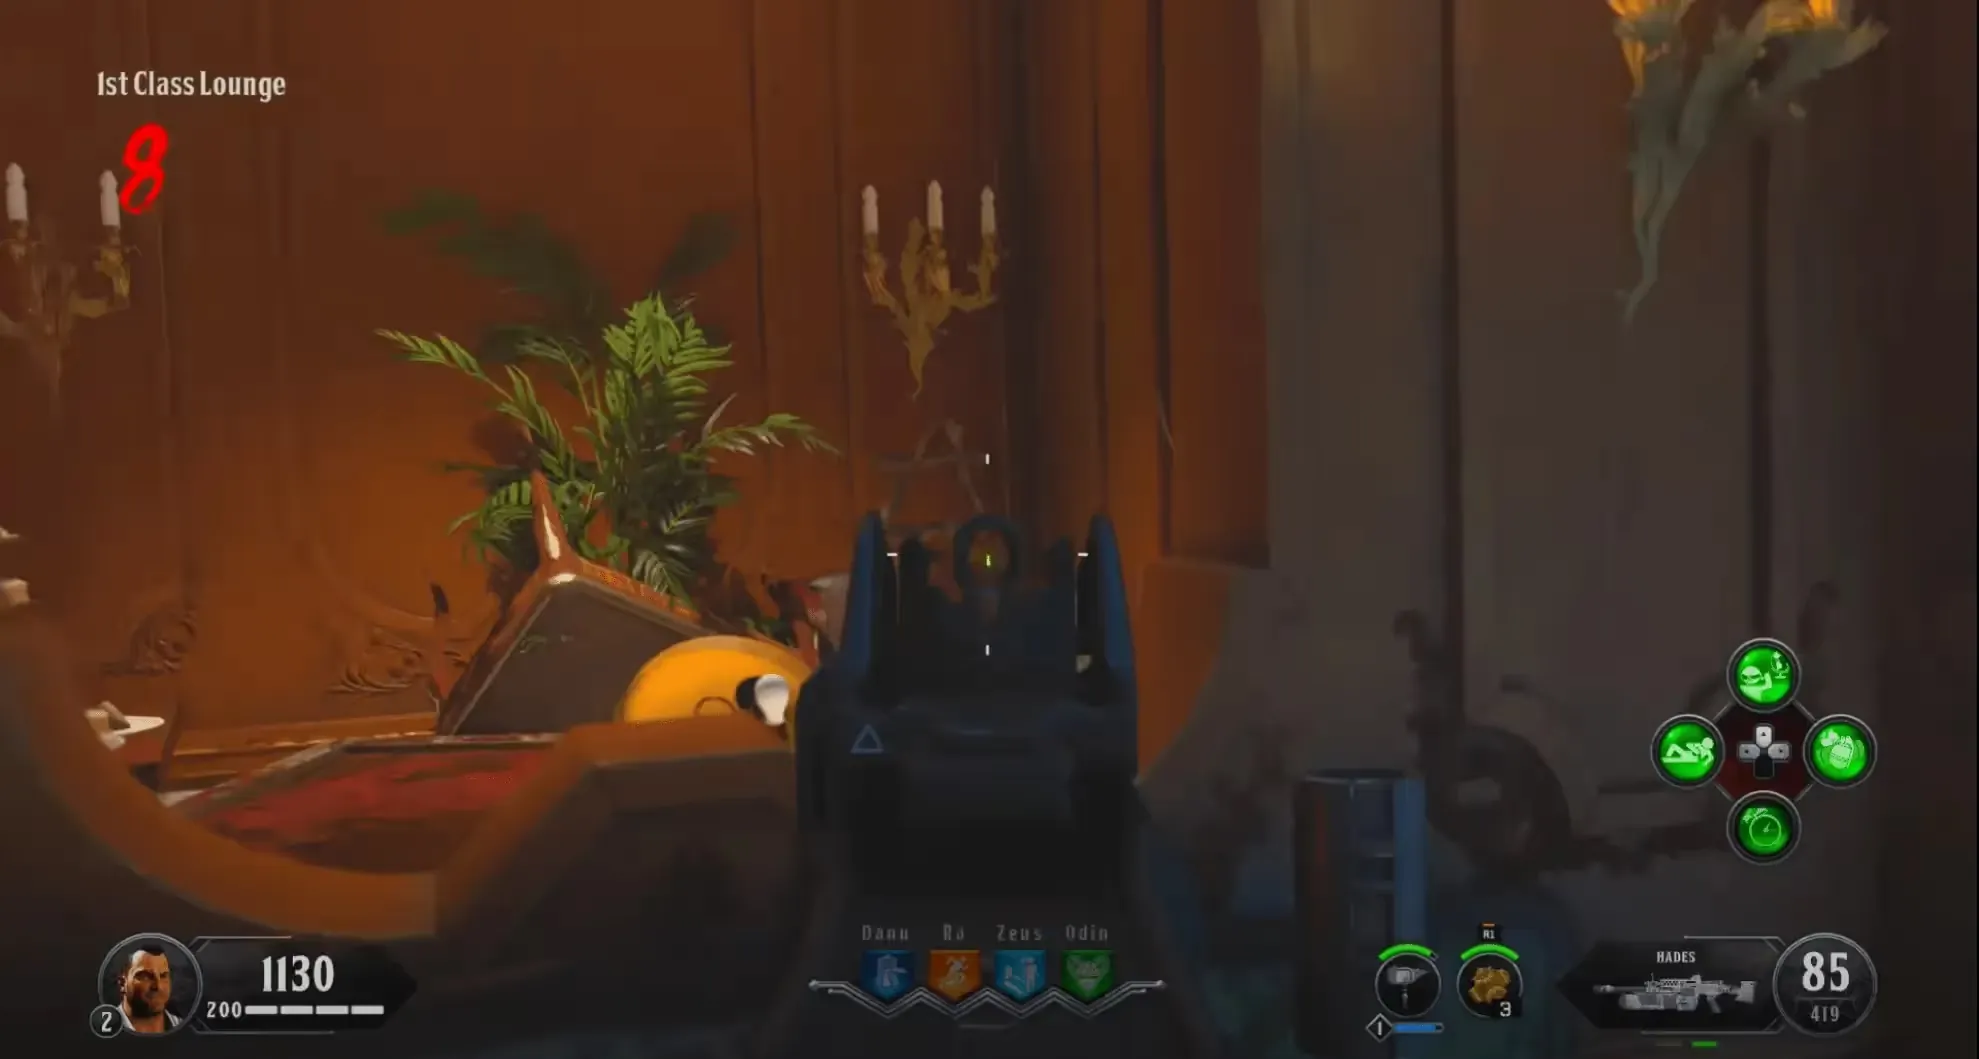
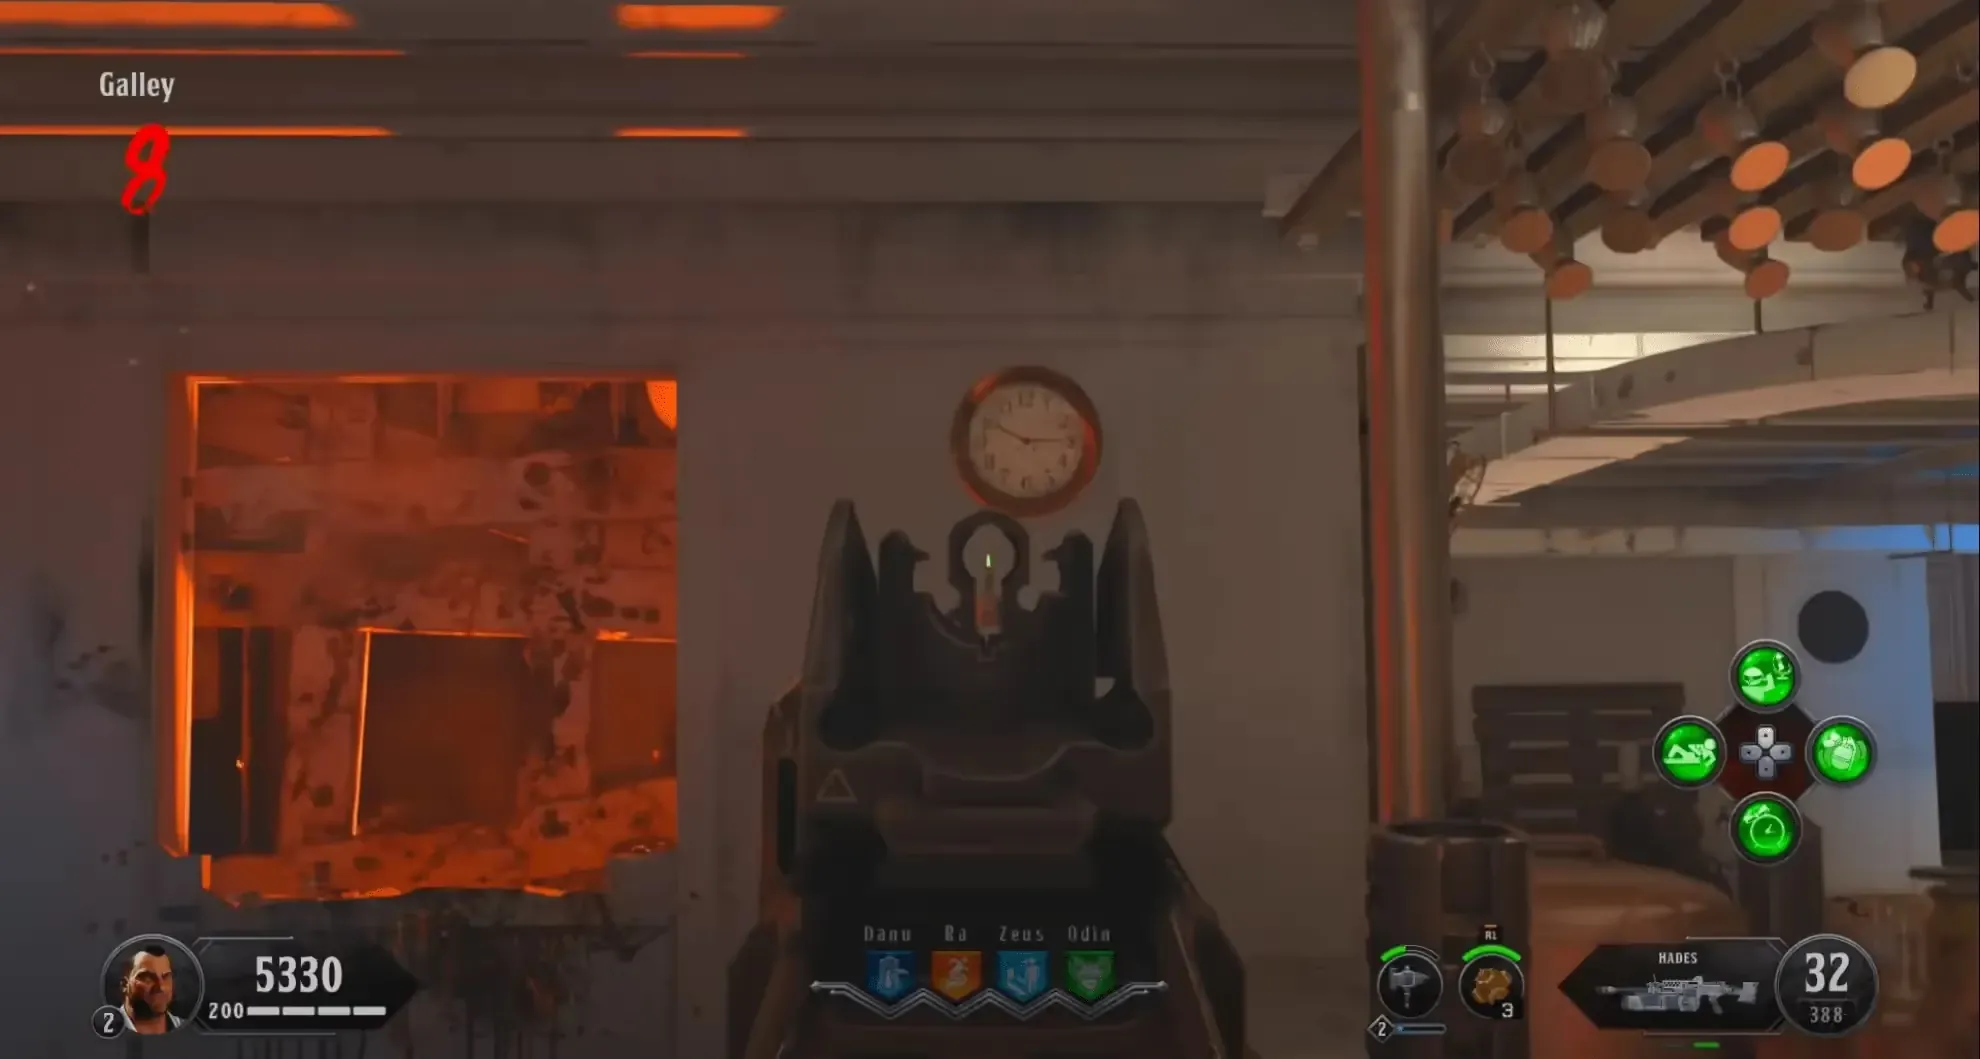
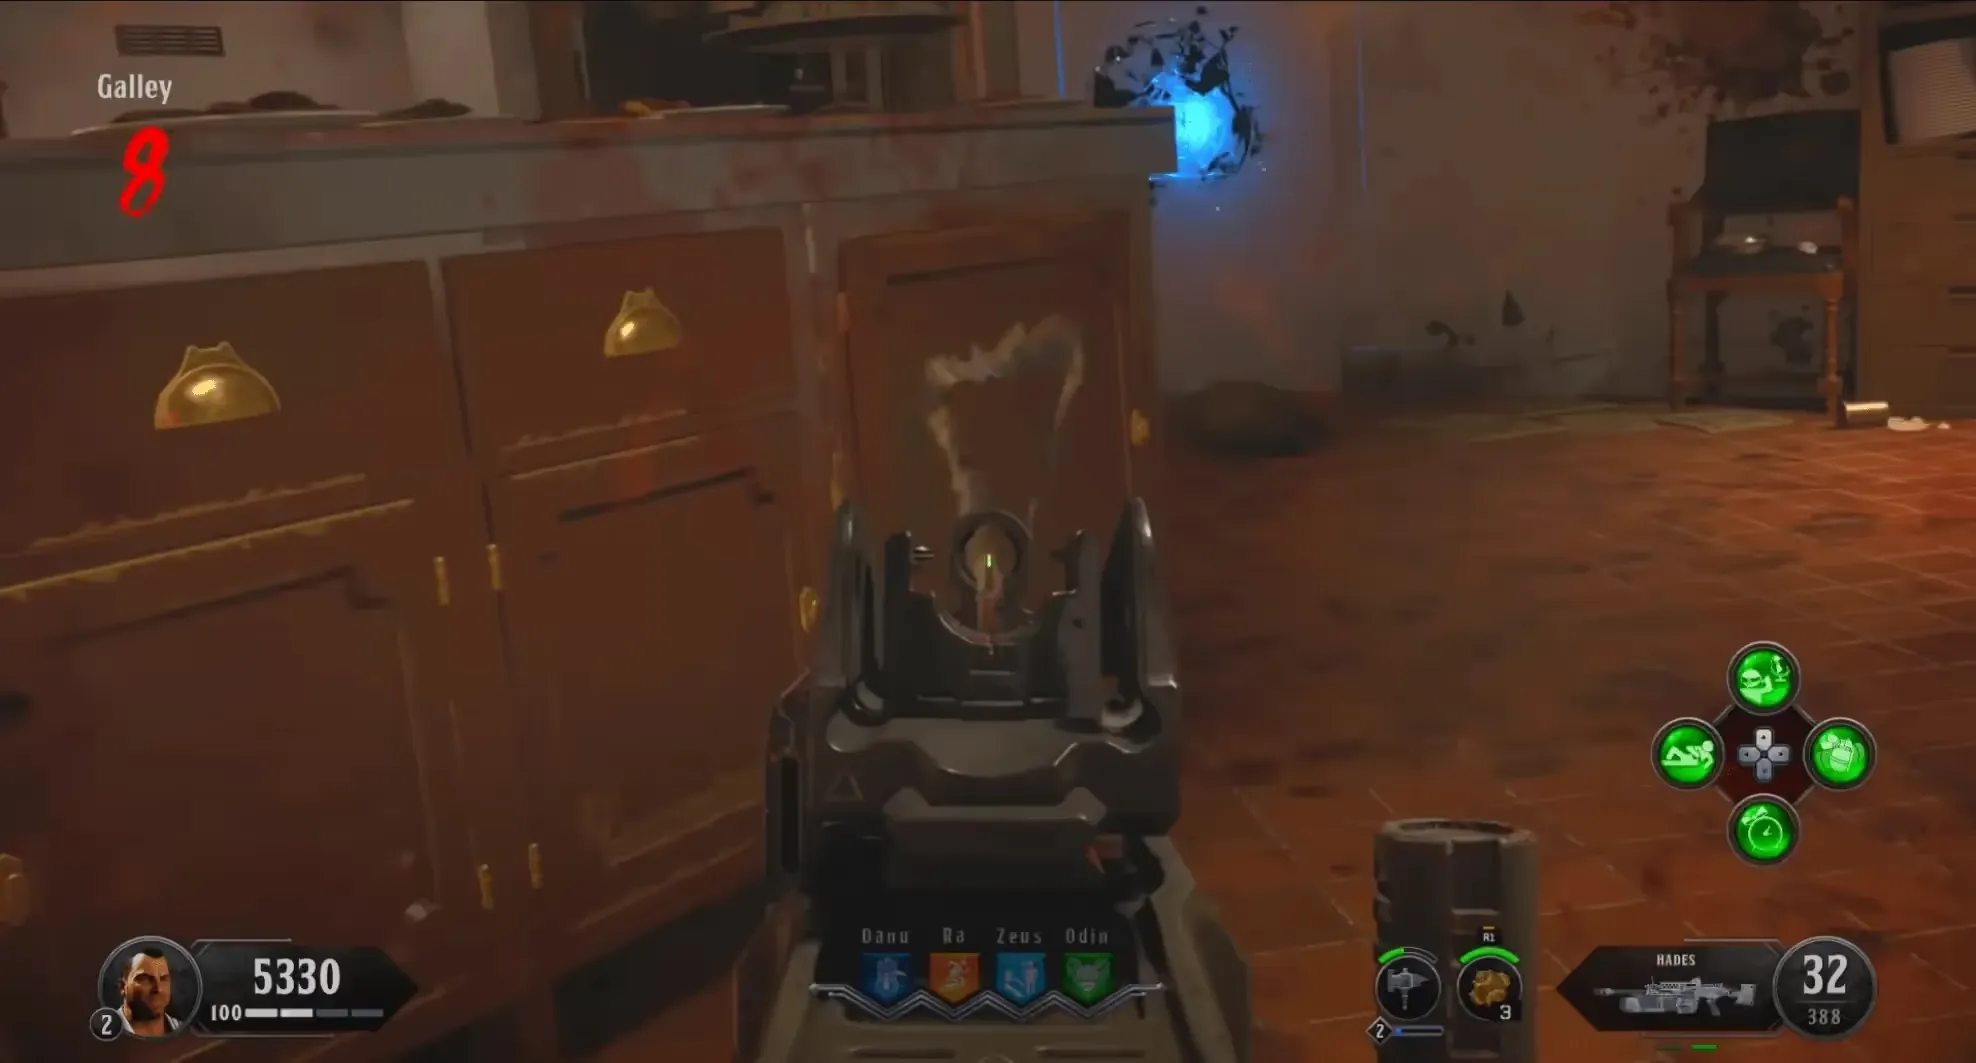
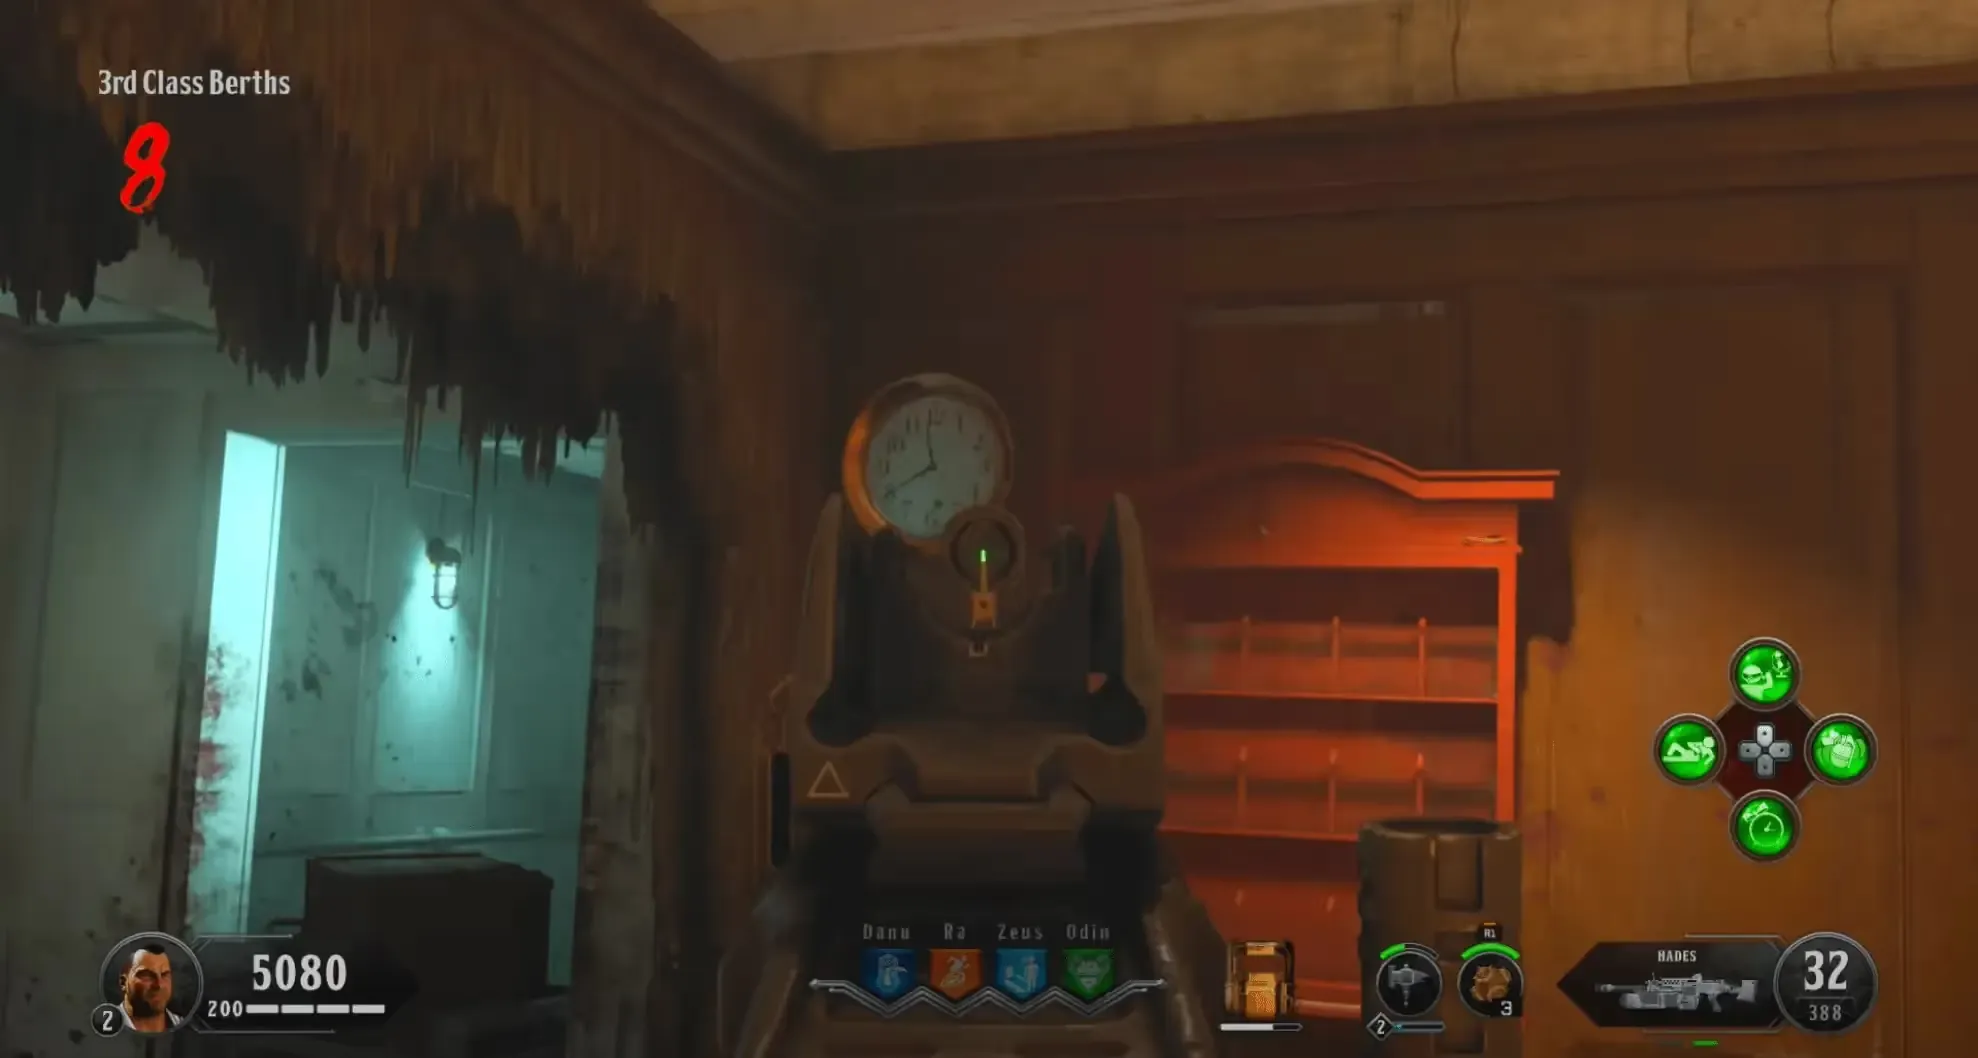
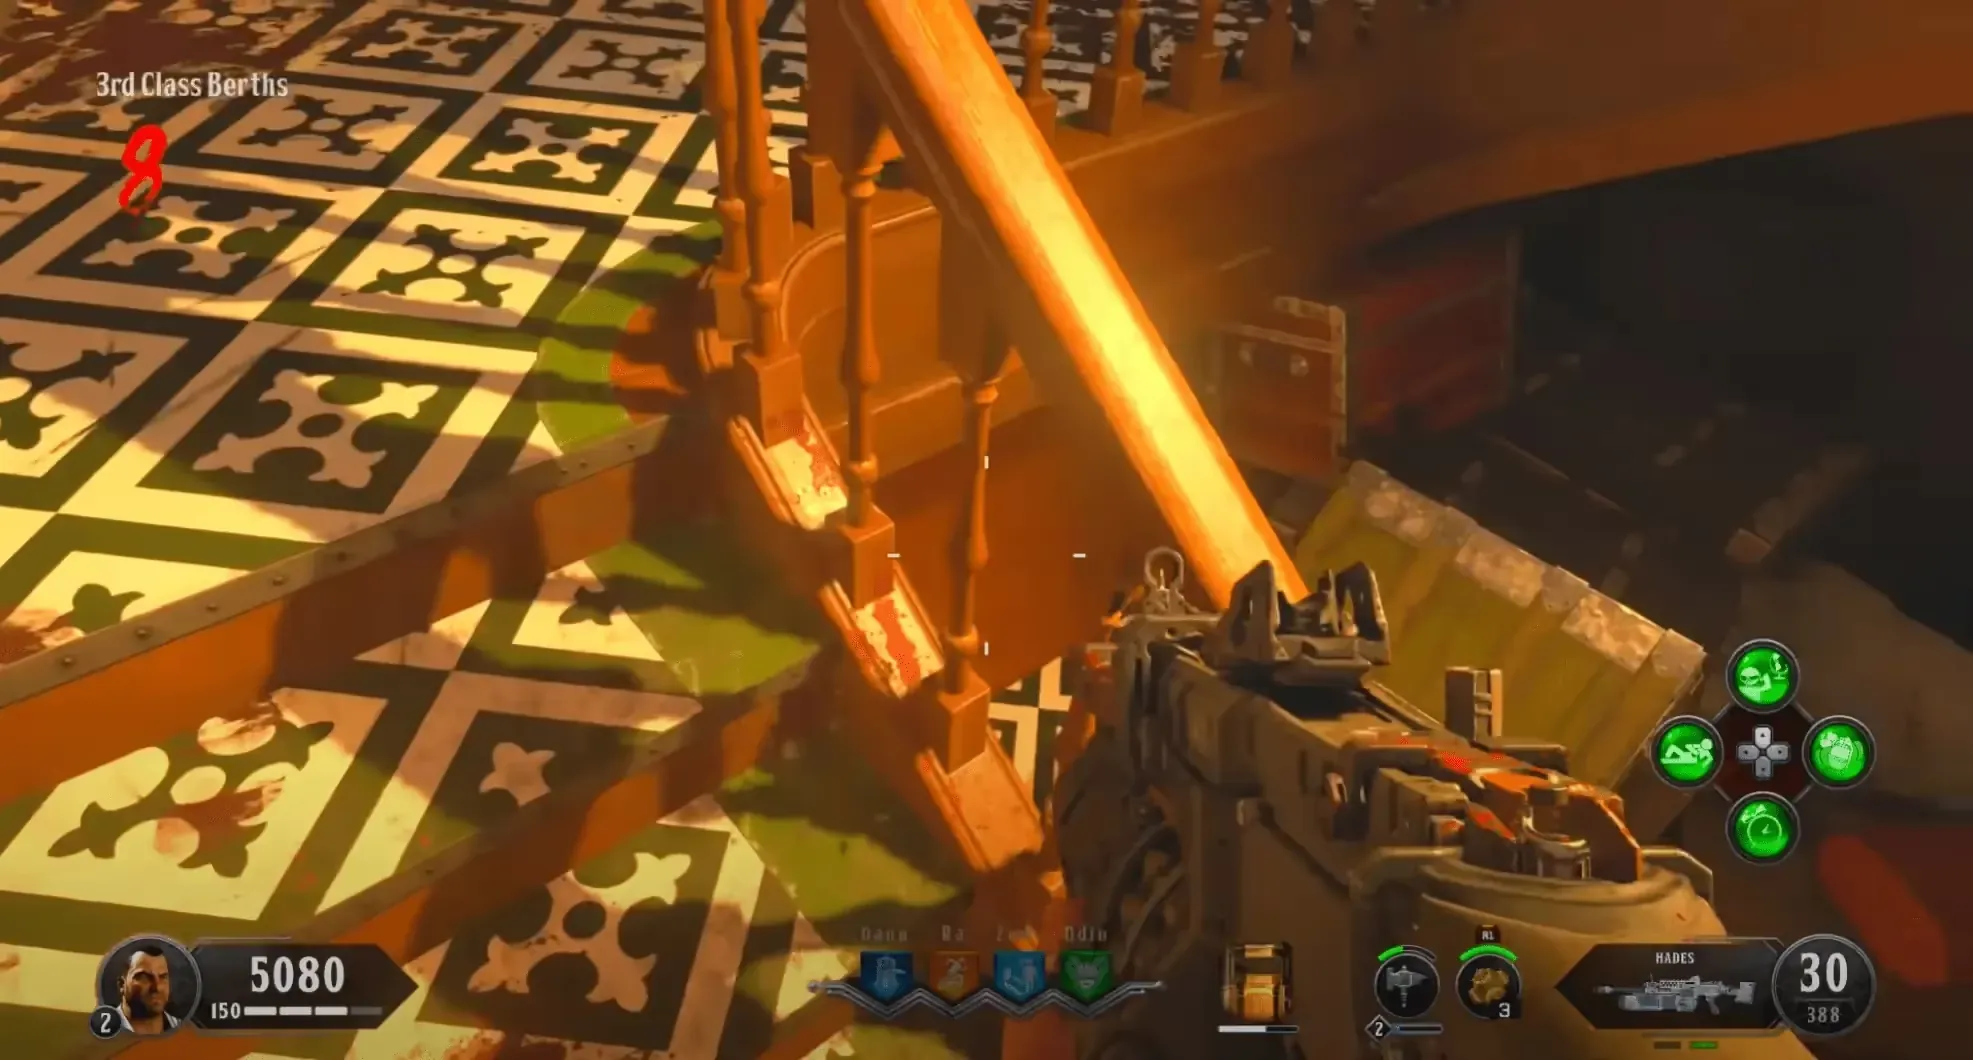
You must locate four elemental symbols and their four corresponding clocks. For each clock, there will be an elemental symbol nearby. Below is an image of the four elemental symbols and a list of the six total possible locations for these symbols and their corresponding clocks:
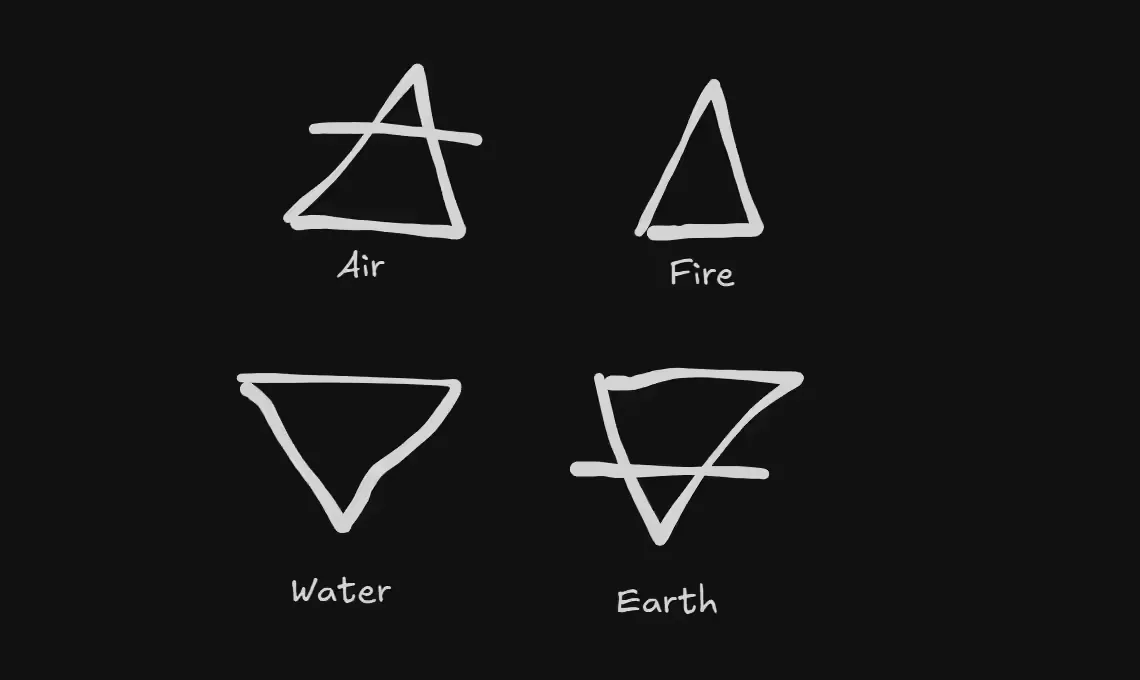
Only four of the six locations listed will have a symbol near the clock in that area, you must remember the times of the clocks with an elemental symbol nearby.
Mail Room
Bridge
Upper Grand Staircase
1st Class Lounge
Galley
3rd Class Berths
Head to the Bridge, there will be four levers, each with an elemental symbol engraved on them. Think of these levers like clocks and you must move the levers to the minute-hand position of the clock that the elemental symbol on the lever corresponds to.
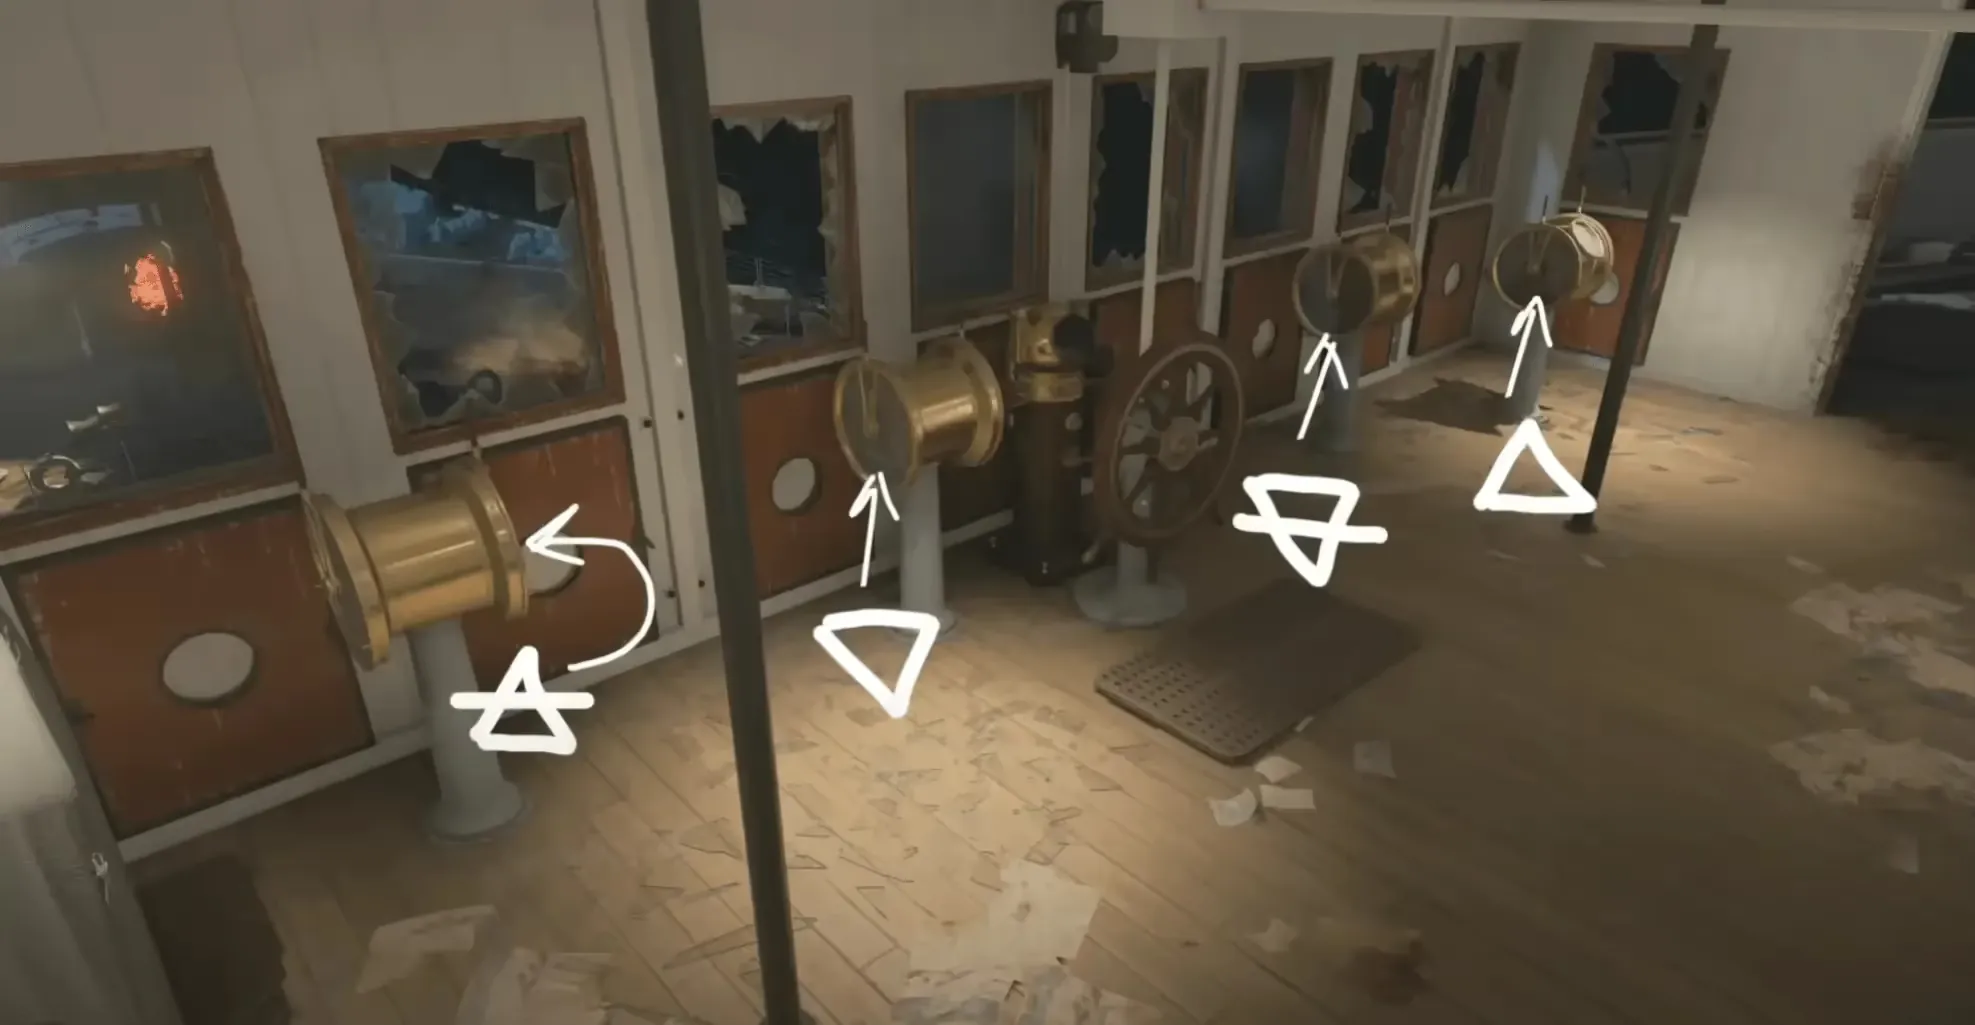
As an example, if the clock near the Water symbol displayed 3:50 as the time, then you would move the lever with the Water symbol to the left twice, placing it on the 10 o'clock position of the clock which represents 50 minutes on a clock's minute hand.
Once you have those four levers in the correct positions, head to the Poop Deck where you must do the same for two more levers next to the wheel where the Sentinel Artifact was activated, but this time for the hour-hand instead of the minute-hand of the clock. The lever to the left of the wheel corresponds with the Air symbol, and the one to the right of the wheel corresponds to the Earth symbol, move each lever to the hour that was displayed by the clocks near these symbols.
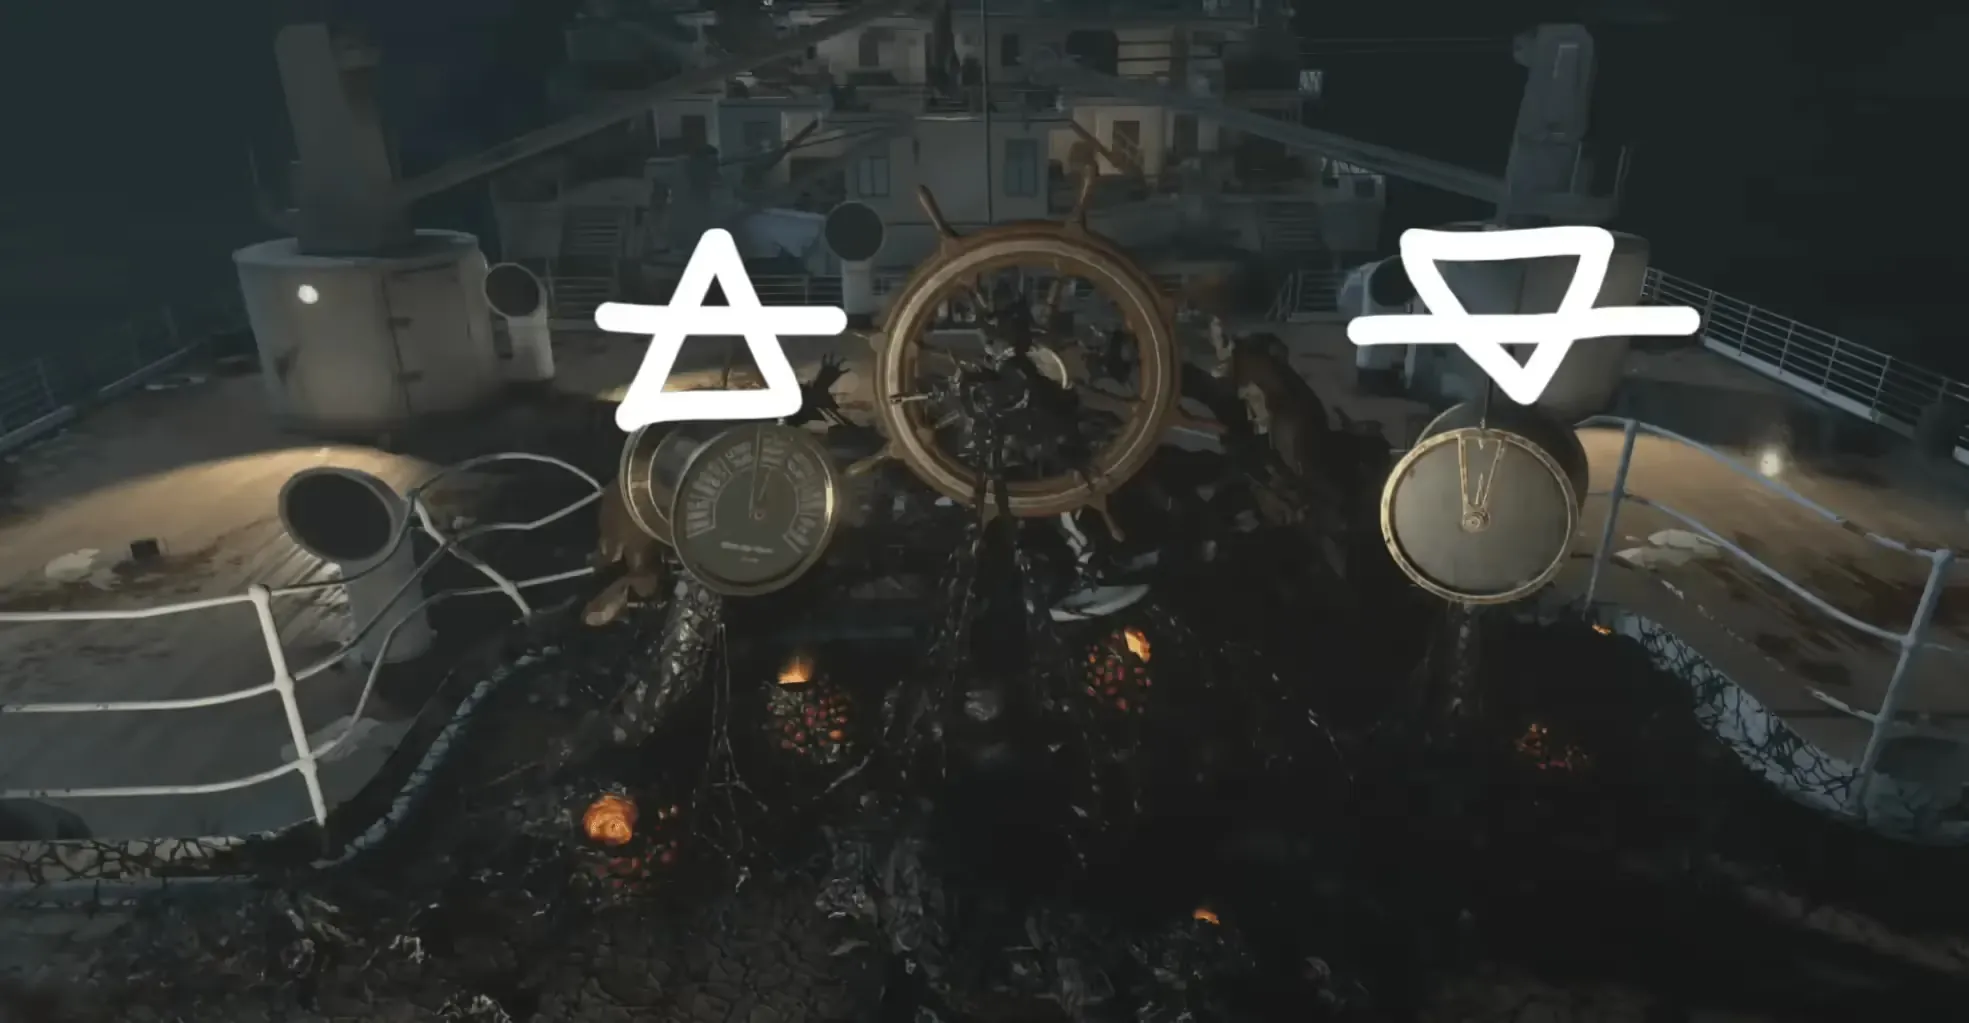
Once that is completed, head to the Engine Room, where you must do the same once again for two more levers in the middle of the engine room in front of the Pack-a-Punch pedestal. These levers must also be turned to the hour-hand instead of the clock's minute-hand. Only the bottom left, and top right levers are functional, the bottom left lever corresponds to the Fire symbol while the top right lever corresponds to the Water symbol.
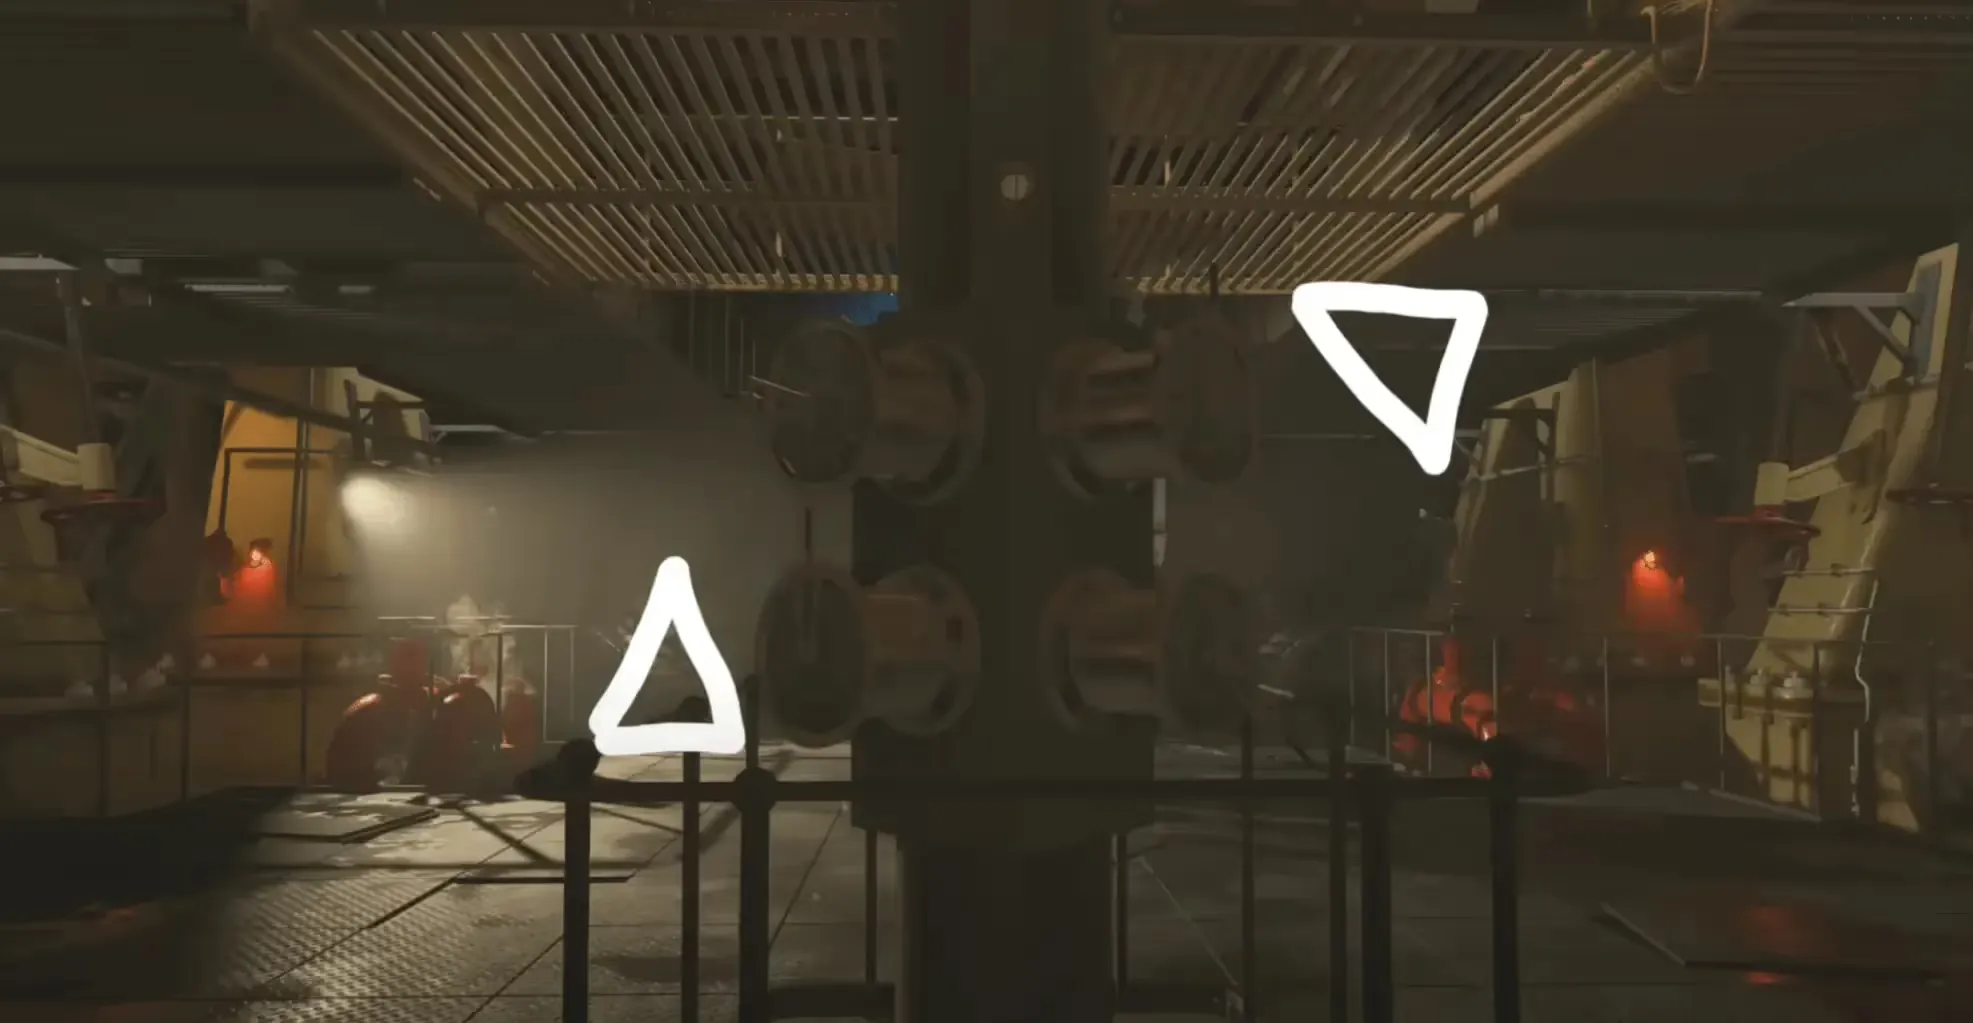
Finally, once all eight levers are in their correct positions you should hear an audio cue indicating the completion of this step.
Step 4: Within the Chain of Phases all is Conceived
You must find four out of six outlets that will be sparking with an elemental catalyst effect (Water, Fire, Electric, Poison). When you find one of these sparking outlets be sure to remember the location and what effect was on it. The locations of the six outlets are:
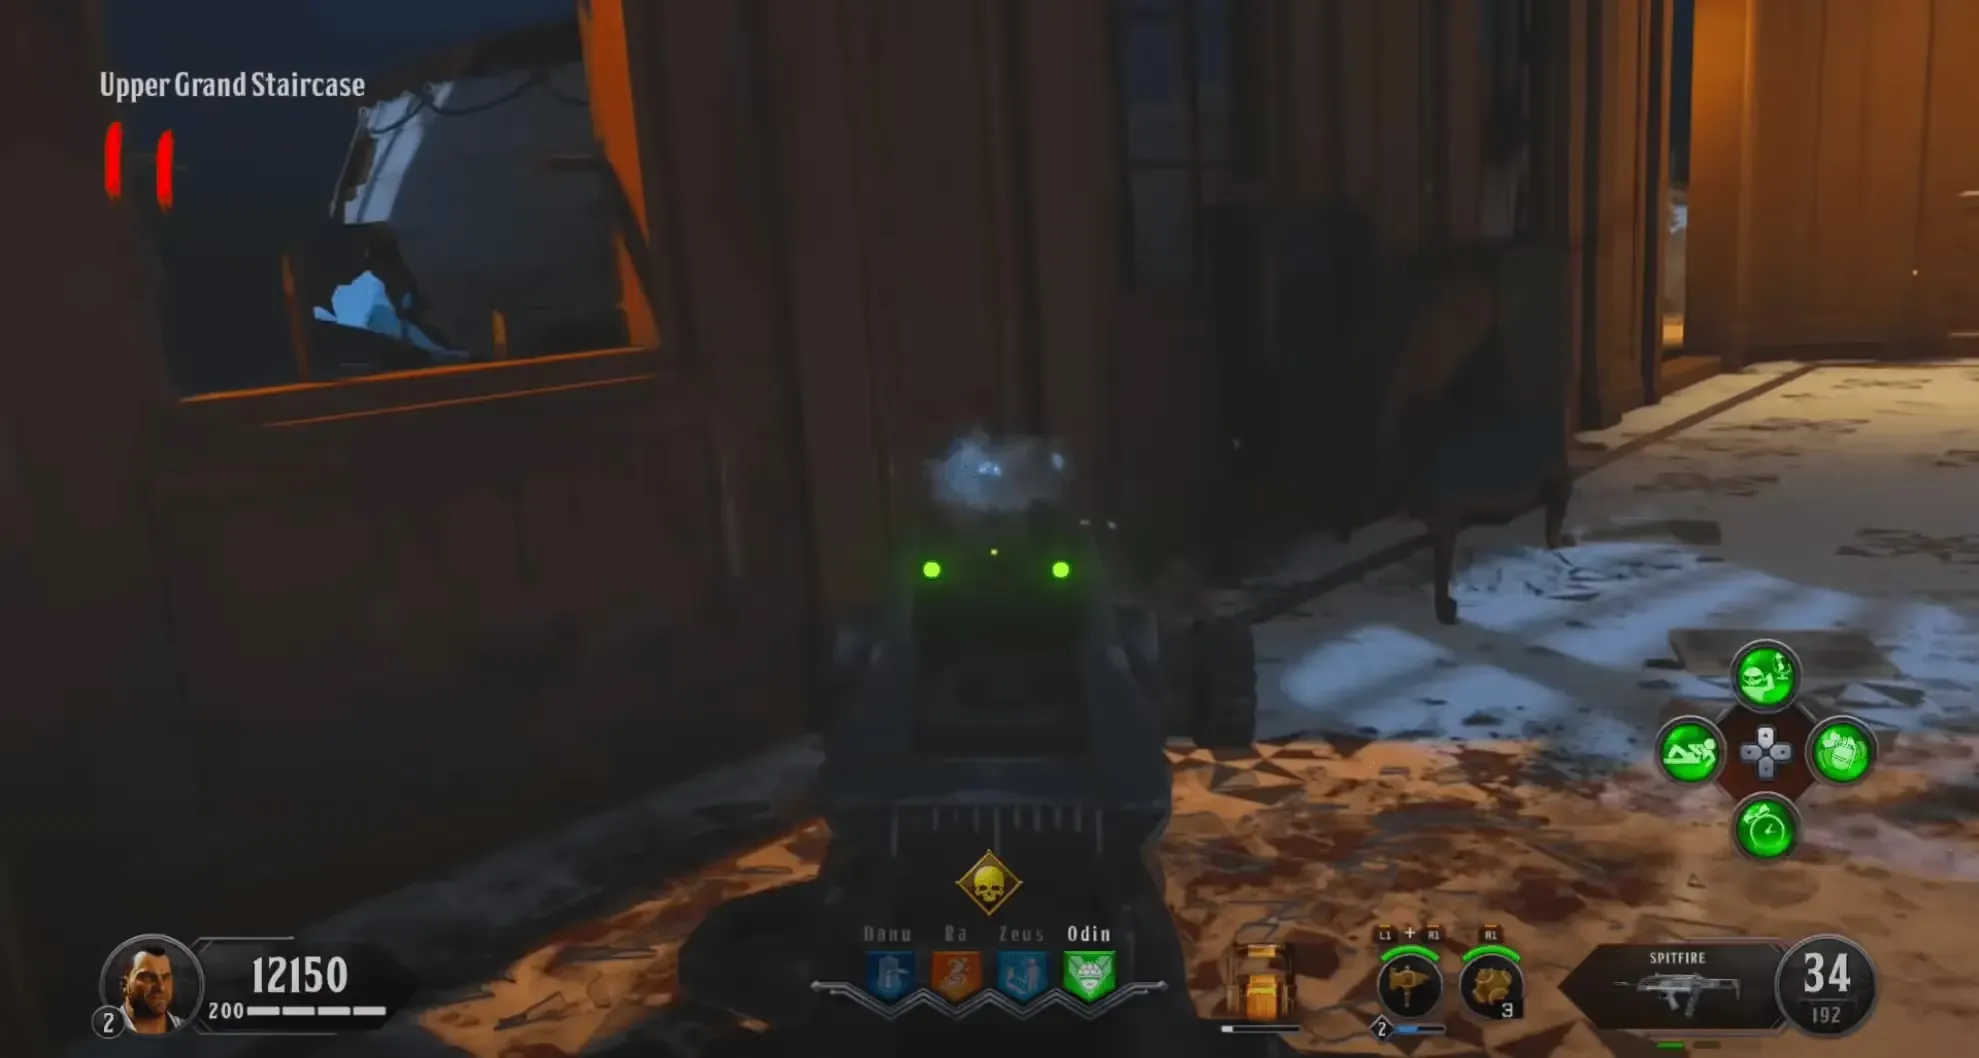
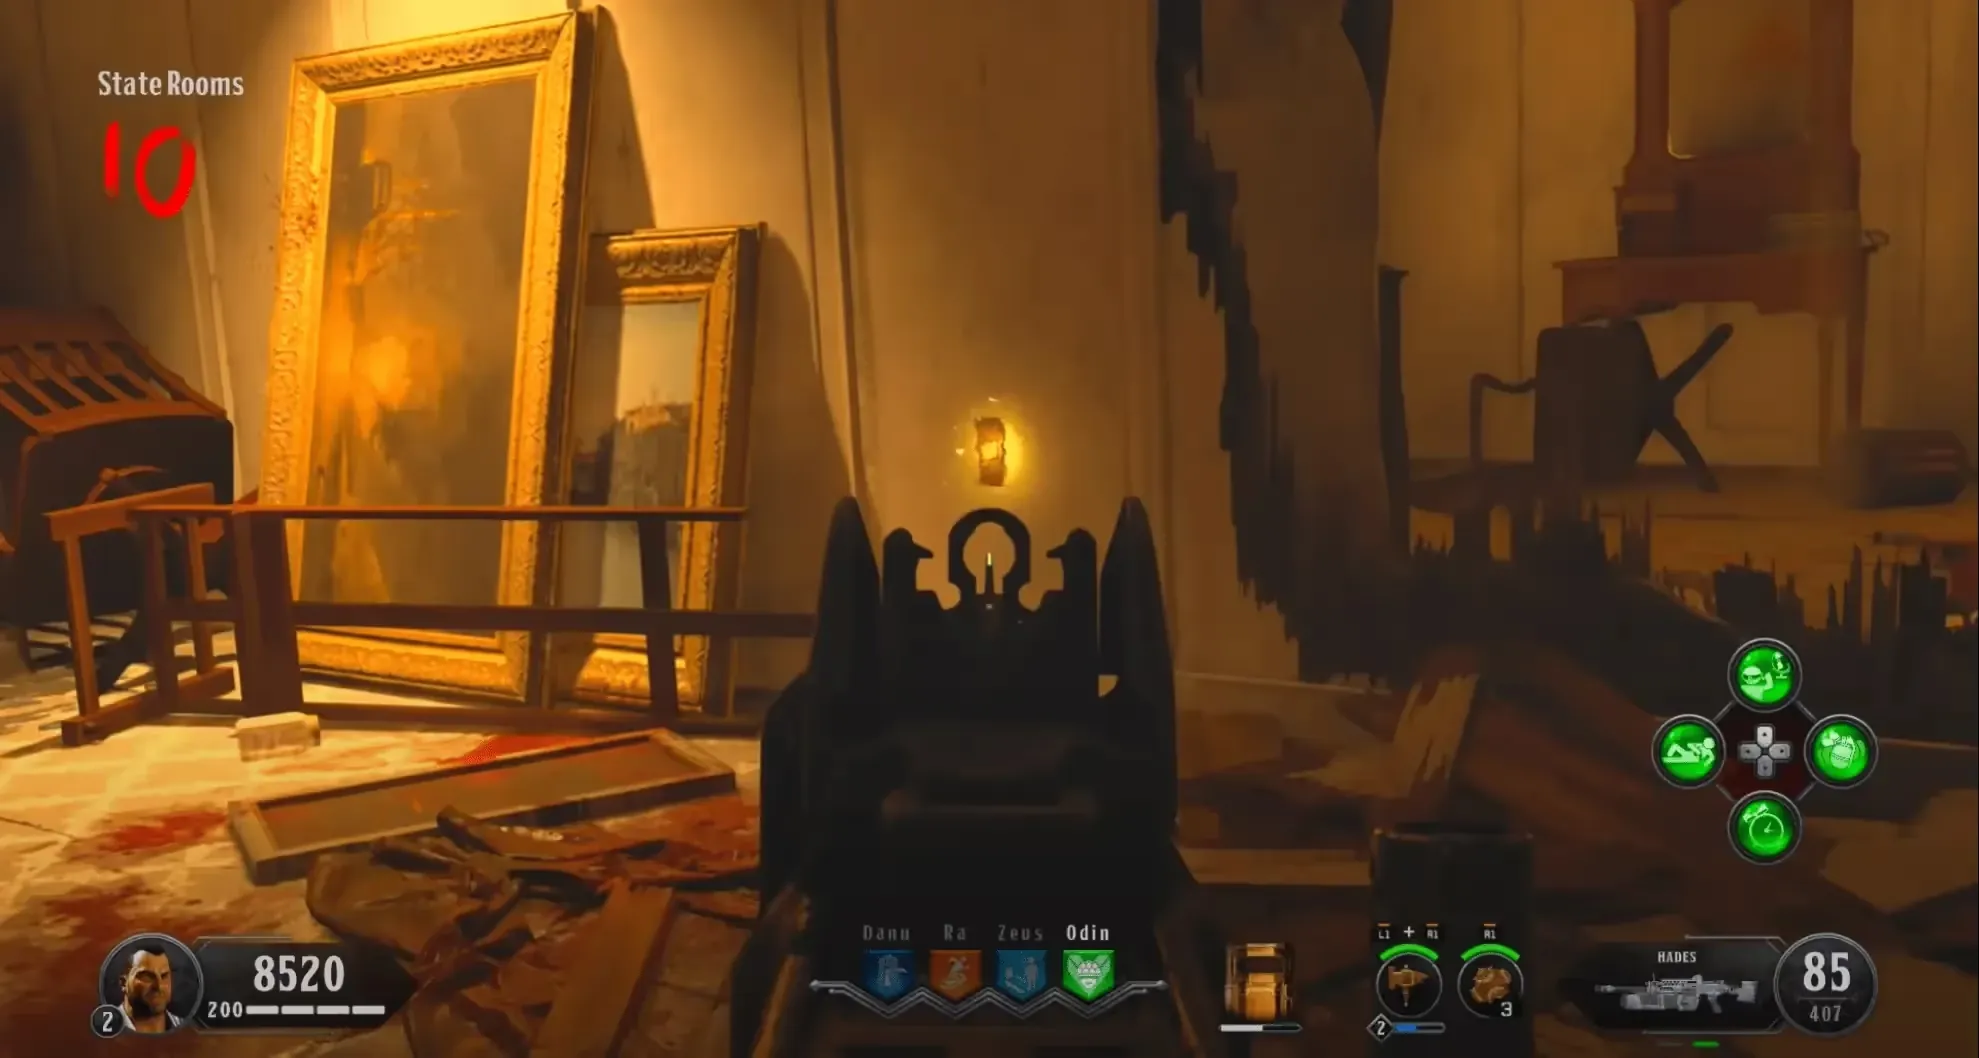
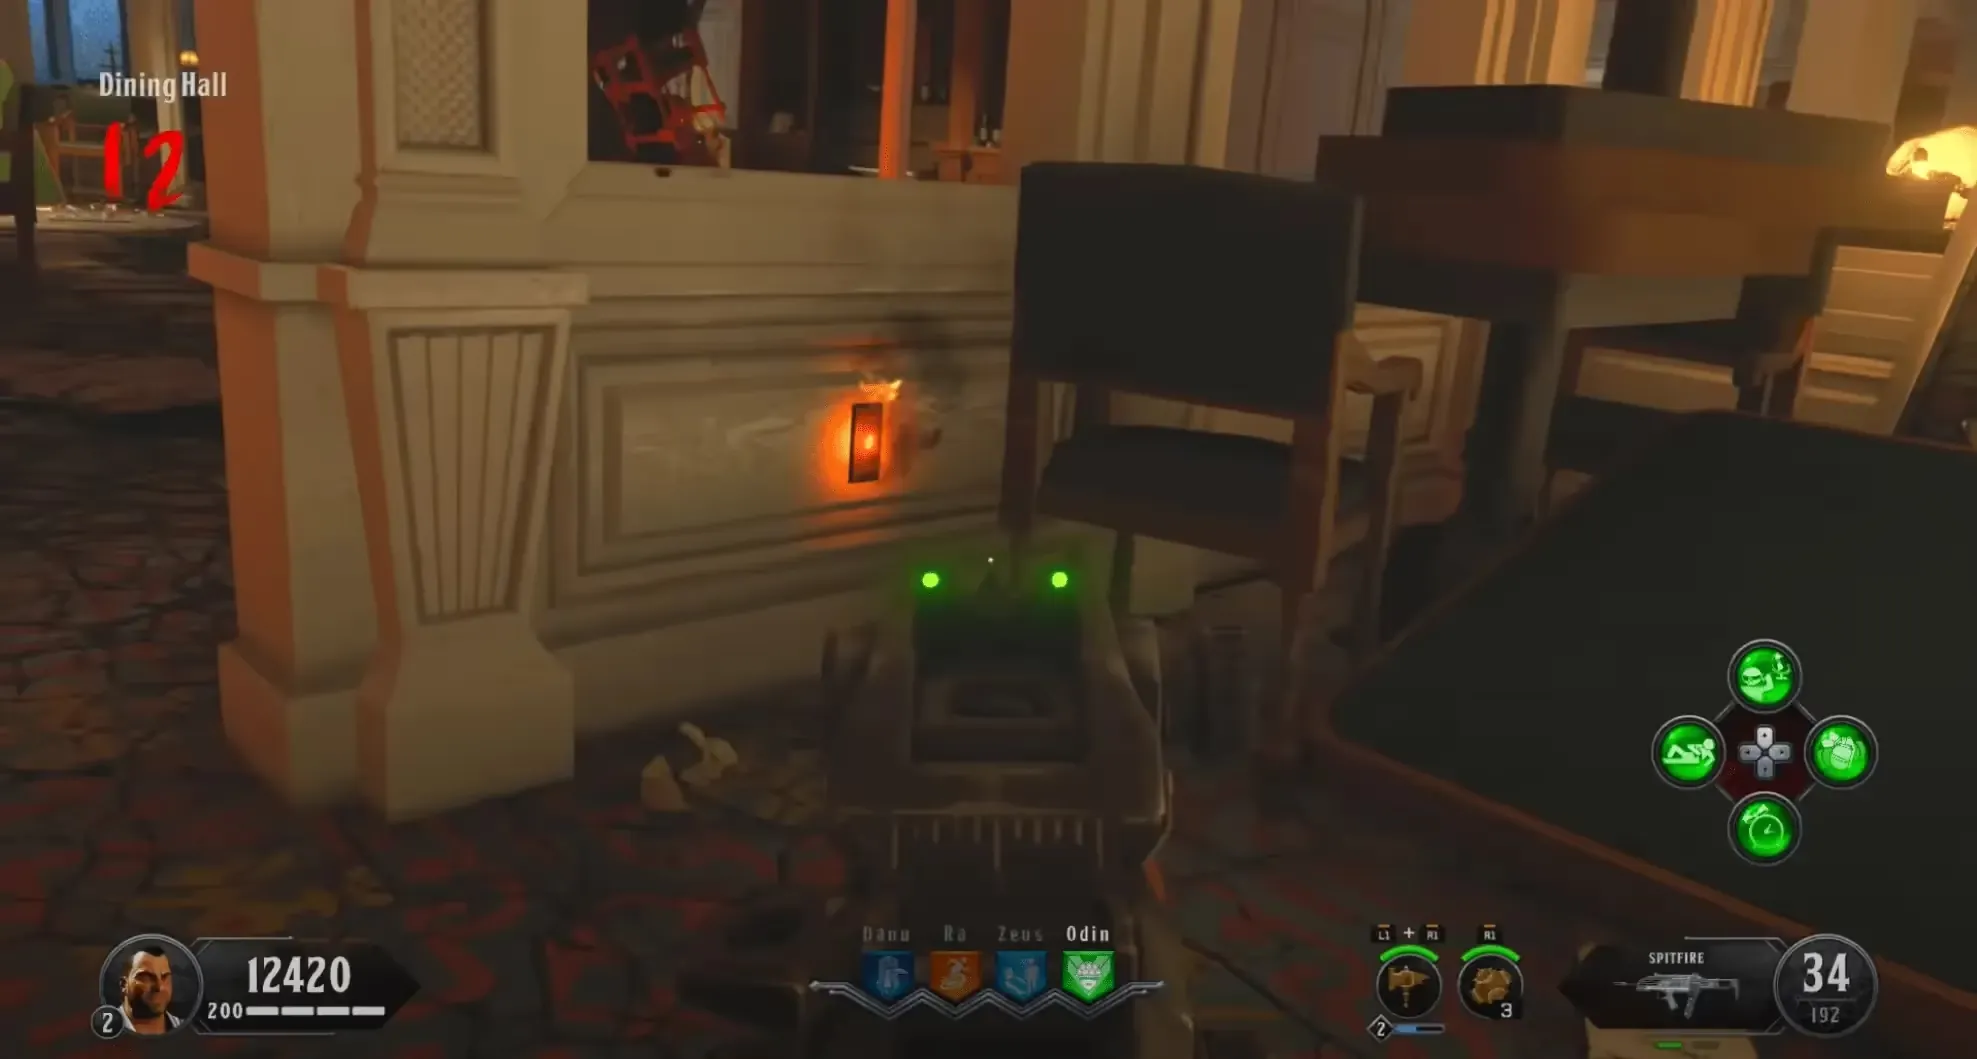
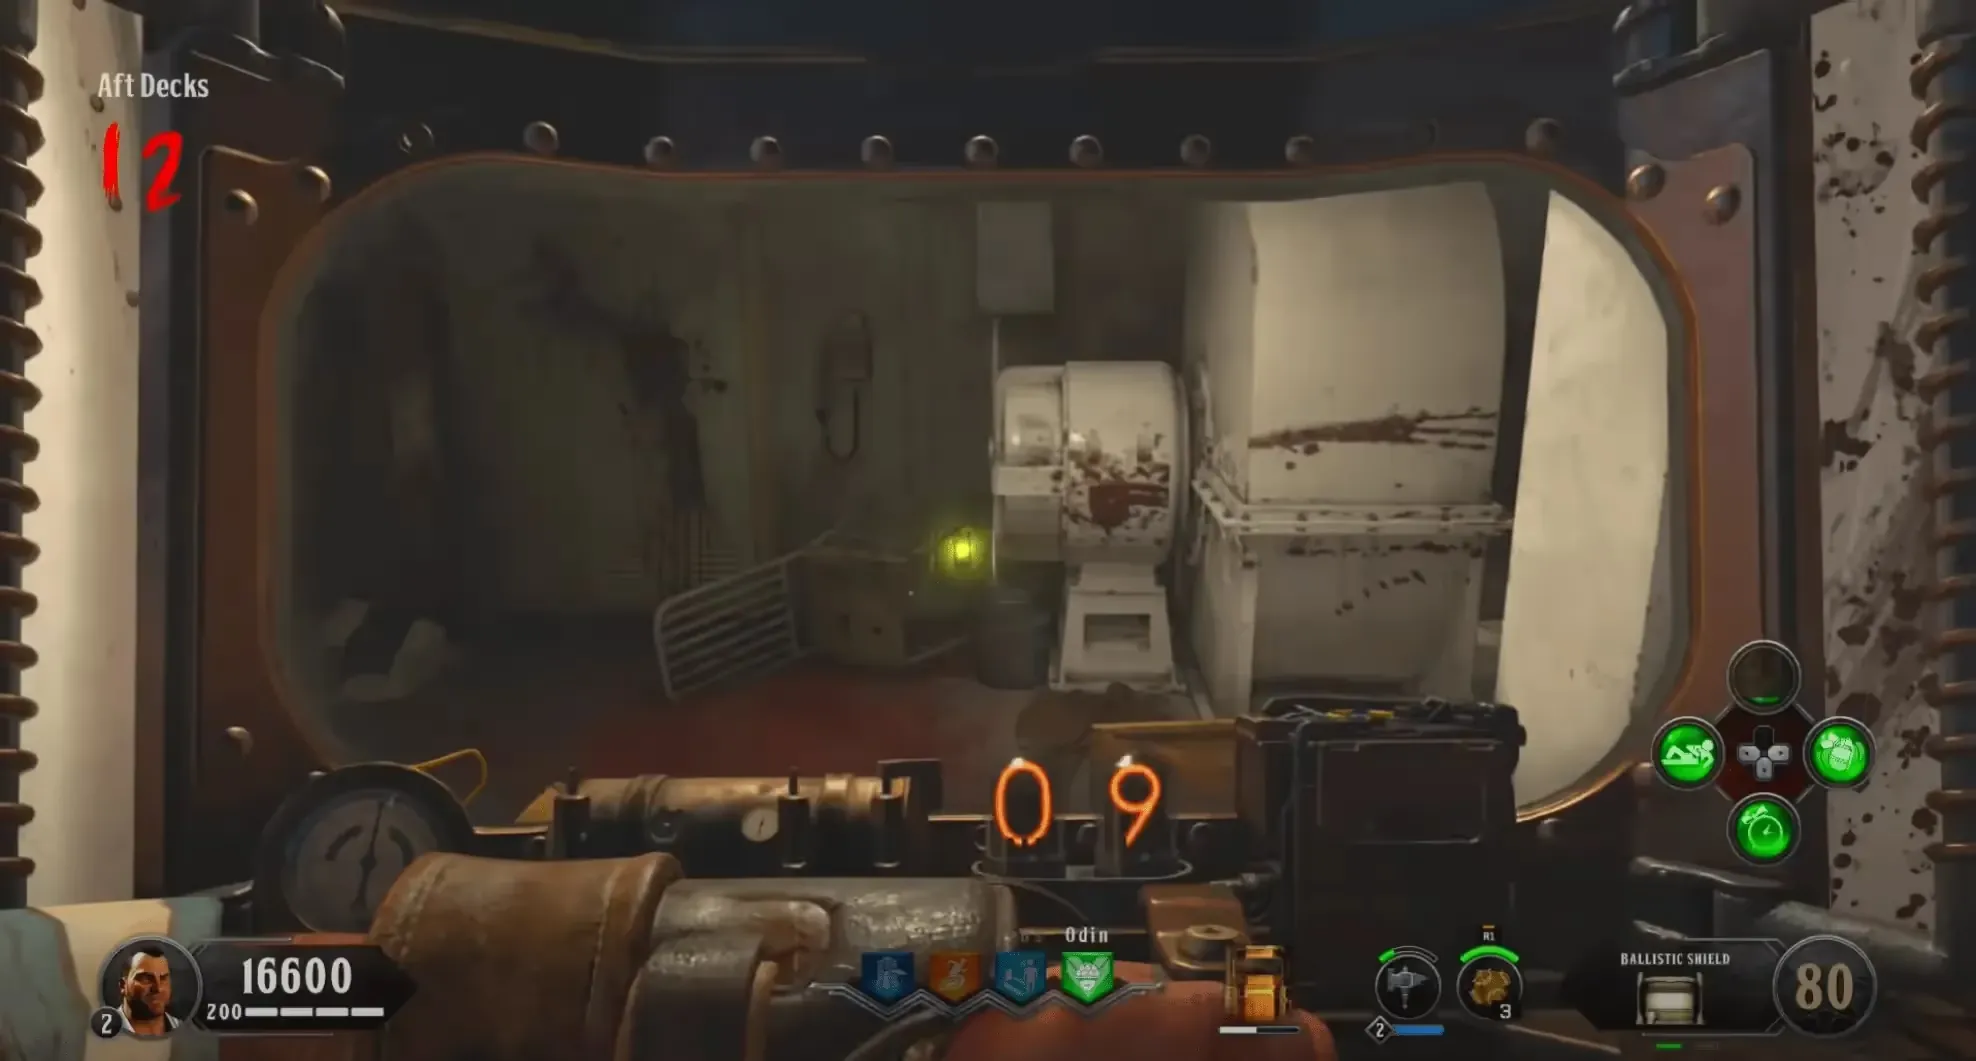
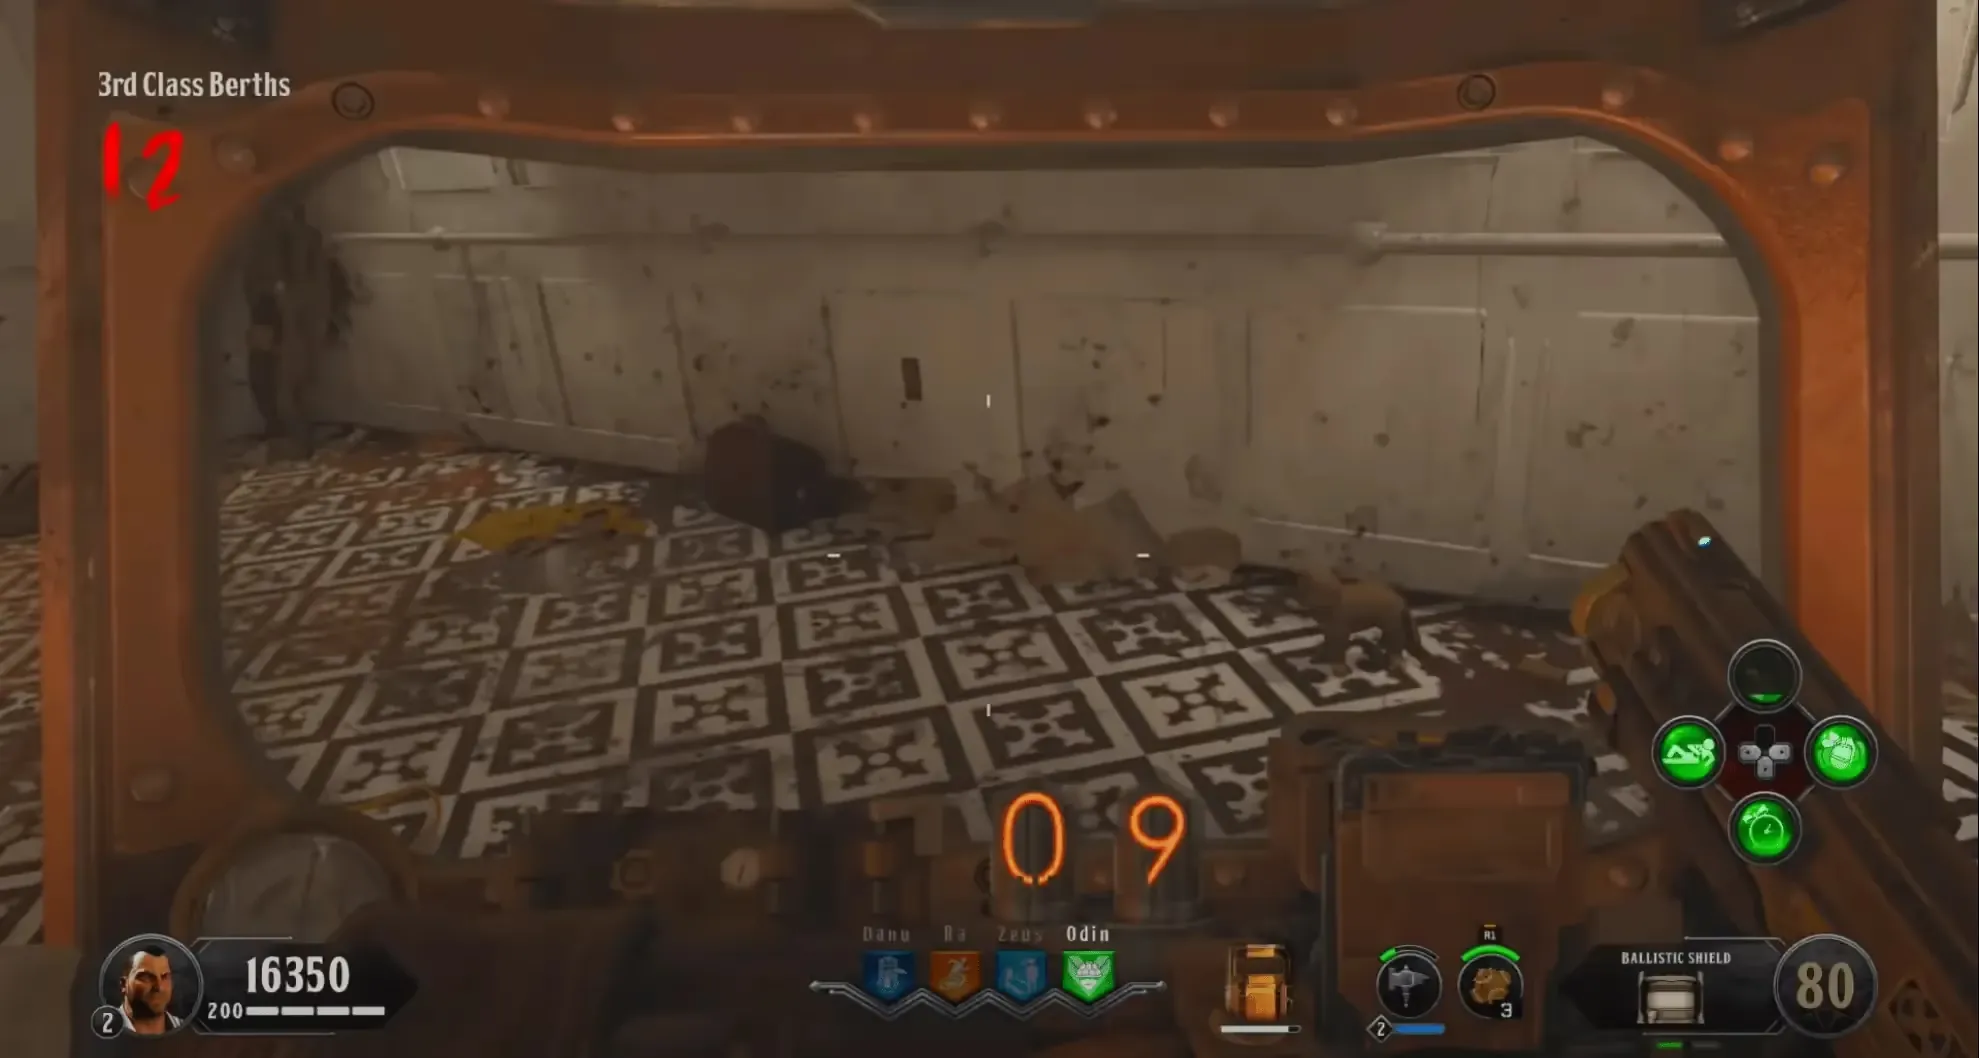
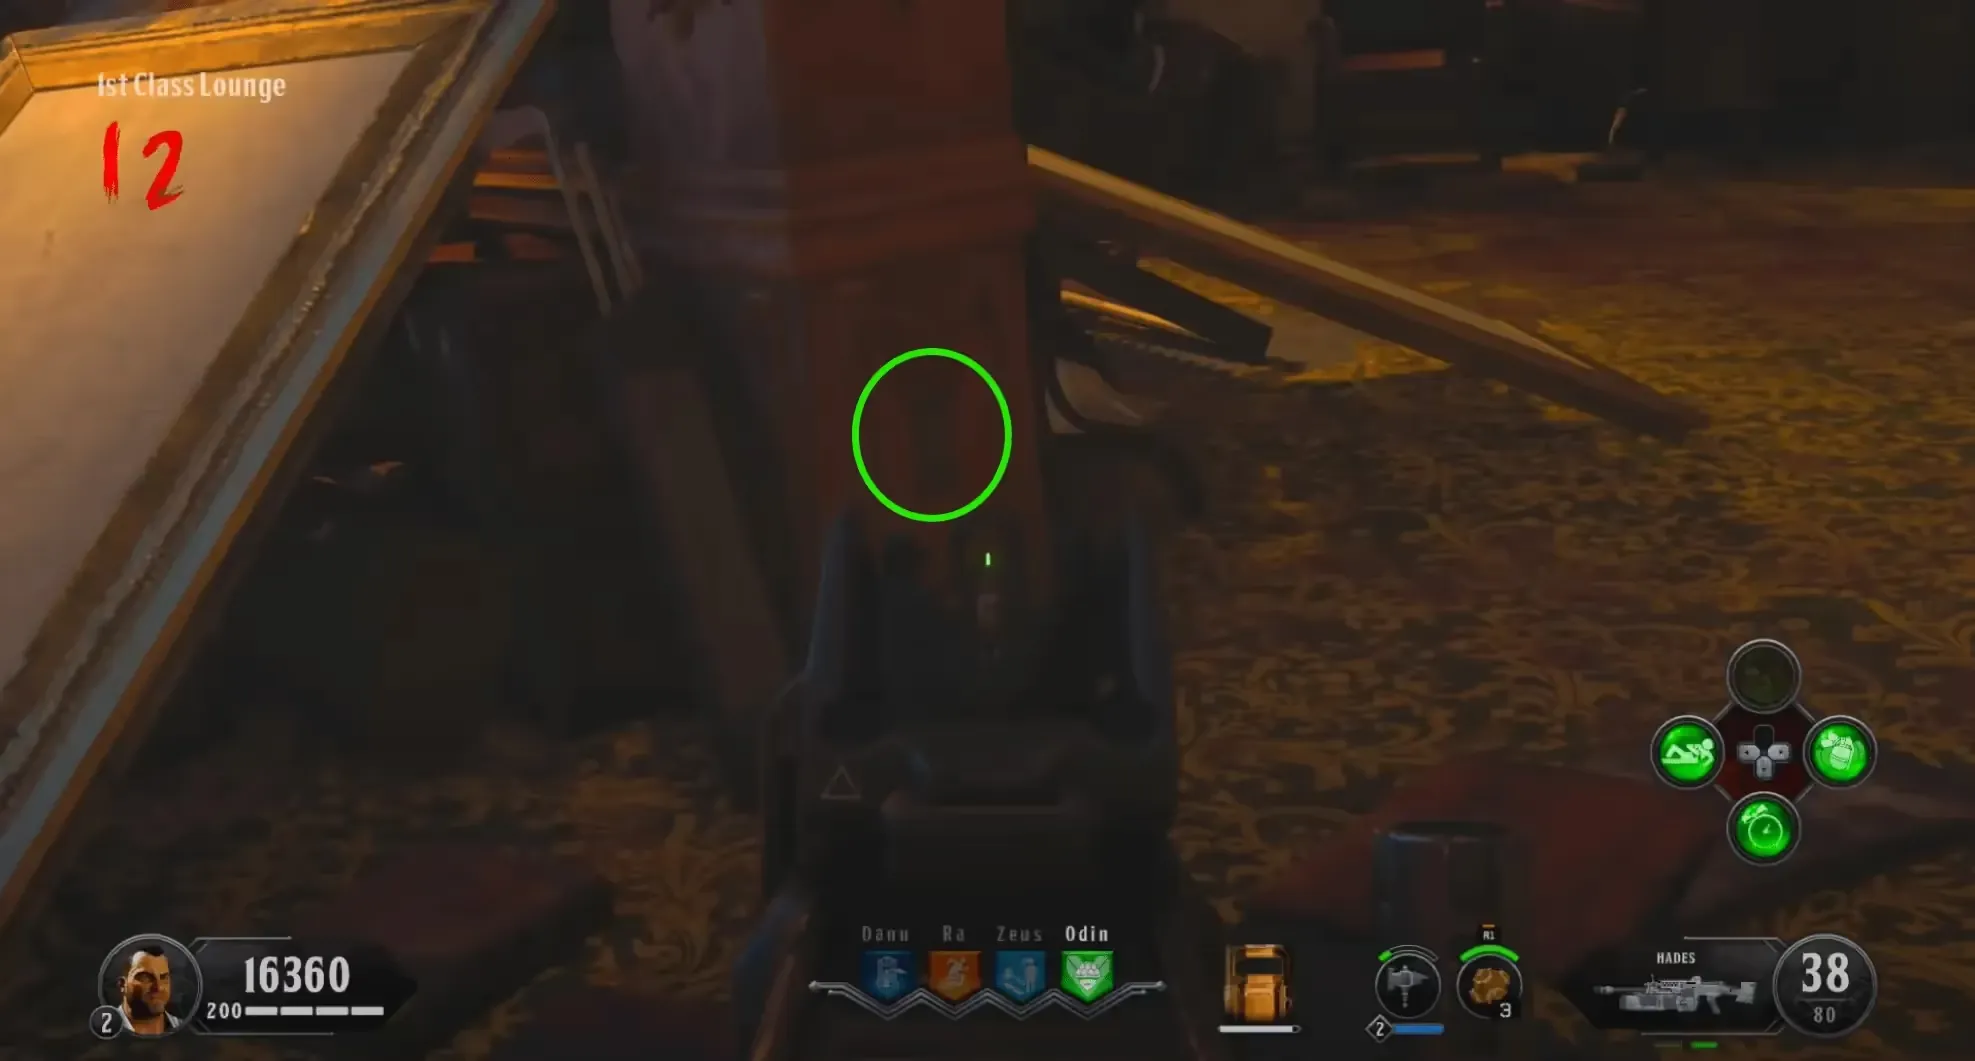
After locating the four elemental sparking outlets, bring a matching elemental Catalyst Zombie to each outlet and kill it near it. This will spawn a symbol on the ground that when interacted with will teleport you into a difficult element-specific lockdown, these lockdowns need to be completed in a specific order (Poison, Water, Electric, Fire).
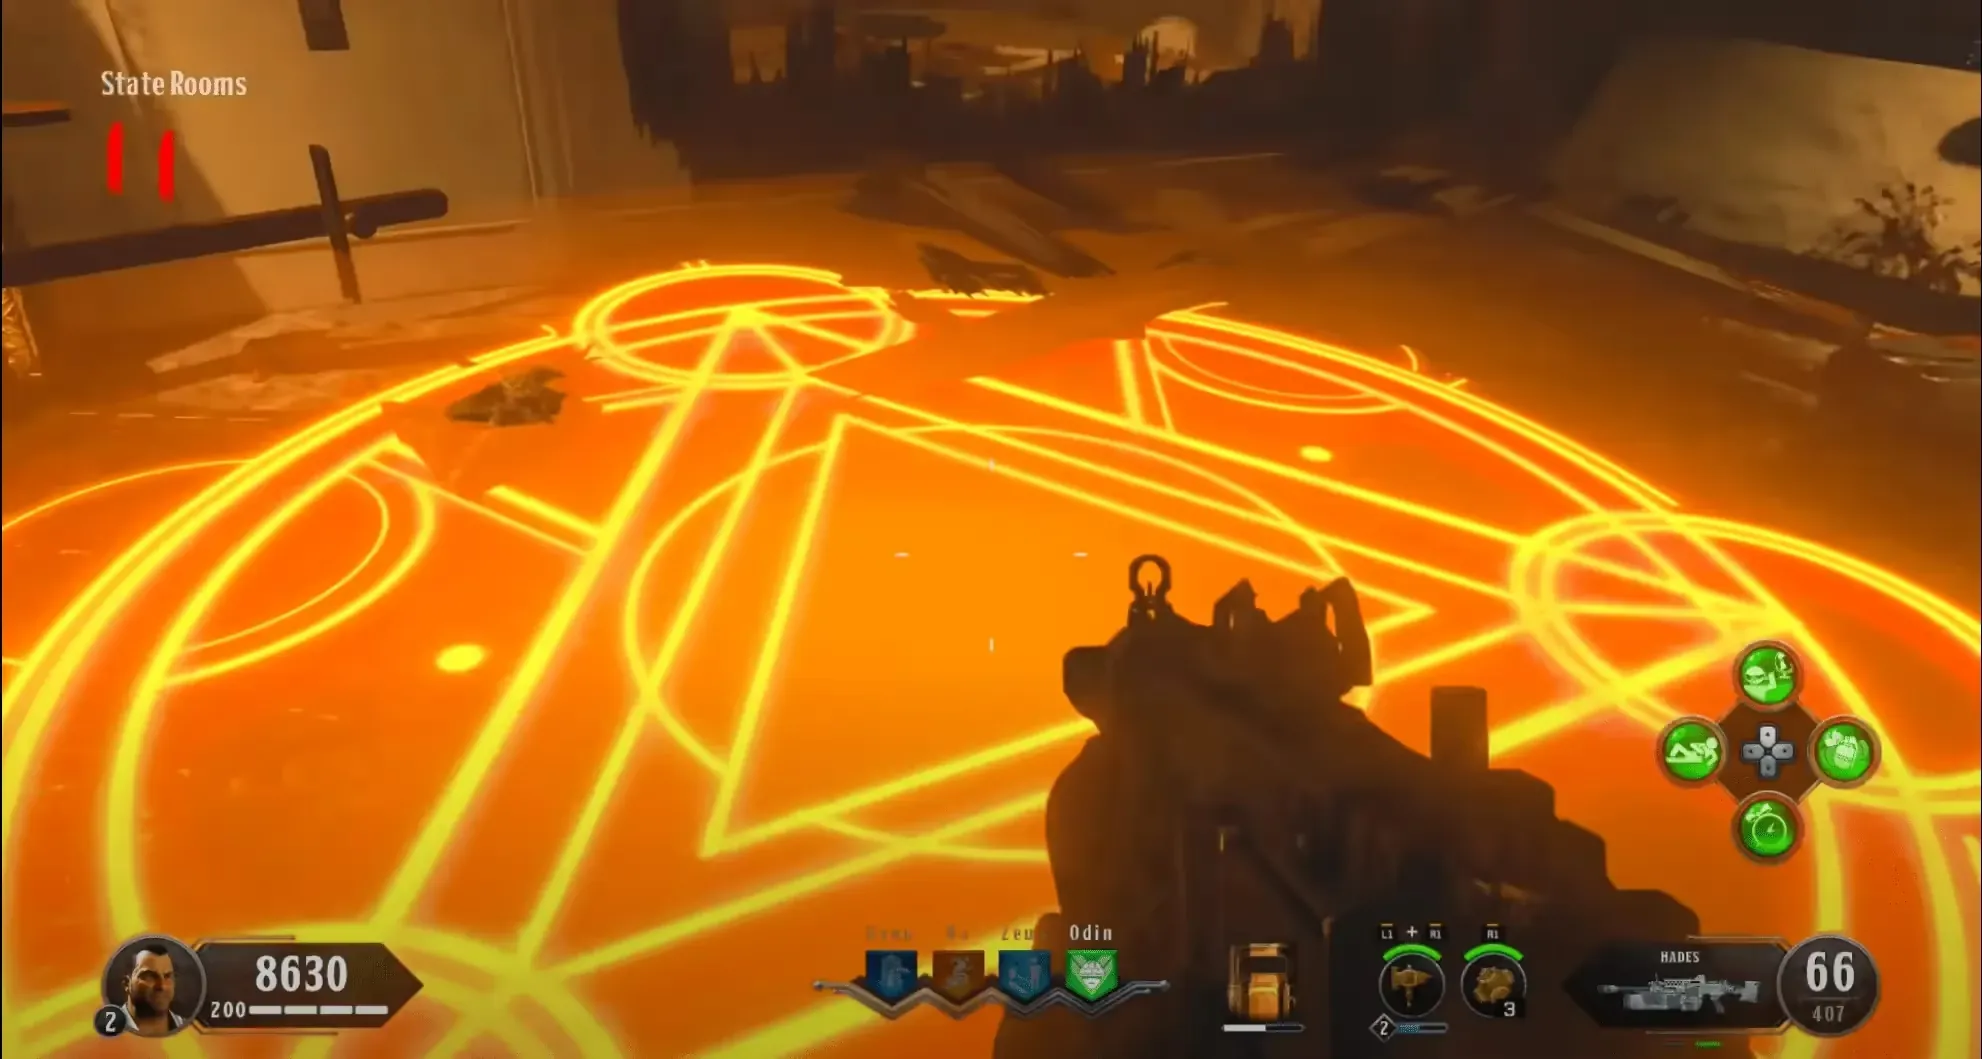
As you are spawning the four symbols, you should in the downtime, be hitting the Mystery Box to get the Hellion Salvo and Homunculus to help you during these lockdowns. The Kraken is also recommended to get before the Poison Lockdown as this will make getting the Decayed Kraken and other Kraken upgrades much easier.
You can spawn these symbols in any order, but as previously mentioned, MUST be completed in the correct order. Only one Catalyst Zombie can be killed near an outlet per round, round 8 is the earliest a Catalyst Zombie can spawn. If you complete the lockdowns in the wrong order you will need to do them all again in the correct order. To teleport, all players in the game need to stand on the symbol and hold the interact button.
Poison Lockdown
You will be teleported to the Poop Deck where you must survive against an onslaught of zombies, Poison Catalyst, and Blightfather zombies. If you have the Kraken, during this lockdown you can work toward the Decayed Kraken by killing the Poison Catalyst zombies with the Kraken until they drop a Poison Catalyst Heart. Once you see a white flash, the lockdown is complete, and you can grab the Max Ammo in the back of the Poop Deck and pick up the Sentinel Artifact.
During these lockdowns, prioritize the boss zombies (Blightfather and Stoker) as often the lockdown will be completed once the final Blightfather/Stoker has been defeated, making this step a bit smoother. Max Ammos only spawn for the 1st and 3rd lockdowns so be sure to save the Max Ammos until after completing the lockdown so you don't run out of ammo.
Water Lockdown
You will be teleported to the Cargo Hold which will fill up with water, where you must survive against an onslaught of zombies, Water Catalyst, and Blightfather zombies. If you have the Kraken, during this lockdown you can work toward the Ice Kraken by killing the Water Catalyst zombies with the Kraken until they drop a Water Catalyst Heart. Once you see a white flash, the lockdown is complete, and you can pick up the Sentinel Artifact.
Electric Lockdown
You will be teleported to the Boat Deck where you must survive against an onslaught of zombies, Lightning Catalyst, and Blightfather zombies. If you have the Kraken, during this lockdown you can work toward the Electric Kraken by killing the Lightning Catalyst zombies with the Kraken until they drop an Electric Catalyst Heart. Once you see a white flash, the lockdown is complete, and you can grab the Max Ammo in the center of the Boat Deck and pick up the Sentinel Artifact.
Fire Lockdown
You will be teleported to the Boiler Room where you must survive against an onslaught of zombies, Fire Catalyst, and Blightfather zombies. If you have the Kraken, during this lockdown you can work toward the Fire Kraken by killing the Fire Catalyst zombies with the Kraken until they drop a Fire Catalyst Heart. Once you see a white flash, the lockdown is complete, and you can pick up the Sentinel Artifact.
For this lockdown, it is recommended to camp on the catwalk of the Boiler Room for an easier defense against the onslaught.
Obtaining the Kraken
On Round 10, a Stoker will spawn, you must kill him by shooting the glowing weak points on his body. If successful, he will drop a Stoker's Key which you must pick up. Use this key to open a Treasure Chest that can spawn in multiple locations around the map:
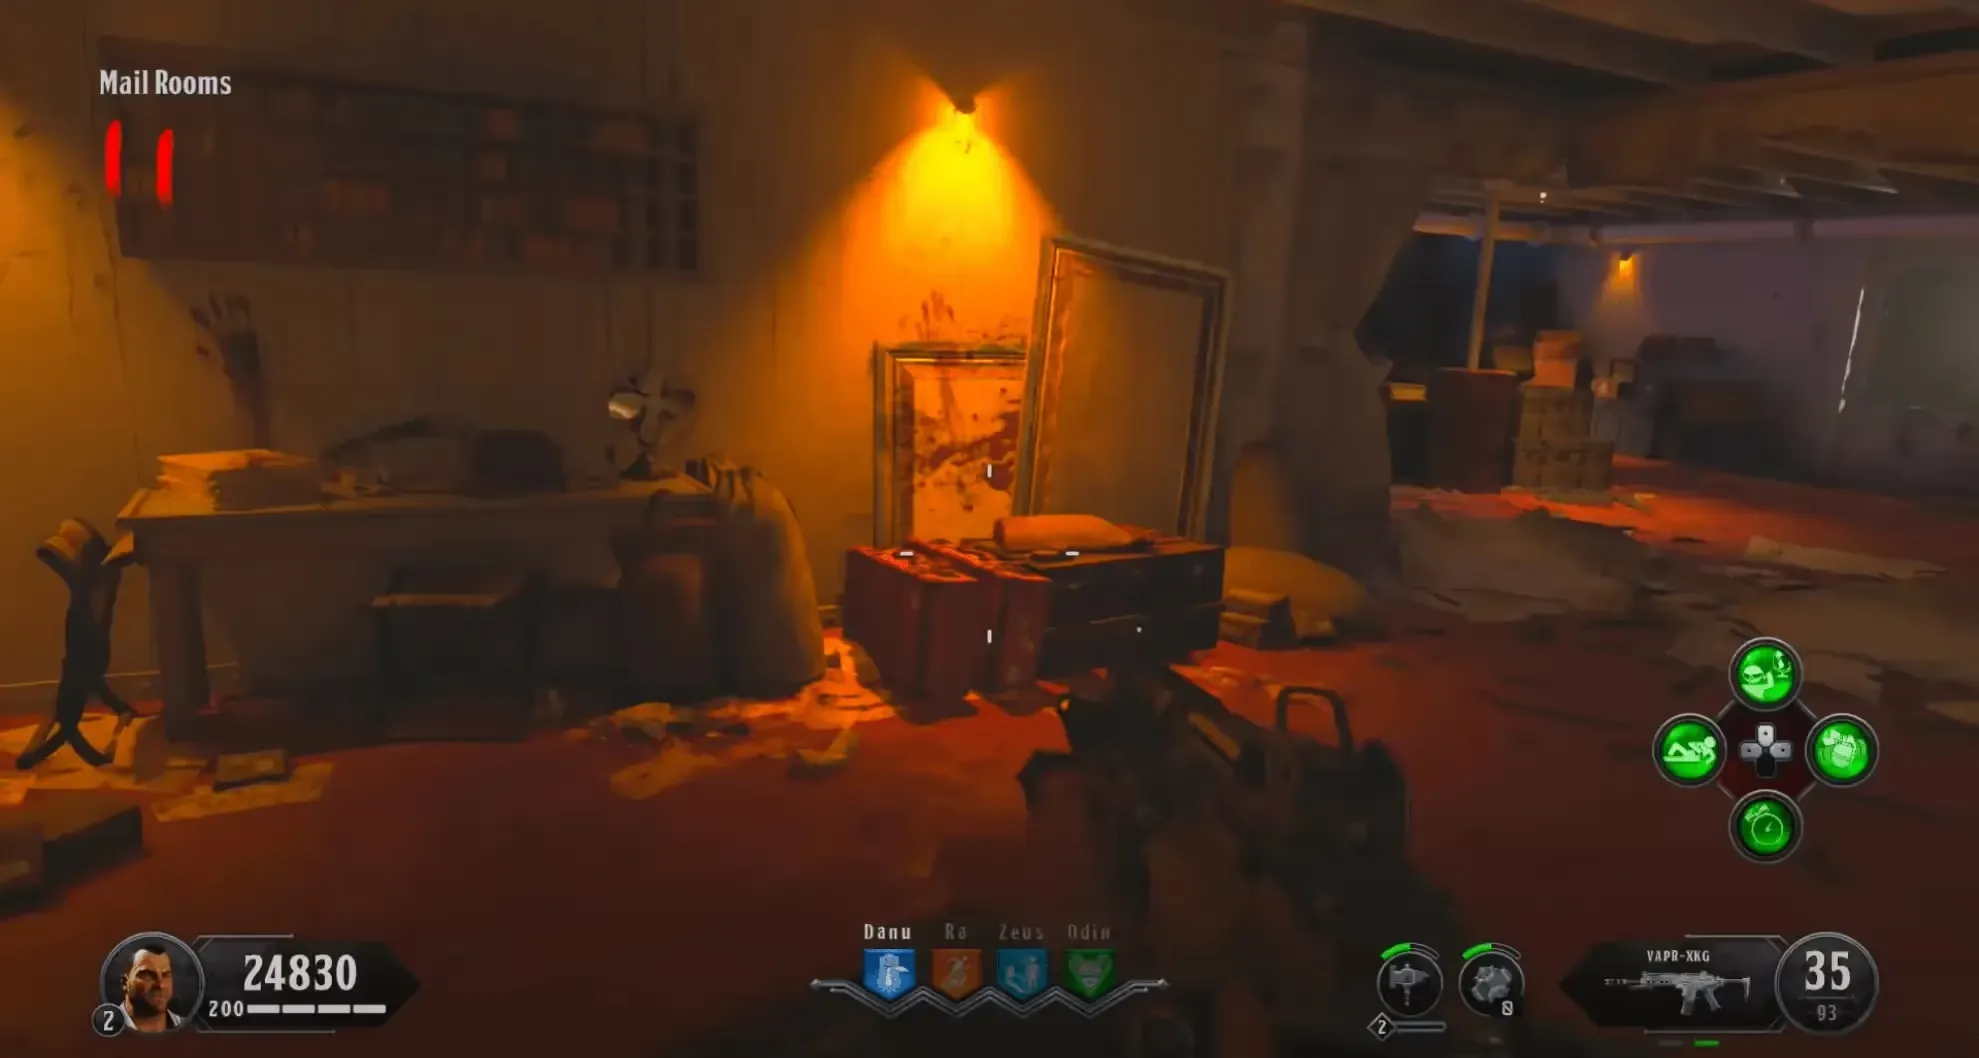
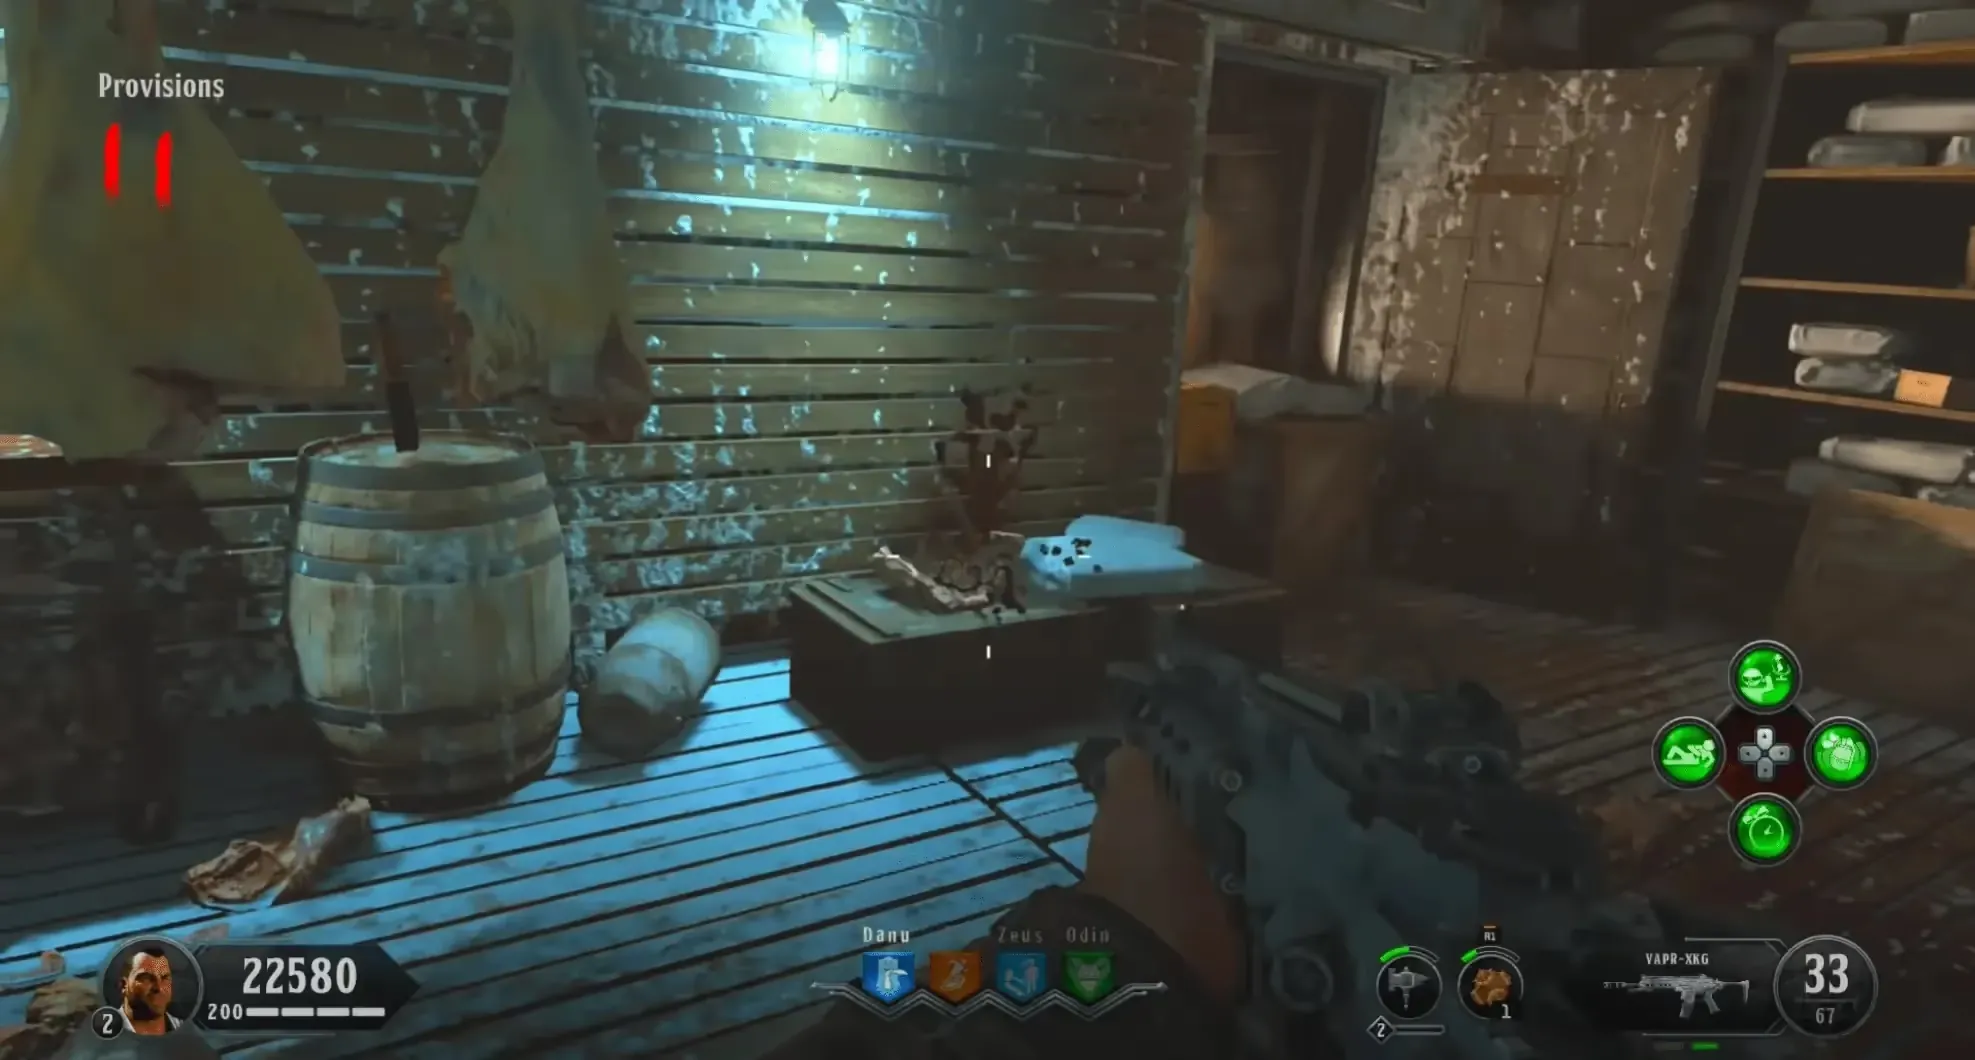
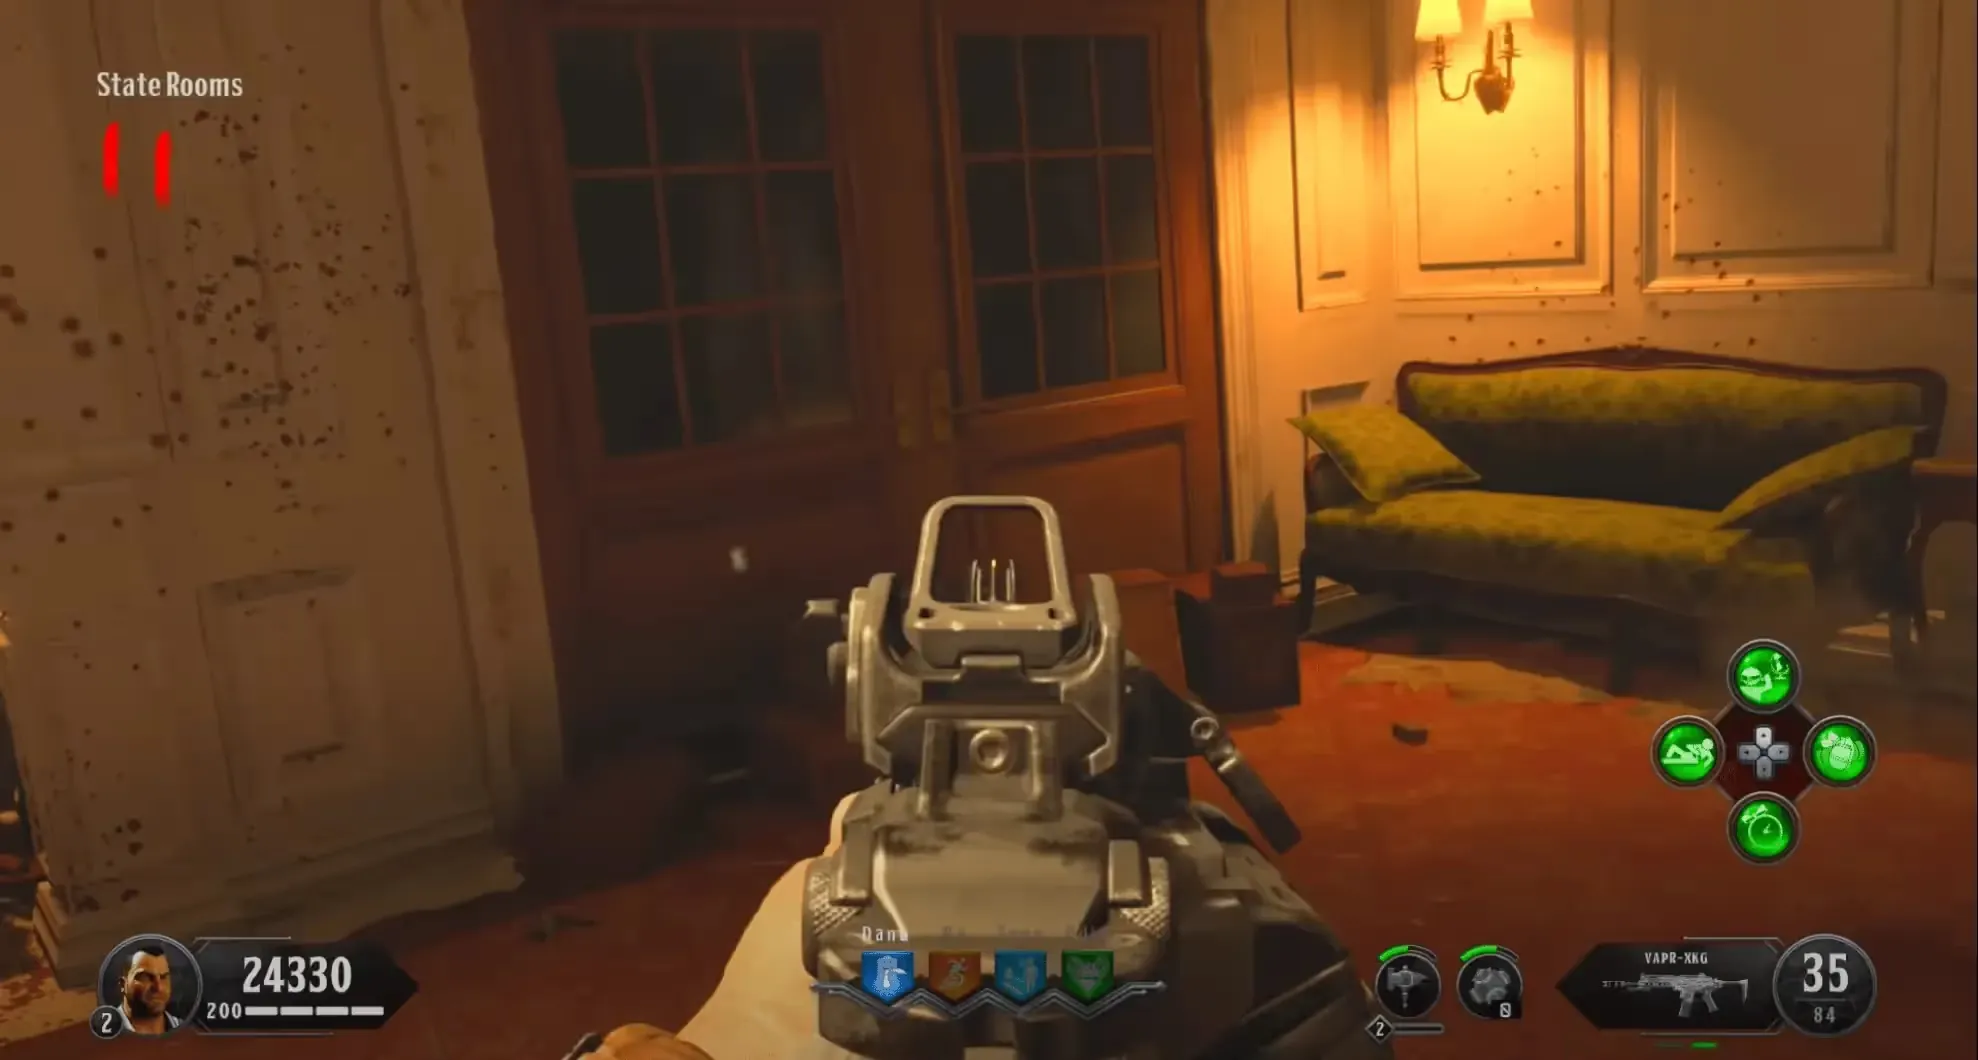
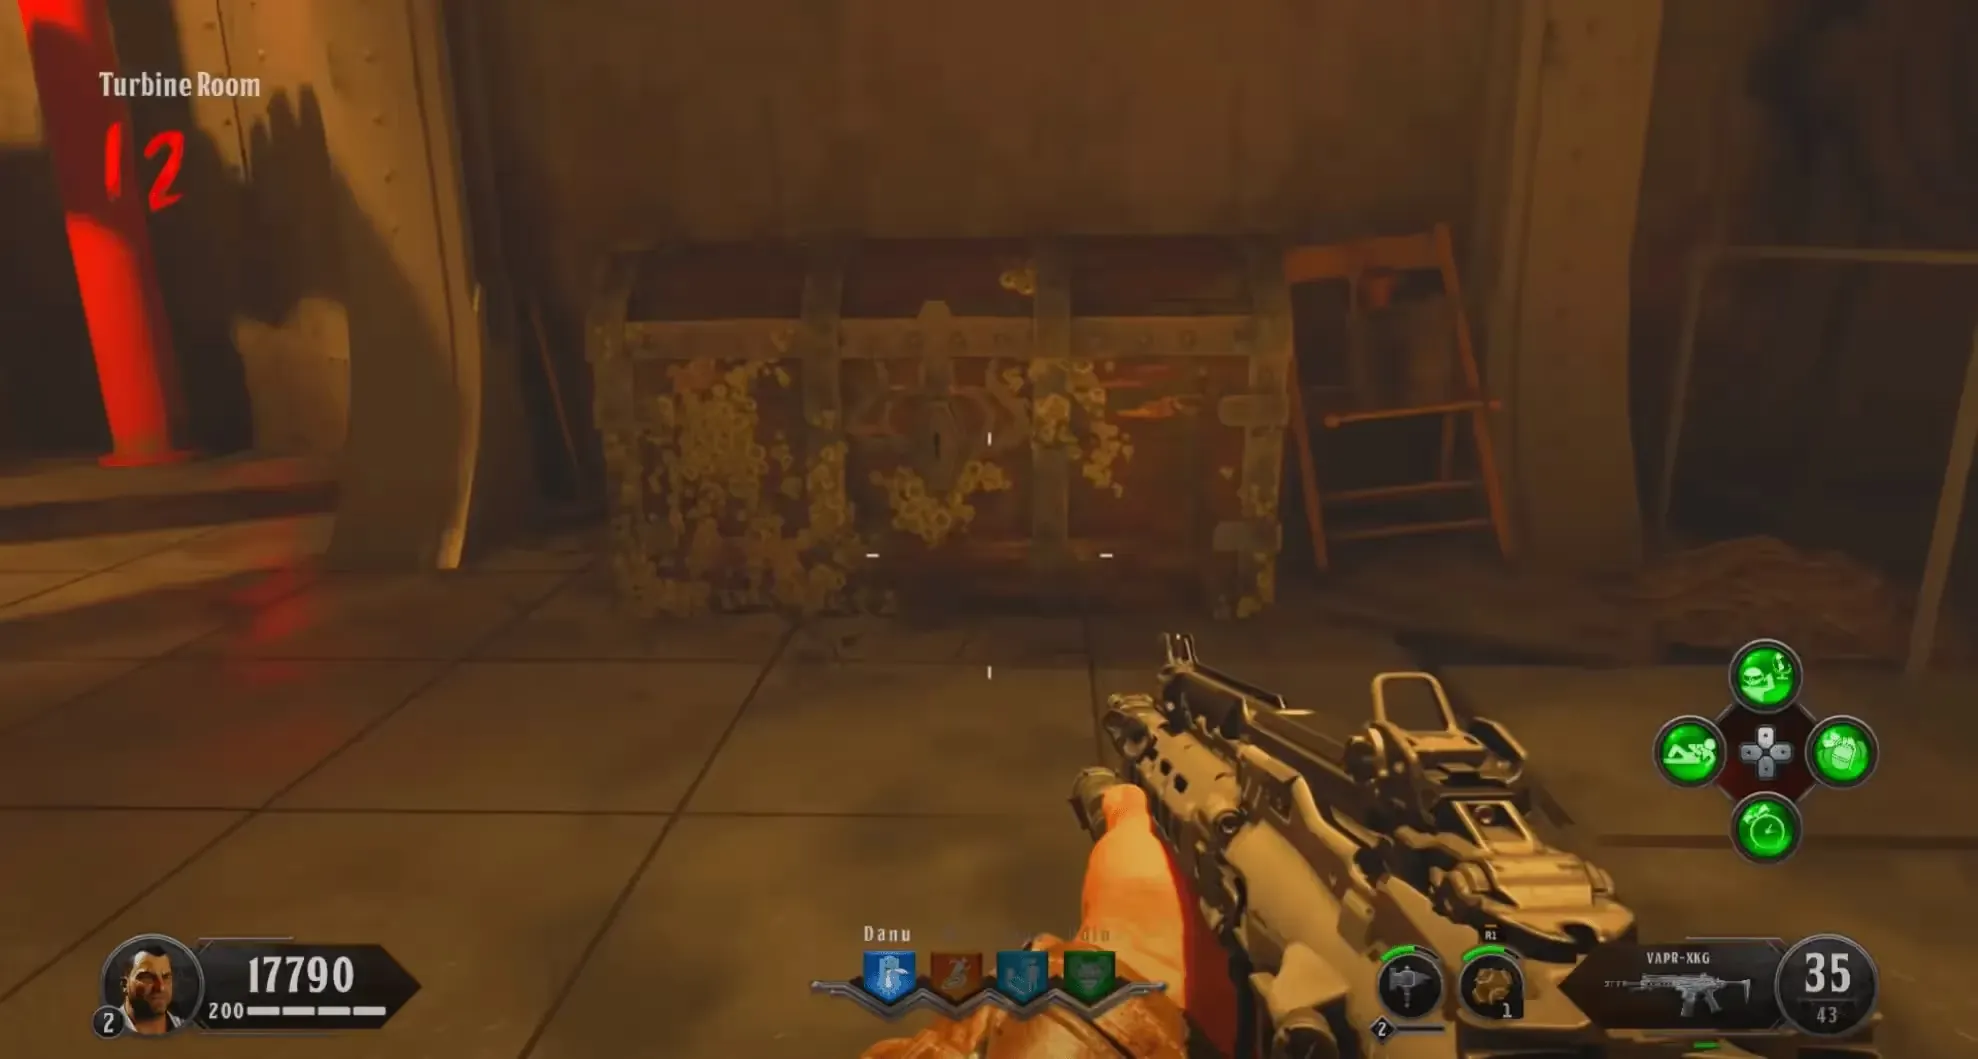
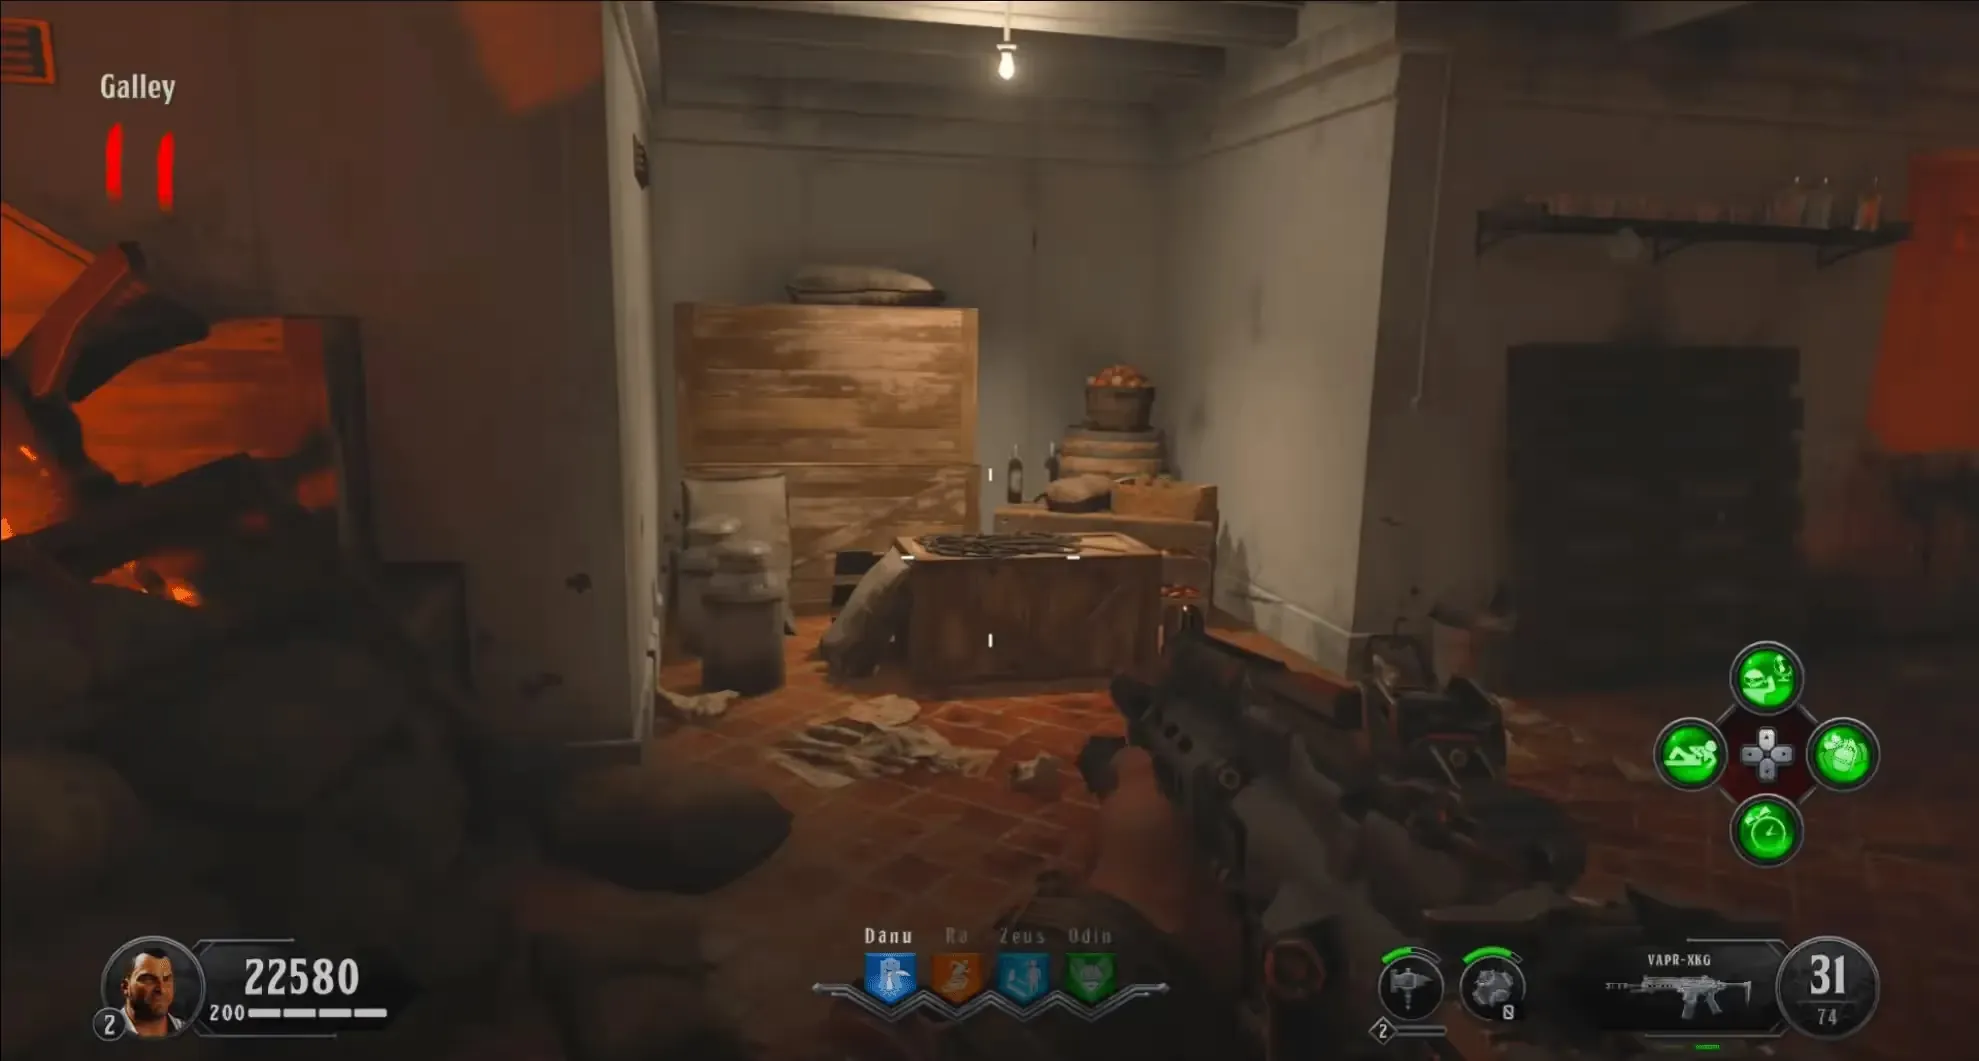
Once you have opened the chest, it will become a soul box that you must kill zombies near to fill. Once filled the chest will close and move to another of the listed locations. You must repeat this until you have filled the chest a total of three times, after which the chest will close and re-open with an item inside.
The chest can move to a location that you have already filled it in.
The item indicates where the Kraken will spawn, and you must find the matching item on a crate on the edge of the ship. Below are the five possible items that can be in the chest and where their respective crate is located:
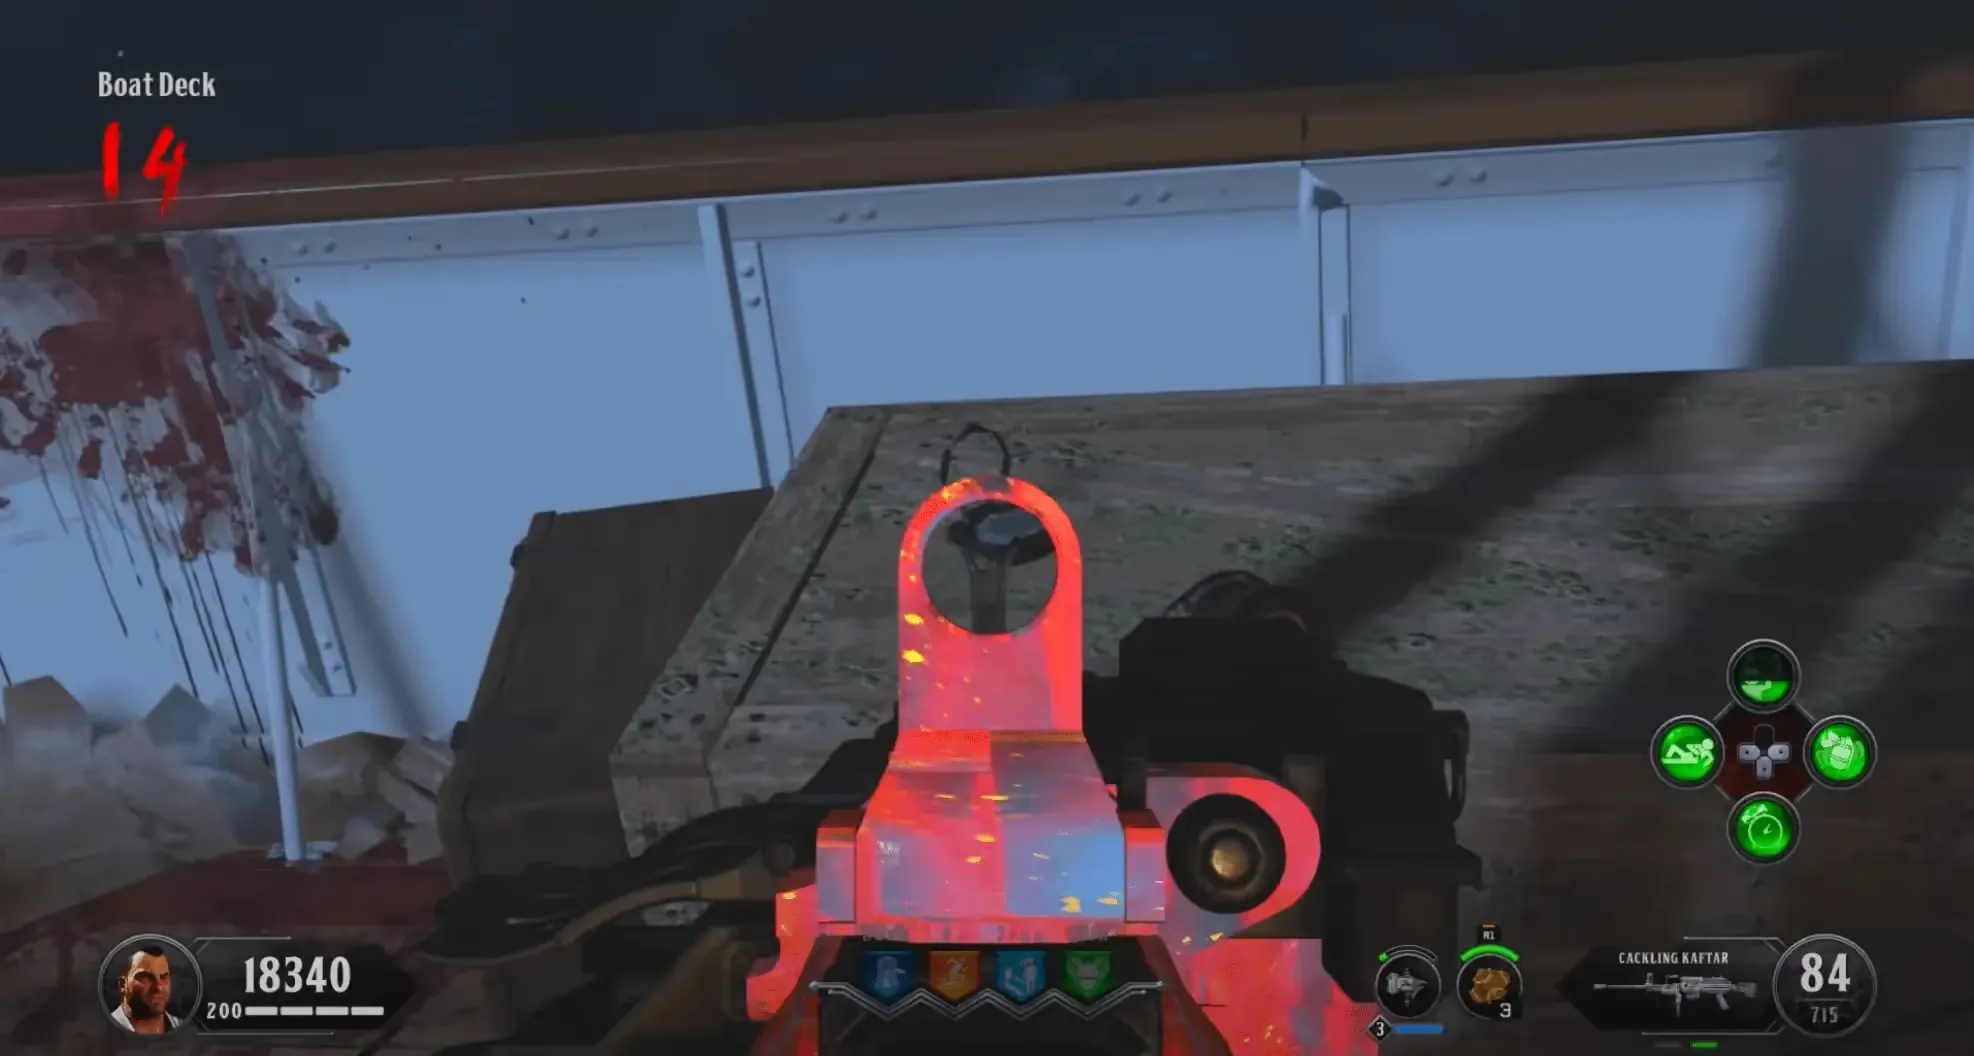
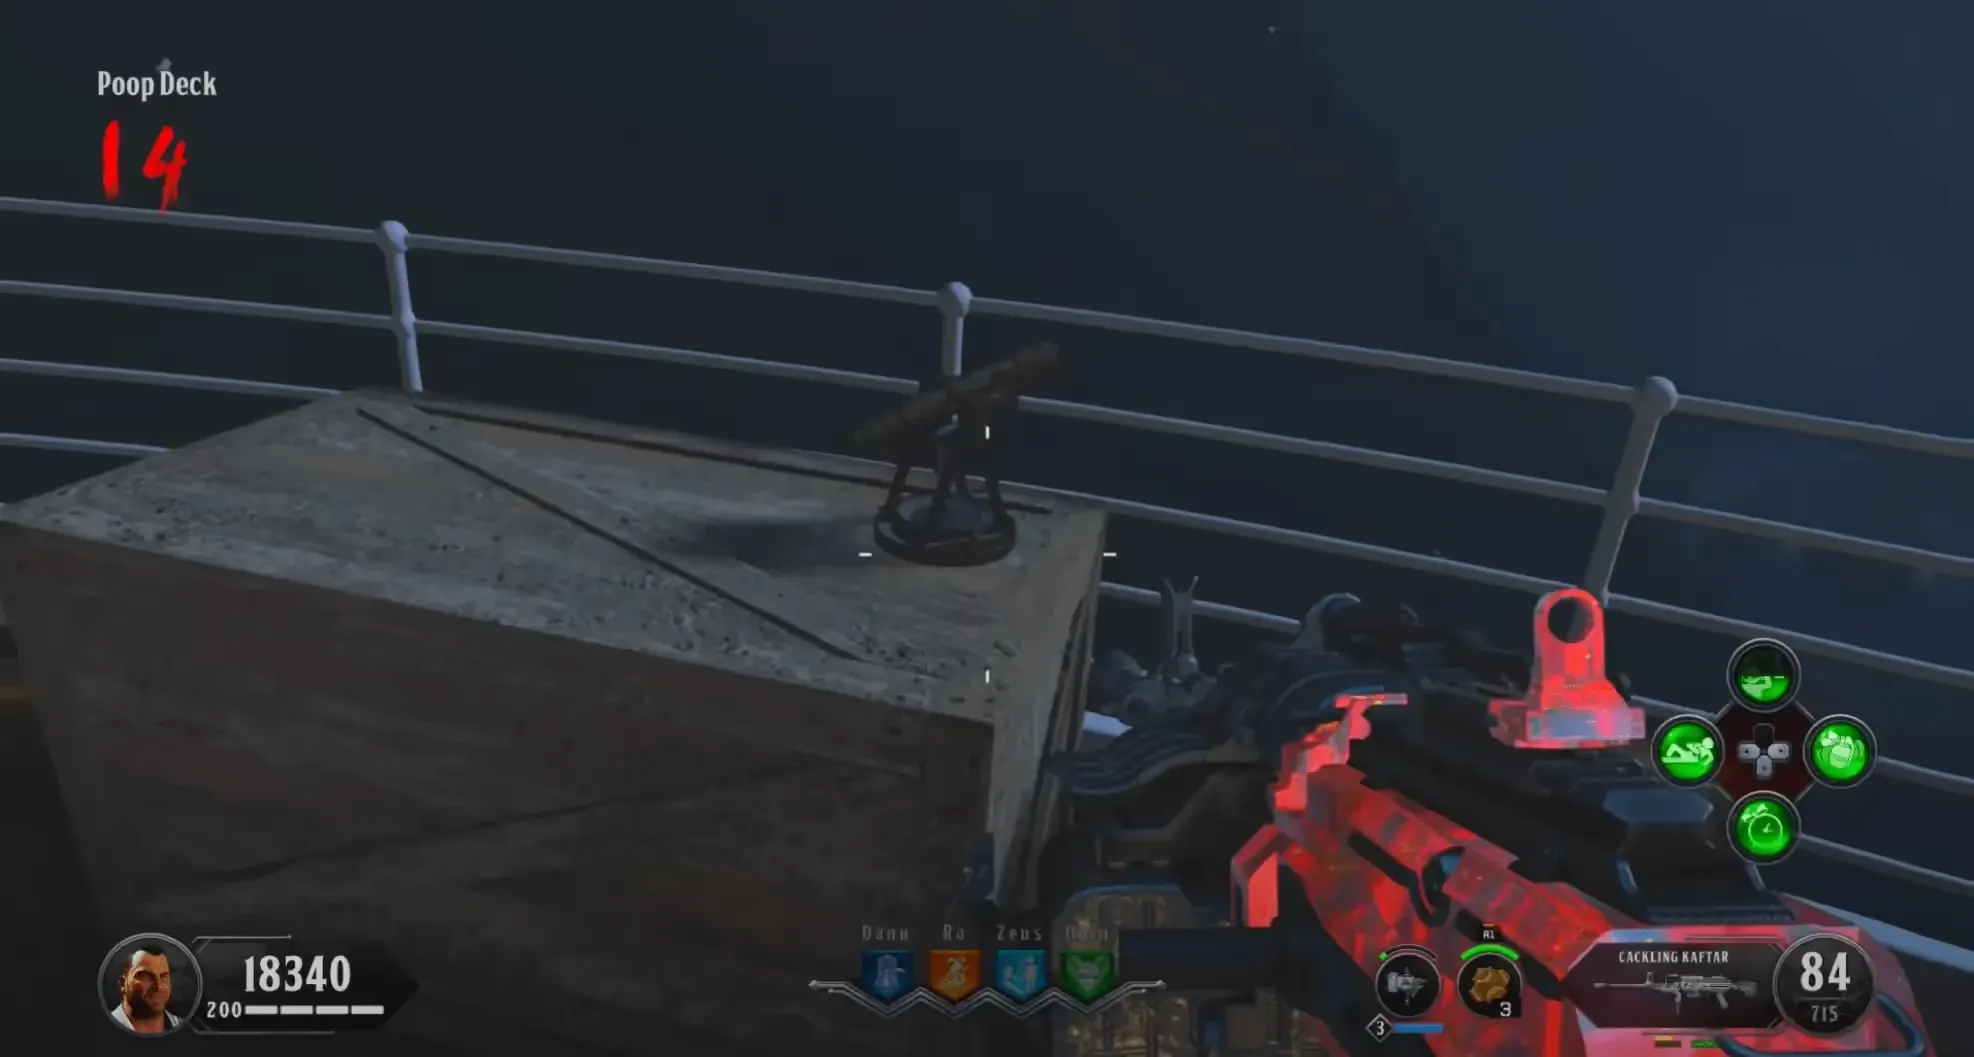
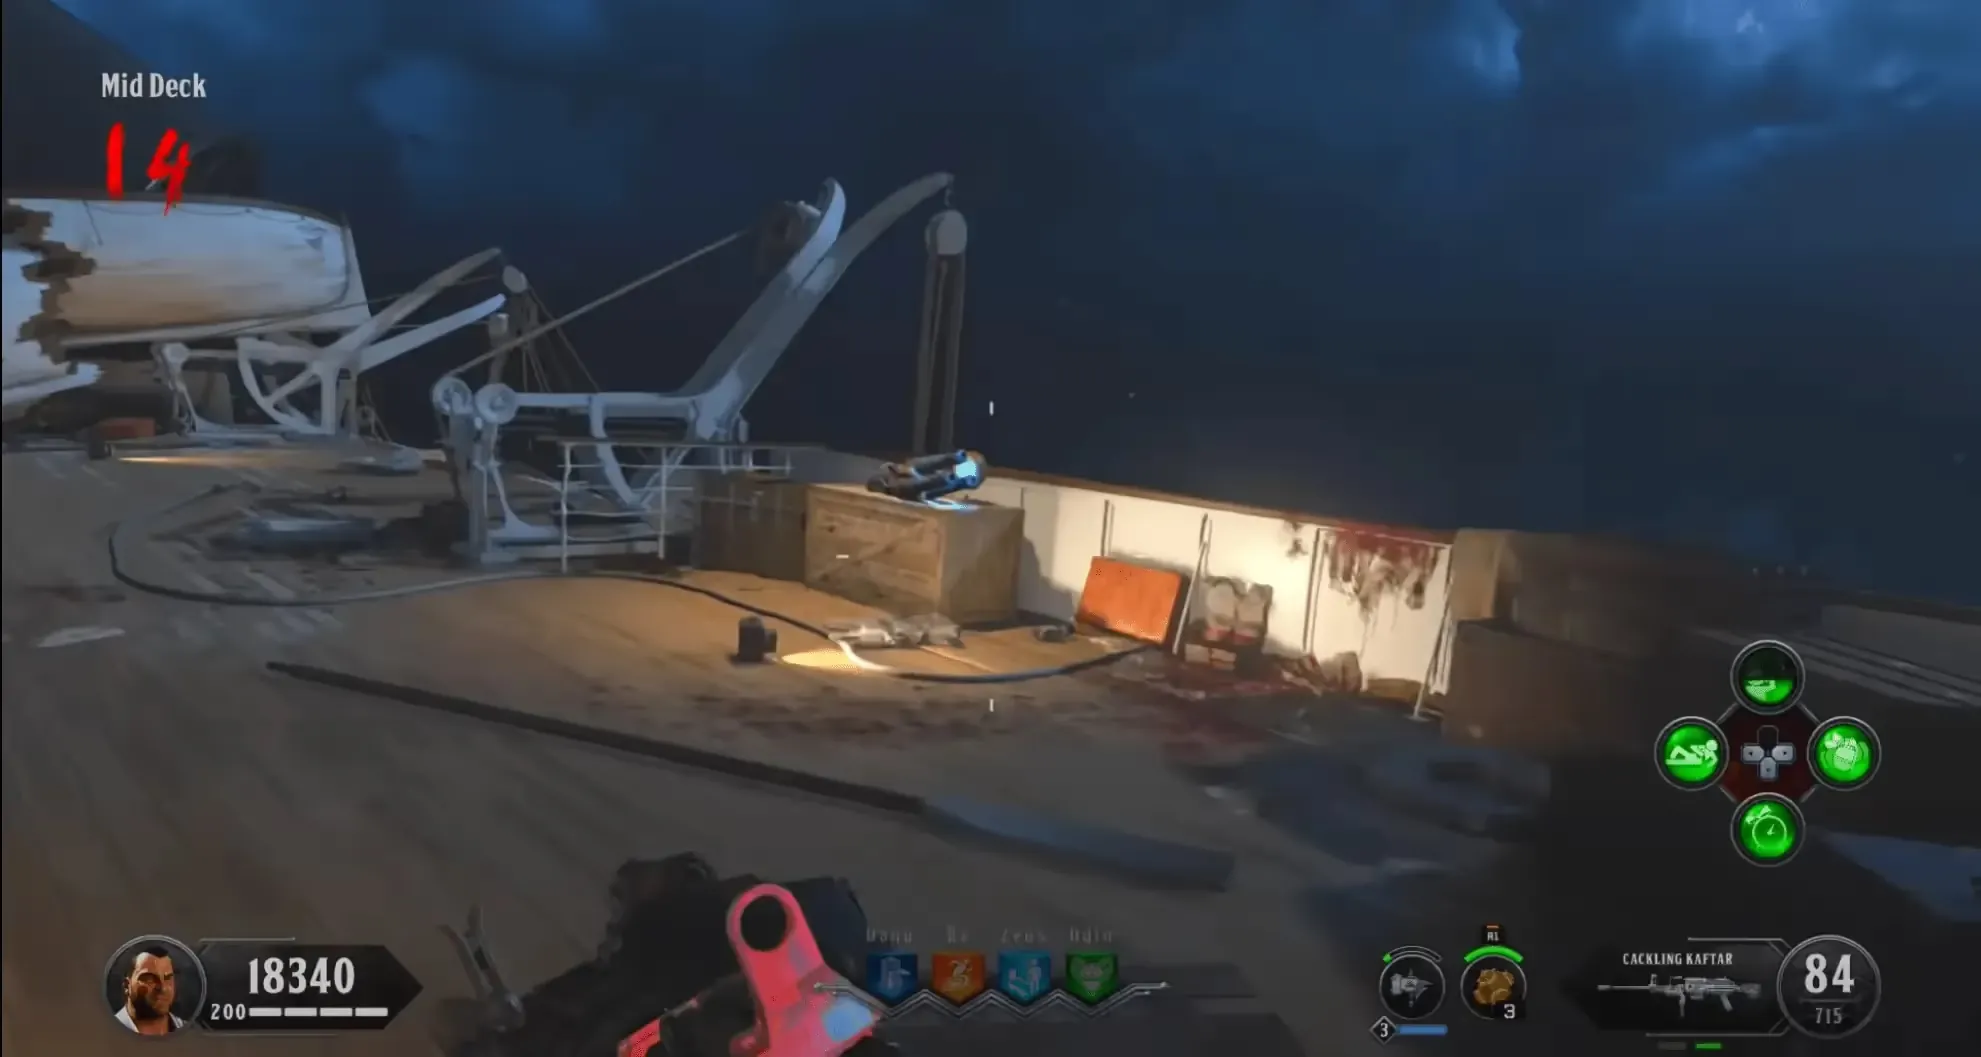
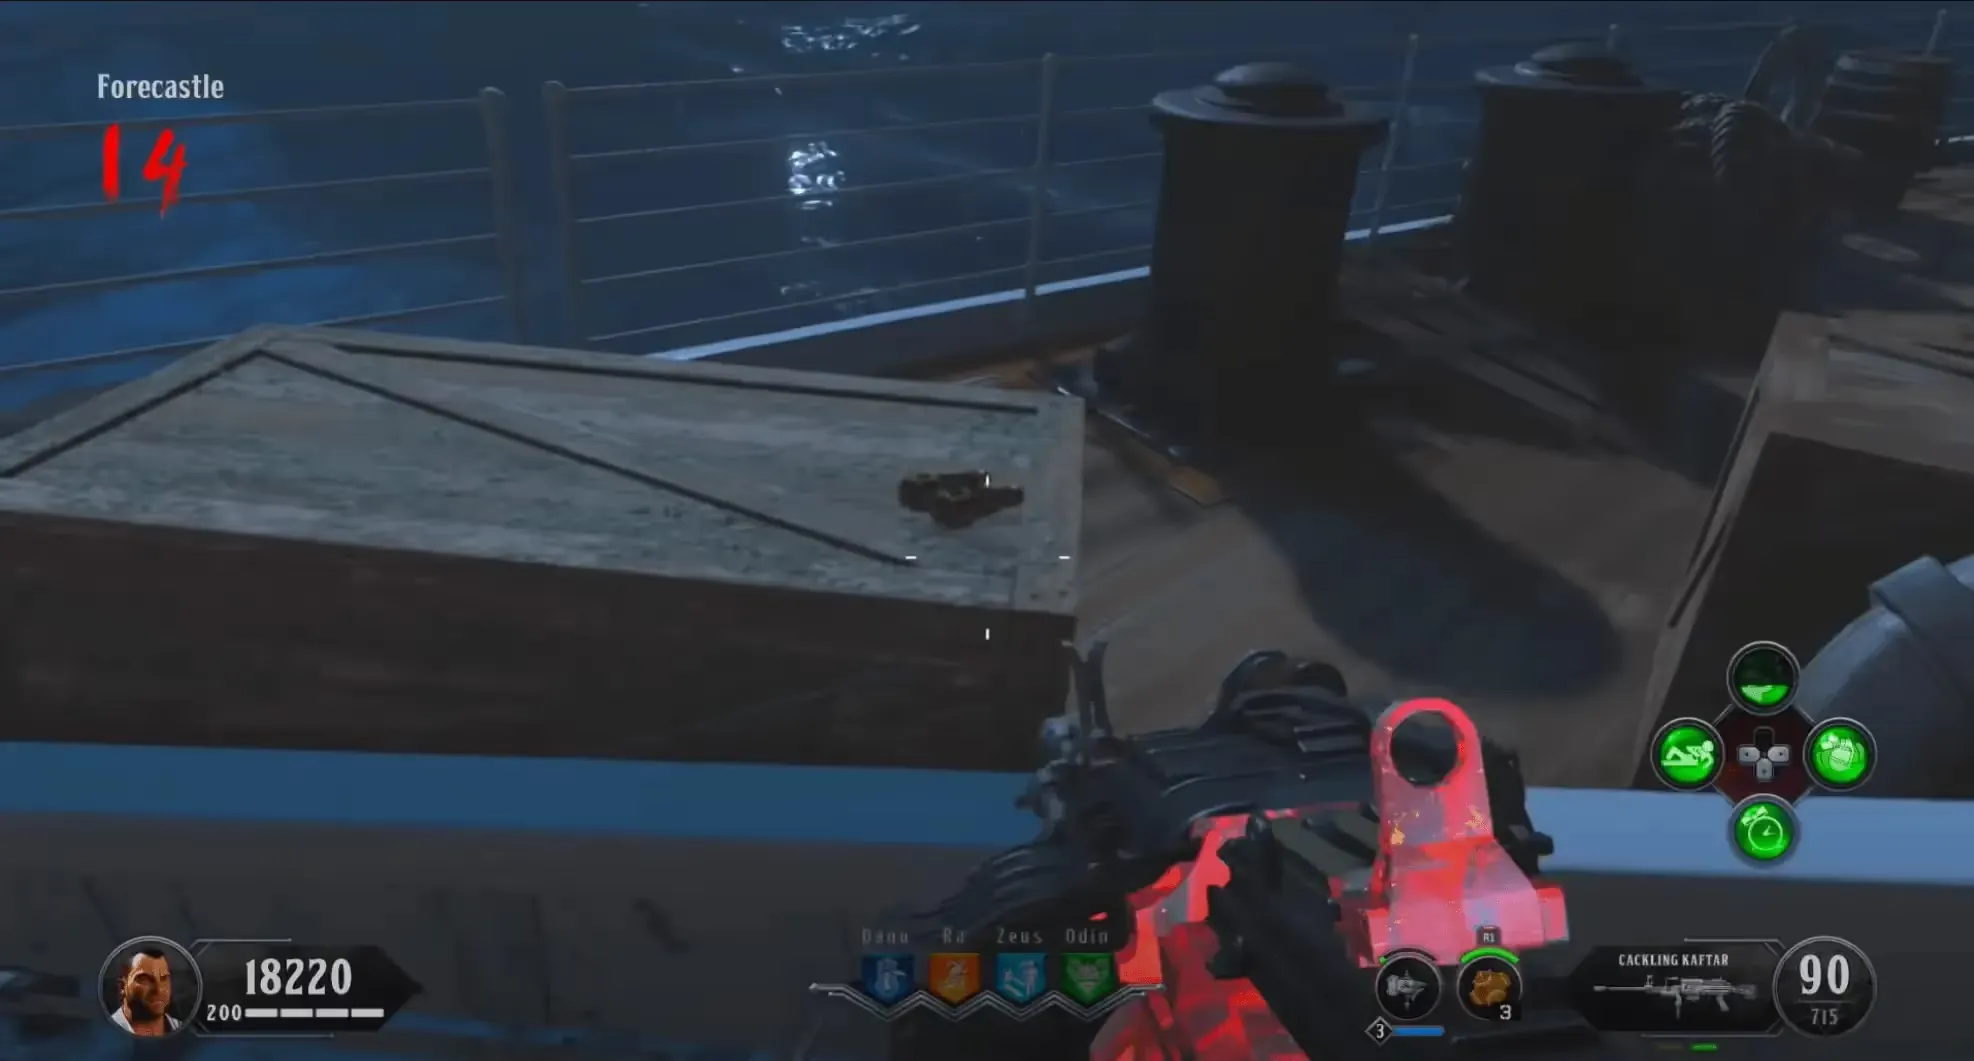
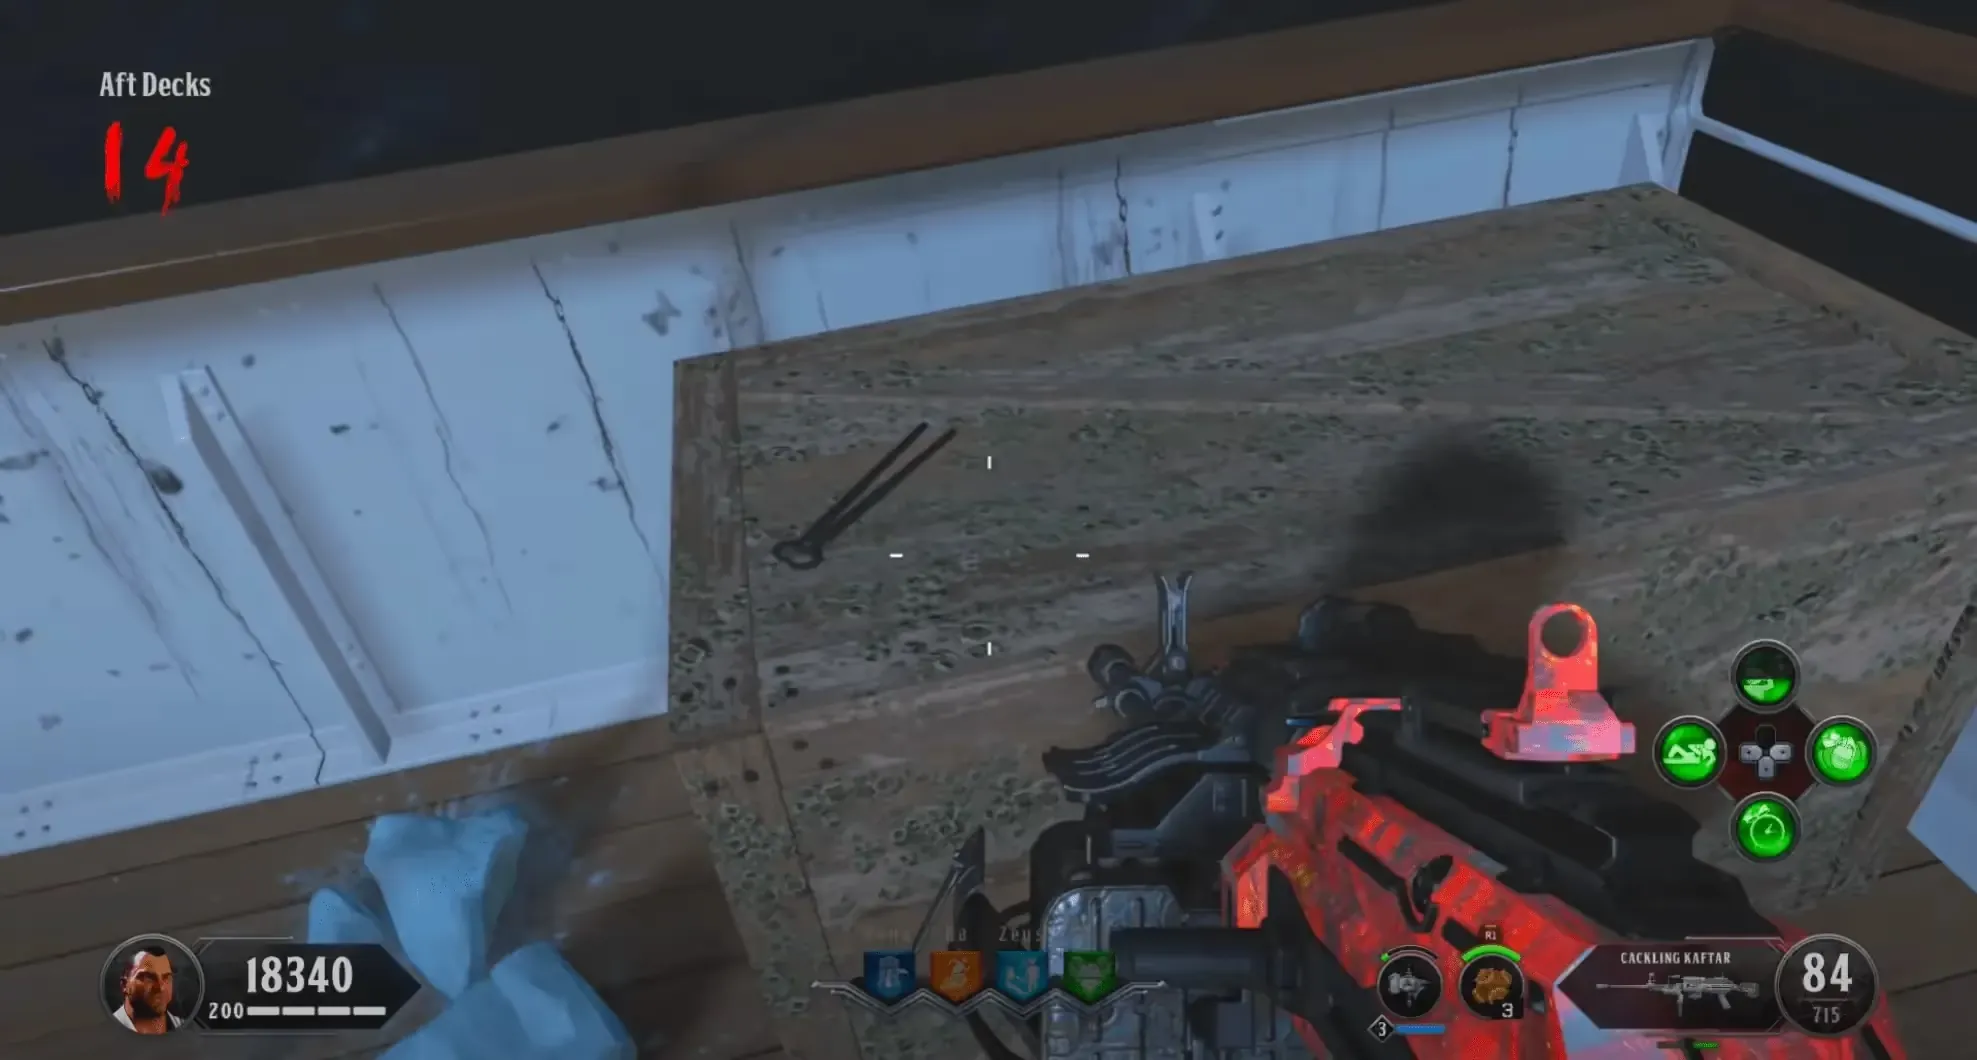
Once located a giant Kraken tentacle will emerge from the water and place the Kraken wonder weapon on the crate for you to collect.
Step 5: Before the Flame your Hubris is Devoured
Head to the Turbine Room, using the Decayed Kraken you must shoot nine blue pipes with steam leaking out of them. If you successfully hit one of these pipes, you'll get a hit marker along with a metallic audio cue and it should turn into a water leak instead of a steam leak. The pipes can be found in the corners of the room and on the ceiling.
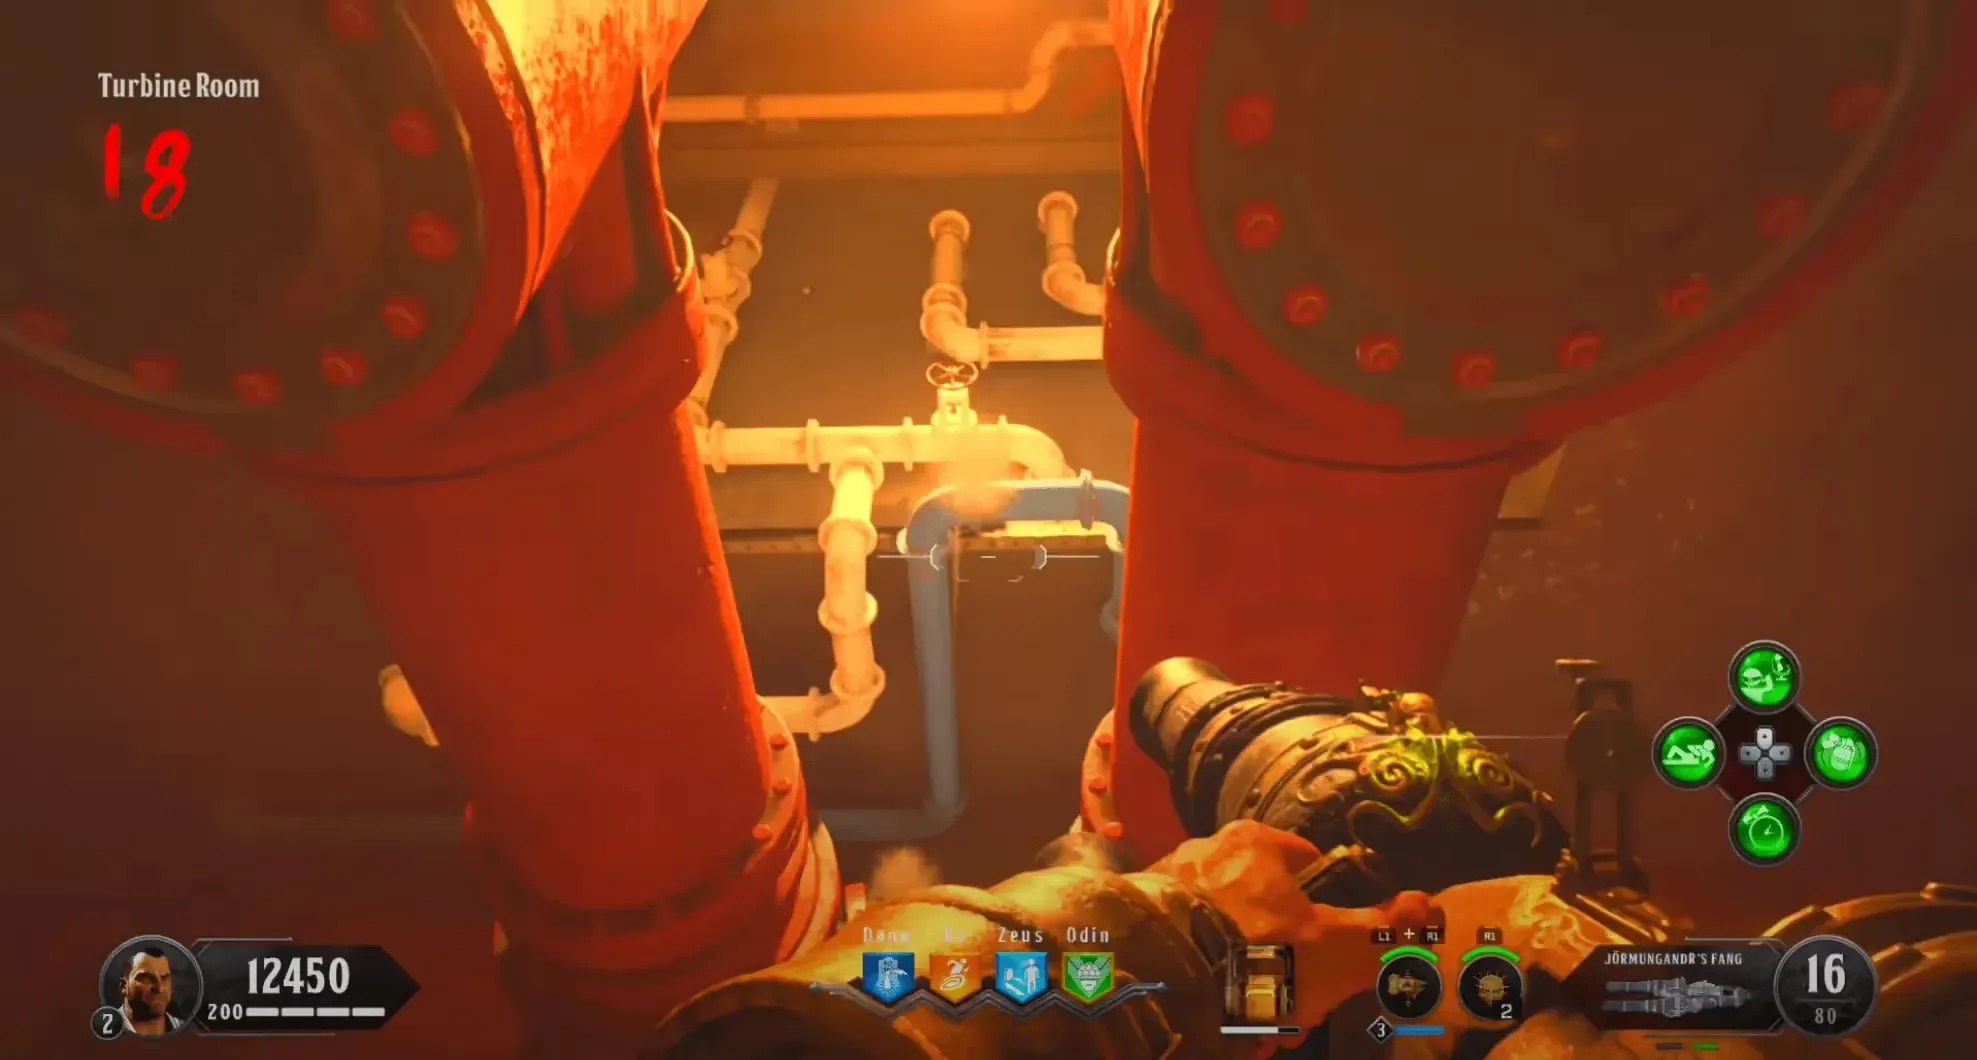
Some of these pipes can be hard to see so look carefully and try to keep track of how many you've shot and where you shot them to make locating the correct pipes easier.
Once completed, if the Pack-a-Punch is in the Turbine Room, interact with it to Pack-a-Punch the **Sentinel Artifact **completing this step. If the Pack-a-Punch is not in the Turbine Room, flip rounds until it is.
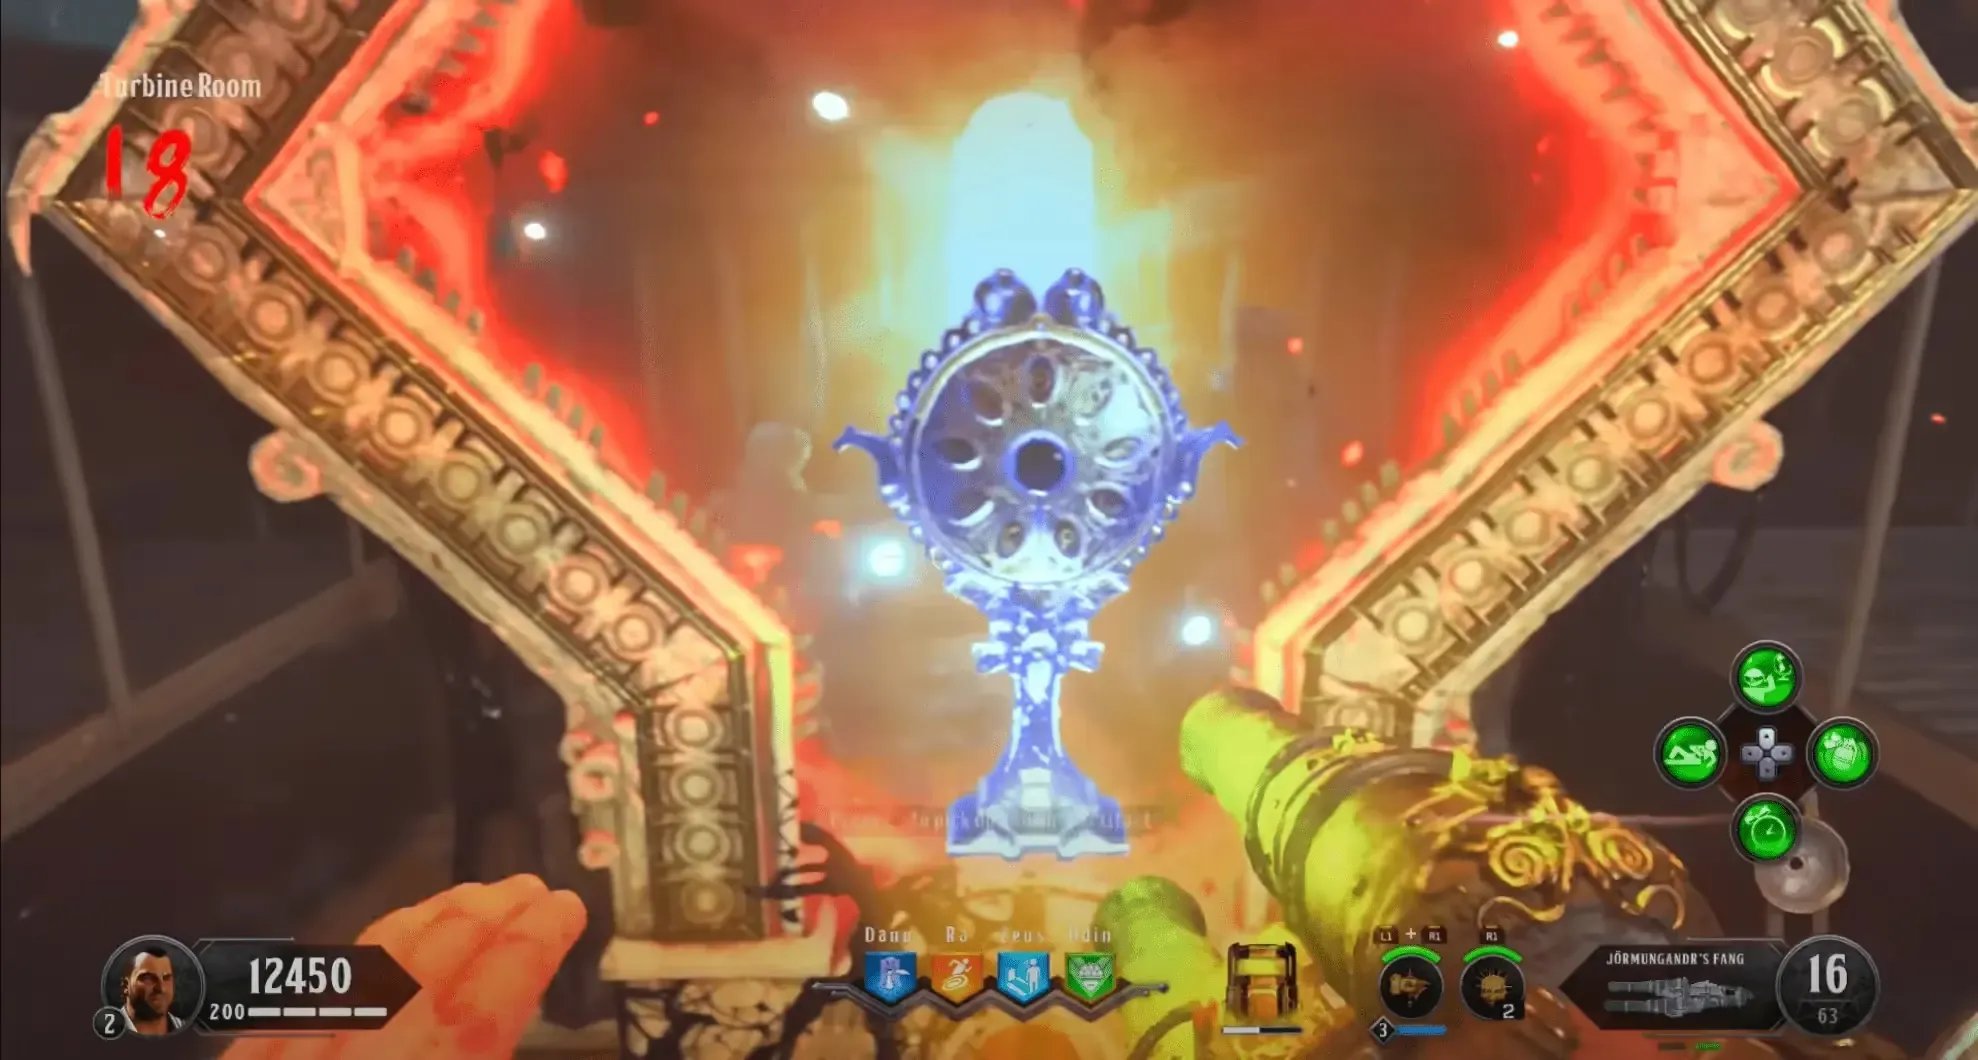
Obtaining the Decayed Kraken
You must kill Poison Catalyst Zombies with the Kraken until it drops a Poison Catalyst Heart (Concentrated Decay). Once you have the heart, head to the Engine Room, build the Distillation Kit on the workbench and upgrade your Kraken for 3000 points if it is not Pack-a-Punched and 6000 points if it is Pack-a-Punched.
Building the Distillation Kit
The Distillation Kit requires three parts to build, each part has two spawns within a location.
The first part is located in the 1st Class Lounge:
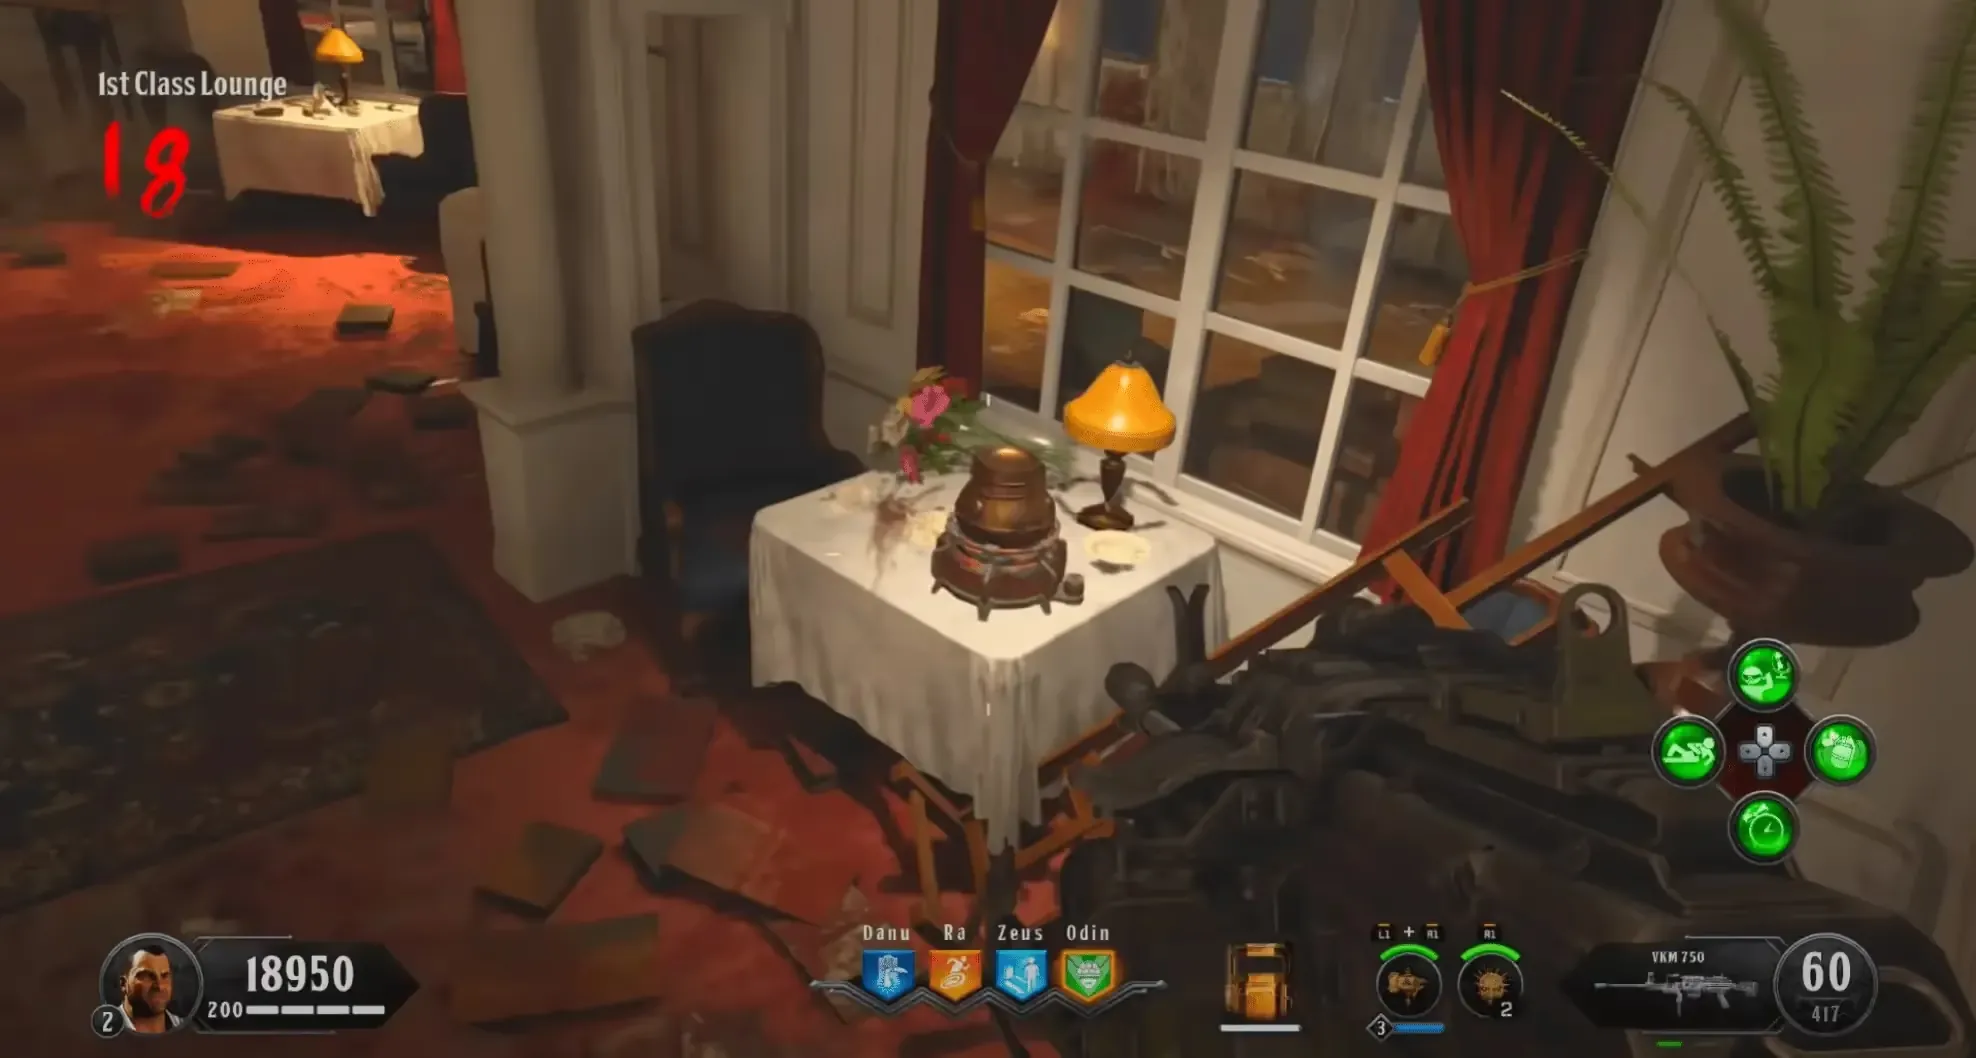
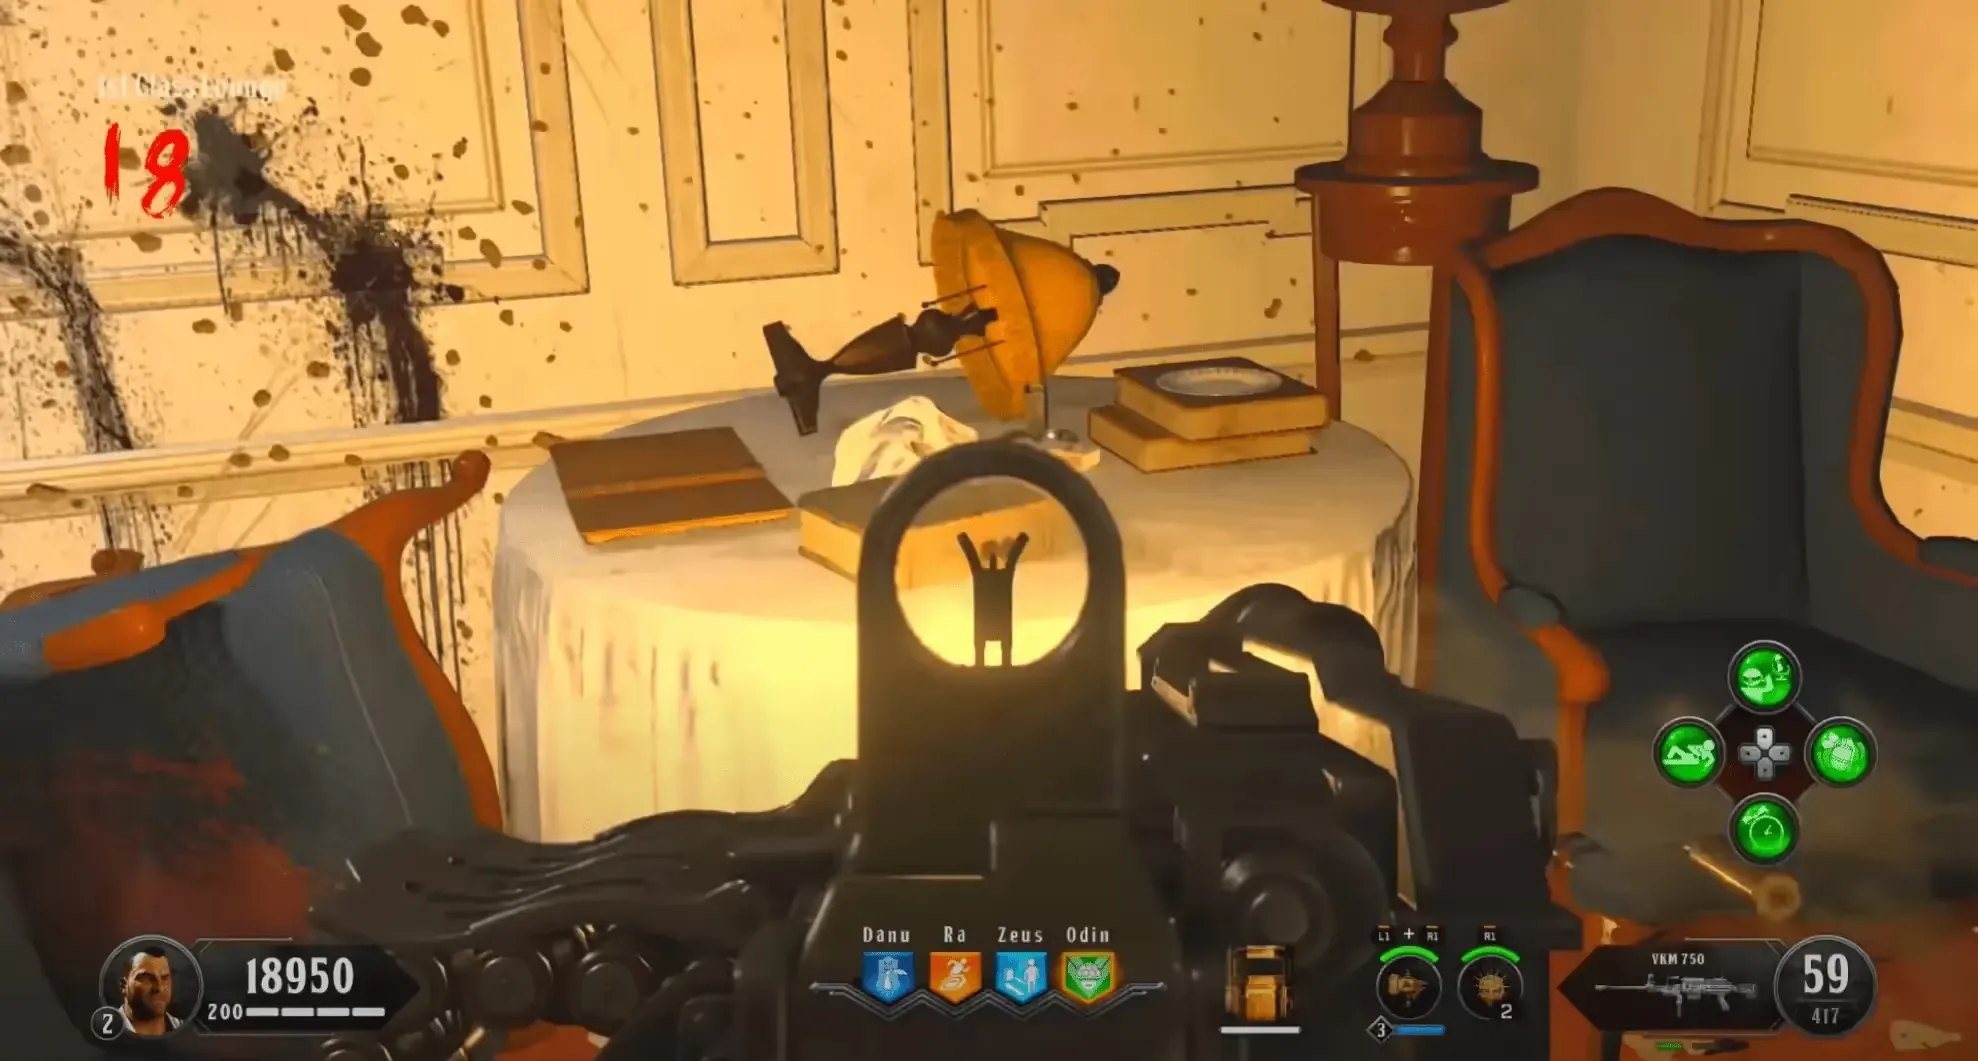
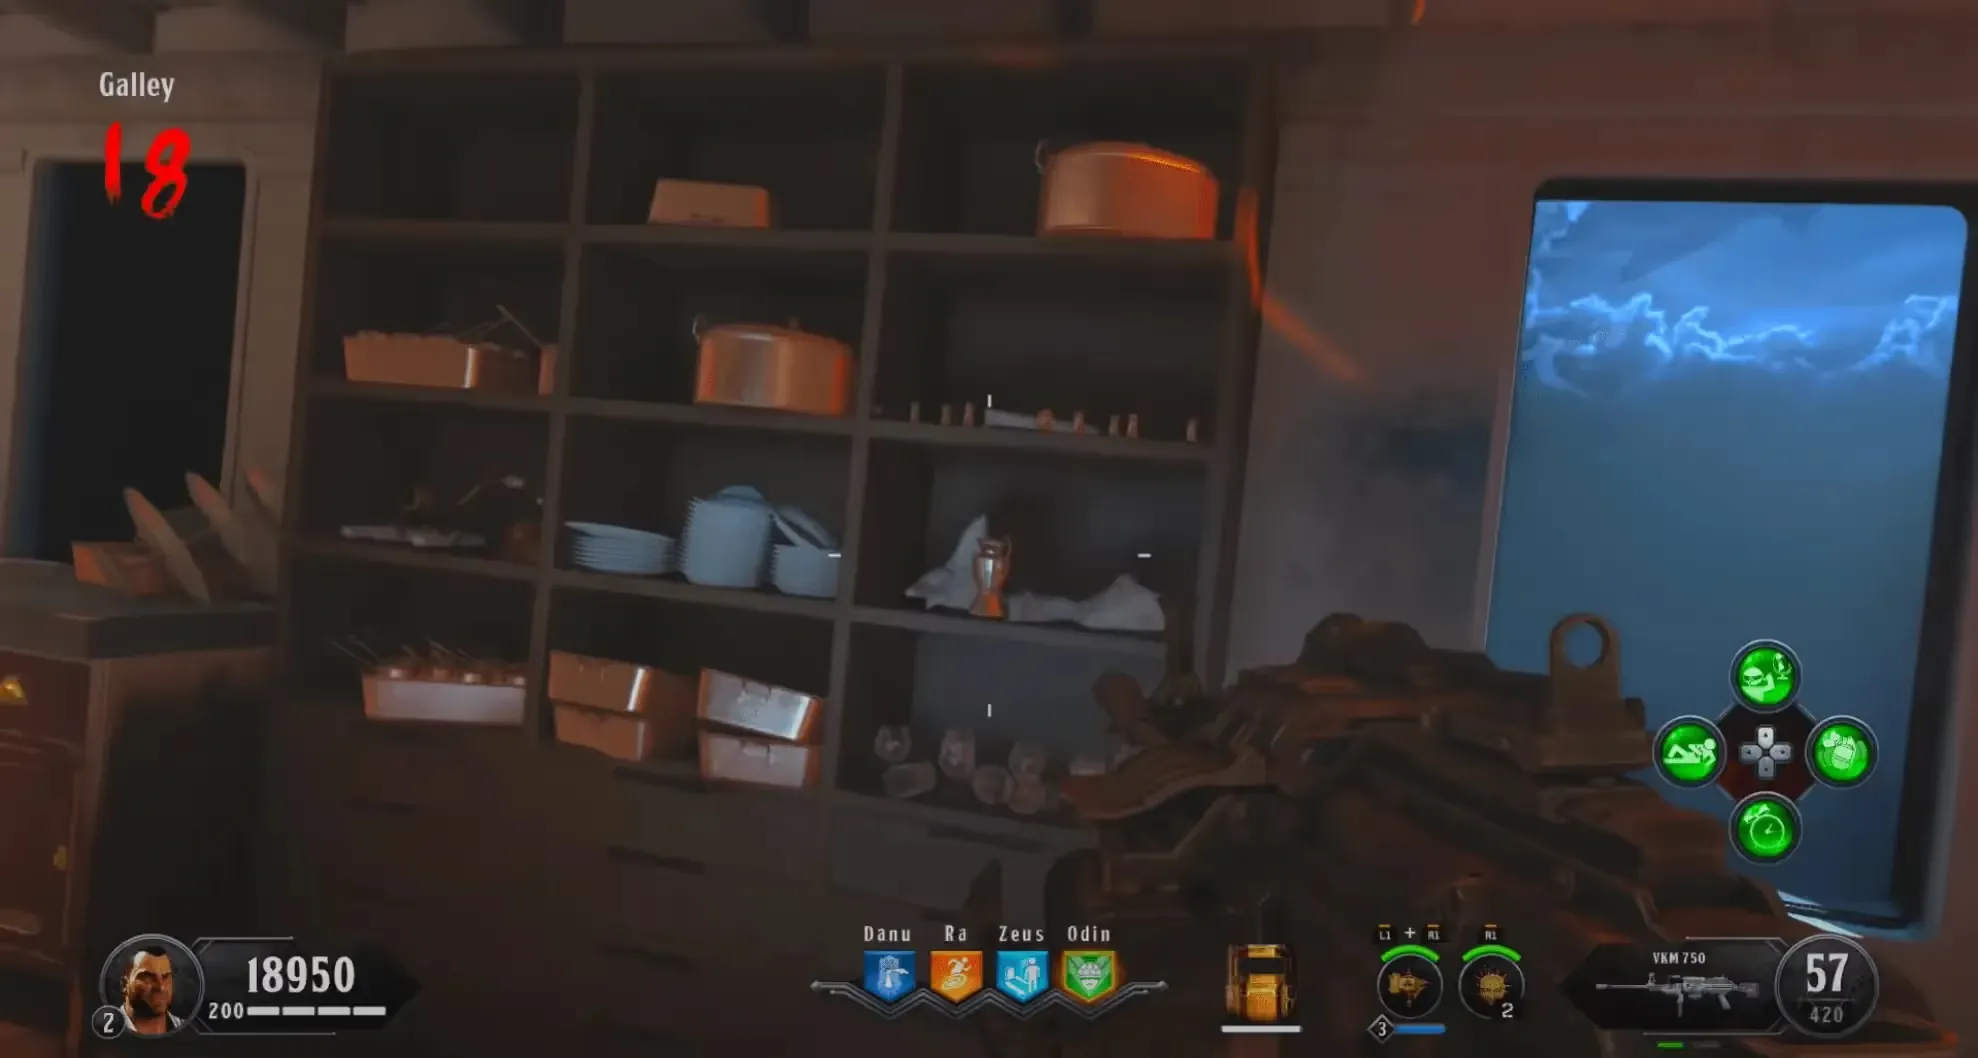
The second part is located in the Galley:
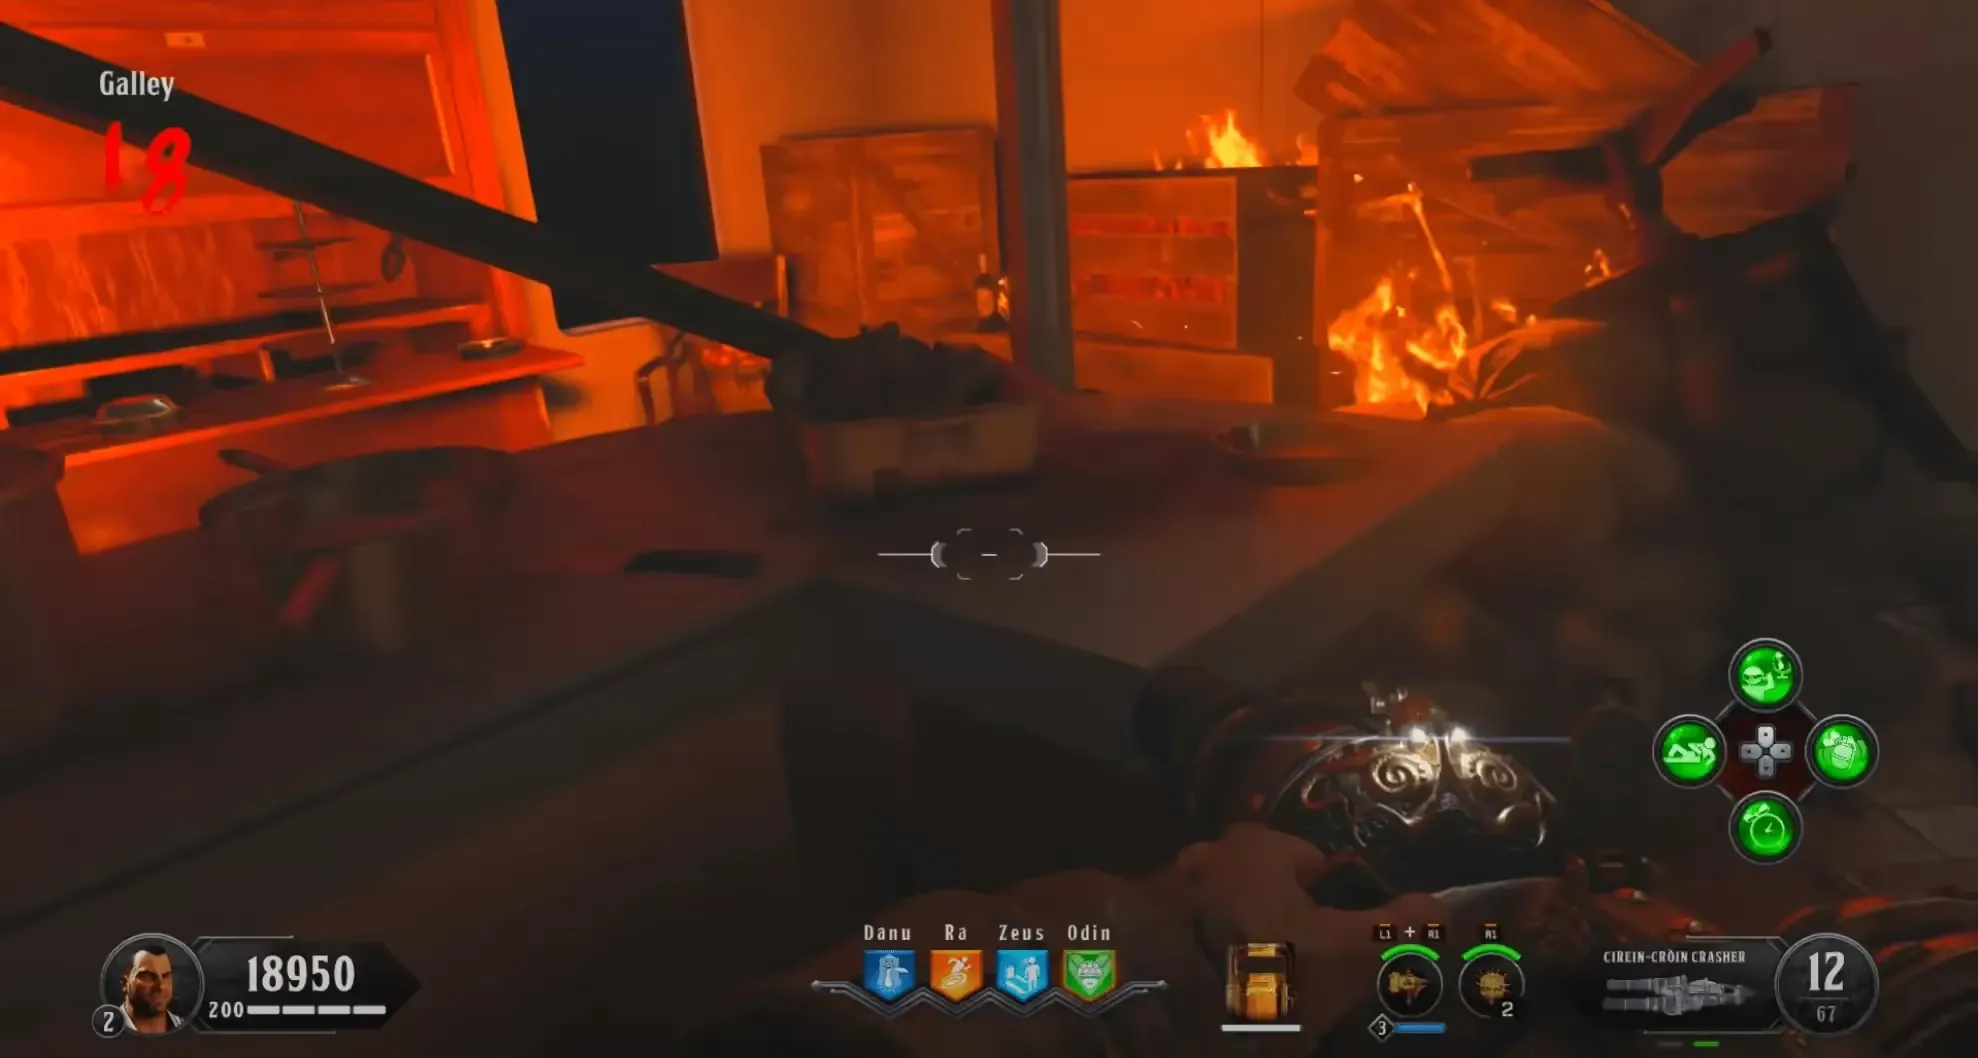
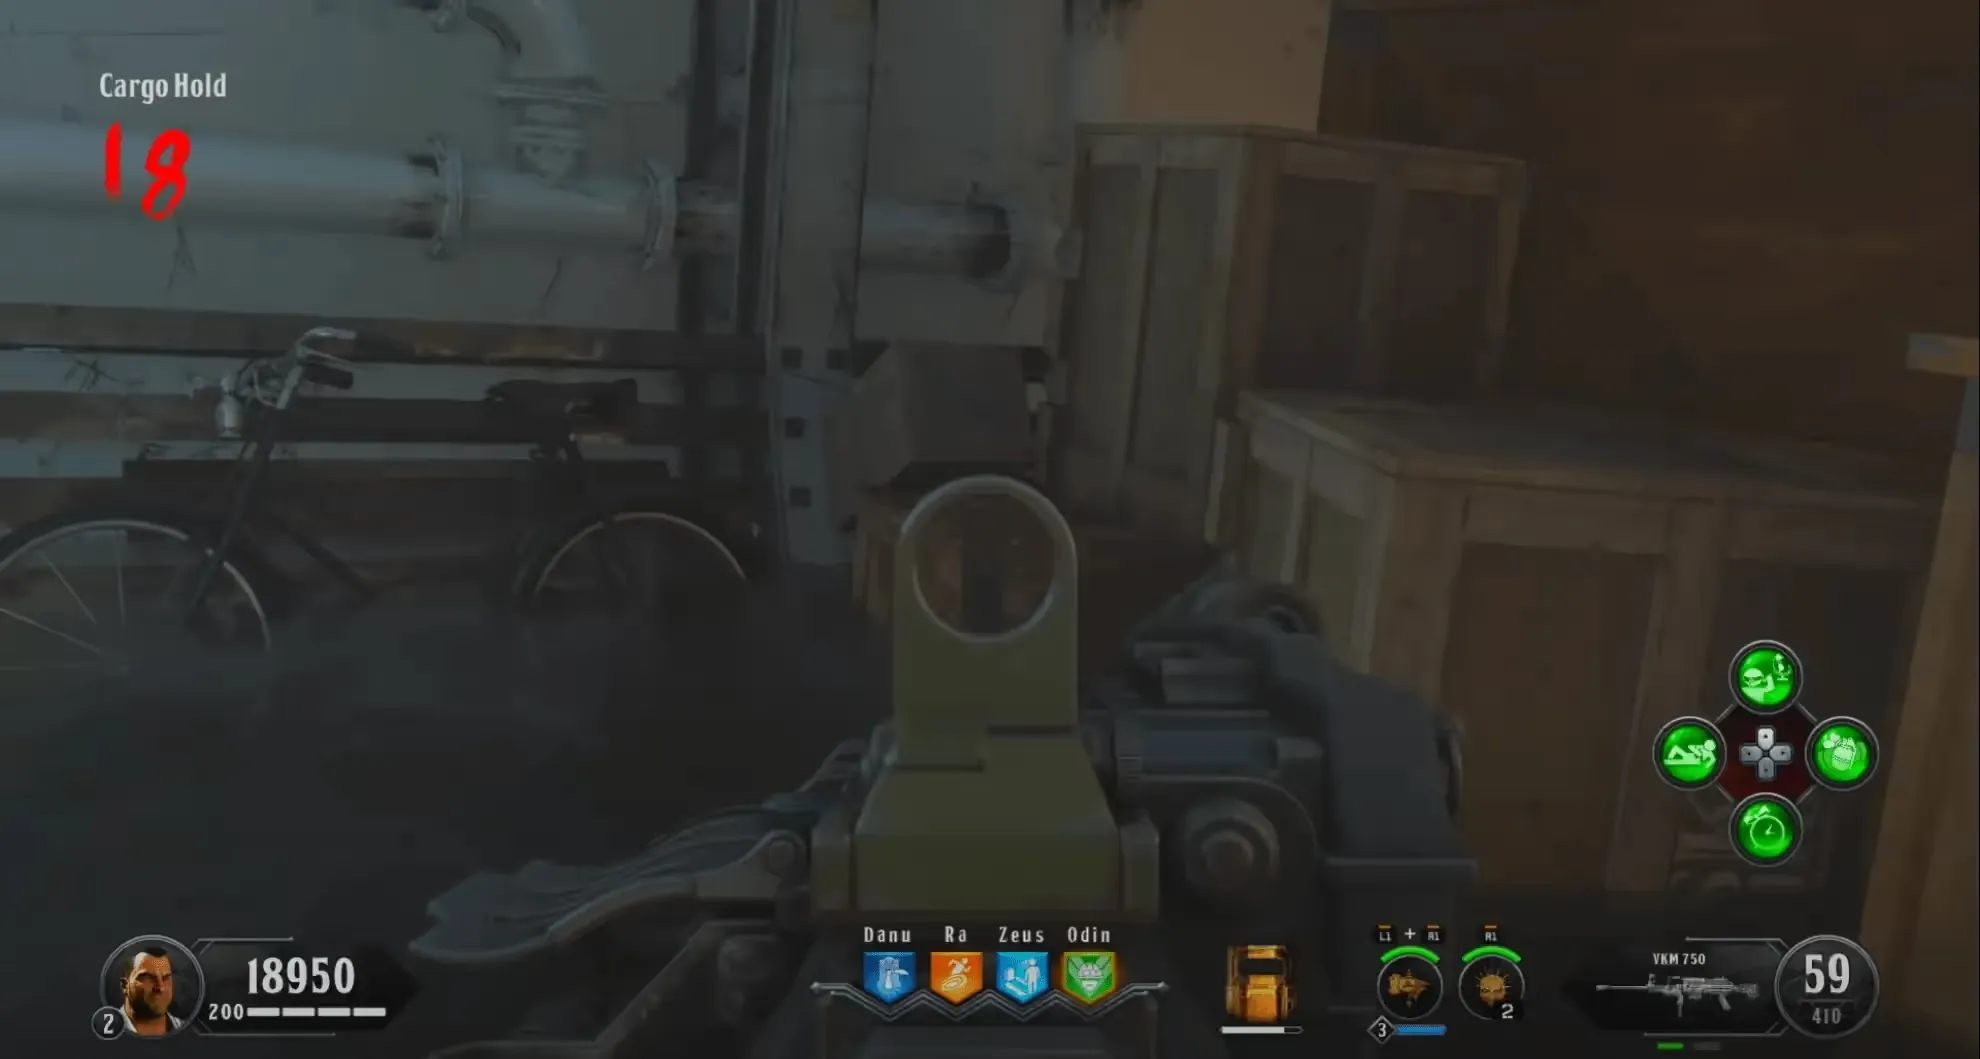
The final part is located in the Cargo Hold:
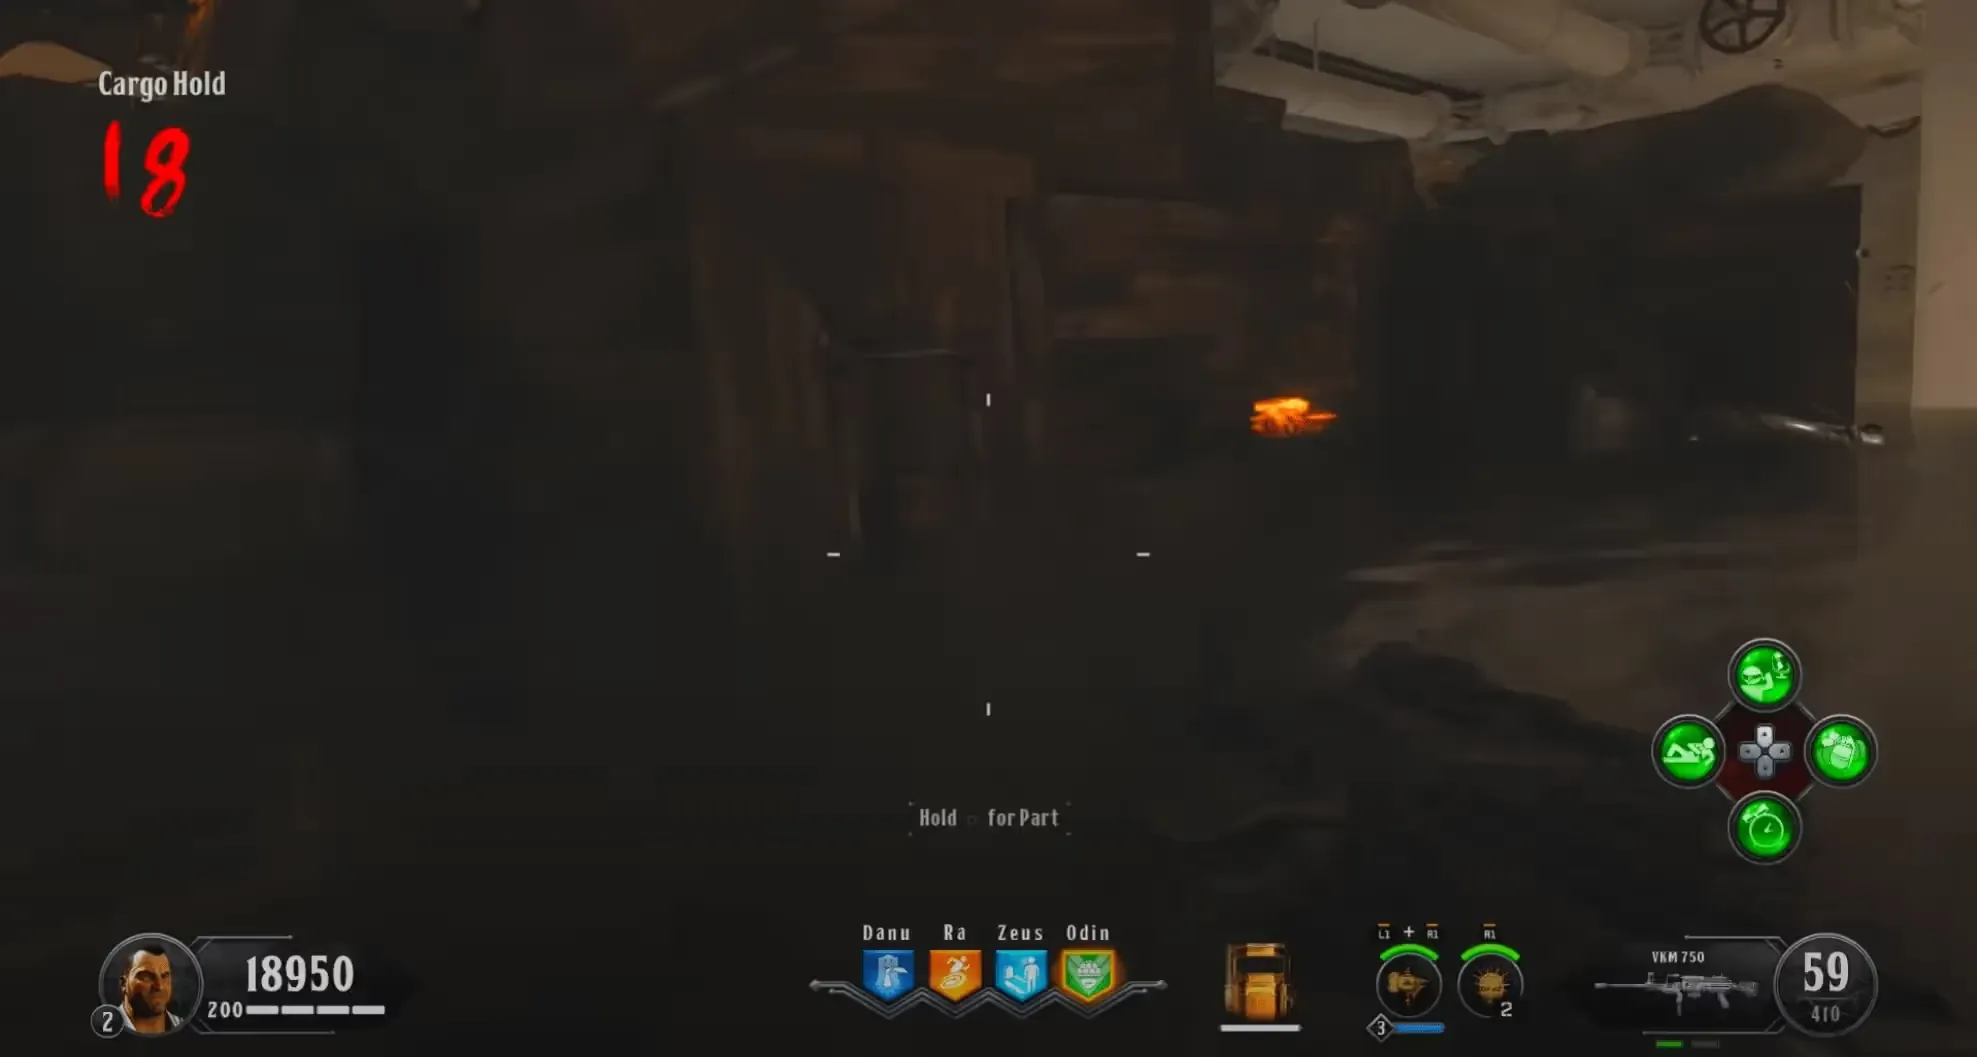
Once all three parts have been collected, head to the Engine Room to build the Distillation Kit.
Step 6: When the Planets are Revealed the Essence is Received
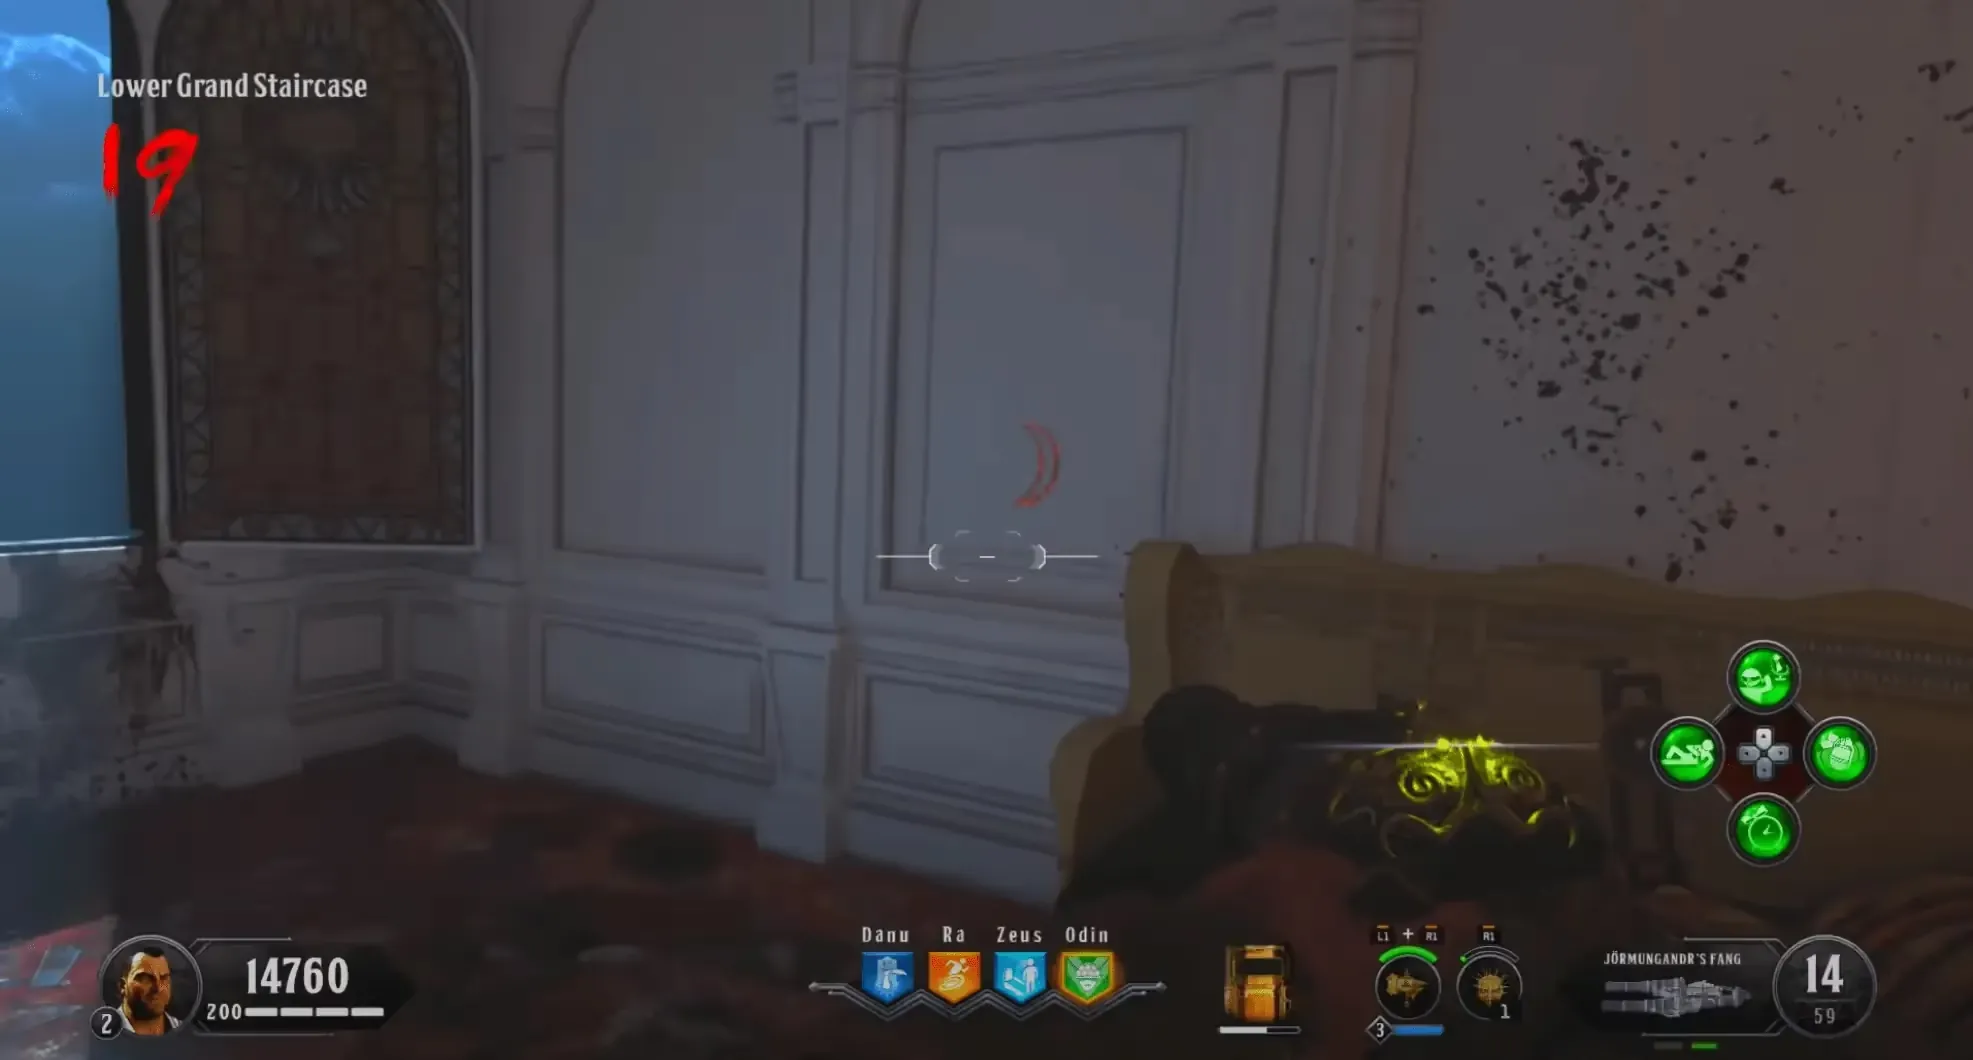
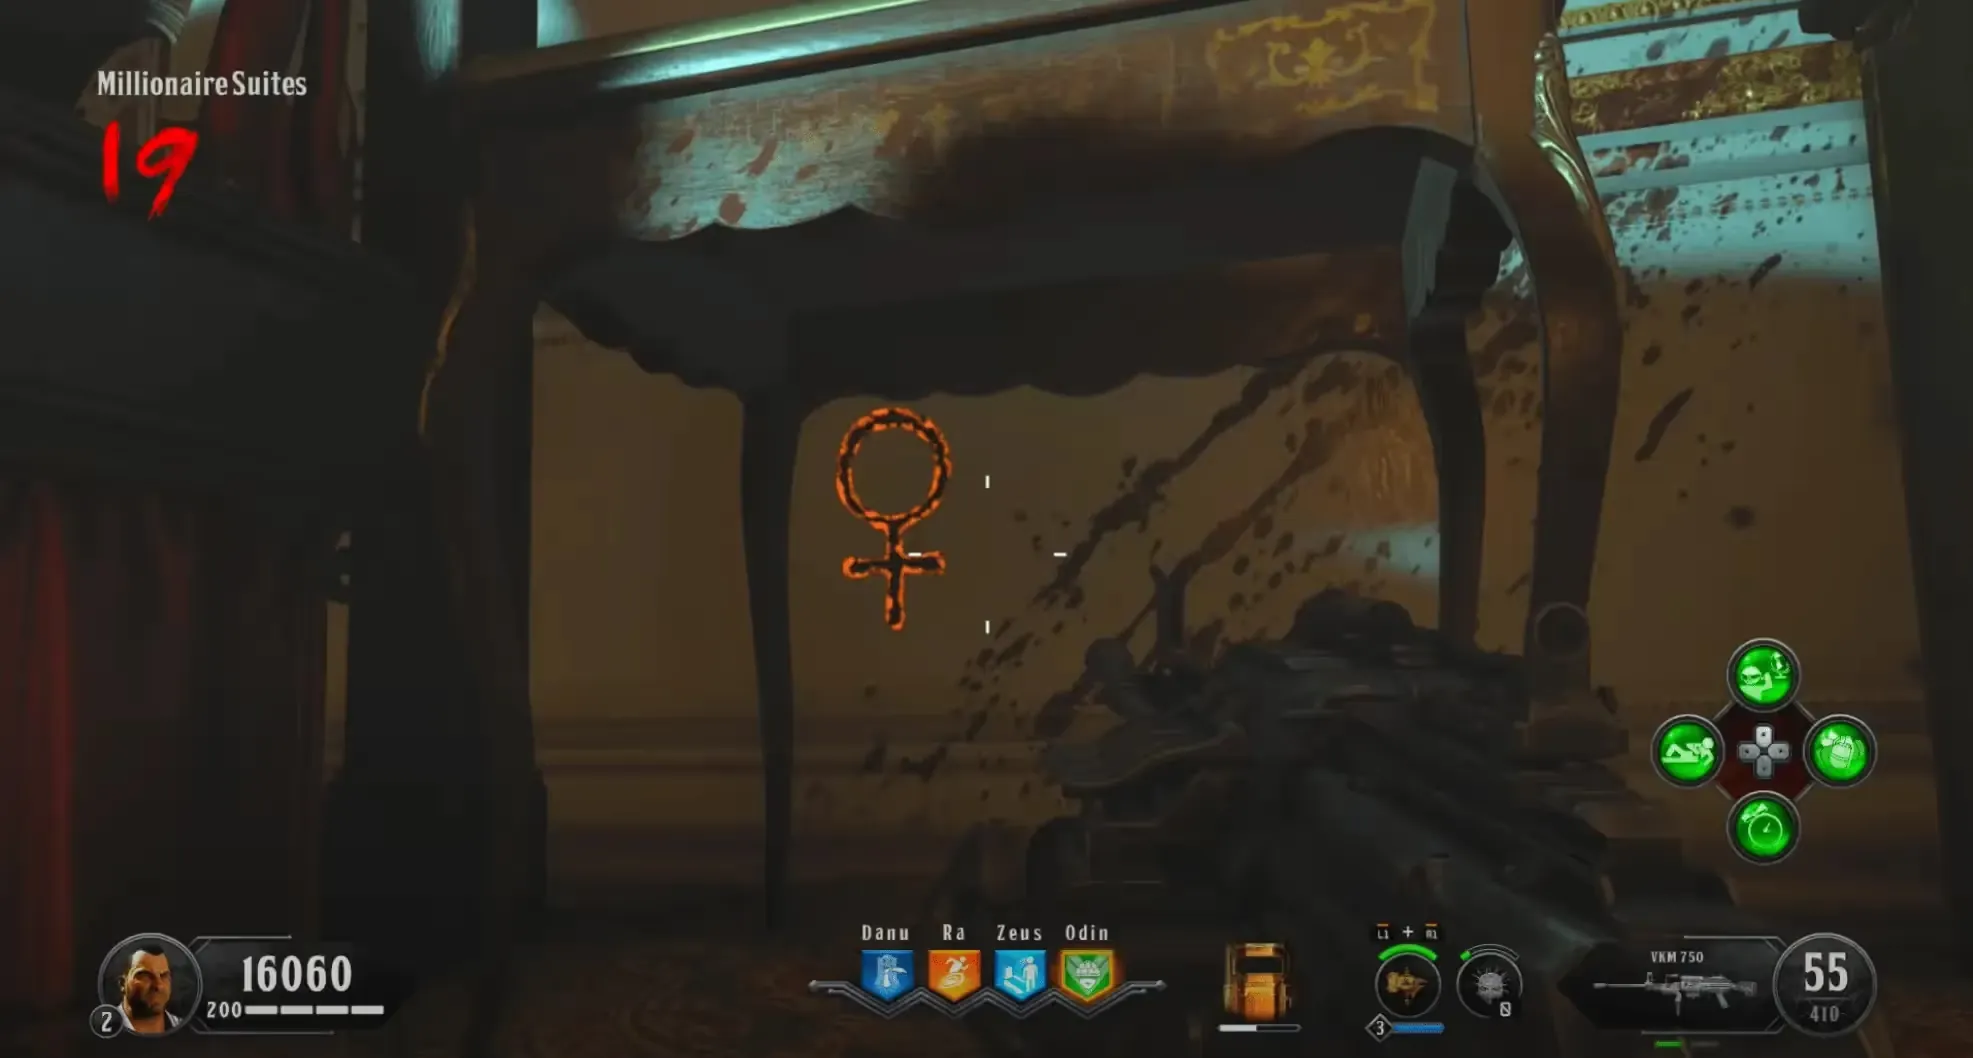
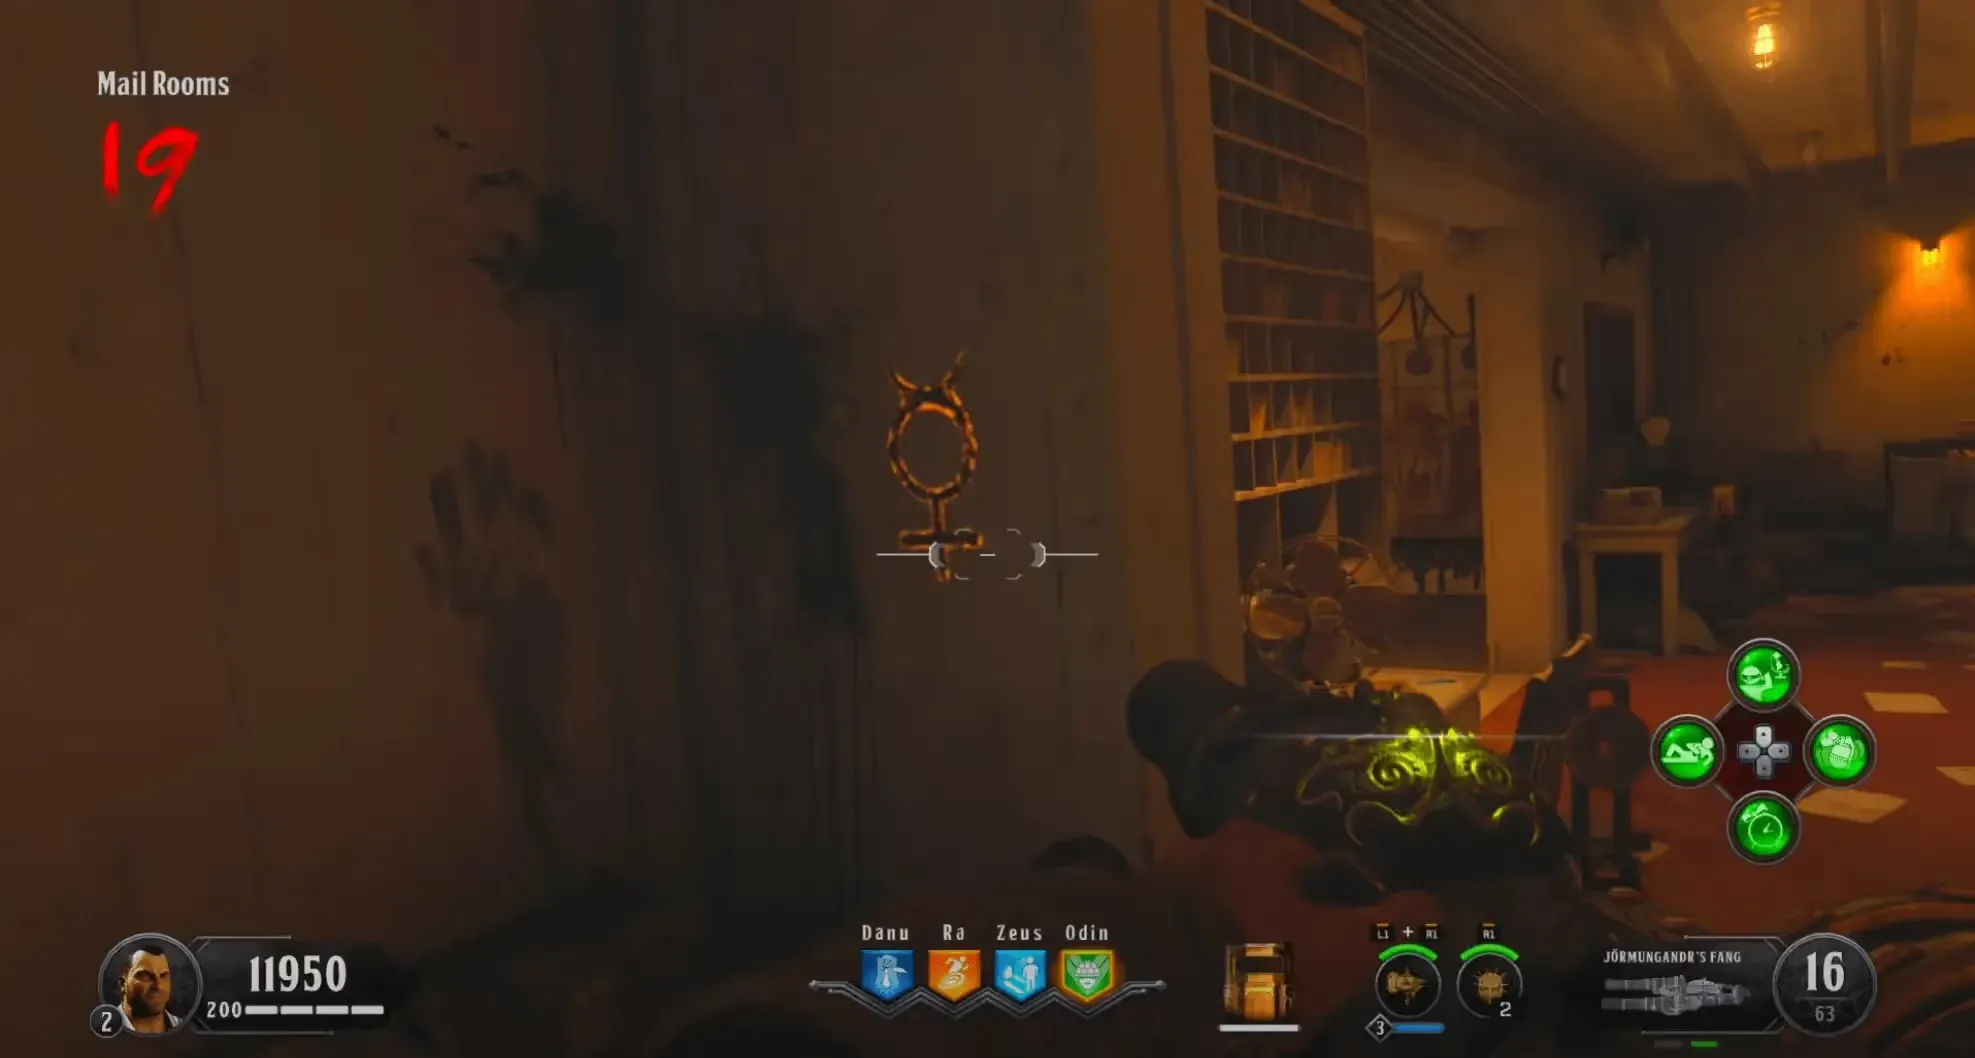
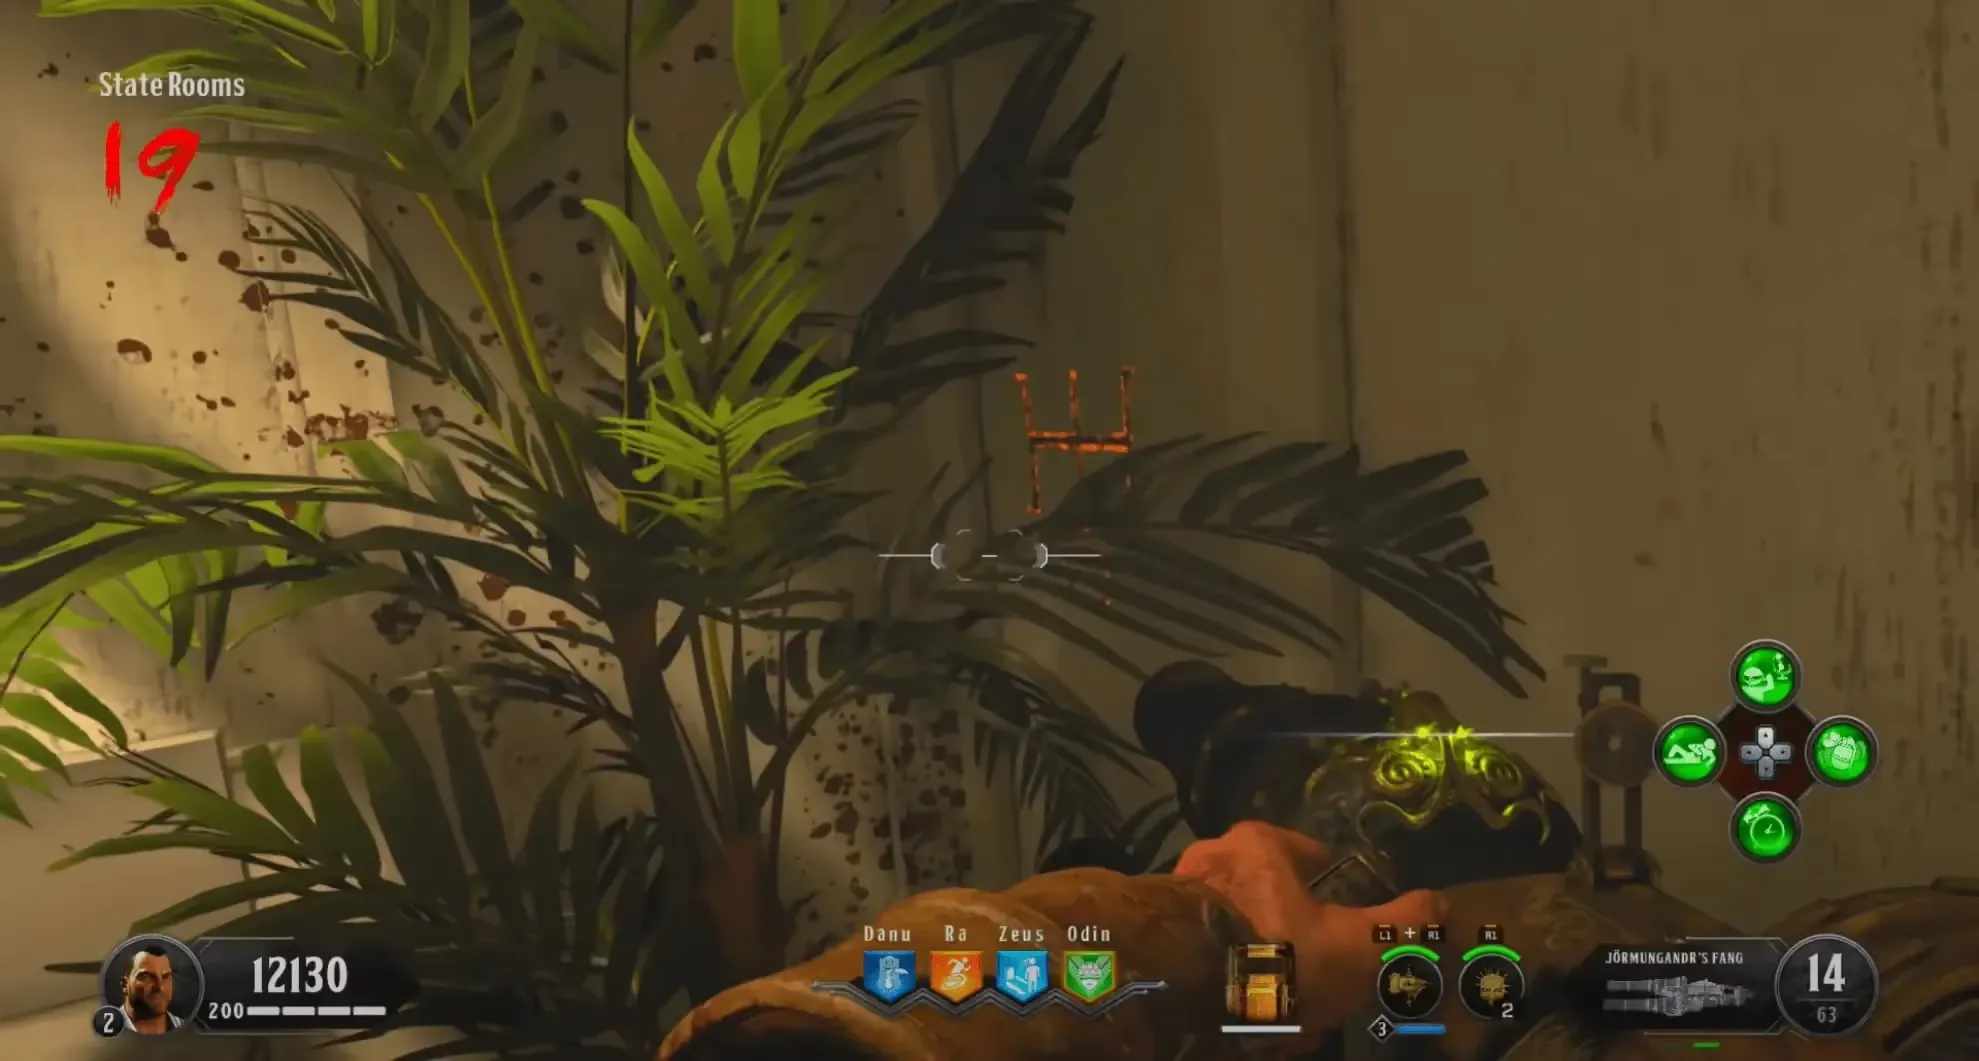
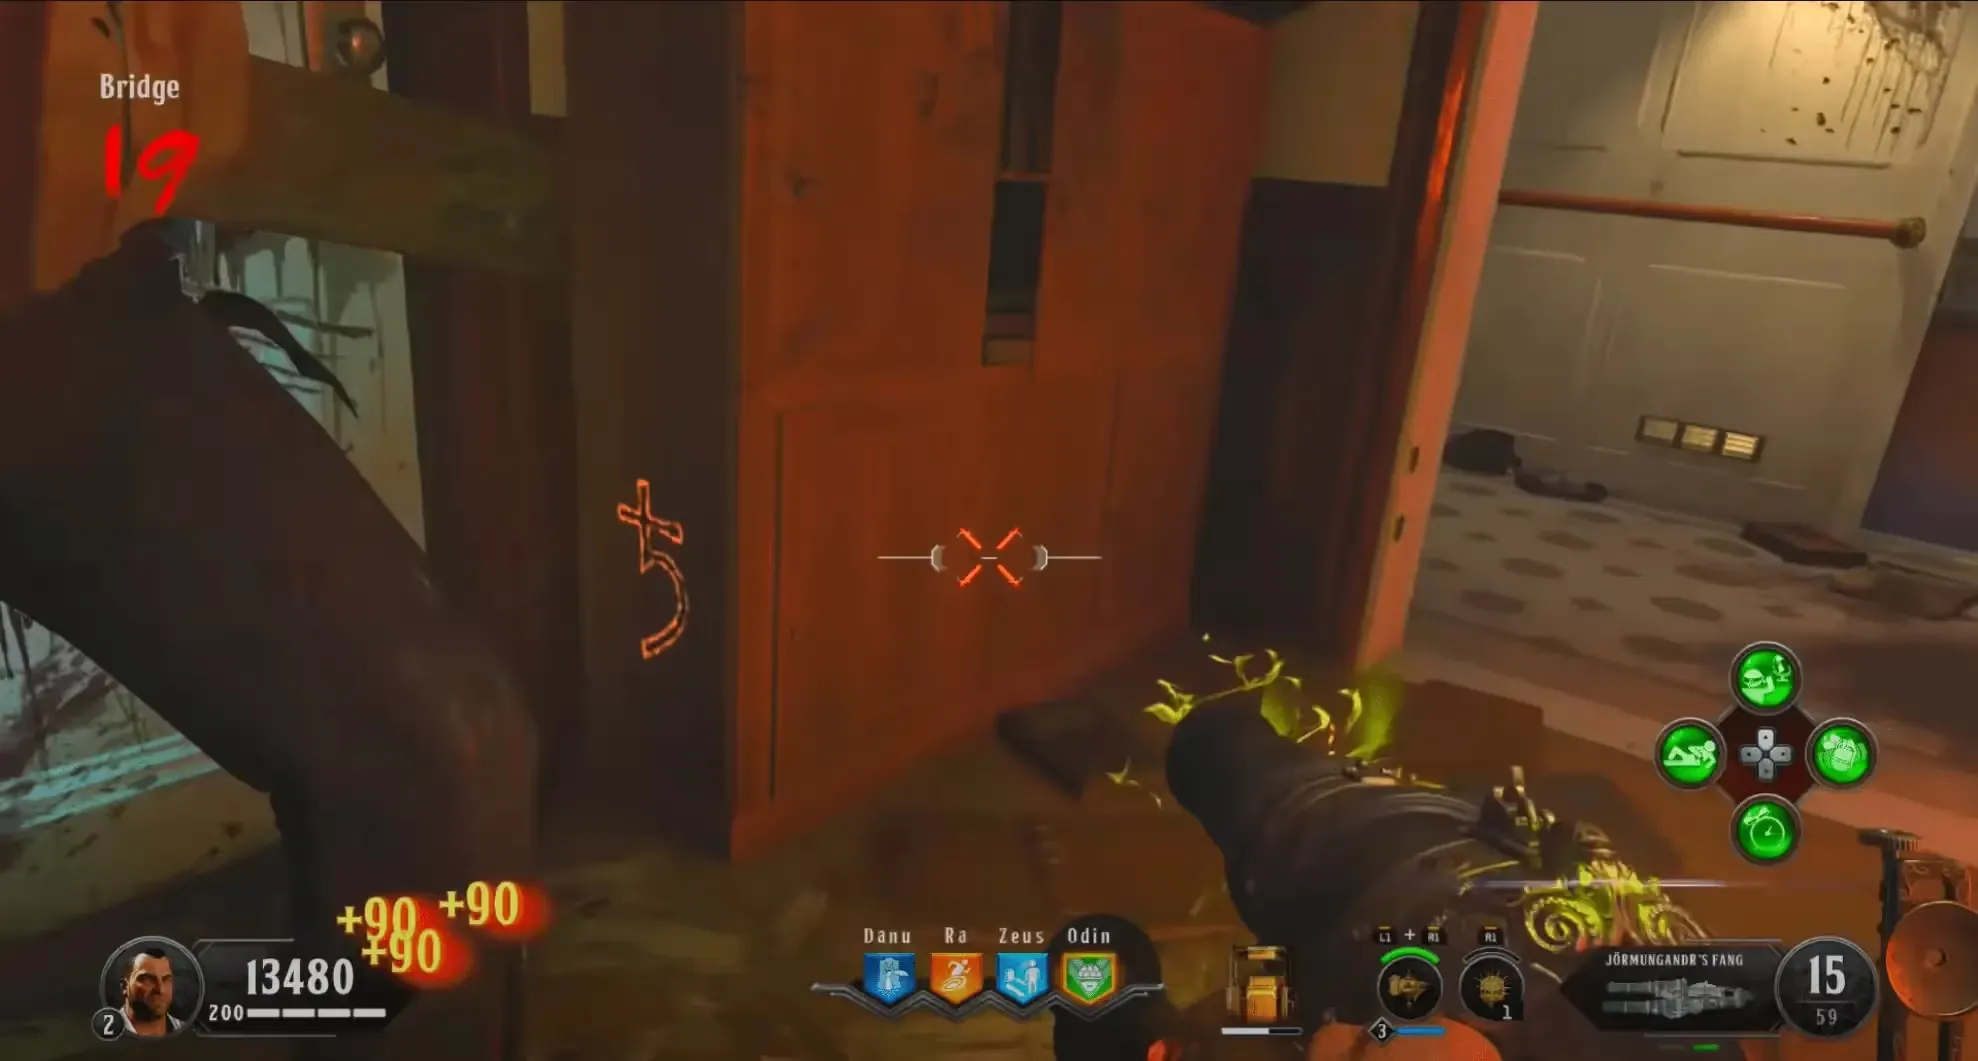
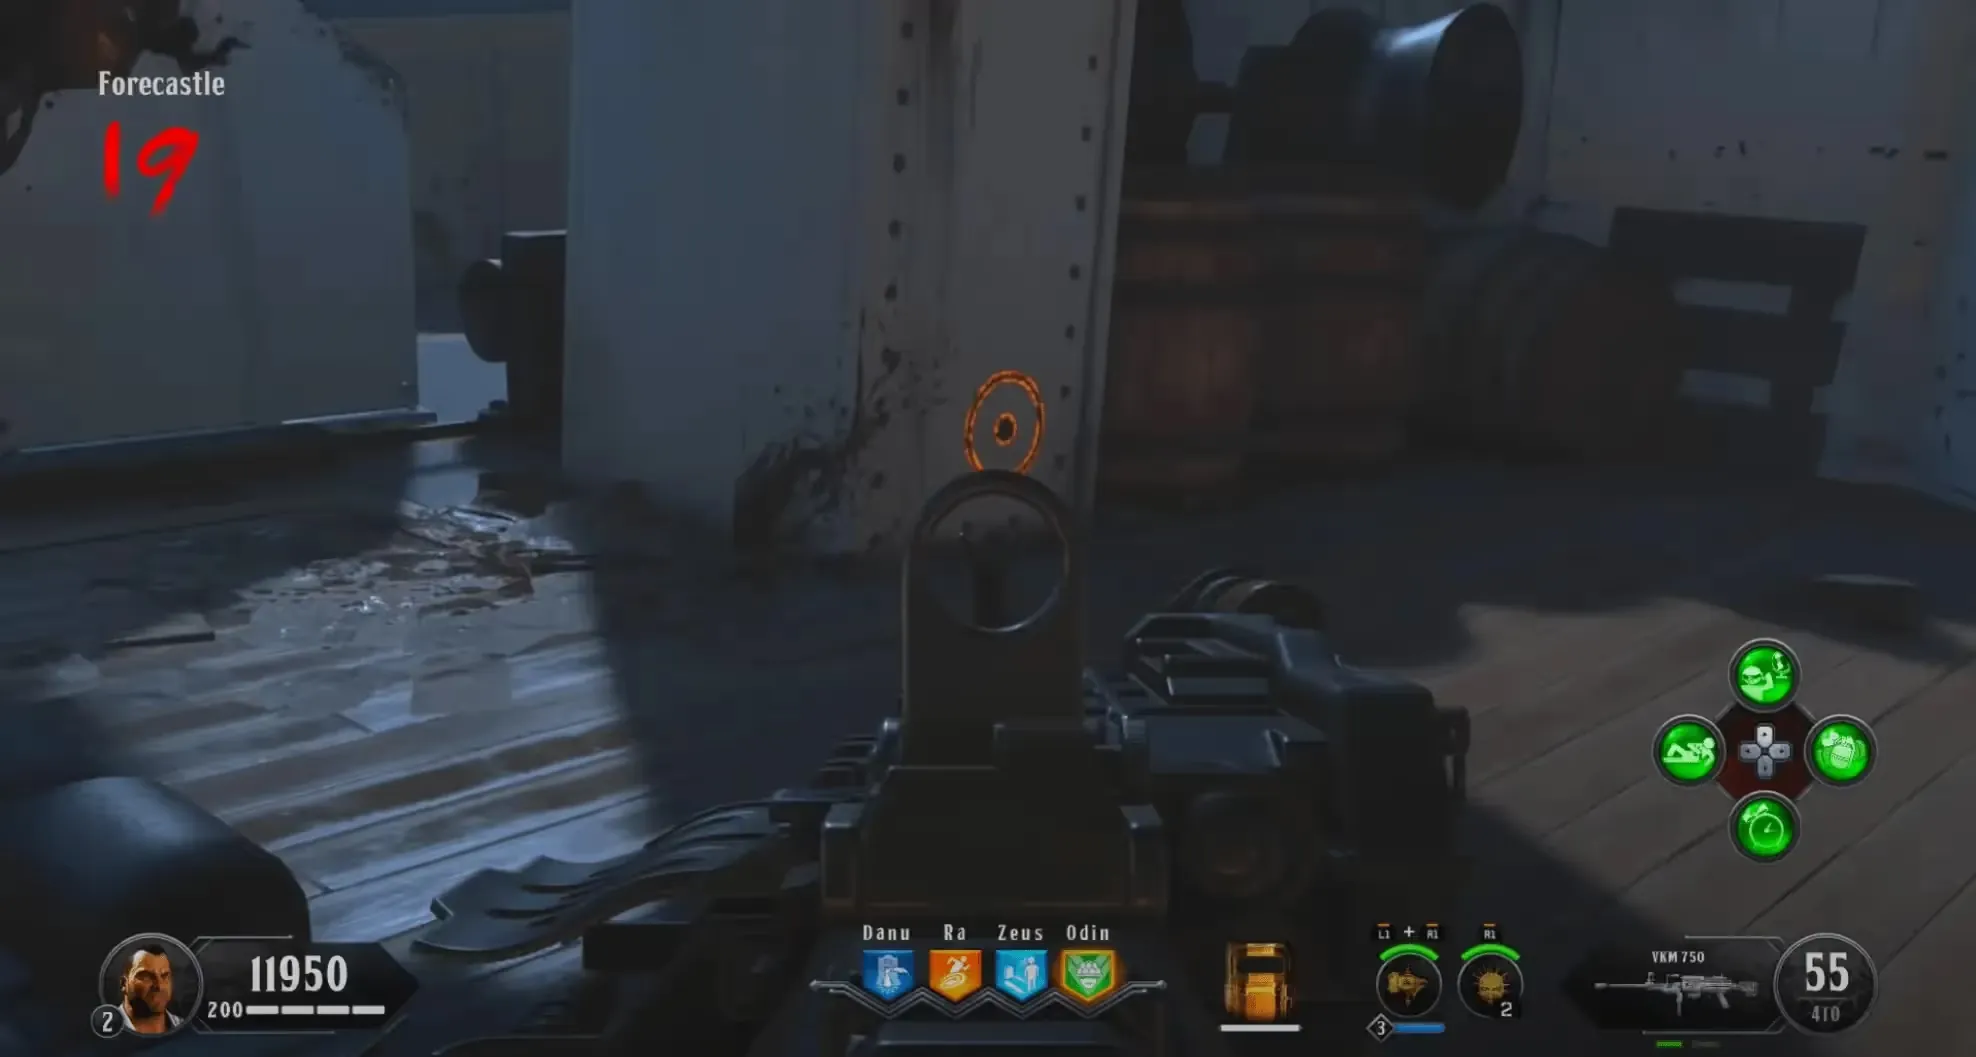
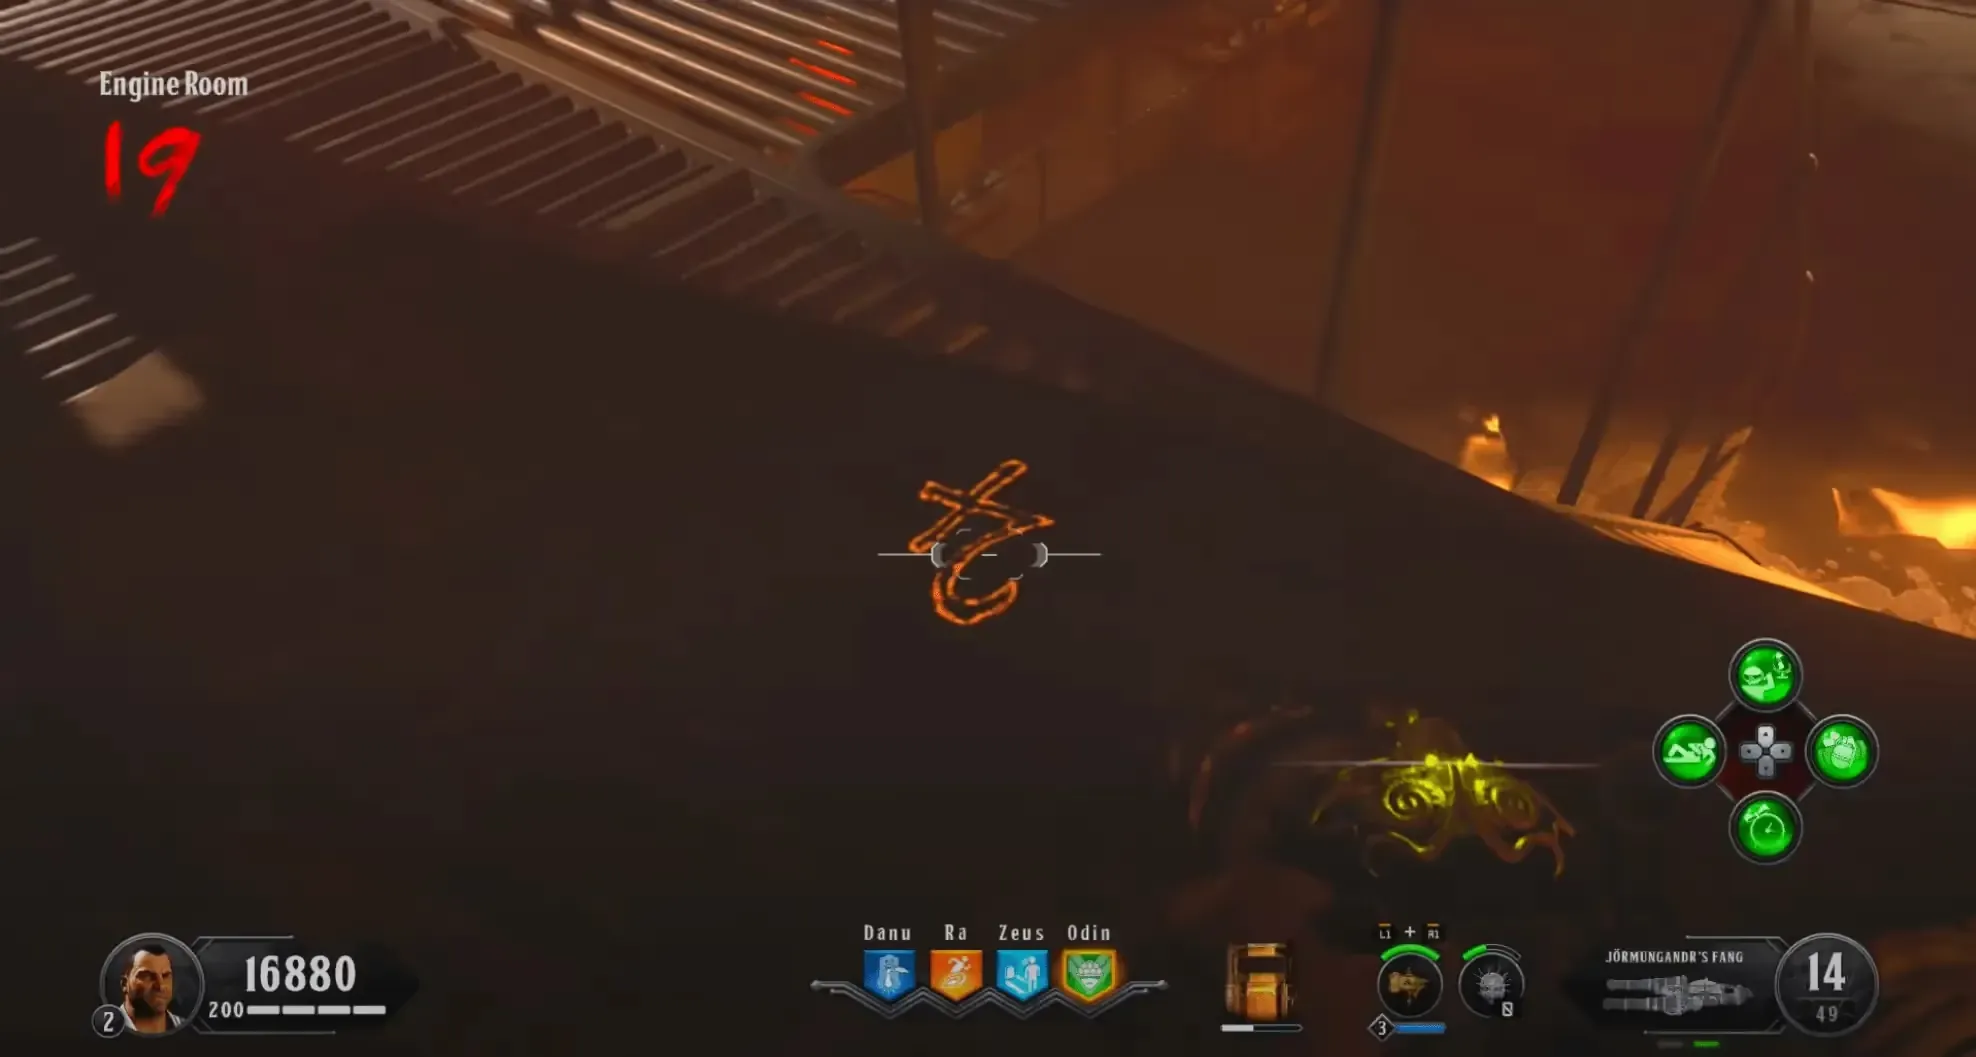
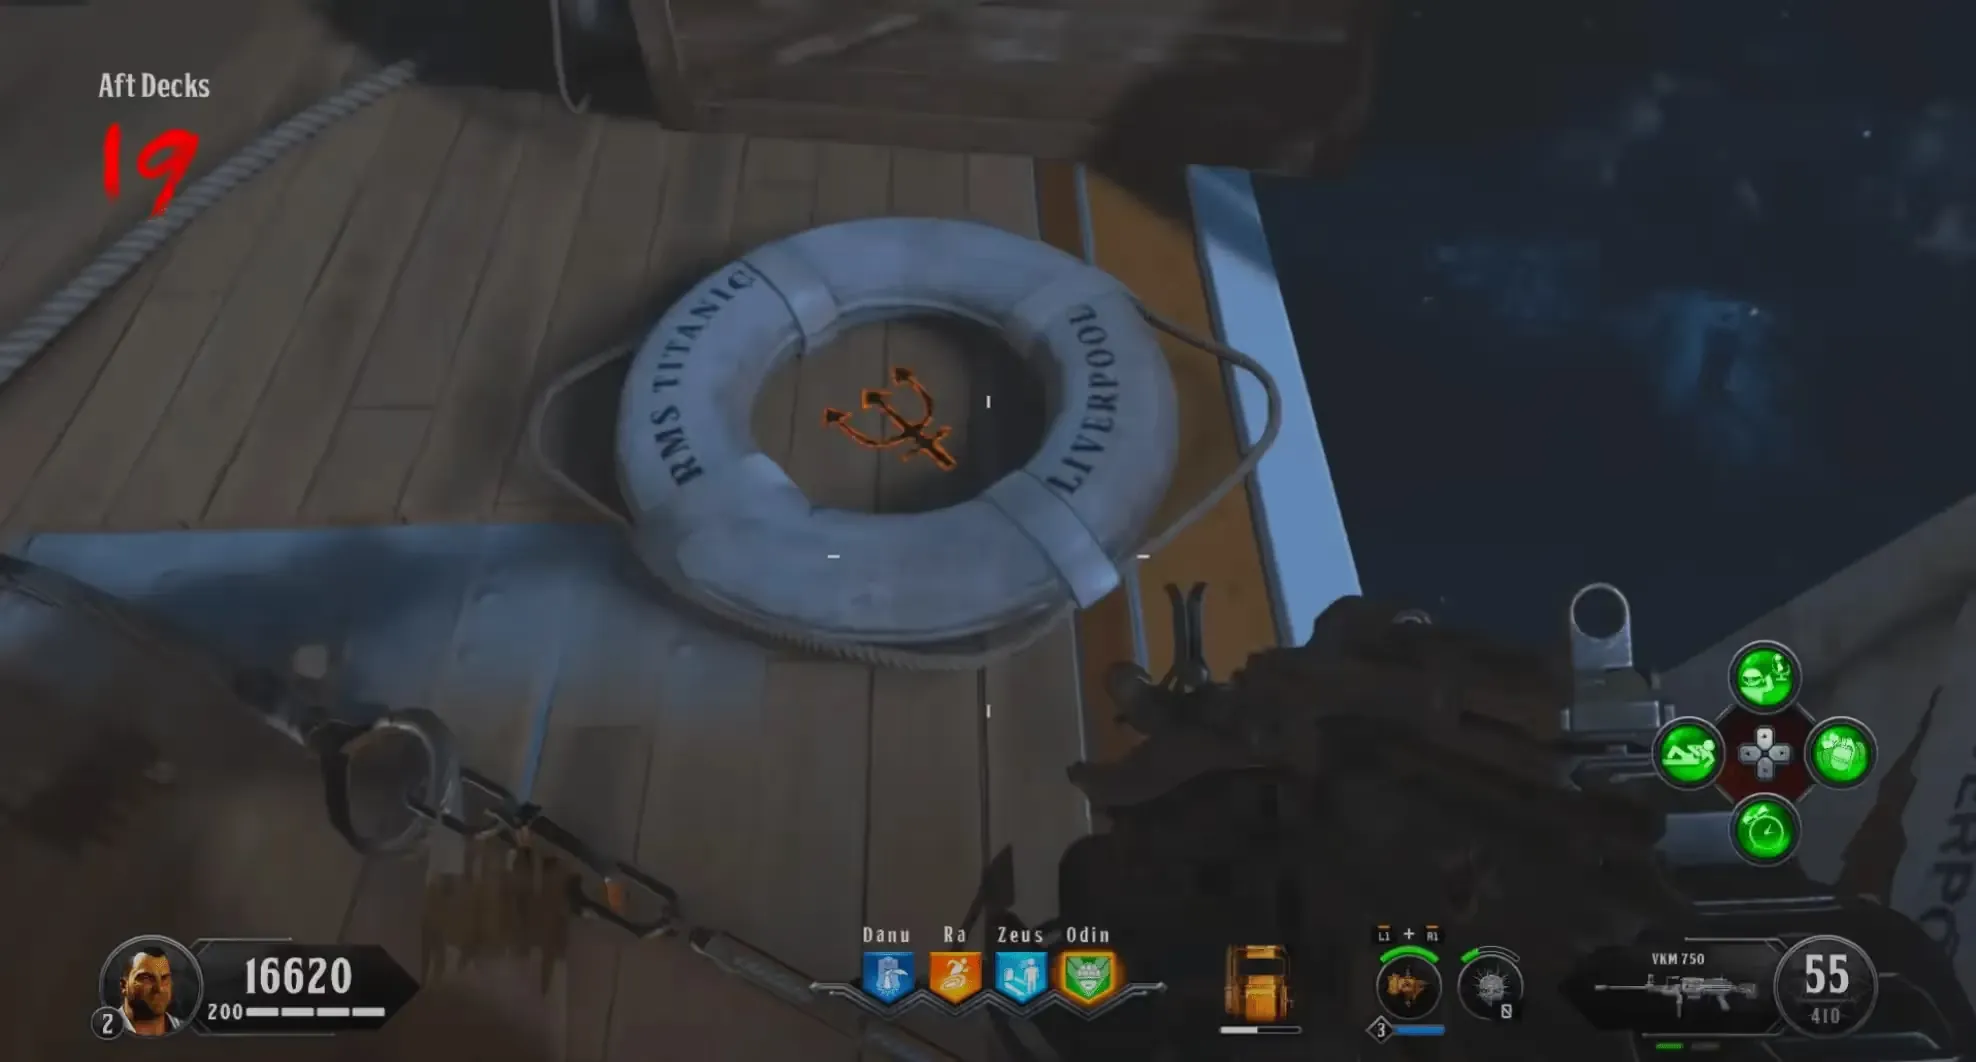
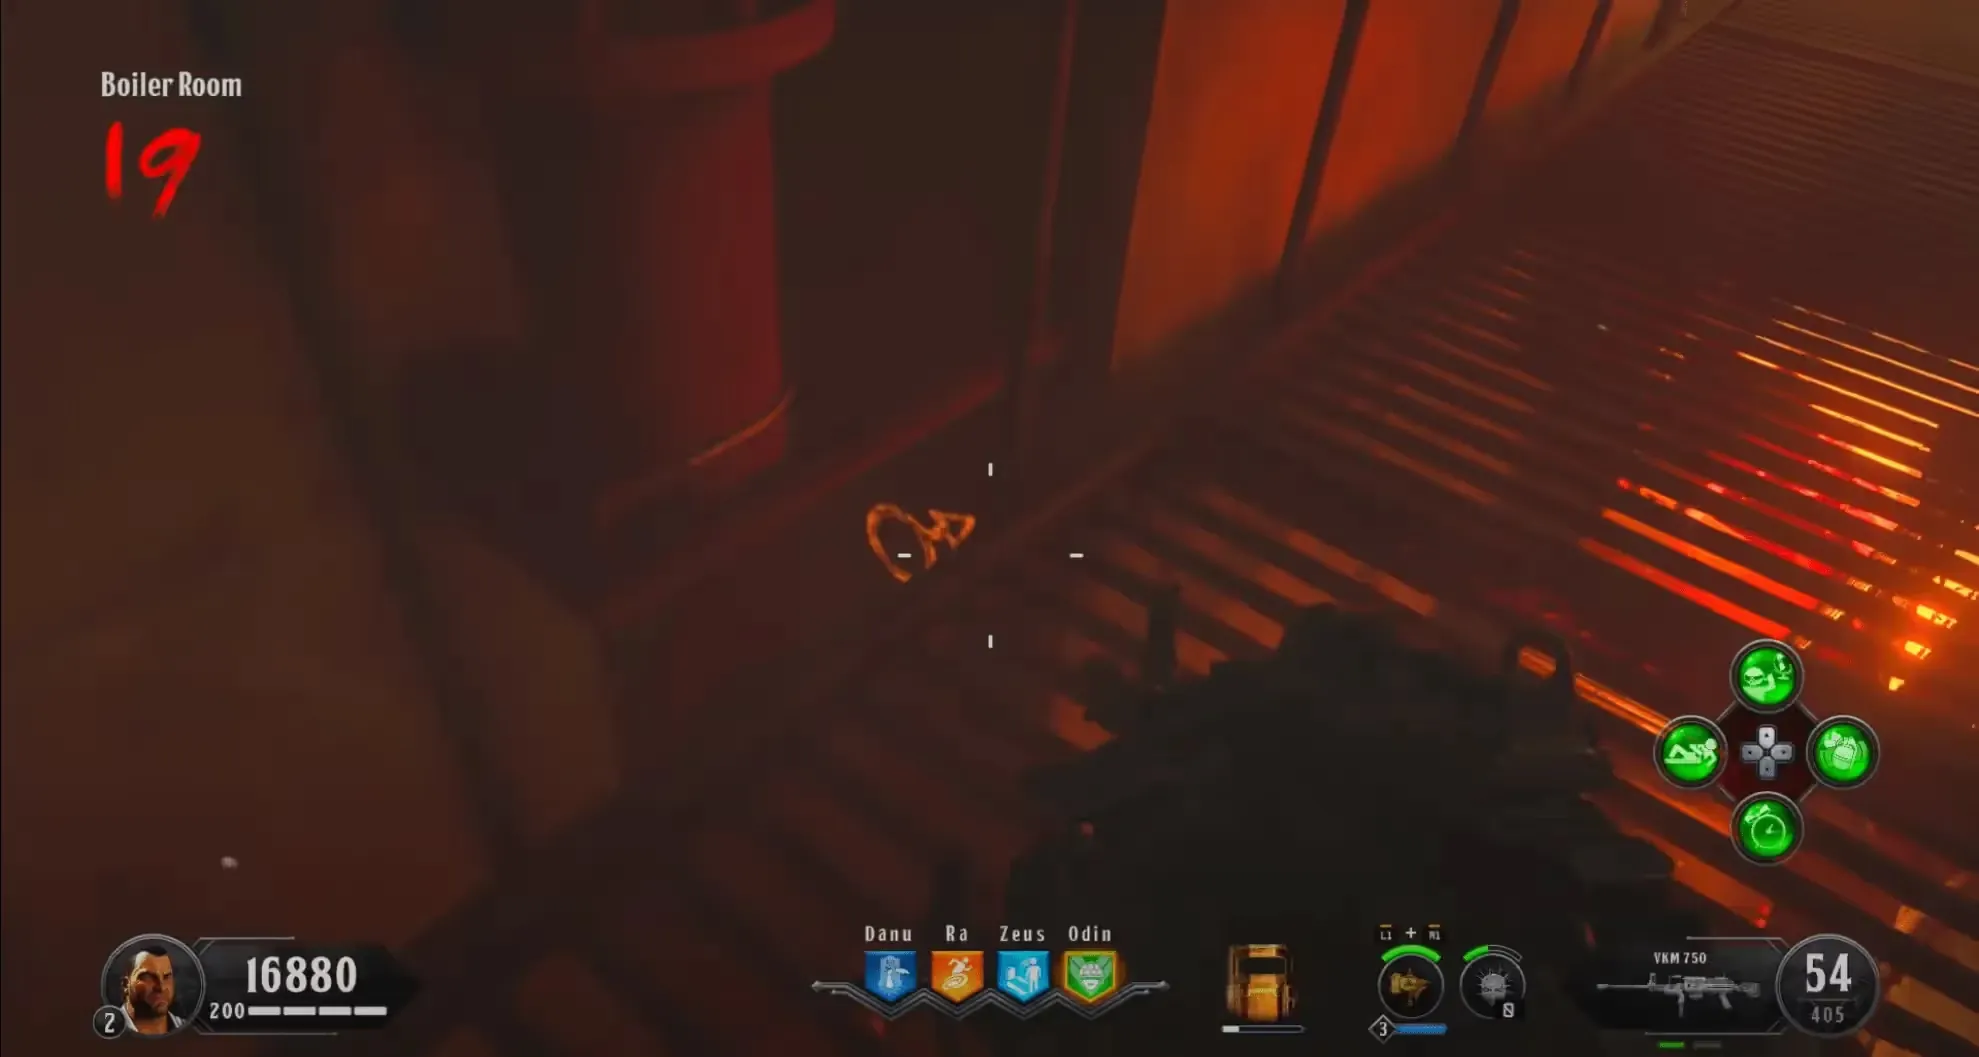
You must find nine glowing symbols around the map and activate them by interacting with them. When you activate one of these symbols you will hear a voice line saying the element that corresponds to the symbol you activated. After activating all nine symbols you are done with this step. The locations and matching element/planet for each symbol are:
Step 7: Where Light Shines not the Path Leads Inward
Head to the Cargo Hold, if it is filled with water drain the water by interacting with the wheel next to the Pack-a-Punch pedestal. Near the front of the room on the left-hand wall when facing the portal, there is a solar system model on a crate. You must interact with this model to reveal the order of planets you must destroy and spawn in a lot of zombies. It is recommended to throw a Homunculus before interacting with this model so you can safely view the order.
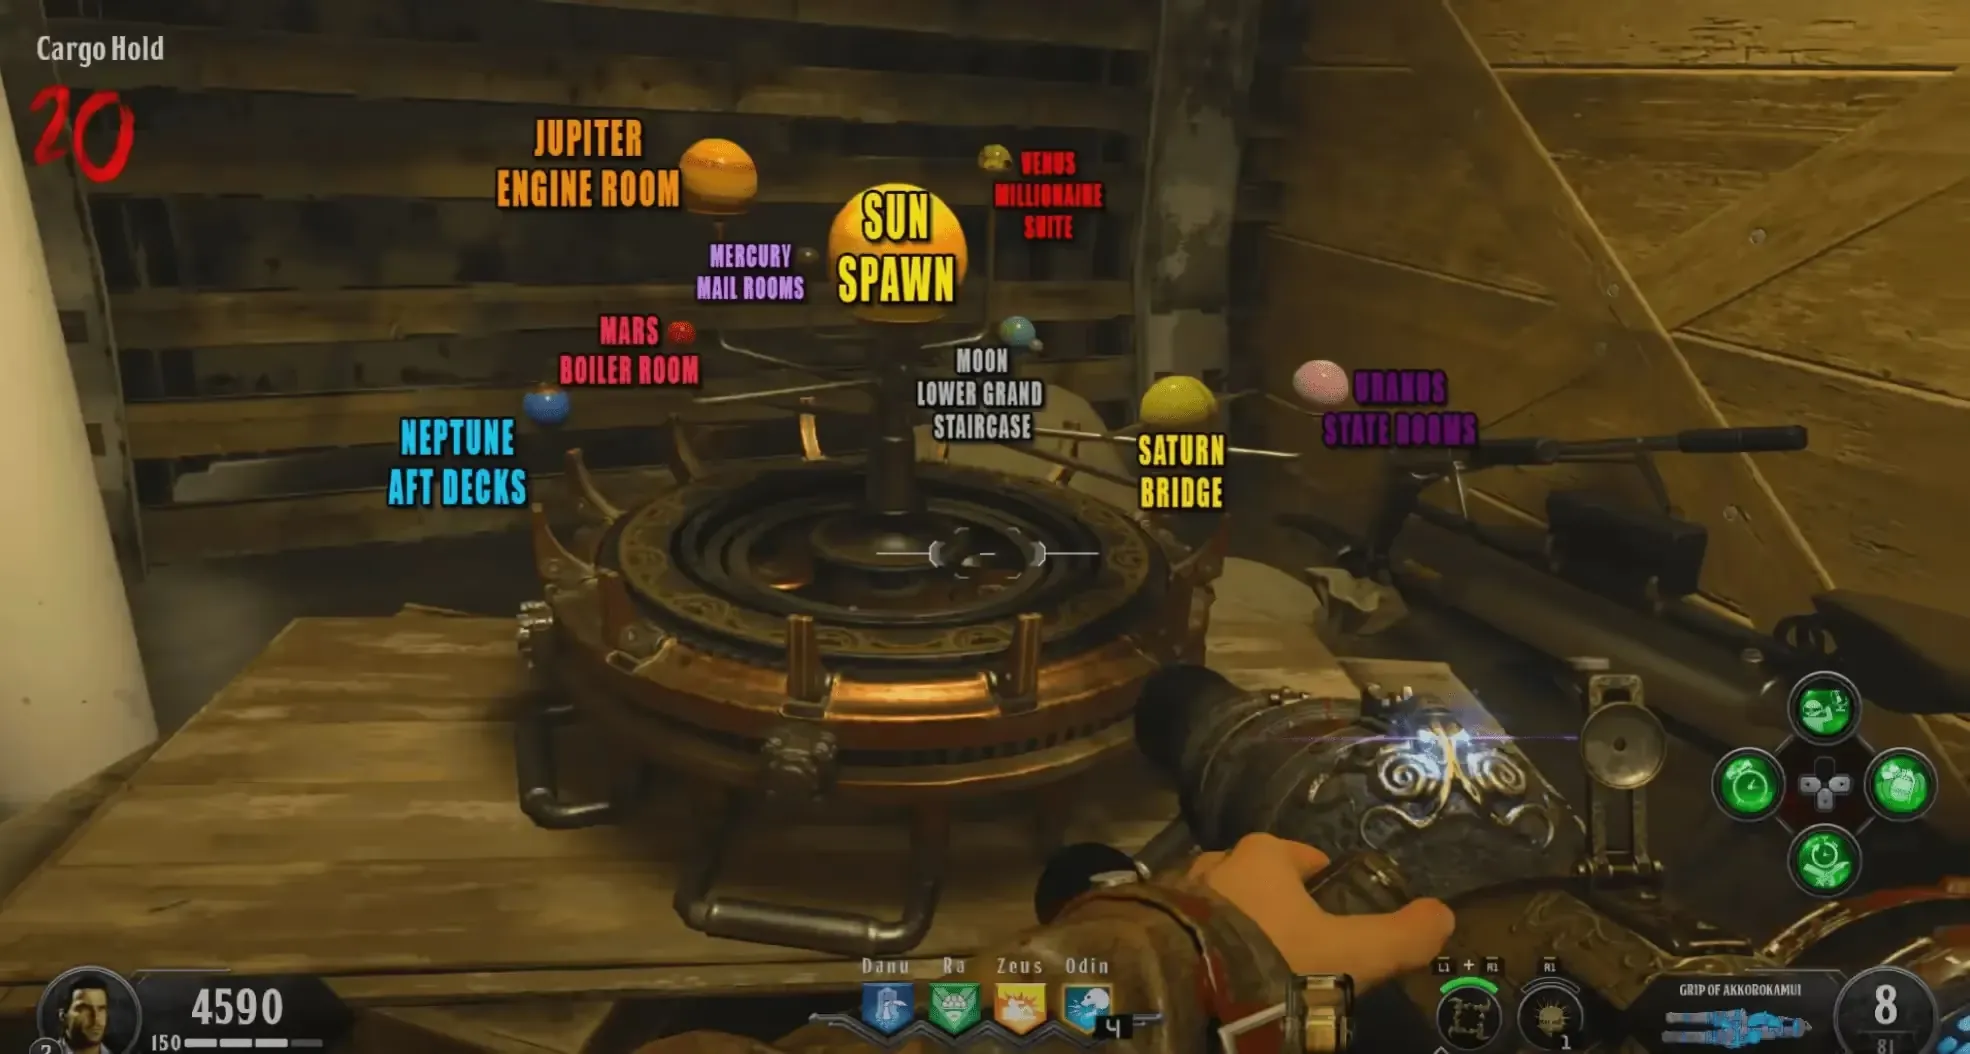
You MUST remember the order that the planets light up, if you are solo you can pause after each planet lights up and write it down, if co-op have a player call out the planets and another player write it down if memory is an issue. The Sun will always be the final planet in the order and the order is always randomized. If you fail this step or get the order wrong, you will need to repeat it from the beginning after flipping round.
You must shoot the planets in the sky in the order that was revealed by the model, after shooting down a planet its essence (a blue orb) will land in the location where its corresponding symbol was in the previous step. For example, if you shoot down Mars, then its essence will land in the Boiler Room. You must quickly grab this essence before it de-spawns which would fail the step. You have about 30 seconds to pick up the planet's essence. Below is a short description of each planet so you know what to look for:
- Mercury - small dim purple planet, closest purple planet to the Sun
- Venus - closest red planet to the sun, dimmer red than Mars
- Moon - the only moon in the sky, biggest thing in the sky that isn't the Sun
- Mars - farthest red planet from the Sun, brighter red than Venus
- Jupiter - biggest actual planet in the sky, orange color
- Saturn - yellow planet with rings around it
- Uranus - bigger purple planet, farther than Mercury from the Sun
- Neptune - only blue planet, and only planet that isn't in the sky
- Sun - bright yellow-orange biggest thing in the sky
All planets except Neptune will be in the sky, Neptune will be floating around the ship in the water and can be destroyed easily using the shield. Venus and Mars can look similar, remember that Venus is closer to the Sun than Mars in the solar system, the game follows the same rules as the planets in our actual solar system. DO NOT shoot the Sun unless you are fully geared up, see why below.
After shooting the first eight planets and collecting their essence, all you have left is the Sun. Before shooting the sun, it is recommended to fully Pack-a-Punch the weapon you are using (ideally the Hellion Salvo) as once you shoot down the sun and collect its essence, you will be immediately forwarded into the next step which is timed and must be done quickly.
Step 8: Unto the Nest its Malice Unravels
You must be quick for this step, move along the right side of the ship destroying any ice blocks in your way, use the Kraken, and angle yourself so that you are hitting both the zombies and the ice block, or throw Homunculus while you are destroying the ice blocks. You can also use the special weapon to destroy any ice blocks in your way once you reach the second ice block.
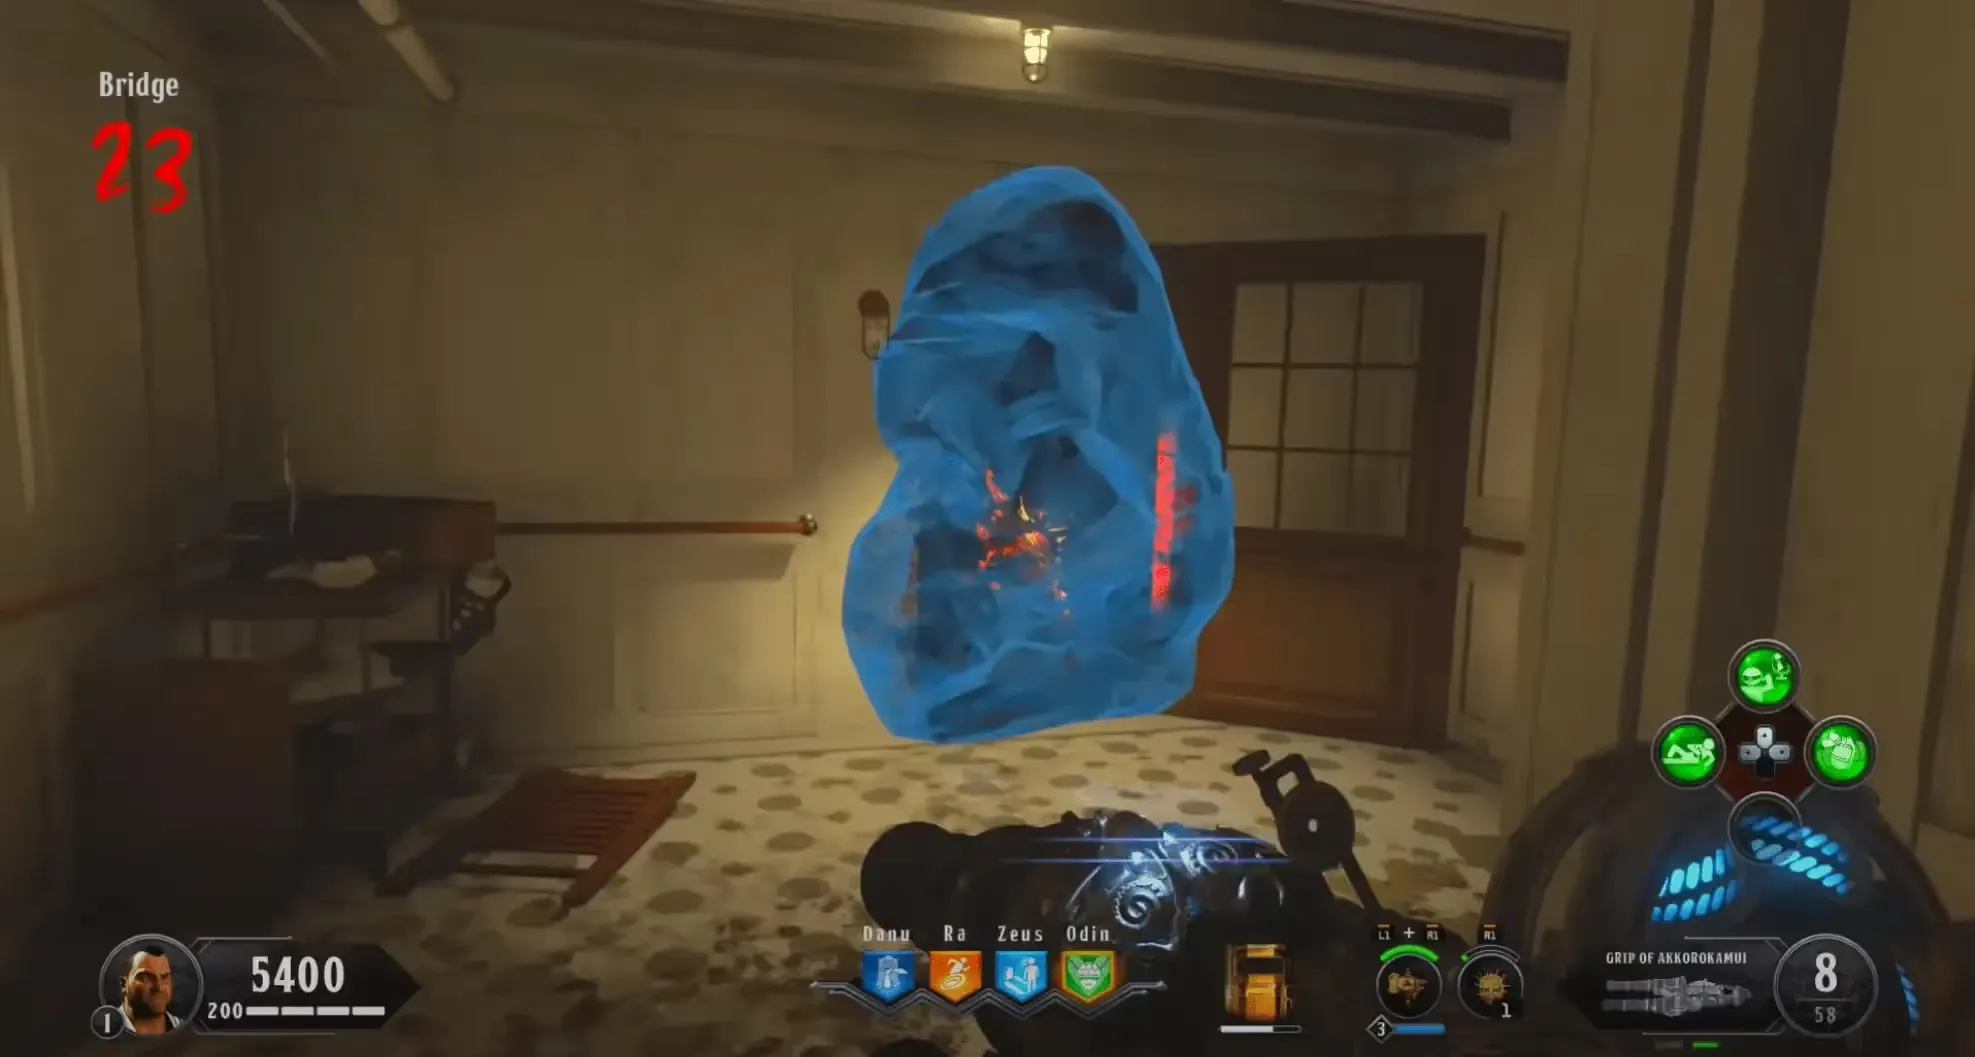
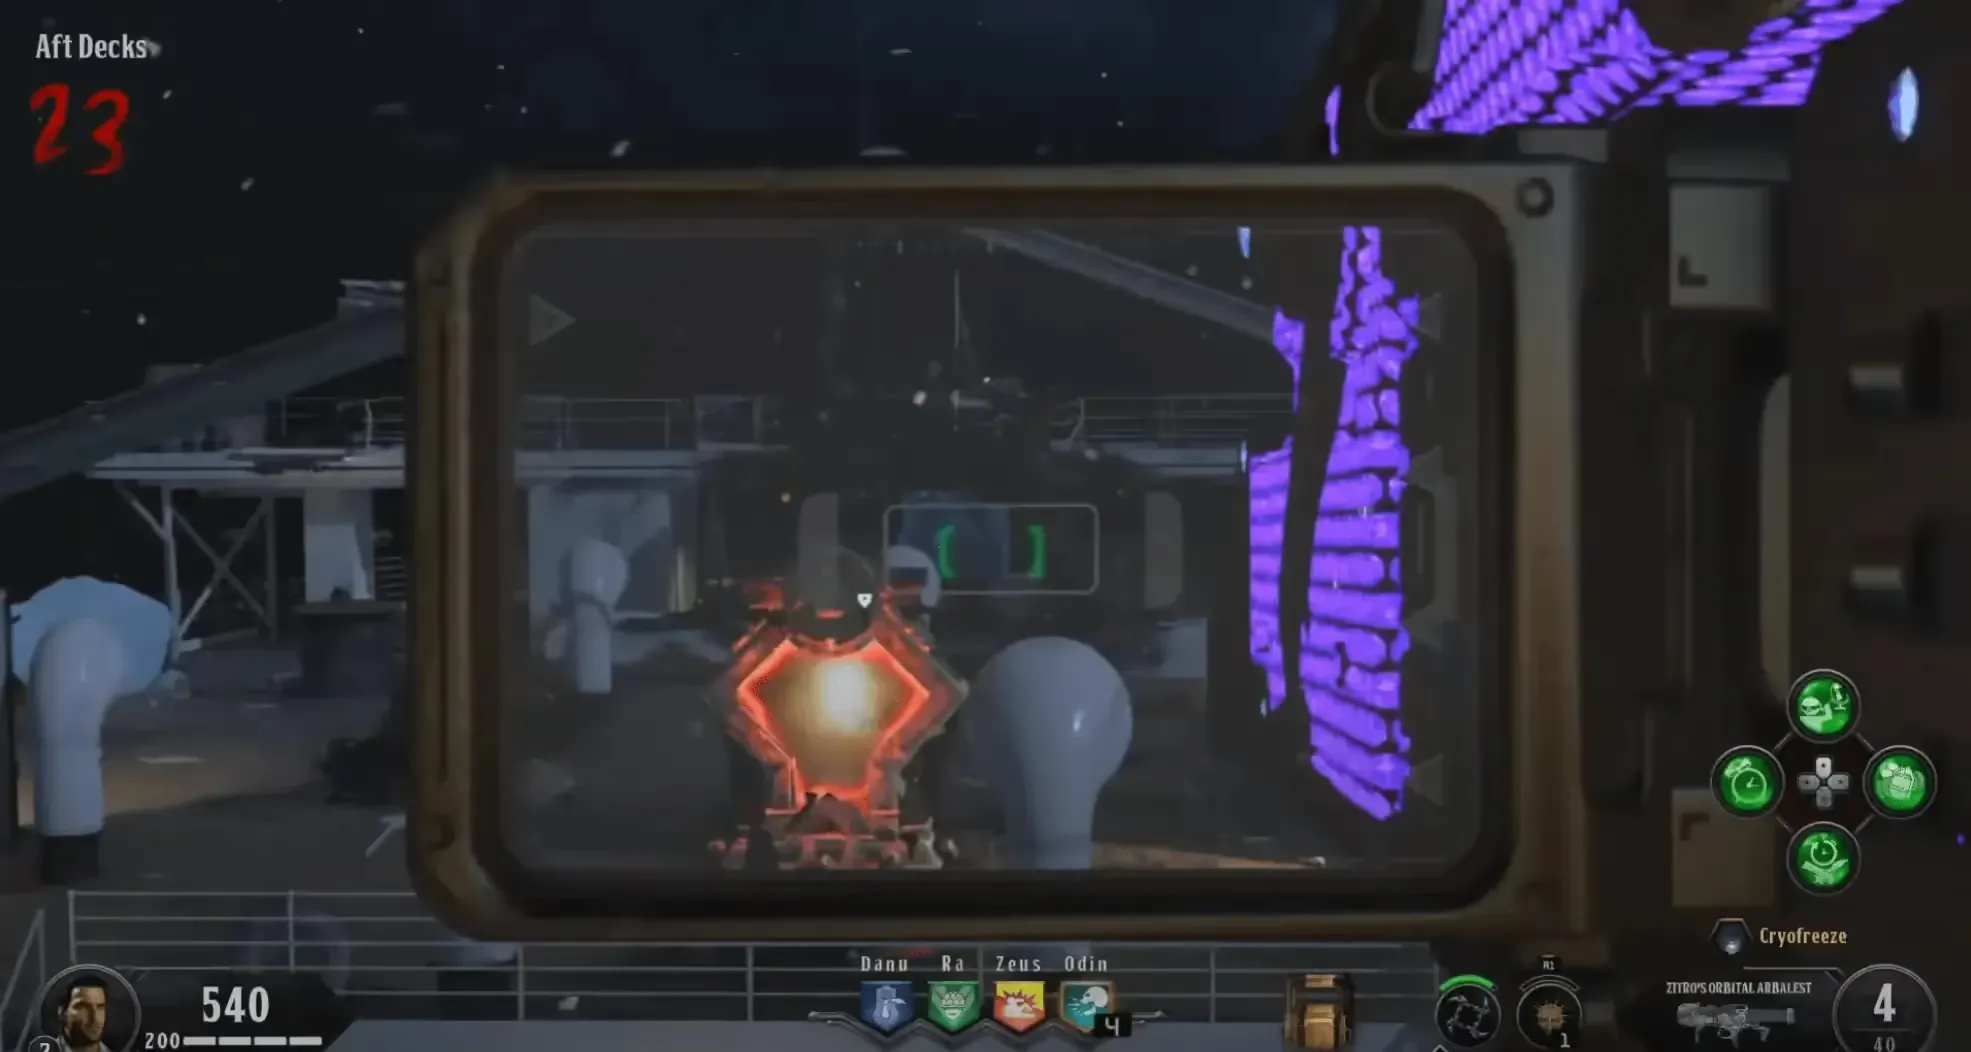
After the ice block in the Promenade Port Deck, you will receive a Max Ammo. There is a shortcut here that you can use to complete this step faster, head to the Aft Decks Mystery Box location, and instead of destroying the ice blocks leading down the stairs, aim your Hellion Salvo at the ice block at the very back of the Poop Deck. Destroying this ice block early will complete this step earlier, saving time, and ammo, and avoiding a Blightfather.
Step 9: Behold the Eye of Malice and Despair
This is the final step of the main quest and is a five-phase intensive boss fight so make sure you are completely geared up and ready before entering this boss fight. The Ice Kraken and Electric Kraken are extremely useful for this boss fight, as well as make sure you have acquired the Hellion Salvo if you haven't already and fully Pack-a-Punch it.
There are five phases to this boss fight, all players must stand on the teleporter symbol on the Poop Deck, and hold the interact button to be teleported inside the iceberg. You must swim toward the center where you'll find a tree with a slot for the Sentinel Artifact to be placed, place the artifact to be teleported back onto the Poop Deck with the Eye of Malice appearing out of the iceberg.
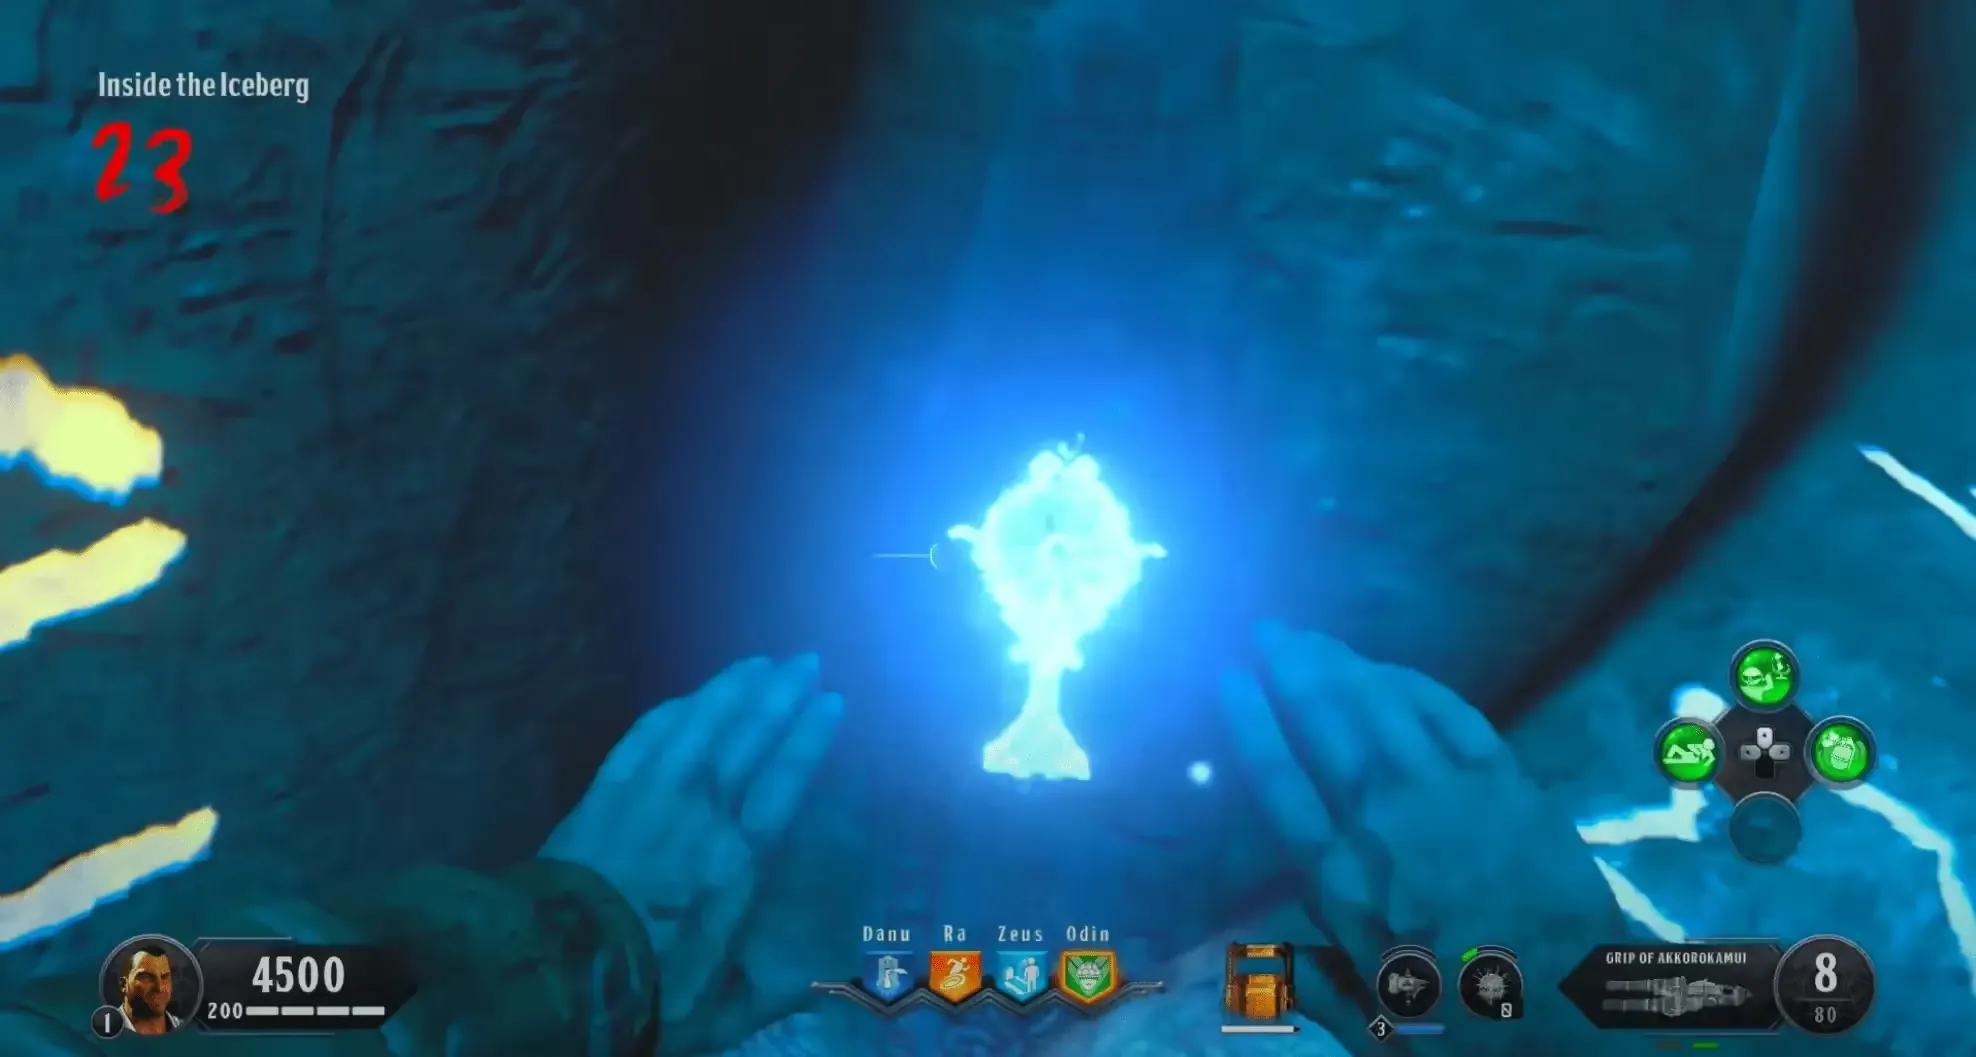
For all but the first phase of the boss fight, there will be blue ice circles around the area that will slow you as you pass through them and eventually freeze you if you are in them for too long. If you get frozen by one of these ice circles, spam your melee button to escape quickly and hopefully not die.
Phase 1
You must survive on the Poop Deck against an onslaught of zombies, Stoker, Catalyst Zombies, and Blightfather while the Eye of Malice just watches as you fight for your life. You cannot damage the Eye of Malice at this point and your only objective is to survive. After killing one or two Blightfather you will get a white flash on your screen indicating that this phase is complete, and you will shortly be teleported to the next location/phase.
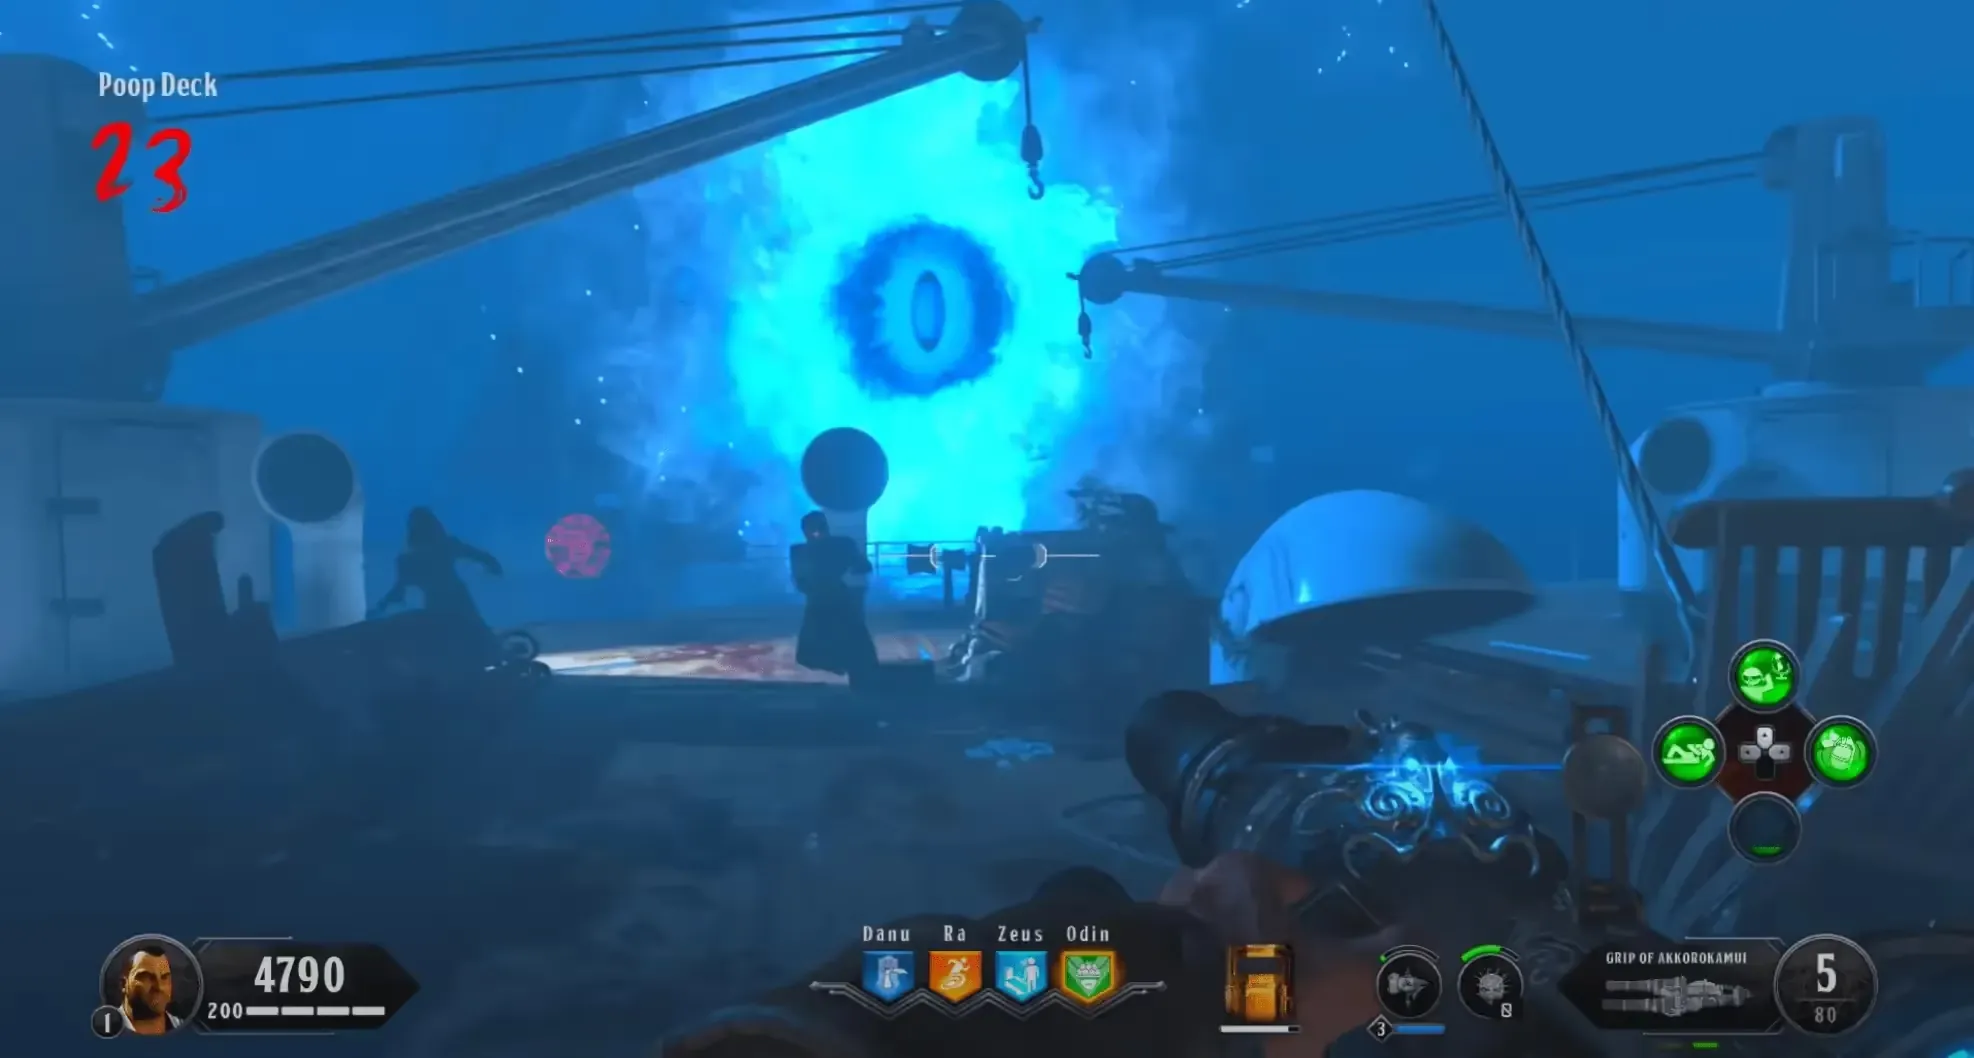
Do not pick up the drops the game places for you until the phase is complete or unless absolutely necessary as they persist for the entire phase and should only be claimed when needed or when moving on to another phase
Phase 2
Same as Phase 1, you must survive in the Engine Room against an onslaught of zombies, Stoker, Catalyst Zombies, and Blightfather while the Eye of Malice, again, just watches as you fight for your life. You still cannot damage the Eye of Malice at this point and your only objective is to survive. After killing one or two Blightfather you will get a white flash on your screen indicating that this phase is complete, and you will shortly be teleported to the next location/phase.
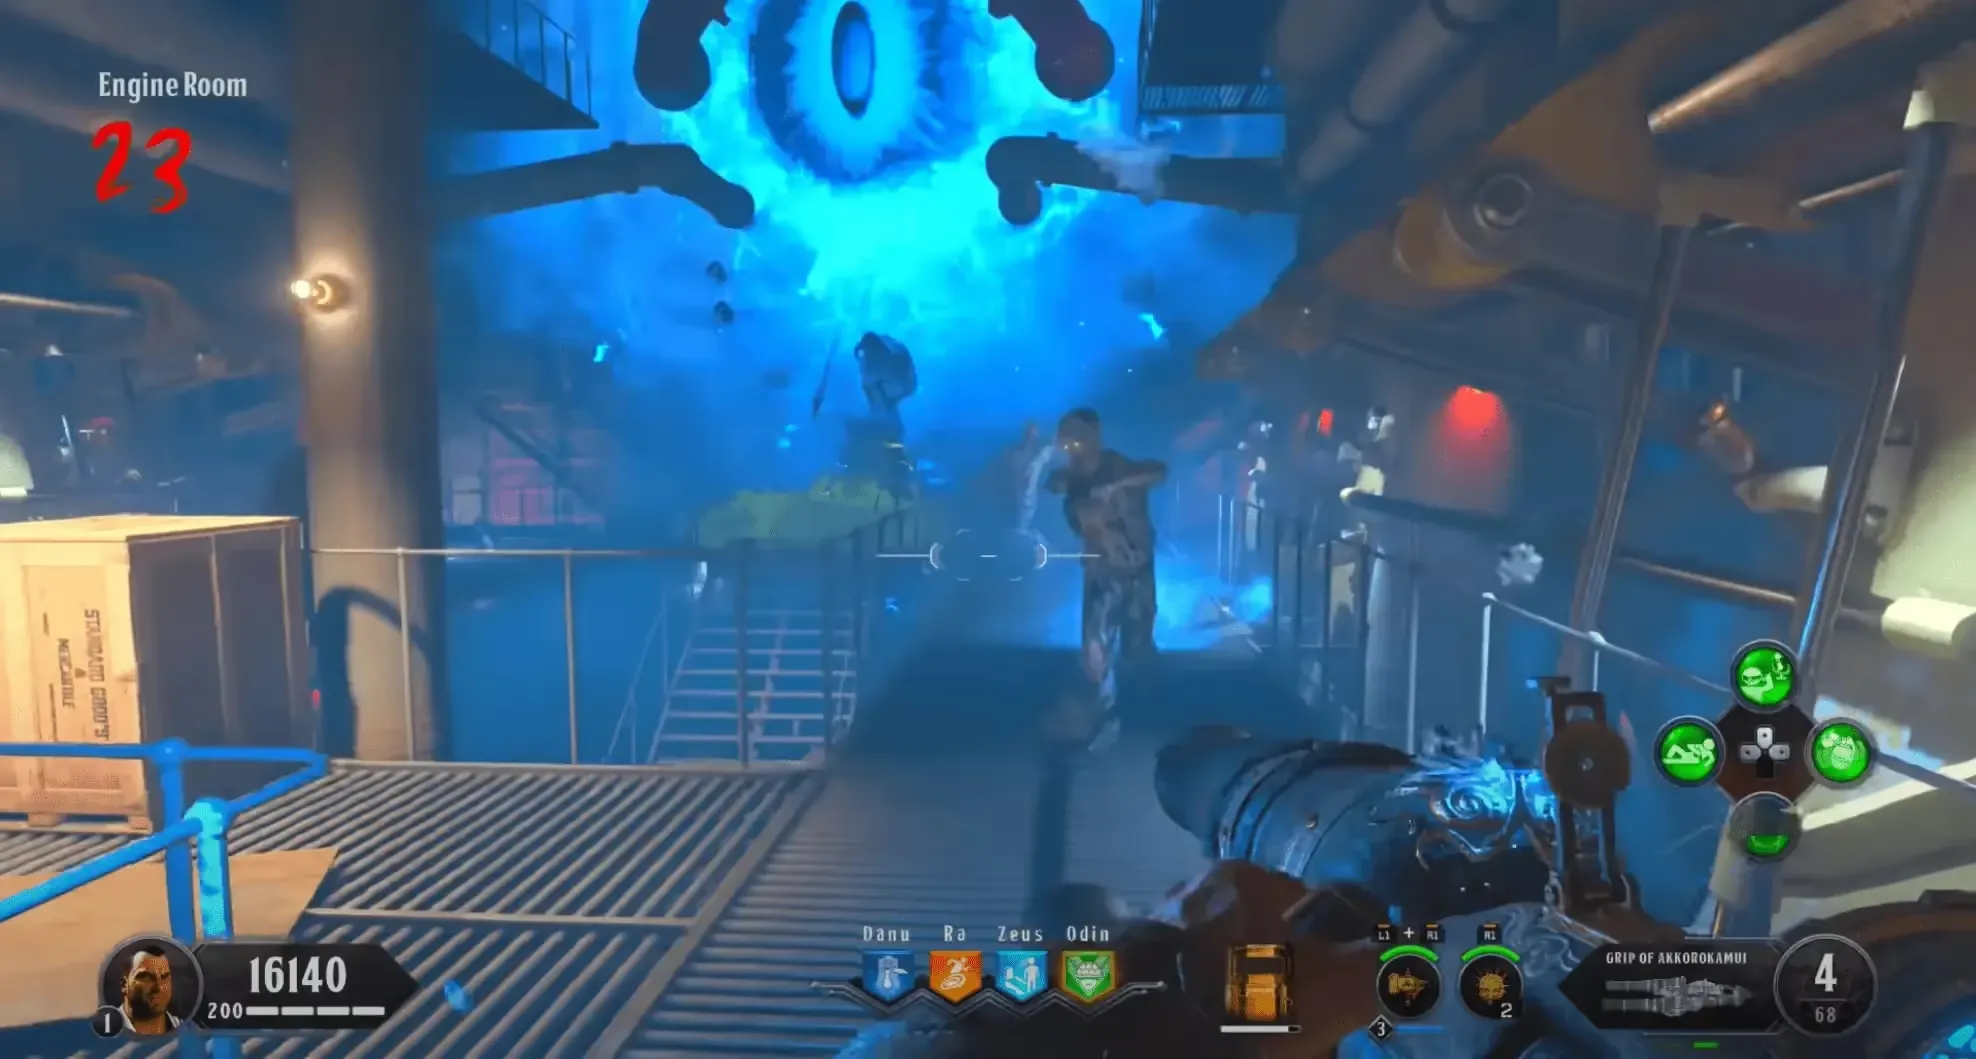
Phase 3
You must survive in the State Rooms against the Eye of Malice eye beam attack, which will be fired down one of the two hallways, stay out of the hallways, and when the boss does the eye beam attack, peek out of the hallway and rain fire on the eye until you hear an audio cue indicating that you have done enough damage.
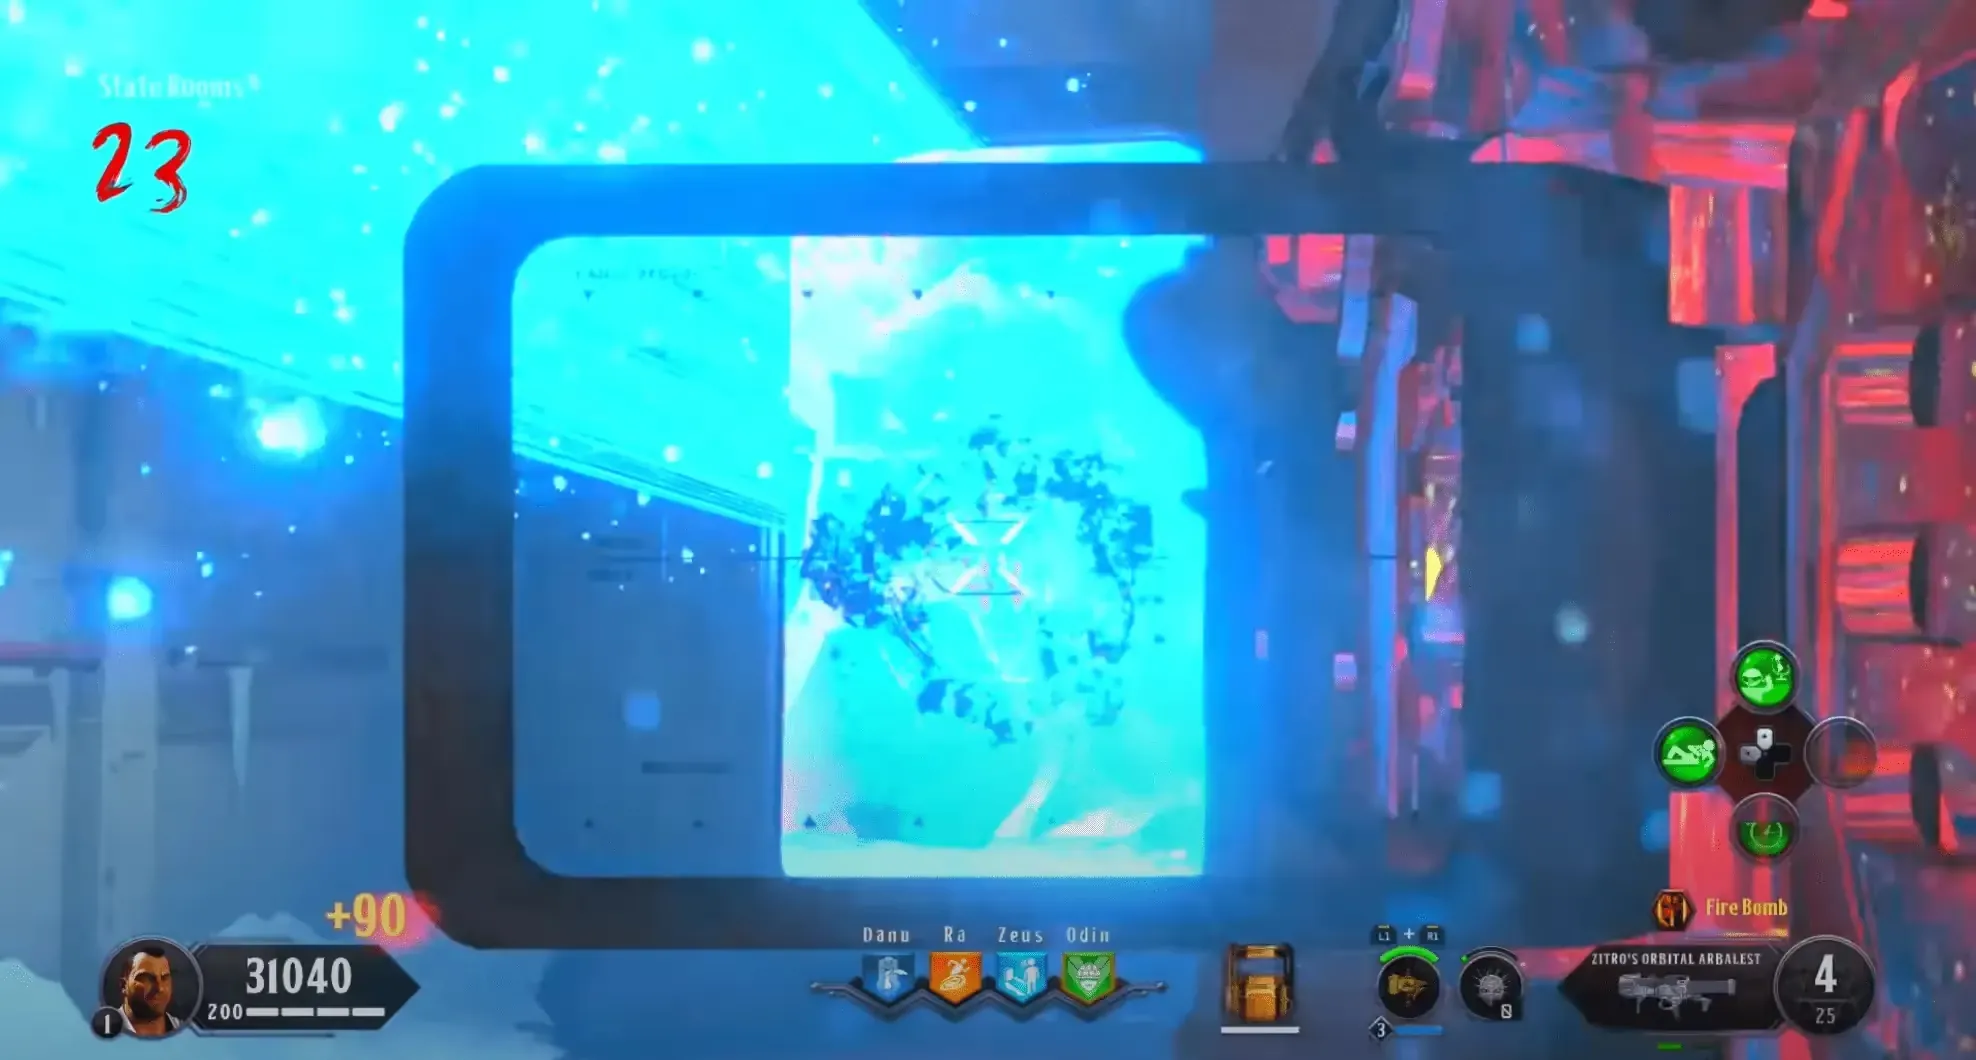
You must repeat this three times and use your Homunculus to distract the zombies while you shoot the eye during his attack. Once you have done this three times and you get the white flash indicating you have completed this phase, remember to grab your drops if you haven't already before getting teleported to the next phase/location.
Phase 4
Similar to Phase 3, you must survive on the Promenade Starboard Deck against the Eye of Malice eye beam attack, when you see or hear the eye teleport throw down a Homunculus and rain fire on the eye until you do enough damage to force him to move again.
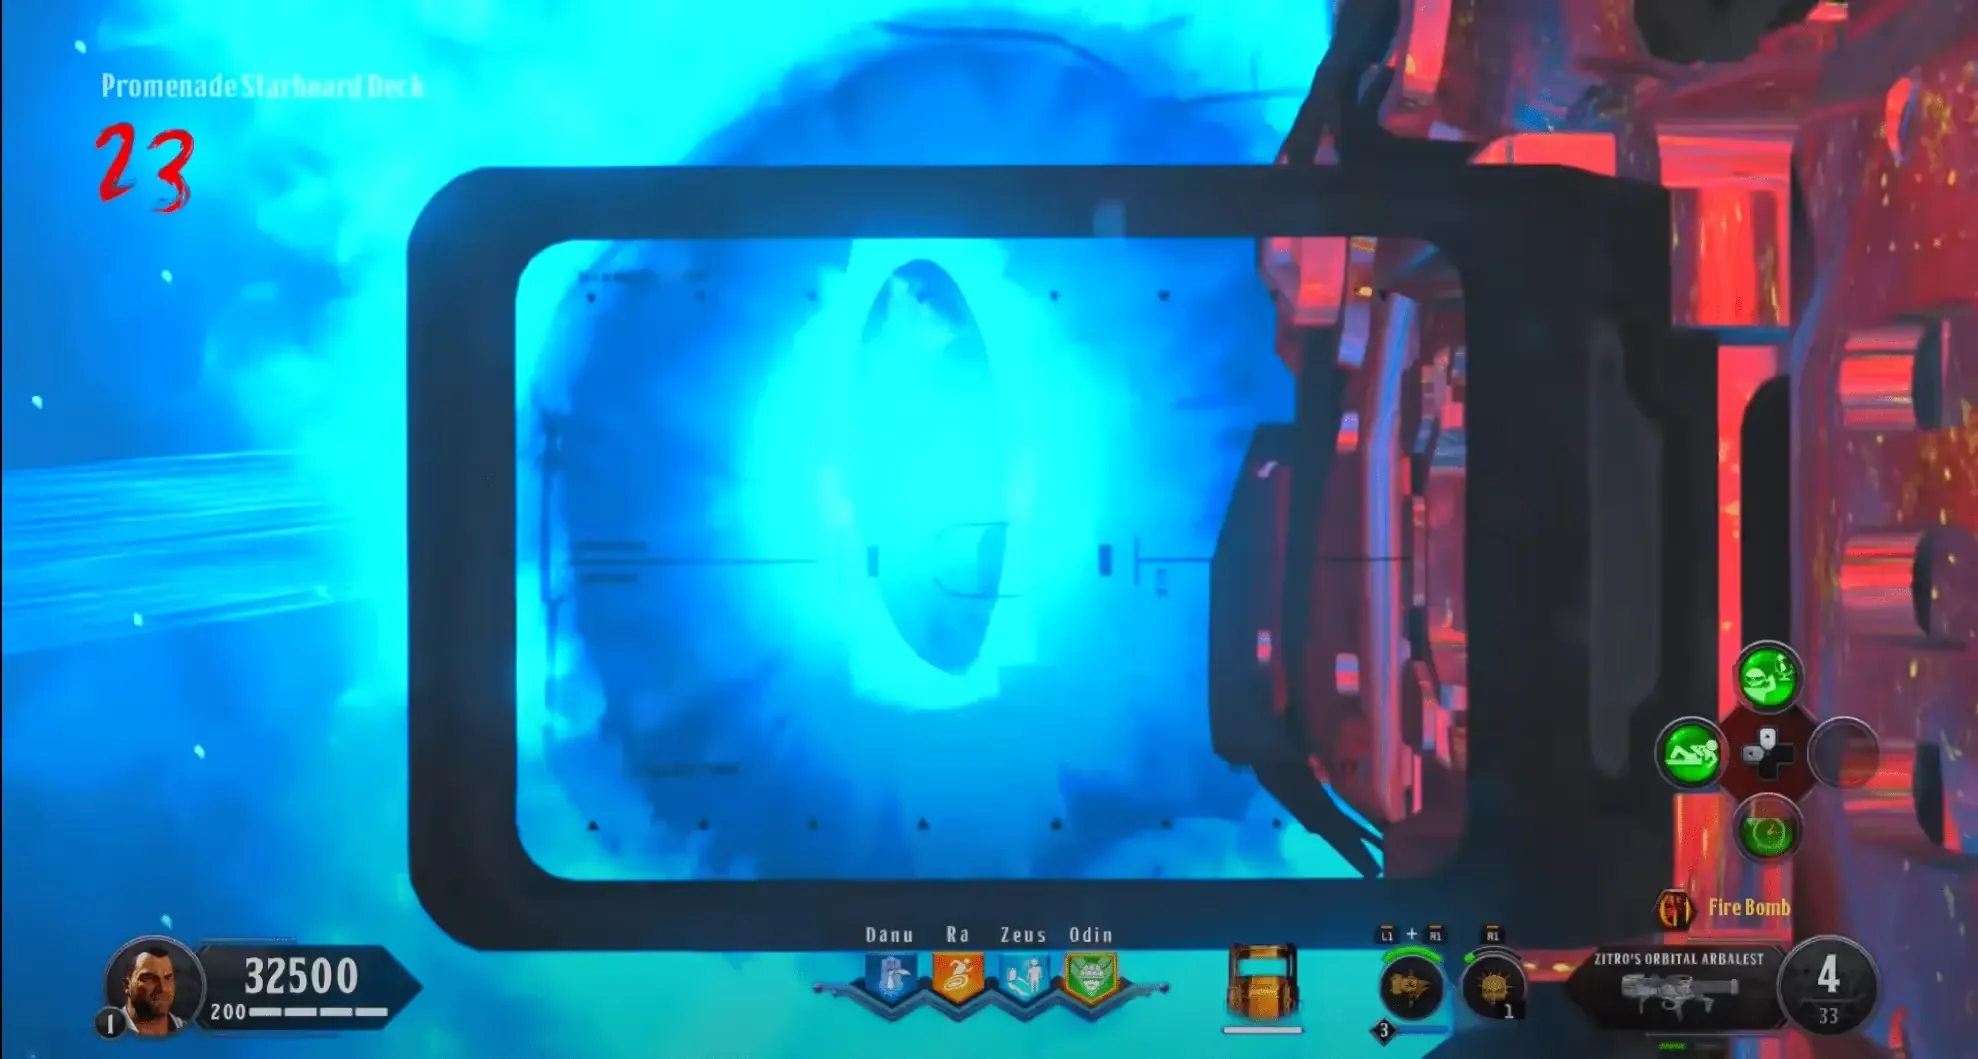
You must repeat this three times and once done you will get the white flash indicating you have completed this phase and should pick up your drops before being teleported to the final phase/location.
Phase 5
This phase is unlike the other phases and is the hardest part of this entire main quest. You must survive on the Poop Deck against all enemy types while damaging the eye a total of three times when doing his eye beam attack, then you have to prevent him from completing a wipe mechanic which will instantly down all players if you do not do enough damage to him during this mechanic. If successful, you must repeat this two times to complete this phase and main quest.
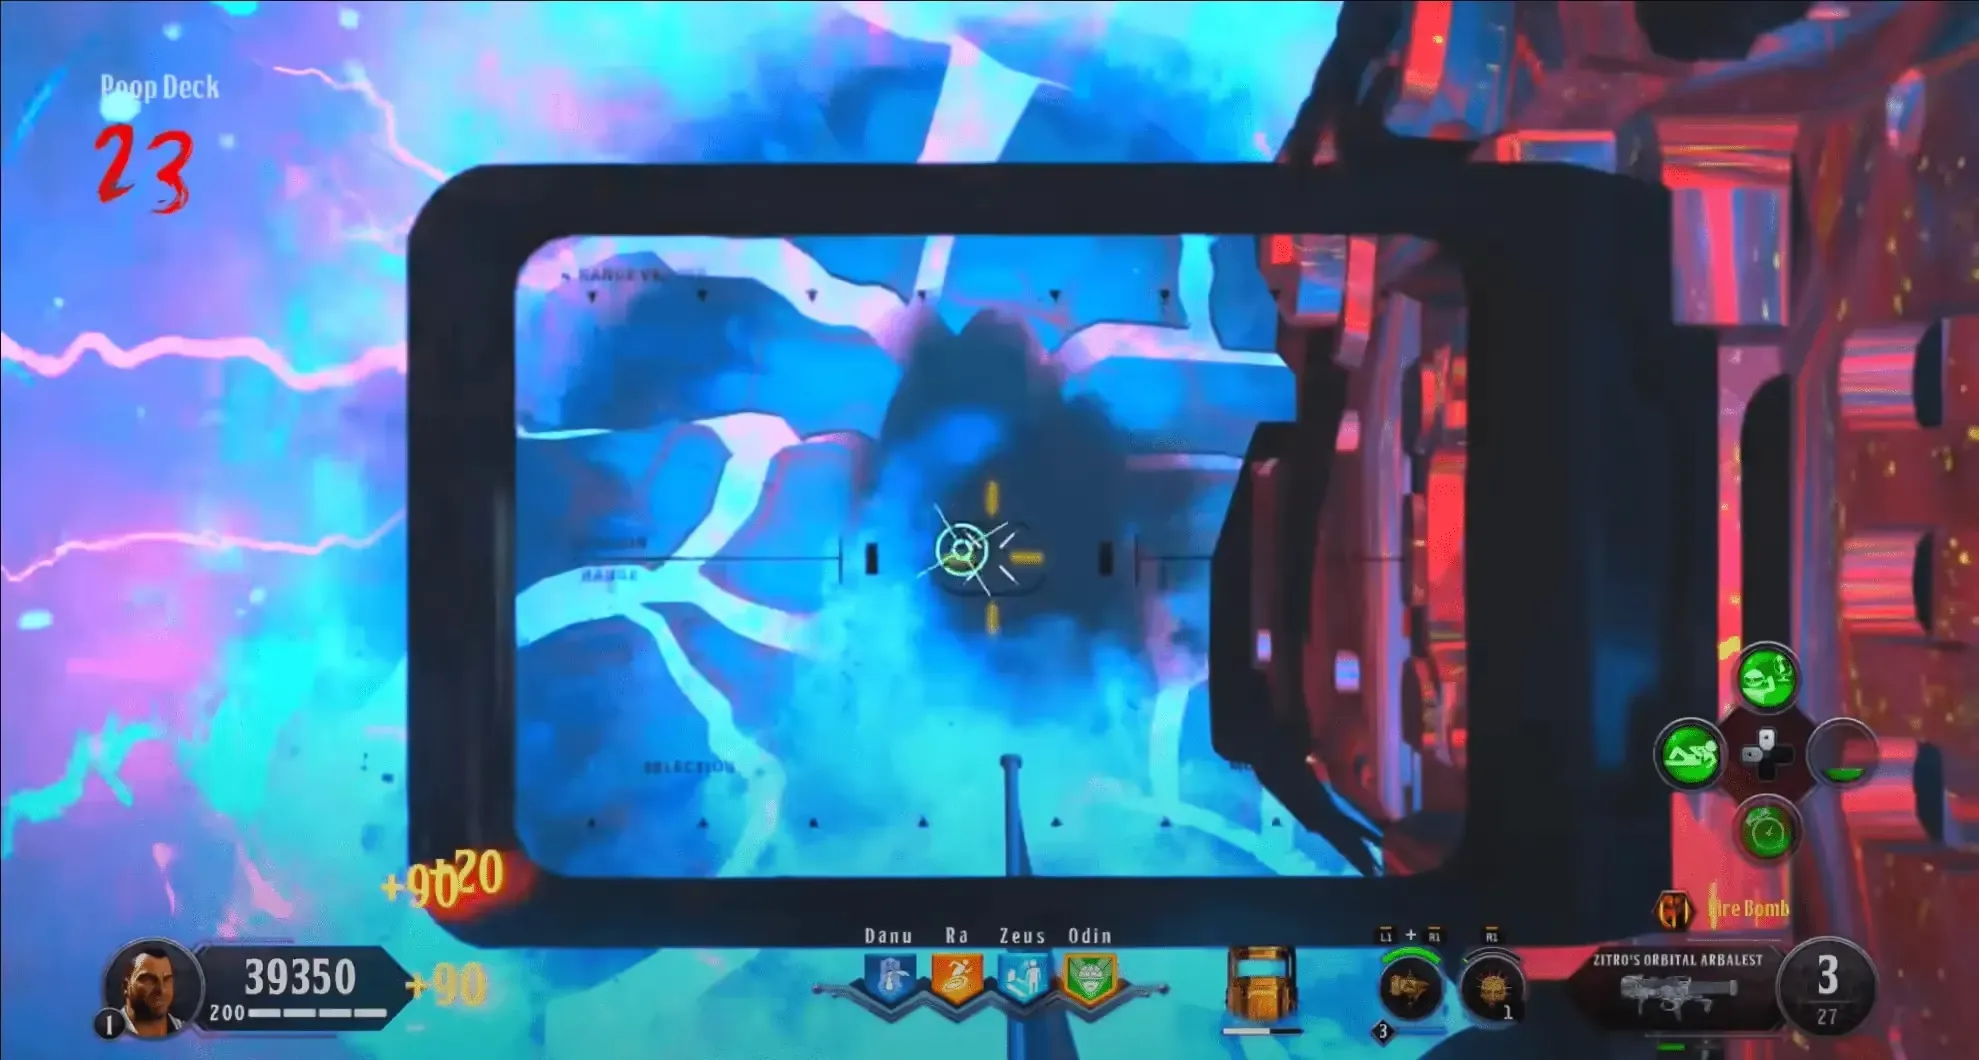
Dying Wish,
Victorious Tortoise (with shield out),
Blood Debt elixir, and the LVL 3 Scepter of Ra if placed down will save you from this wipe mechanic. Also, if at any point during this phase you run out of Homunculus remember to activate the
Equip Mint elixir to restore them and saving the Max Ammos for when you are in need of ammo.
Phase 5 Strategy
When the phase starts, the Eye of Malice will do a series of teleports and then end up either on the right side, left side, or front of the ship, and will start shooting the eye beam attack. Before this attack throw down a Homunculus, during this attack, you must damage him enough to get him to teleport again, you must do this a total of three times, and after the third time, damage him when he does the eye beam attack, he will teleport back to the front of the ship emitting a loud audio cue and beginning his wipe mechanic. Be sure to throw another Homunculus before the wipeout mechanic near the Pack-a-Punch so the zombies are not in your line of fire.
During this wipe mechanic you have about 6-7 Seconds to inflict enough damage on the eye to cancel his wipe out mechanic, so have everyone in your game rain fire on the boss. If you are unsure if you heard the audio cue or not, the eye will also be shaking at the front of the ship during this wipe out mechanic and is the only time the eye can be seen visually shaking.
After inflicting enough damage on the eye to cancel the wipe mechanic the eye will teleport and stop shaking. You will have to repeat this series of events twice until the Eye of Malice has been defeated, completing this step, the boss fight, and more importantly, the main quest.
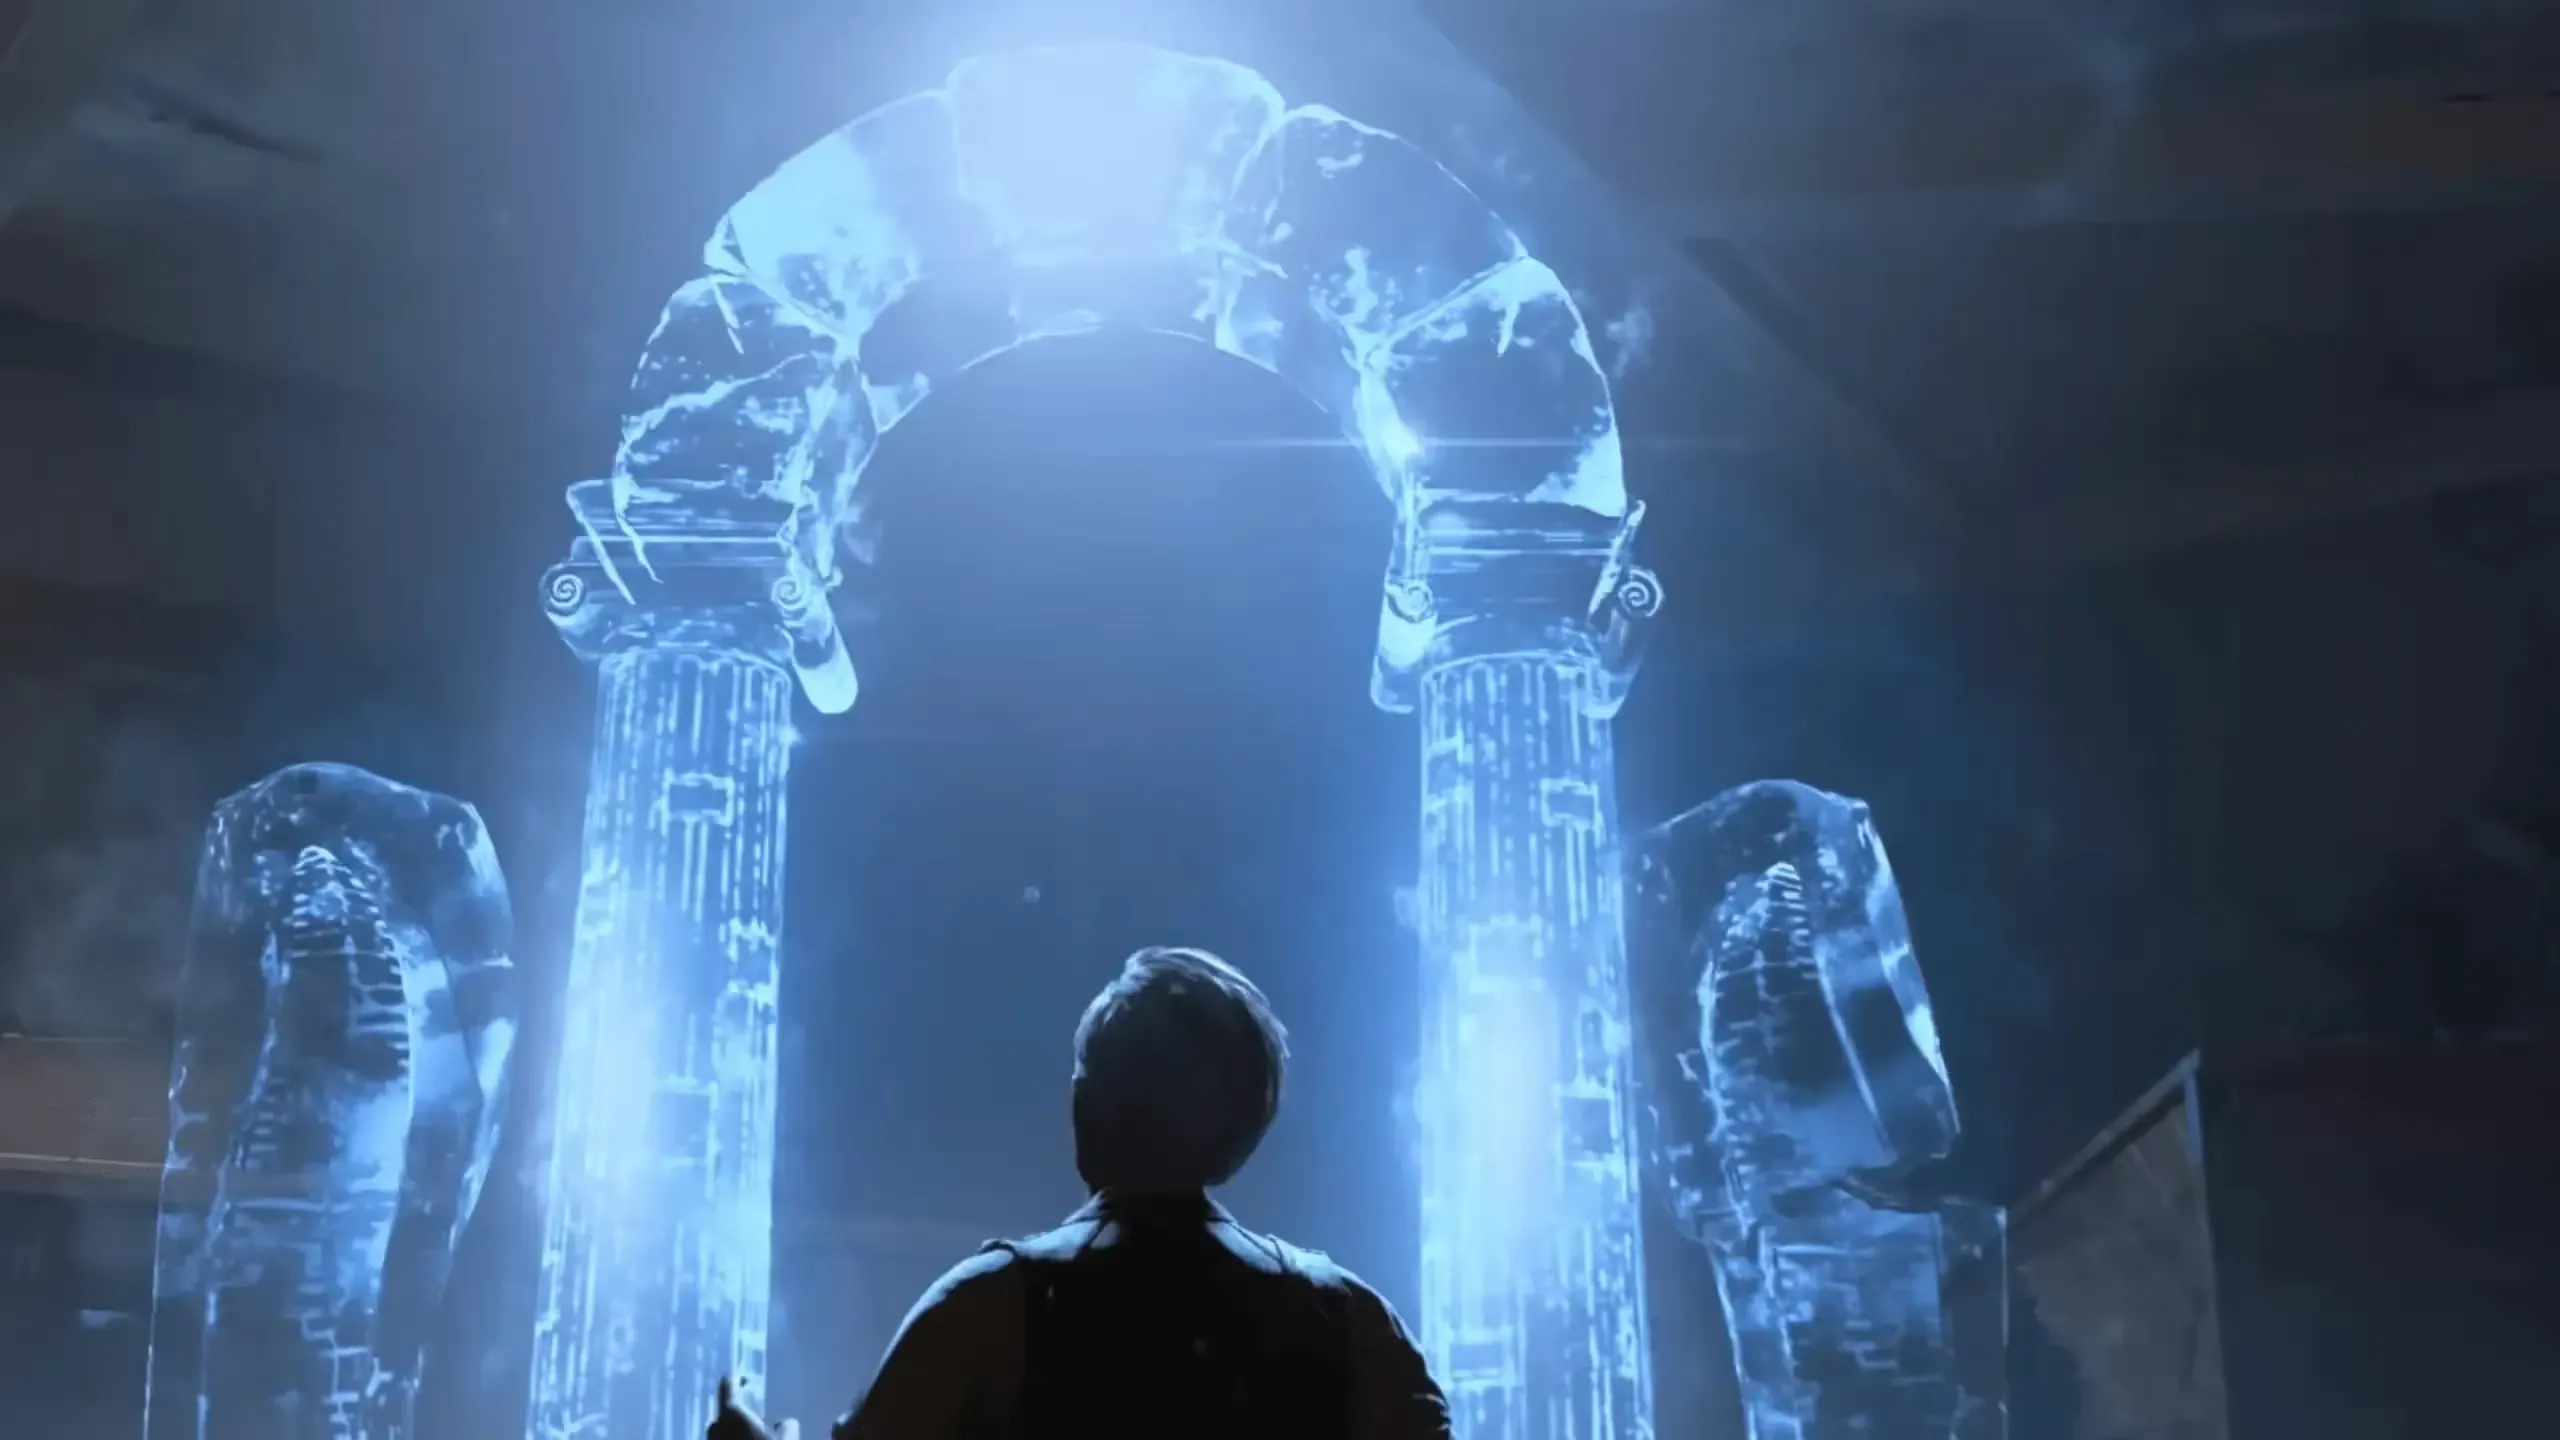
Congratulations! You have beaten the Voyage of Despair main quest: Abandon Ship
Video Guides
Solo Guide by Joltz
Co-op Guide by MrRoflWaffles
Credits
Some images used were sourced from the following community members:
