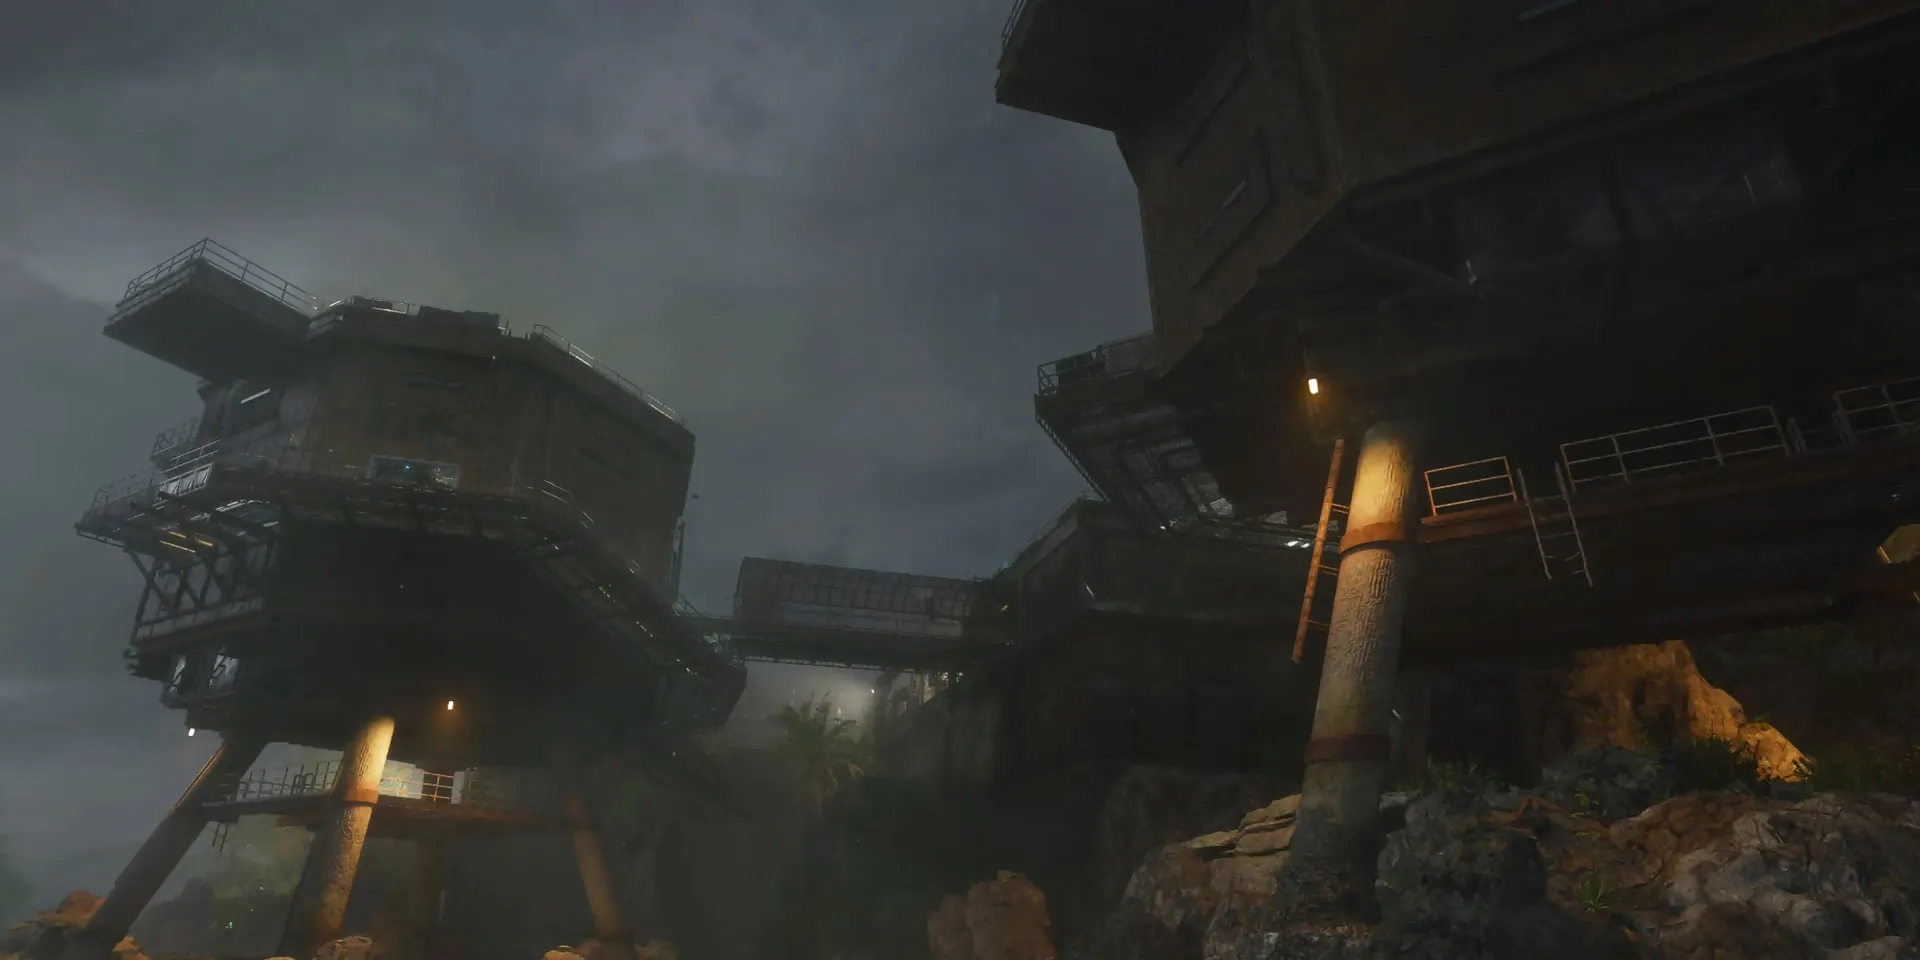
Terminus
No Mo' Modi
The main quest for Terminus is No Mo' Modi. The goal of our Requiem Crew is to escape from Terminus Island and strike back at the people who put them there.
Requirements
This main quest can be done with any number of players. The only requirement is to obtain or build the DRI-11 Beamsmasher. If you don't want
to build the weapon, you can obtain it from the box normally or with the ![]() Wonderbar! GobbleGum.
Wonderbar! GobbleGum.
Recommended Loadouts
| Start Weapon | Field Upgrade | Tactical | Lethal |
|---|---|---|---|
| Maelstrom | Decoy | Molotov | |
| Grehkova | Decoy | Molotov |
Recommended GobbleGums
| Solo GobbleGums | Co-op GobbleGums |
|---|---|
This main quest can be done without any GobbleGums so do not feel like these are required in any way to complete the quest, these are only recommended to help quicken the experience and/or help you survive during critical steps.
Step 1: Find & Free Nathan
Before you can find and free Nathan, you must first obtain or build the DRI-11 Beamsmasher since it is required to obtain parts needed to actually free Nathan.
Building the DRI-11 Beamsmasher
The DRI-11 Beamsmasher requires three parts to build, each part having some steps you must take before you can obtain them.
EMF Fob
Using a ![]() Dead Wire weapon, head to the Pack-a-Punch lift in the Bio Lab and activate it to move it to the top level. While moving up, you will need
to shoot three power boxes in a specific order with your
Dead Wire weapon, head to the Pack-a-Punch lift in the Bio Lab and activate it to move it to the top level. While moving up, you will need
to shoot three power boxes in a specific order with your ![]() Dead Wire weapon to move an electrical current. The locations of the three power boxes in order are
as follows:
Dead Wire weapon to move an electrical current. The locations of the three power boxes in order are
as follows:
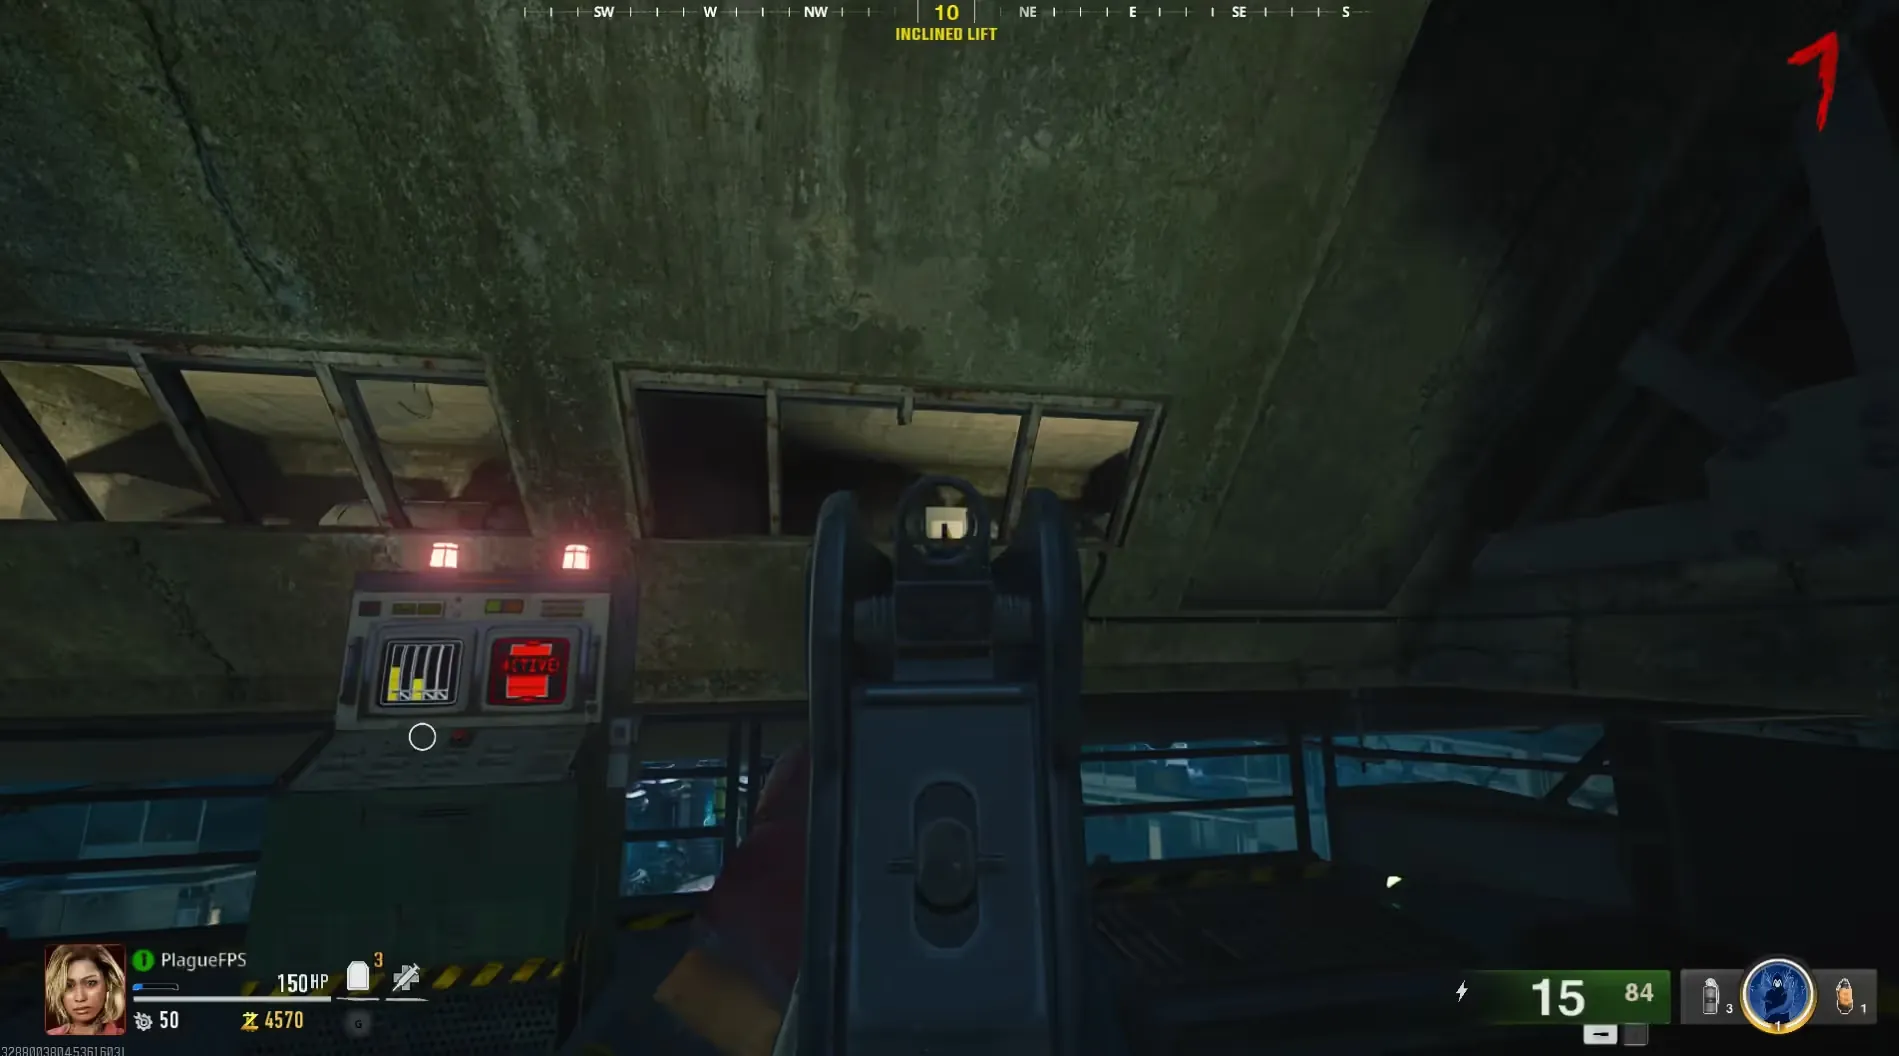
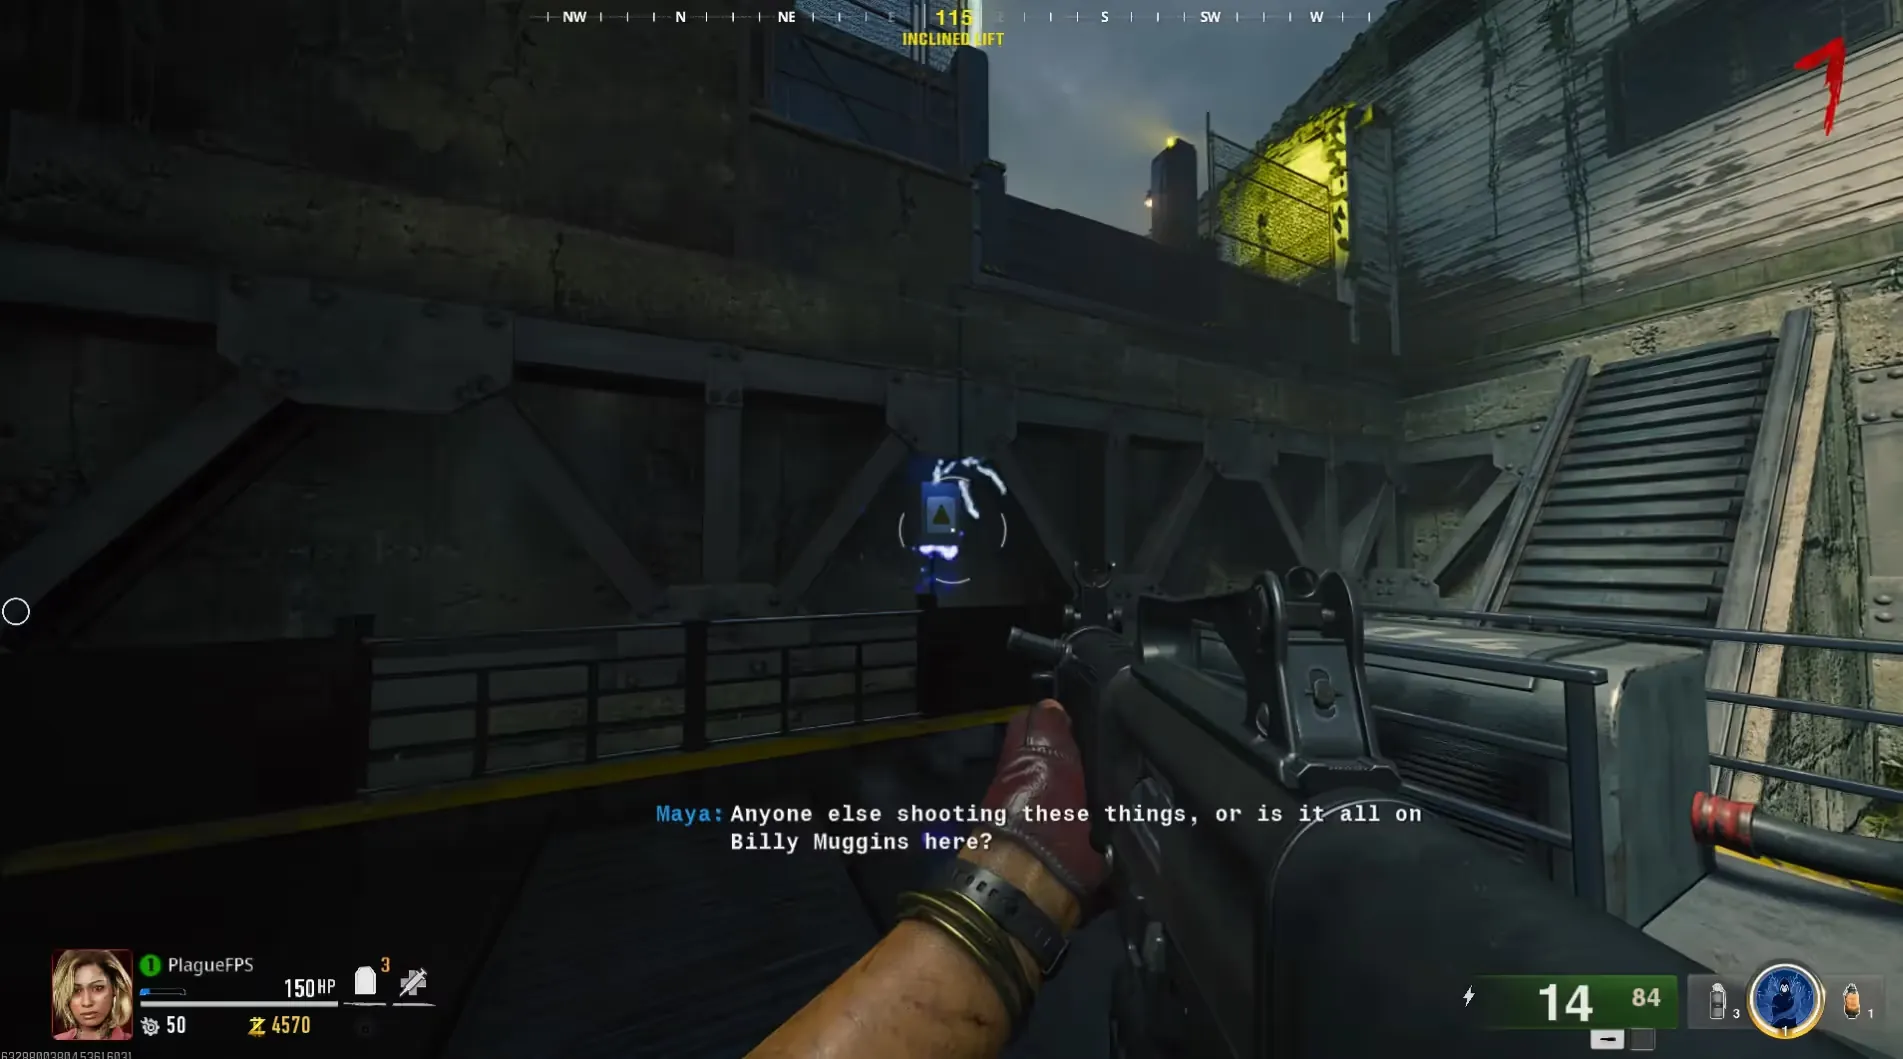
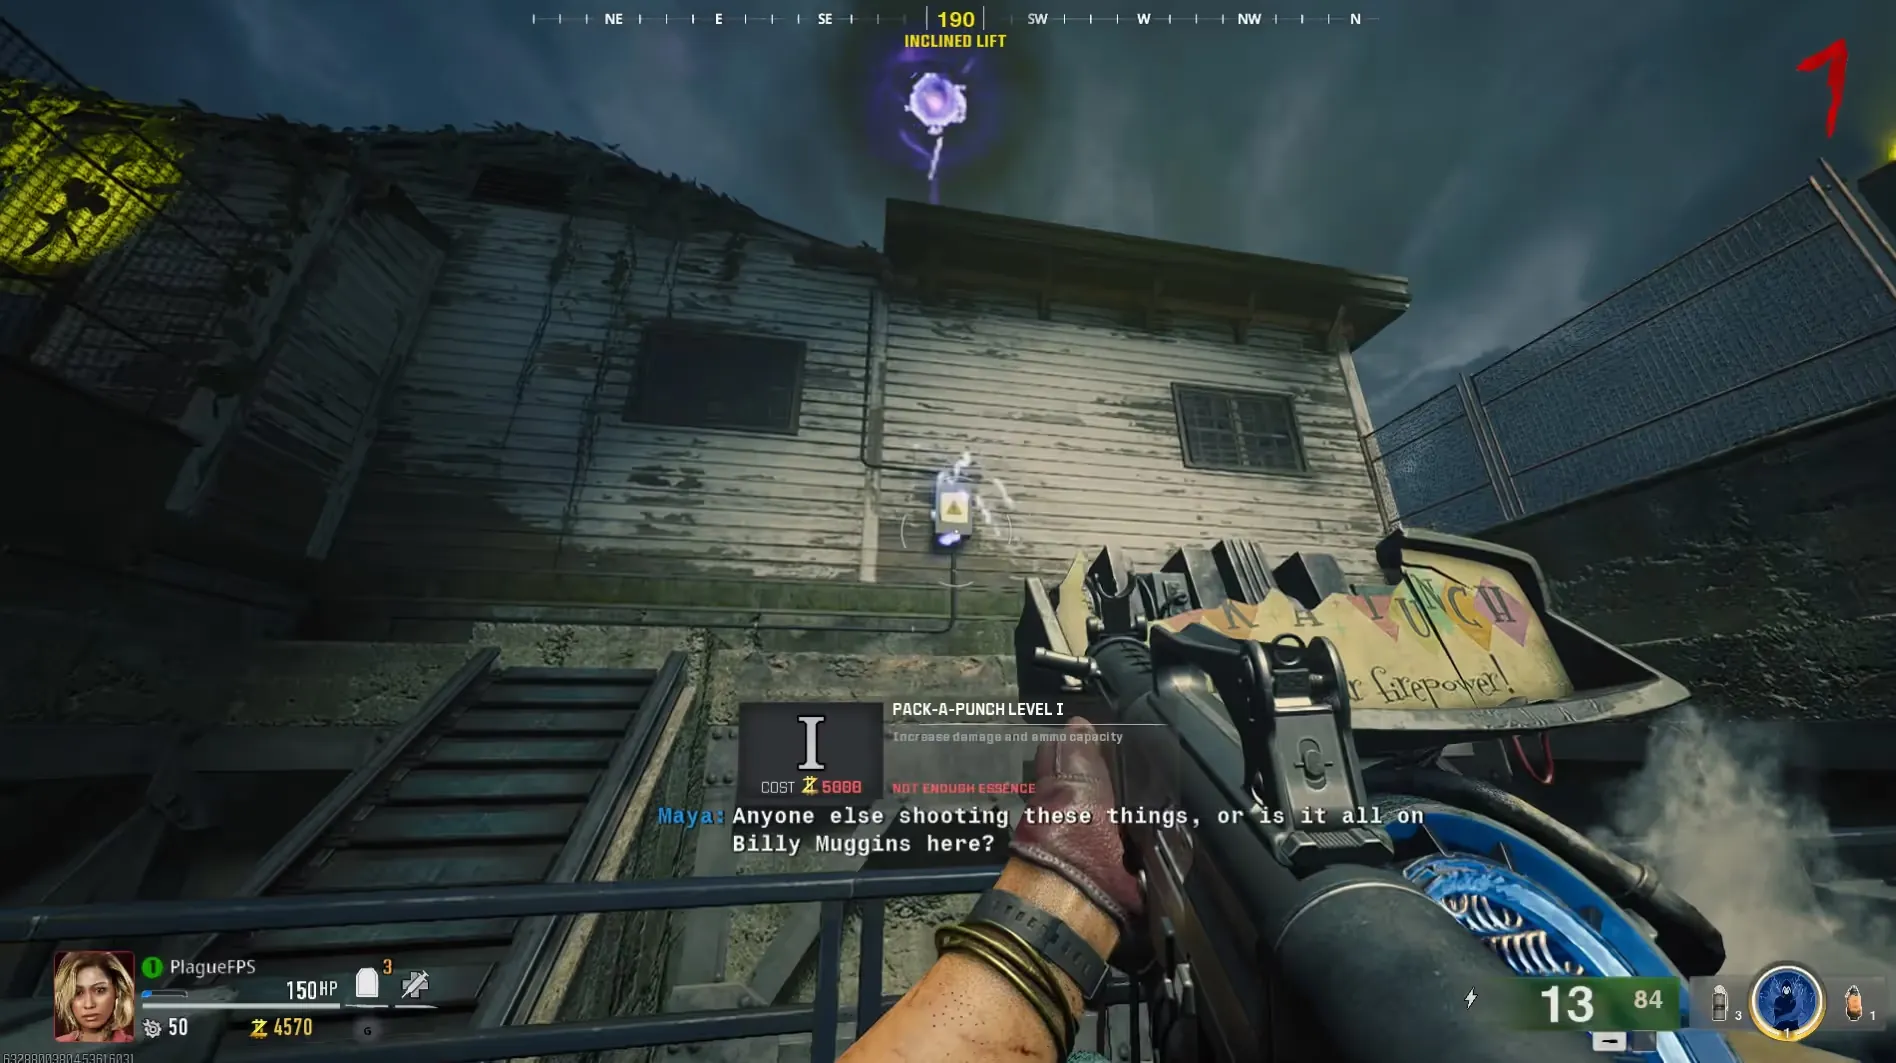
The first and second power boxes need to be shot in quick succession if you want to do it within a single trip, otherwise if you aren't quick enough, you can shoot the second one from the platform in the Bio Lab. This step is not timed.
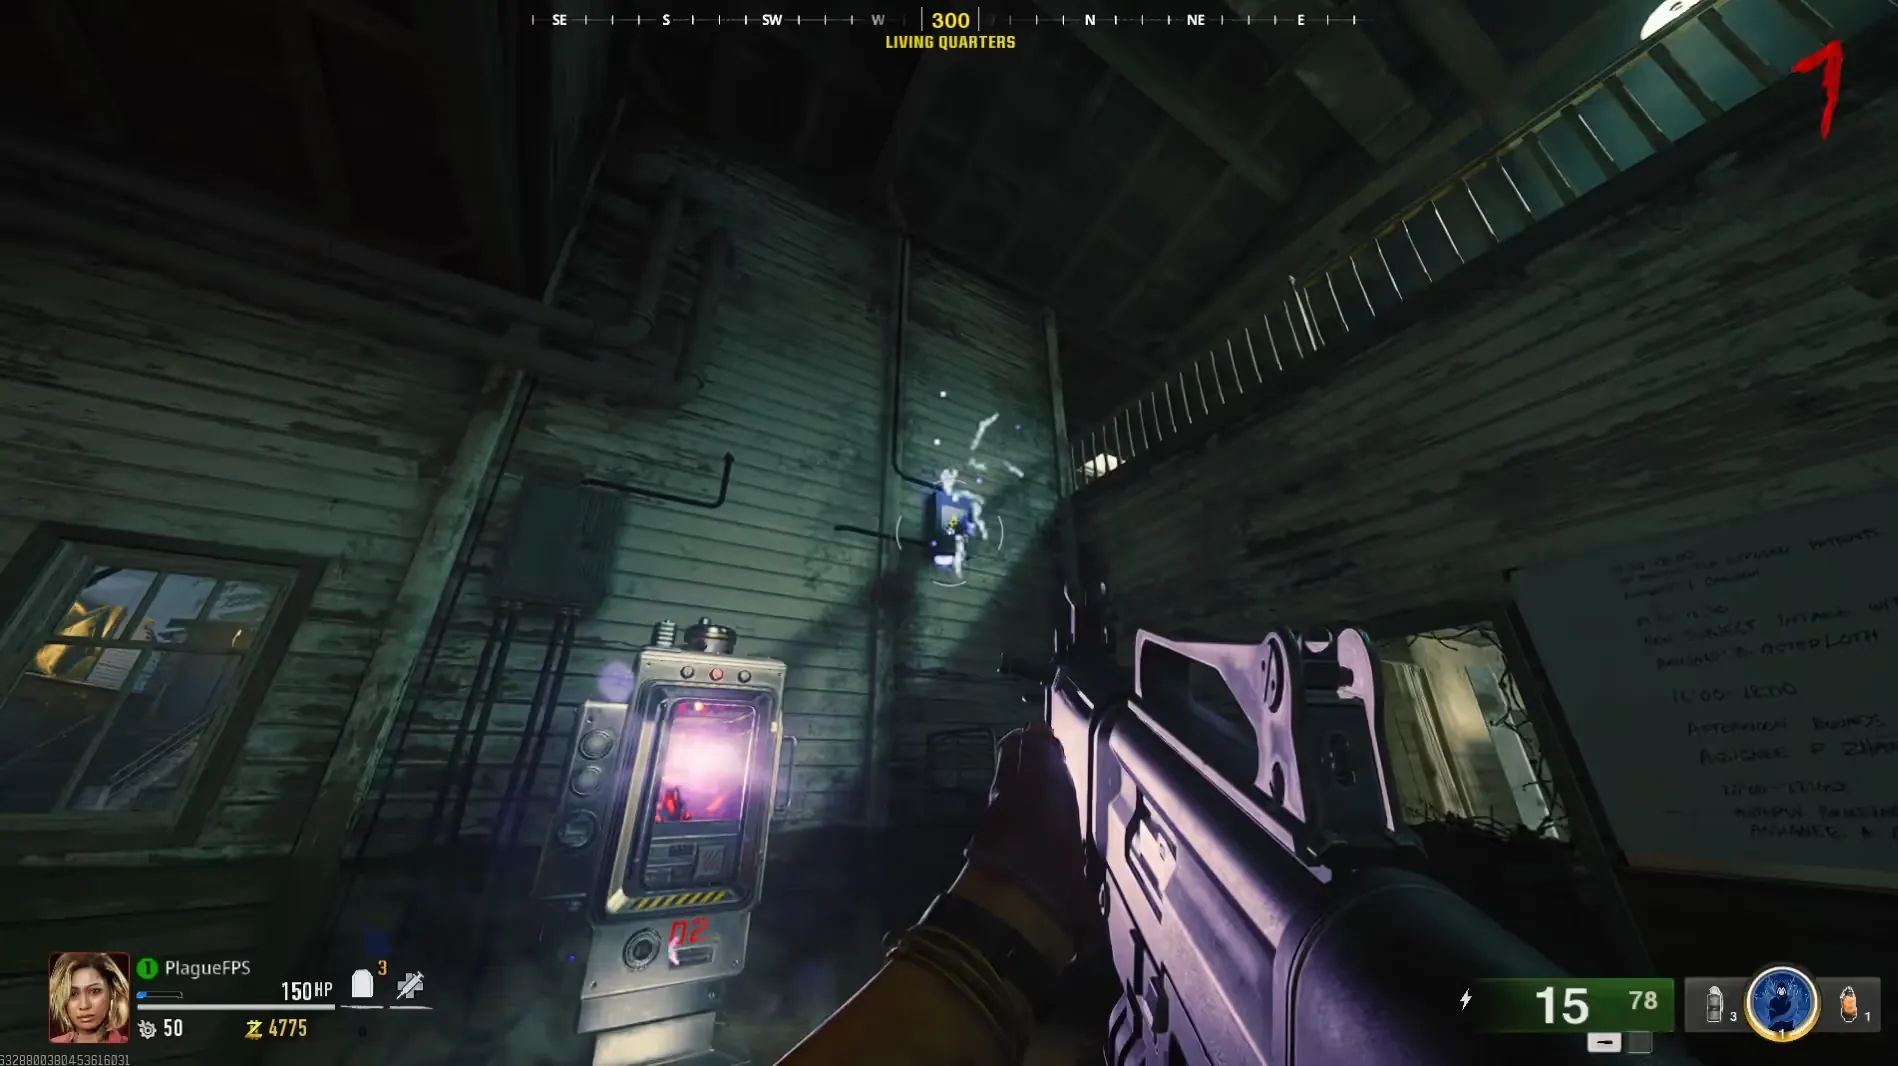
Once that is done, head to the Living Quarters and shoot the power box in that room with your ![]() Dead Wire weapon.
Dead Wire weapon.
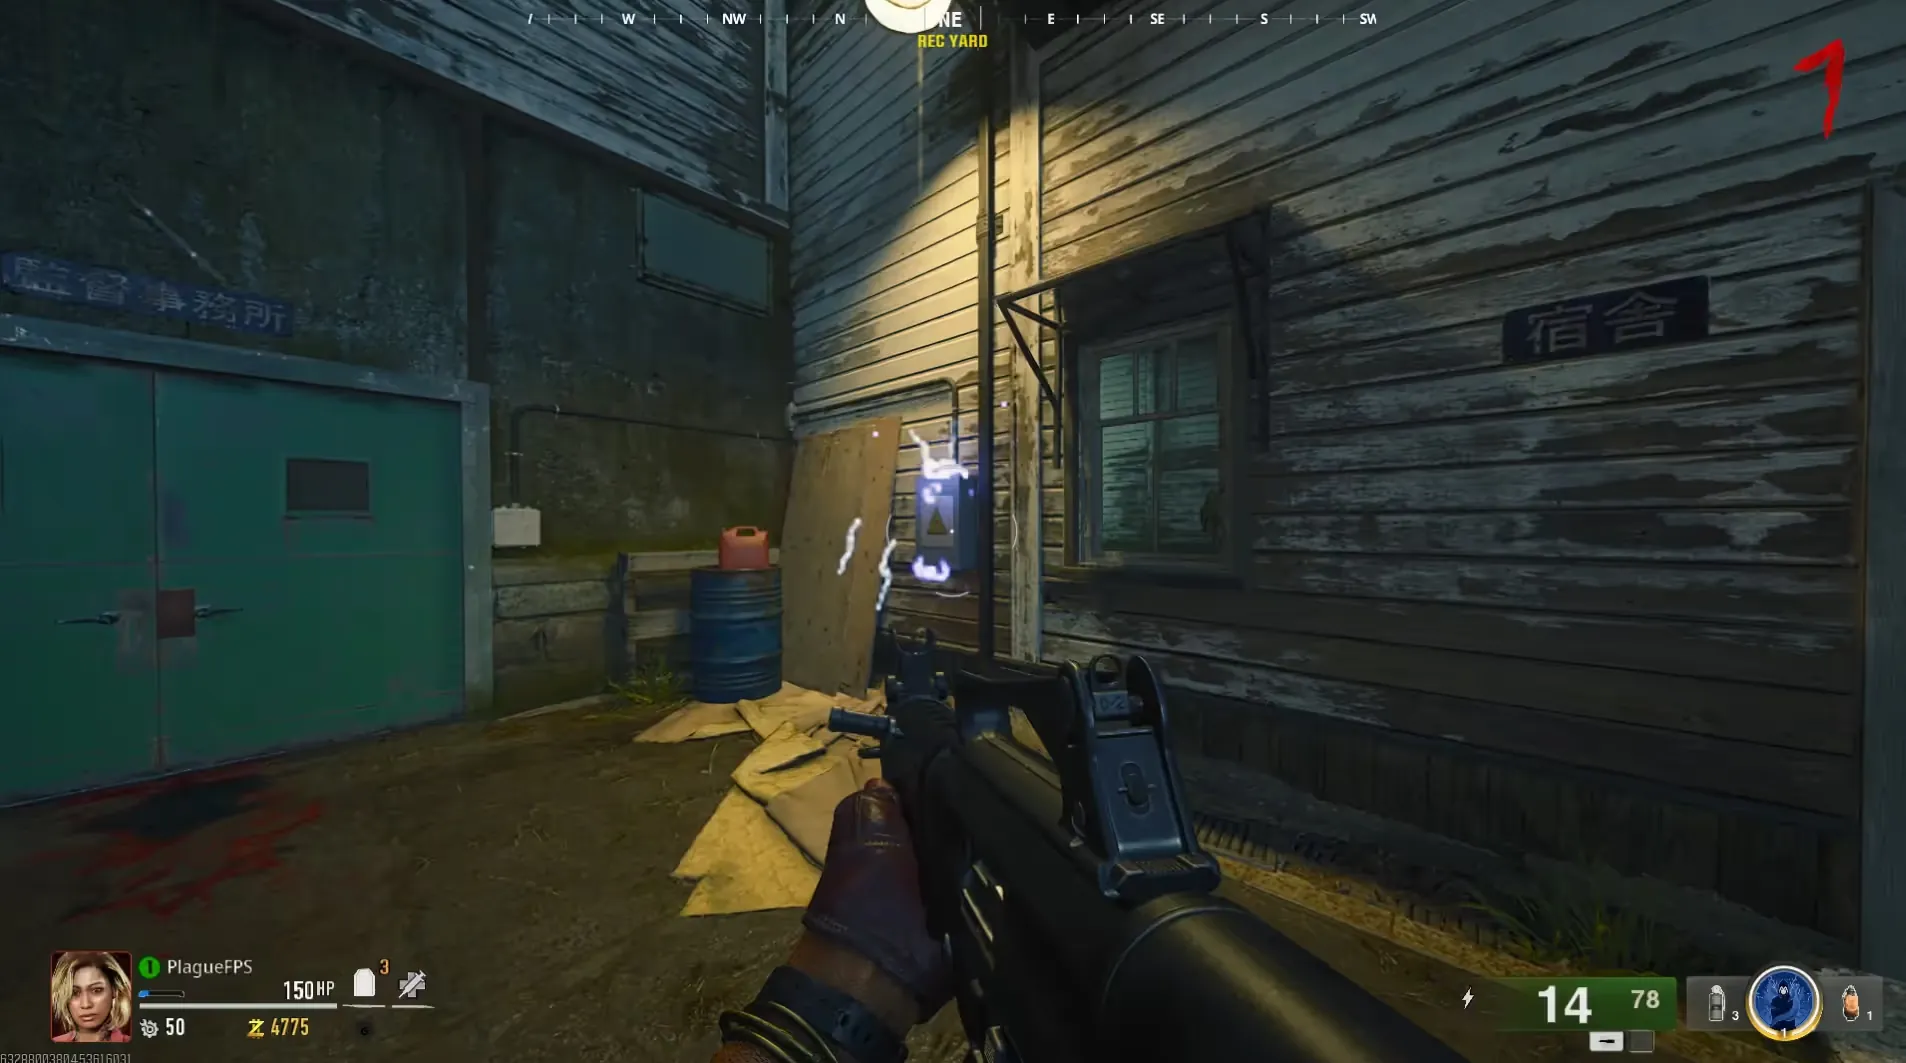
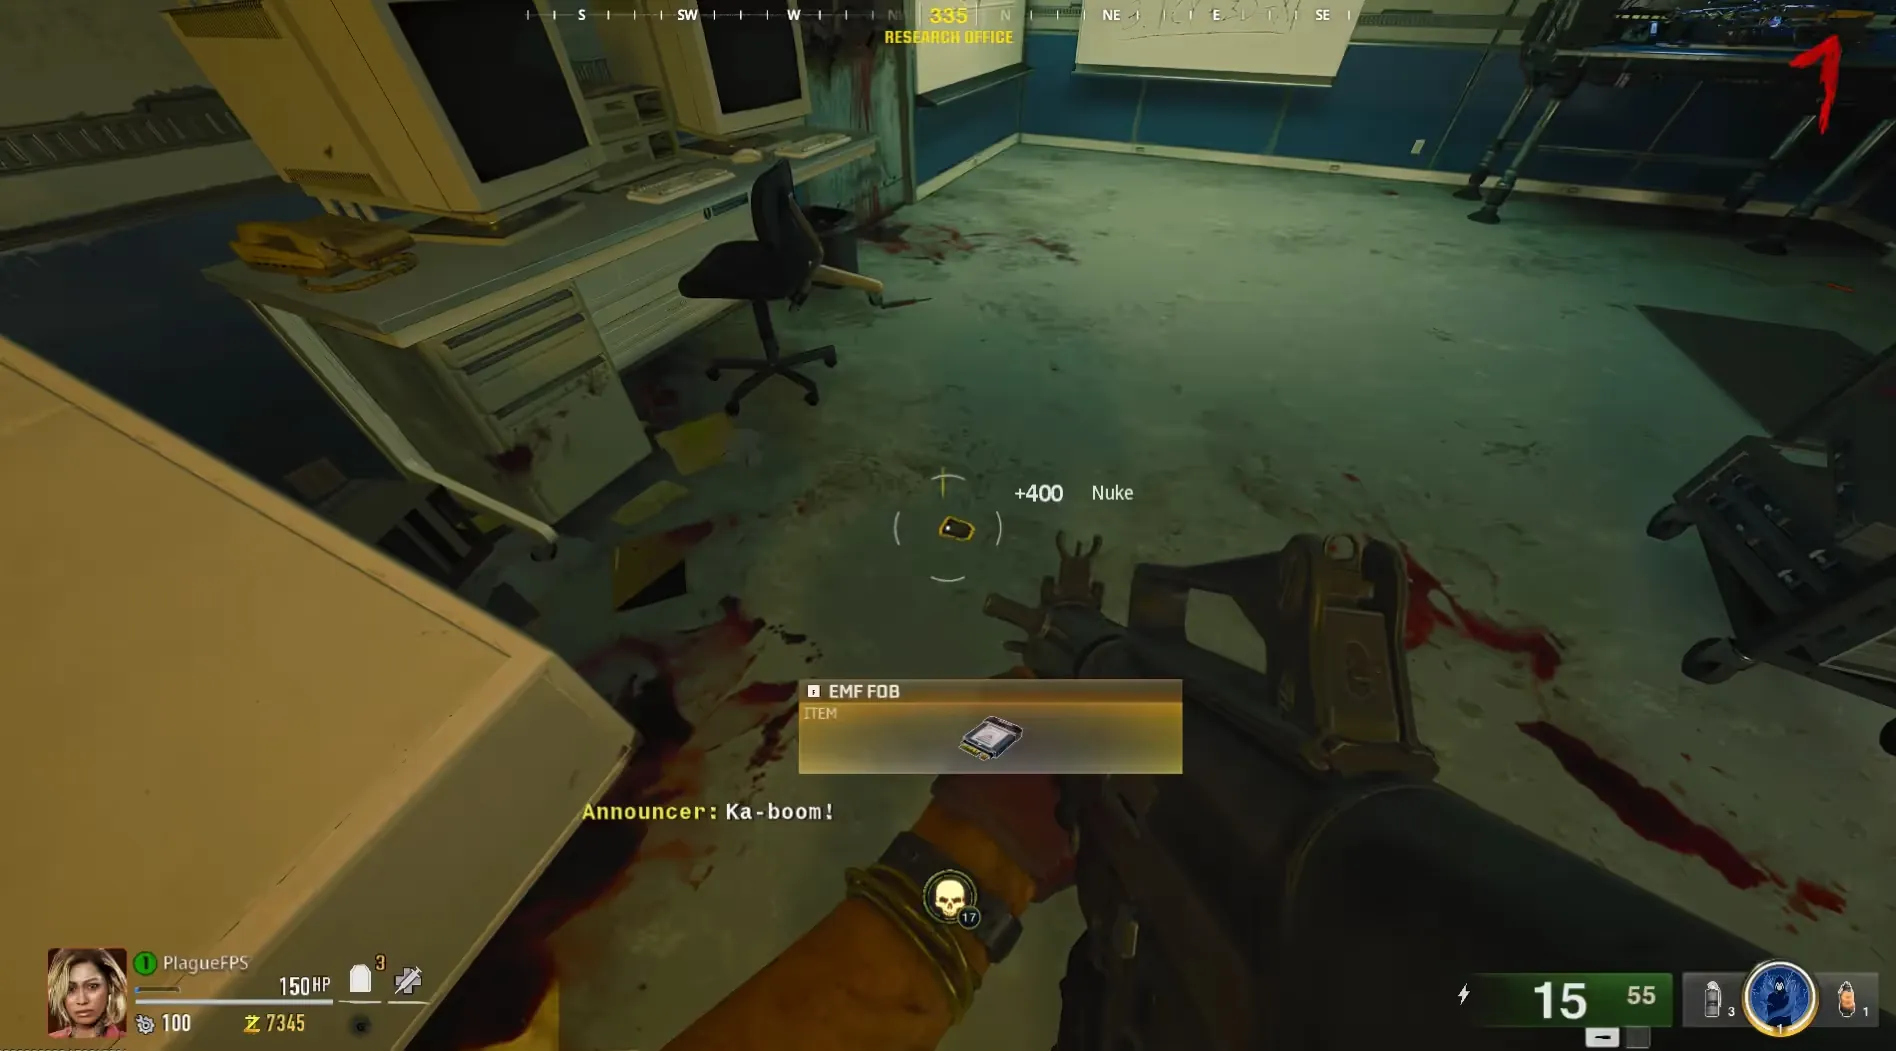
Finally, shoot the power box just outside the Living Quarters in the Rec Yard to transfer the electrical current into the locked Research Office and open it. Once open, shoot the zombie pinned on the floor which will drop the EMF Fob for you to pick up.
Multiphasic Resonator
Head to the Sea Tower and interact with the briefcase on the table to the right of the ![]() Elemental Pop perk machine, opening it and revealing the
Multiphasic Resonator for you to pick up.
Elemental Pop perk machine, opening it and revealing the
Multiphasic Resonator for you to pick up.
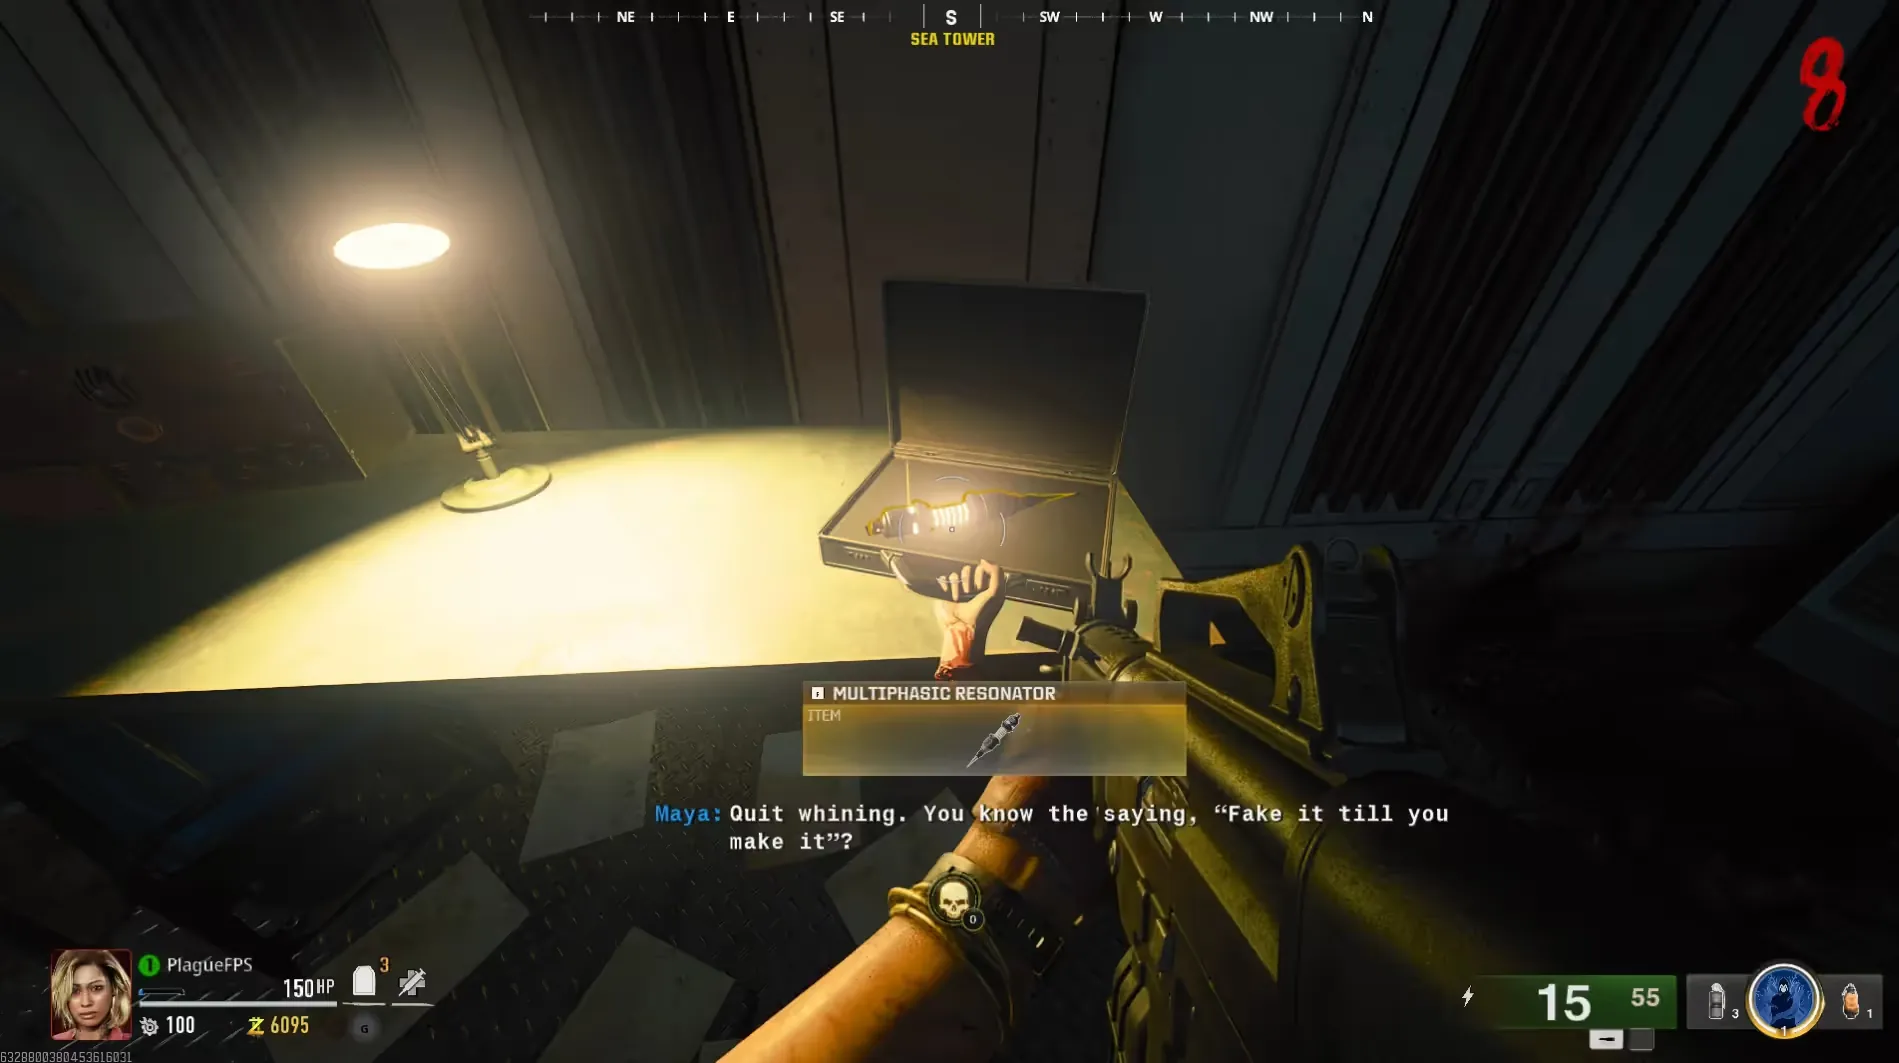
When you pick this item up, it will spawn a ton of Vermin.
AMP Munition
Head back to the Research Office and place the Multiphasic Resonator on top of the terminal on the right side of the office.
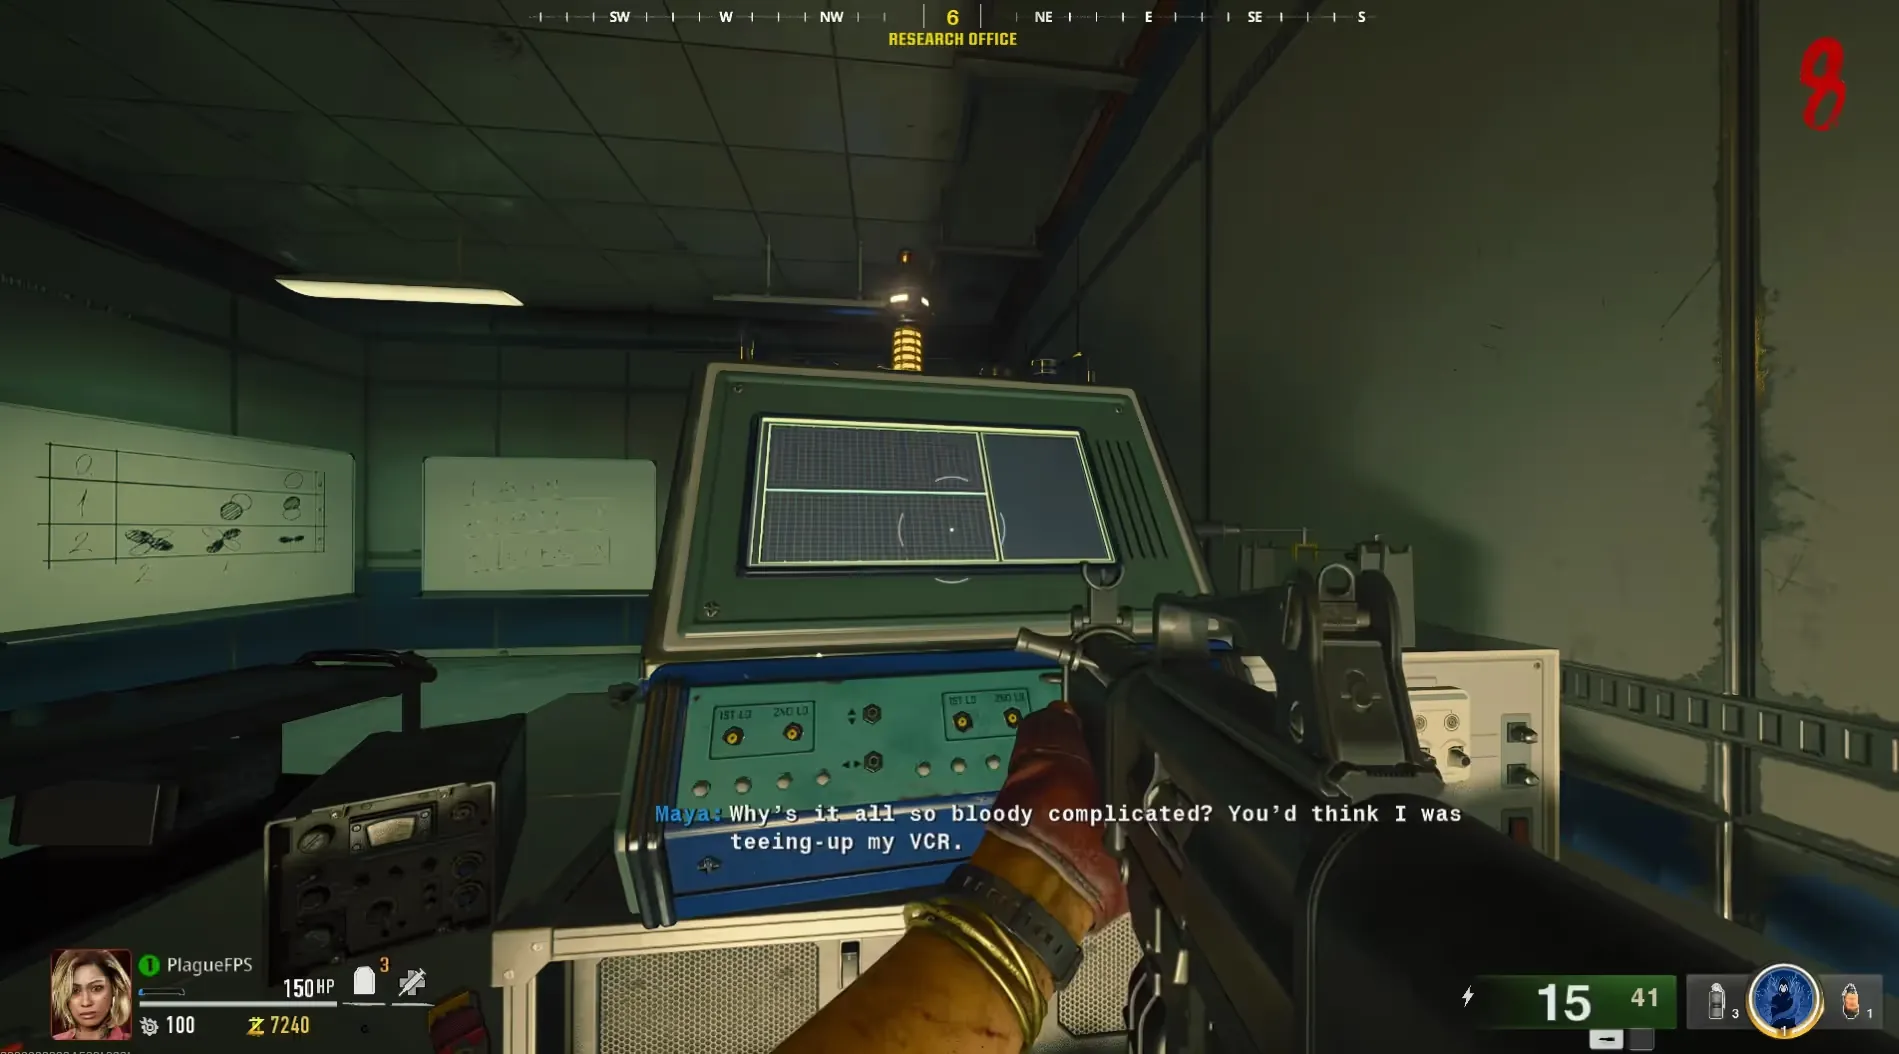
Afterward, you must activate three laptops around the map which will display a diagram and have a letter next to them. You can completely ignore this for now as this will be shown to you in the Research Office for easier reference. The locations of these three laptops that you must interact with are as follows:
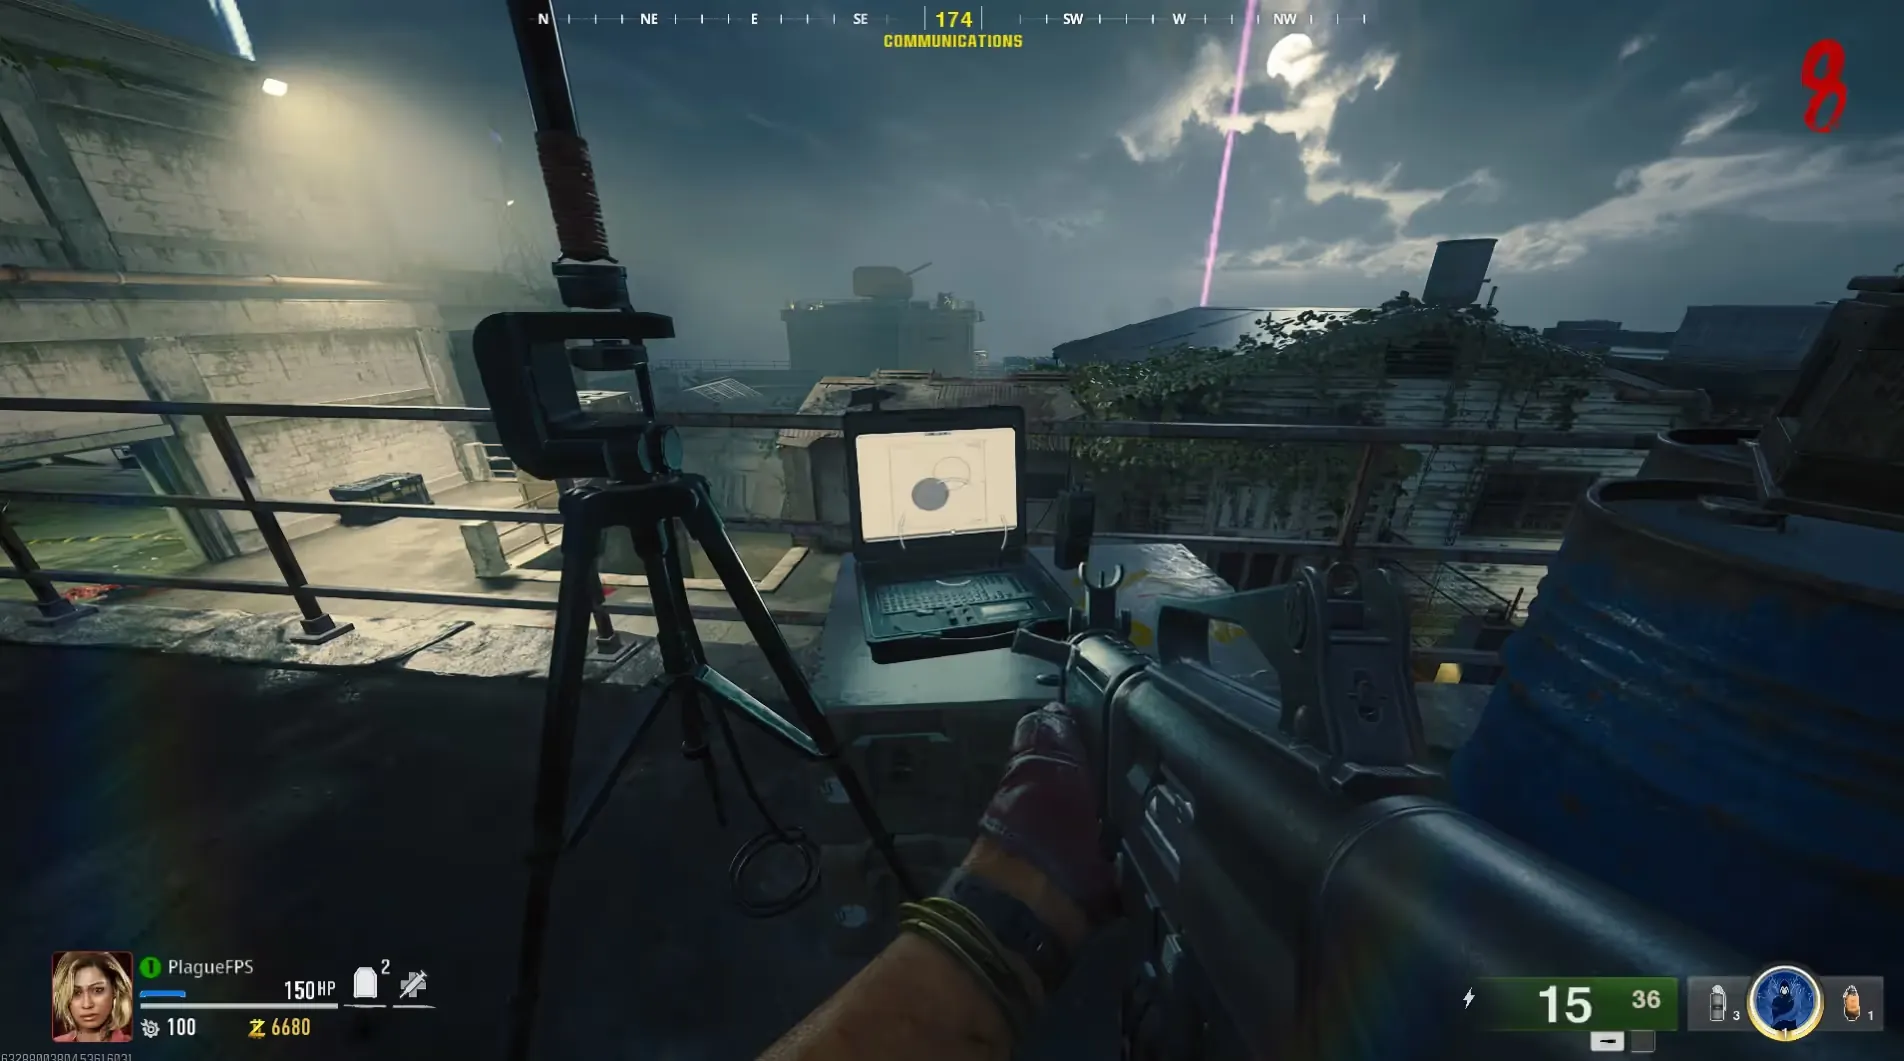
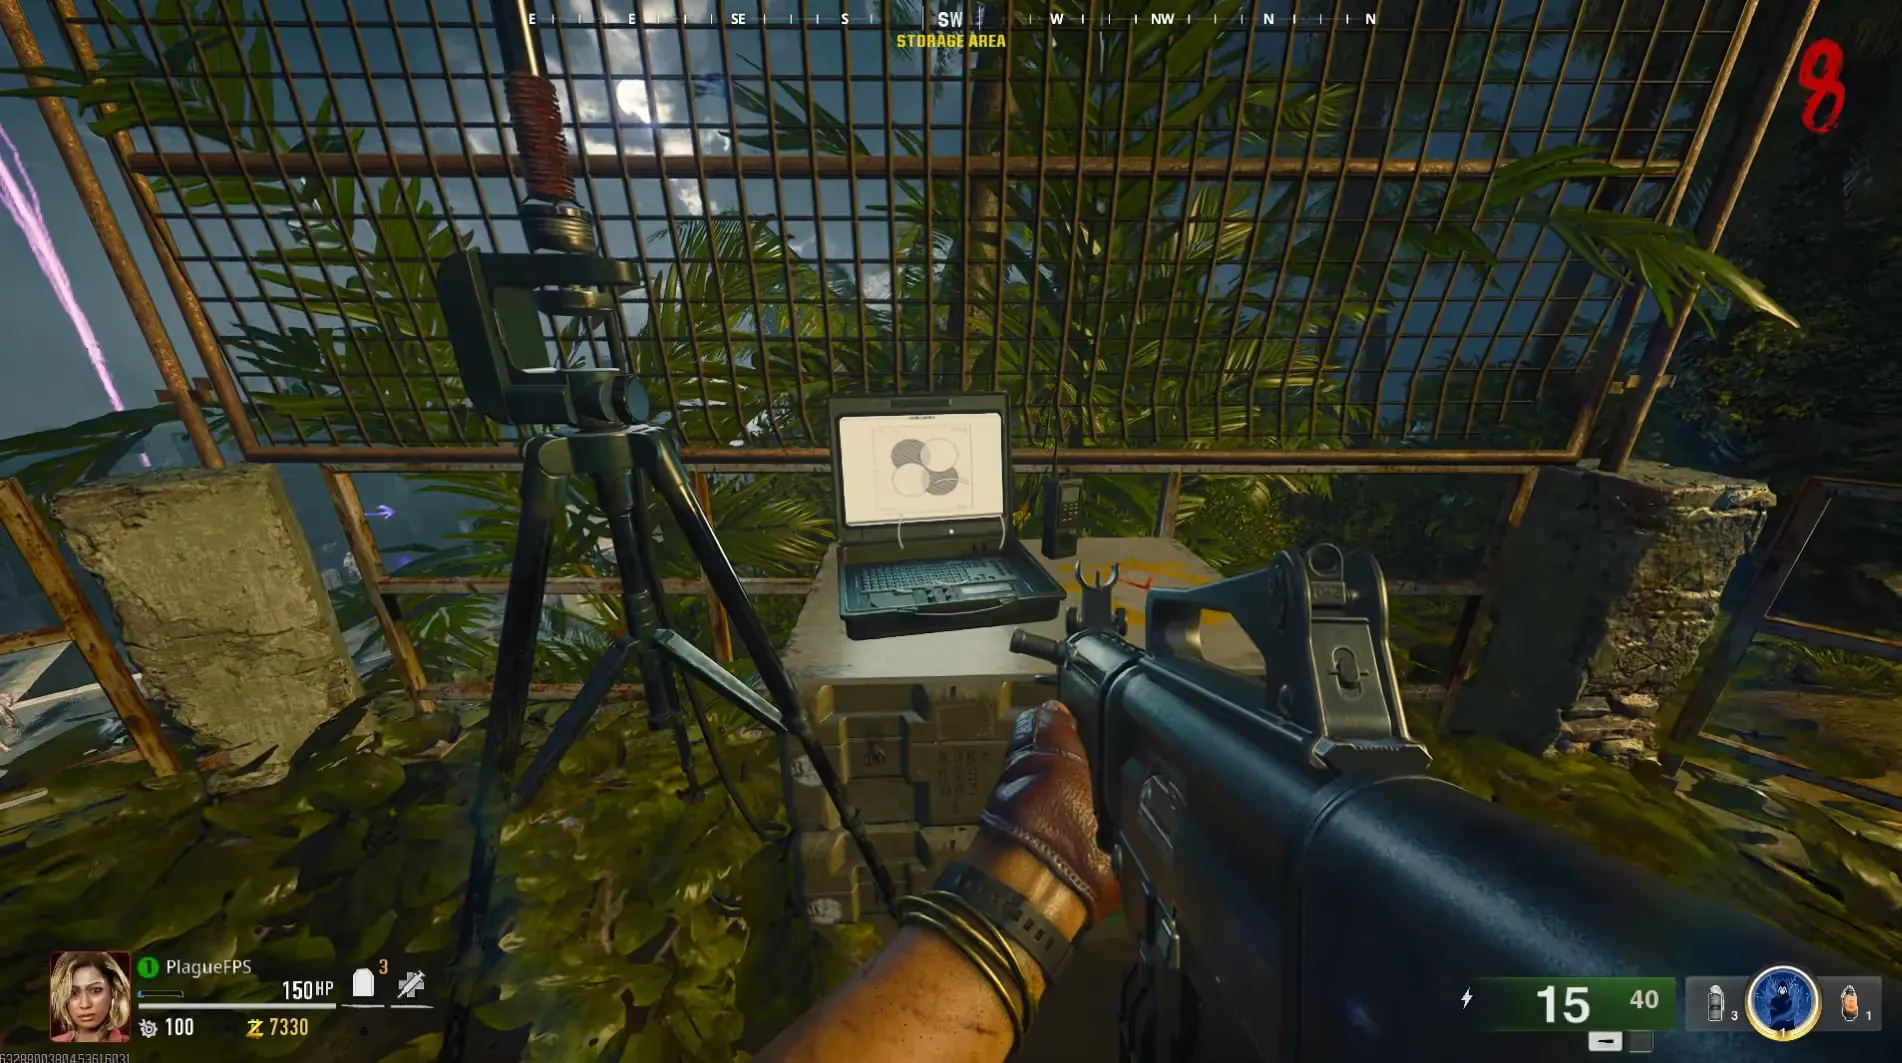
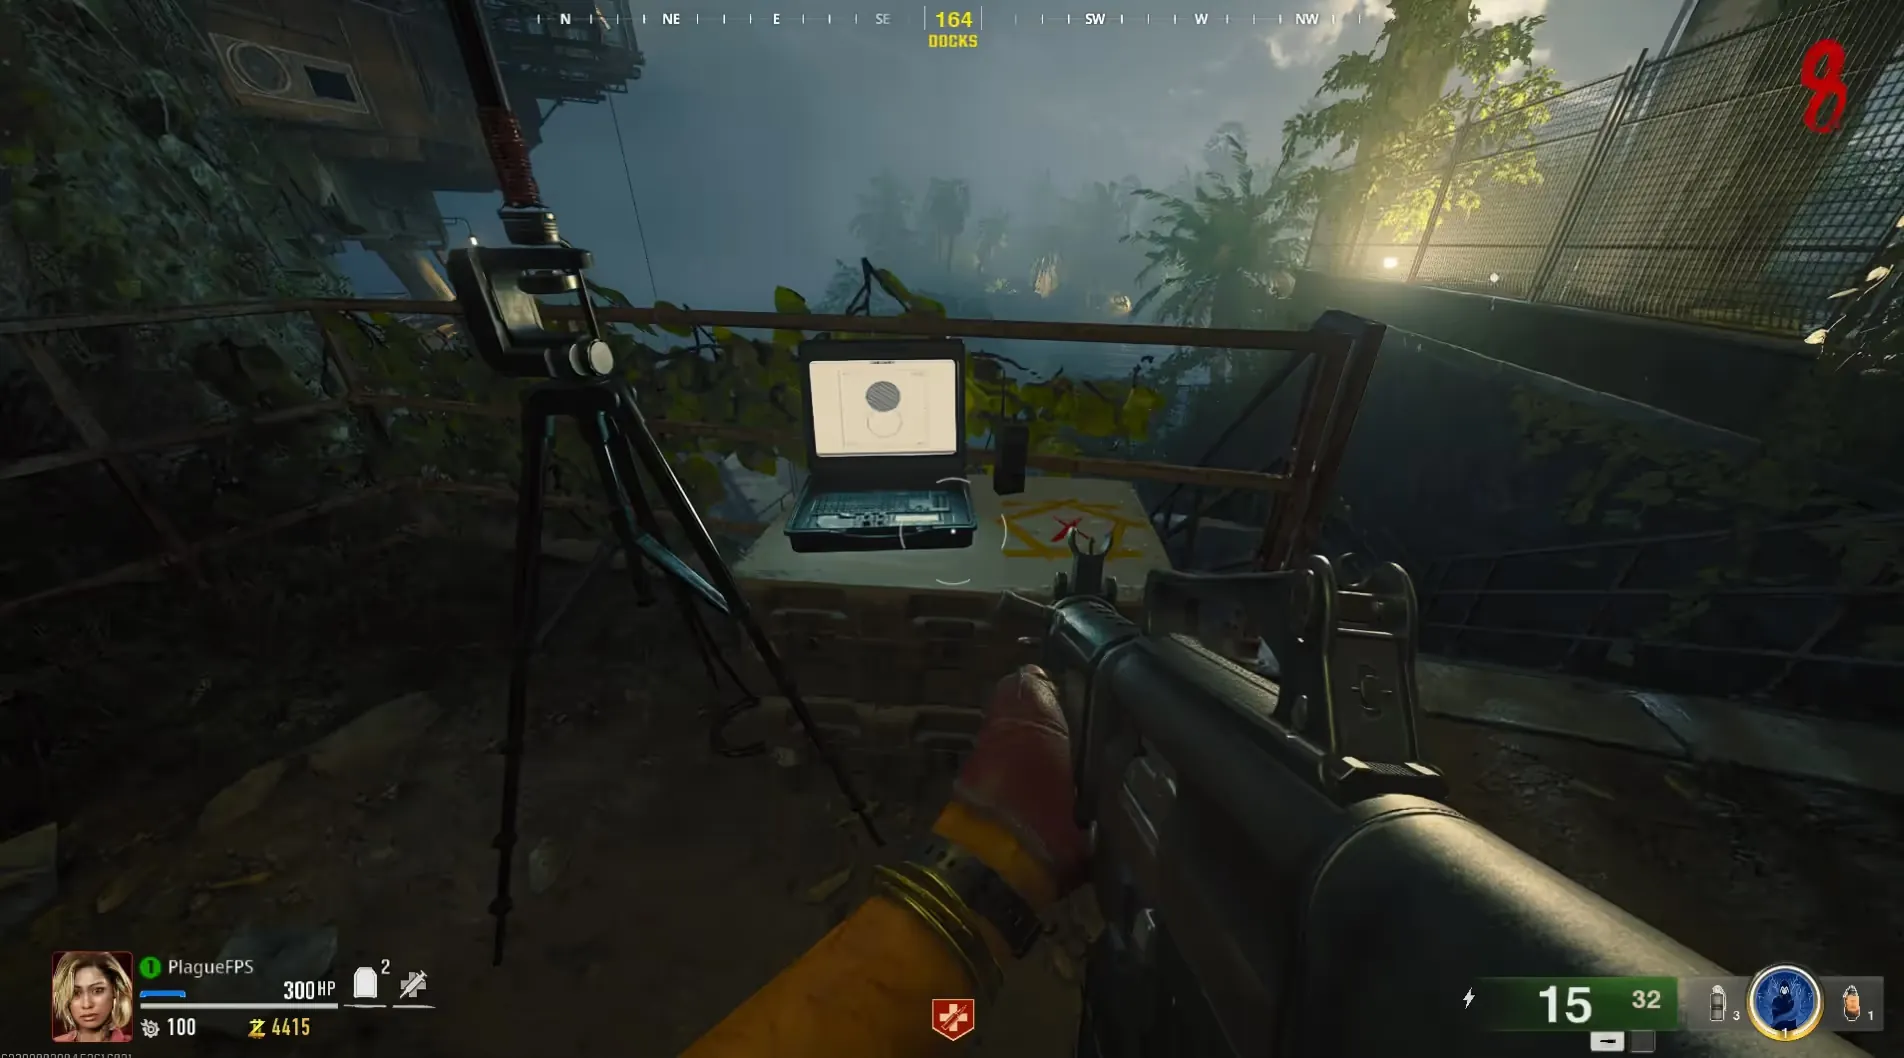
Once all three laptops have been turned on, head back to the Research Office, and interact with the terminal. Below the terminal will be three sticky notes with a diagram and the corresponding letter, you must find out what number each diagram represents and assign it to the letter on the note. You can use the image below to find what diagram translates into what number:
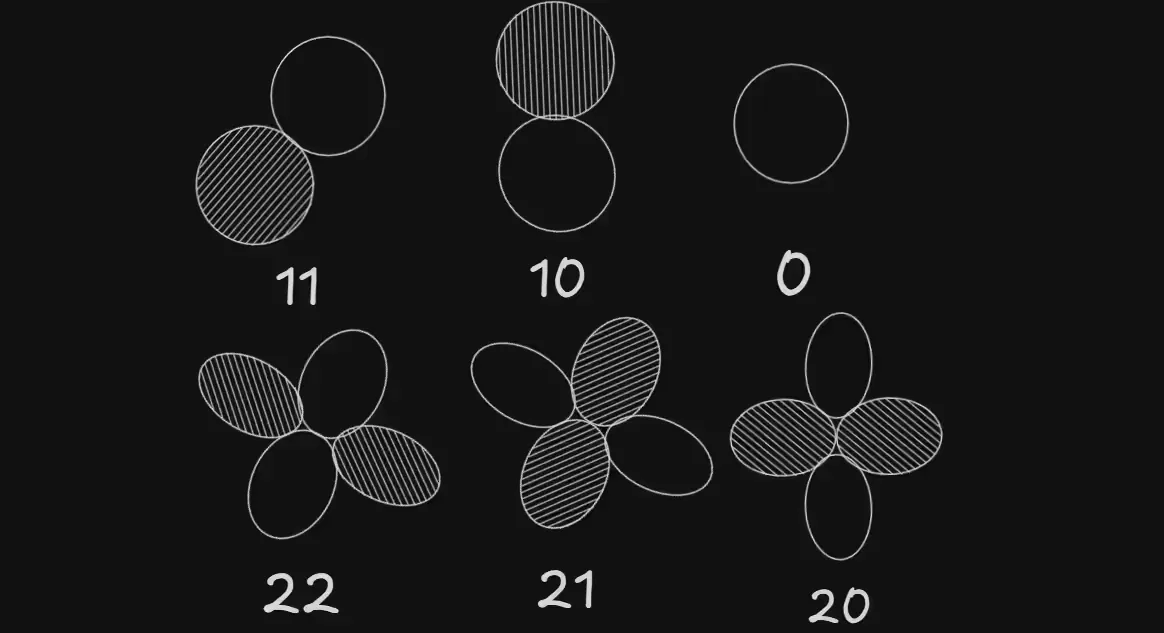
Once you have the numbers for each diagram and therefore the letter, input those values in the tool below to solve the three algebraic equations on the whiteboard on the back wall which will grant you the three numbers you must input into the terminal:
Once you have the code, input it into the terminal to start a locating sequence that will be completed once you flip round as long as you are on Round 9 or later, otherwise, you will need to keep flipping rounds until you reach Round 9.
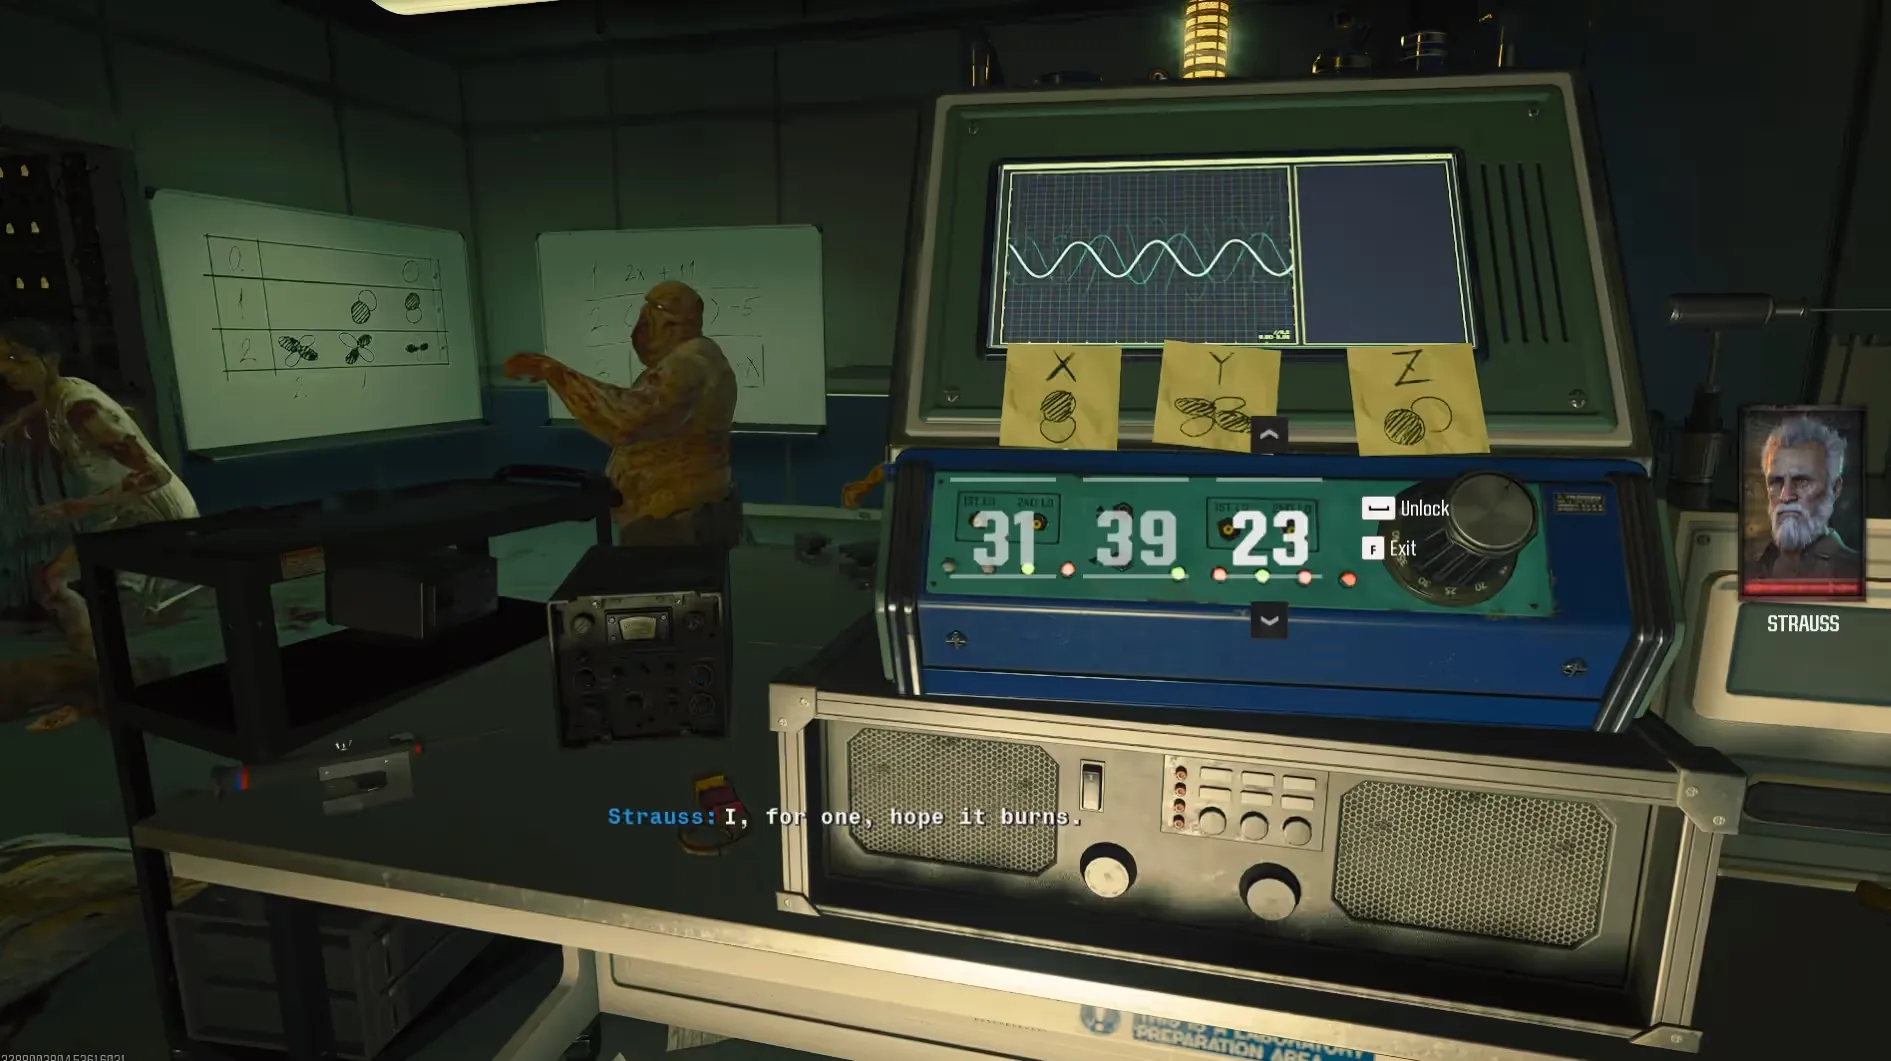
Once completed, pick up the Multiphasic Resonator and head to the island shown on the terminal which is always Castle Rock Island on the right side of the map. Here there will be a blue orb that you must interact with to begin spawning zombies, the orb will eventually shock one of these zombies making it glow blue.
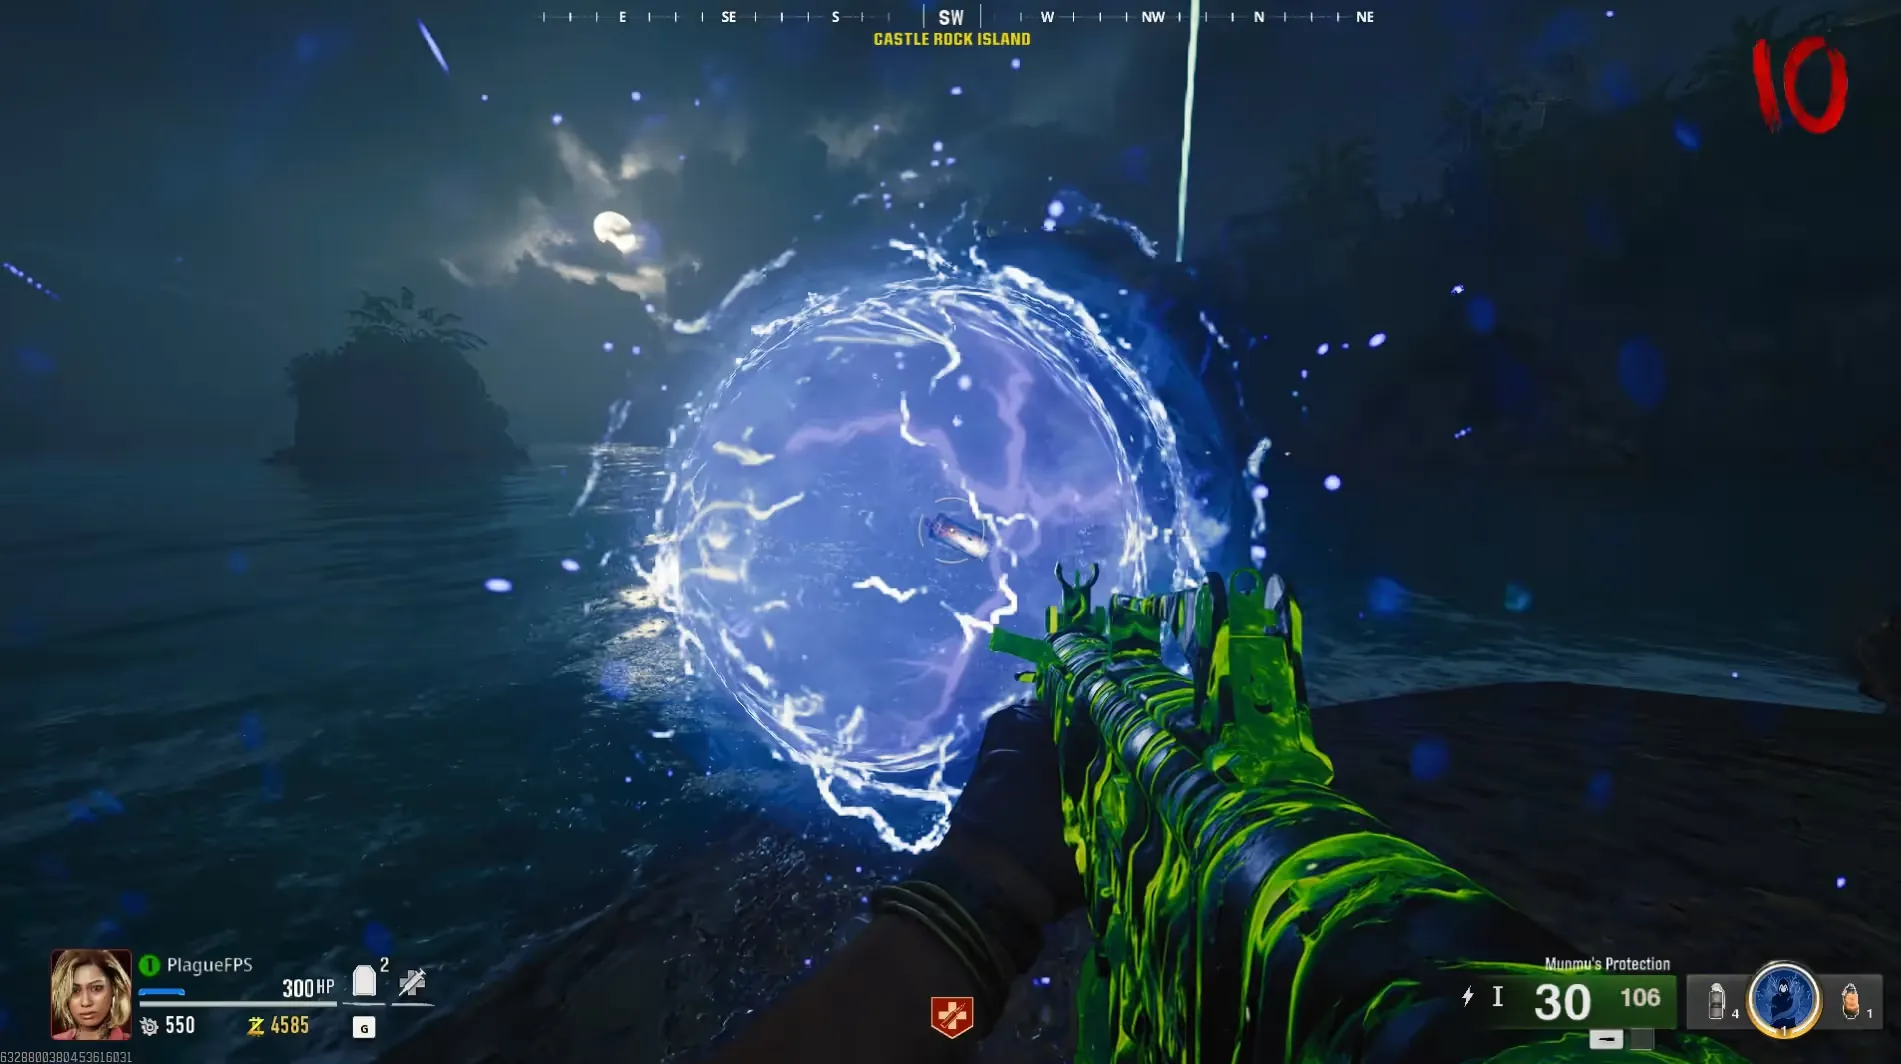
Kill the blue glowing zombie to drop a small ball of energy that you must pick up and deposit into the blue orb. You must repeat this until the blue orb turns green and flies away to Crab Island, south on the map. Head to that island and repeat the same thing this time with green balls of energy.

You must pick up the Multiphasic Resonator from the ground just below where the orb was idle everytime it flies off. If you forget to pick it up you won't be able to interact with the next orb to begin the next phases.
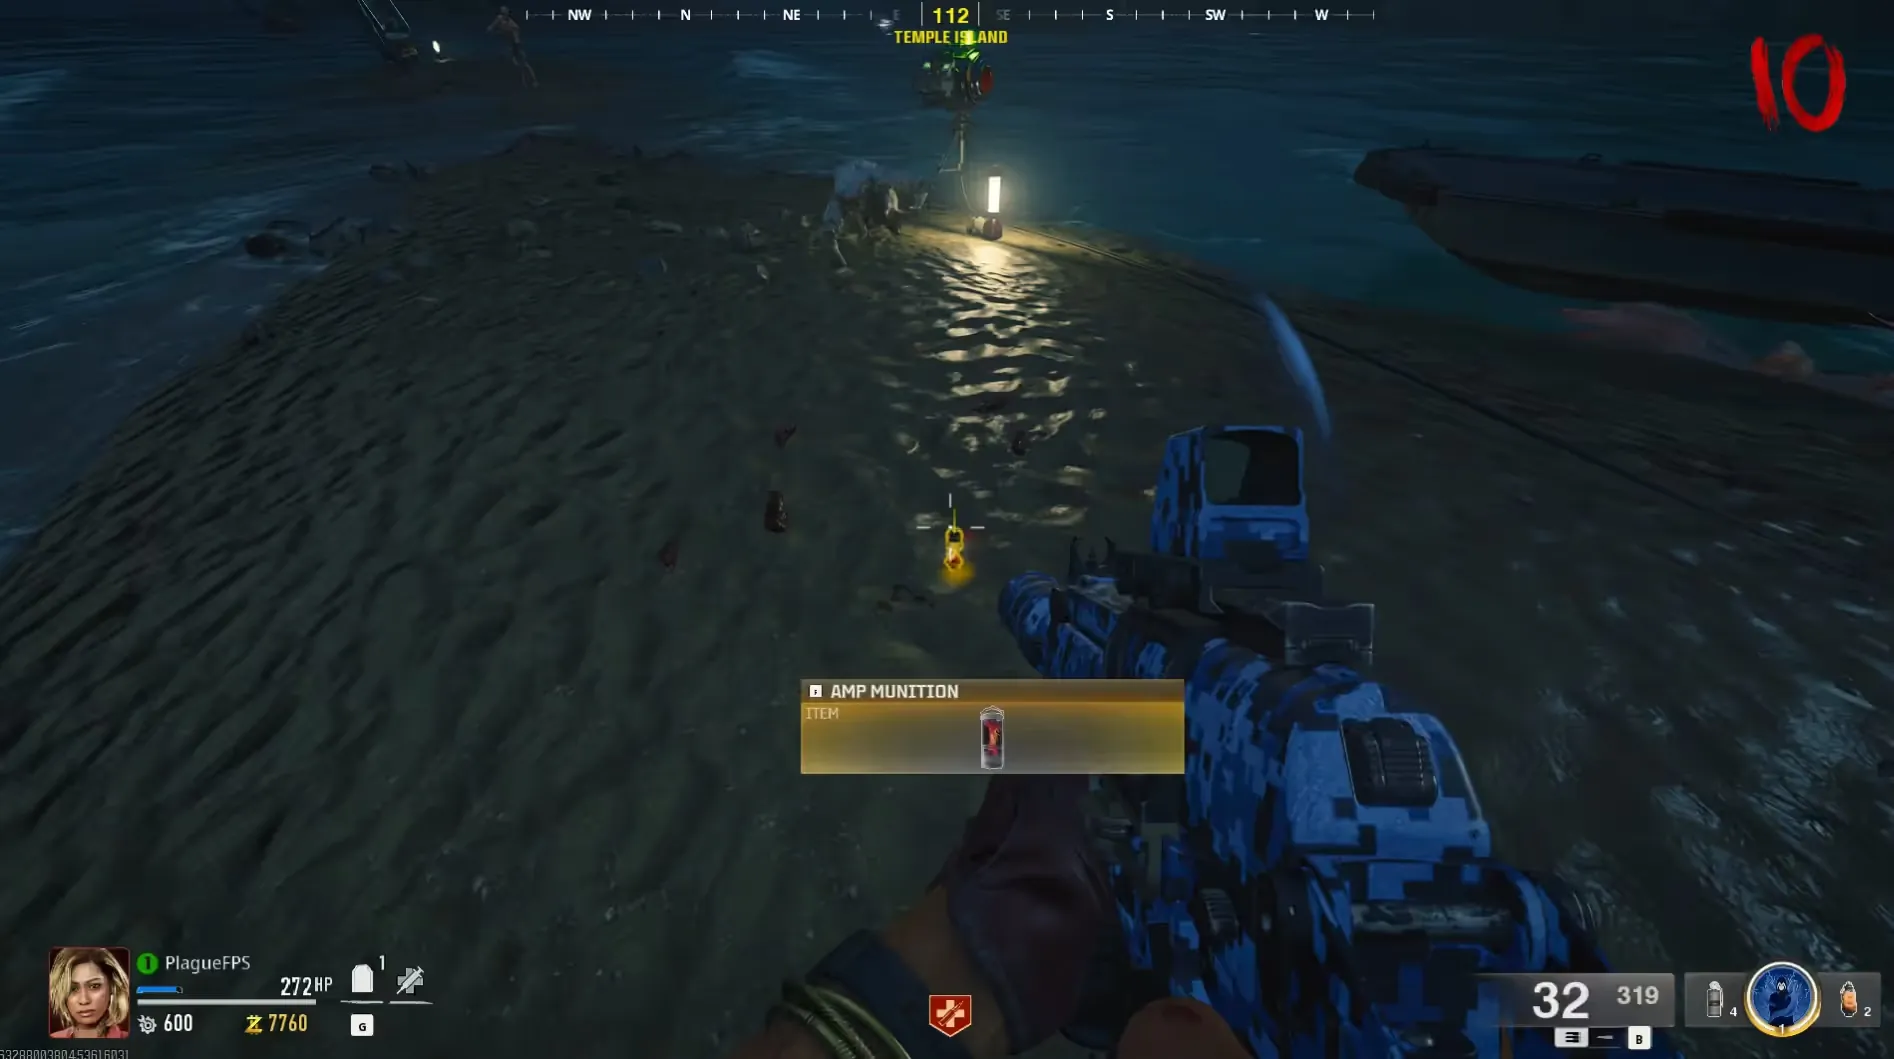
Finally, the green orb will turn purple and fly to Temple Island, north on the map above the Shipwreck, where you must repeat the same thing for one last time. This time, the orb will drop the AMP Munition underneath where it was idle when done for you to pick up.
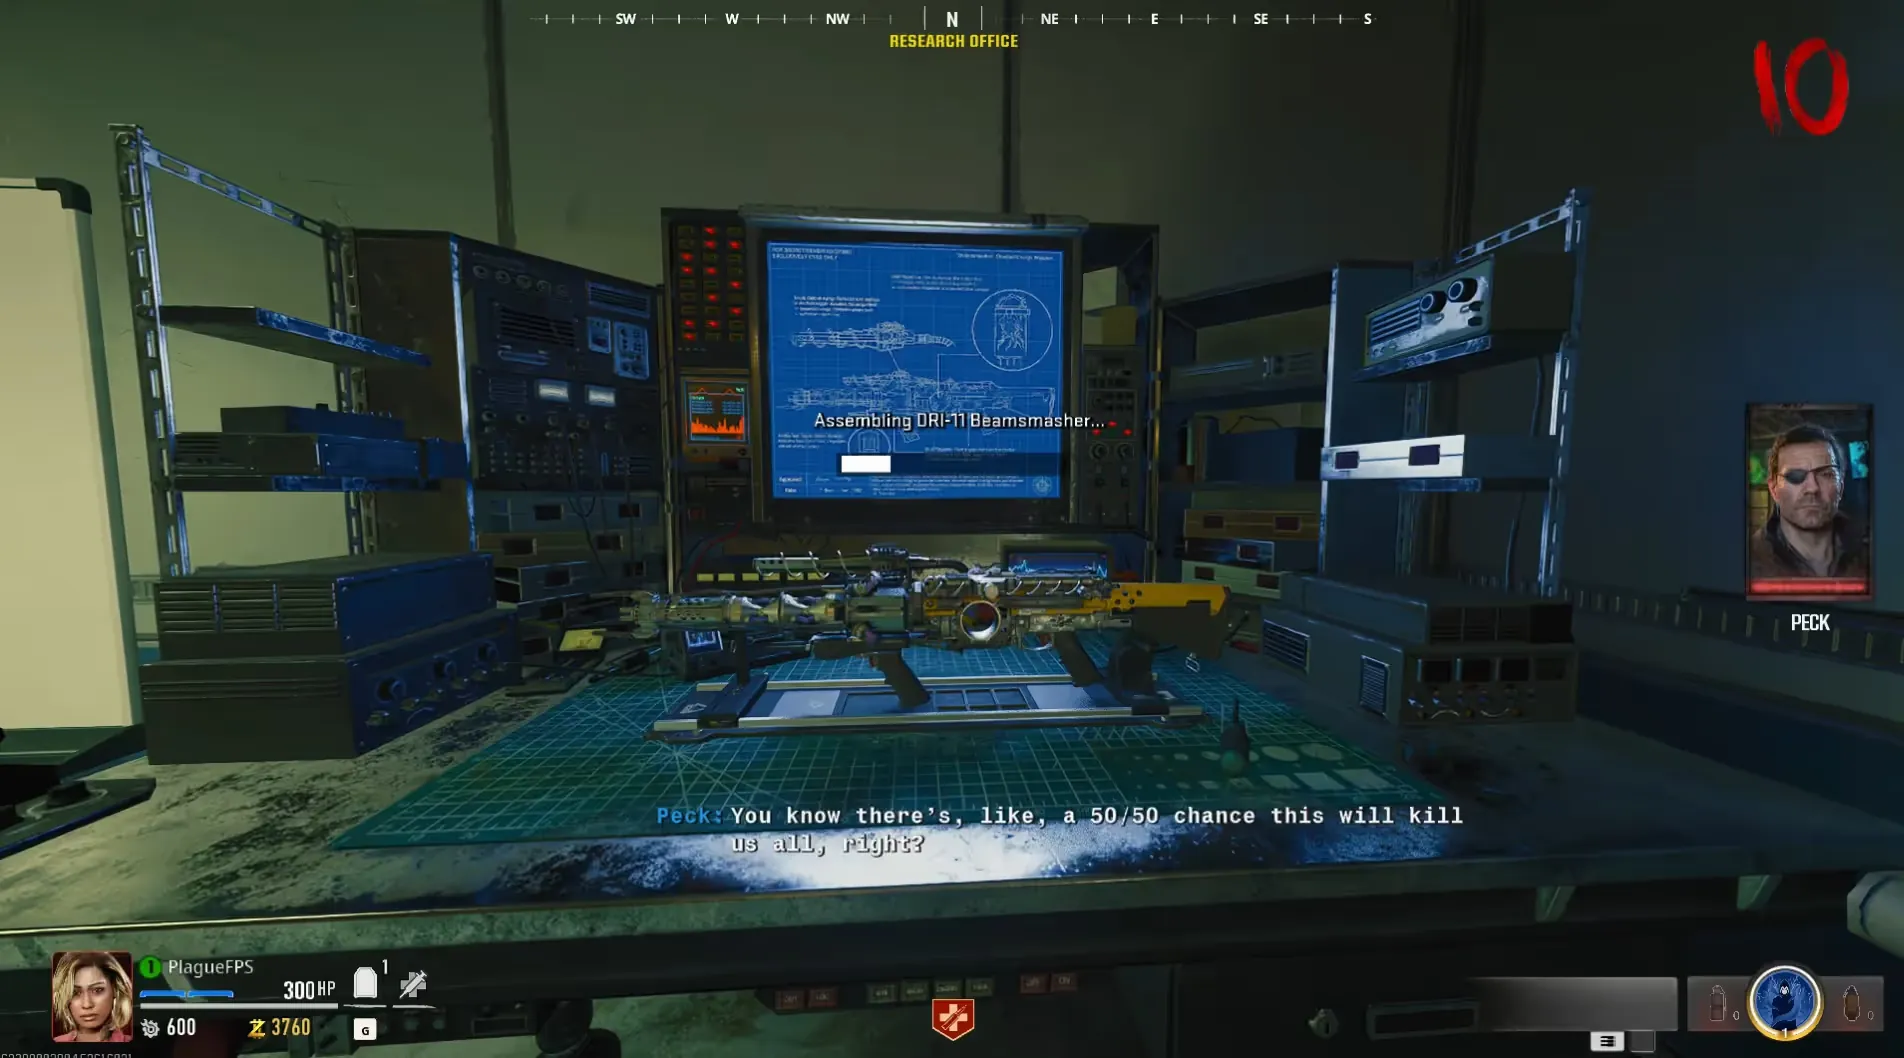
Once you have all three parts, head back to the Research Office and build the DRI-11 Beamsmasher on the workbench in the far right corner of the office.
Obtaining the Hard Drive
Using the DRI-11 Beamsmasher, you must shoot one of the four Tentacle Traps around the map while it is active to retrieve a Hard Drive. The correct Tentacle Trap can be found by looking for the one with a broken vent and some glowing particles; the rest will be intact. The locations for each Tentacle Trap are as follows:
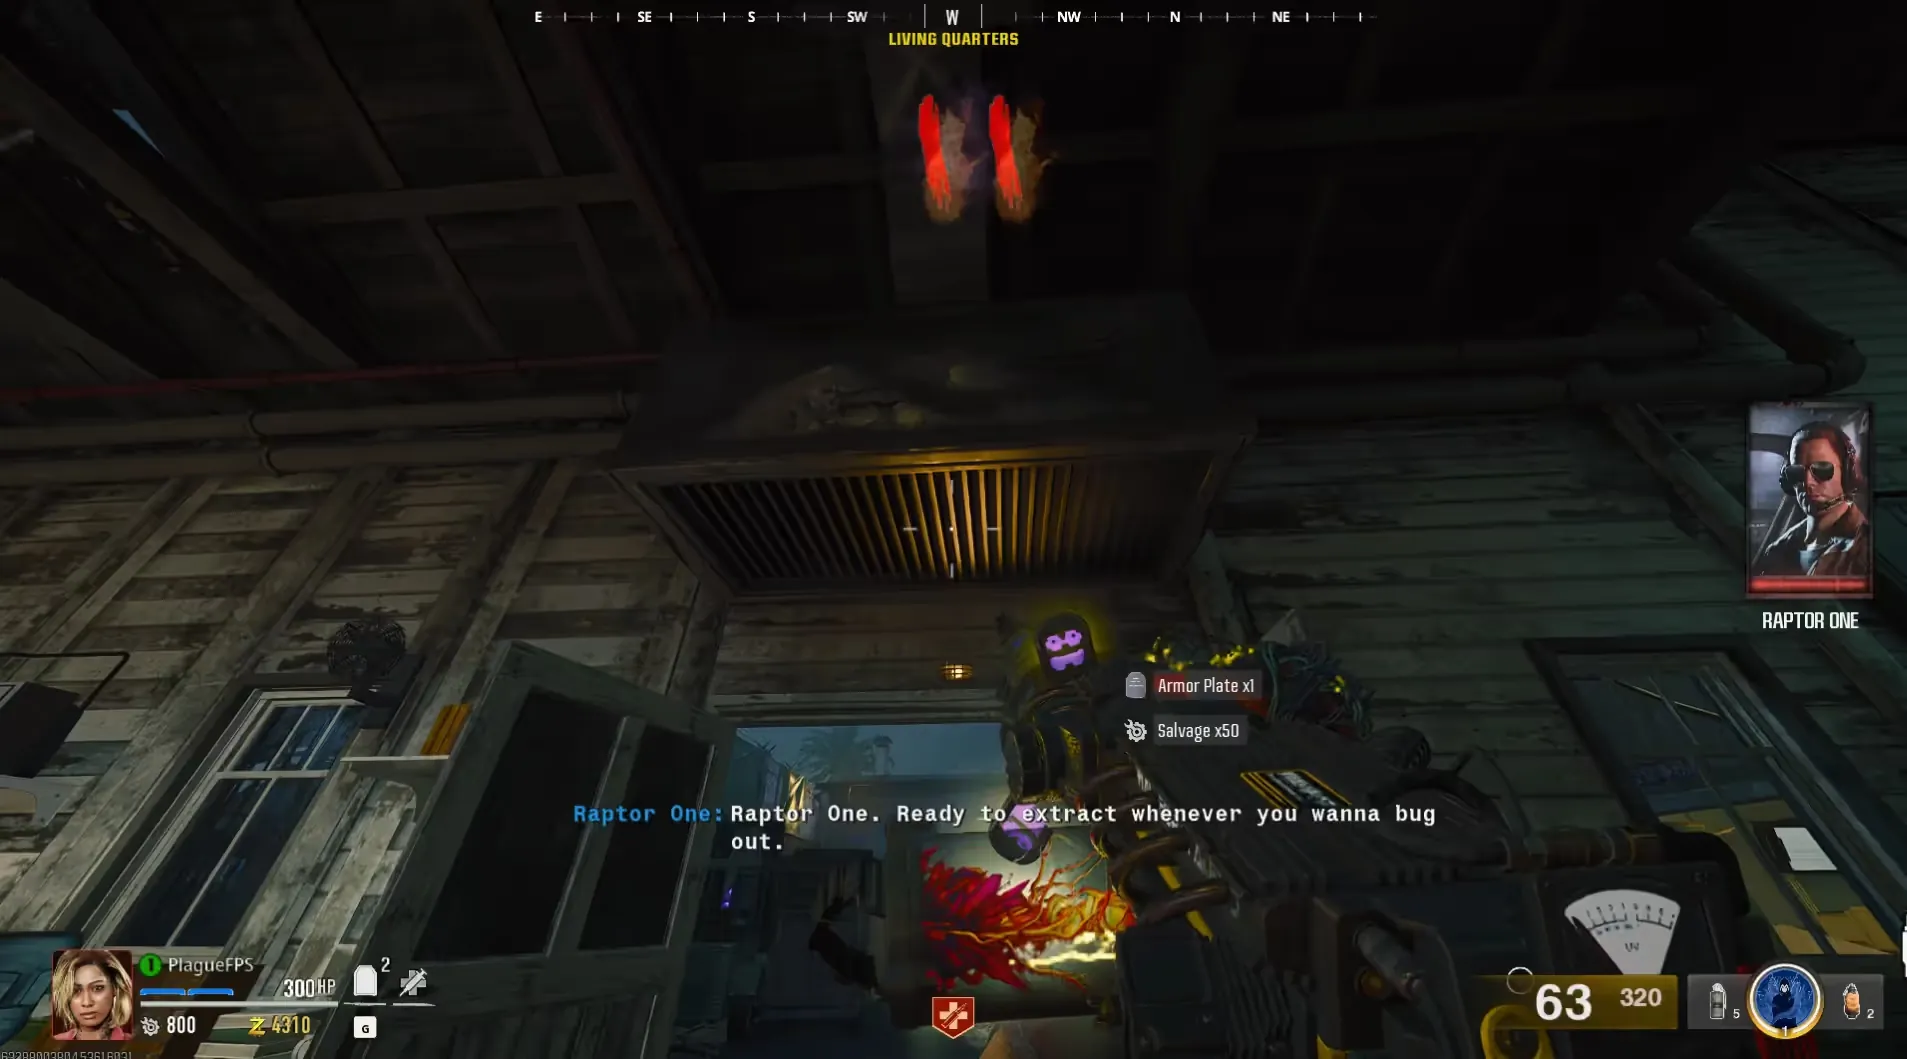
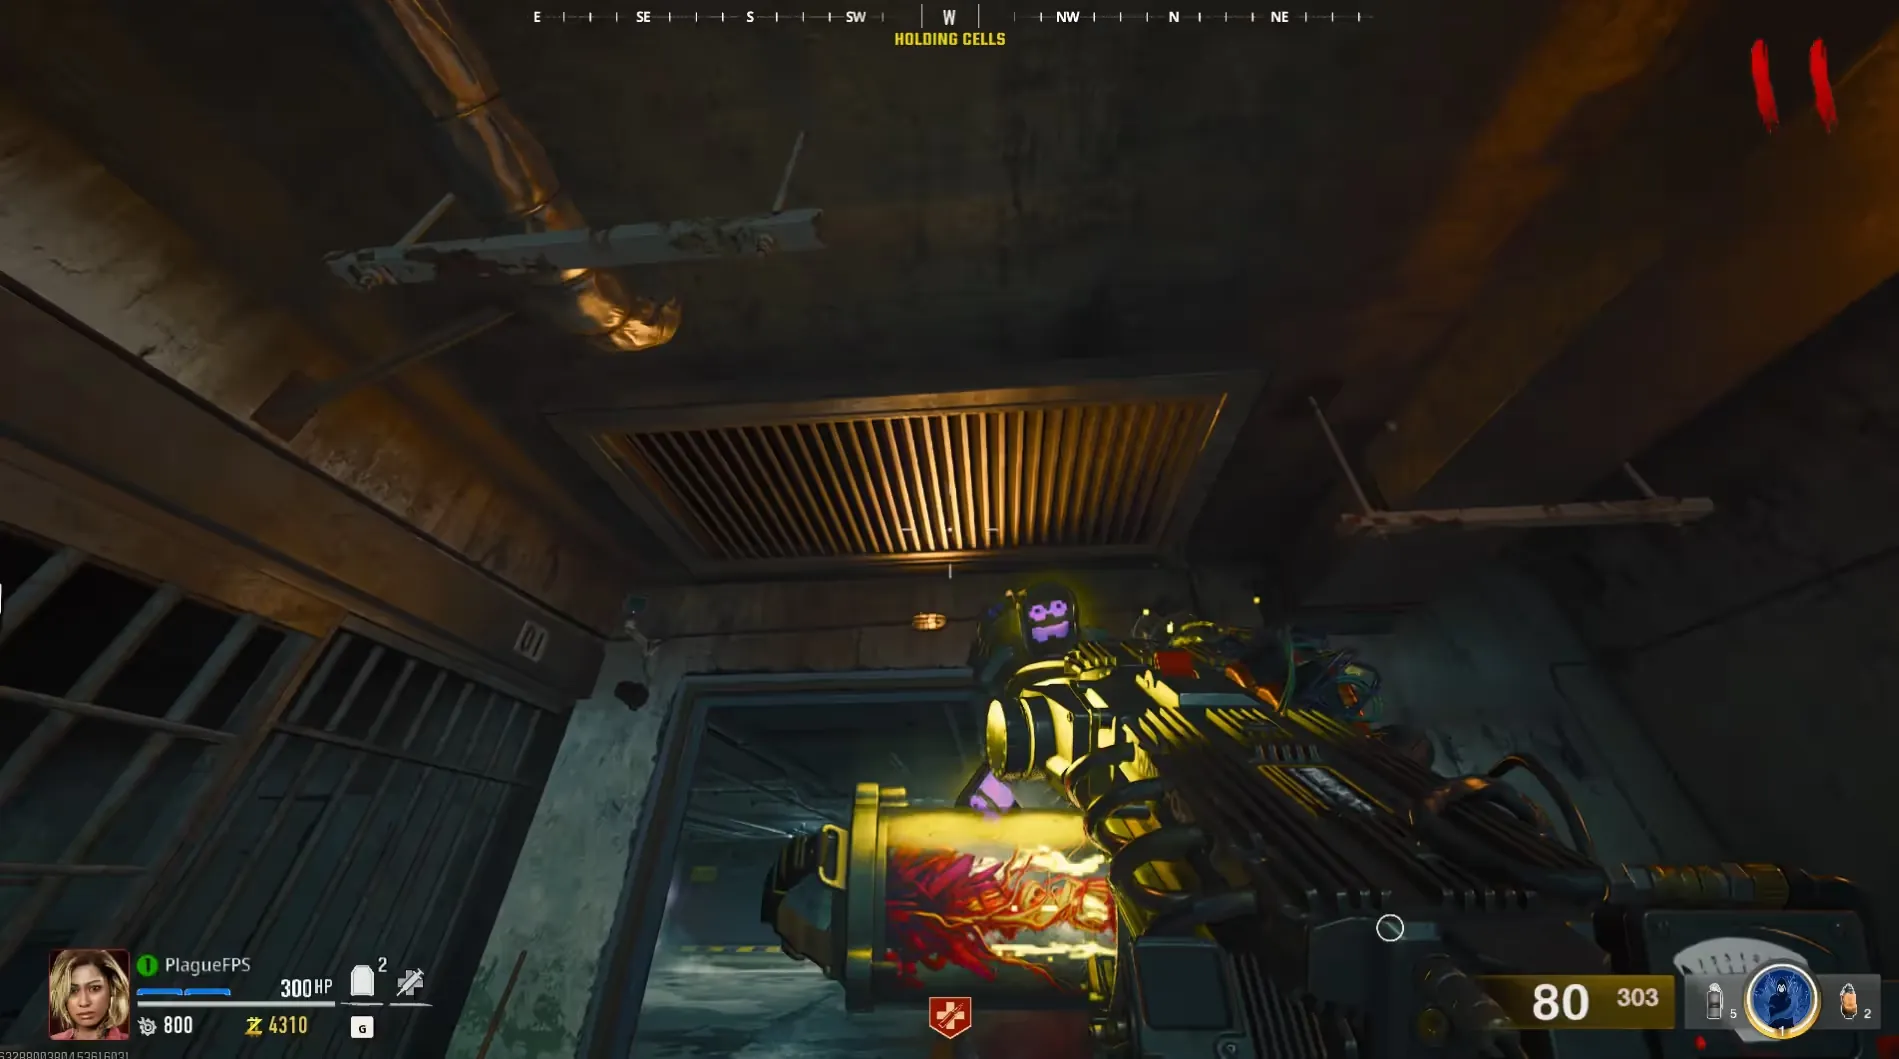
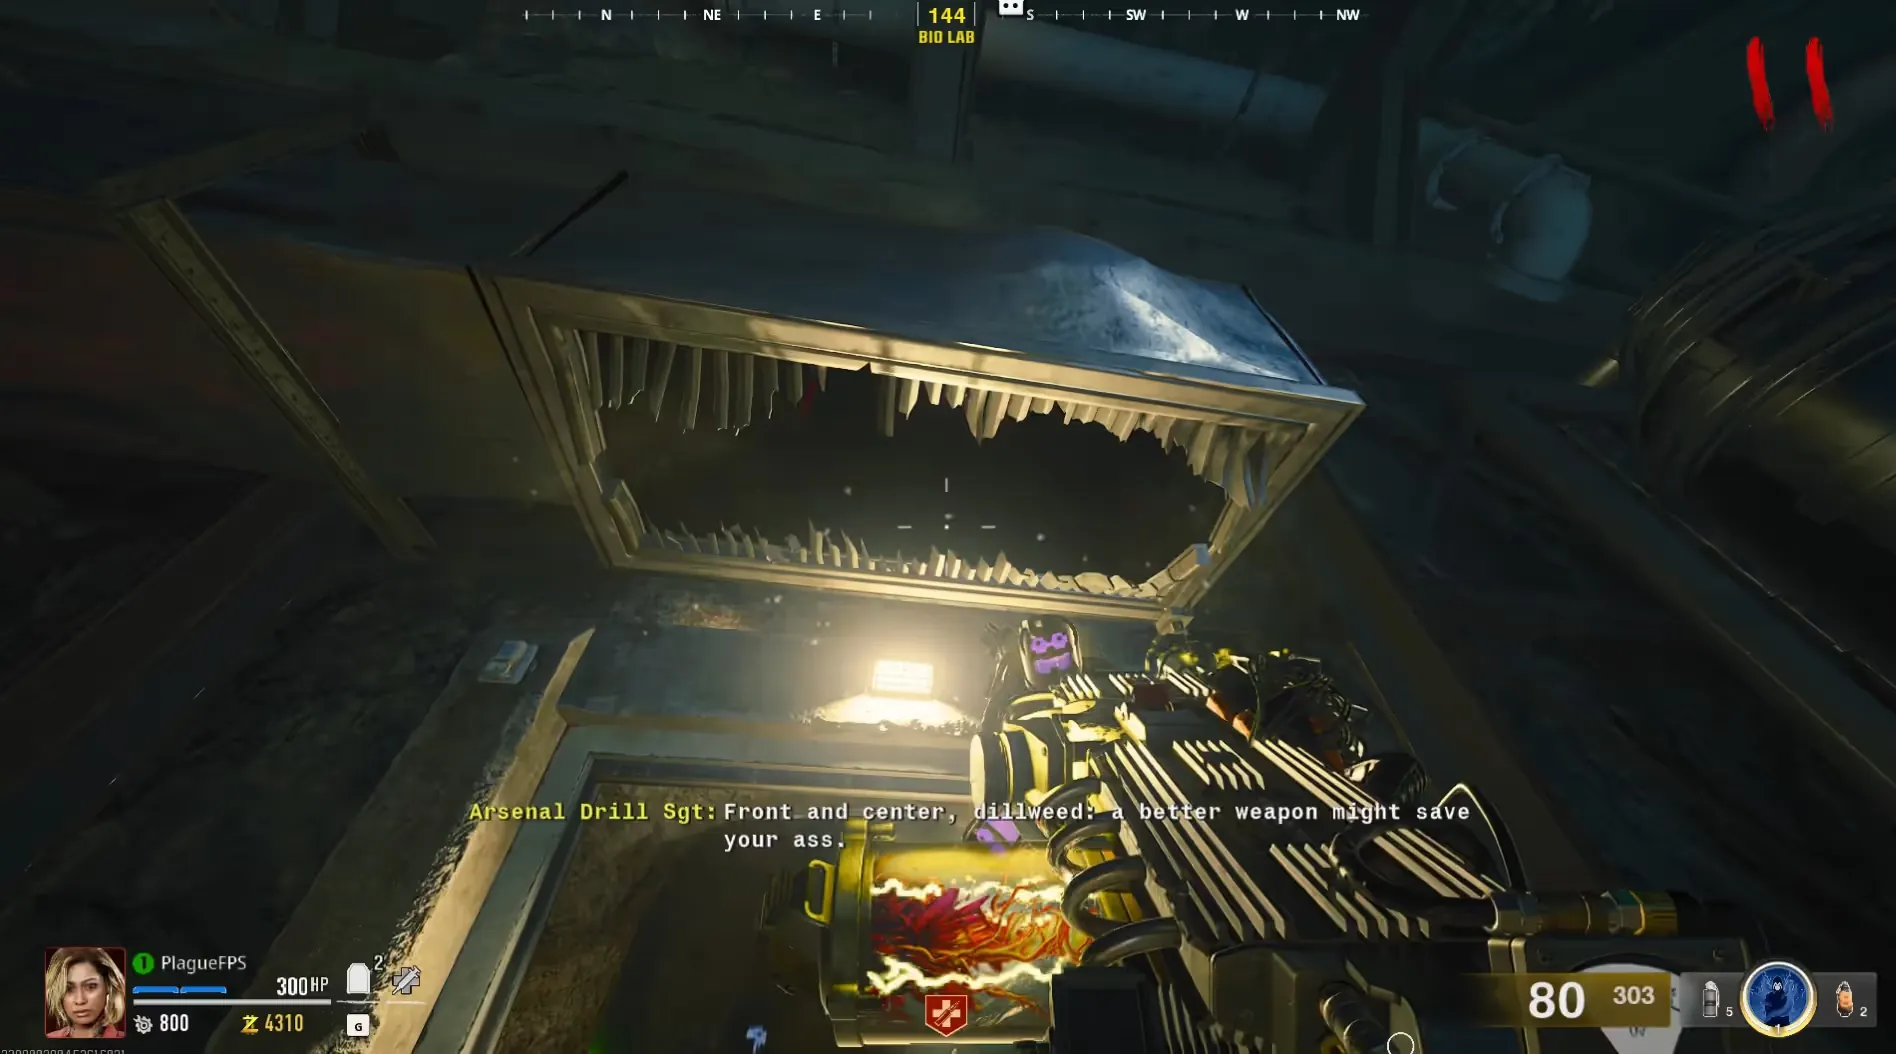
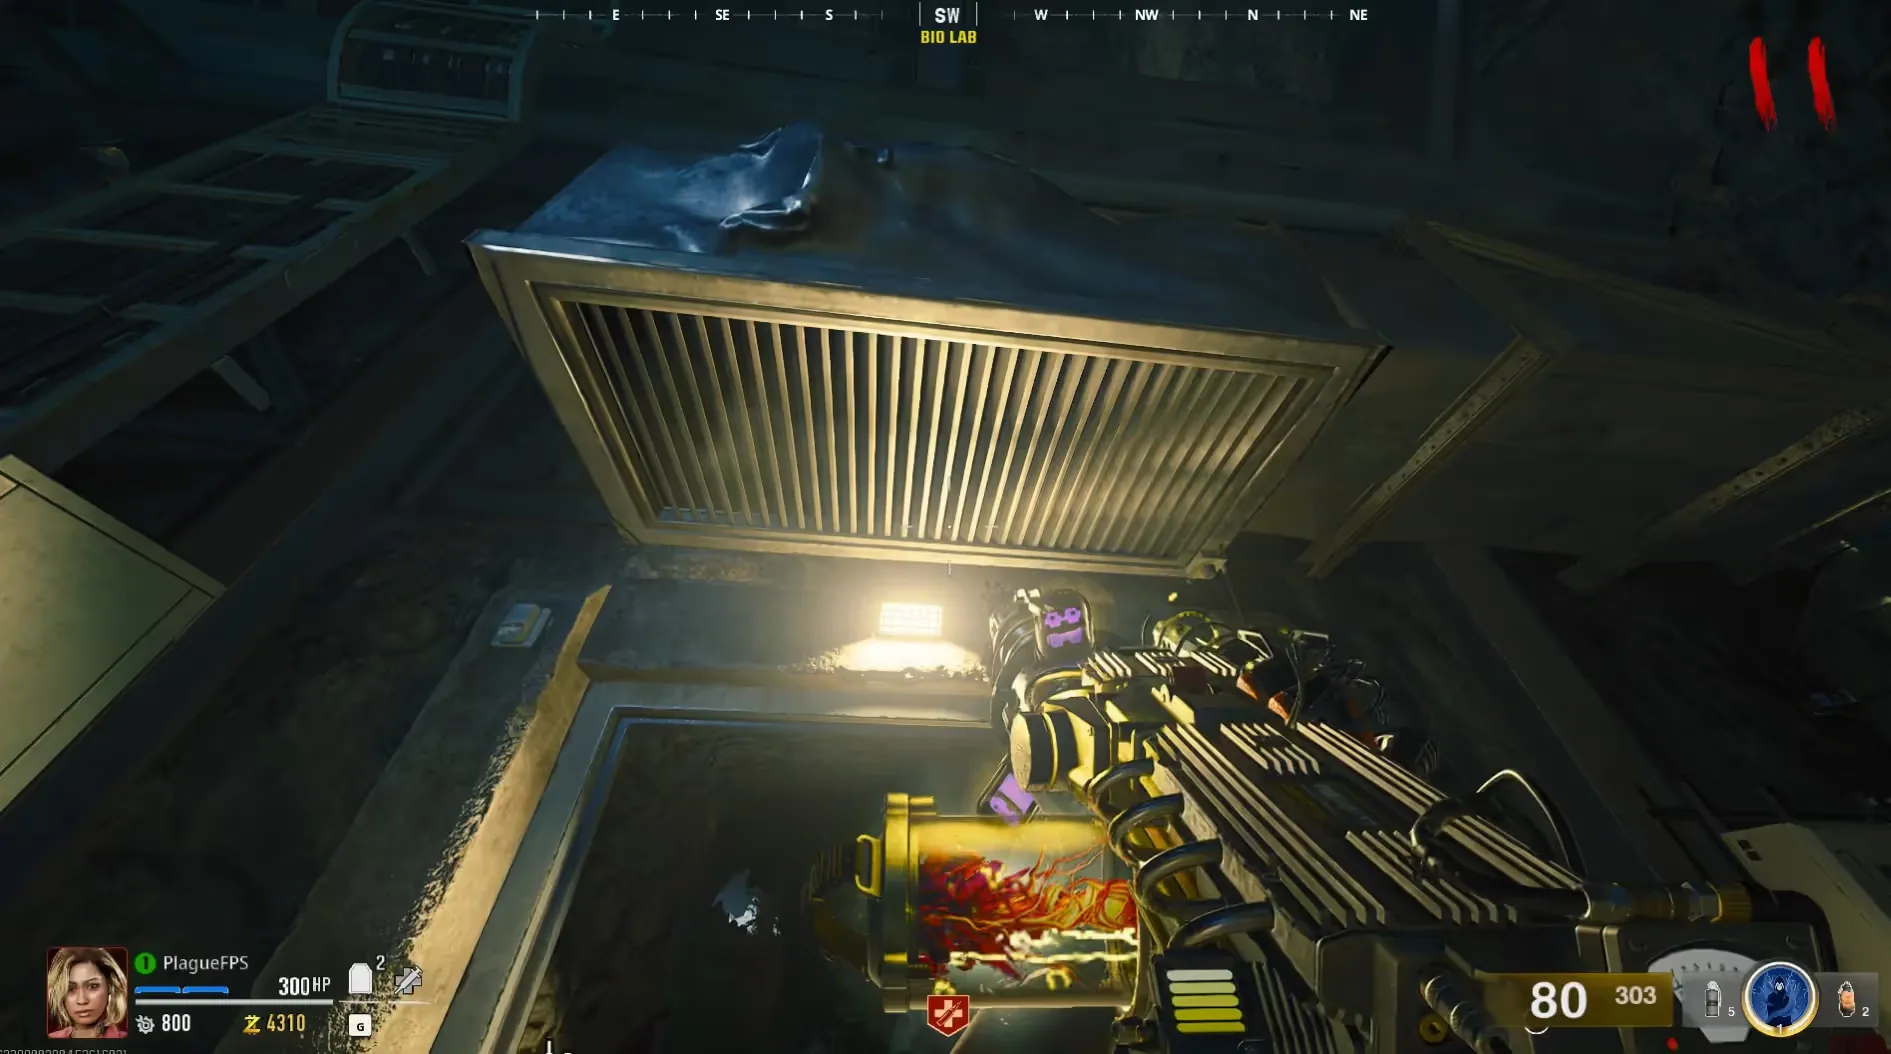

The correct trap will also have a Project Janus Keycard on the floor directly under it if you want to look for that instead of the broken vent. You can avoid getting downed by the trap by crouching/sliding underneath it.
Find the Three-Digit Code
Once you have the Hard Drive, return it to Peck in the Guard Station, head down to the center of the Bio Lab, and interact with the keypad on the machine in the middle to open the window revealing Nathan trapped inside.
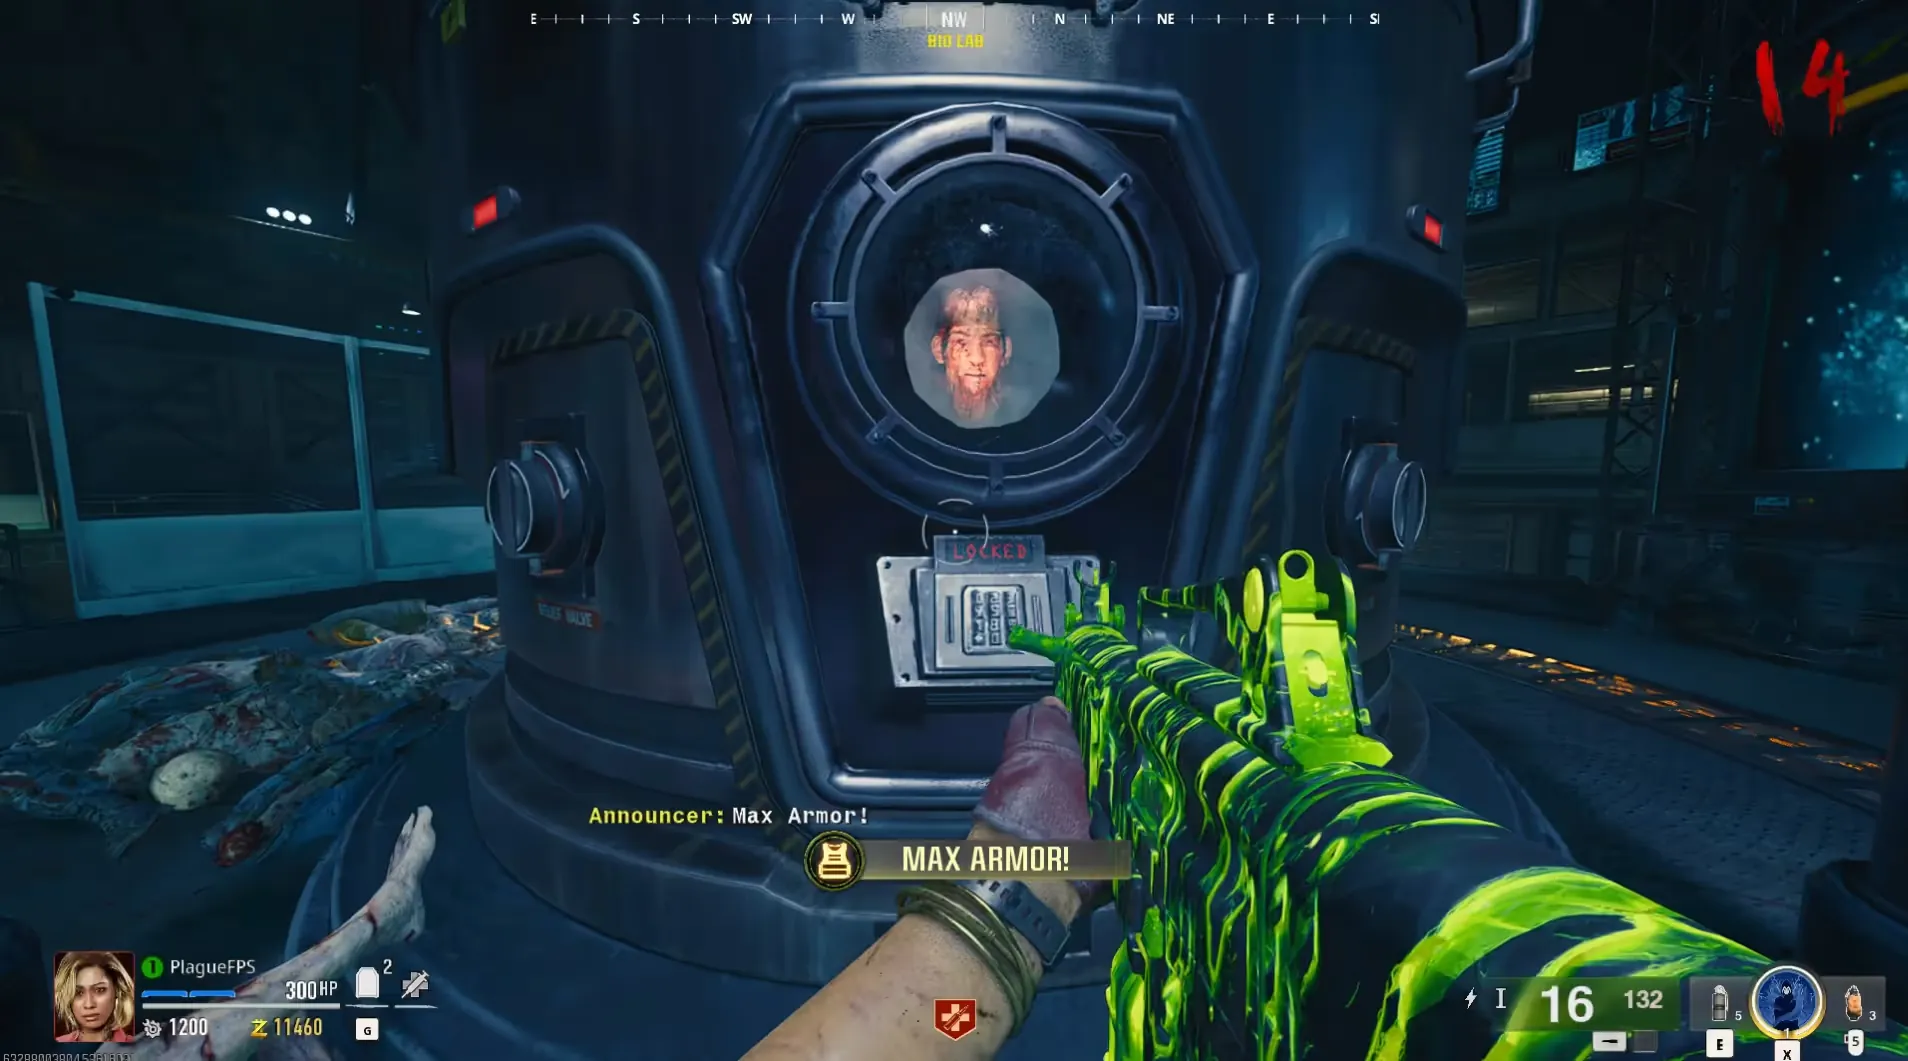
You must find three digits around the map to form a code you can enter into the keypad to free Nathan. The first digit is located inside the Interrogation Rooms cells and is the number represented by the Hour Hand of the Clock within one of the cells.
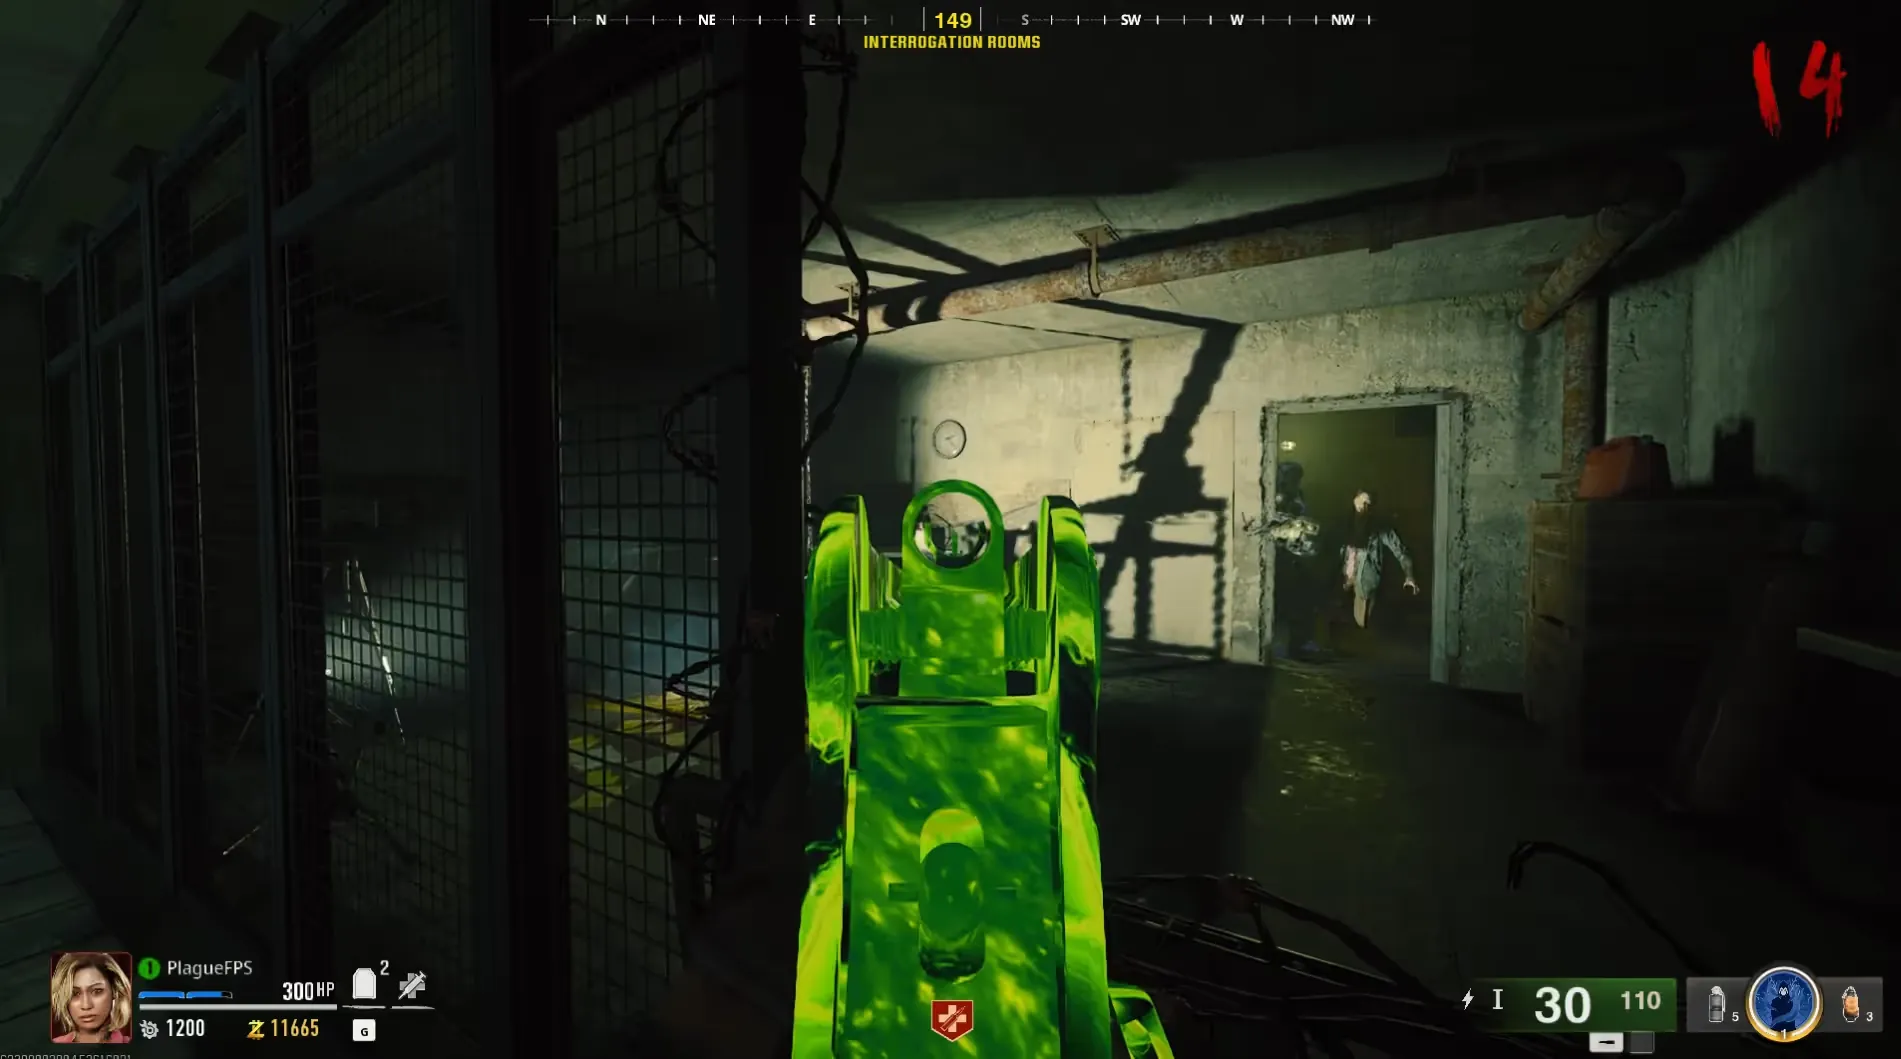
If you do not know how to read a clock, the Hour Hand is the shortest black hand of the clock and if it is pointing directly at a number that is the Hour, otherwise the number right before the Hour Hand will be the Hour.
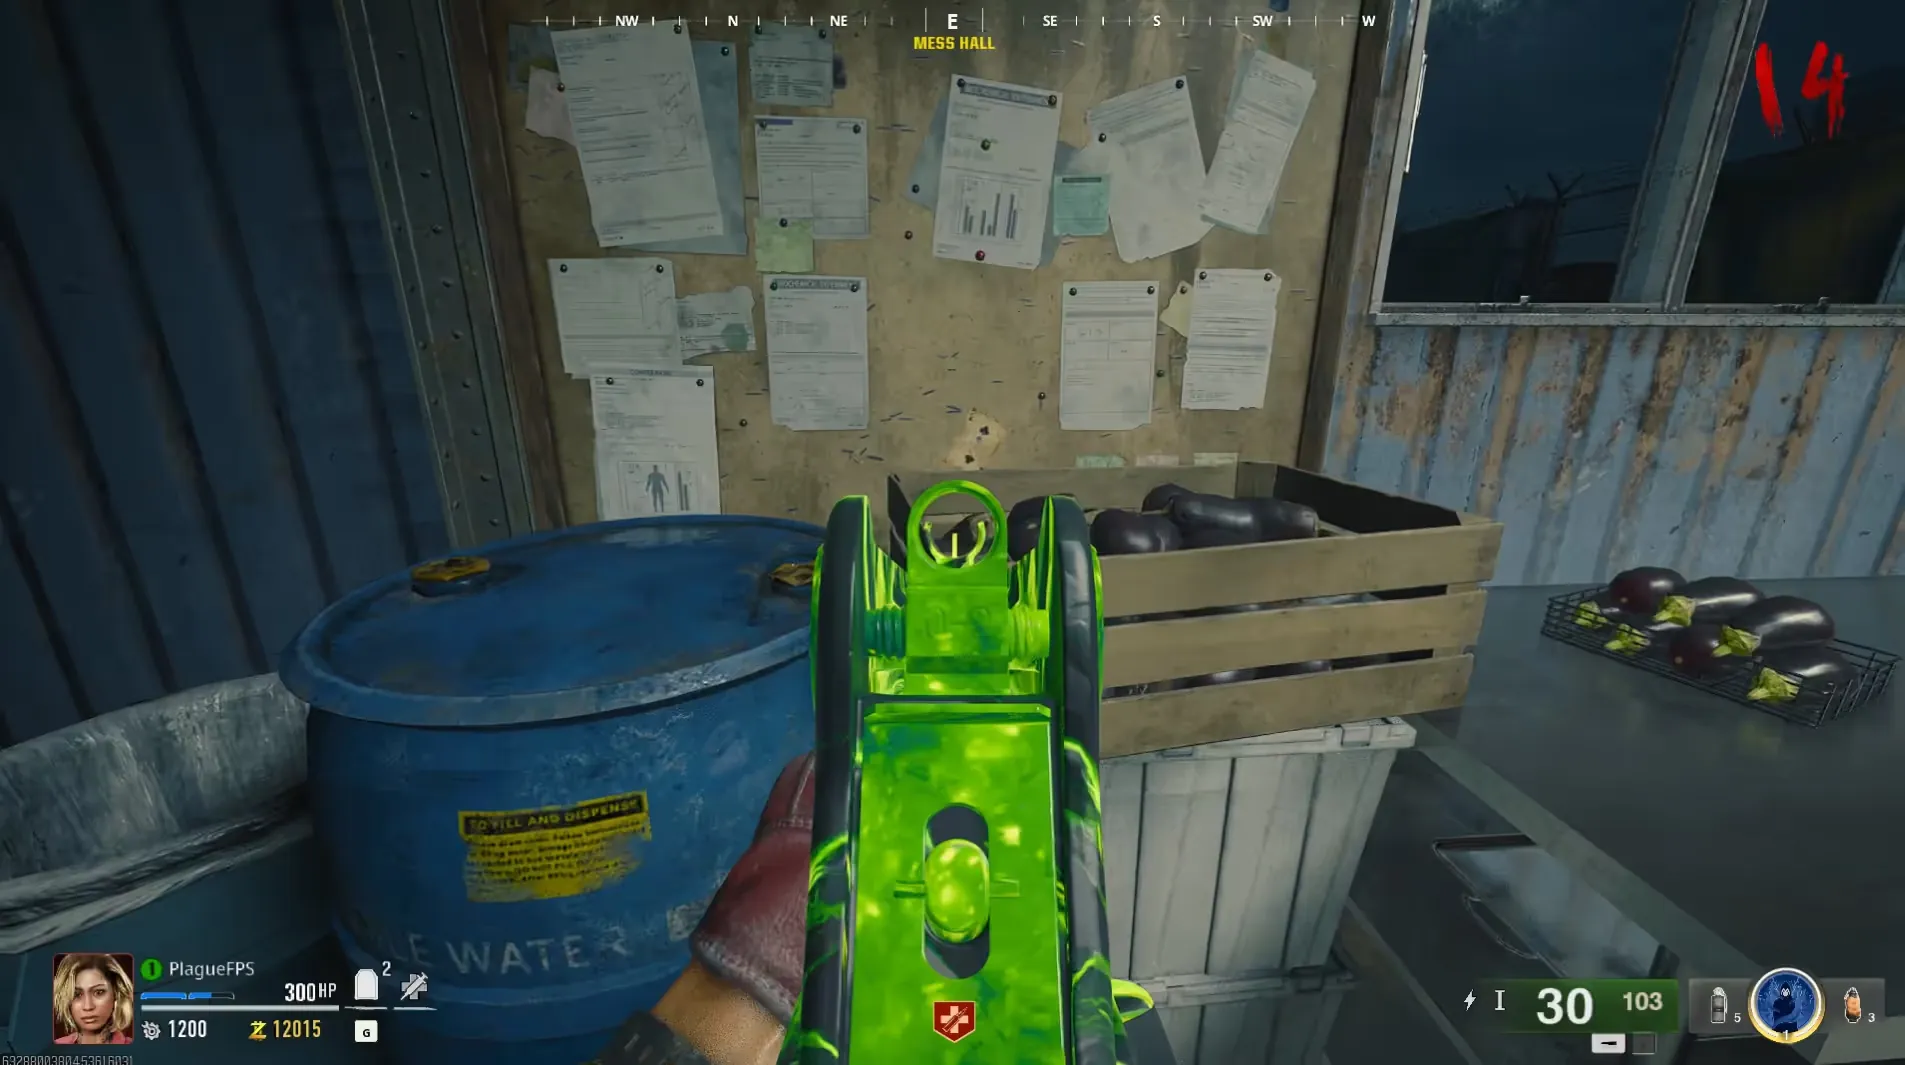
The second digit is located inside the Mess Hall on the bulletin board and is the number shown on the playing card at the bottom of the board.
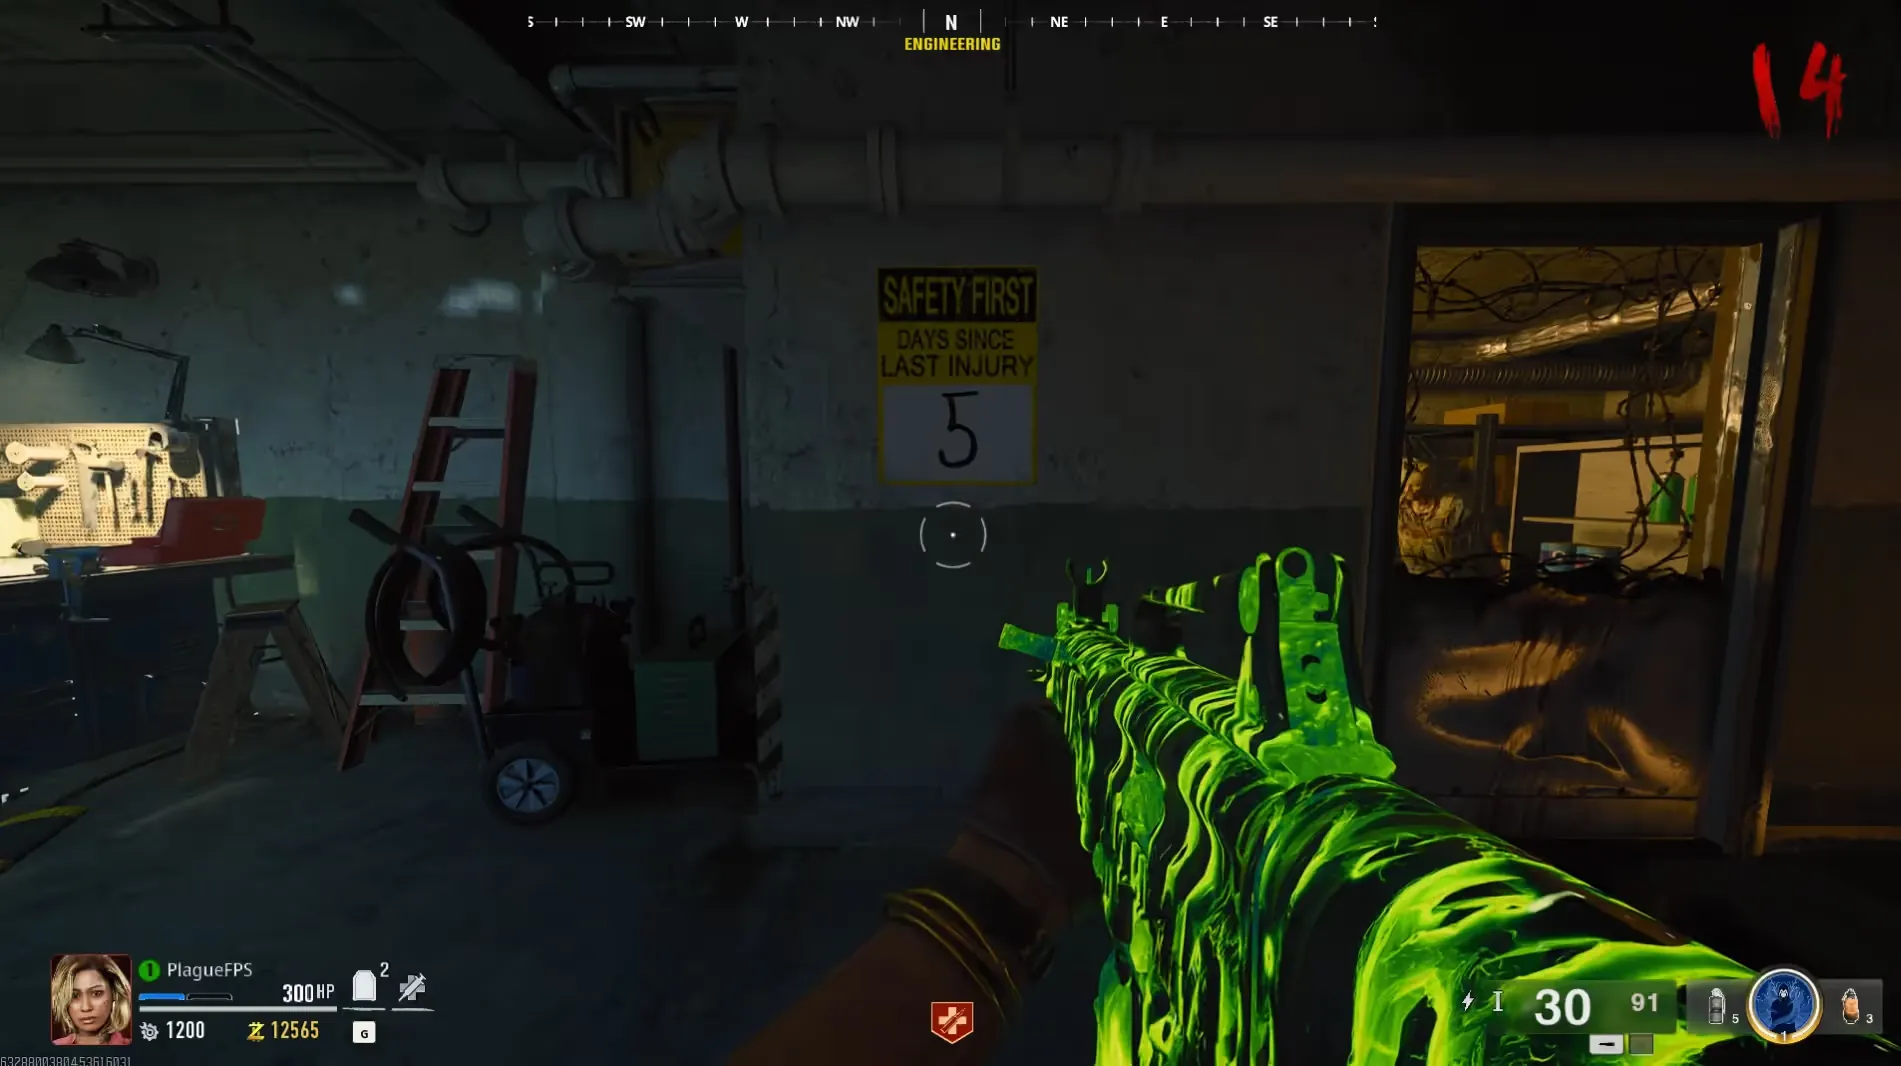
The final digit is located inside the Engineering room and is the number shown on the "Days Since Last Injury" safety sign to the right of the Crafting Table.
Free Nathan
Once you have the three digits, head back to the Bio Lab and enter the three digits into the keypad on the machine. You should now take some time to prepare for a mini-boss fight,
mainly just upgrading your weapons to at least blue rarity and Pack-a-Punched at least once, along with
![]() Juggernog,
Juggernog, ![]() Quick Revive, and
Quick Revive, and
![]() Deadshot Daiquiri as your essential perks for survival and damage output.
Deadshot Daiquiri as your essential perks for survival and damage output.
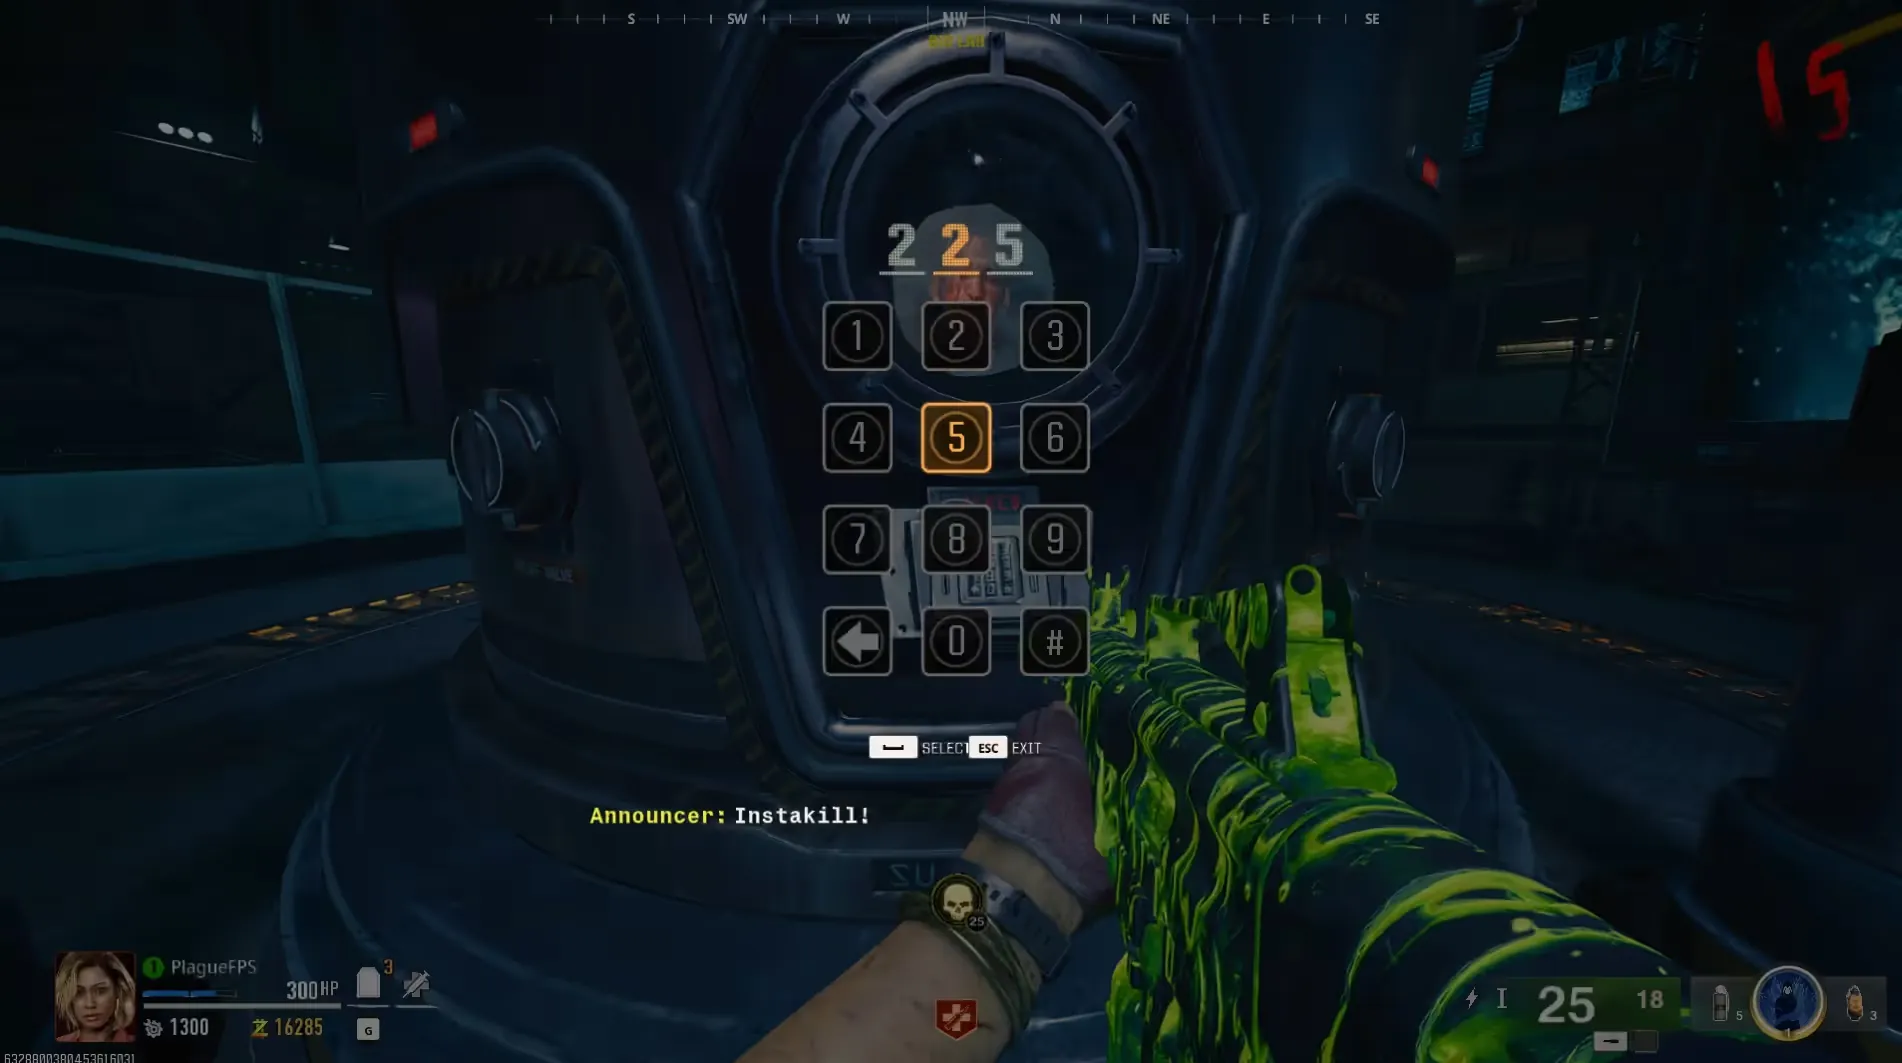
Depending on the round you are entering this mini-boss fight, you may need to get more prepared since enemies will have more health, and hit harder. If you are entering this on Round 15 or lower, the above recommendations should be more than enough, otherwise you may want to get purple rarity and Tier II Pack-a-Punch along with extra perks.
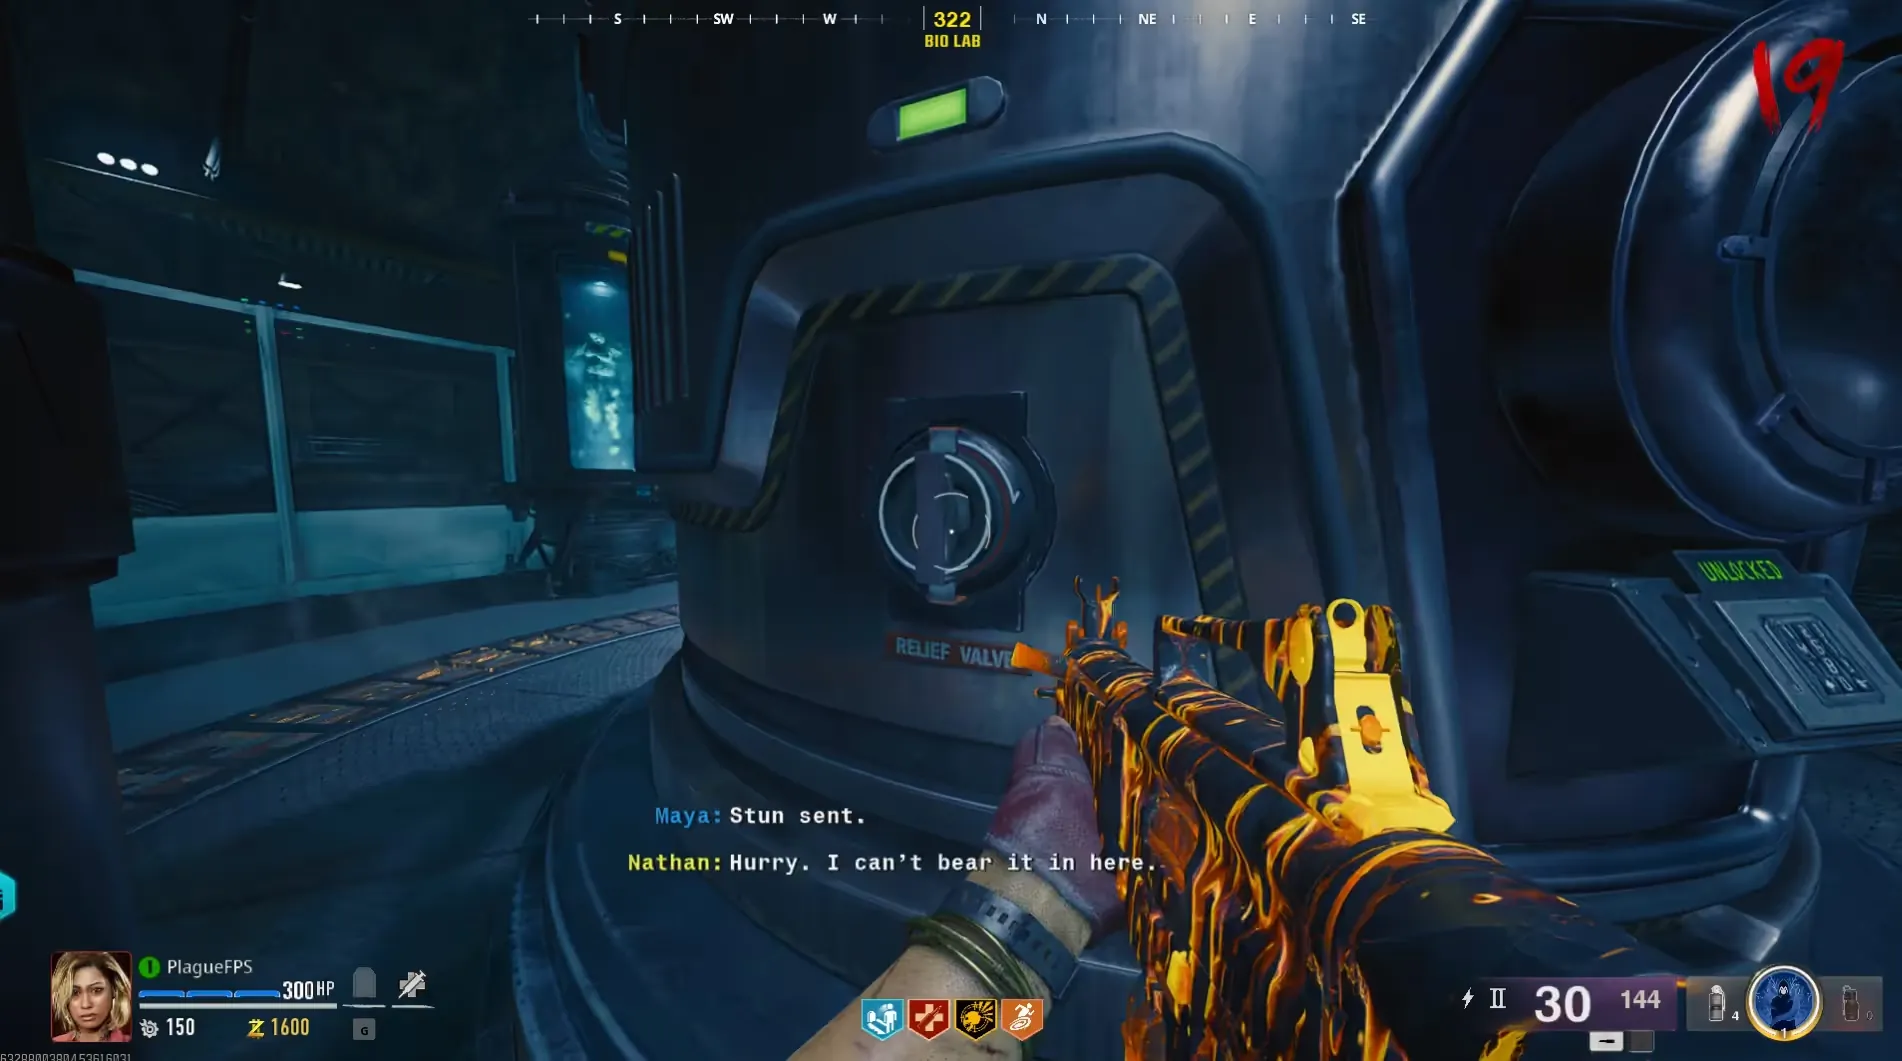
When ready, all players in the game must interact with one of the relief valves on the machine in the center of the Bio Lab to free Nathan, beginning the mini-boss fight where you must defeat him, who is now an HVT Amalgam. Once defeated, you will receive a short cutscene involving Nathan.
Step 2: Repair the Network Connection
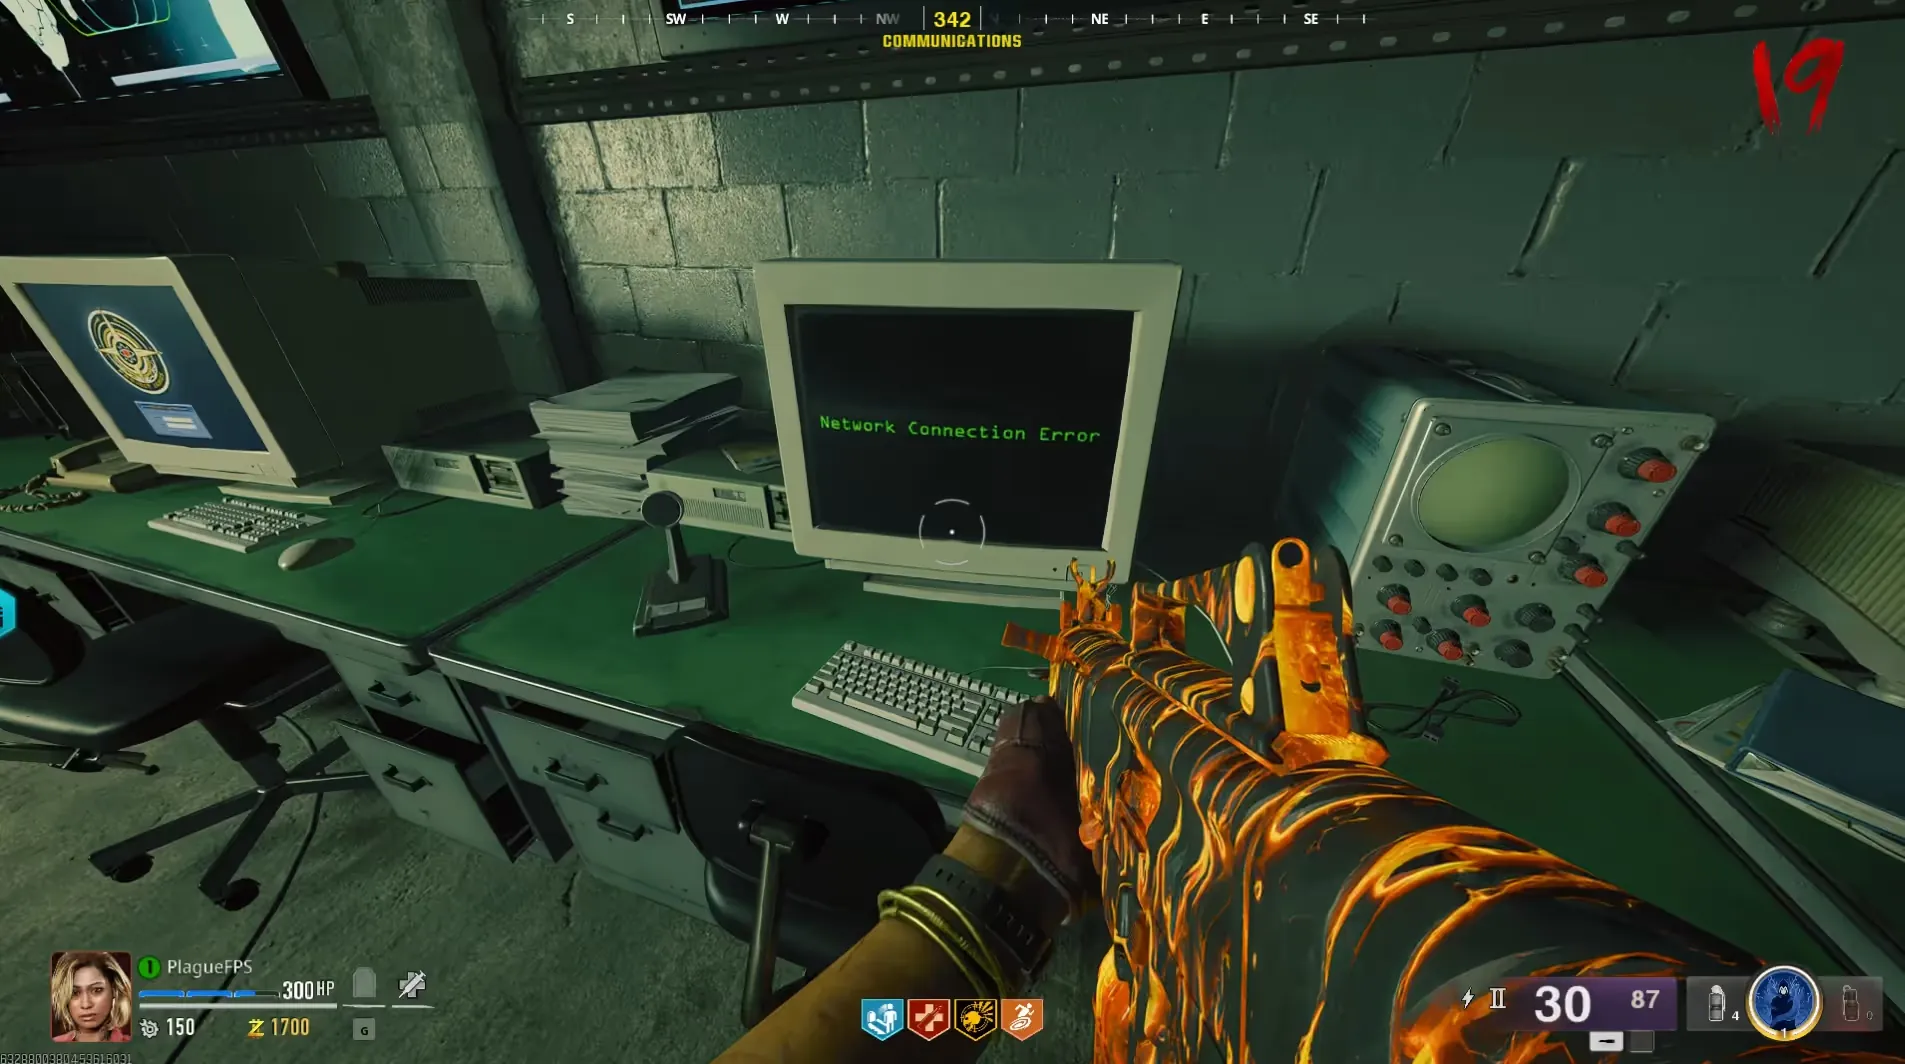
Head to the Communications area and interact with the computer displaying green text to try to communicate with the Janus A.I. where you will get a network connection error.
Head to the Bio Lab and dive into the water to find a Project Janus Keycard you must collect. This keycard will give you access to a secret area underneath the shipwreck that you must climb up to using the ladder.
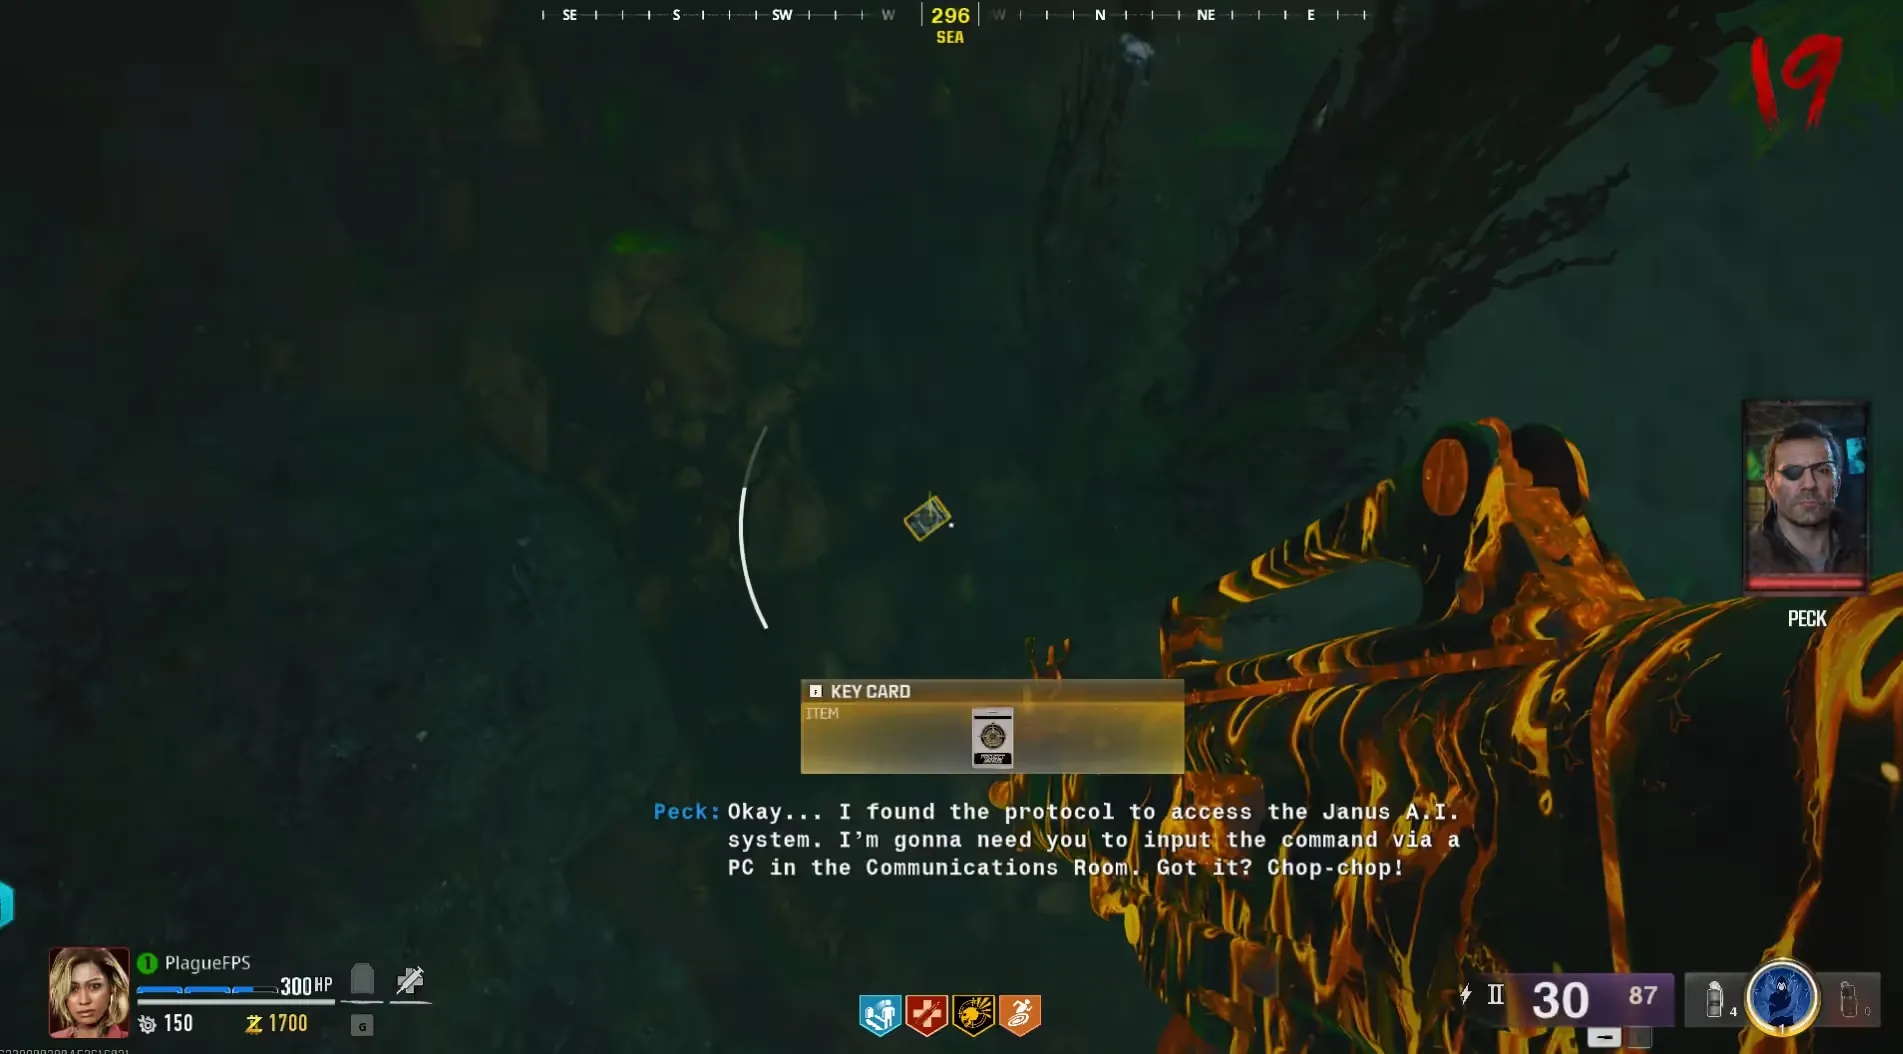
Once inside, you will find two Node Connectors on top of the table which once picked up will begin a lockdown inside the room where zombies and Vermin will begin spawning in, you must survive inside this room for the duration of the lockdown, which is around one minute.
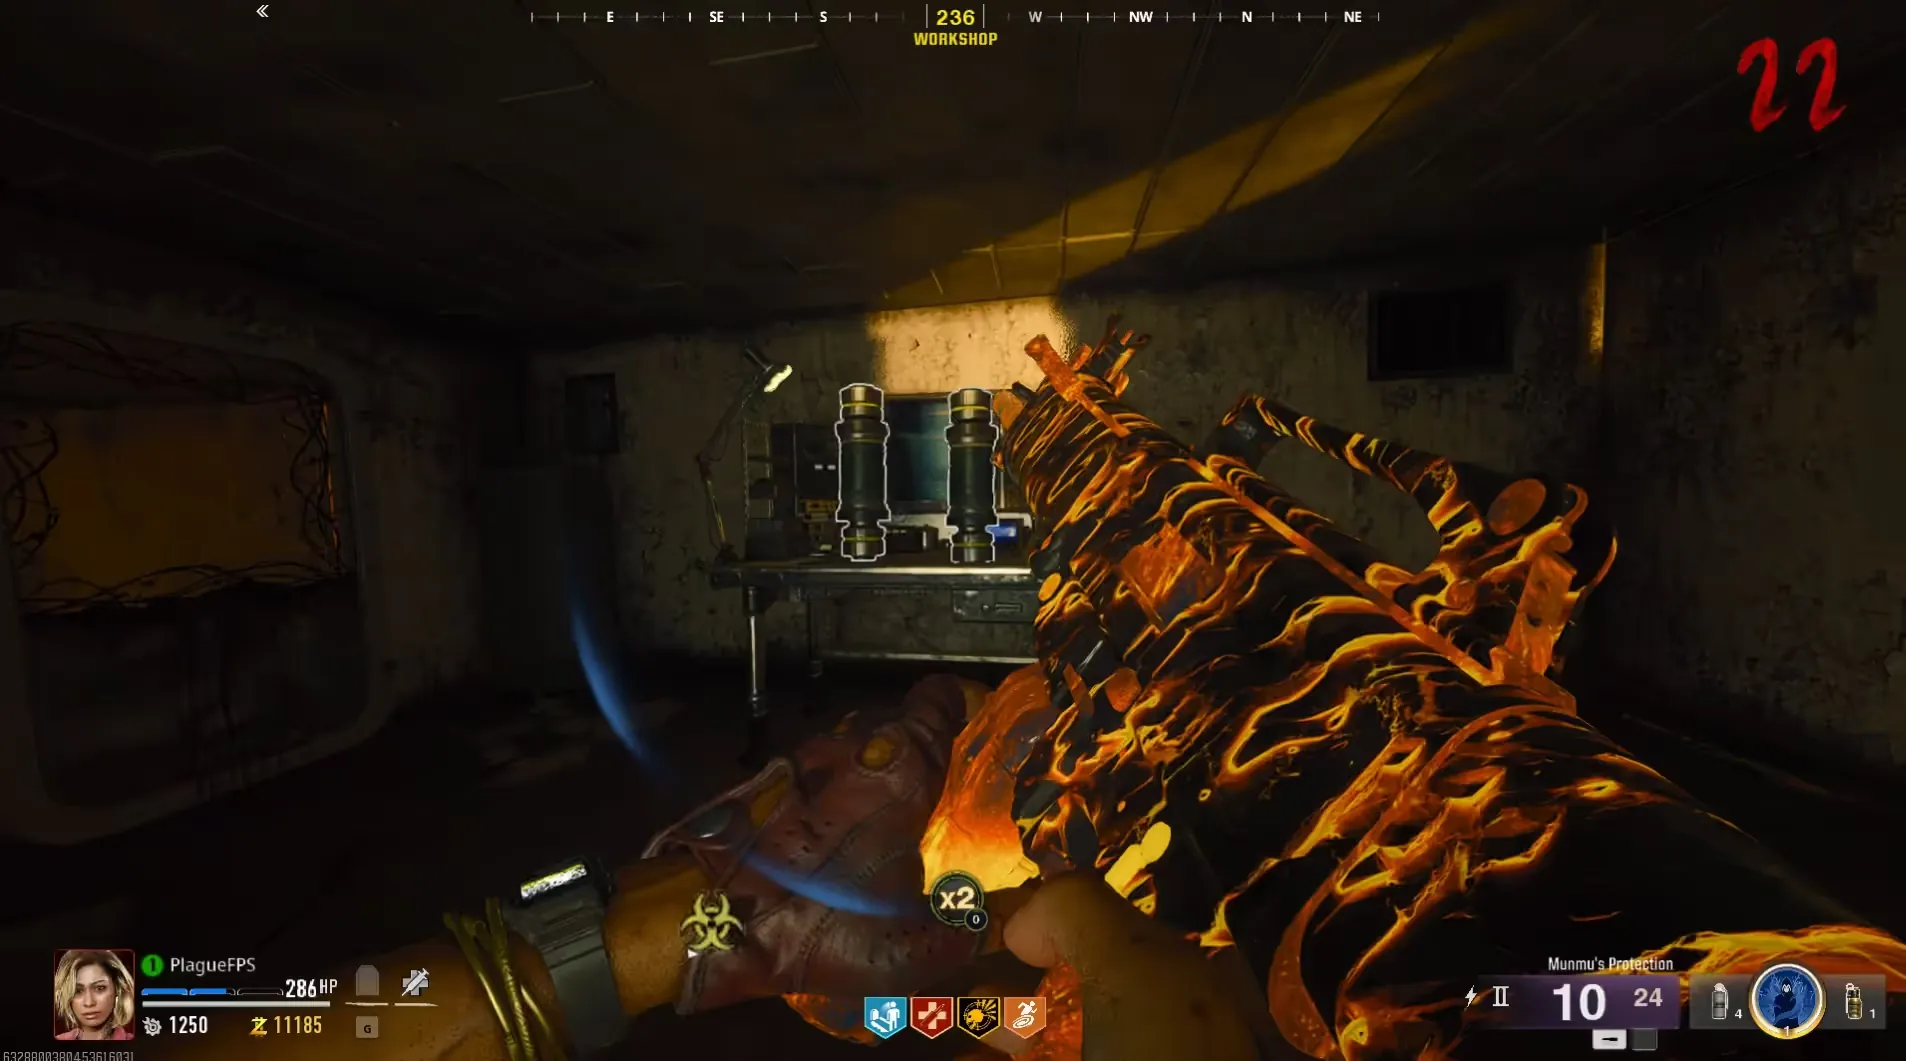
Once the lockdown is completed, you must use the Node Connectors to repair two out of three connection lines around the map, which lines need to be repaired can change every game so make sure to check all three locations. The locations of the three connection lines are as follows:
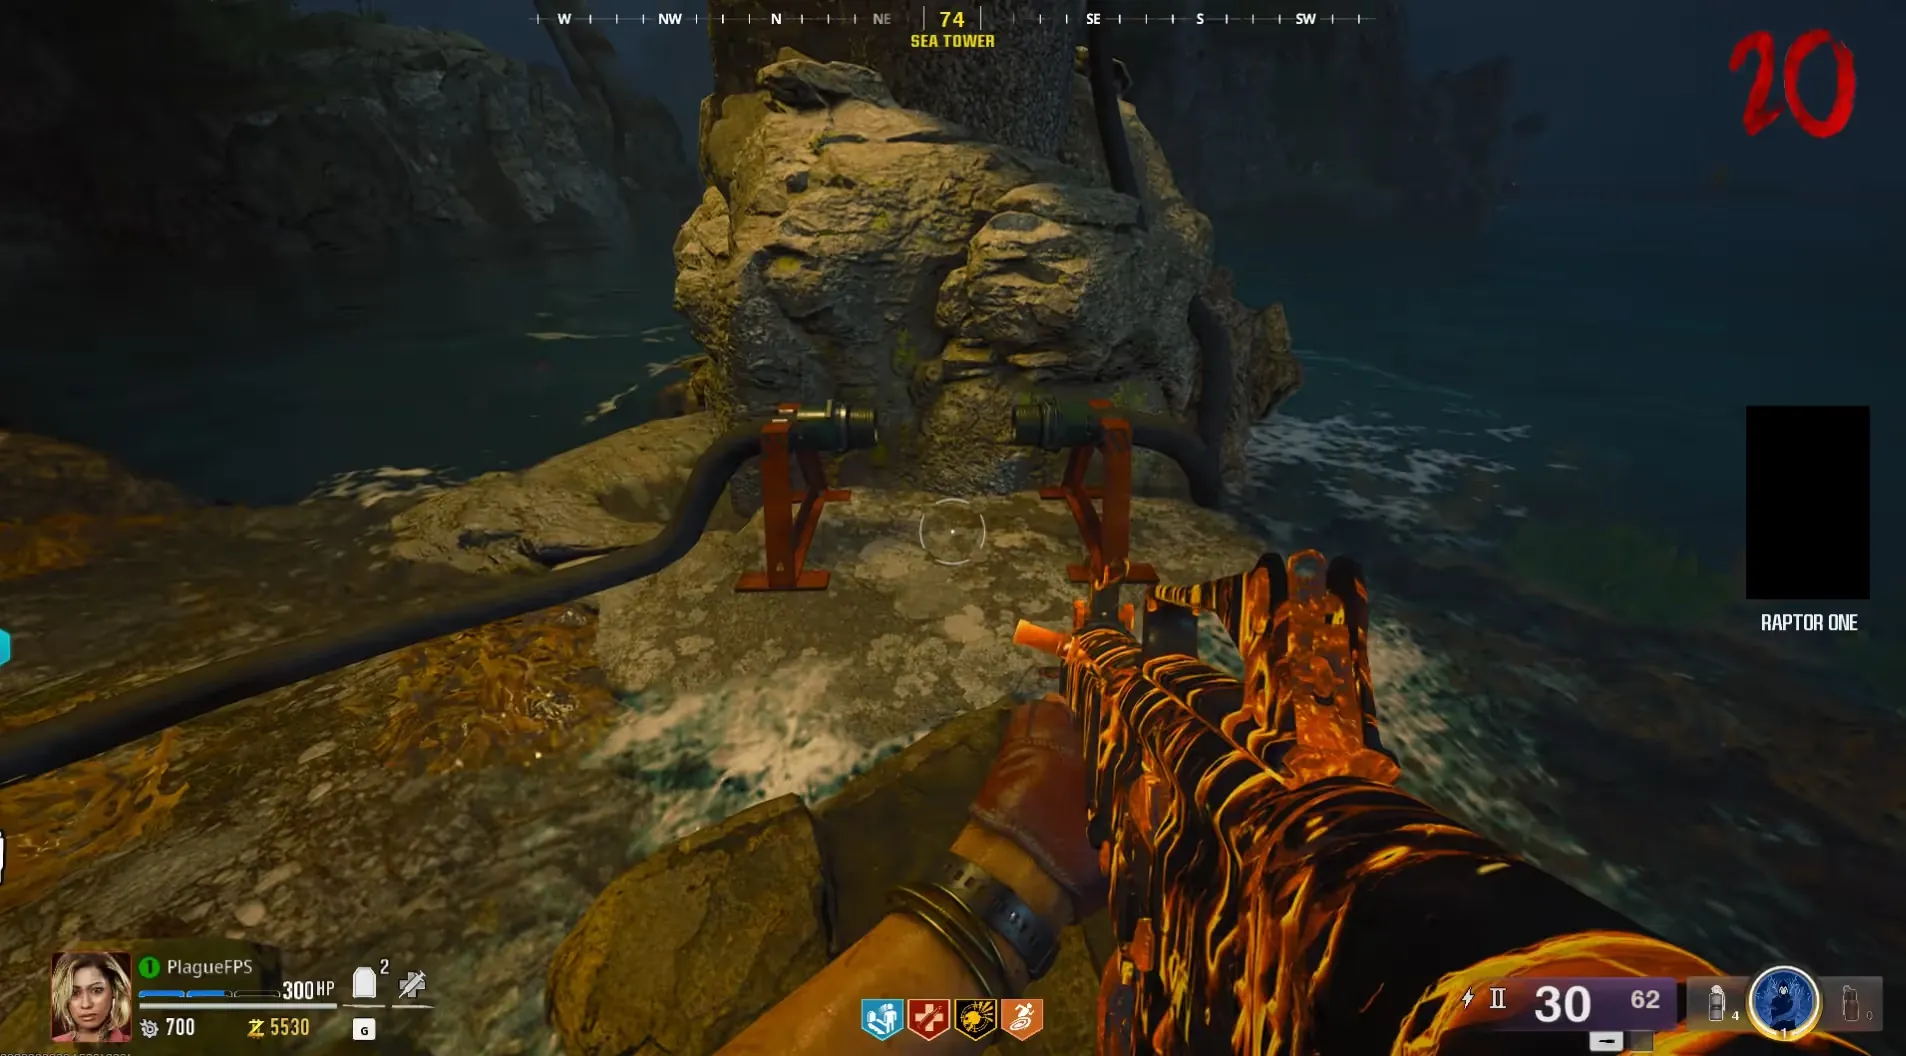
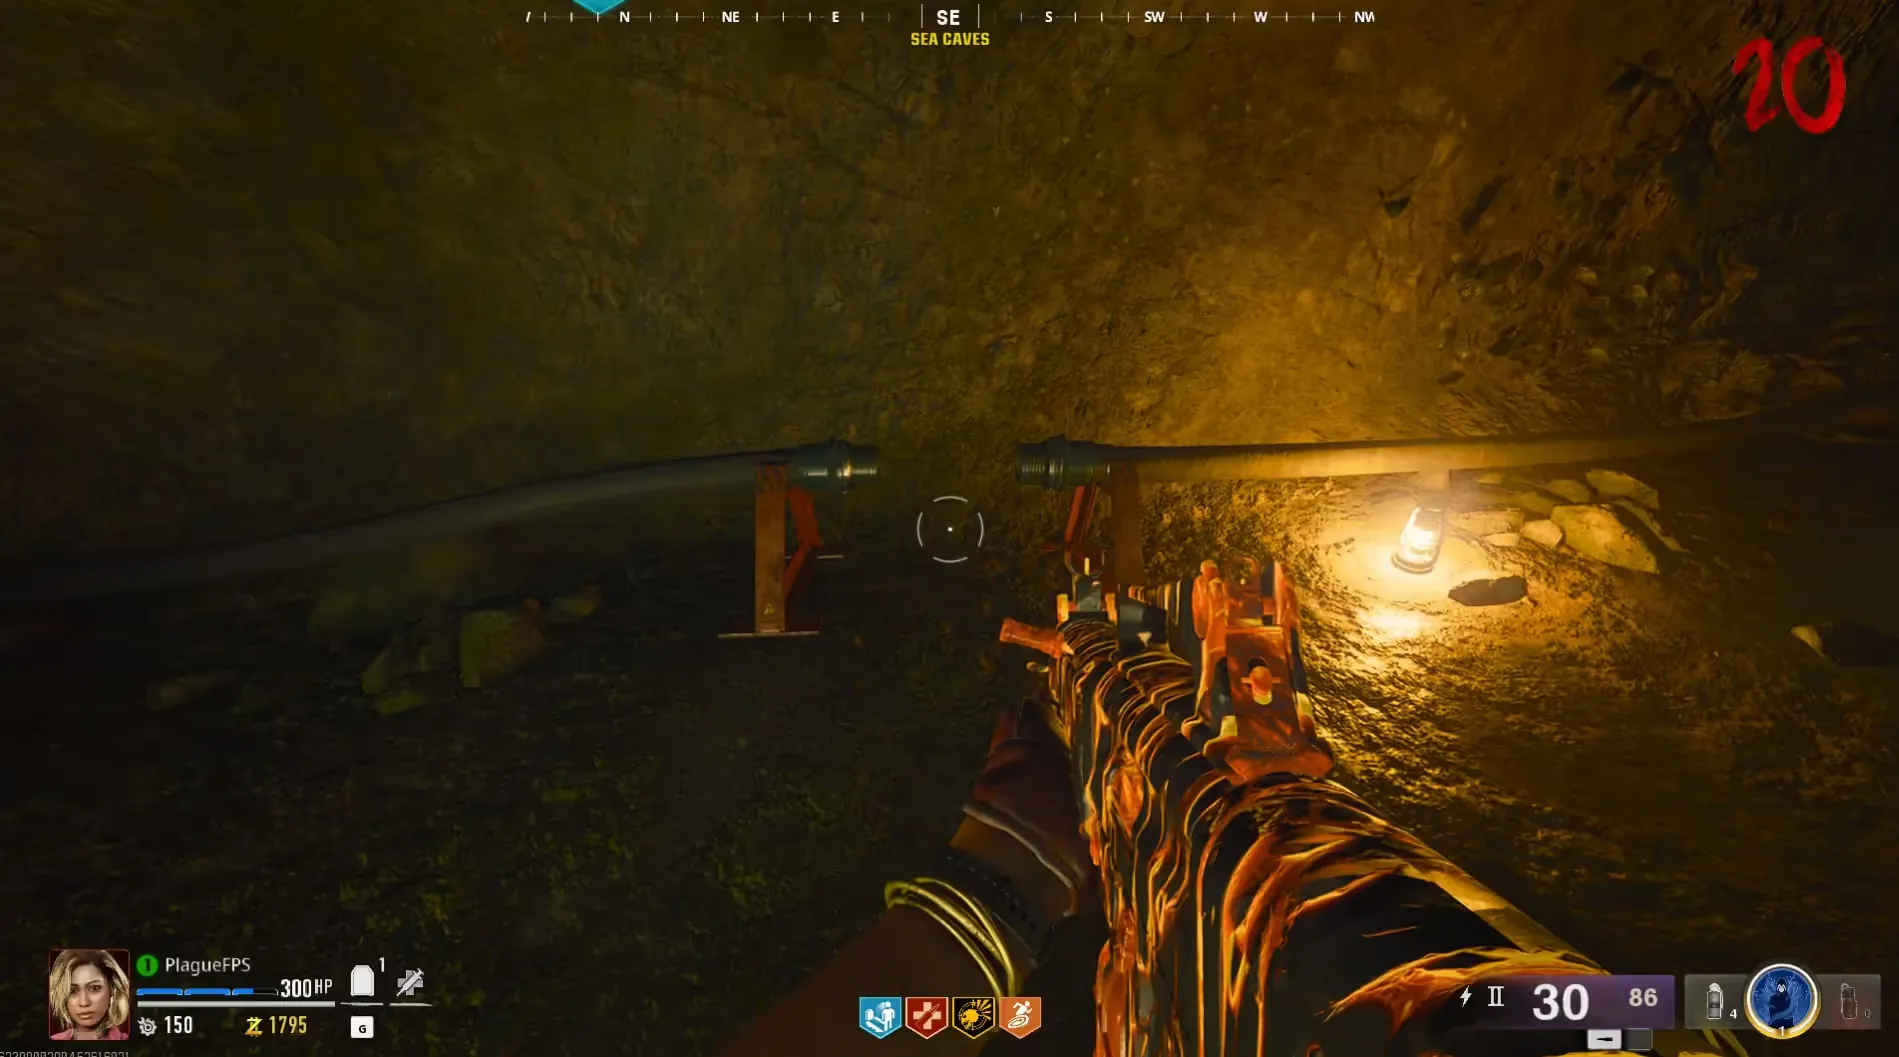
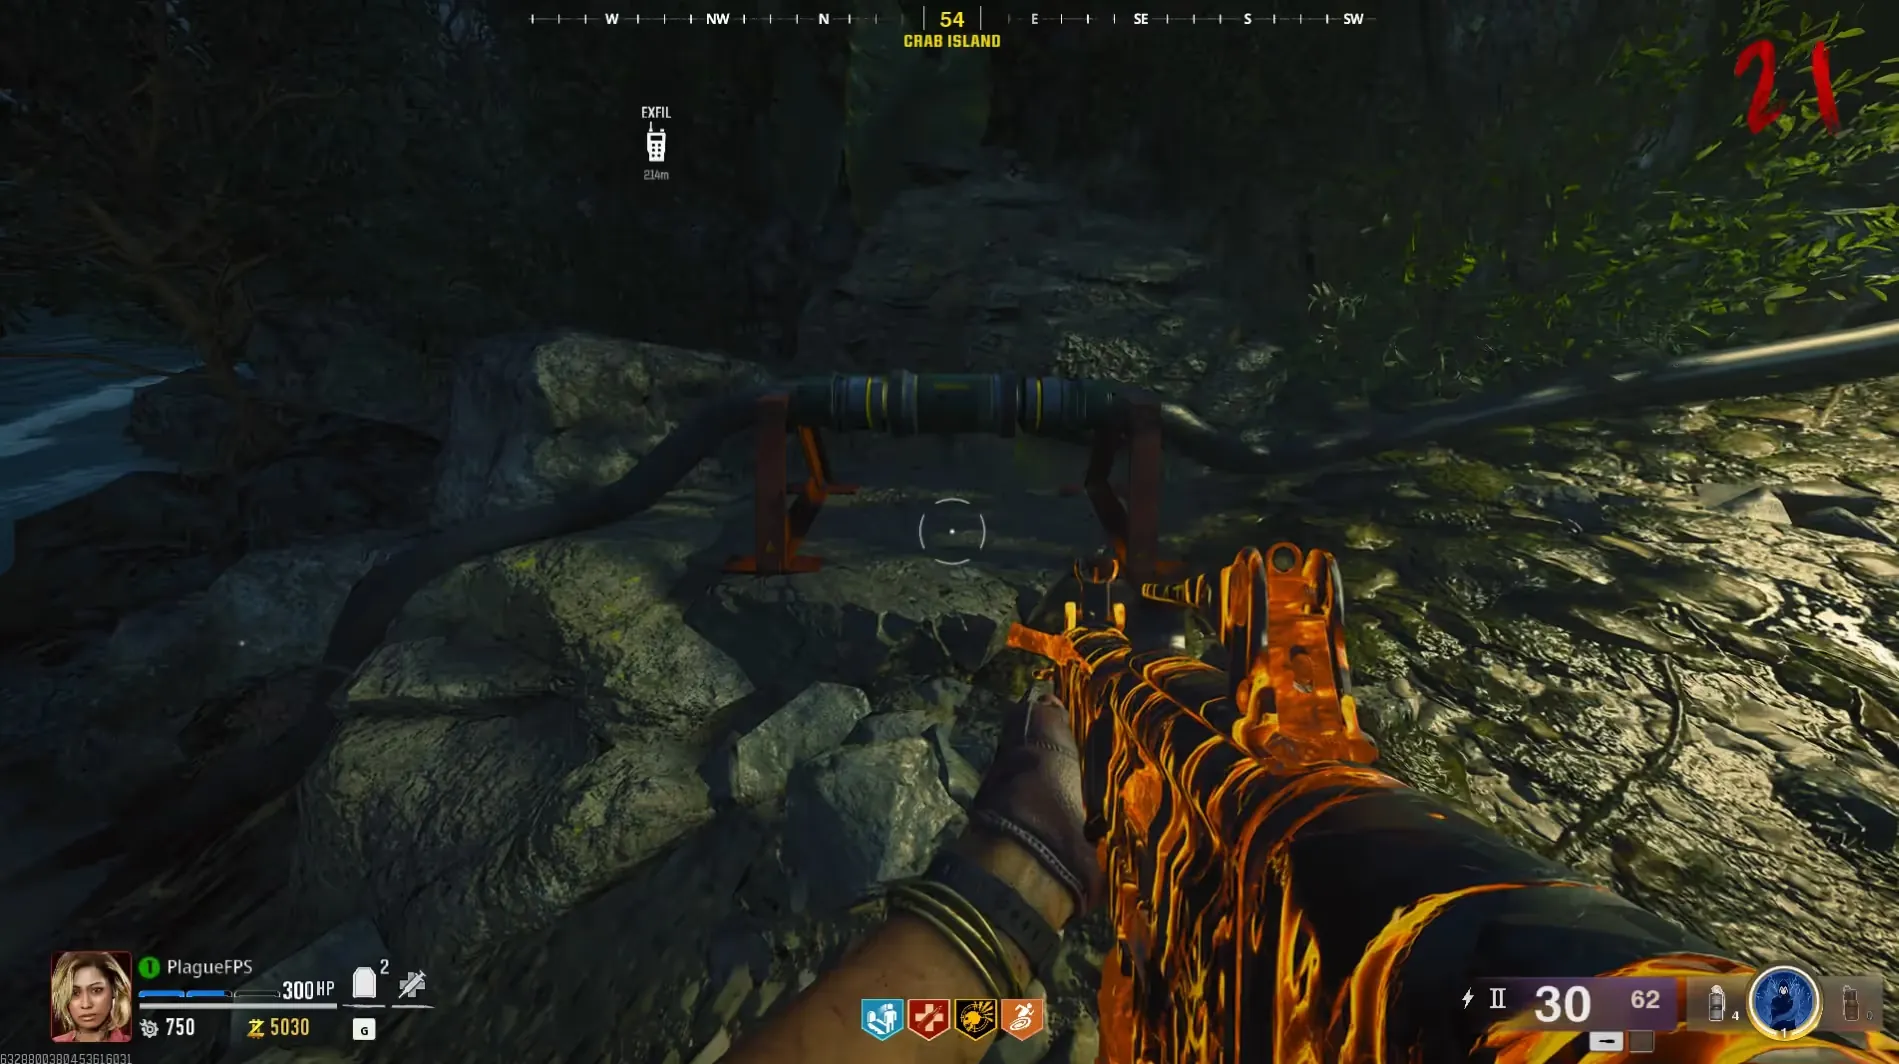
Once the two connection lines have been repaired, head to the Guard Station to retrieve the Hacking Device from Peck to move on to the next step.
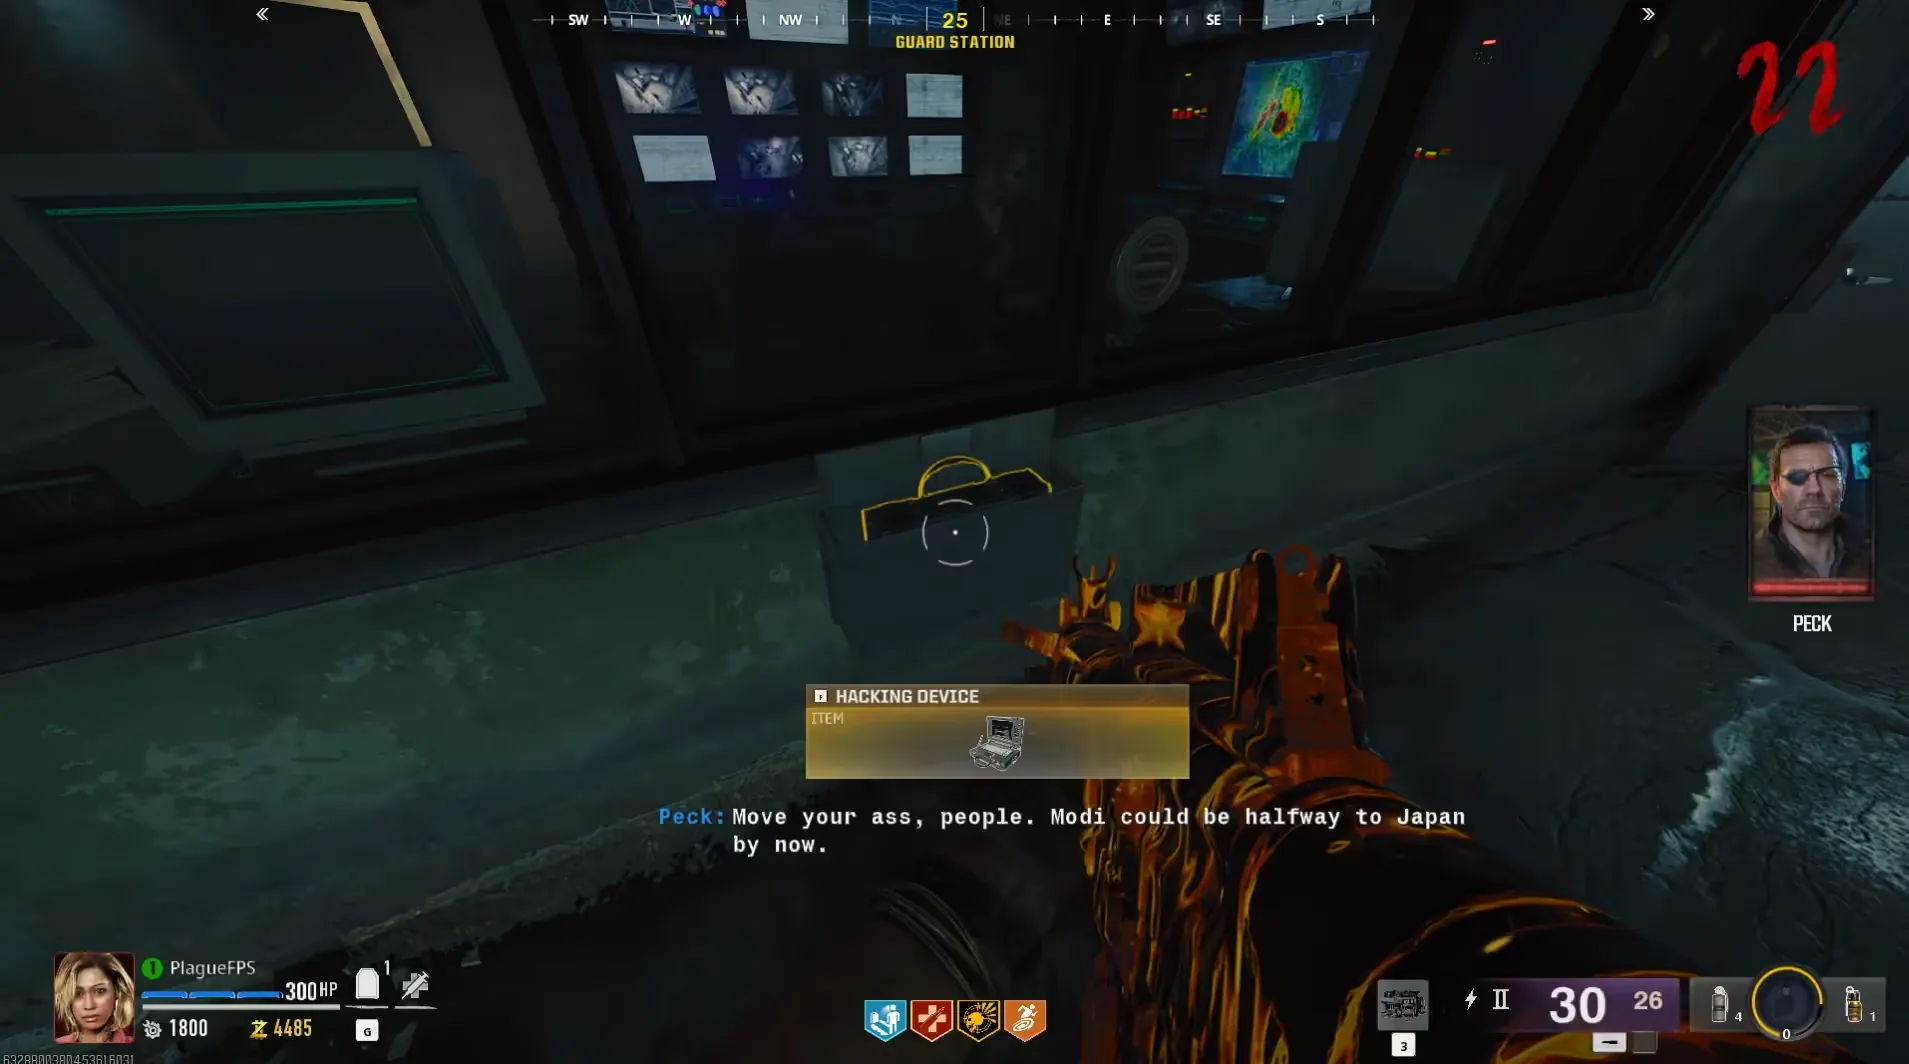
Step 3: Defuse the Bombs
Before continuing with this step, if you are solo it is recommended to craft two Monkey Bombs or Decoy Grenades as they will be used later in this step to protect yourself while defusing the bombs. If you have
Aether Shroud this will not be as important, but still recommended.
Using the Hacking Device, you must hack three Buoys in the sea, one at the top, the SouthEast Corner, and the SouthWest Corner of the map. After hacking the first Buoy you will have two minutes to hack the other two before failing this step.
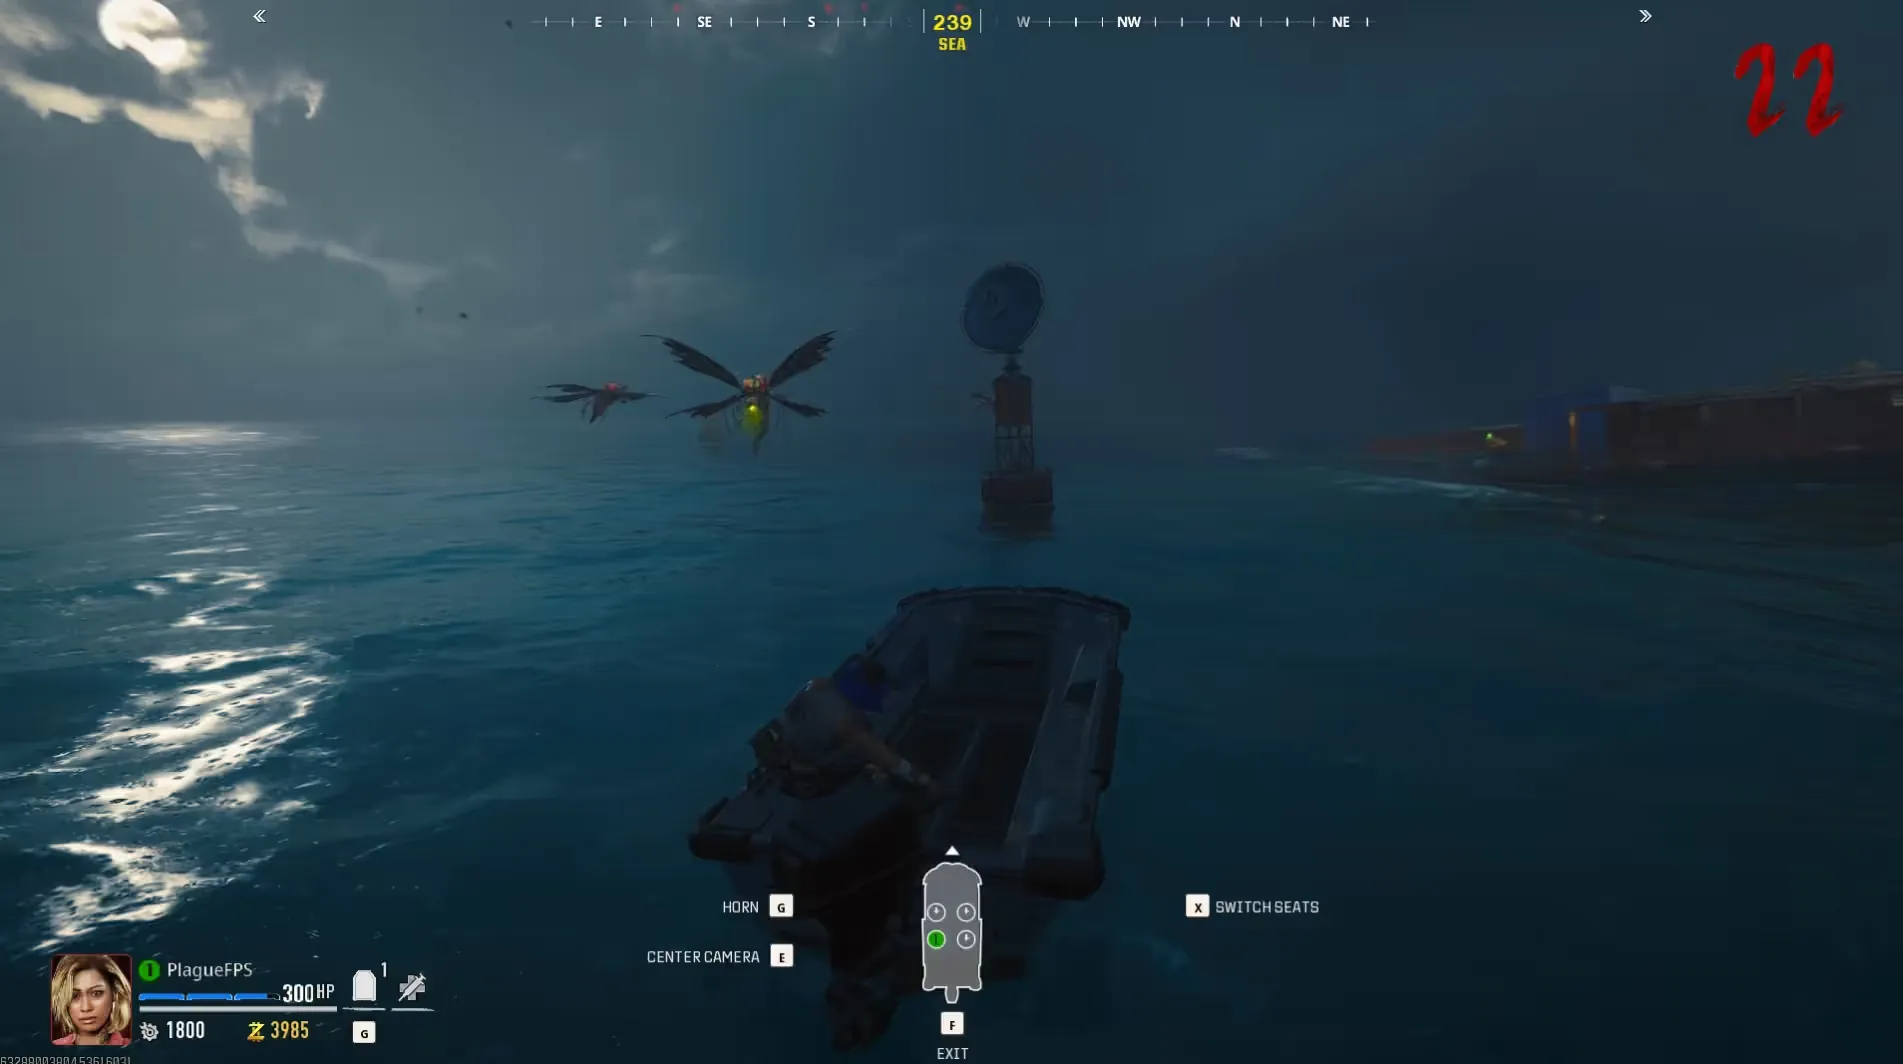
Beware of the Tentacle when traversing the Sea. It isn't too dangerous but if you take too much poison damage of course you will go down.
Once all three Buoys have been successfully hacked, a five-minute timer will begin after some dialogue where you must defuse three bombs located in the Bio Lab on the
![]() Melee Macchiato side, two on the bottom floor, and one on the top floor, before that timer is up, otherwise, the map will implode and the game will end.
Melee Macchiato side, two on the bottom floor, and one on the top floor, before that timer is up, otherwise, the map will implode and the game will end.
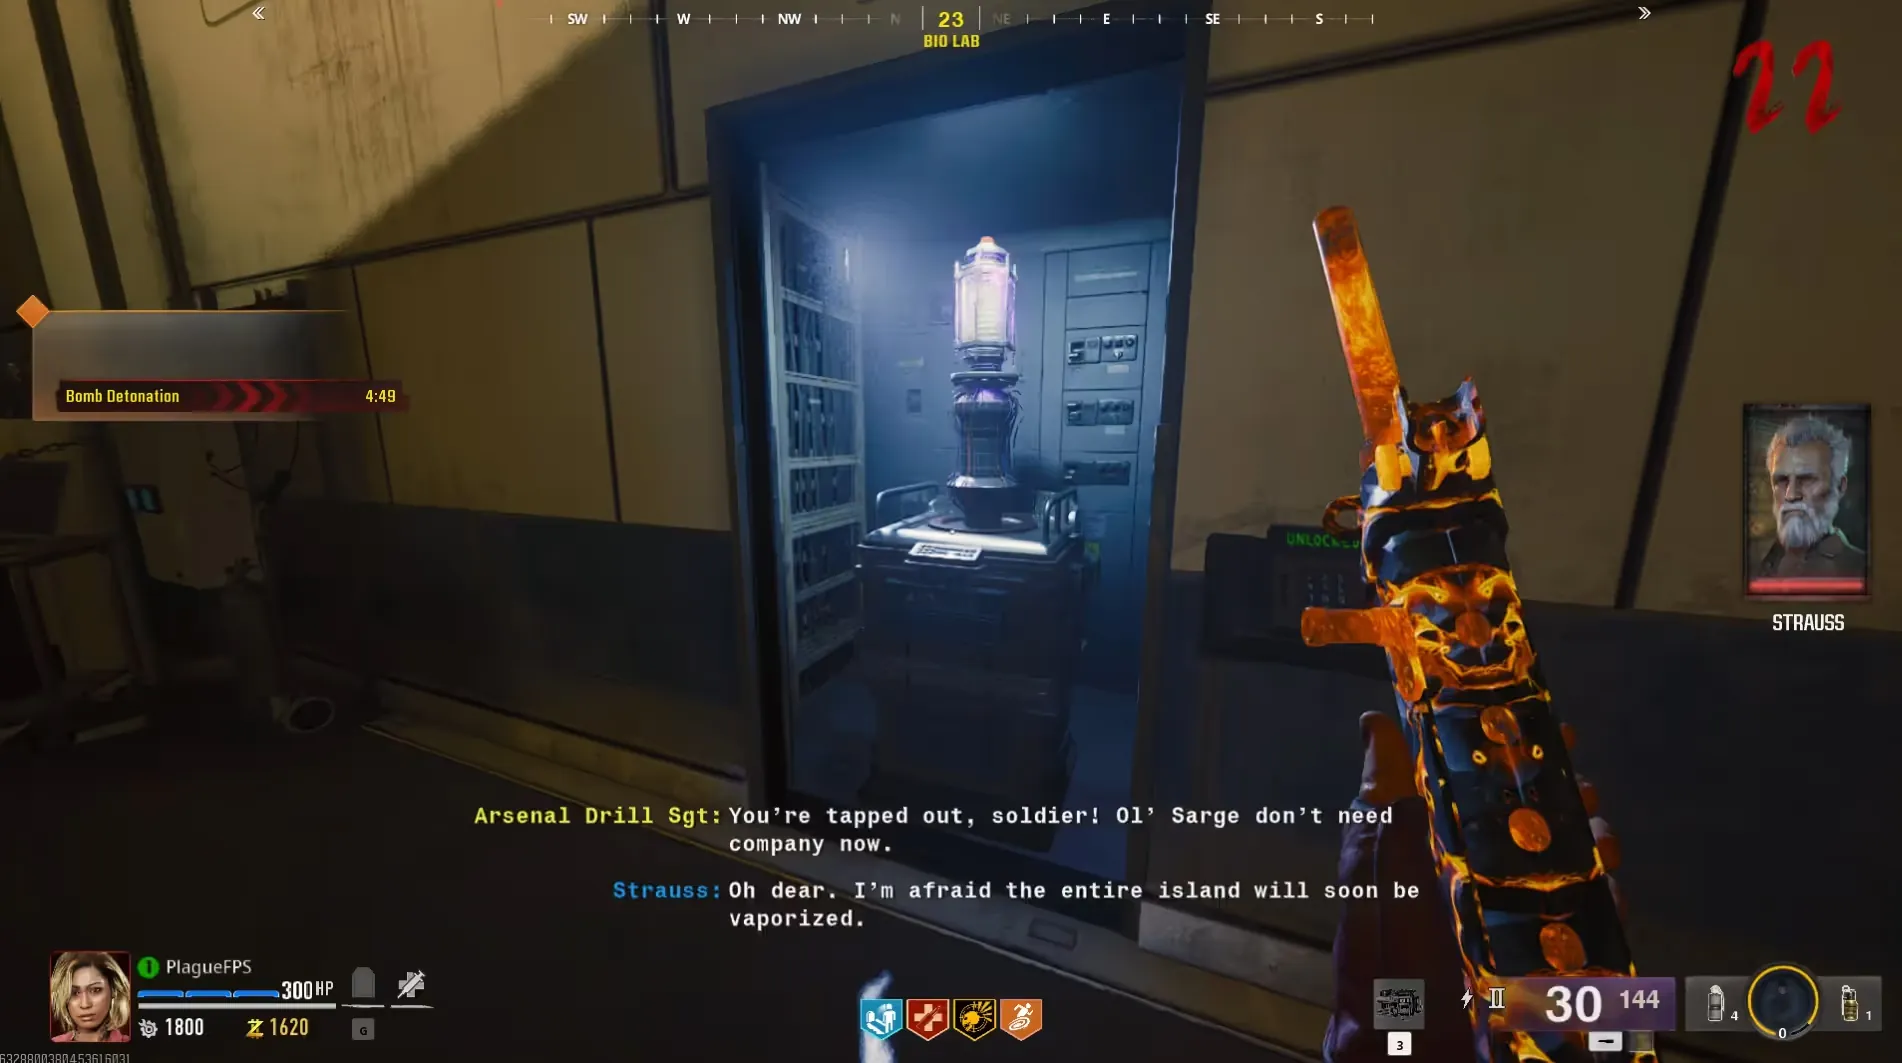
In co-op, have one person defusing the bombs while the others protect the defuser. In solo, make use of Decoy Grenades, Monkey Bombs, and
Aether Shroud if you have it to protect yourself while defusing. Importantly, on solo if you stop defusing in the middle of a defuse your progress will be saved, on co-op the progress bar will reset.
Once all bombs have been defused, you have completed this step and are highly recommended to get as geared as you possibly can for the final boss fight. Tier III Pack-a-Punch, all perks, max rarity, Mutant Injection, Chopper Gunners, and Tier III Armor are all recommended for this boss fight, especially if you are solo.
There is an ammo crate in the boss arena which is why we do not recommend the Ray Gun as your main damage weapon as ammo for that weapon is 10k points. Armor is also very important so the
Shields Up GobbleGum is also recommended.
Step 4: Defeat Patient 13
This is a three-phase boss fight where ammo/armor mangement is the key to winning, as previously mentioned, the Maelstrom Shotgun or Ray Gun MKII are extremely effective against the boss. During different phases of the boss fight, the boss will be weak to certain elements based on their crit spot.
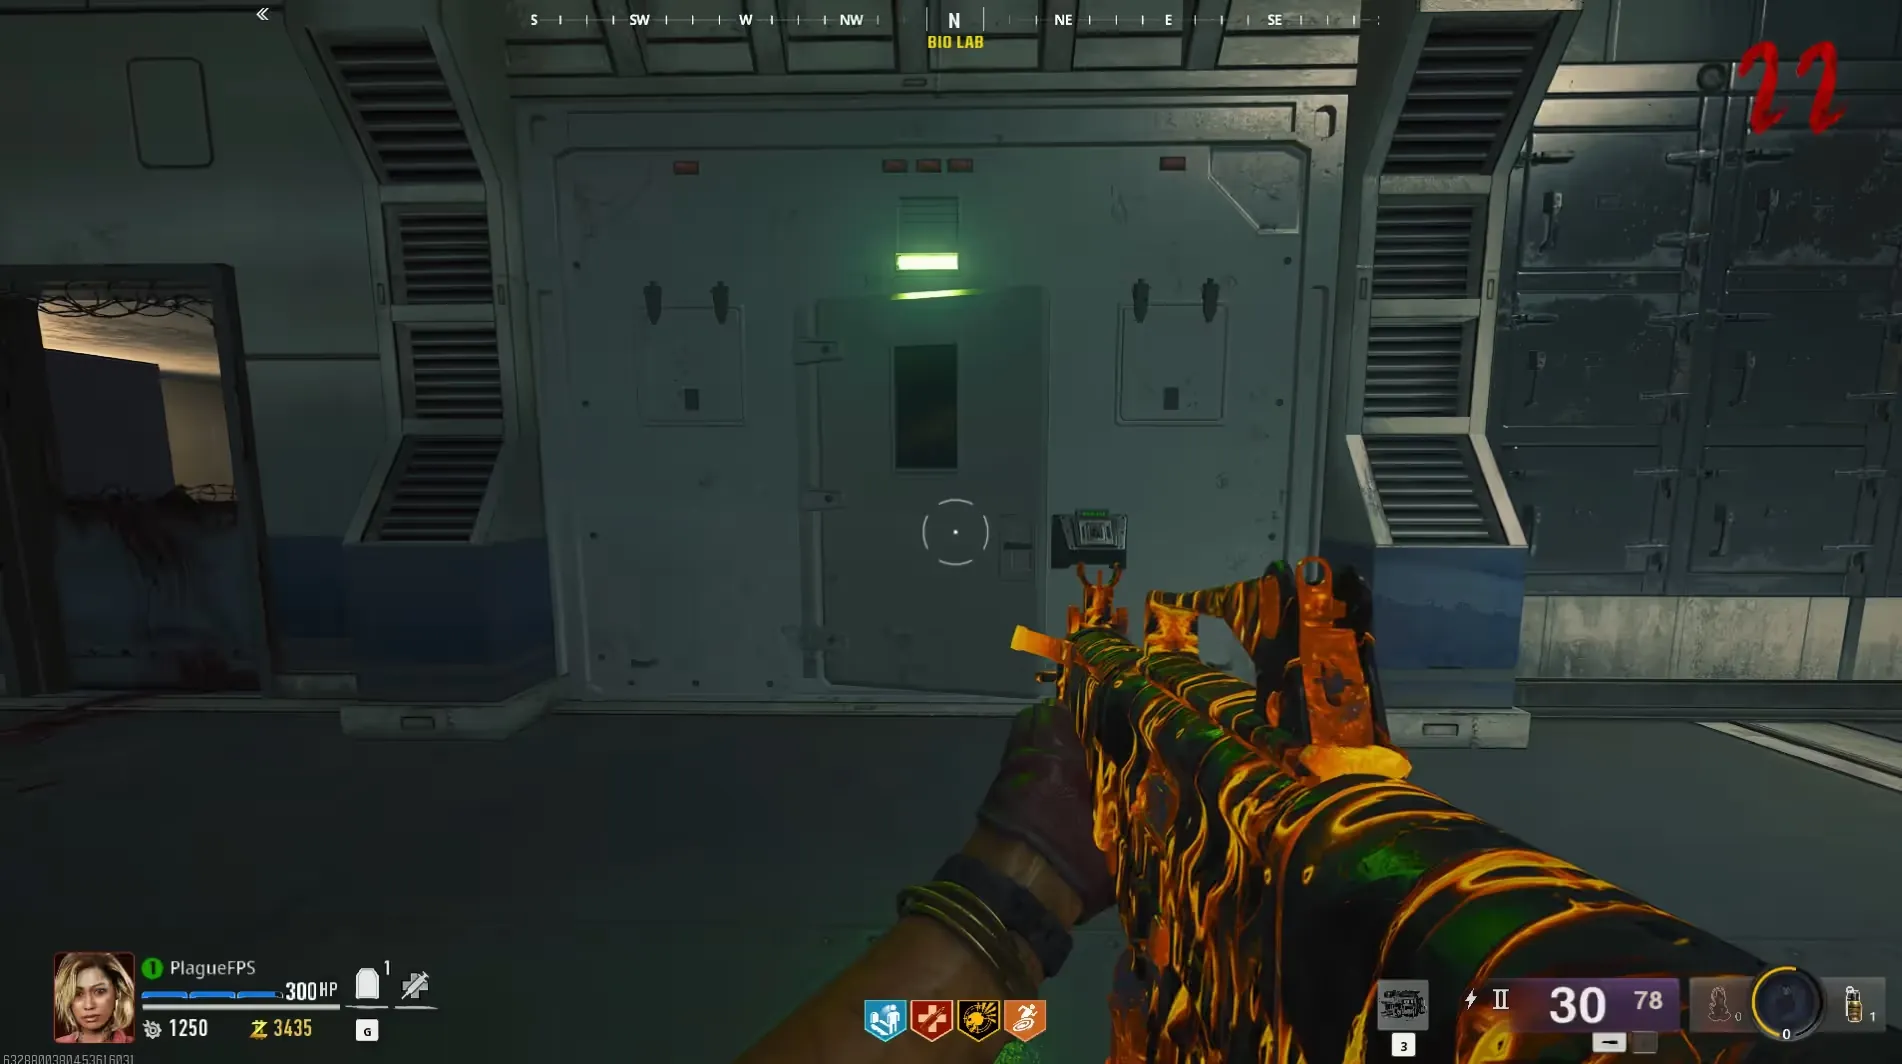
Head to the bottom of the Bio Lab, where a giant white door will now be cracked open. All players in the game will need to vote yes to enter the boss arena, from which there is no return.
Boss Attacks
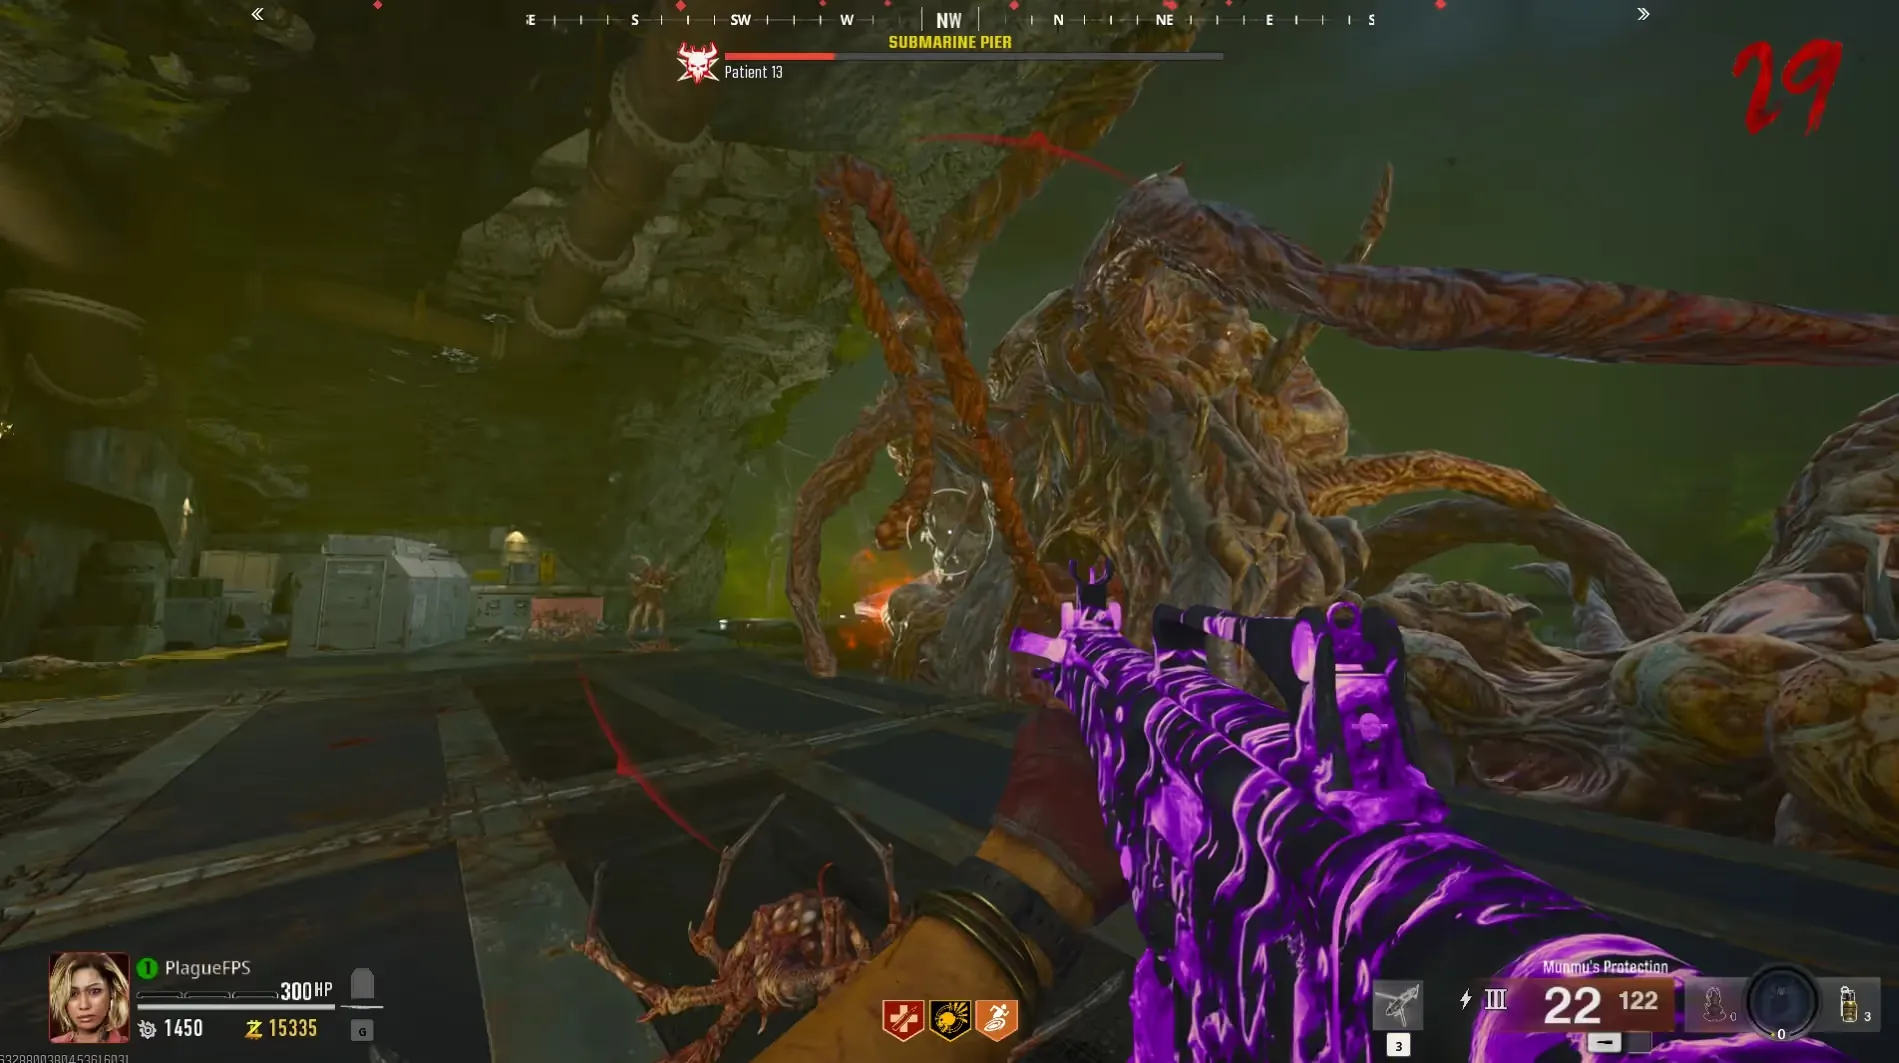
The boss has four main attacks, two of which will only happen in the final phase. The first attack is a two-armed slam directly in front of the boss that will do around 200 damage. The second attack is a two-armed slam to the side of the boss, where he will then sweep his arms across the platform towards the opposite side he slams.
The third attack is a trap mechanic only appearing in Phase 3, where the boss will shoot out its tongue directly in front of itself, and anyone touched by that tongue will be pulled into its mouth and will be downed. The only way to break out of this attack is by inflicting massive damage on the boss's mouth while you are being pulled in.
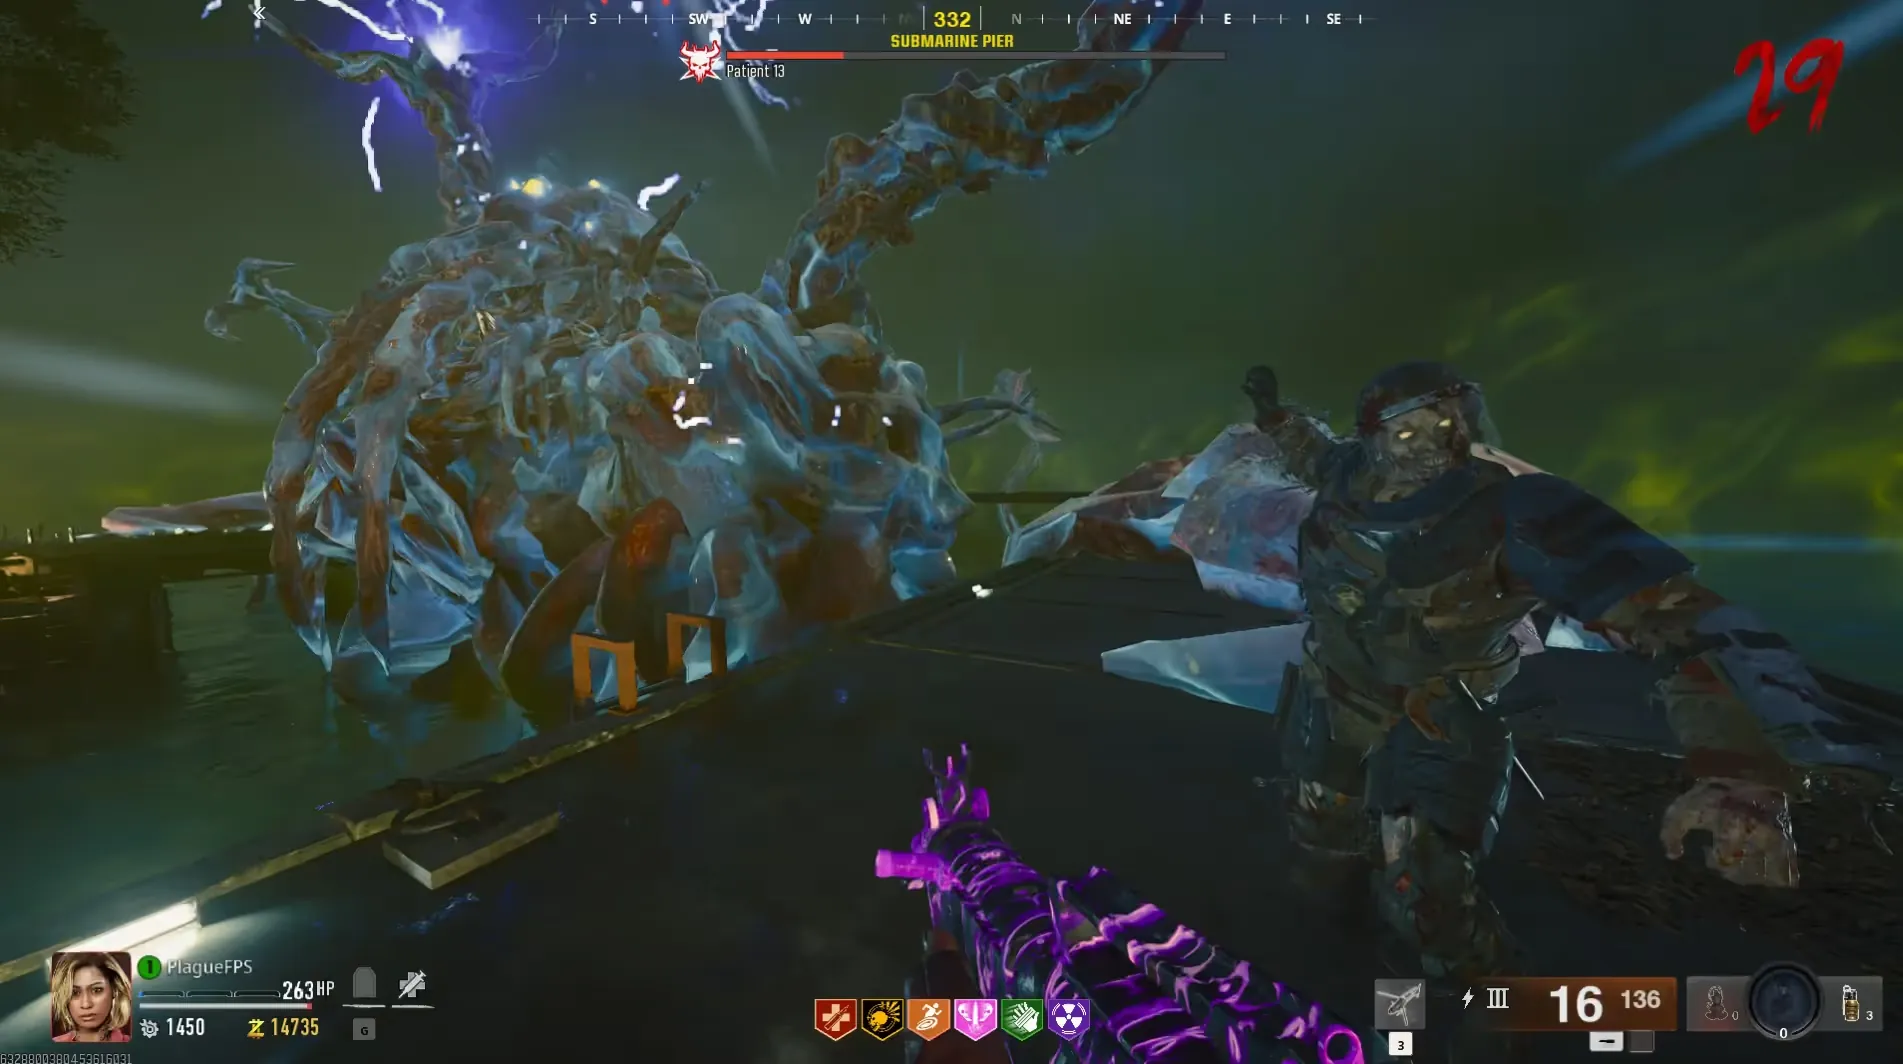
The final attack is a wipe mechanic only appearing in Phase 3, where your screen will have a blue wispy-like effect, indicating the attack while the boss has its arms in the air, sparking electricity. You must break the Line of Sight with the boss, do enough damage to the boss's eyes, or jump into the water to avoid being downed by this attack.
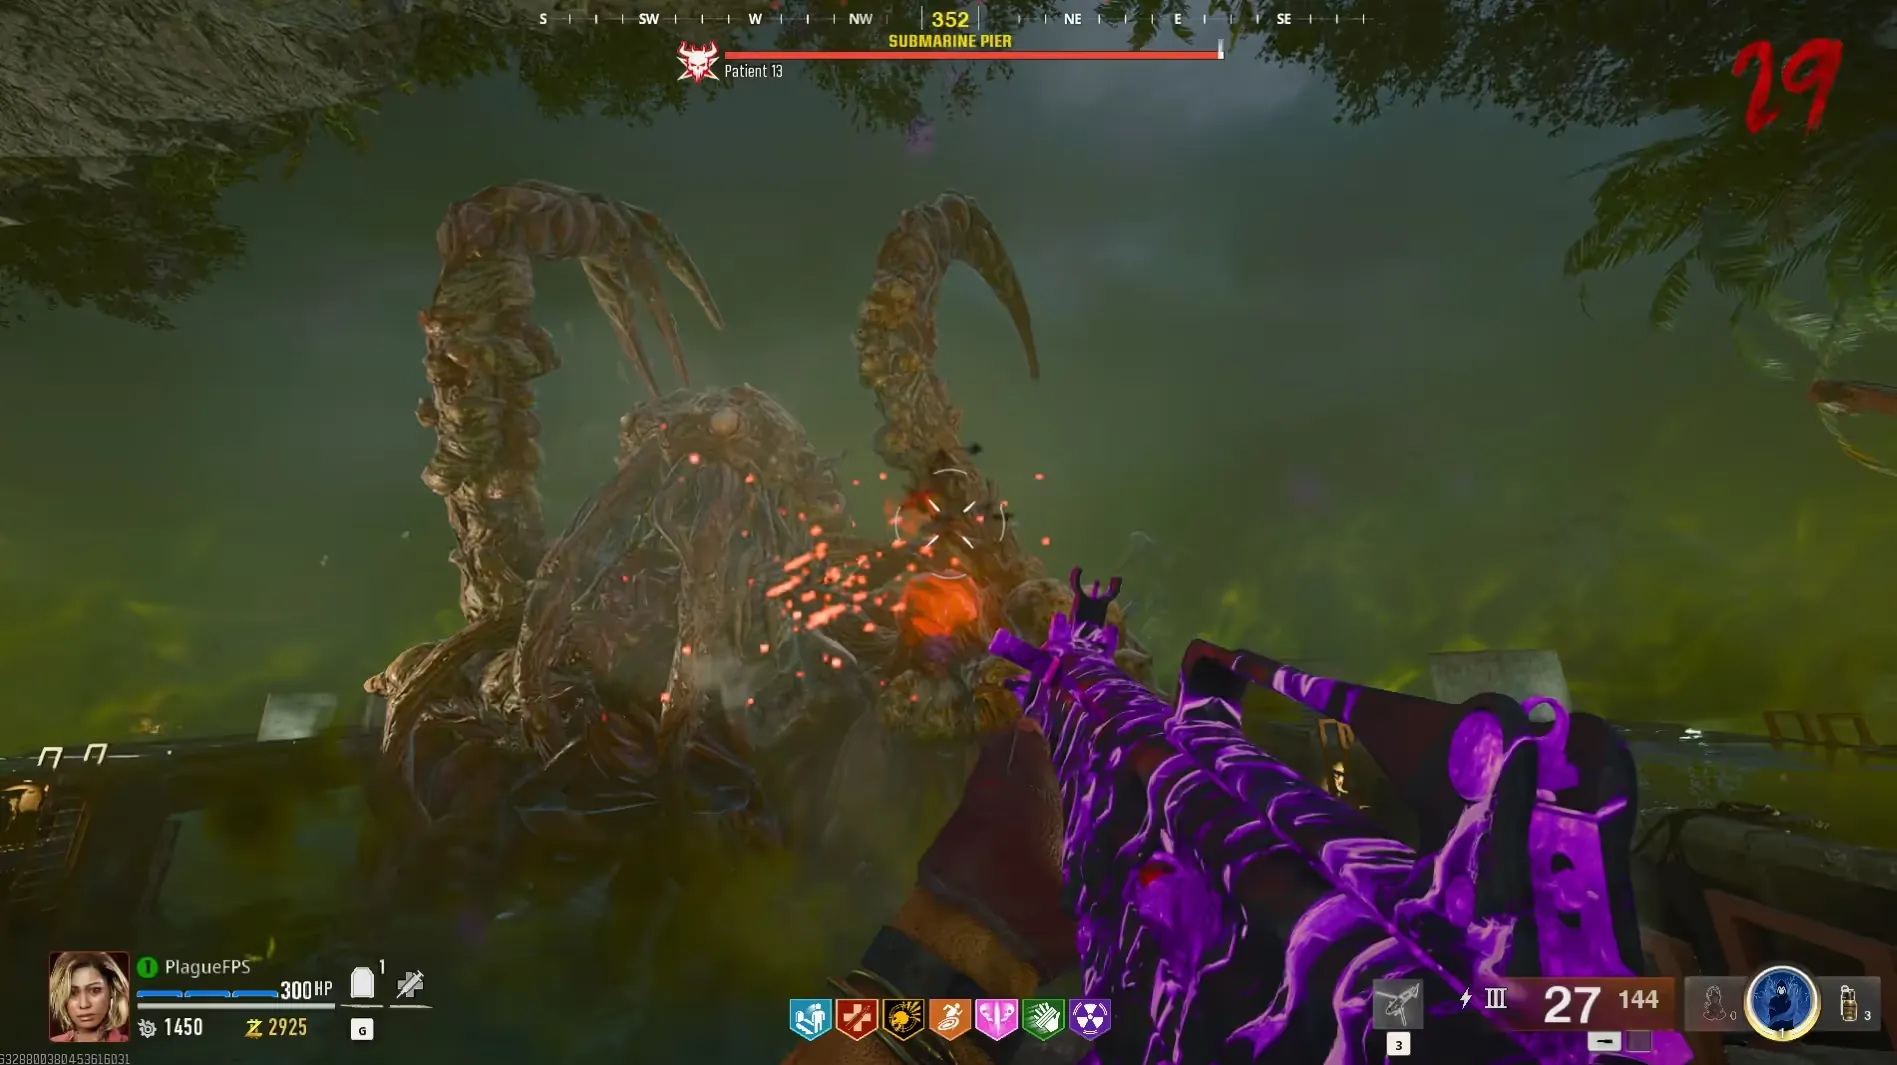
It's worth noting that the water during this boss fight is extremely advantageous for healing and taking a break from the fight since no boss attacks can hit you.
Phase 1
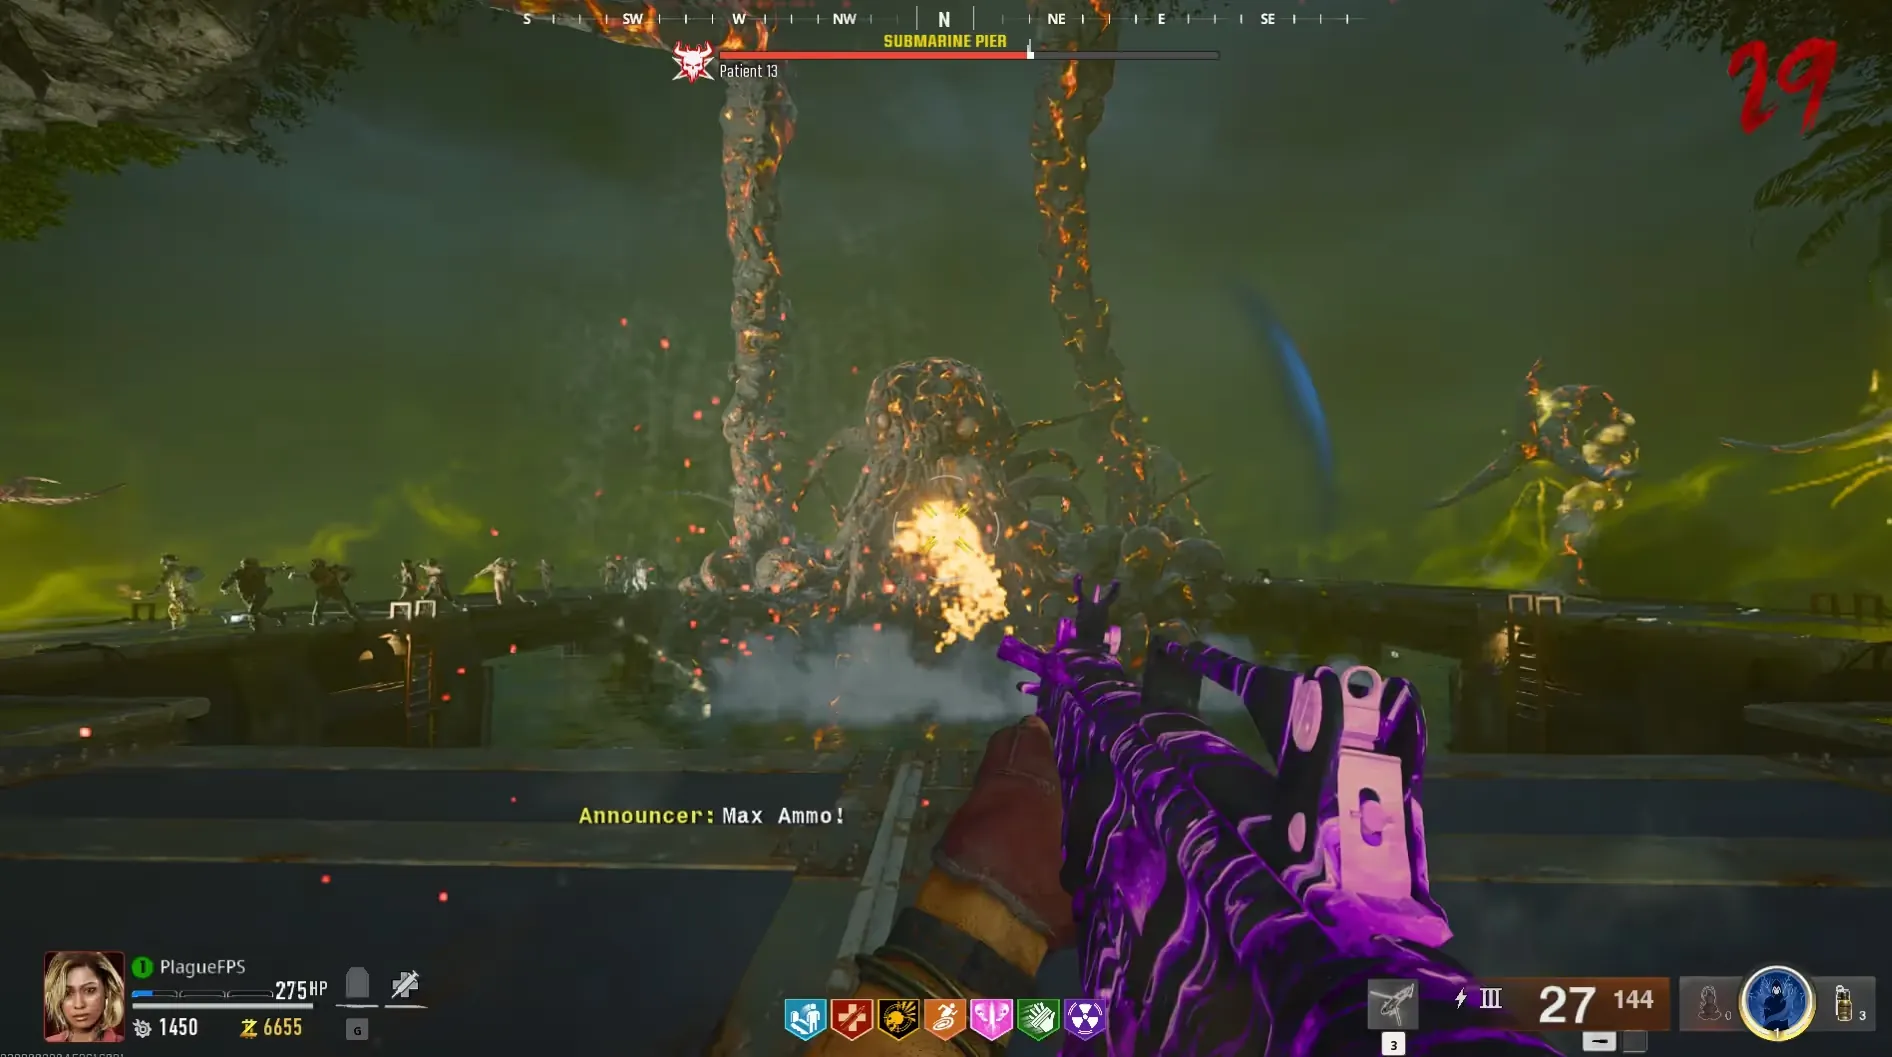
During this phase, the boss's critical point will be weak to the
Napalm Burst Ammo Mod. During any of these phases, priortize any special enemies that spawn into the boss arena, Mangler or Amalgam as these can pile up and become very tedious to deal with.
Avoid the boss's attacks while shooting the red boils on either side of the boss to do massive damage to him. These boils are the weak points and the only way to damage the boss significantly during this phase. Once the boss has lost a third or 33% of its HP, you will have completed Phase 1.
During any downtime where the boss is underwater, you should be clearing any special enemies if any are on the map, and shooting the Tentacles shooting ranged projectiles to have less clutter in the arena.
Phase 2
During this phase, the boss's arms critical point will be weak to the ![]() Light Mend and
Light Mend and ![]() Dead Wire Ammo Mods,
while the boss's mouth critical point will be weak to the
Dead Wire Ammo Mods,
while the boss's mouth critical point will be weak to the ![]() Cryo Freeze Ammo Mod.
Cryo Freeze Ammo Mod.
Avoid the boss's attacks while shooting the weak points on the main arms of the boss to do significant damage. These are the main weak points of the boss for this phase, but he will eventually start glowing red, and the only weak point will be his mouth for you to do even more damage to the boss.
Phase 3
During this phase, the boss's eyes critical point will be weak to the
Shadow Rift and
Brain Rot Ammo Mods, the boss will also have his tentacles blocking the two sides of the arena, essentially cutting the arena in half. You can still get to the other sides using the water and ladders.
The two new attacks mentioned previously (tongue and wipe attack) are now present and should be watched for at all times while damaging the boss. The boss will have all the previously mentioned main weak points in this phase, and his eyes, when he glows blue, each weak point will periodically show up, depending on the state of the boss.
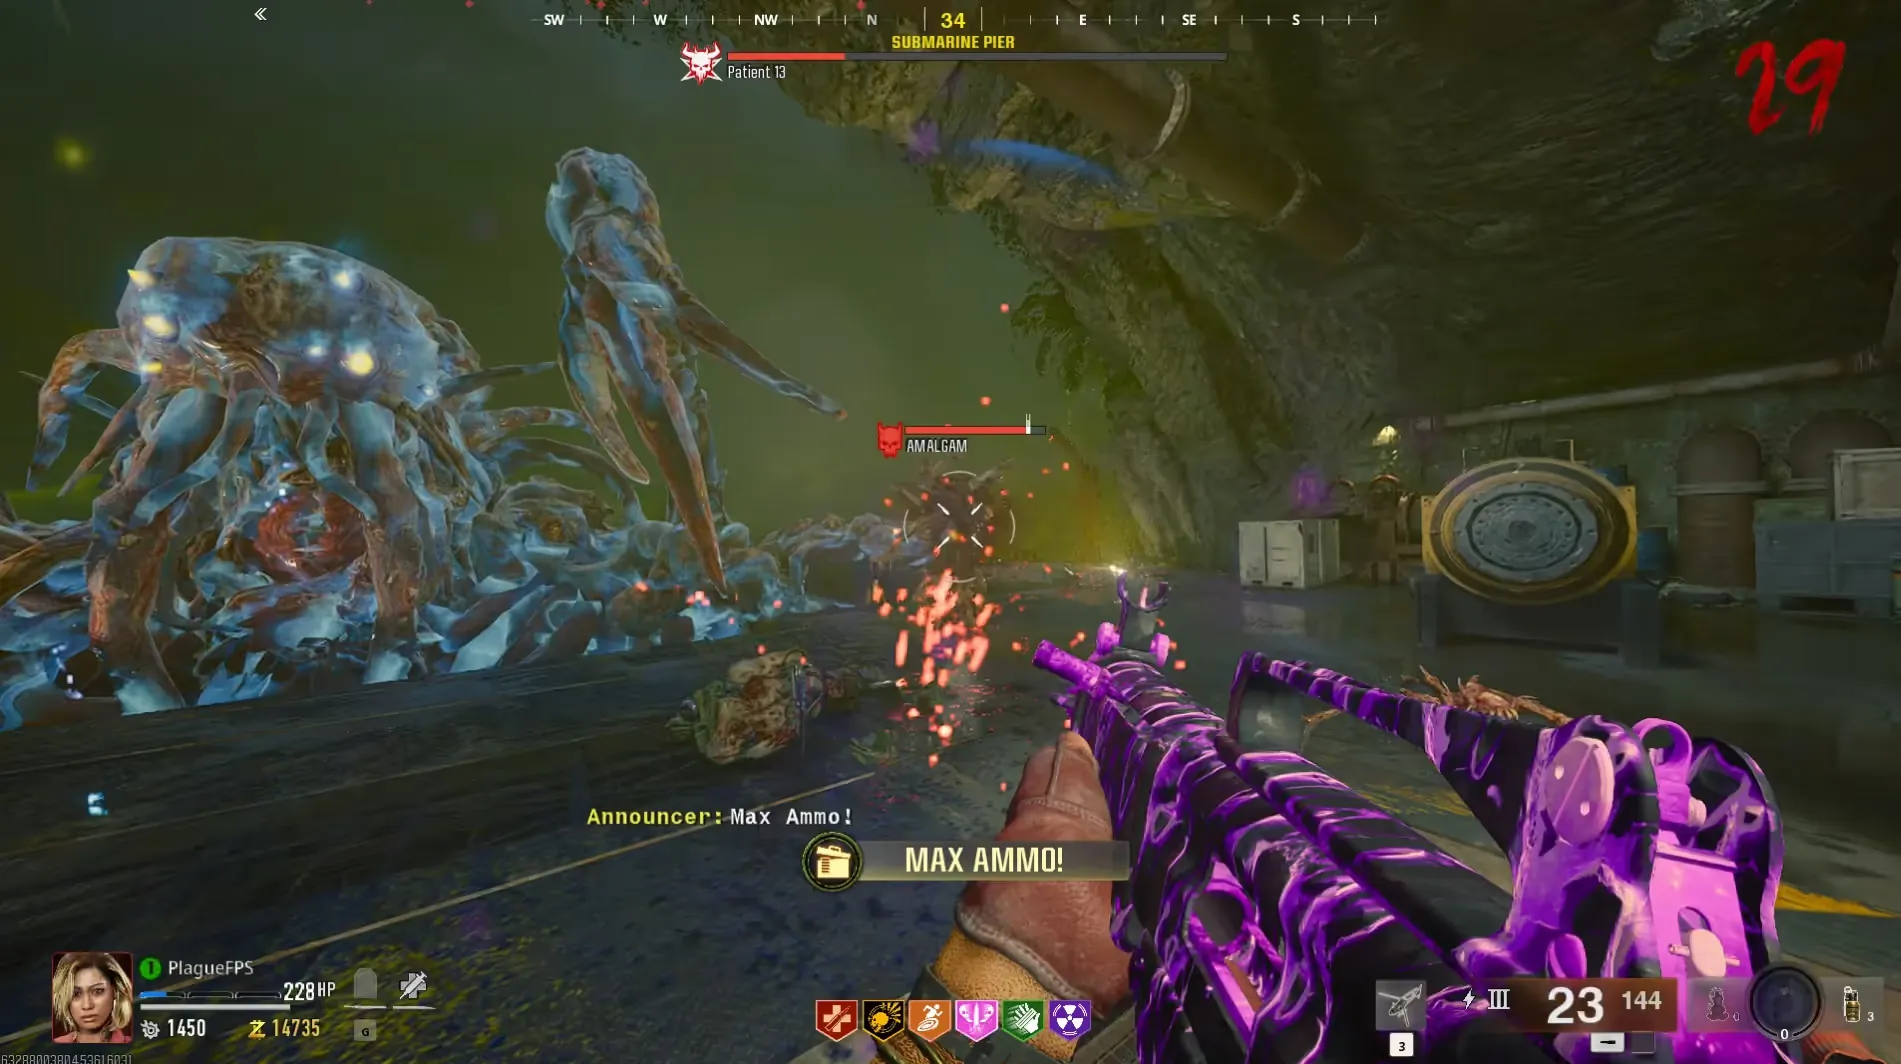
Remember to use your Chopper Gunner/Mutant Injection if you get into trouble to both keep you alive and inflict massive damage on the boss. Be sure to use your Chopper Gunner in one of the corners near the ammo crate so you are not knocked out of the Chopper Gunner by the boss during one of his attacks. When using the Mutant Injection be sure to spam the cannon at the bosses weak points to inflict massive amounts of damage, potentially killing the boss in just three shots.
Keep avoiding his attacks while clearing out special enemies that spawn into the boss and apply damage in between until the boss has been defeated, and the ending cutscene has been triggered.
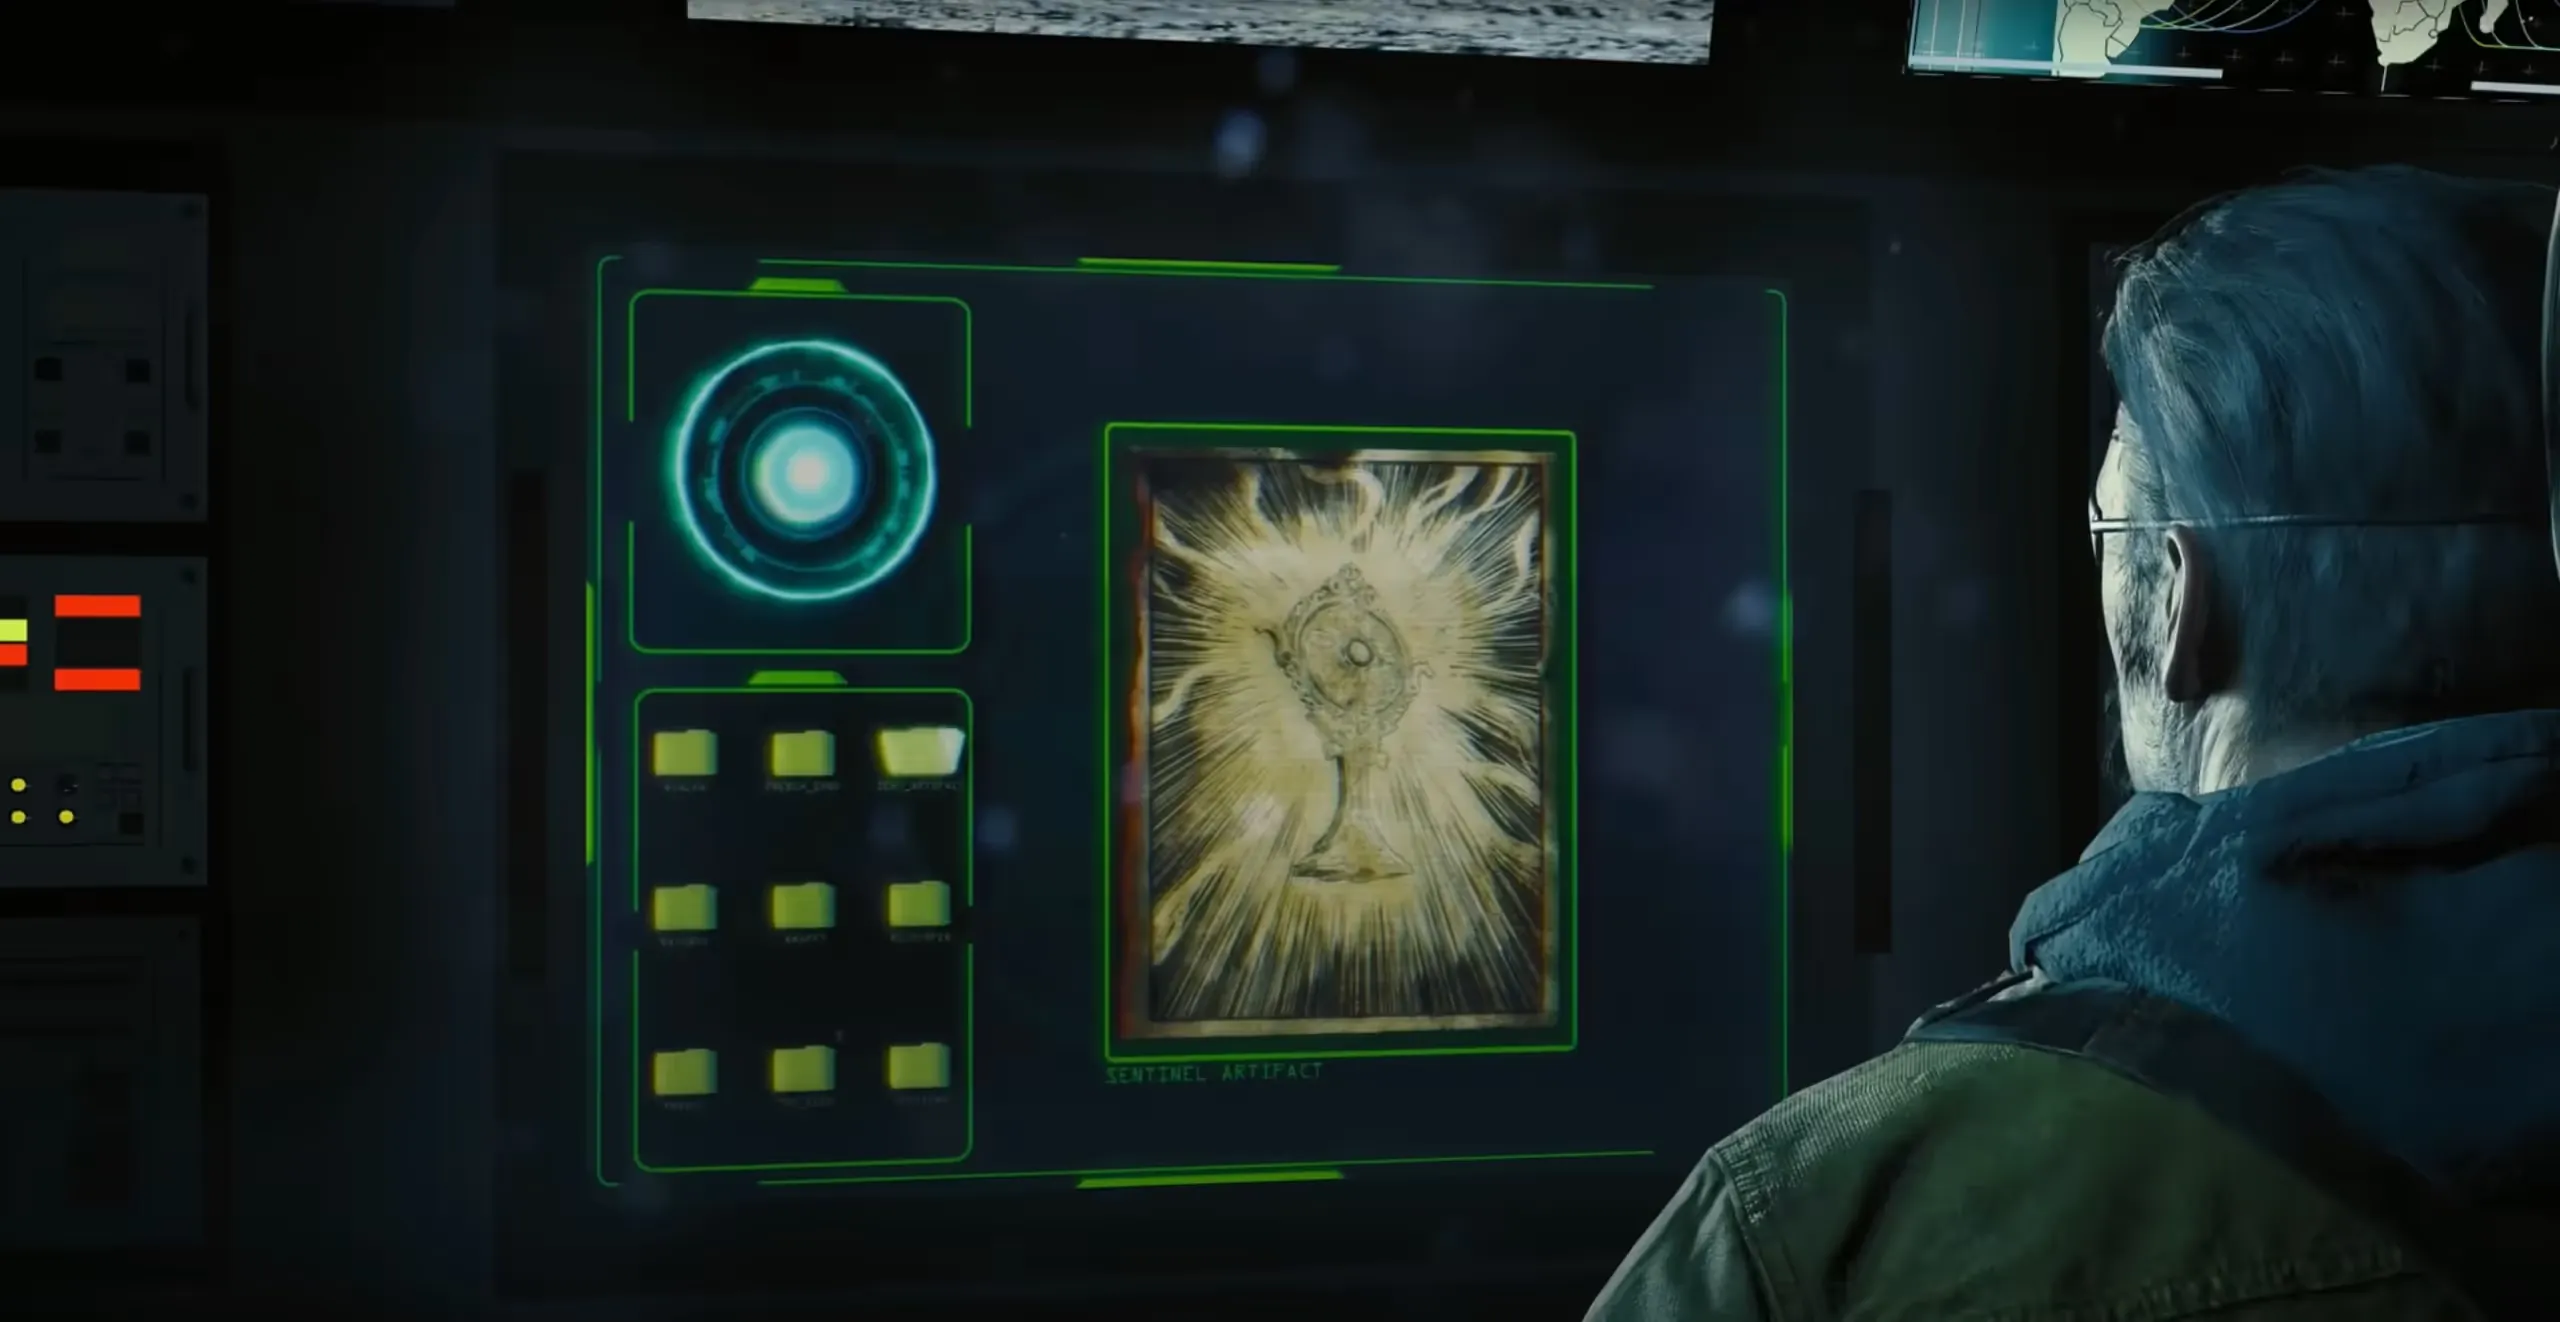
Congratulations! You have beaten the Terminus main quest: No Mo' Modi.
