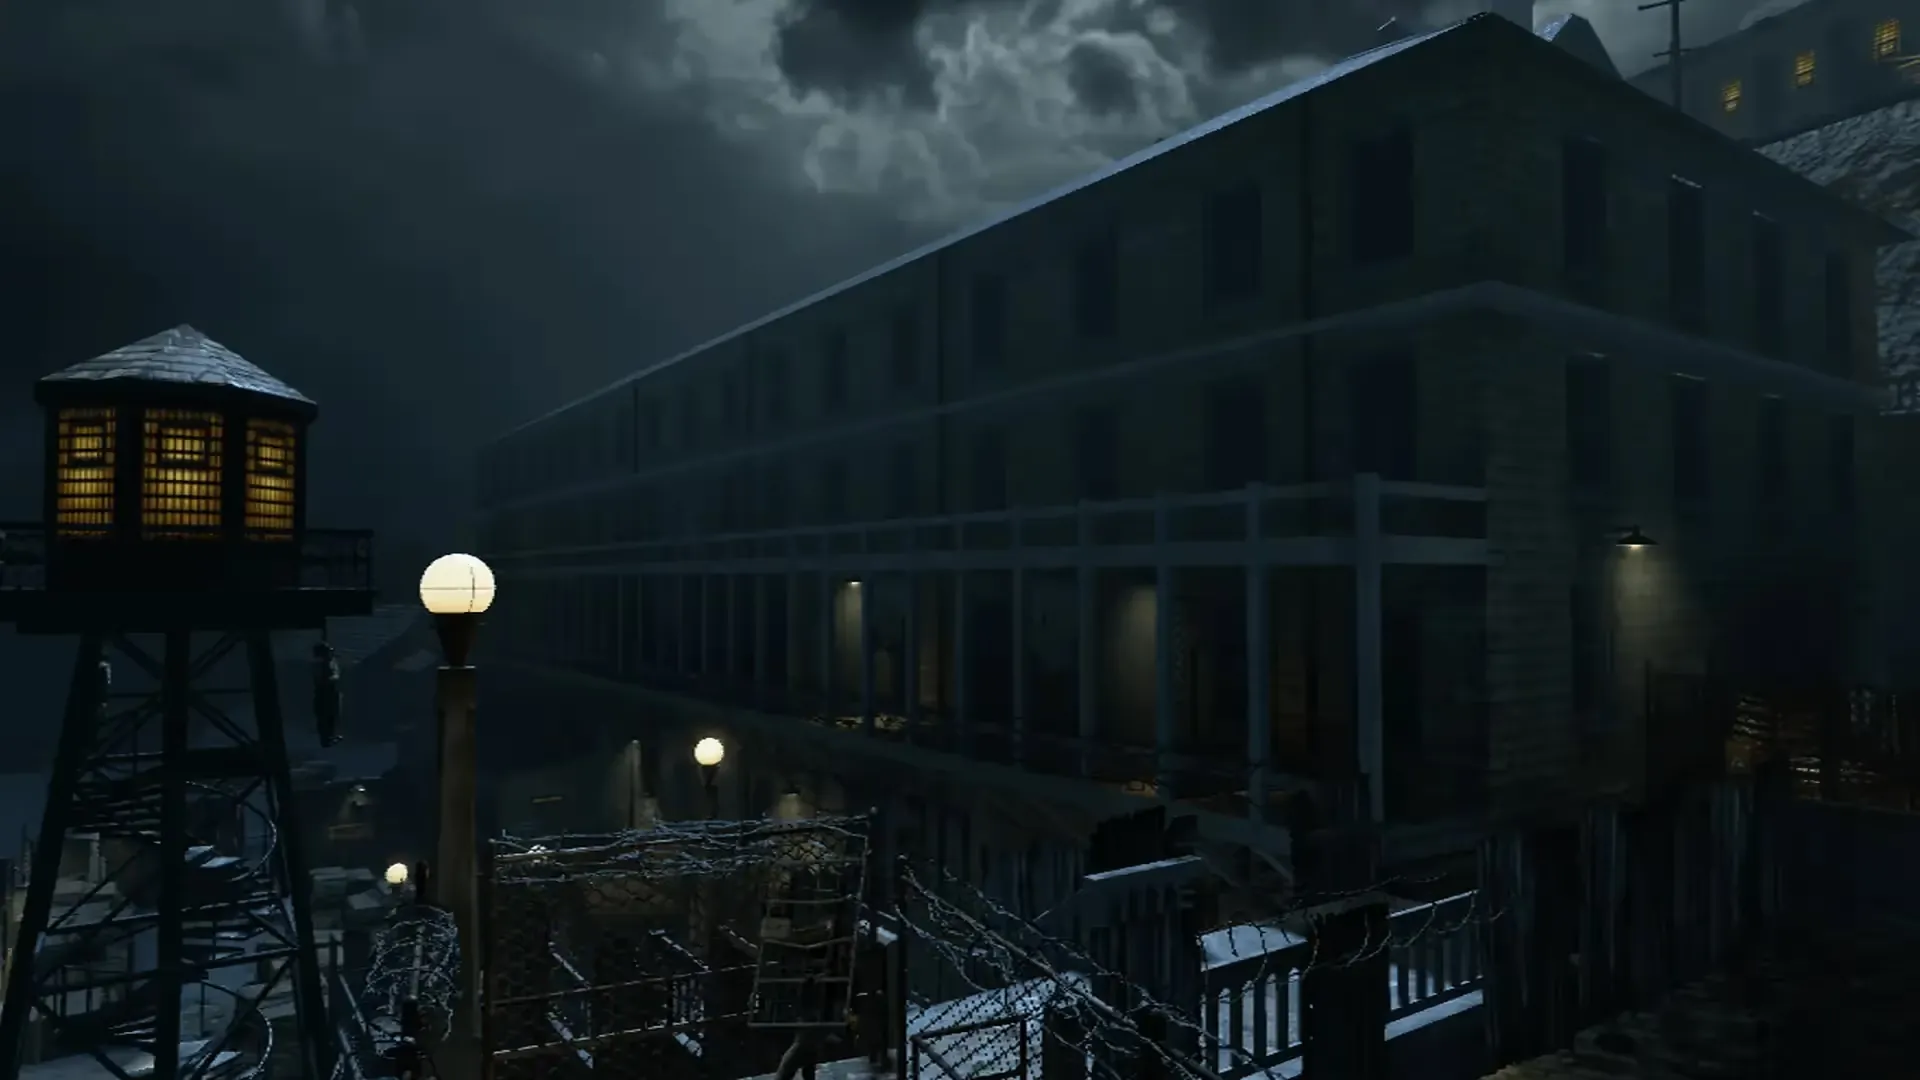
Mob of the Dead
Pop Goes The Weasel
The main quest for Mob of the Dead is called Pop Goes The Weasel. The goal in this main quest for the Alcatraz imprisoned crew is to either continue or break the cycle of endless purgatory.
It is confirmed in Blood of the Dead that the canon ending for Mob of the Dead is breaking the cycle.
Requirements
This main quest requires at least two players to complete, one of whom must be playing as Albert "Weasel" Arlington. You'll also need a couple of key items to complete this quest fully:
- Warden's Key
- Hell's Retriever
Building the Plane
Obtaining the Warden's Key
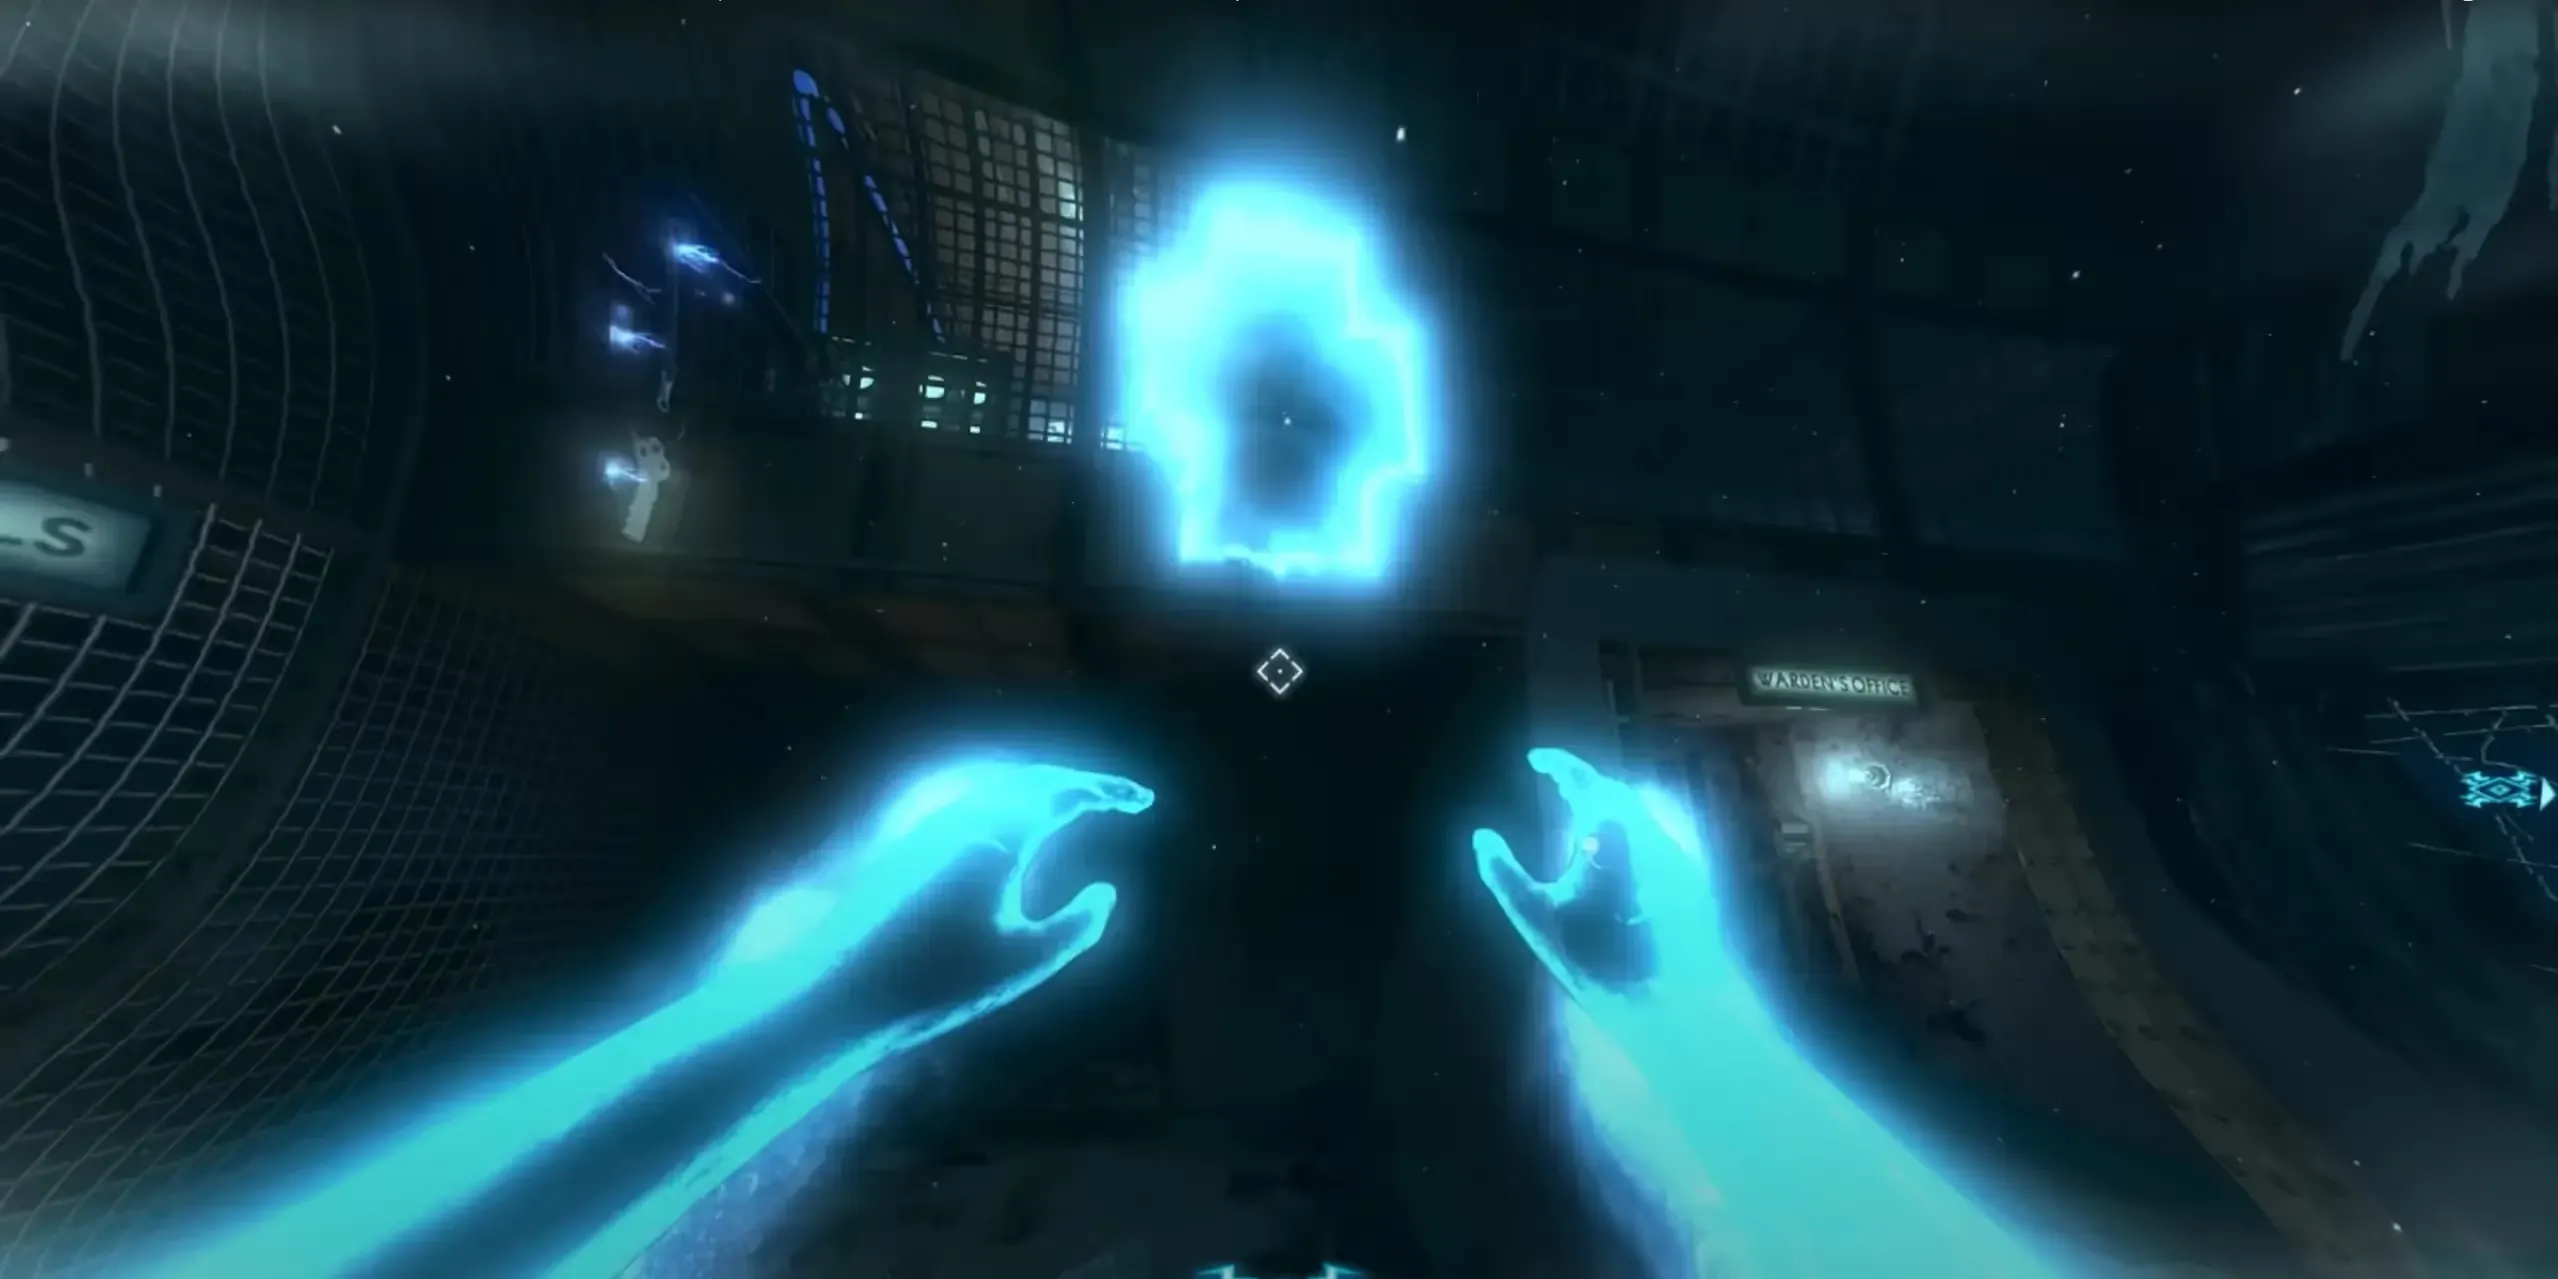
The Warden's Key will be hanging outside the Warden's Office, just in front of the Citadel Tunnels entrance, or outside the Cafeteria, just above the showers.
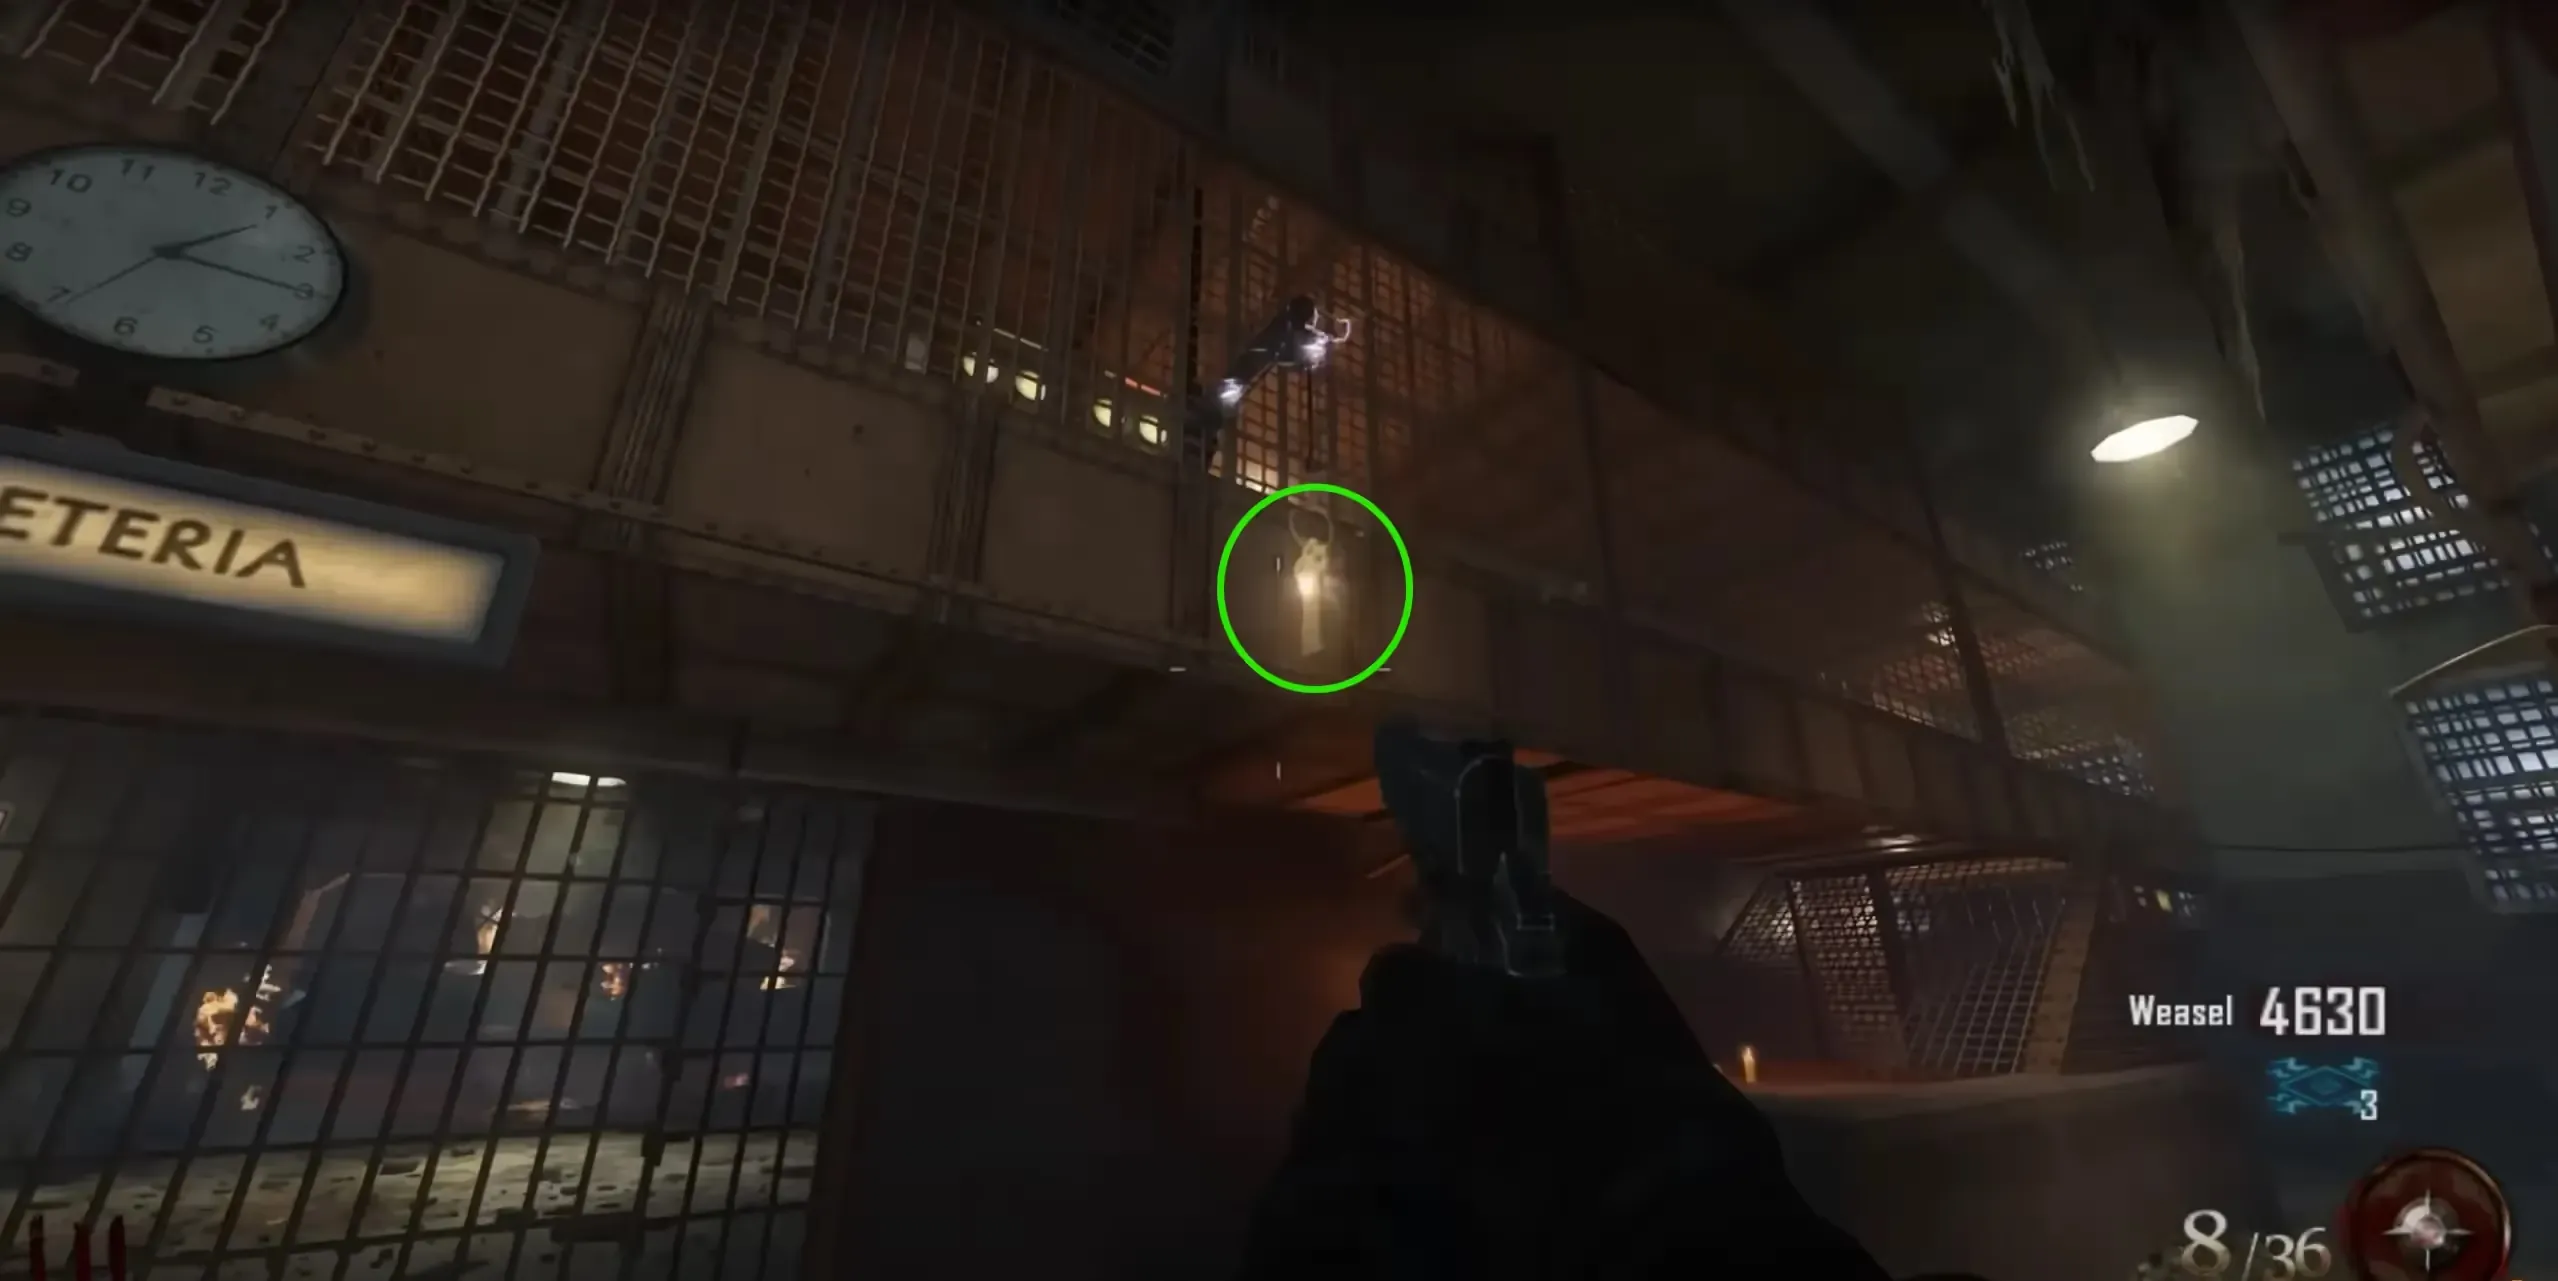
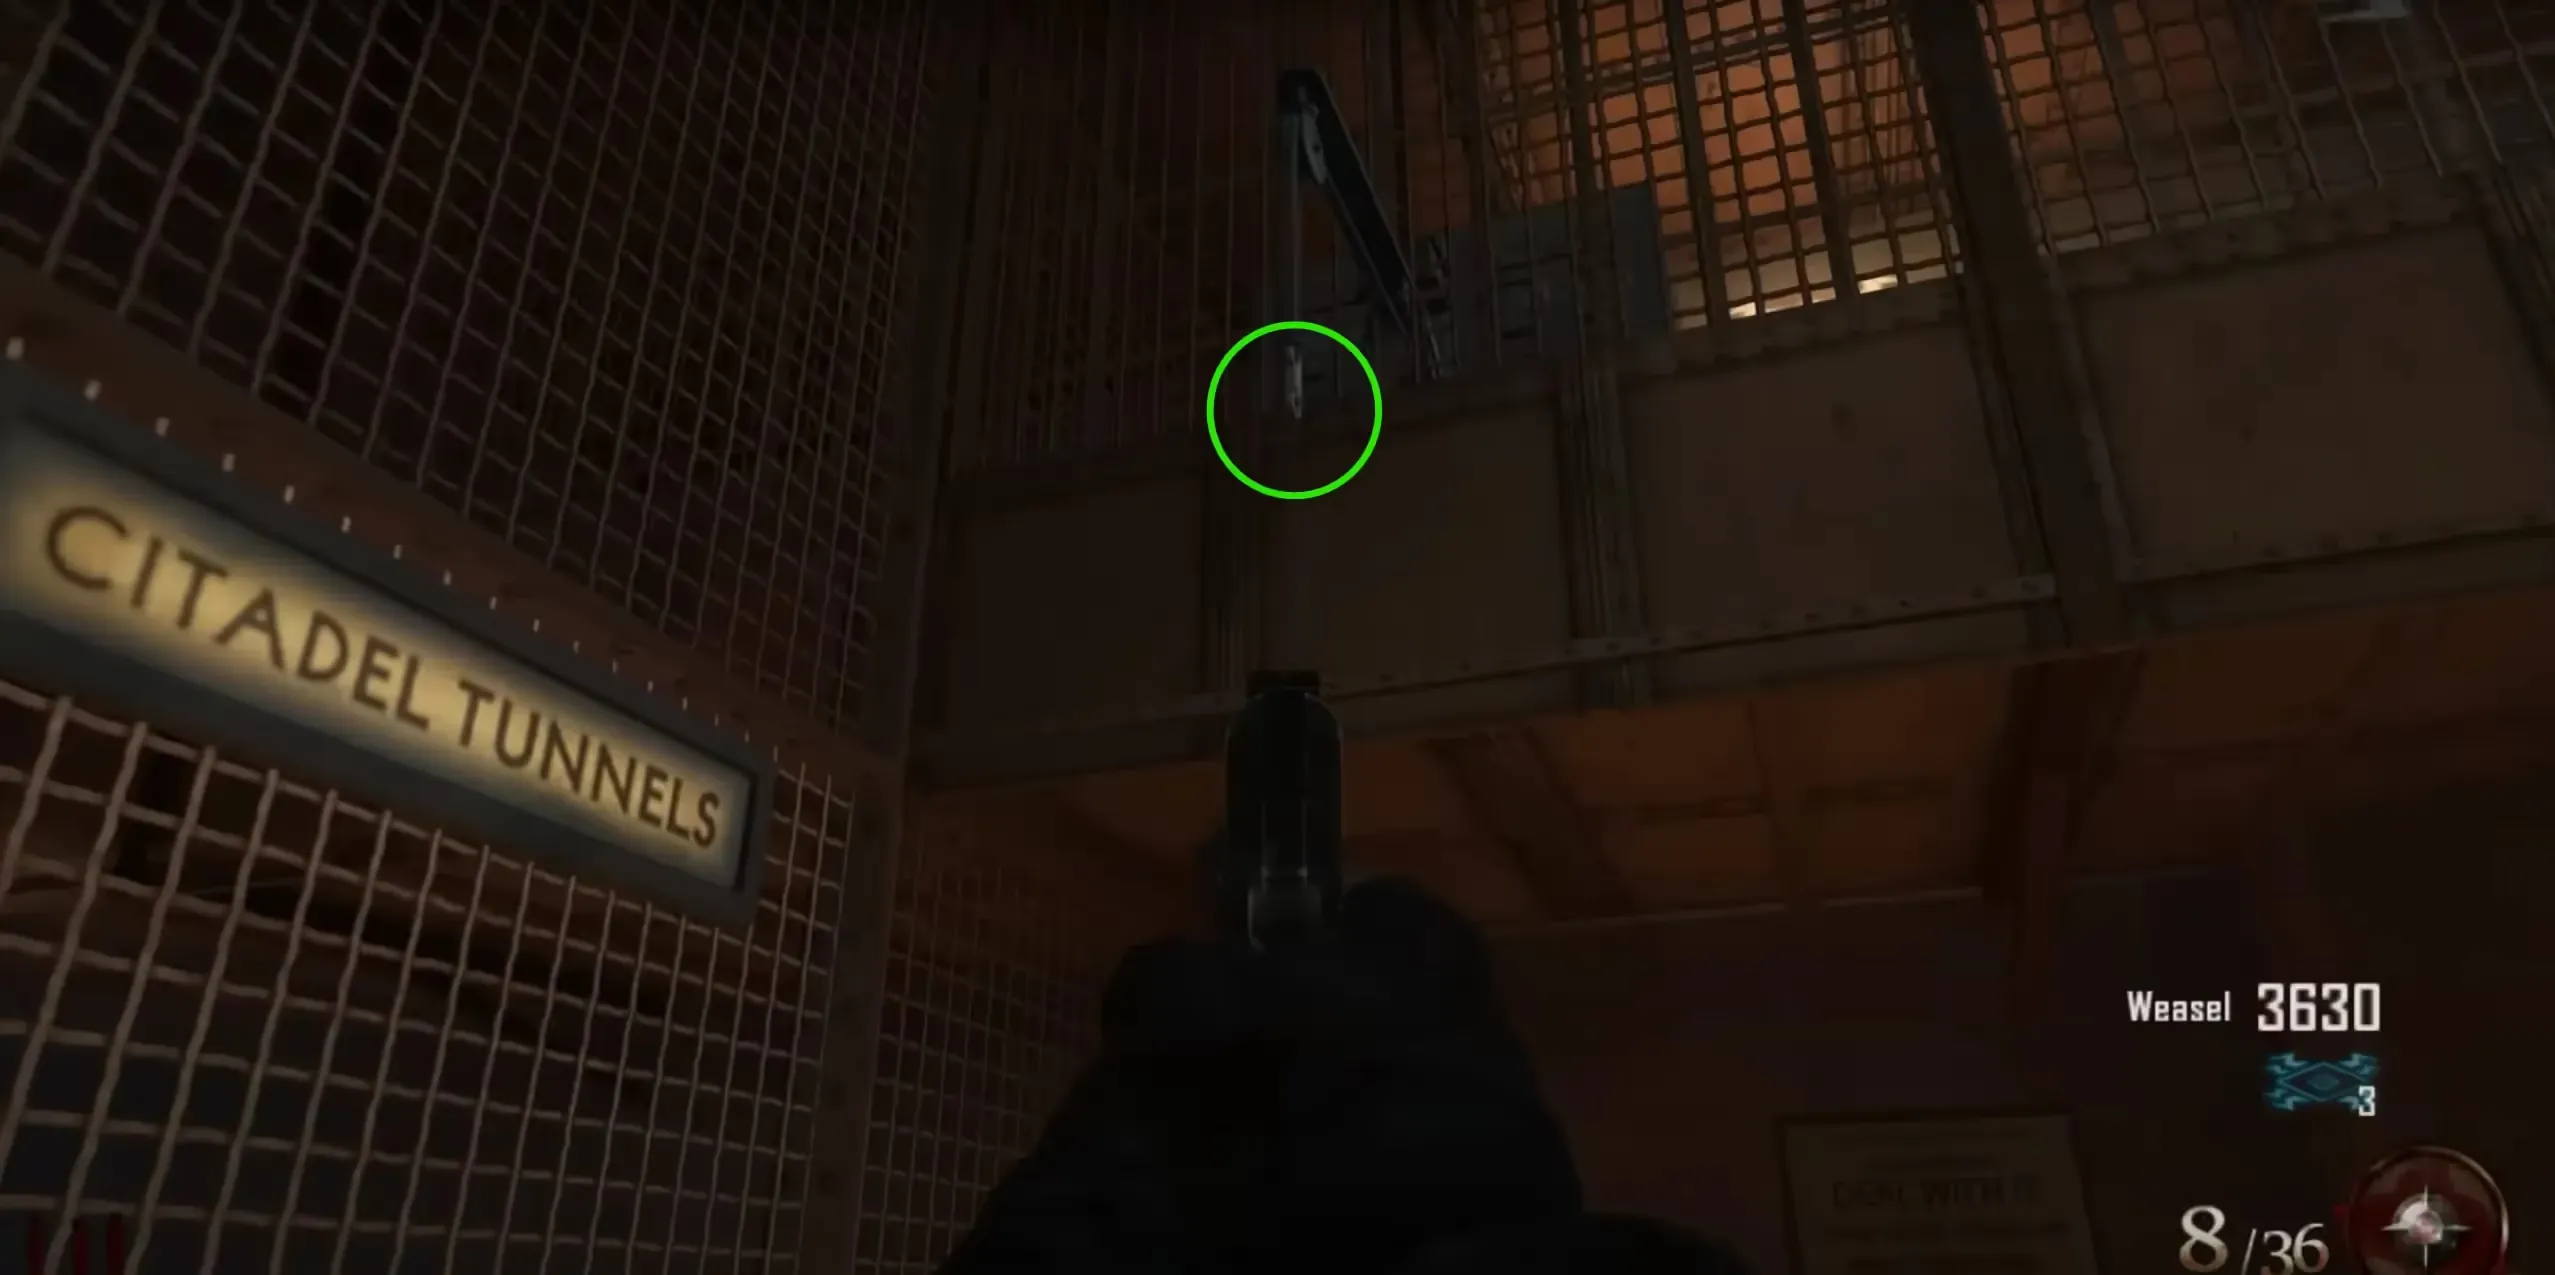
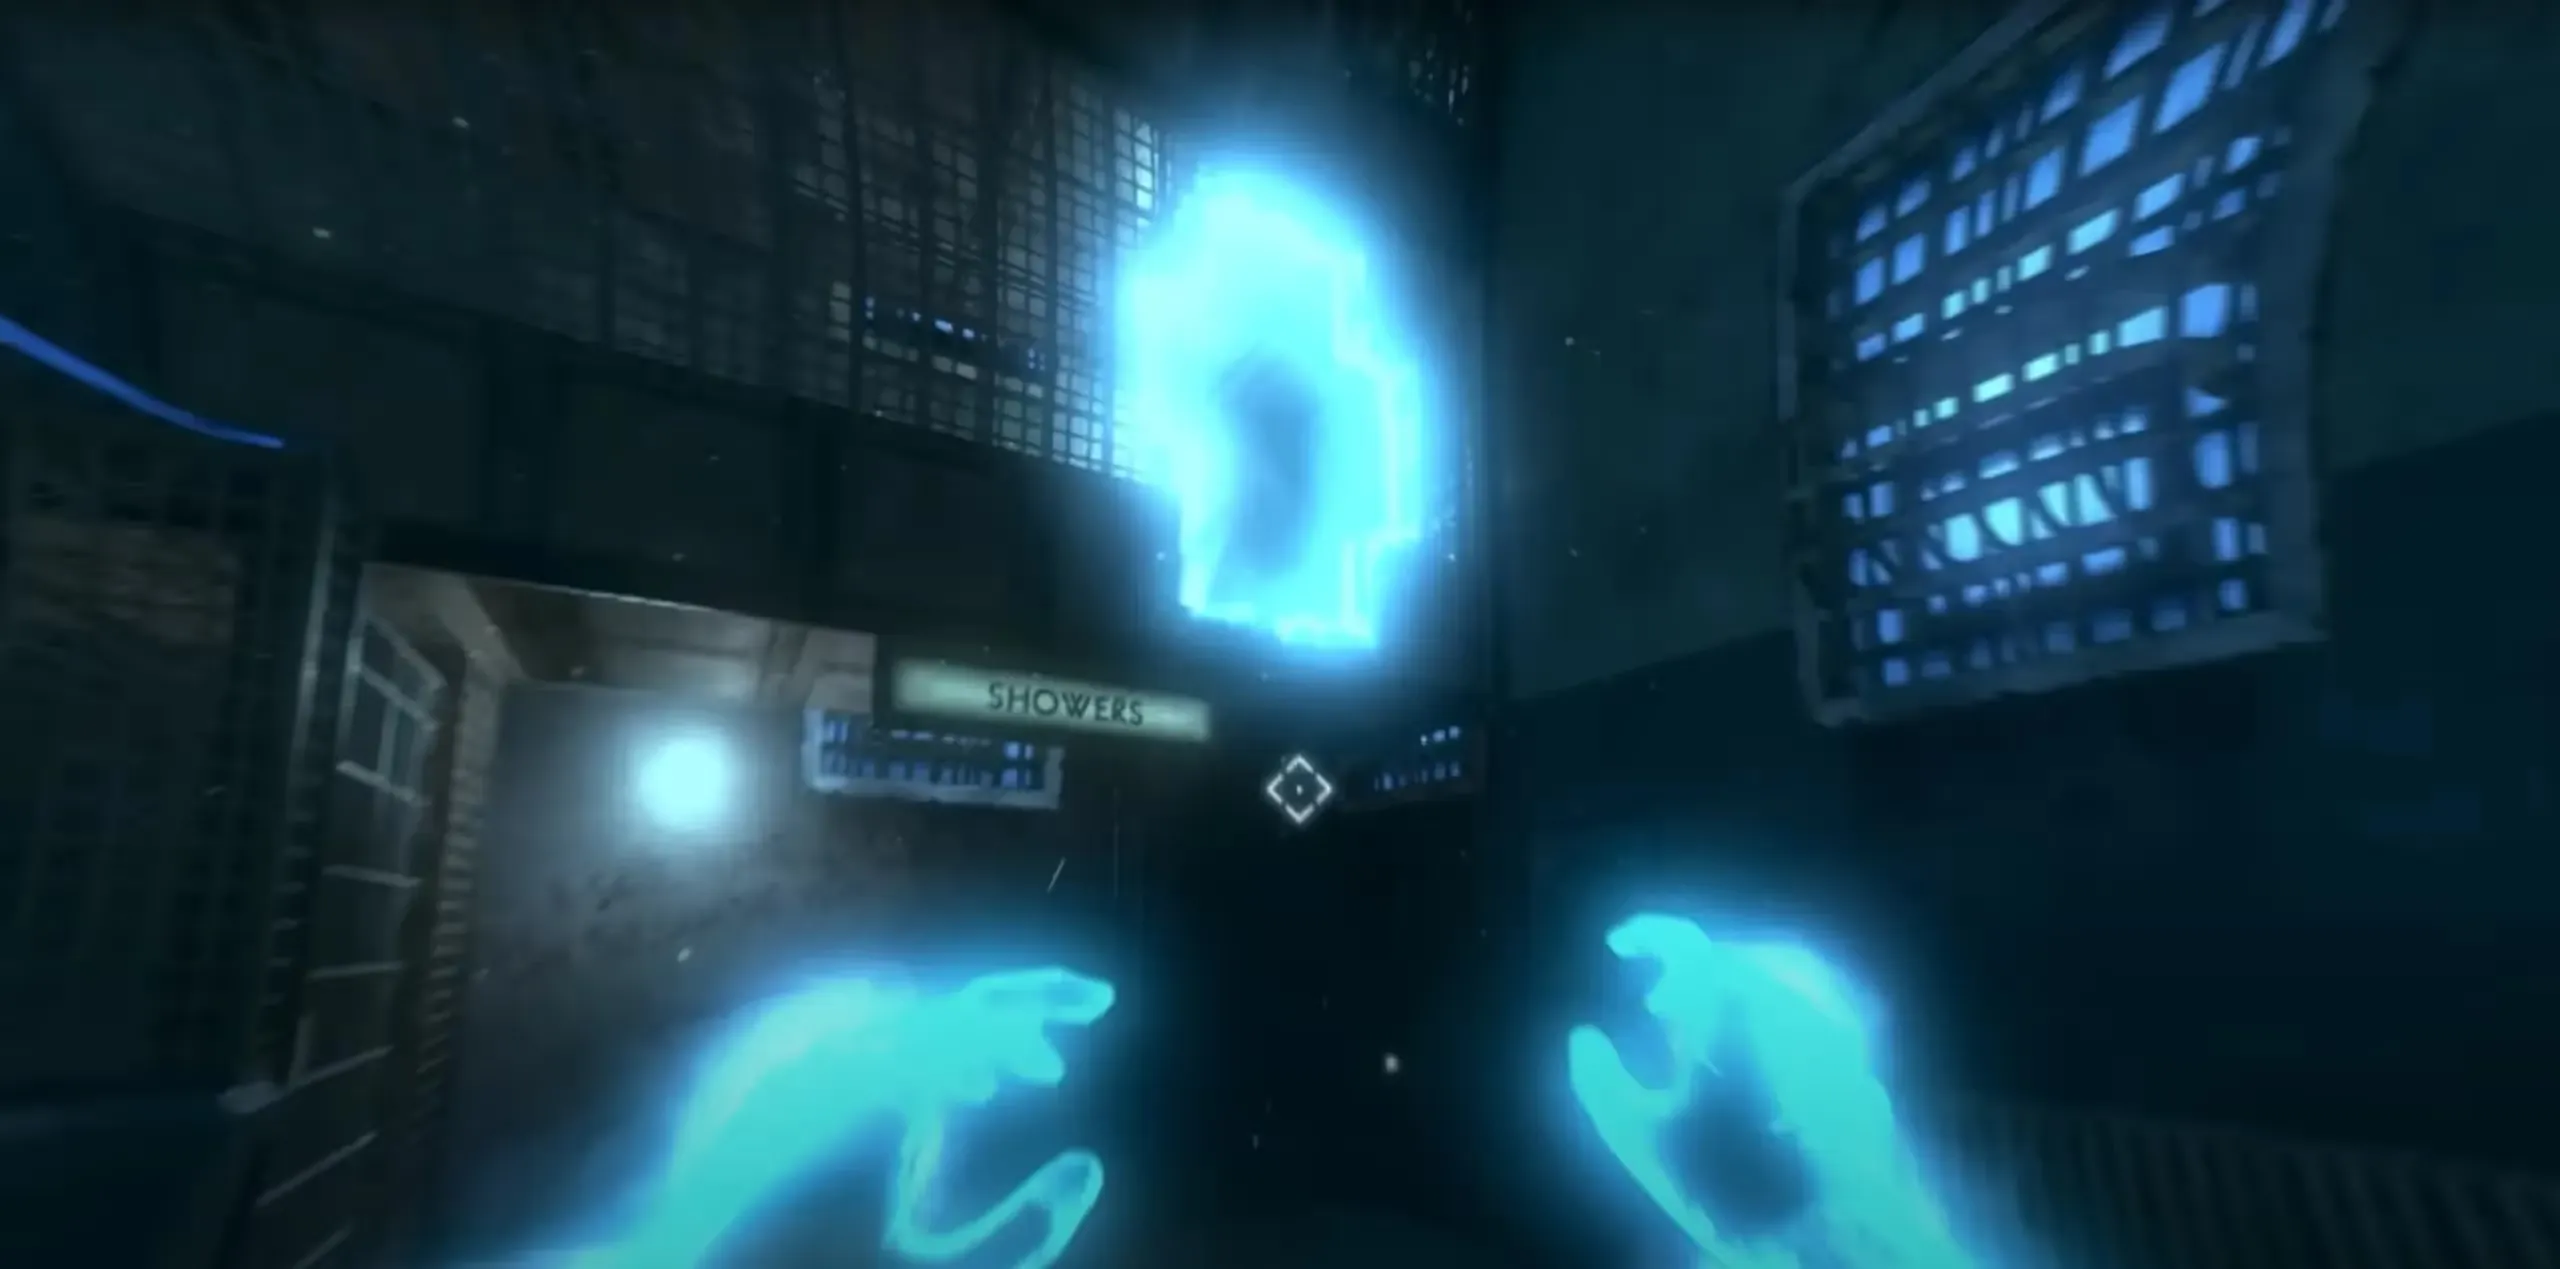
One player must enter the afterlife and jump through a blue portal depending on the key's location to obtain the key. If it is outside the Warden's Office, blue portal will be just above the key itself, and if it is outside the Cafeteria then the blue portal will be above the Showers entrance. Once inside, shock the generator to overcharge it lowering the key which can now be picked up.
Shirt Plane Part
Head to the Showers room, at the end of the room will be a gate that must be opened with the Warden's Key. Once open, you'll need to charge the Volt Meter in that room while in the afterlife to power the Washing Machine.
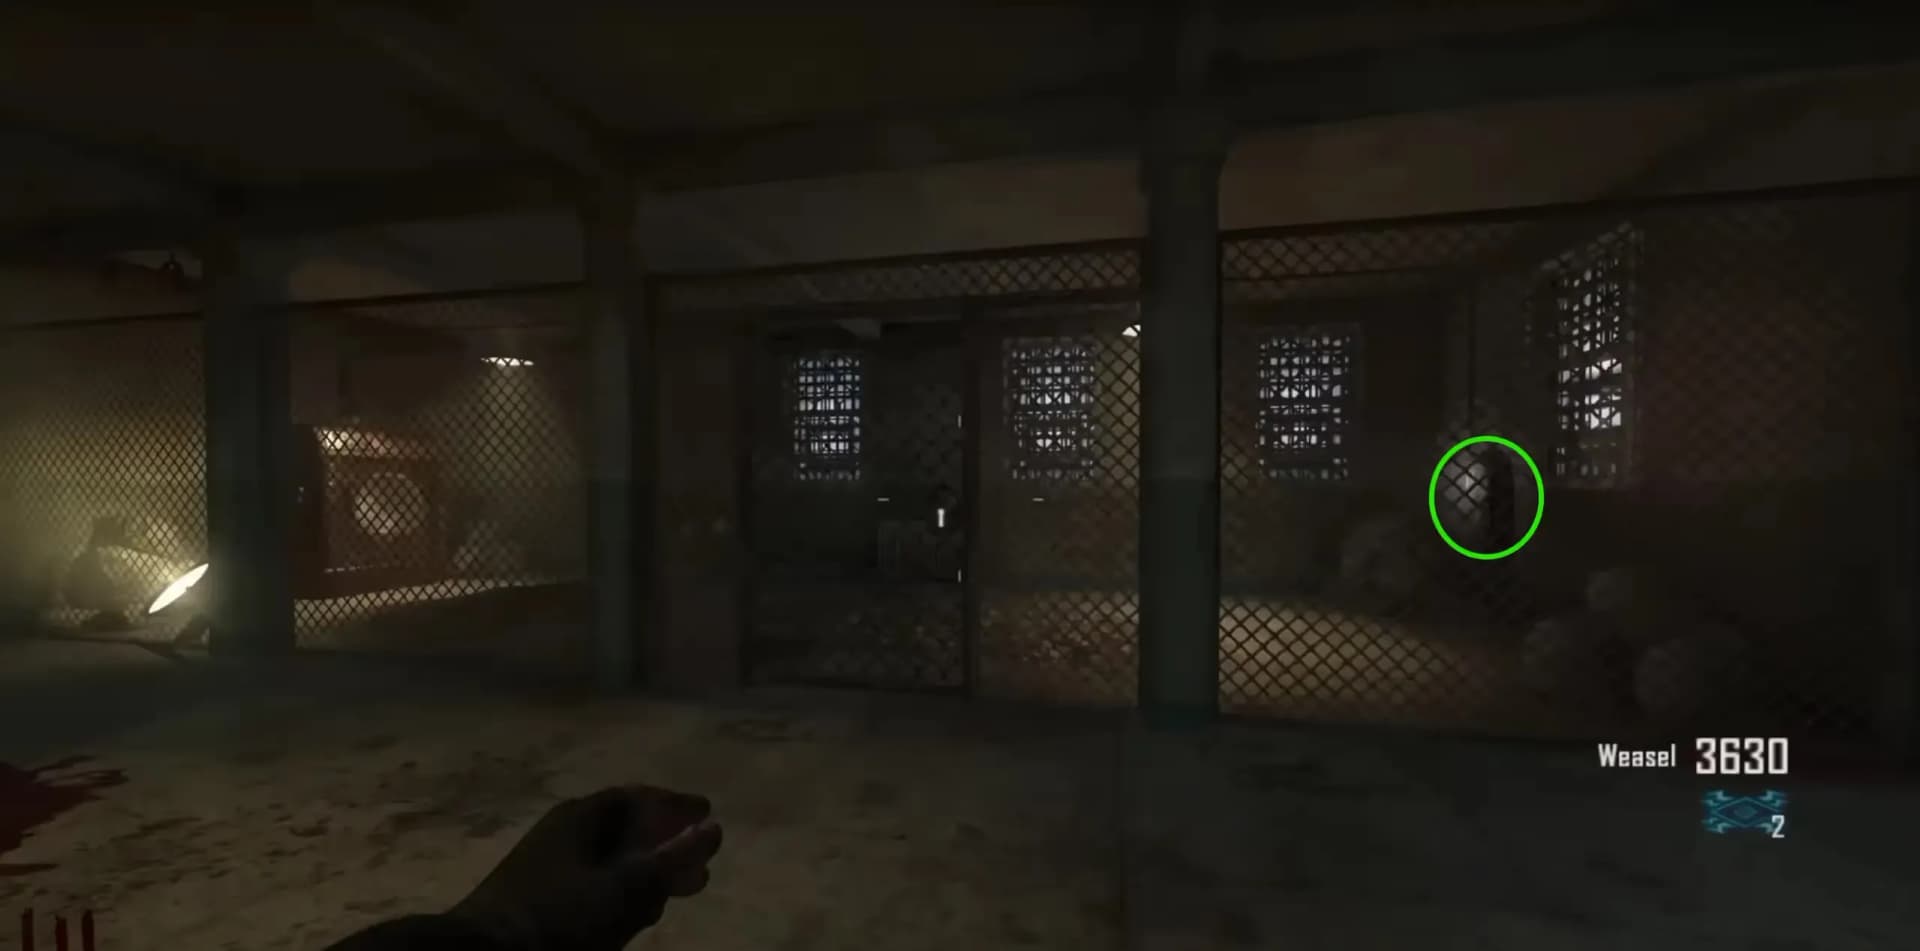
Once the Washing Machine is powered, interact with it to start washing the shirt. This will start an event that will lock you in the Showers area while the shirt is being washed, once the event is over you can pick up the shirt.
Each player can only carry one part at a time so be sure to place each part on the ramp where the plane will be built on the roof after you acquire it. The roof is accessed and opened via the Infirmary, you must be in afterlife to open the roof for future access.
Rigging Plane Part
Head to the Citadel Tunnels spiral staircase just before the docks, at the bottom of the staircase will be a number pad that will need to be unlocked using the Warden's Key.
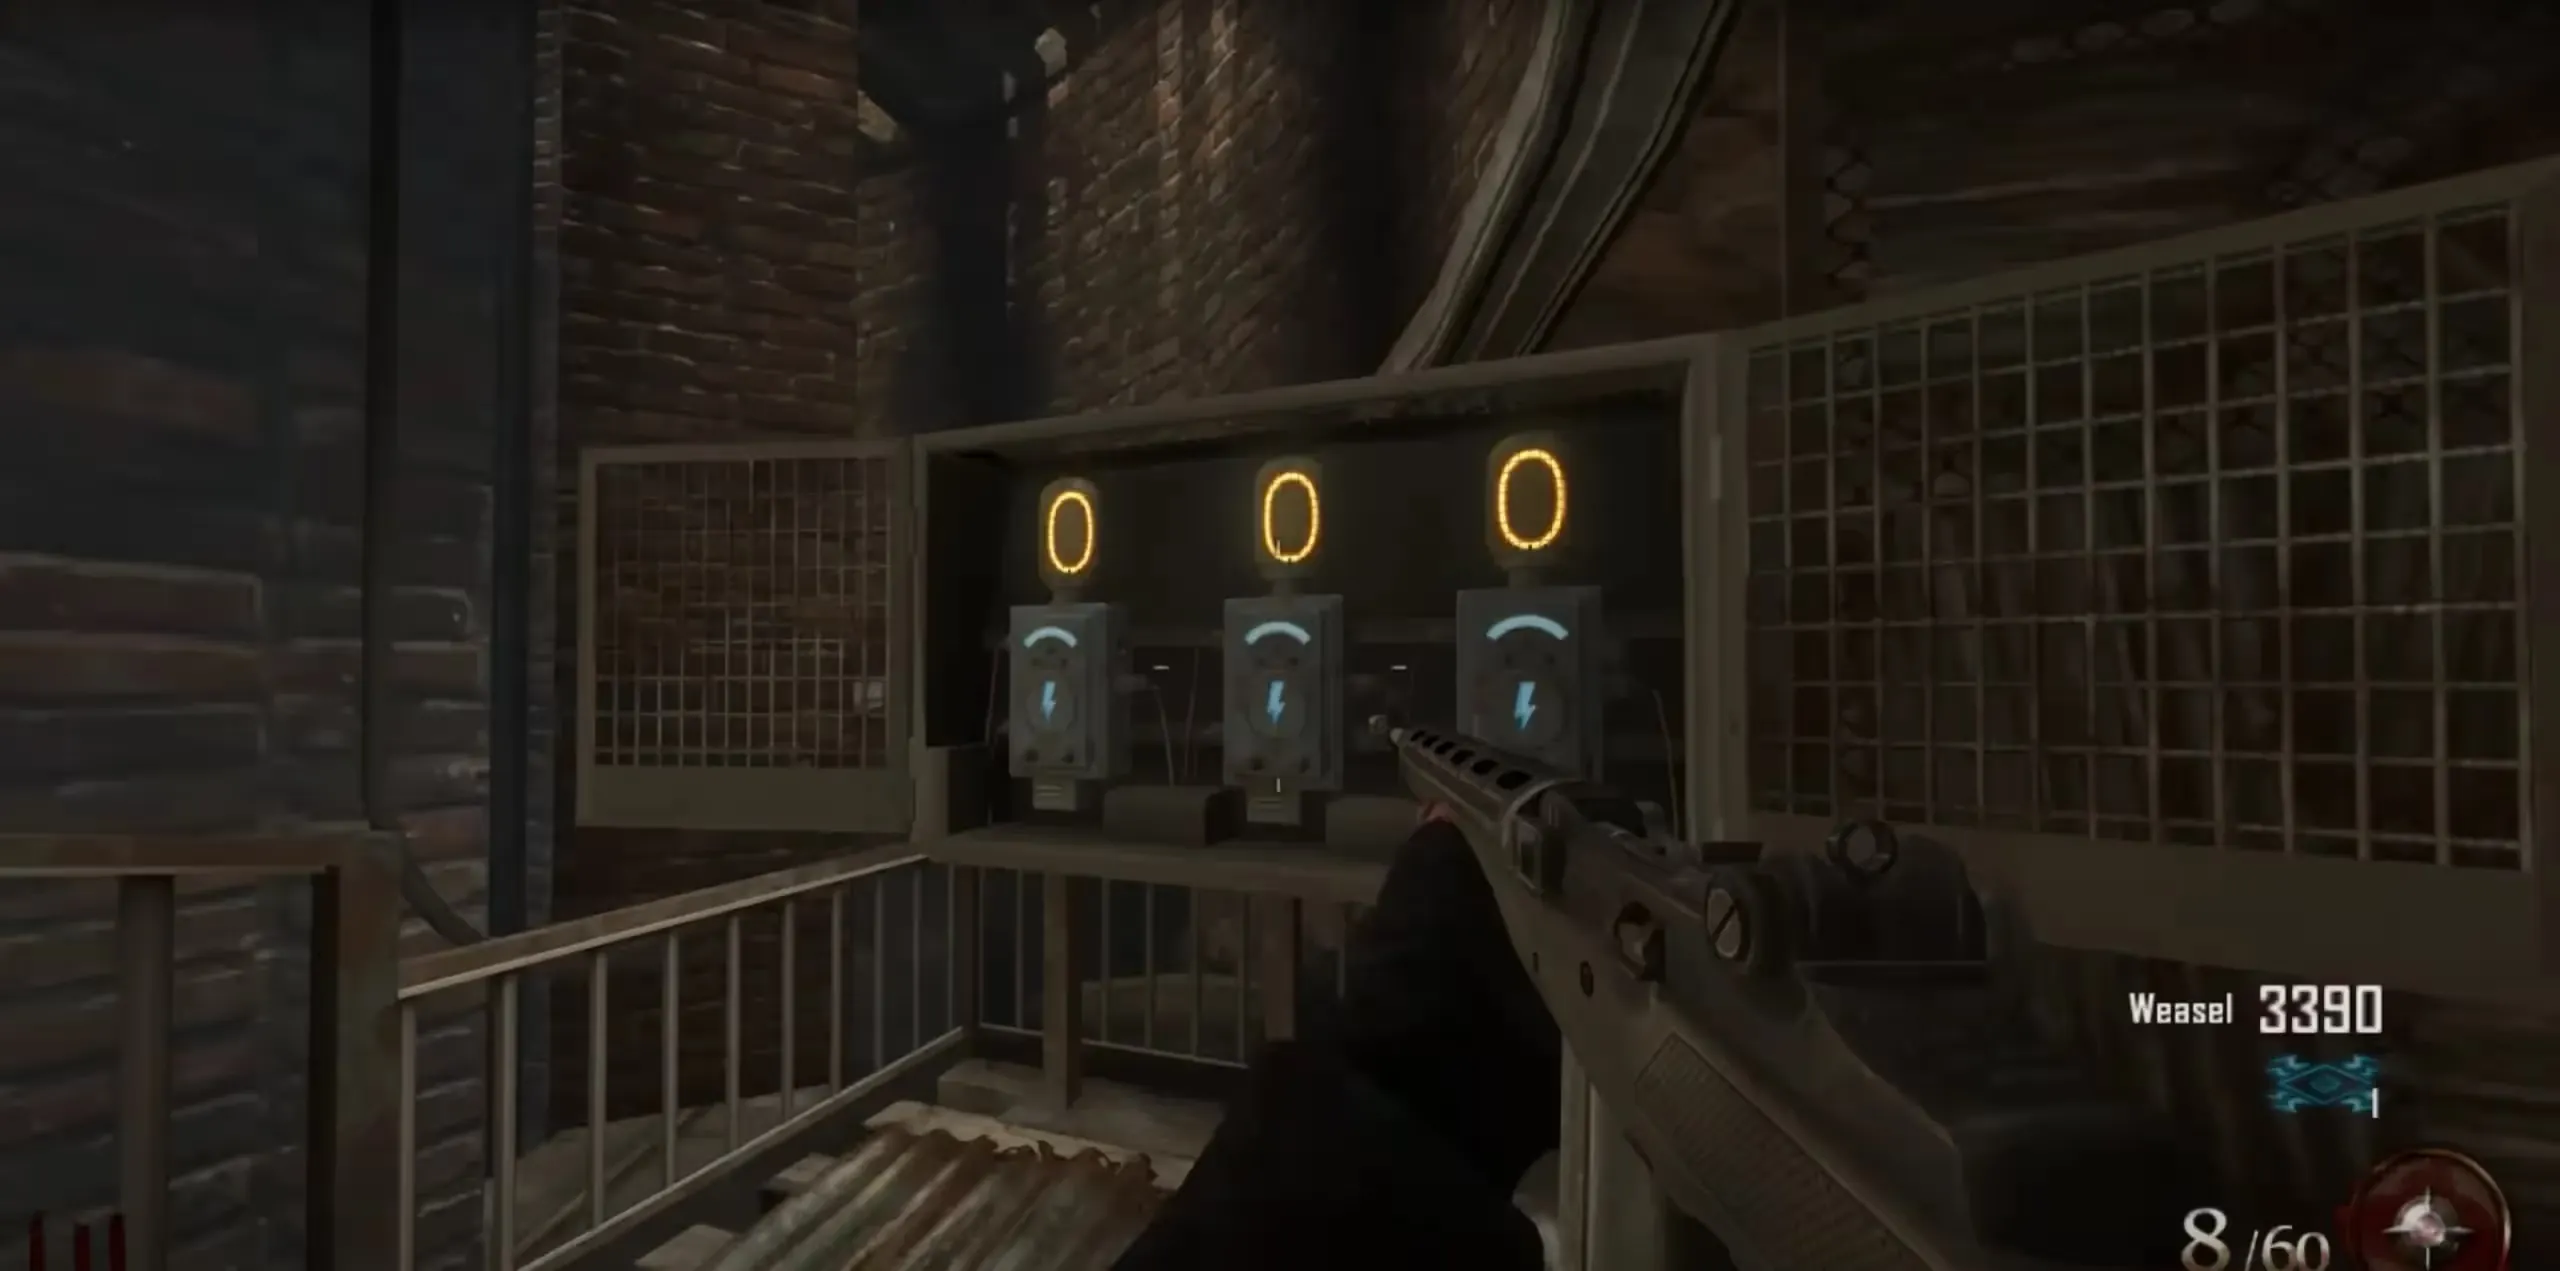
After unlocking this number pad, one player will need to enter the afterlife at the top of the spiral staircase and make their way down to the number pad, on the way down you'll see three big blue numbers on the left-hand side walls before reaching the bottom. These numbers have to be entered into the number pad by shocking each of the Volt Meters until it reads the correct 3-digit code.
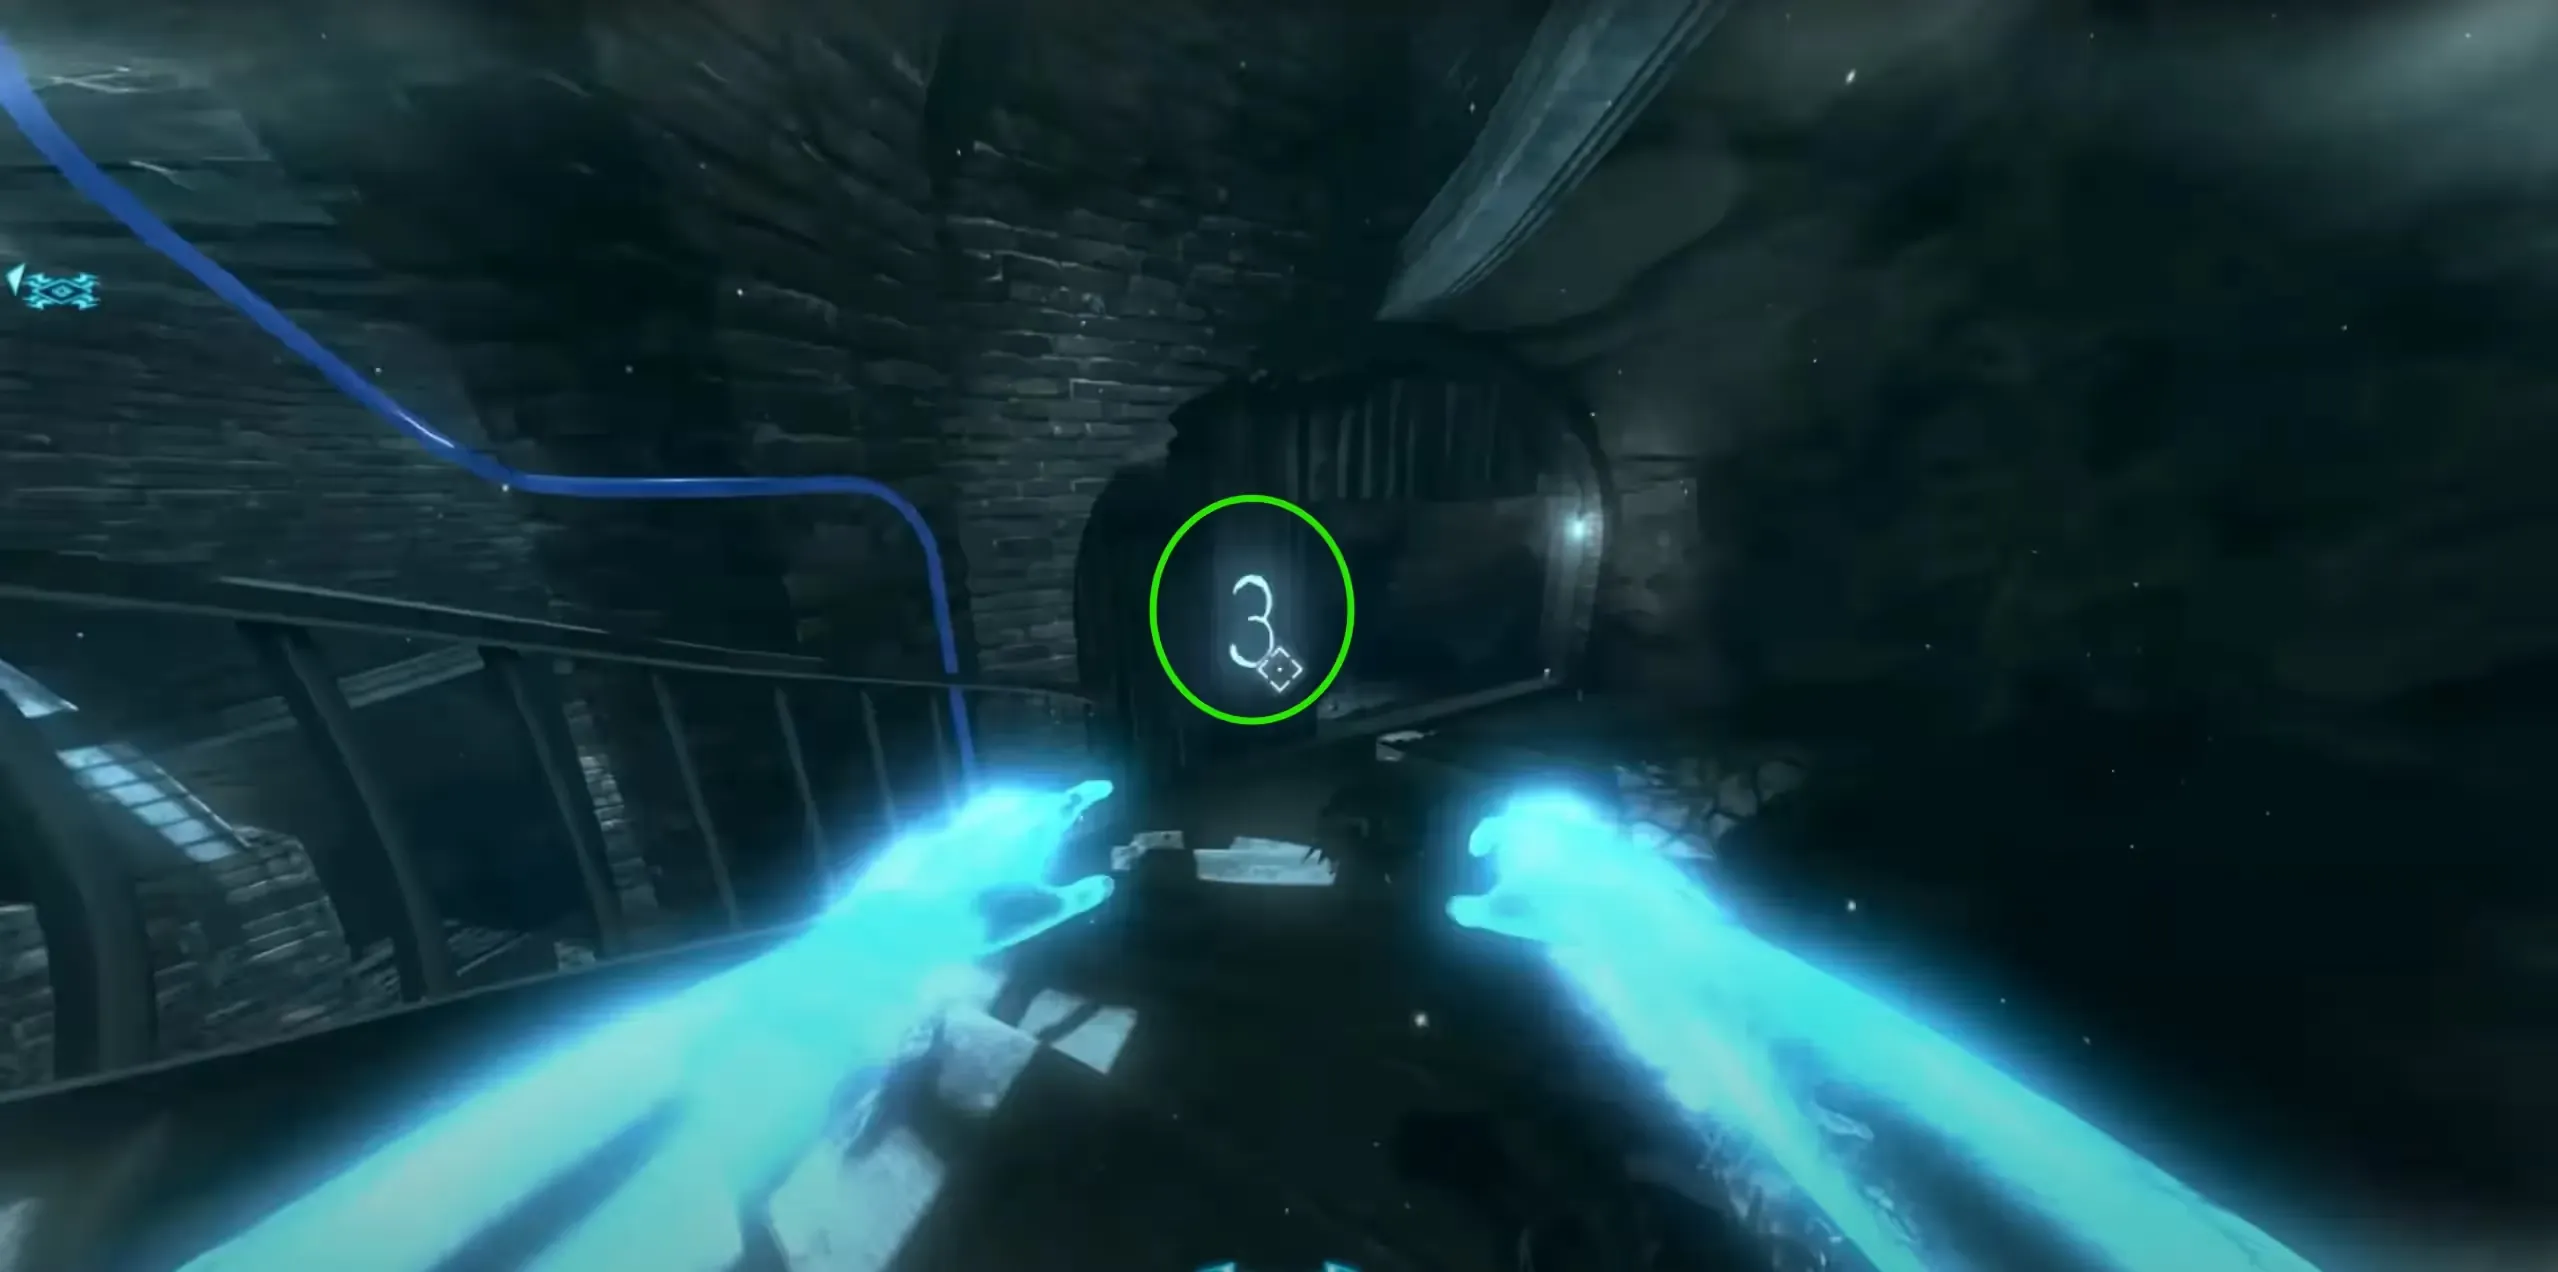
Once the correct code is entered, the elevator will lower and you can head down to it and pick up the part.
Engine Plane Part
Head to the Generator Room near the docks, once inside enter the afterlife and overcharge the two highlighted generators in that room by shocking them until they turn off (follow the blue wires if you need help finding the generators), then head through the blue portal to a smaller room which will have another highlighted generator you must overcharge. This will turn off the power of an electrified gate in the Warden's Office.
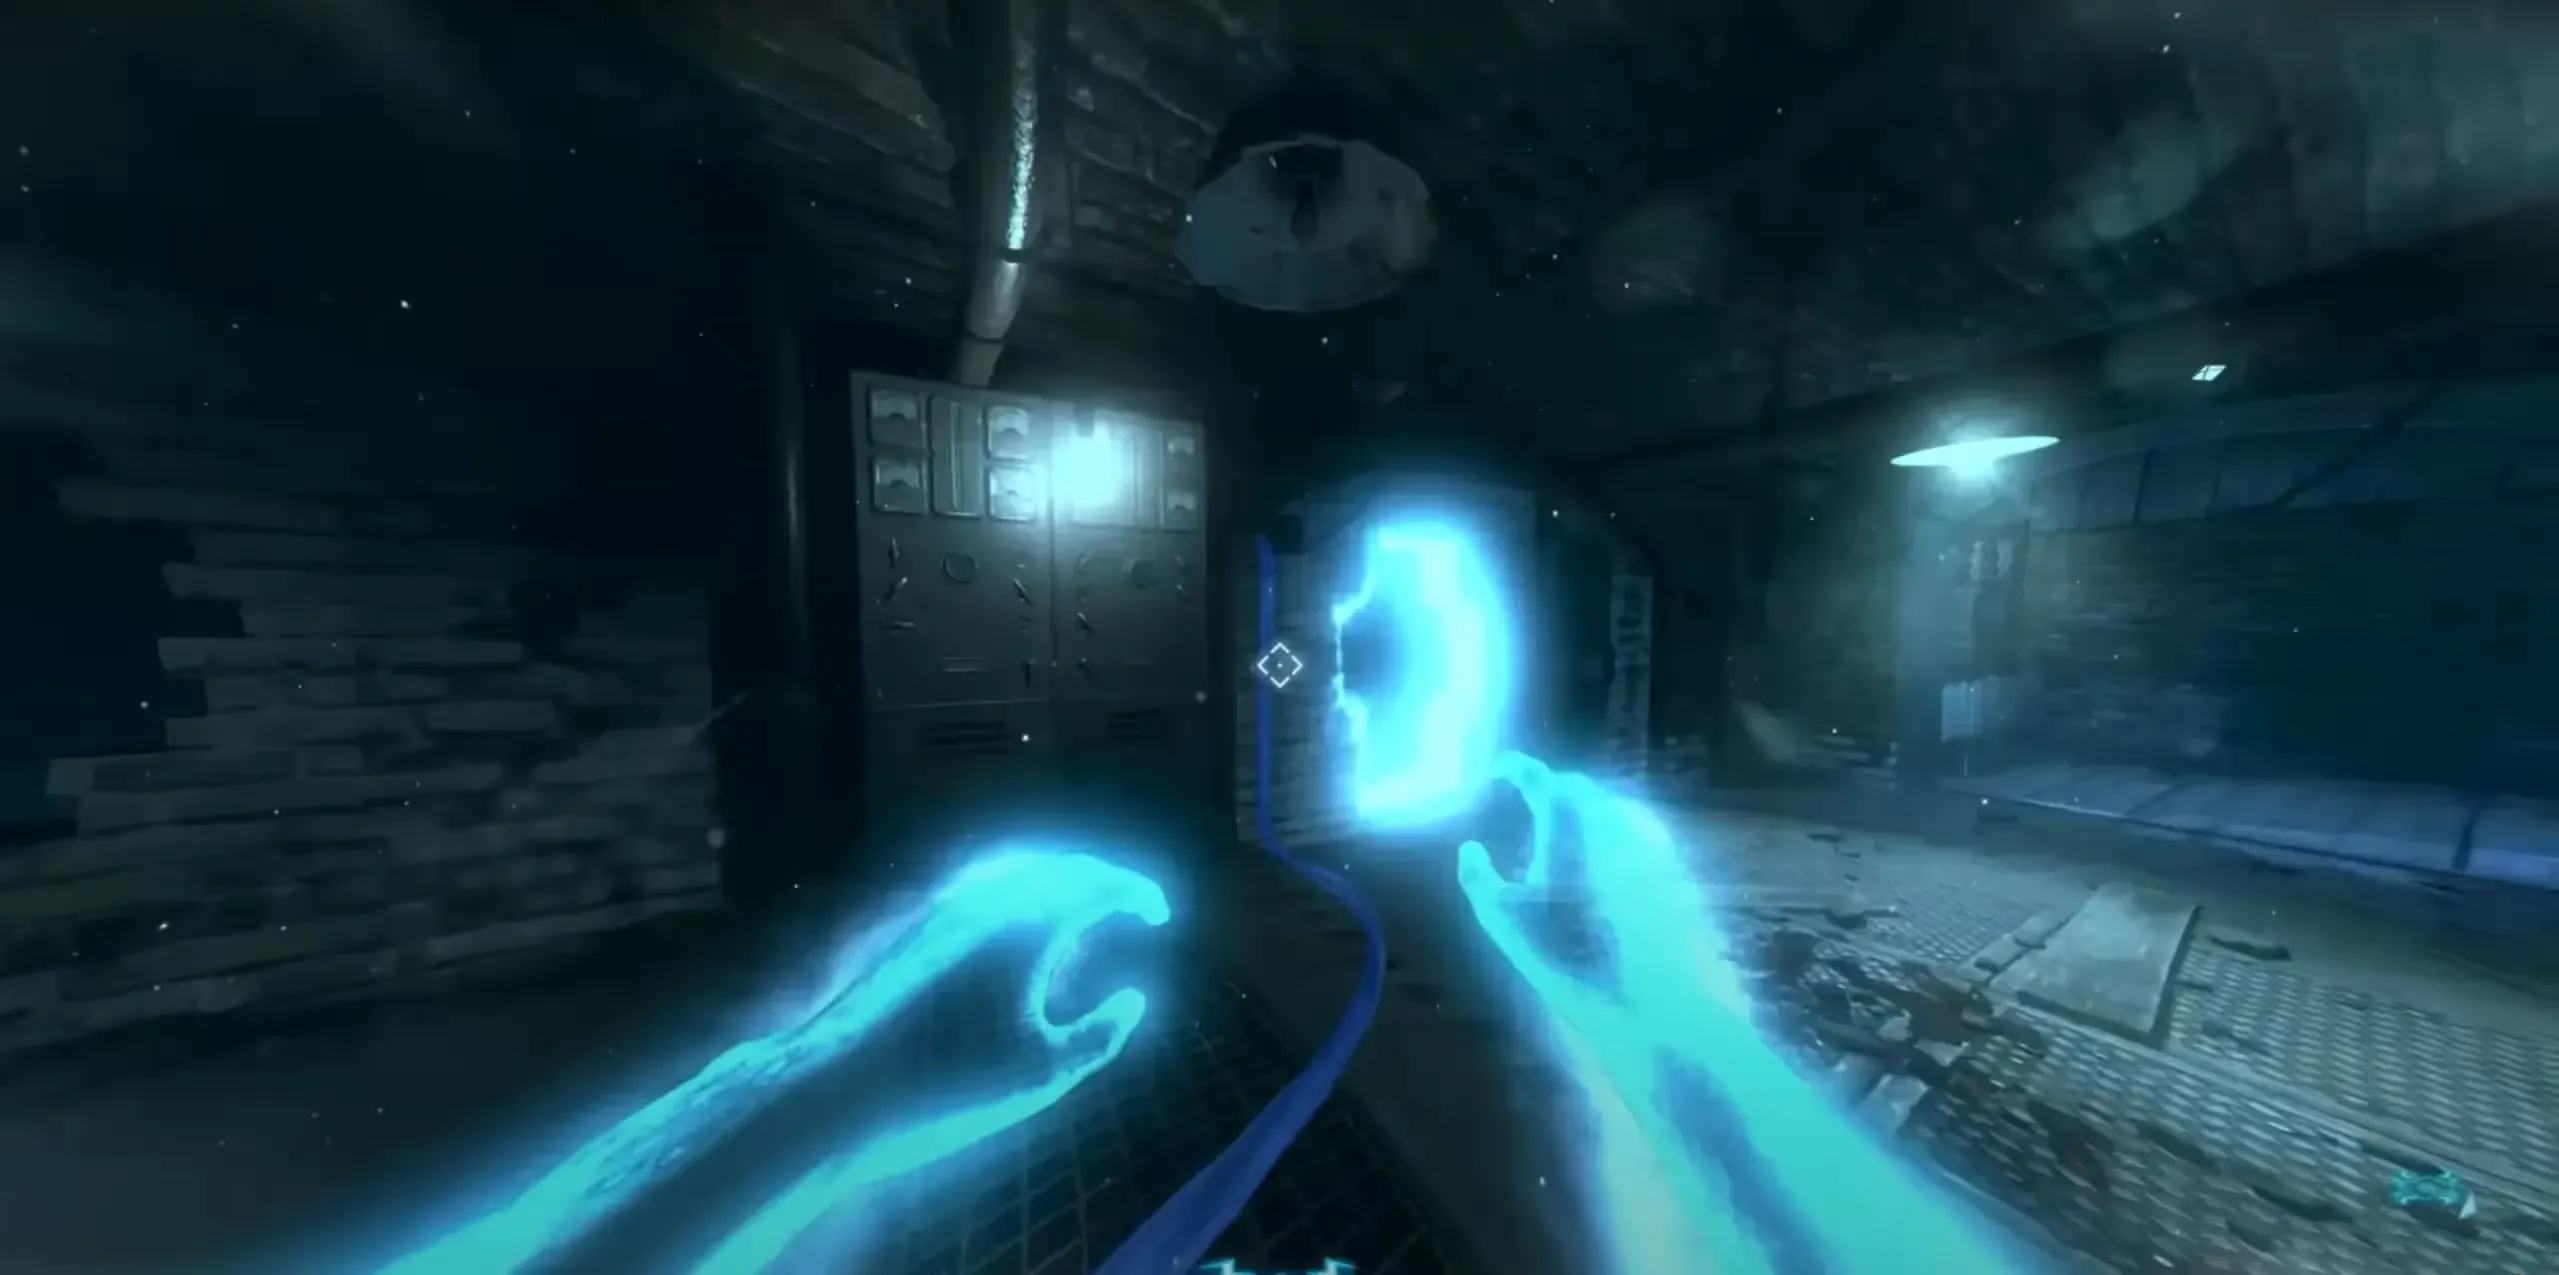
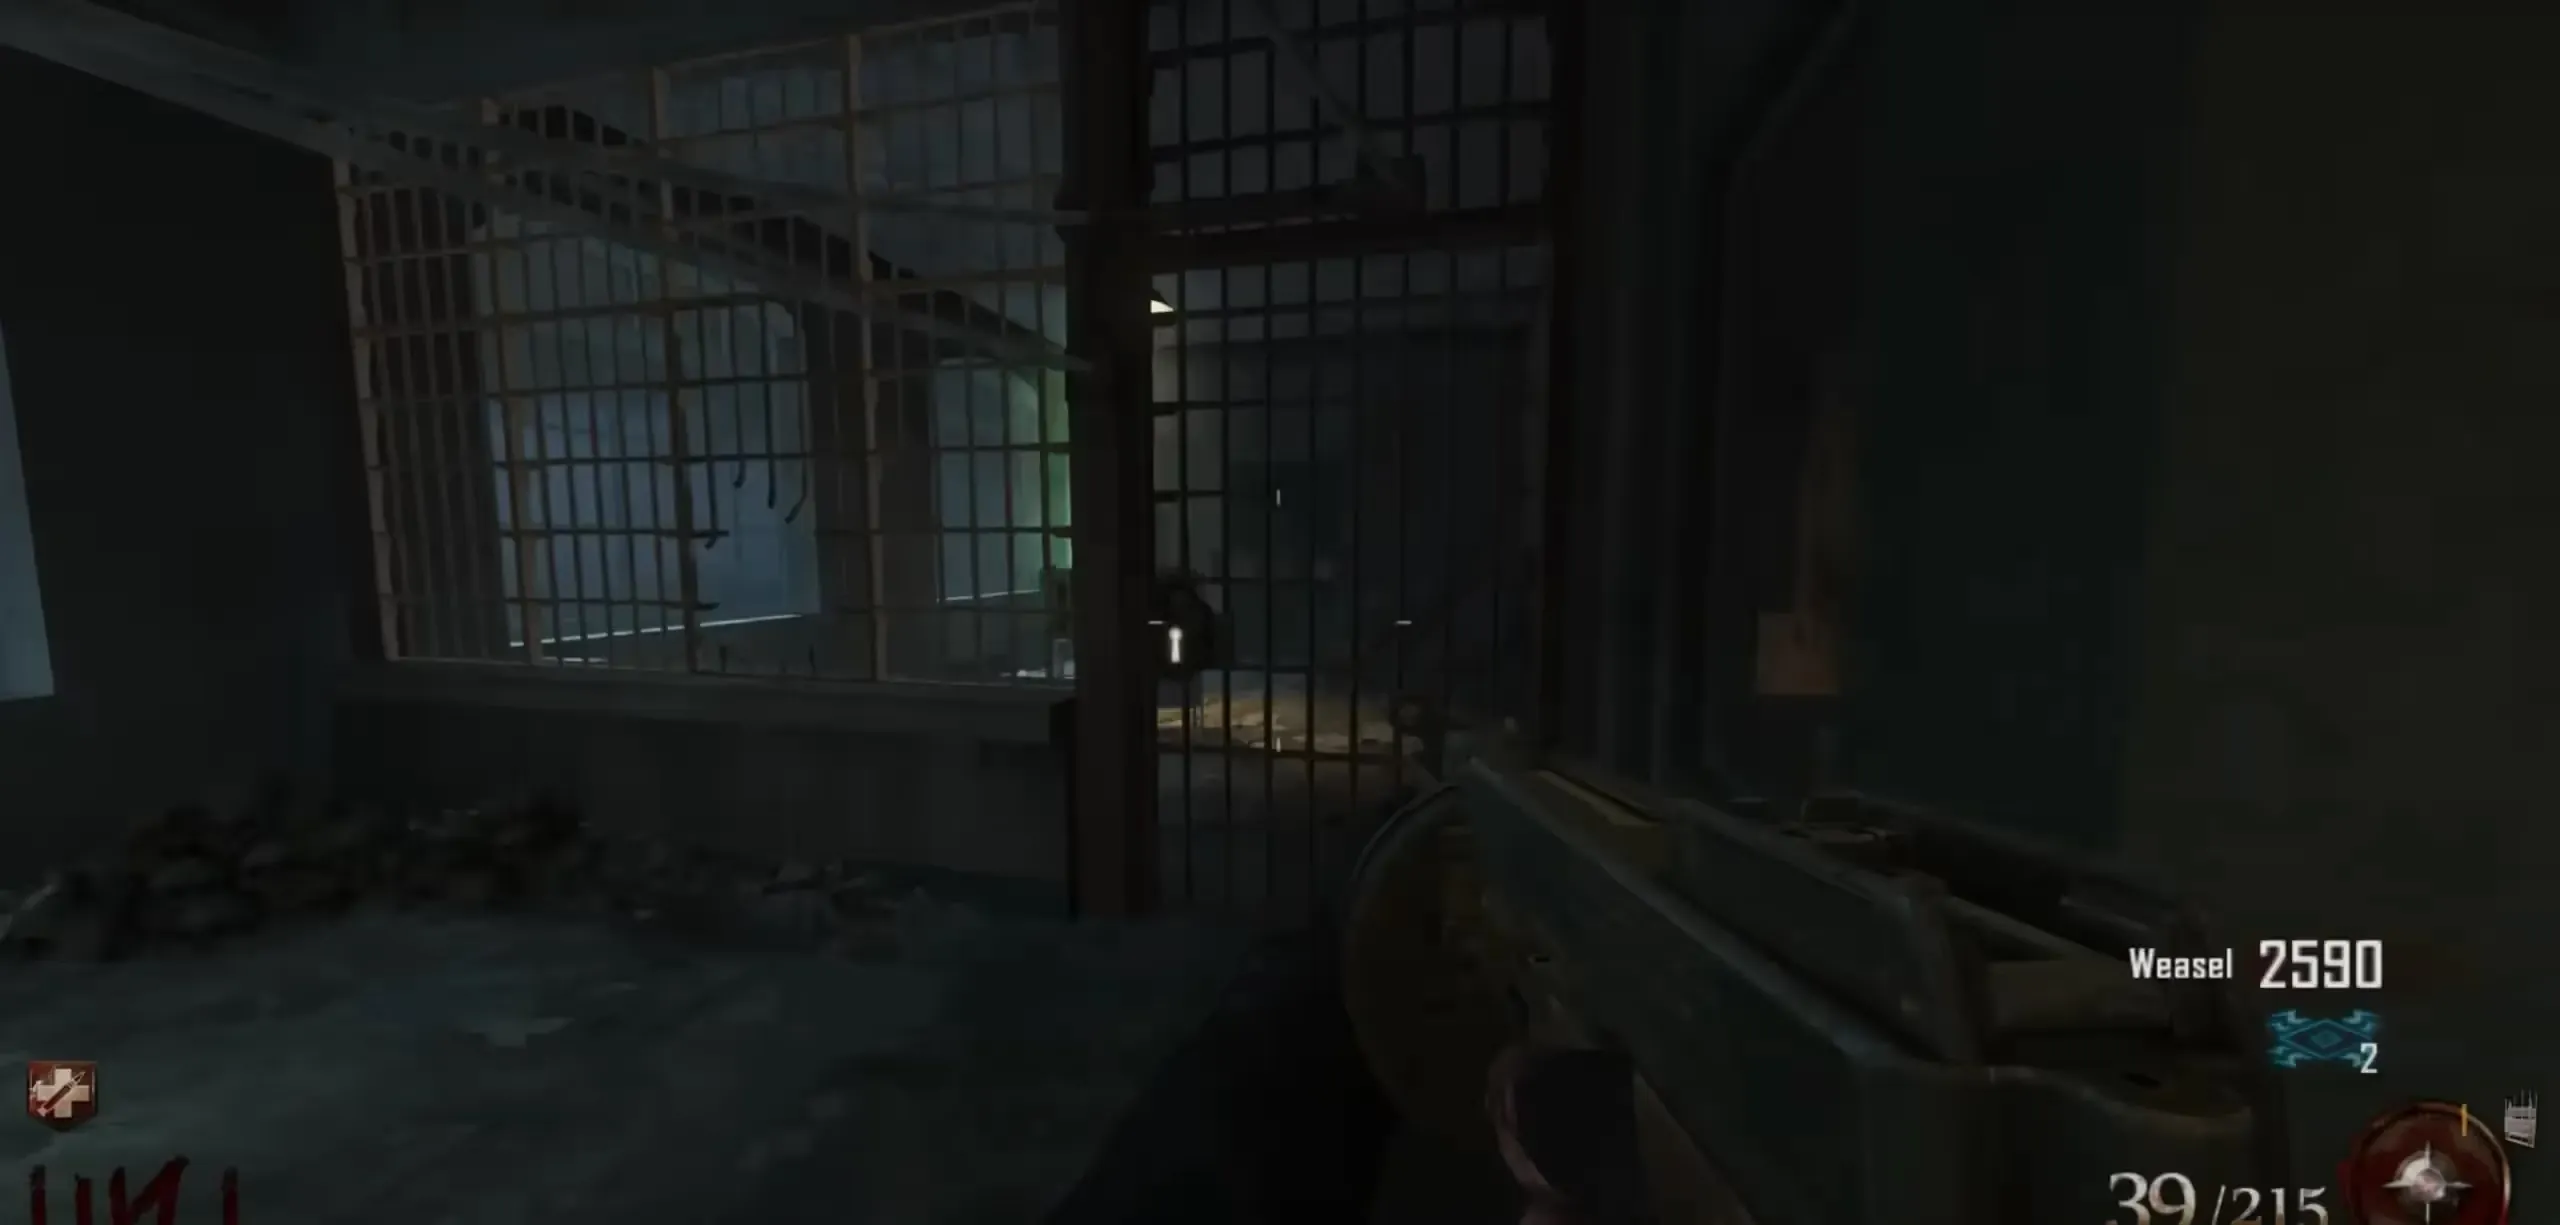
Once completed, head to the Warden's Office and use the Warden's Key to open the gate and grab the Engine part.
Tanks Plane Part
Head to the bottom of the Docks, to the left of the M1927 (Tommy Gun) wall buy will be a locked gate that you must open with the Warden's Key revealing a Volt Meter and another locked gate.
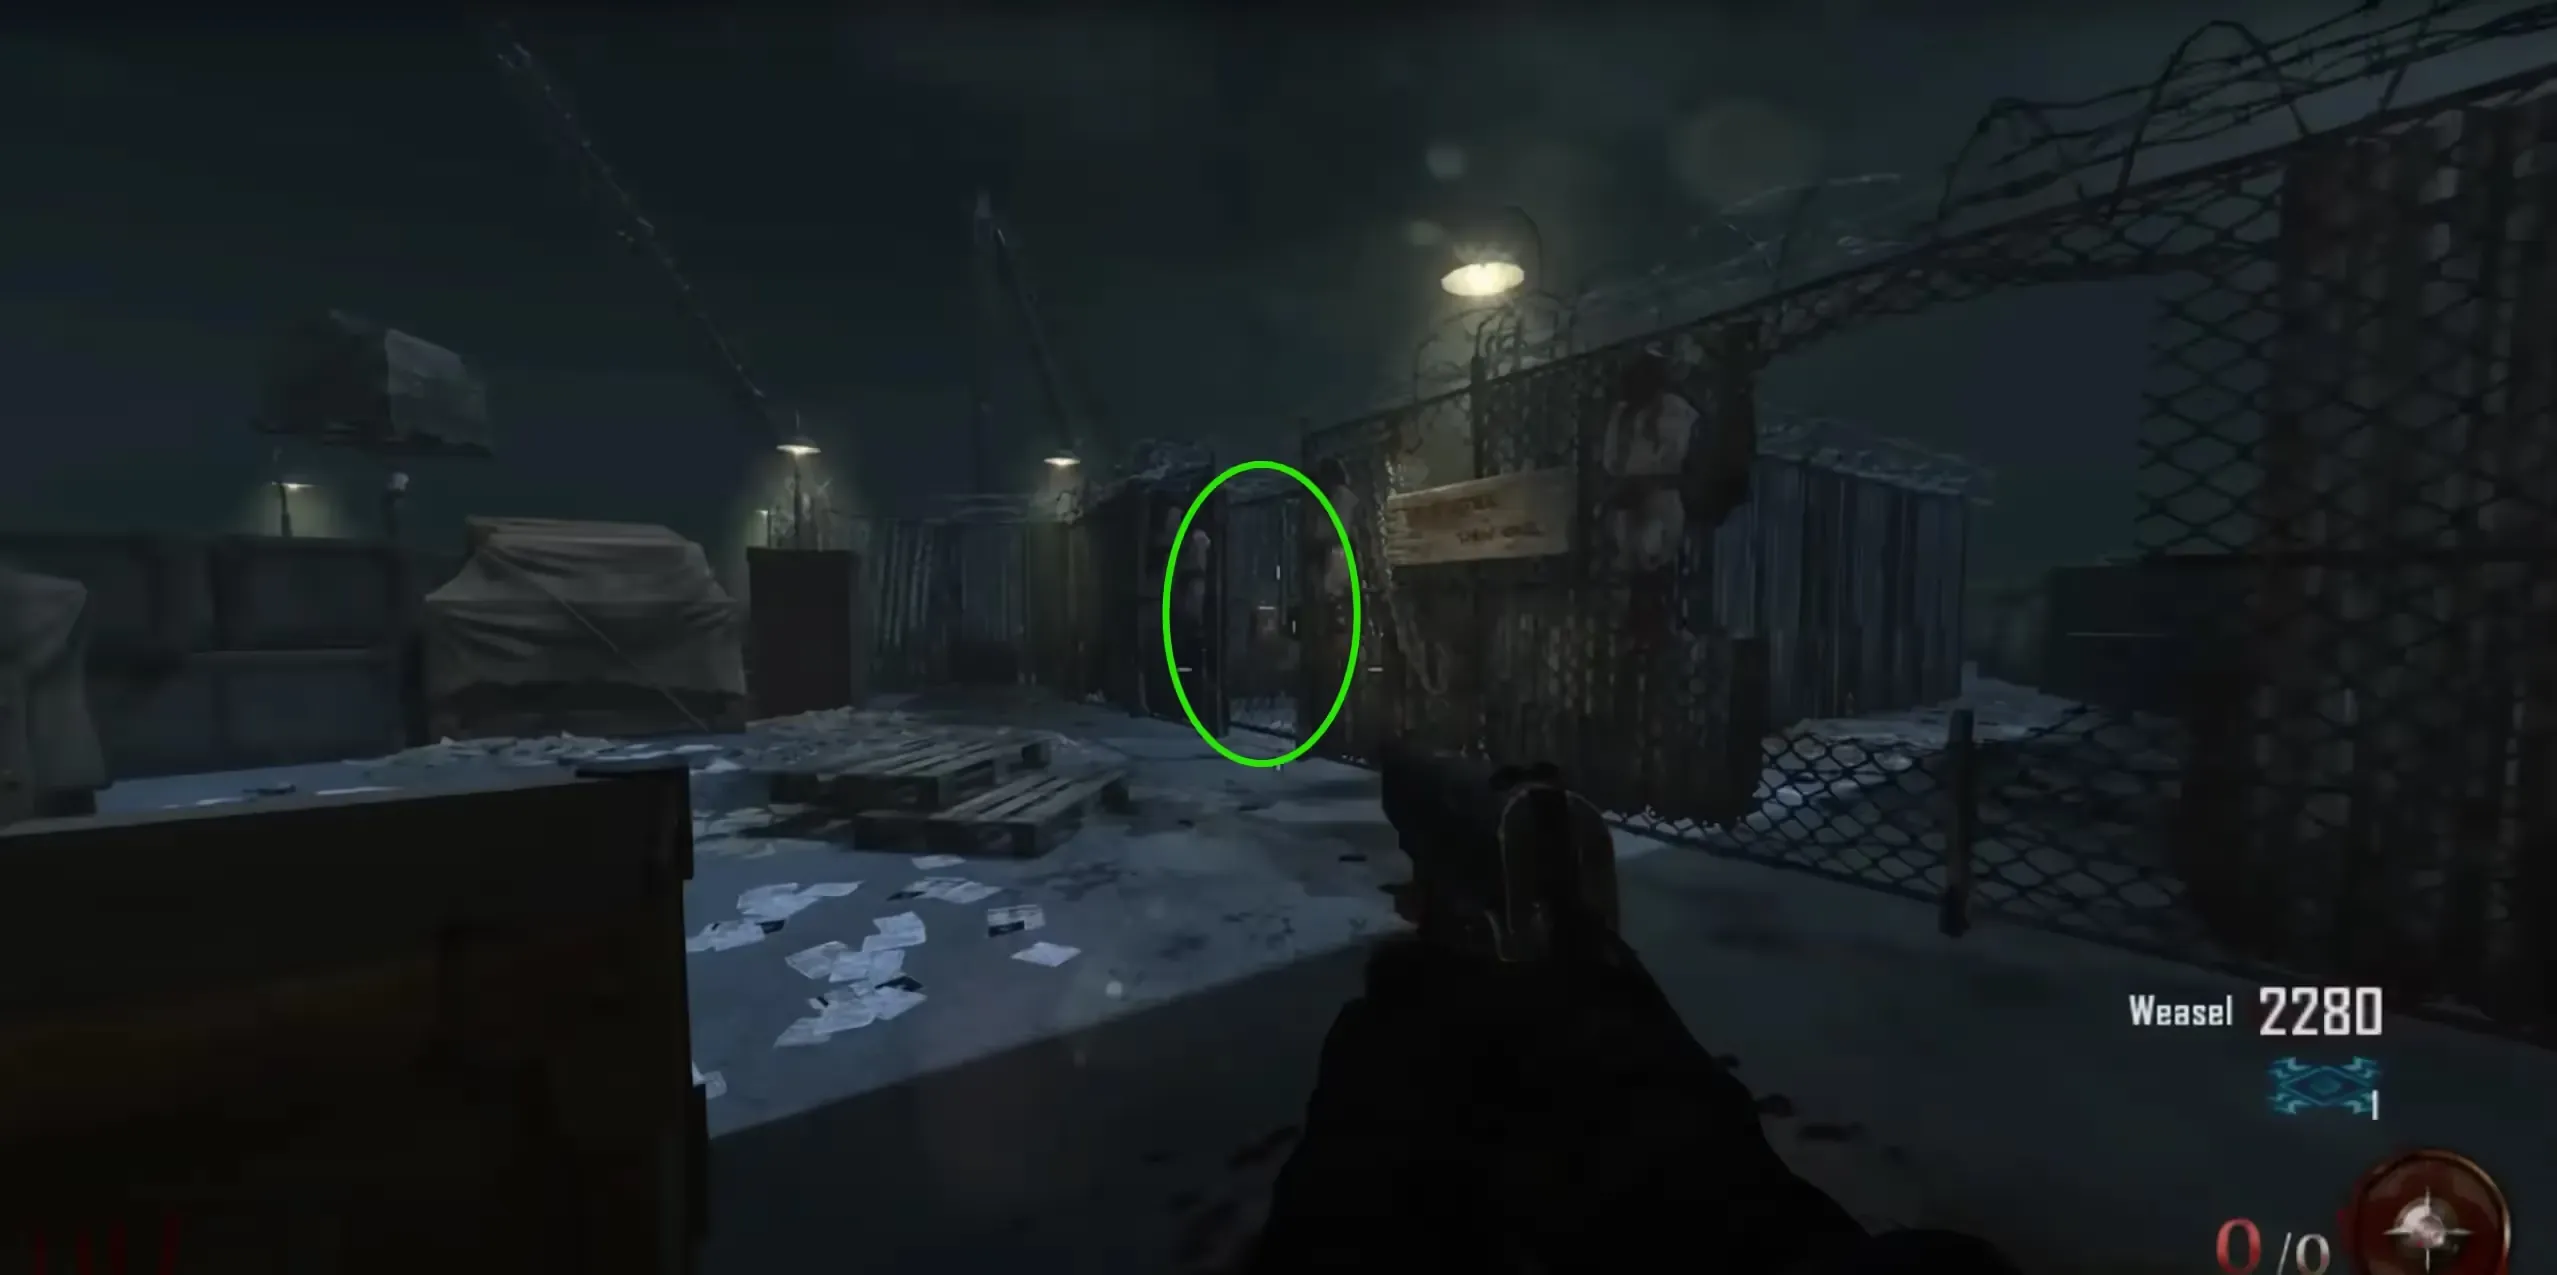
After opening this gate, one player must be waiting at the other locked gate while another player enters the afterlife and shocks the Volt Meter opening the gate for the player to pick up the part.
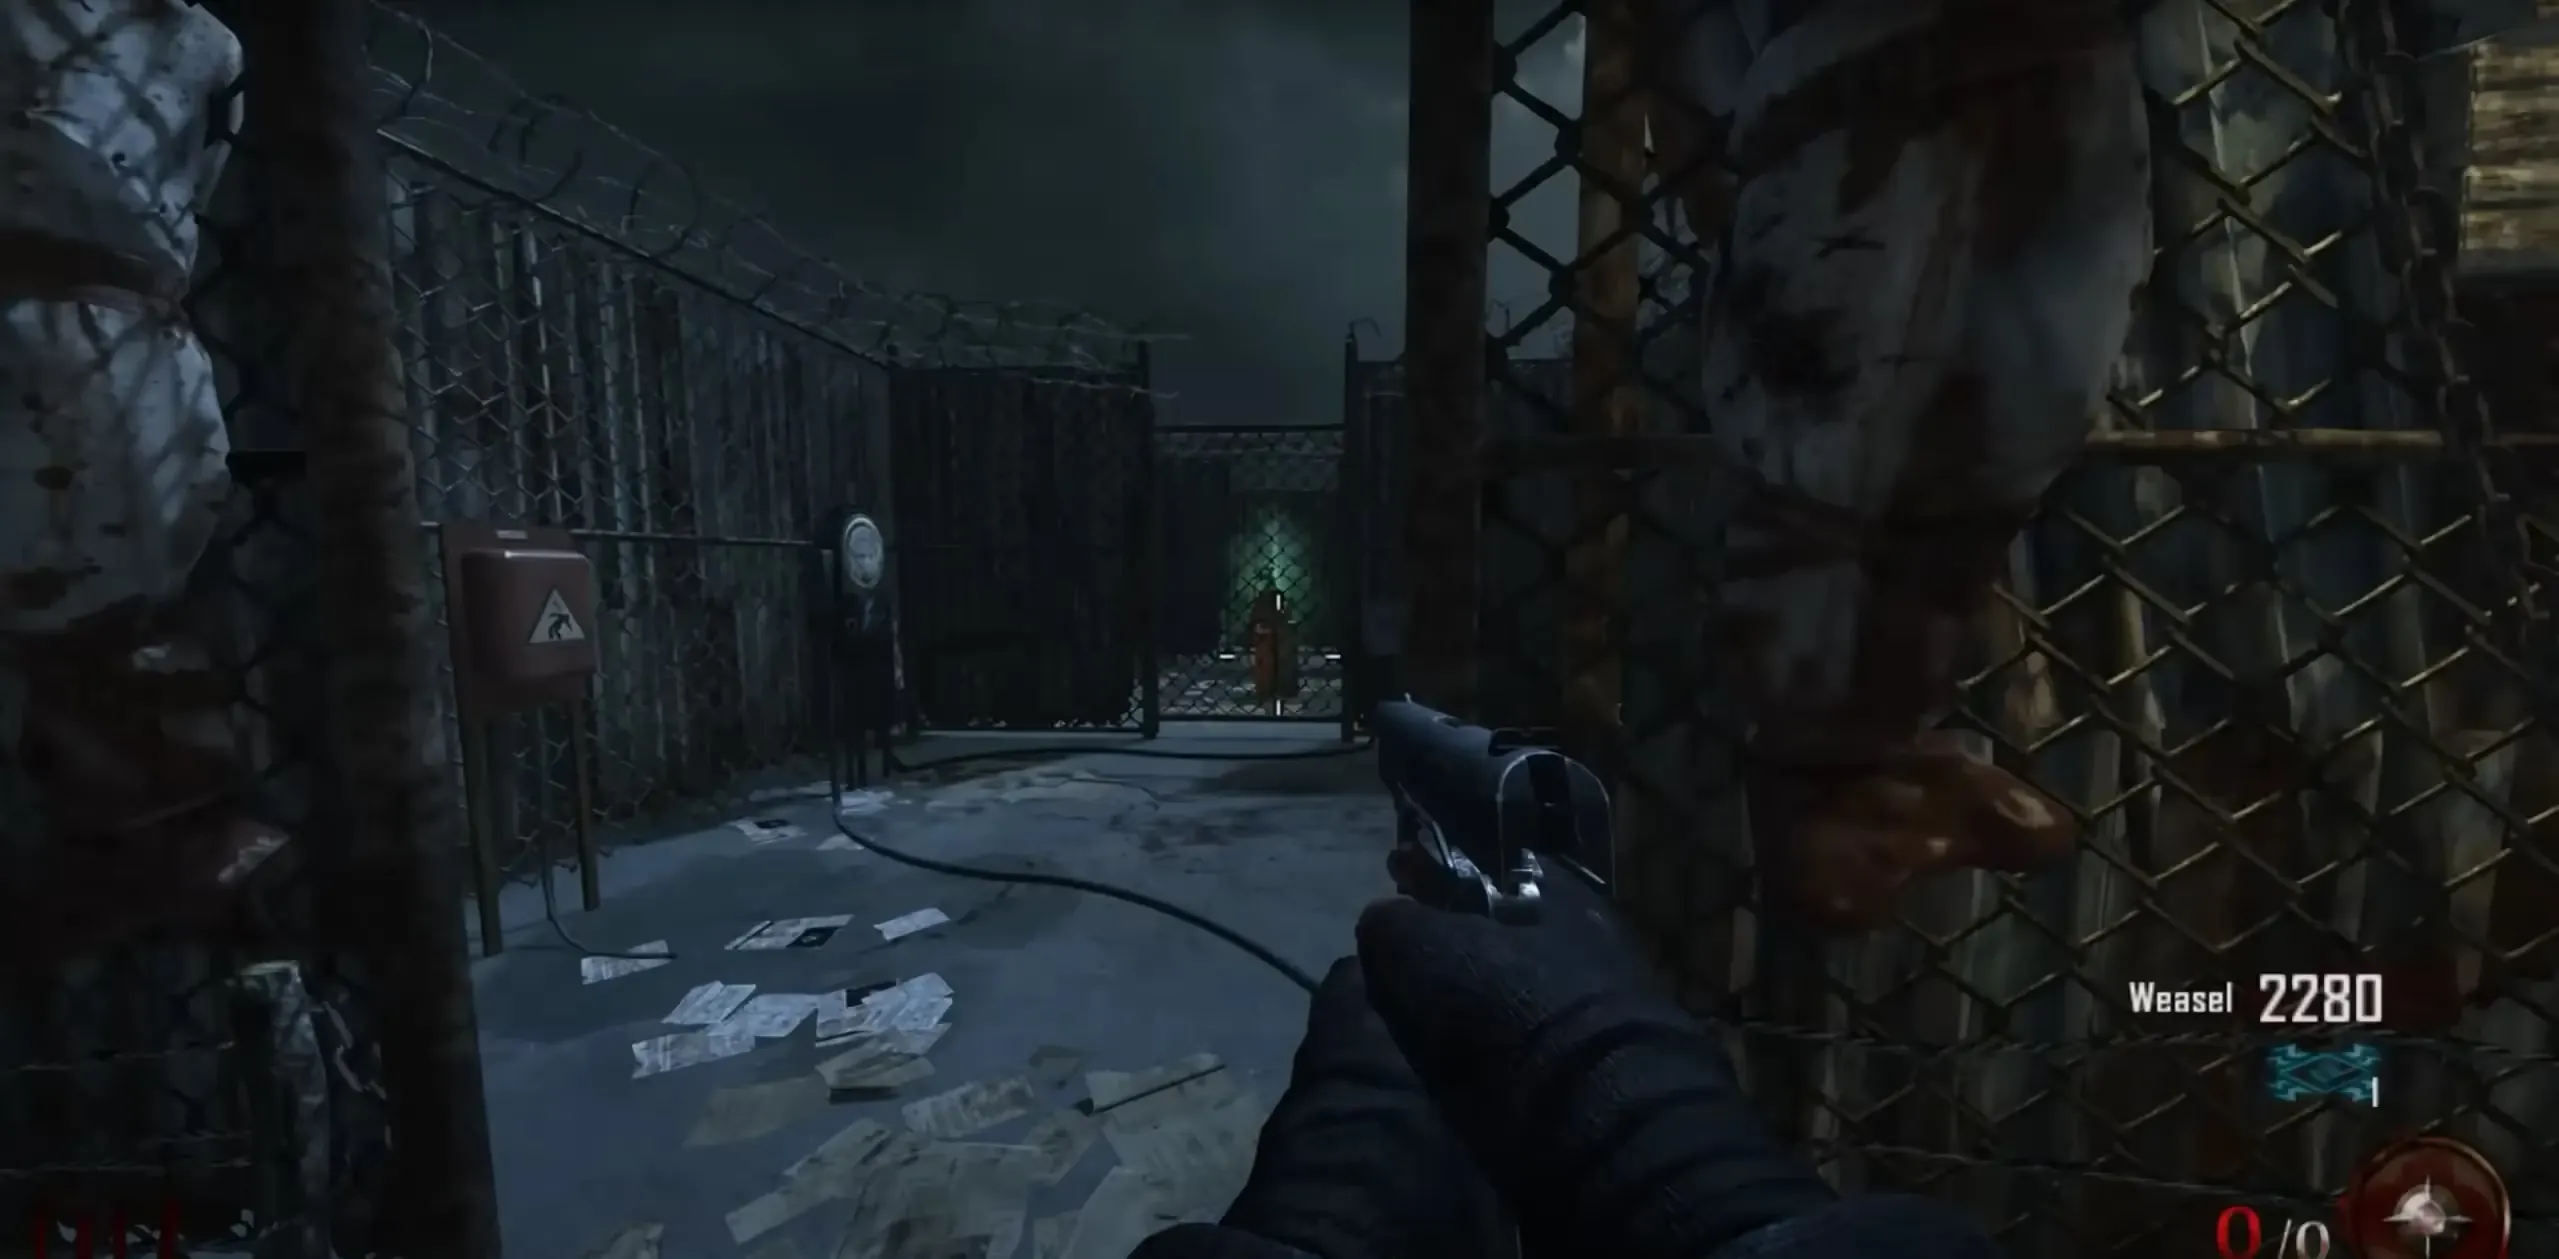
After picking up the part, the afterlife player must shock the Volt Meter again to open the original gate.
Control Valve Plane Part
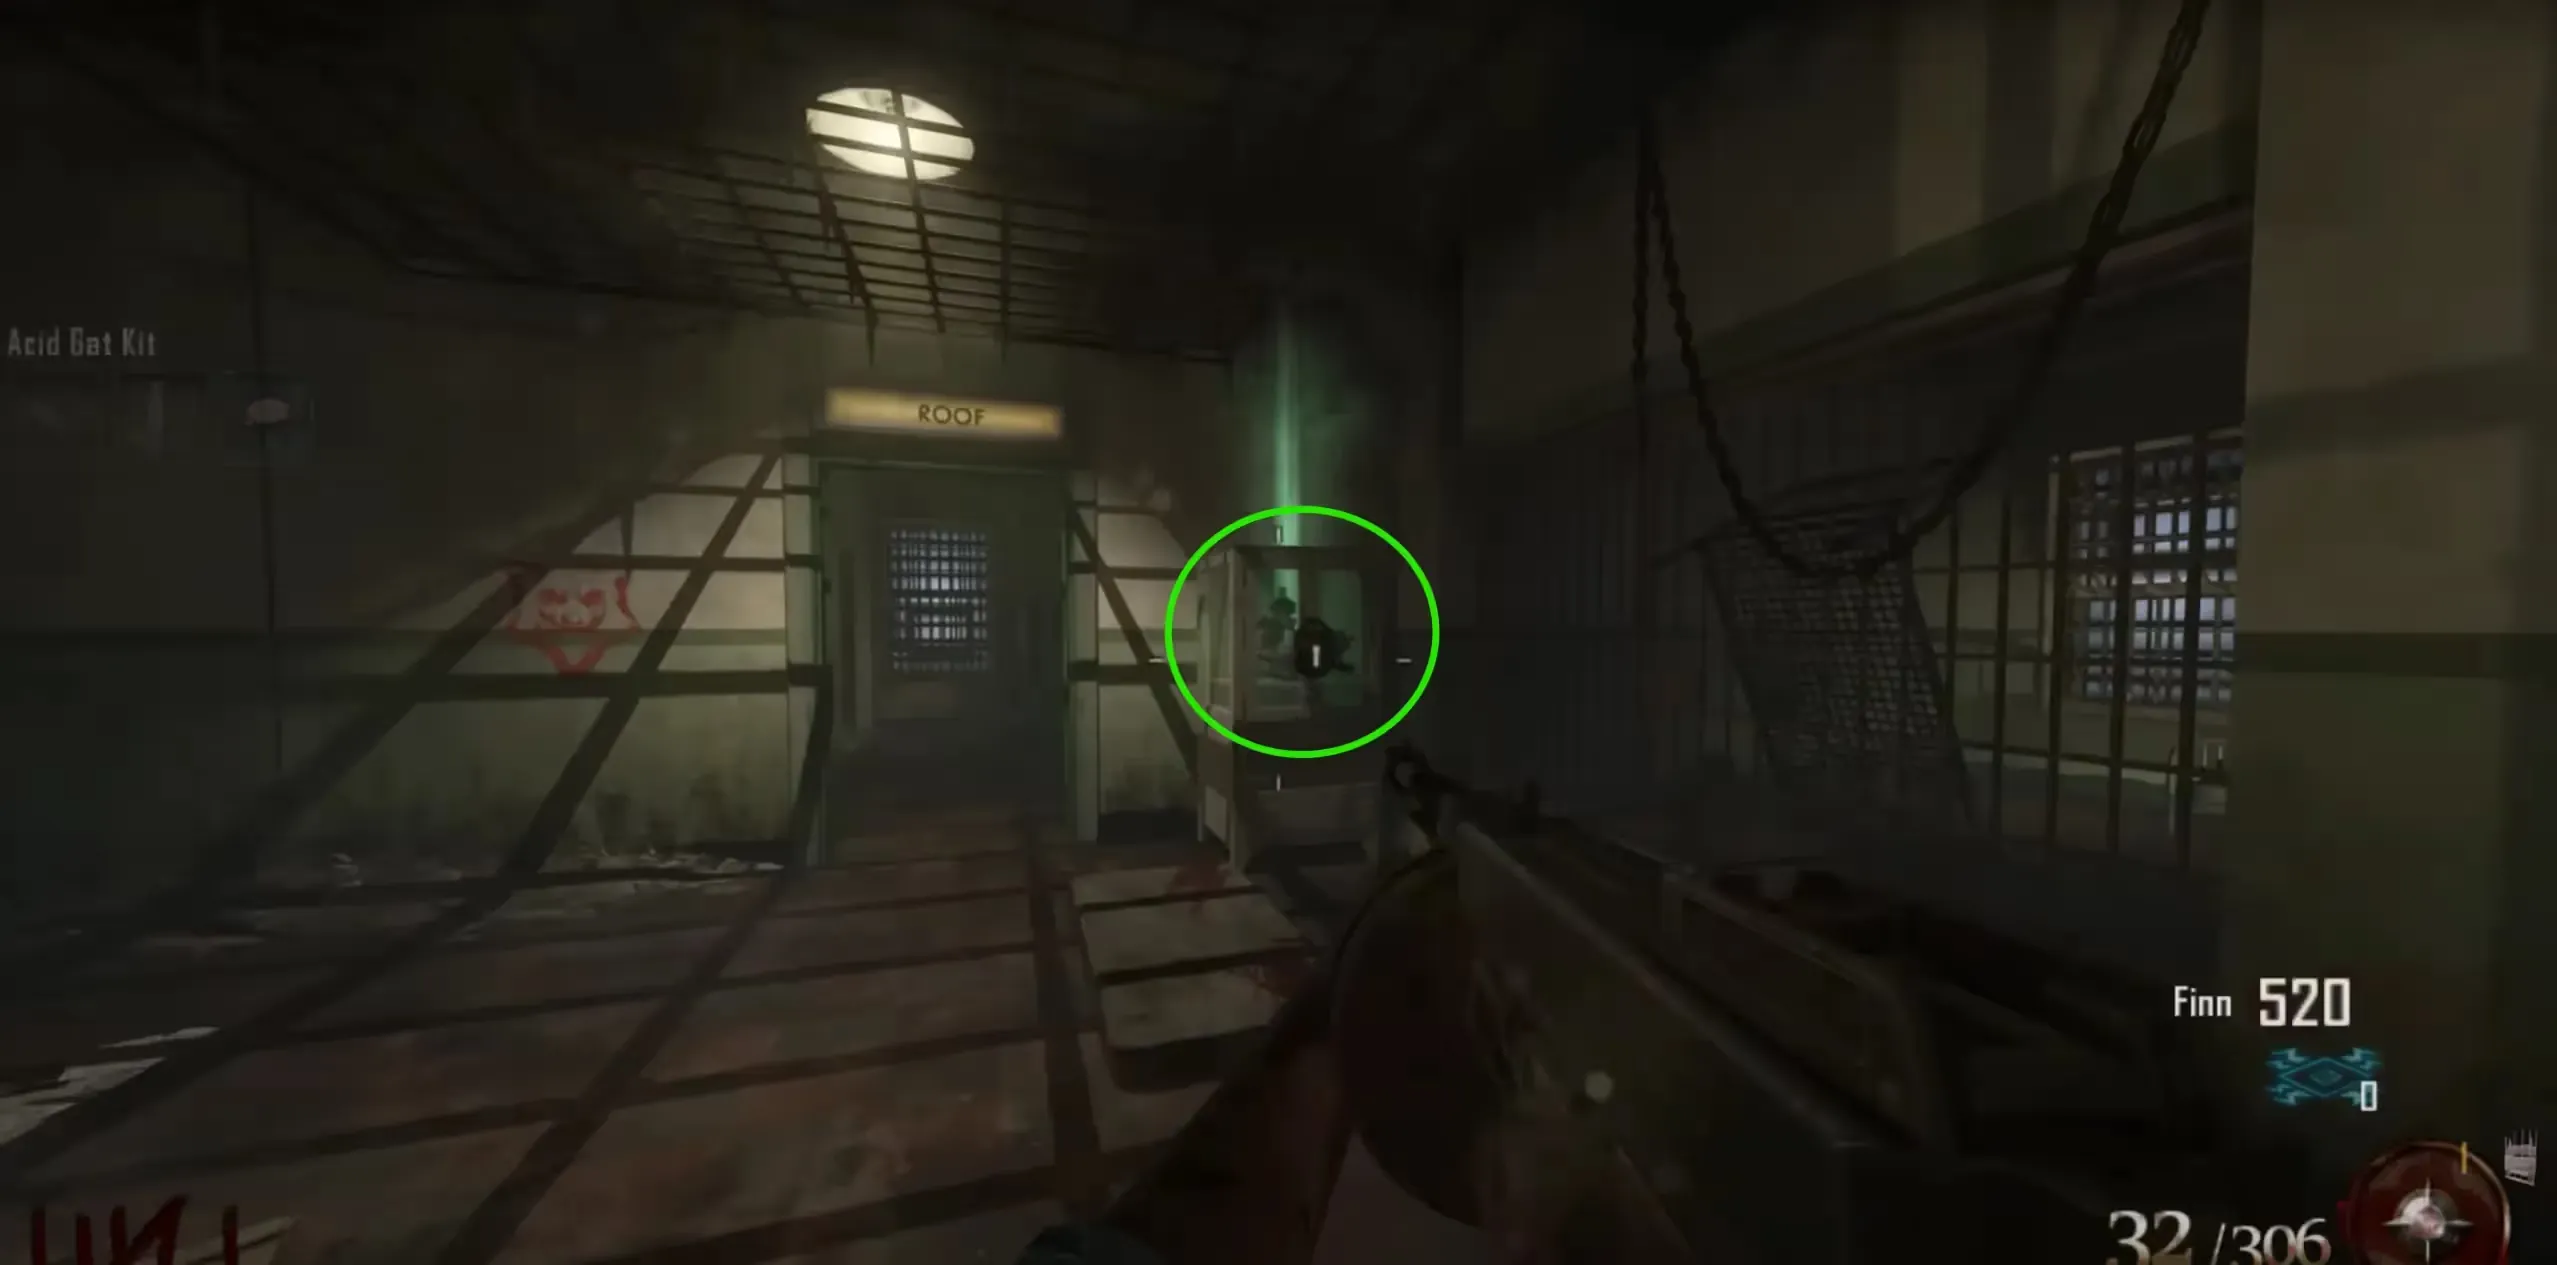
Head to the Infirmary, inside a locked glowing green box just before the roof will be the Control Valve. Unlock the box with the Warden's Key to pick up the part.
Flying and Refueling the Plane
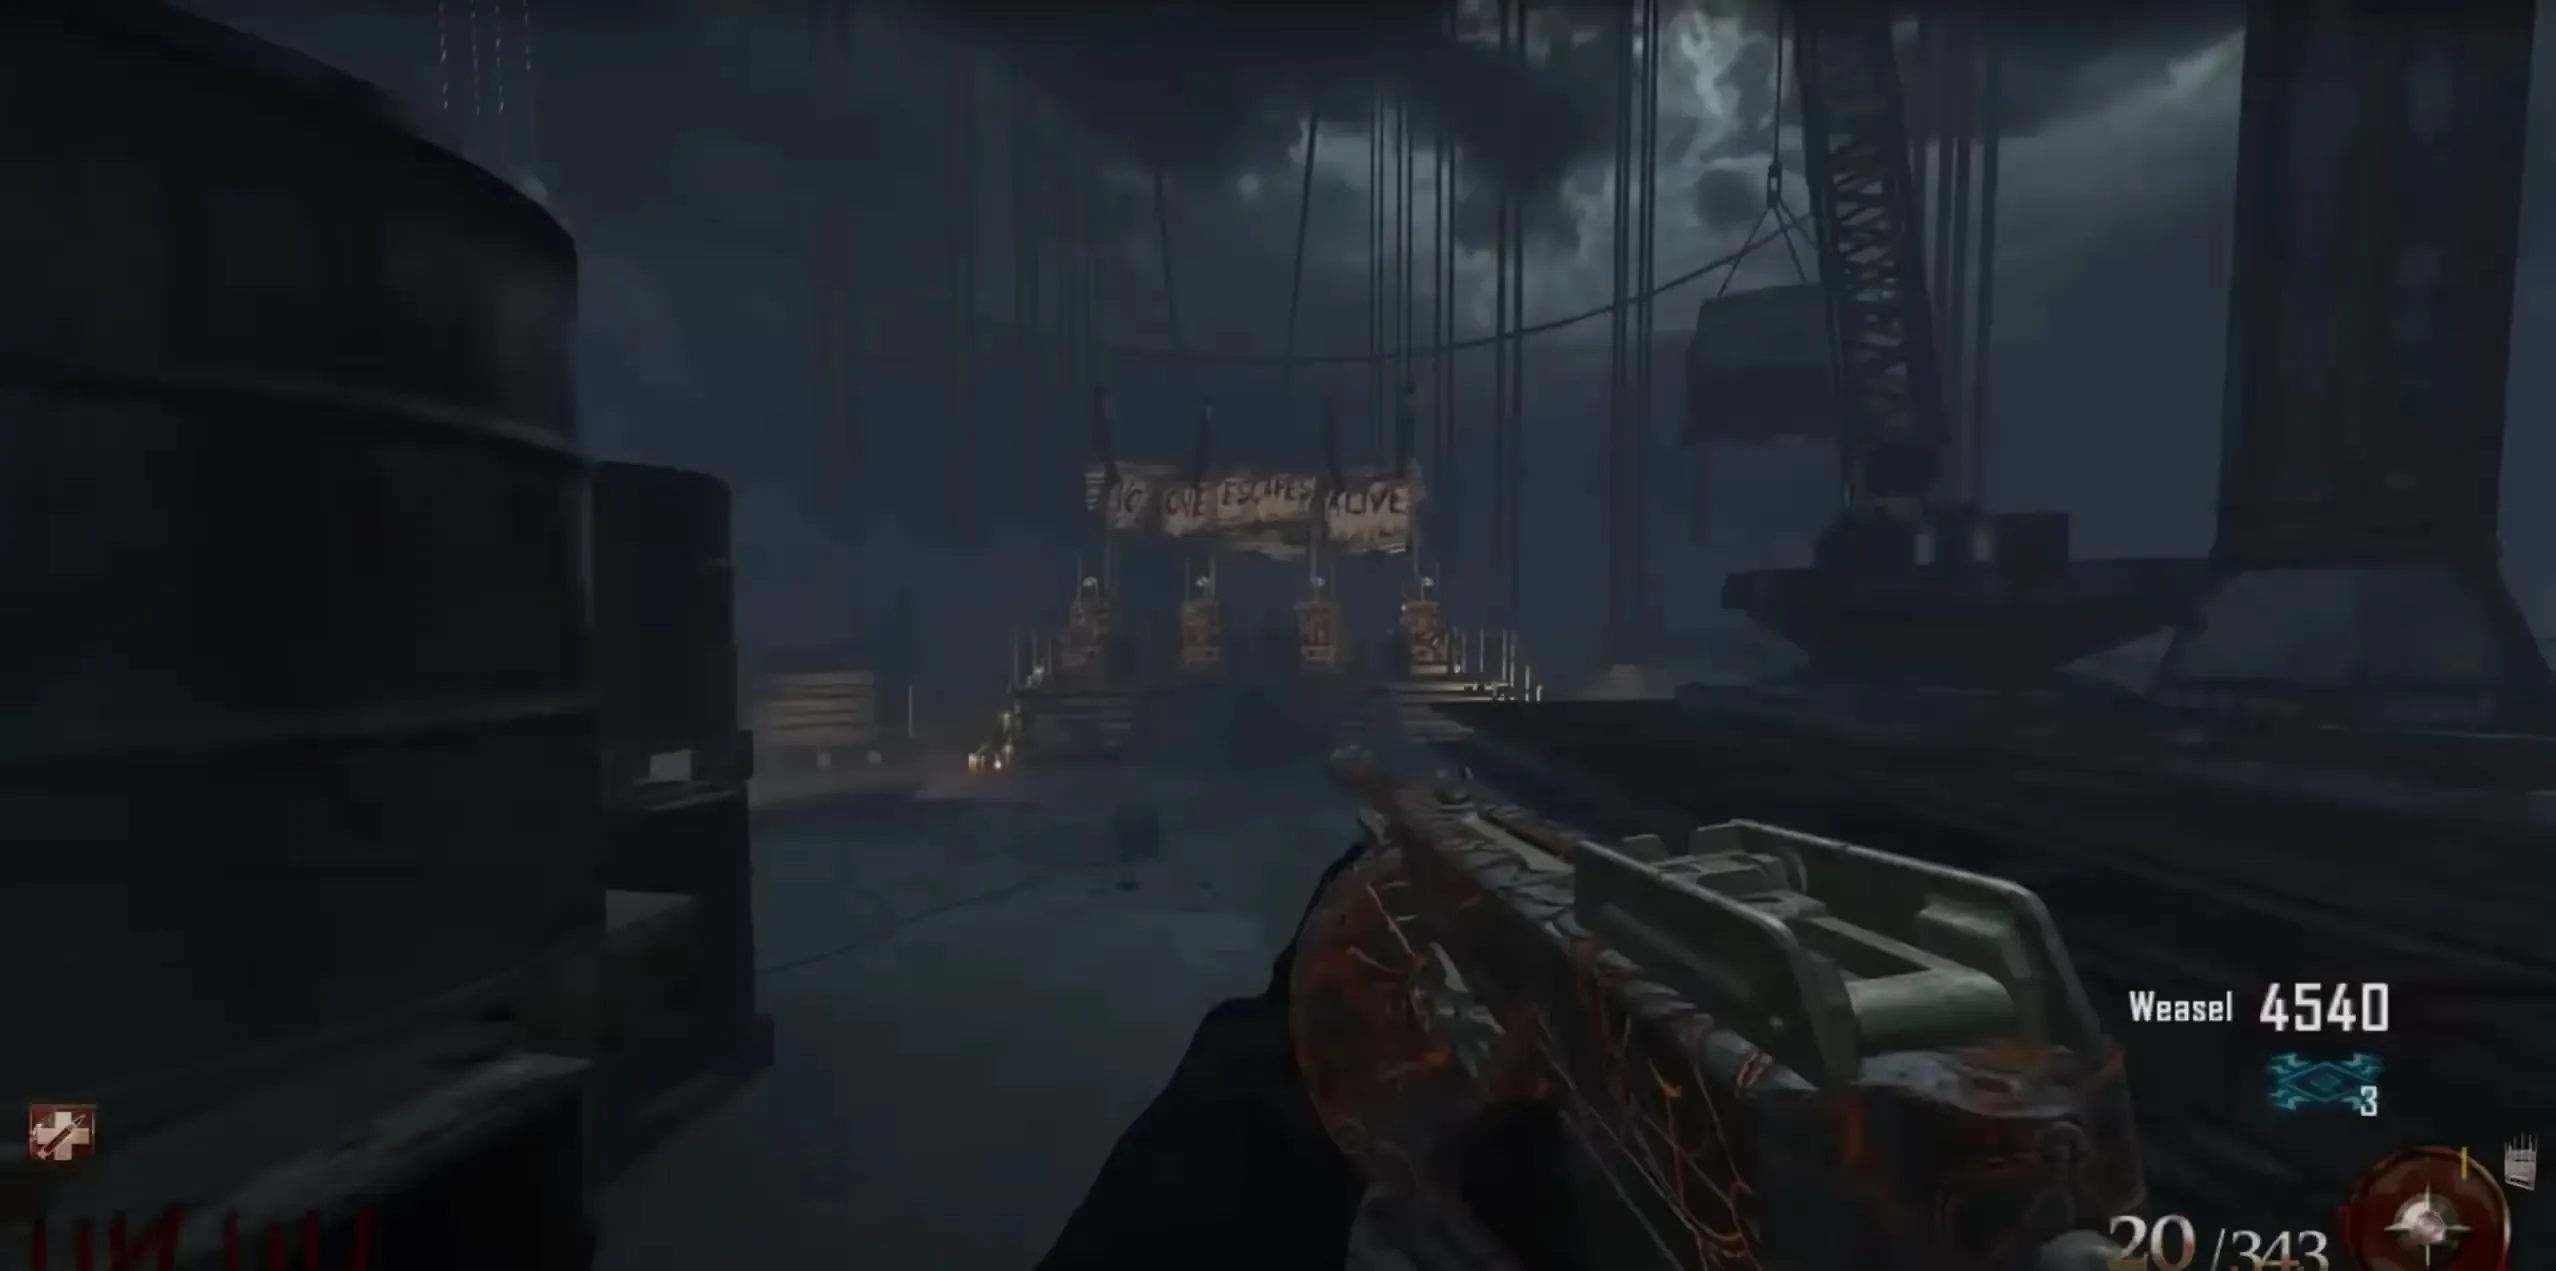
Once the plane is built, you can interact with the plane to get on. The plane will then take off after a short delay and crash into the Golden Gate Bridge revealing Pack-a-Punch and spawning Brutus the boss zombie of the map. After some time, four electric chairs will spawn at the end of the bridge behind Pack-a-Punch. You can interact with a chair to return to prison.
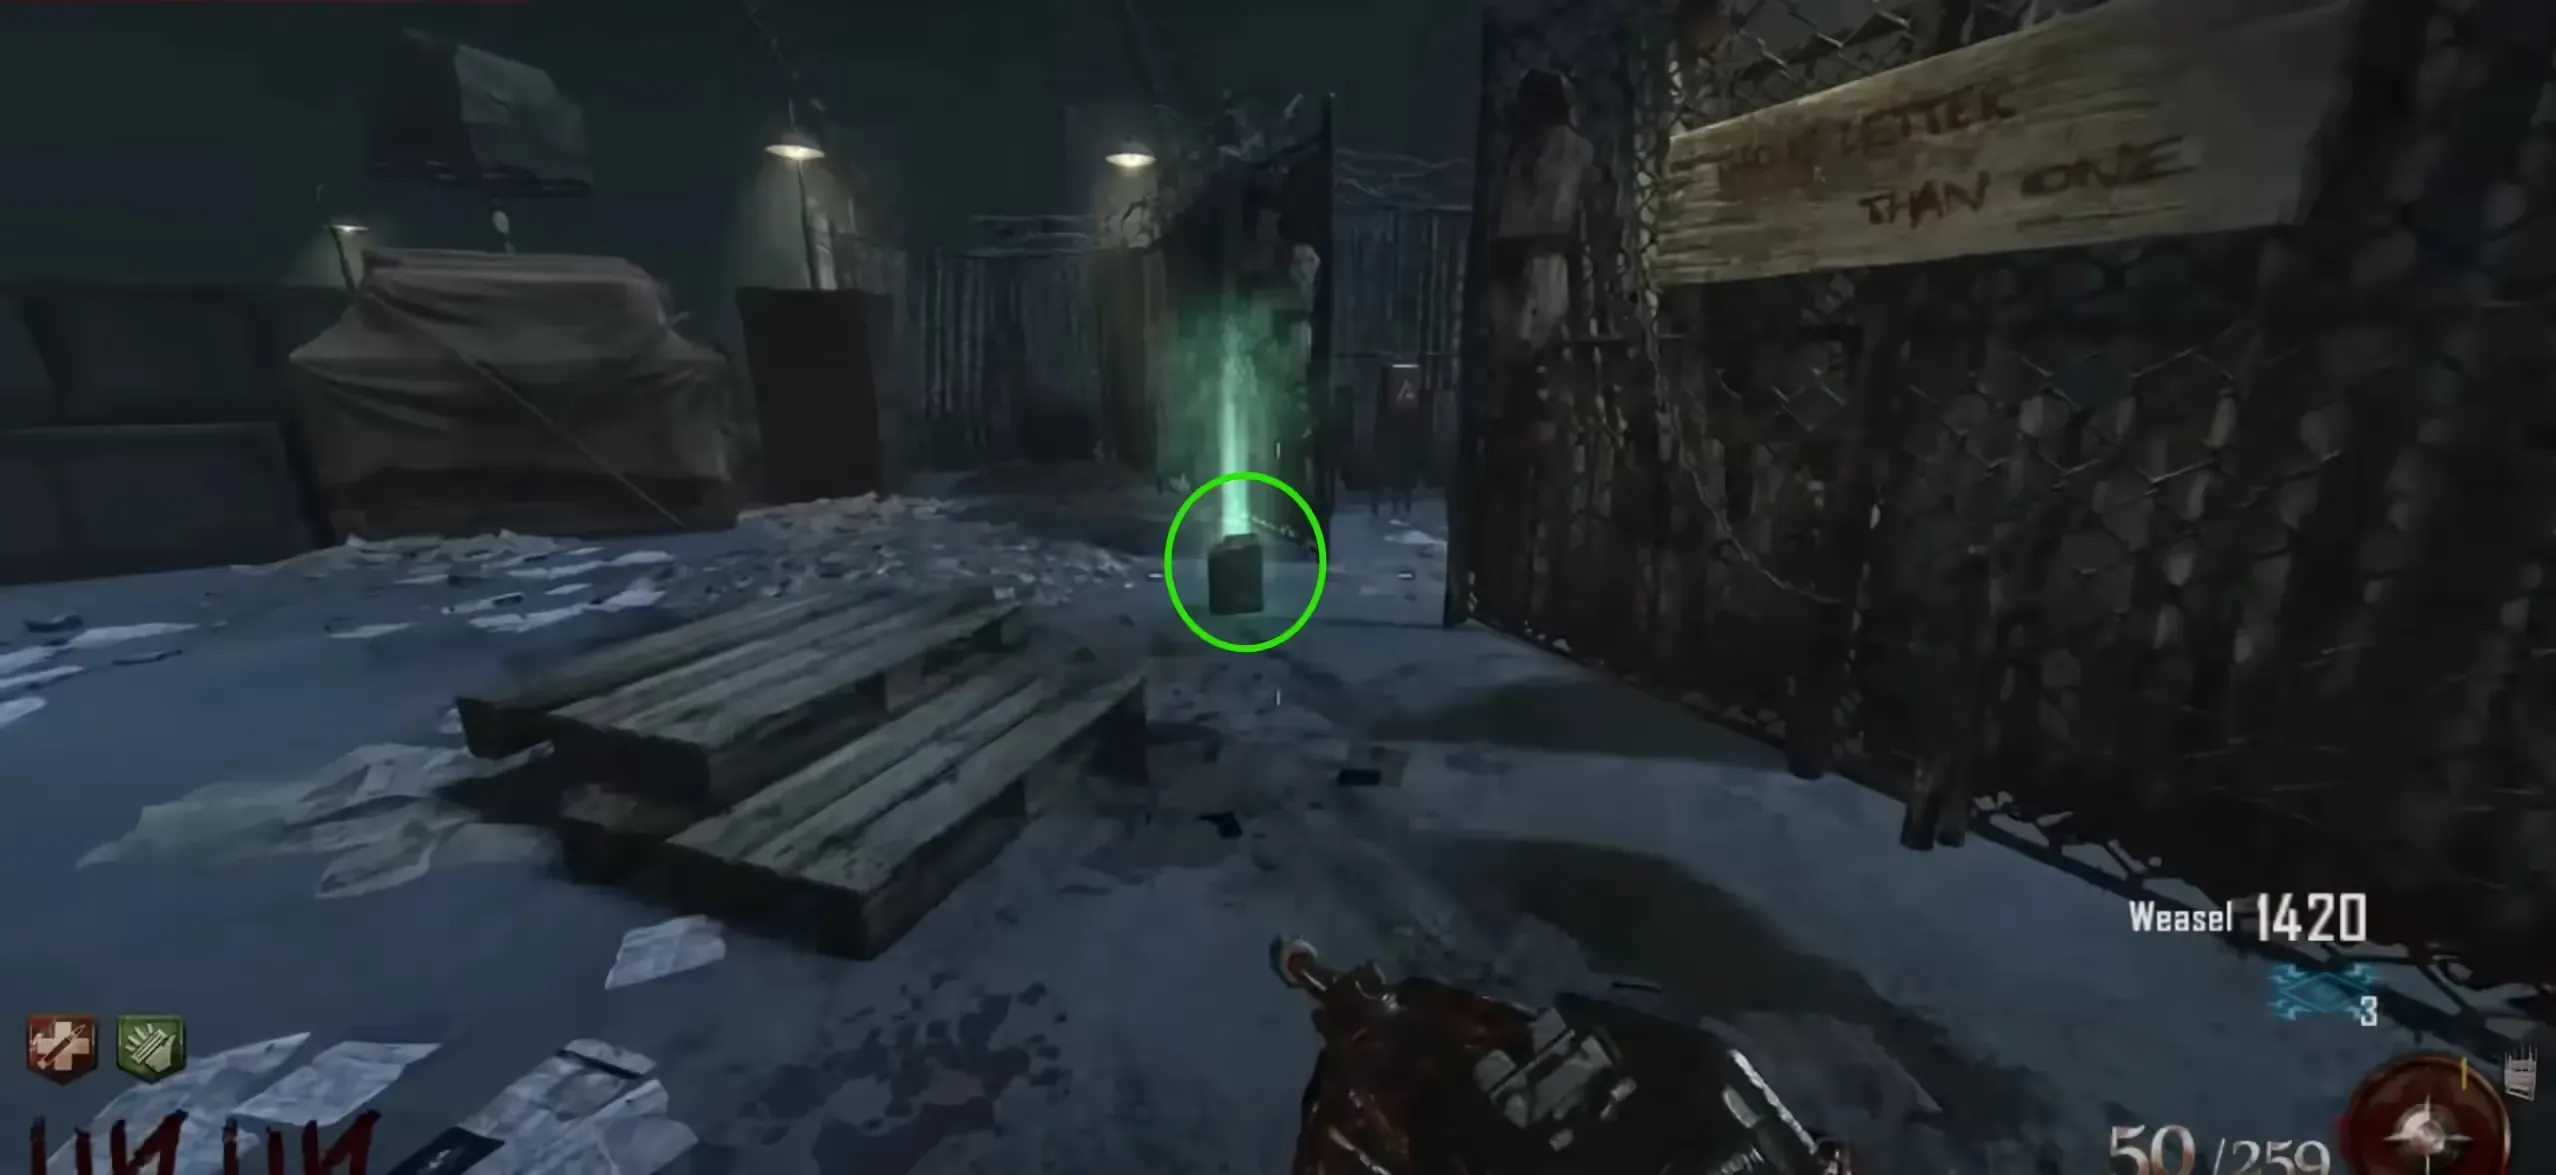
After returning to the prison, the plane will need 5 fuel canisters to be refueled. Fuel canisters can be found near each of the plane part locations, but, only spawn the round after returning to the prison.
You will have to make 3 total roundtrips to and from the bridge at some point before the Final Step to complete this main quest.
Acquiring the Skulls
There are 5 skulls scattered around the map that you must collect using the Hell's Retriever. These skulls can only be seen while in the afterlife, however, you need to be out of the afterlife to collect them. If you don't yet have the Hell's Retriever below is how to obtain it, otherwise, you can skip to the Skull Locations Section.
Obtaining the Hell's Retriever
To obtain the Hell's Retriever you will need to feed three dog heads around the map by killing zombies in front of them. The three dog head locations are as follows:
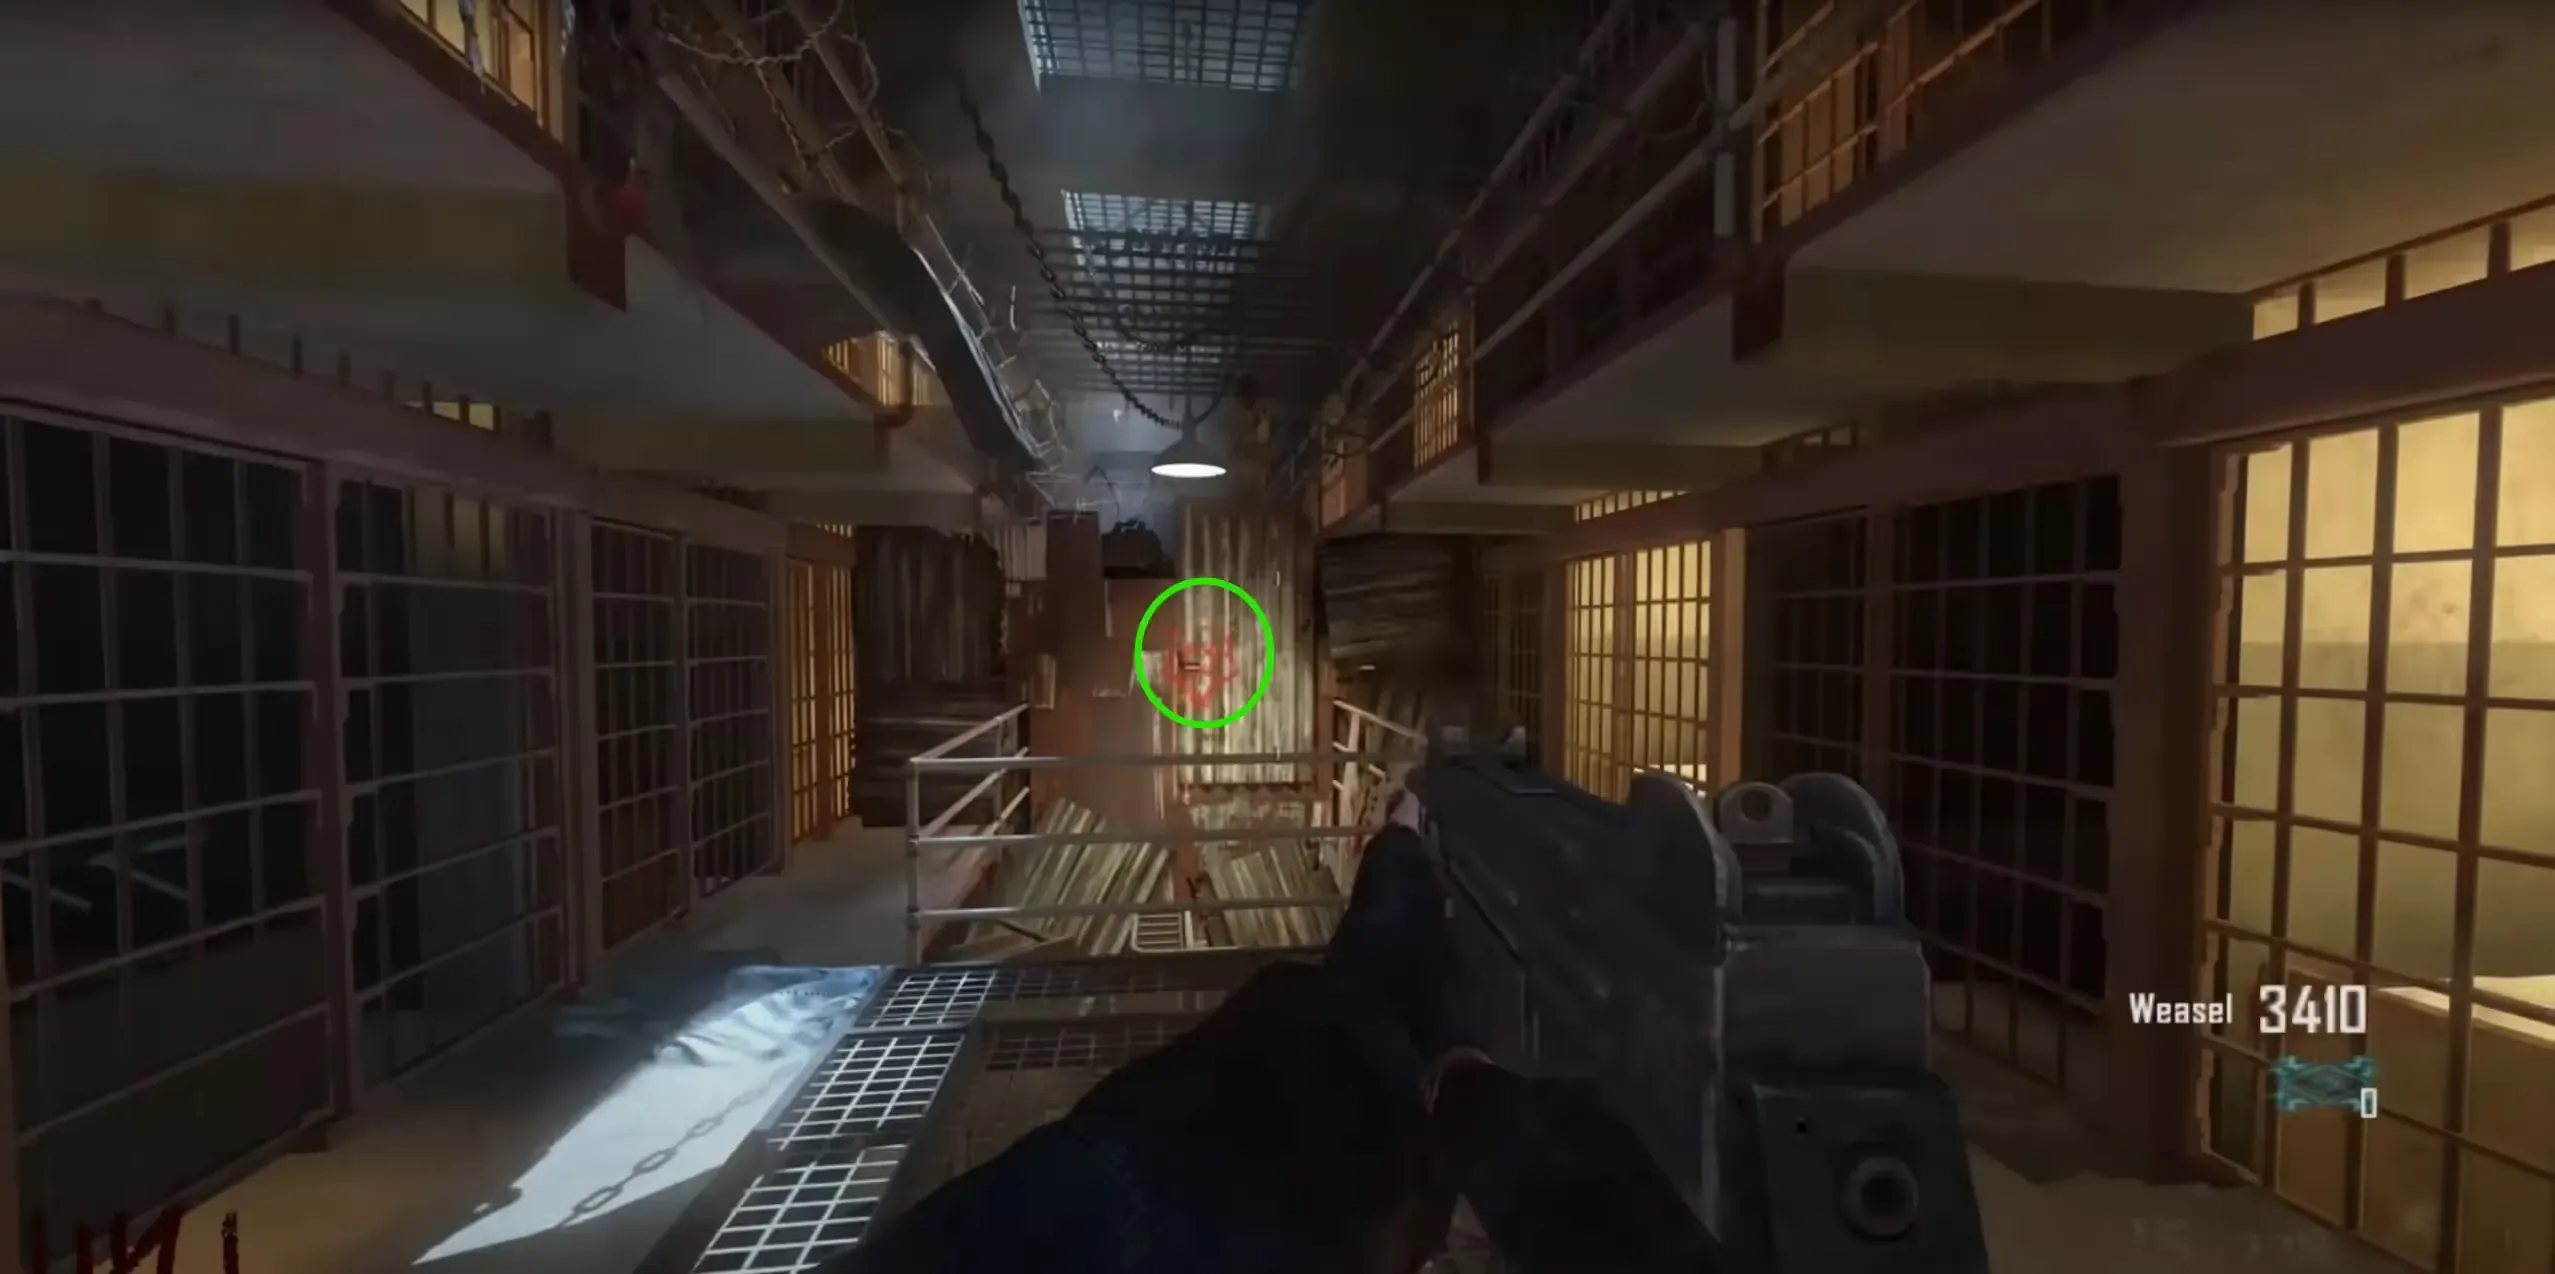
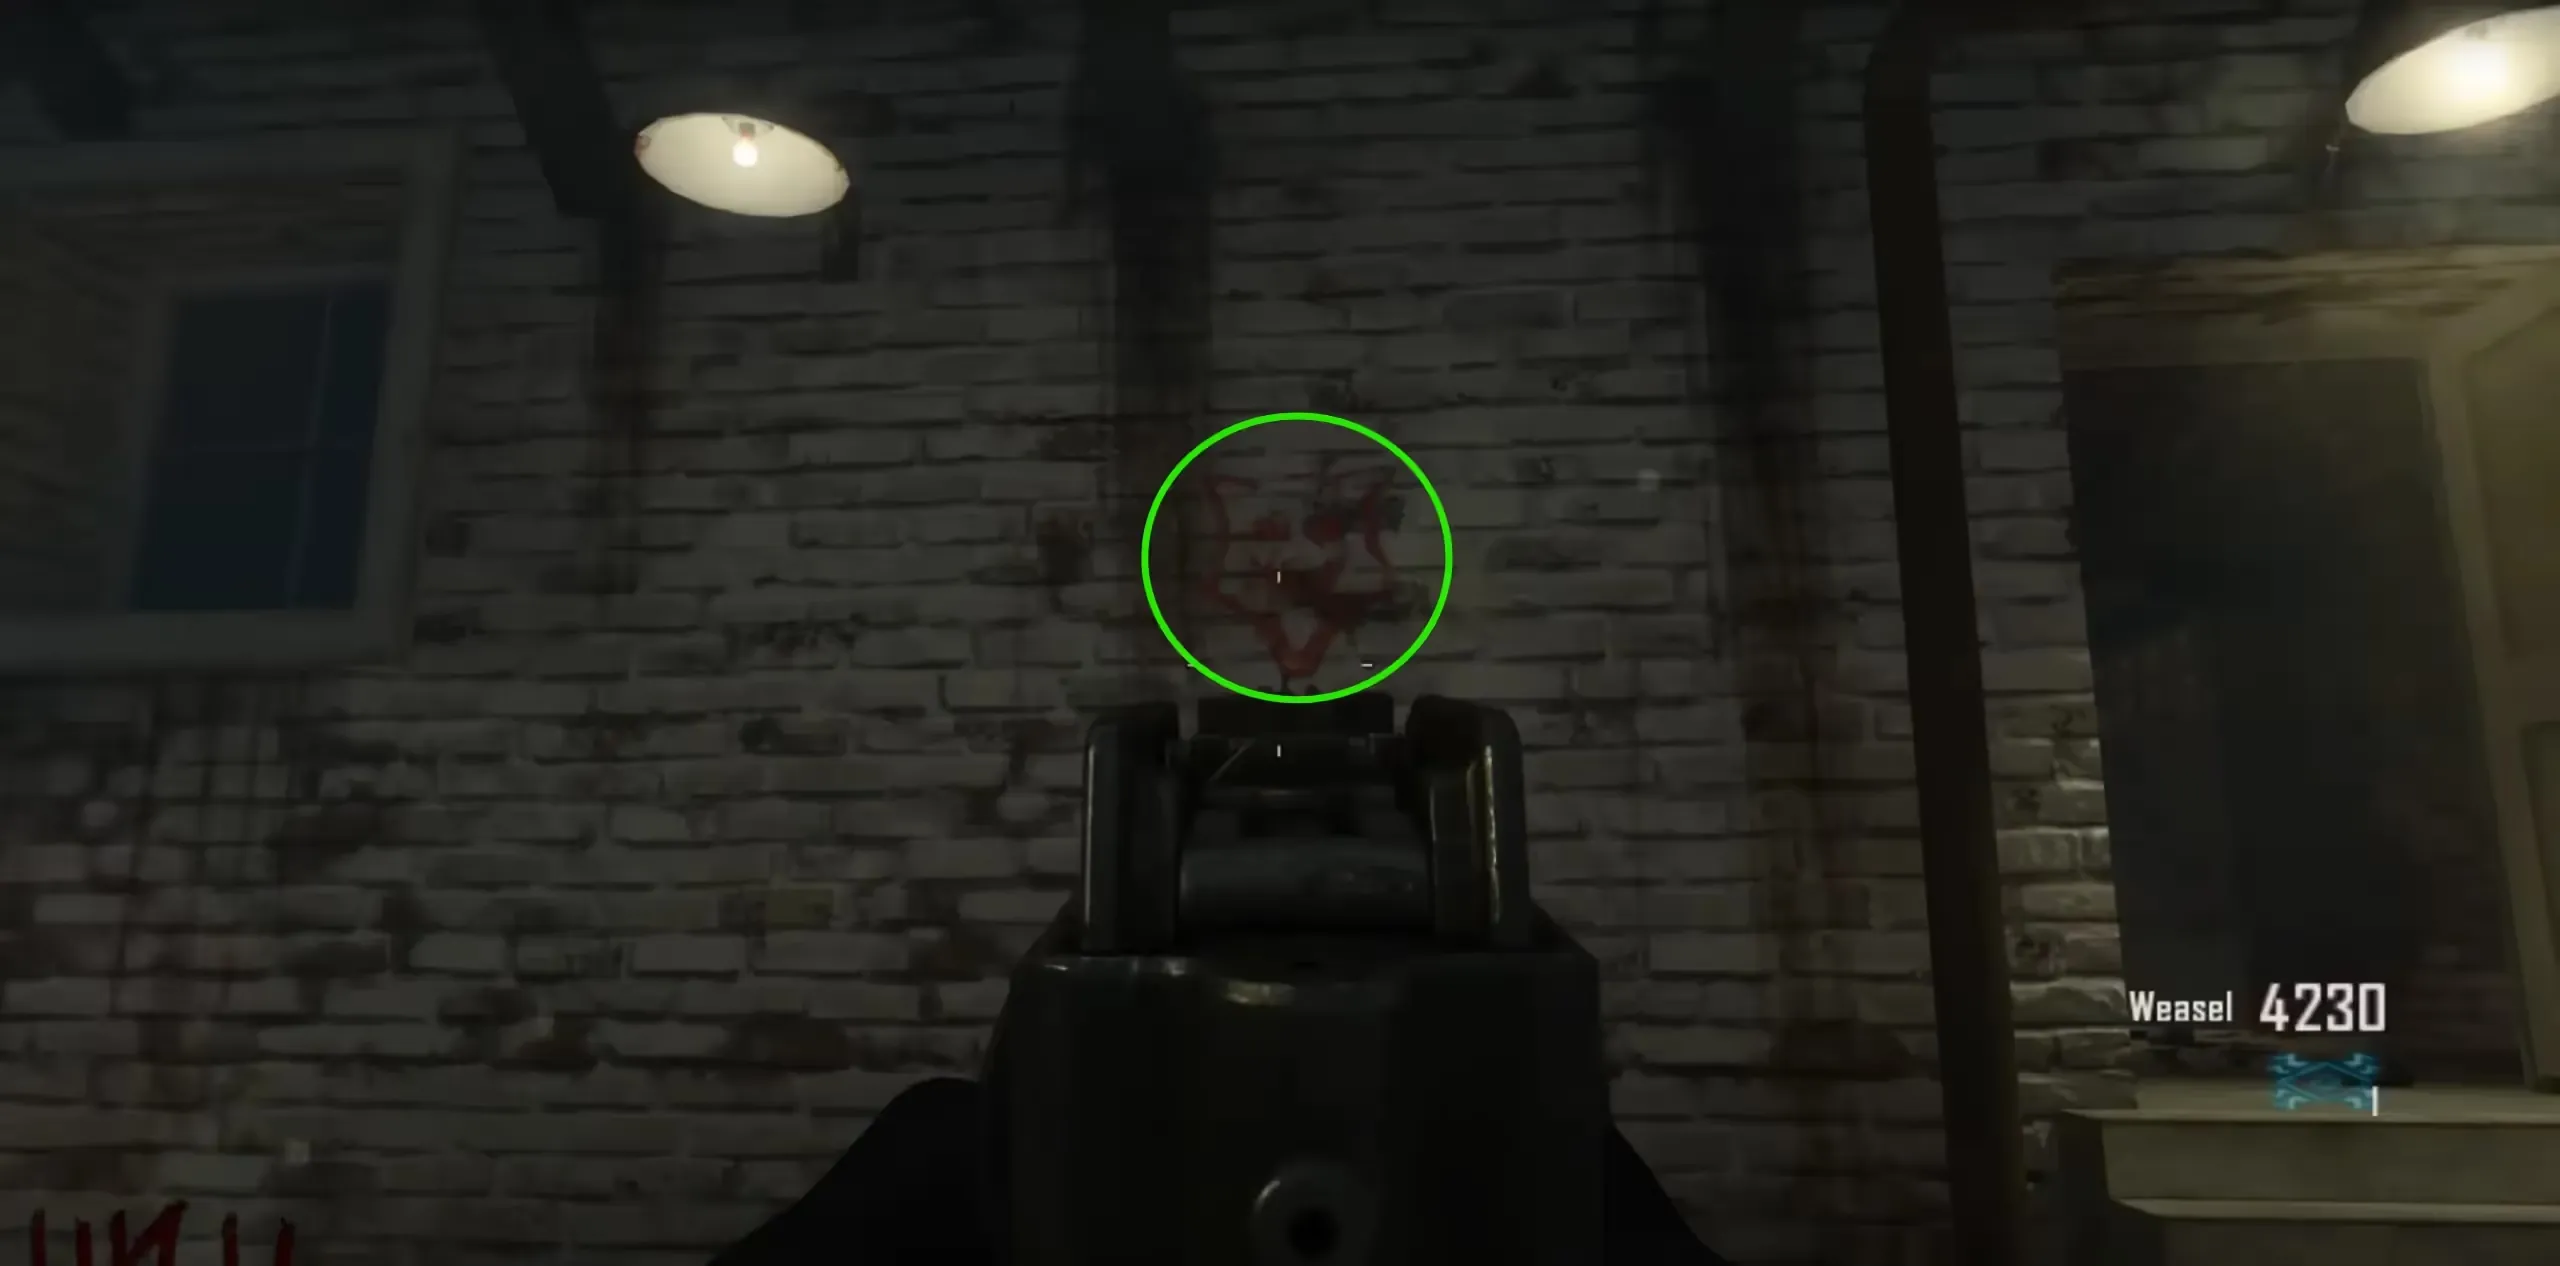
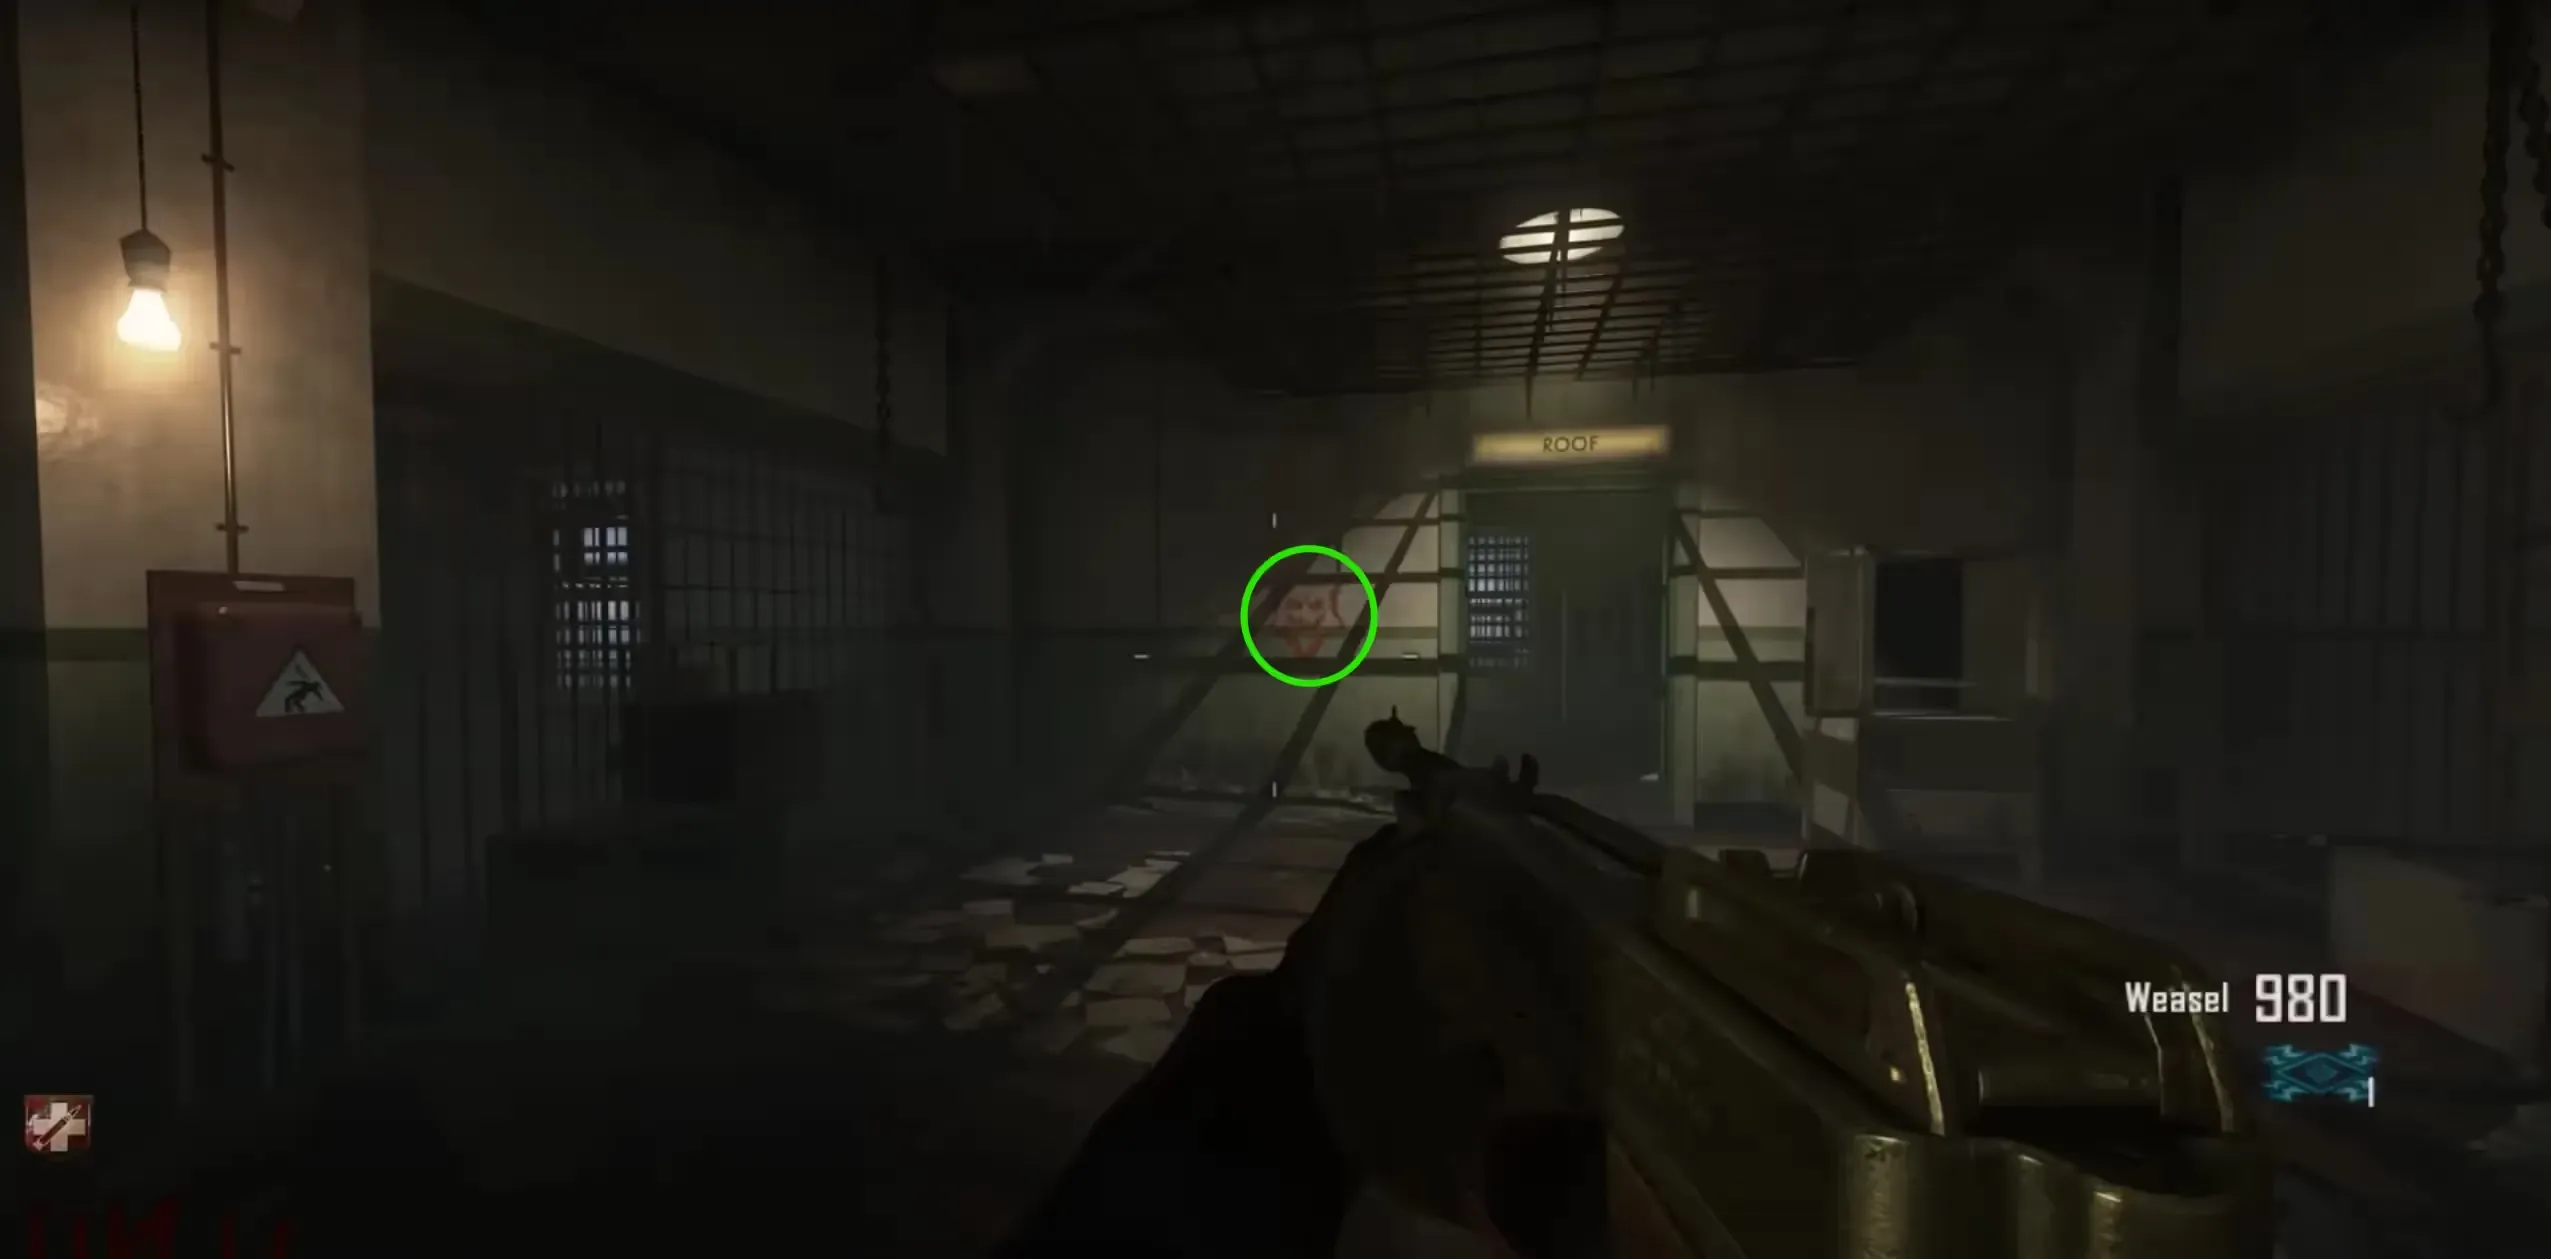
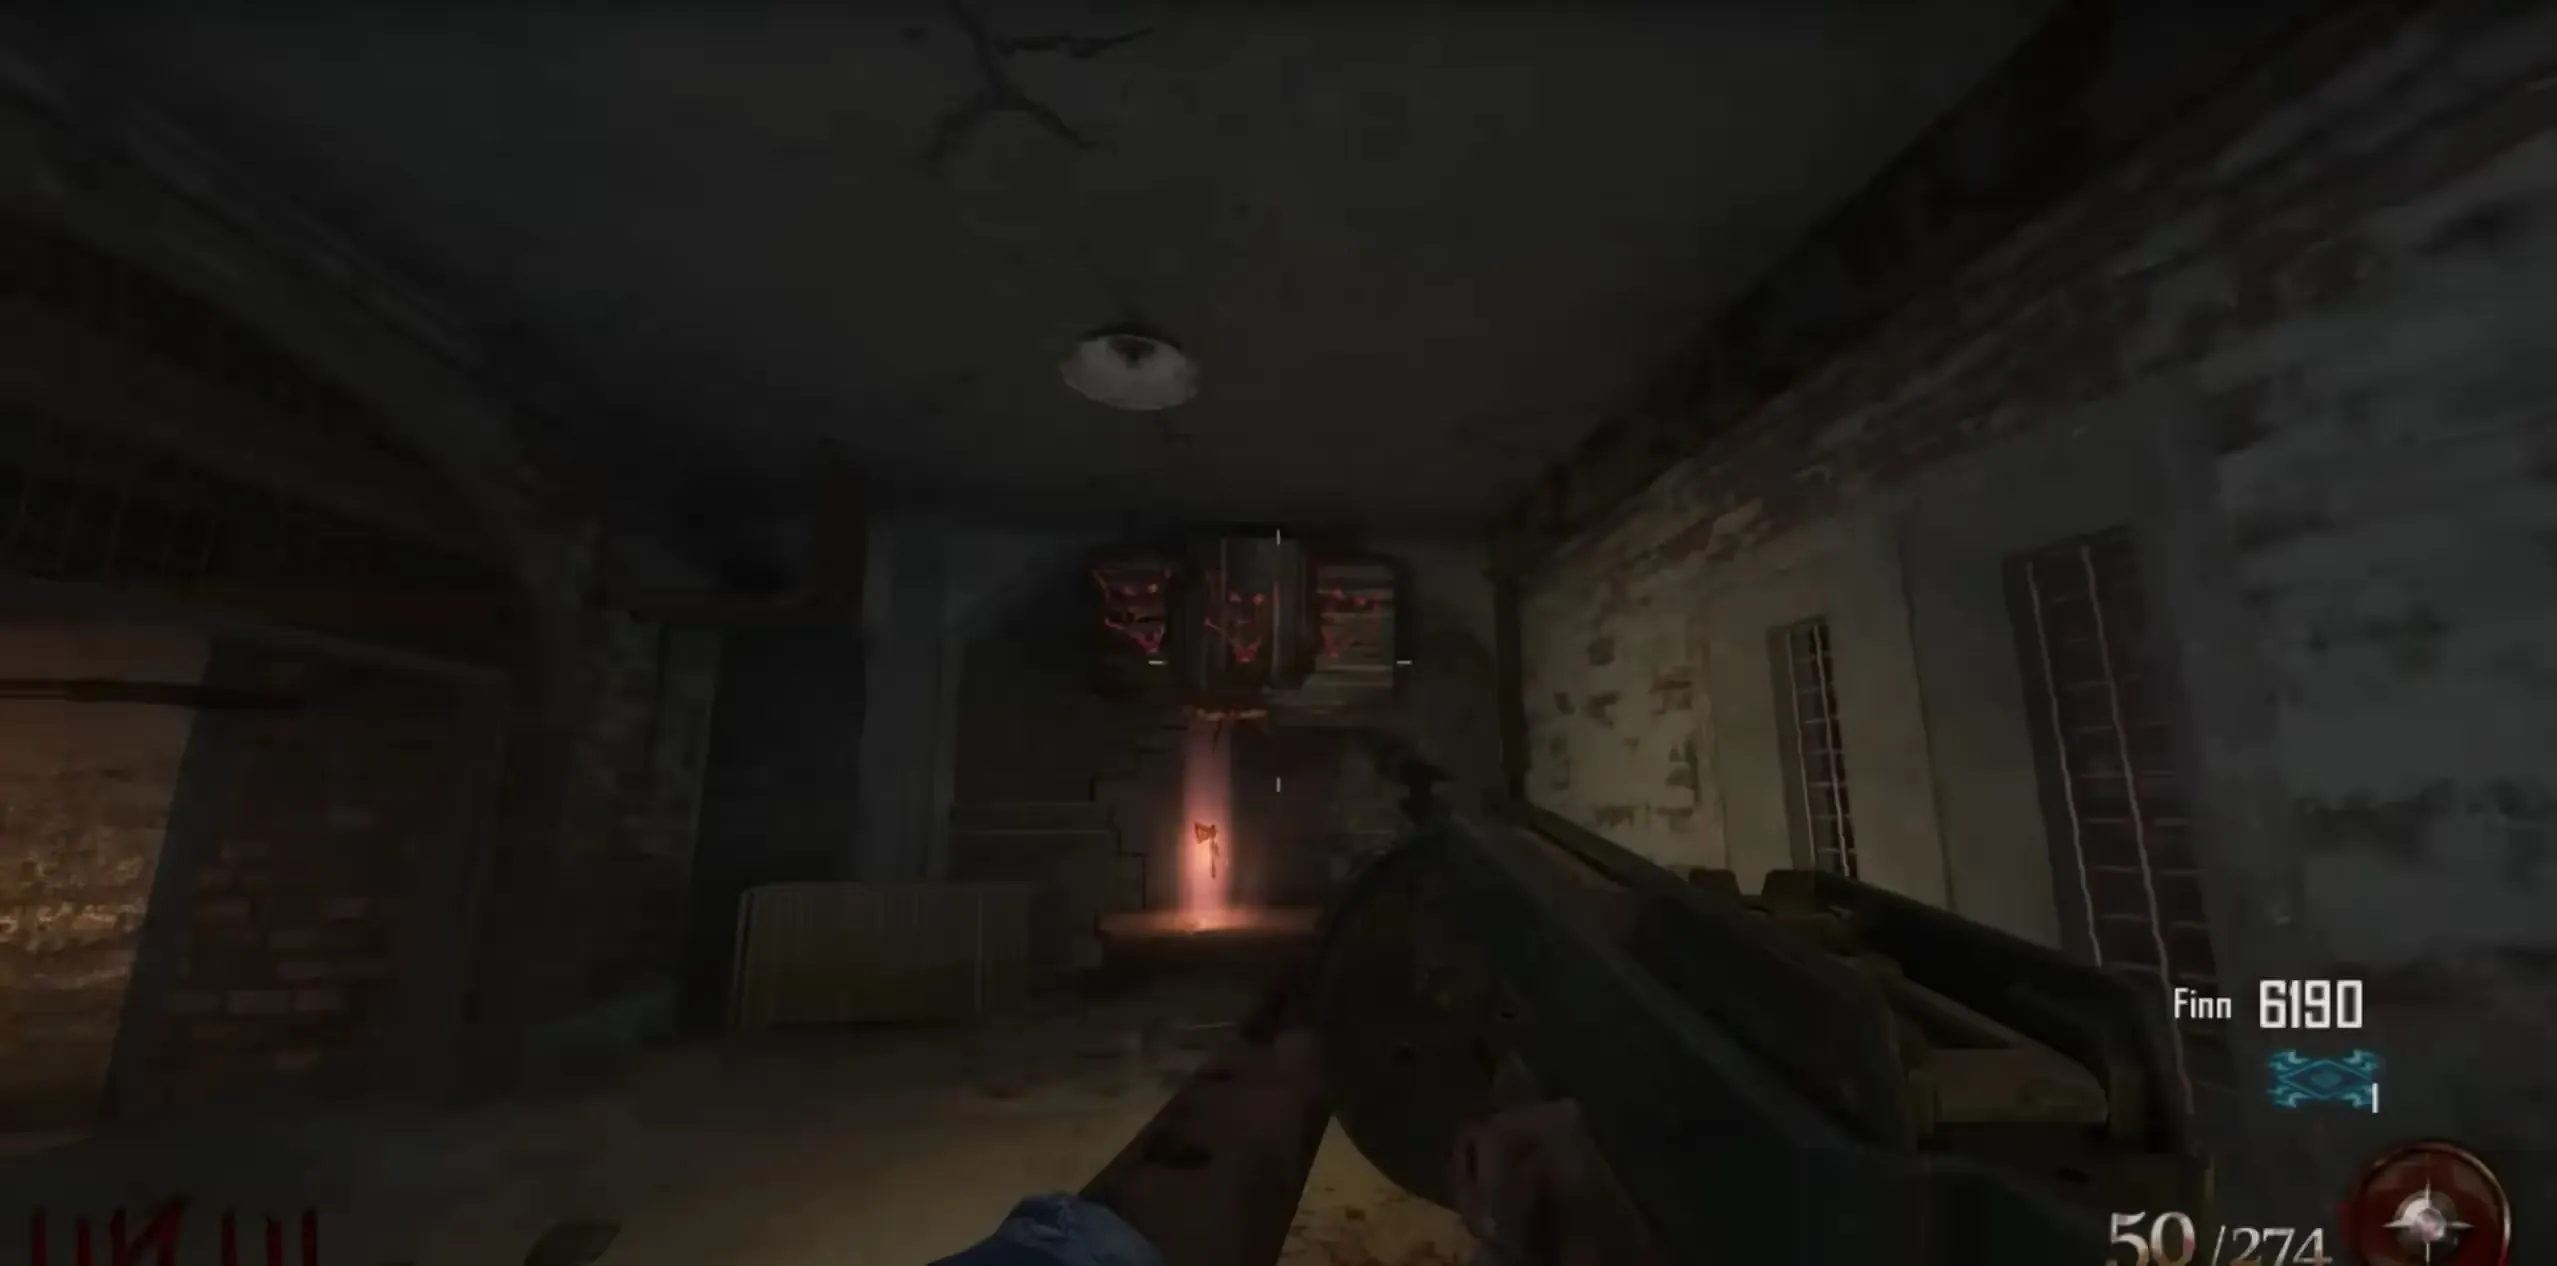
Once all three heads have been fed, go to the Citadel Tunnels near Double Tap, and on a wall will be three dog emblems, below the emblems will be a hole in the wall revealing theHell's Retriever.
Skull Locations
The locations of the 5 skulls are as follows:
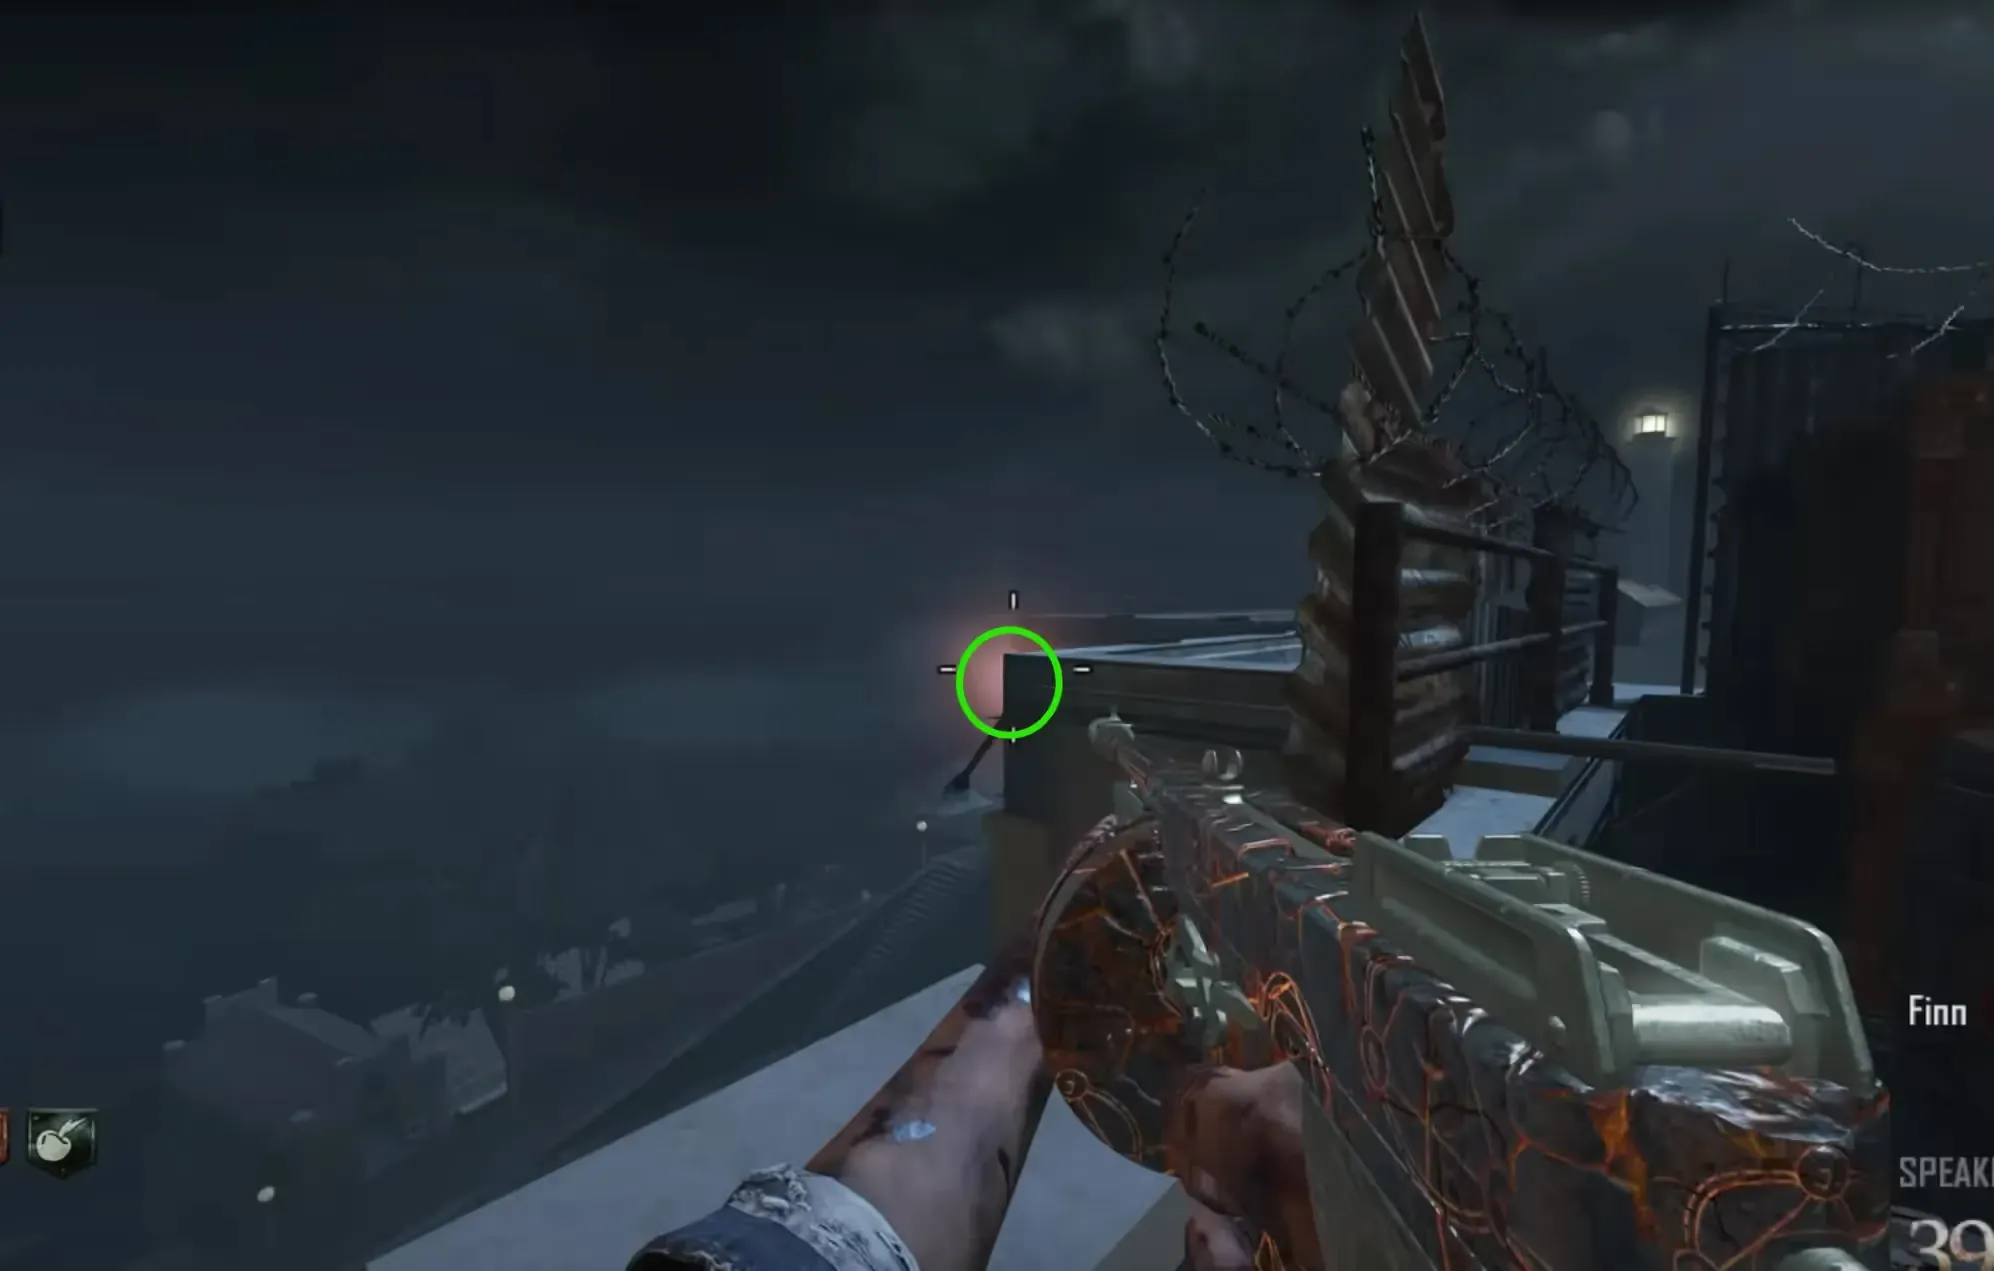
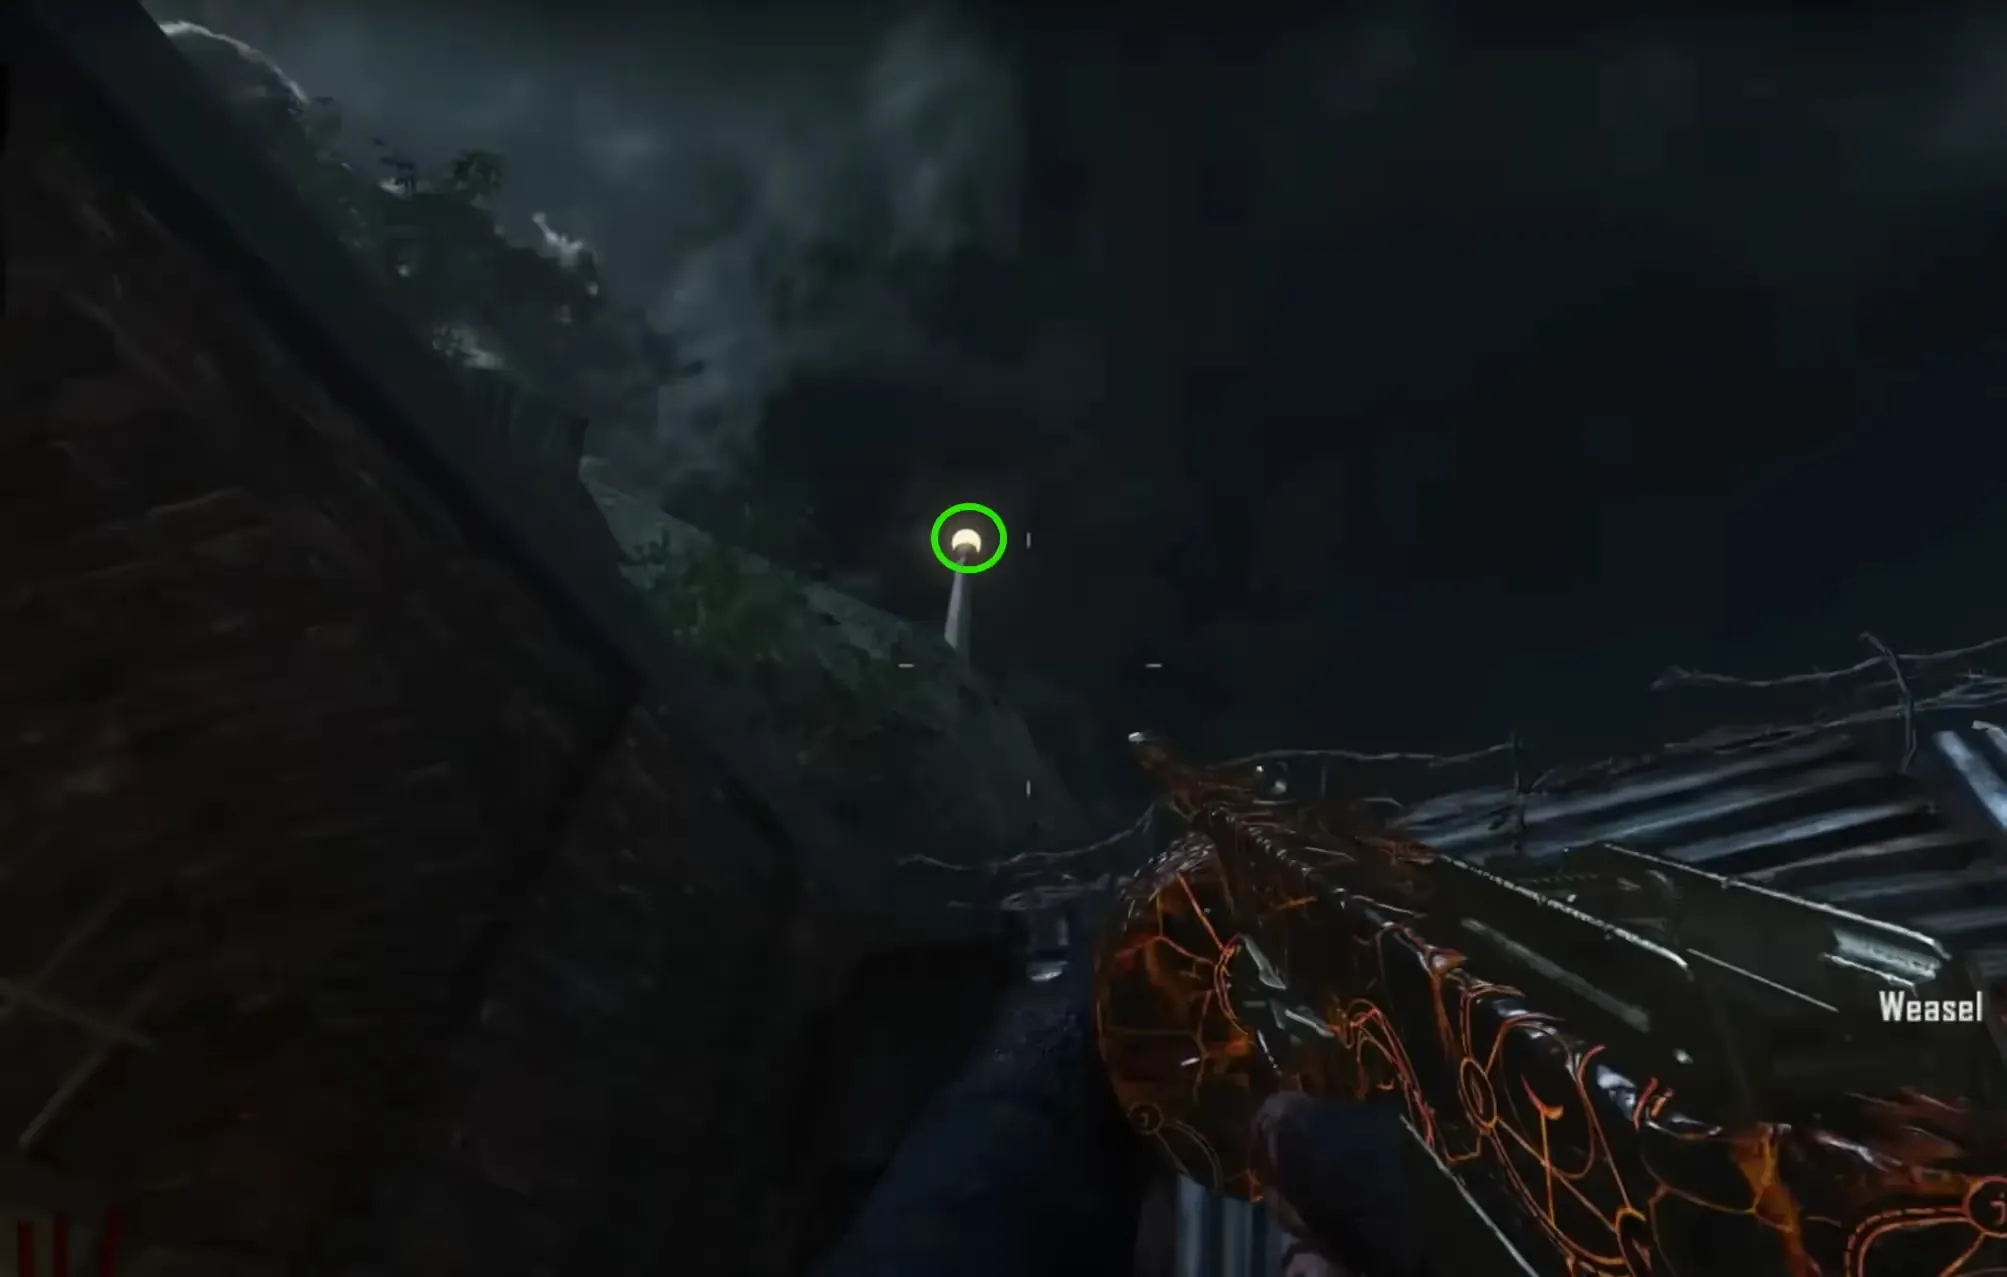
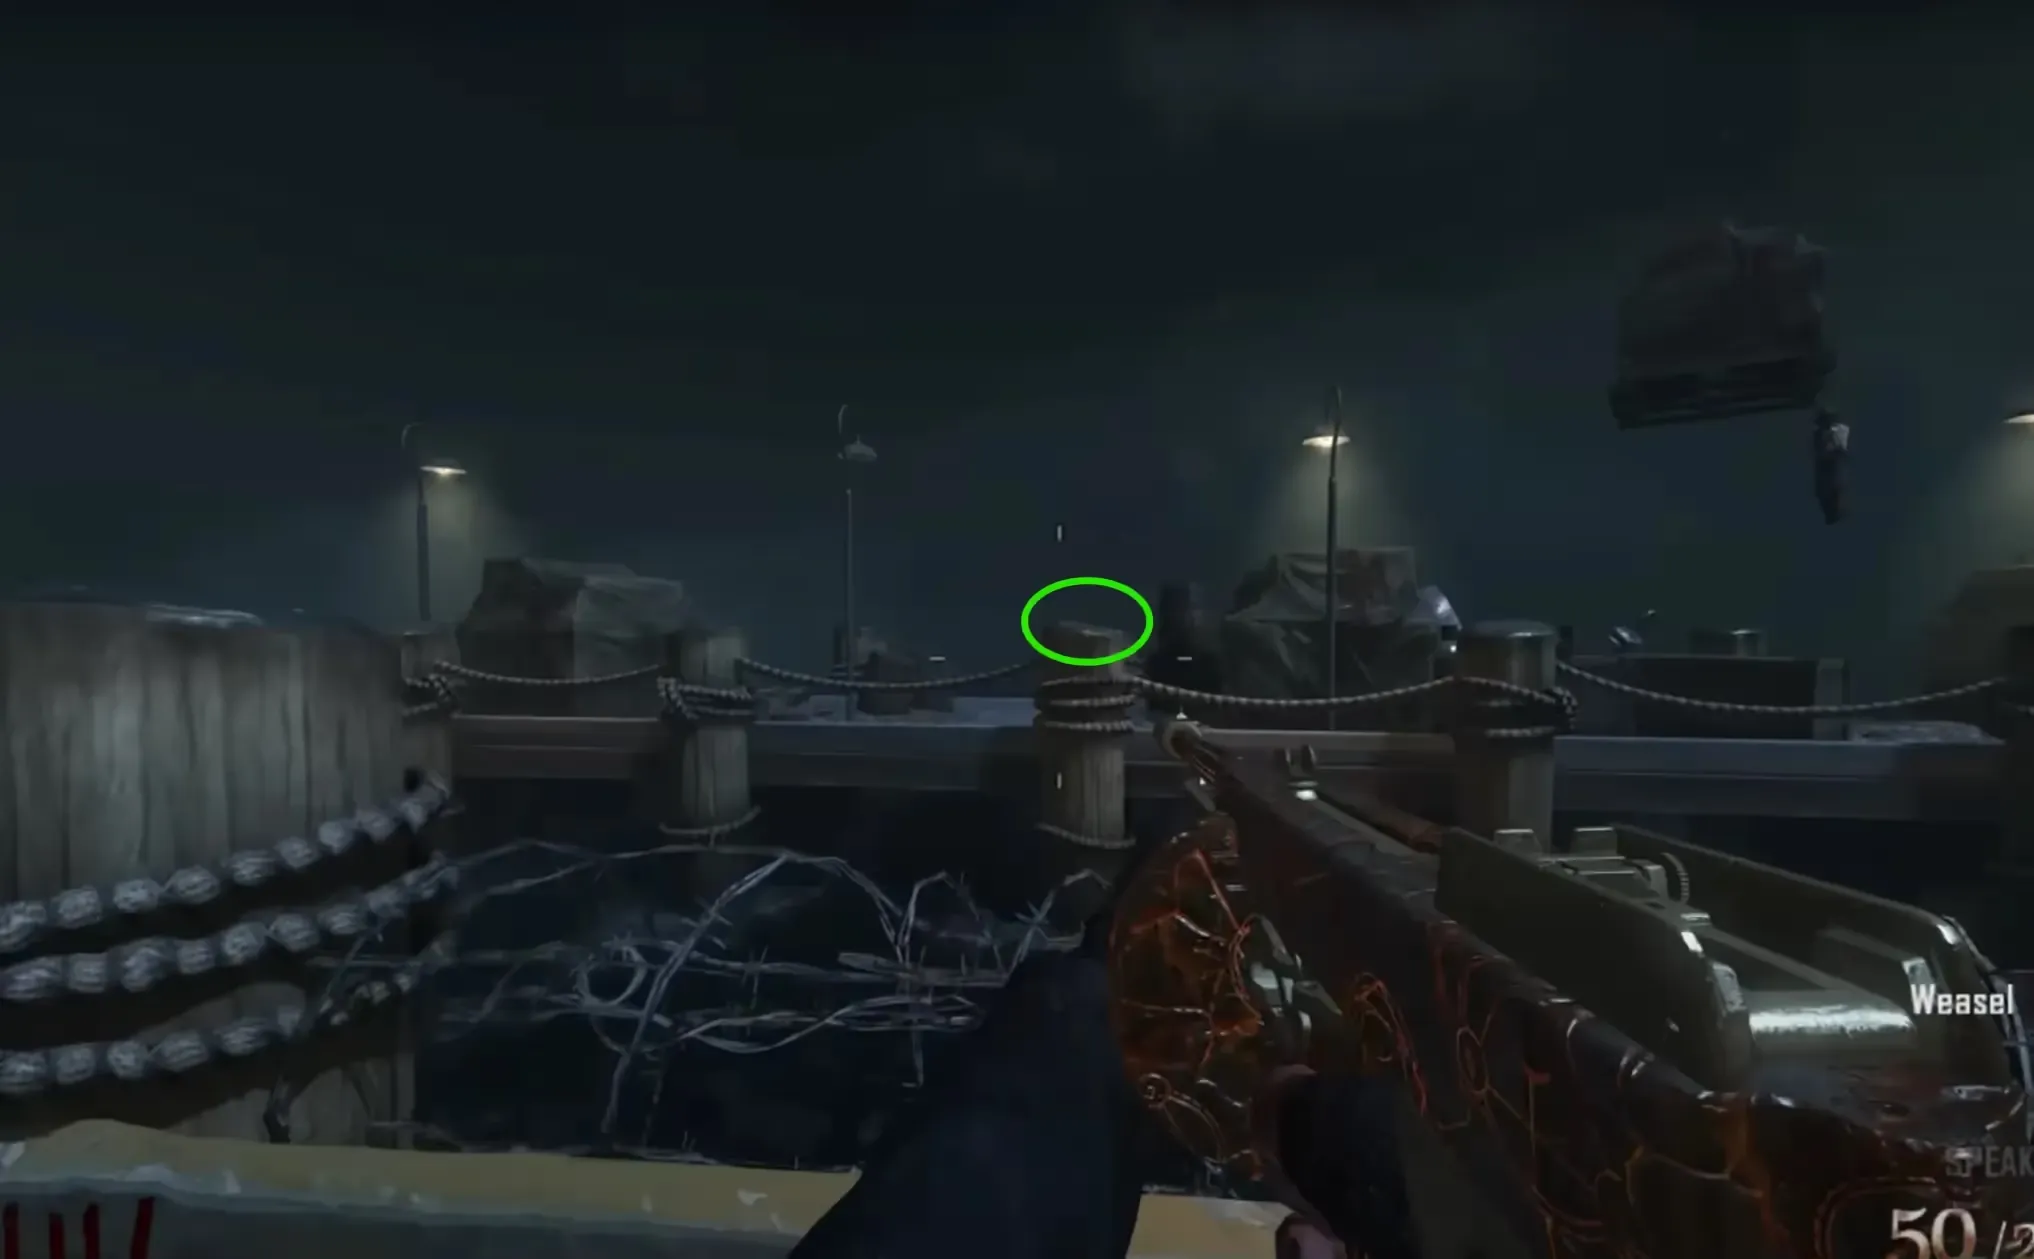
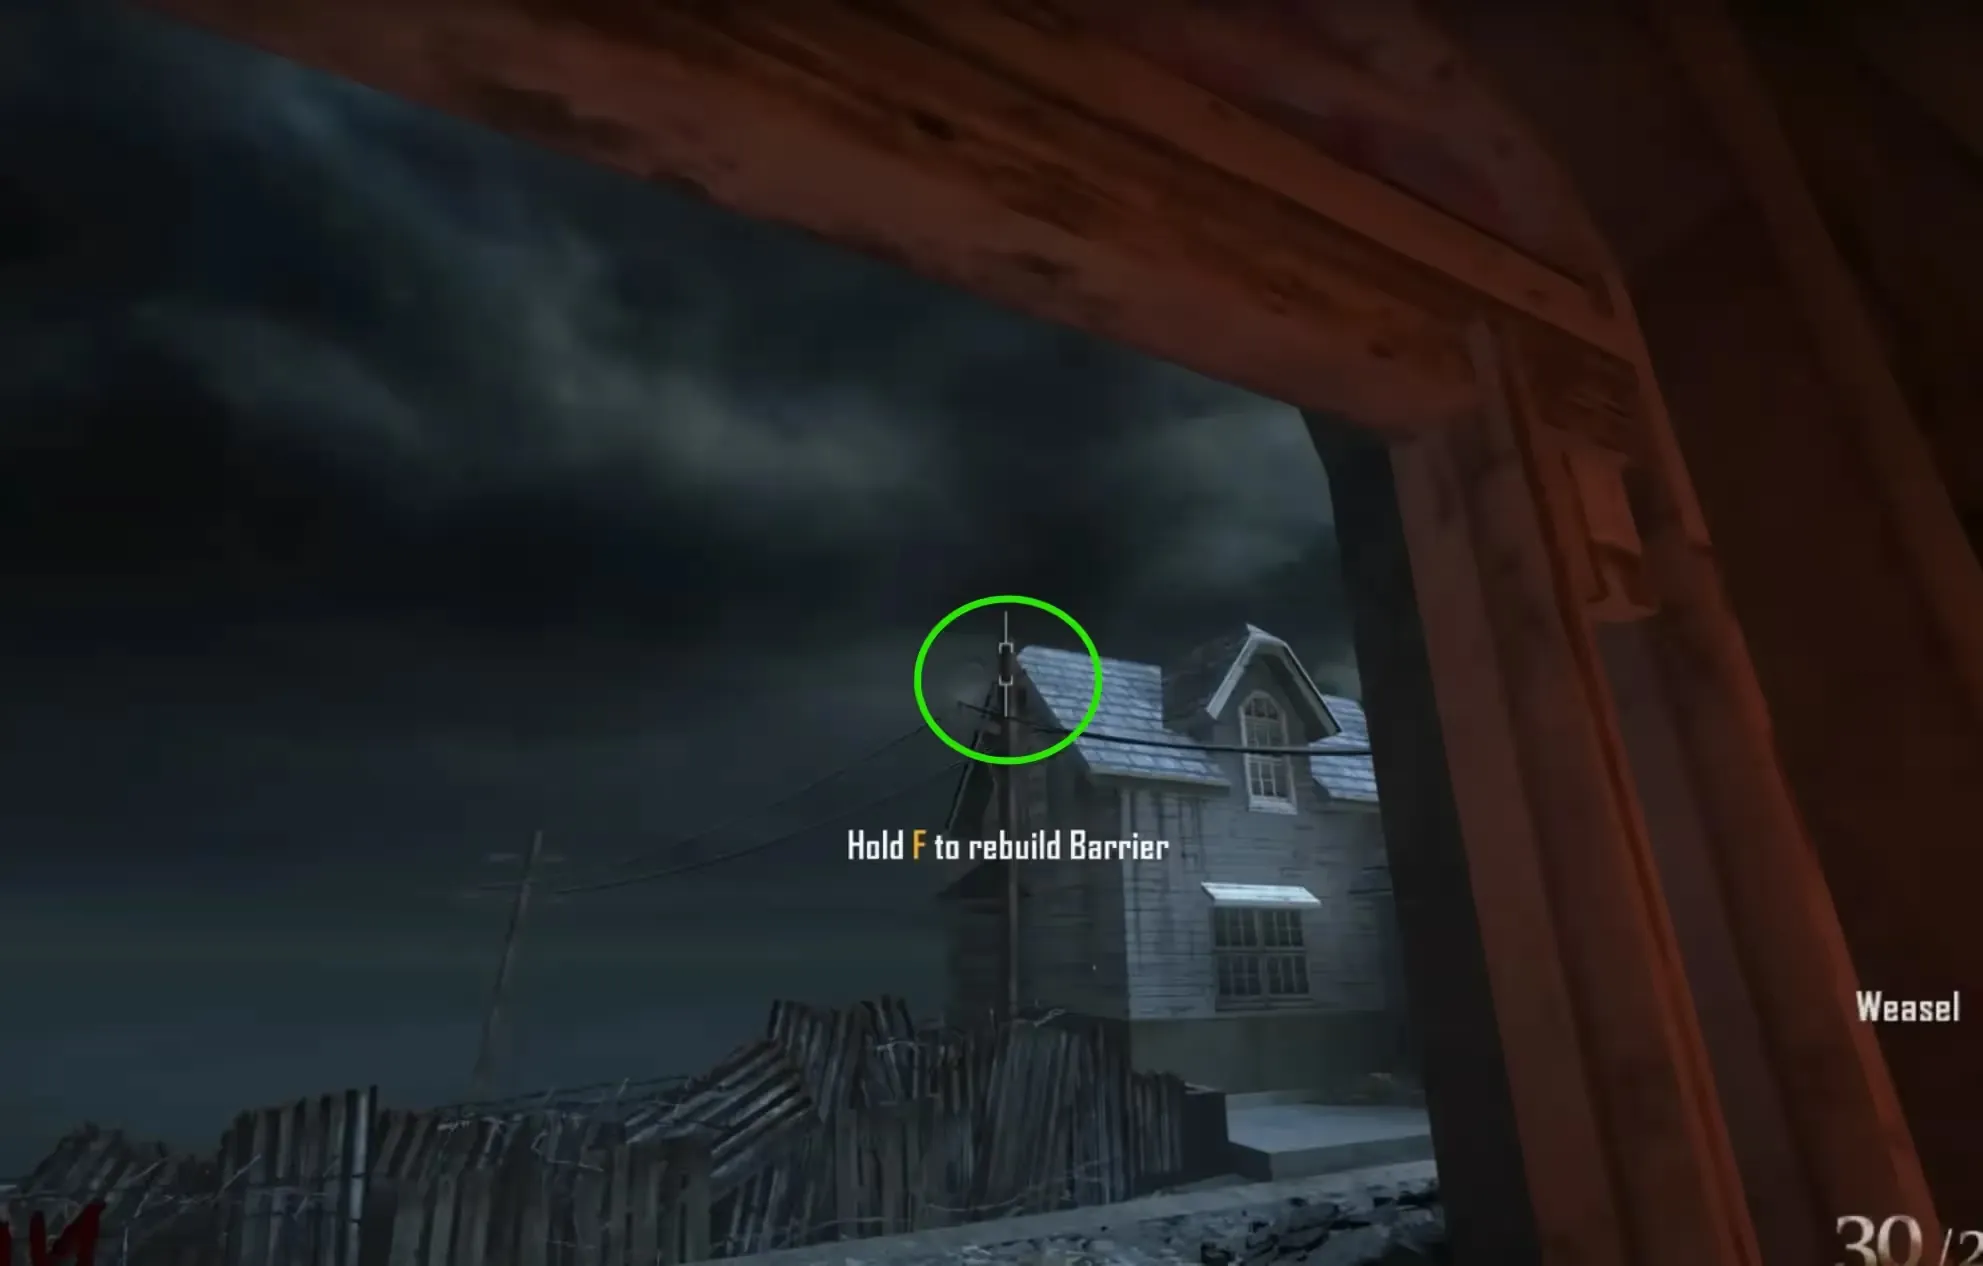
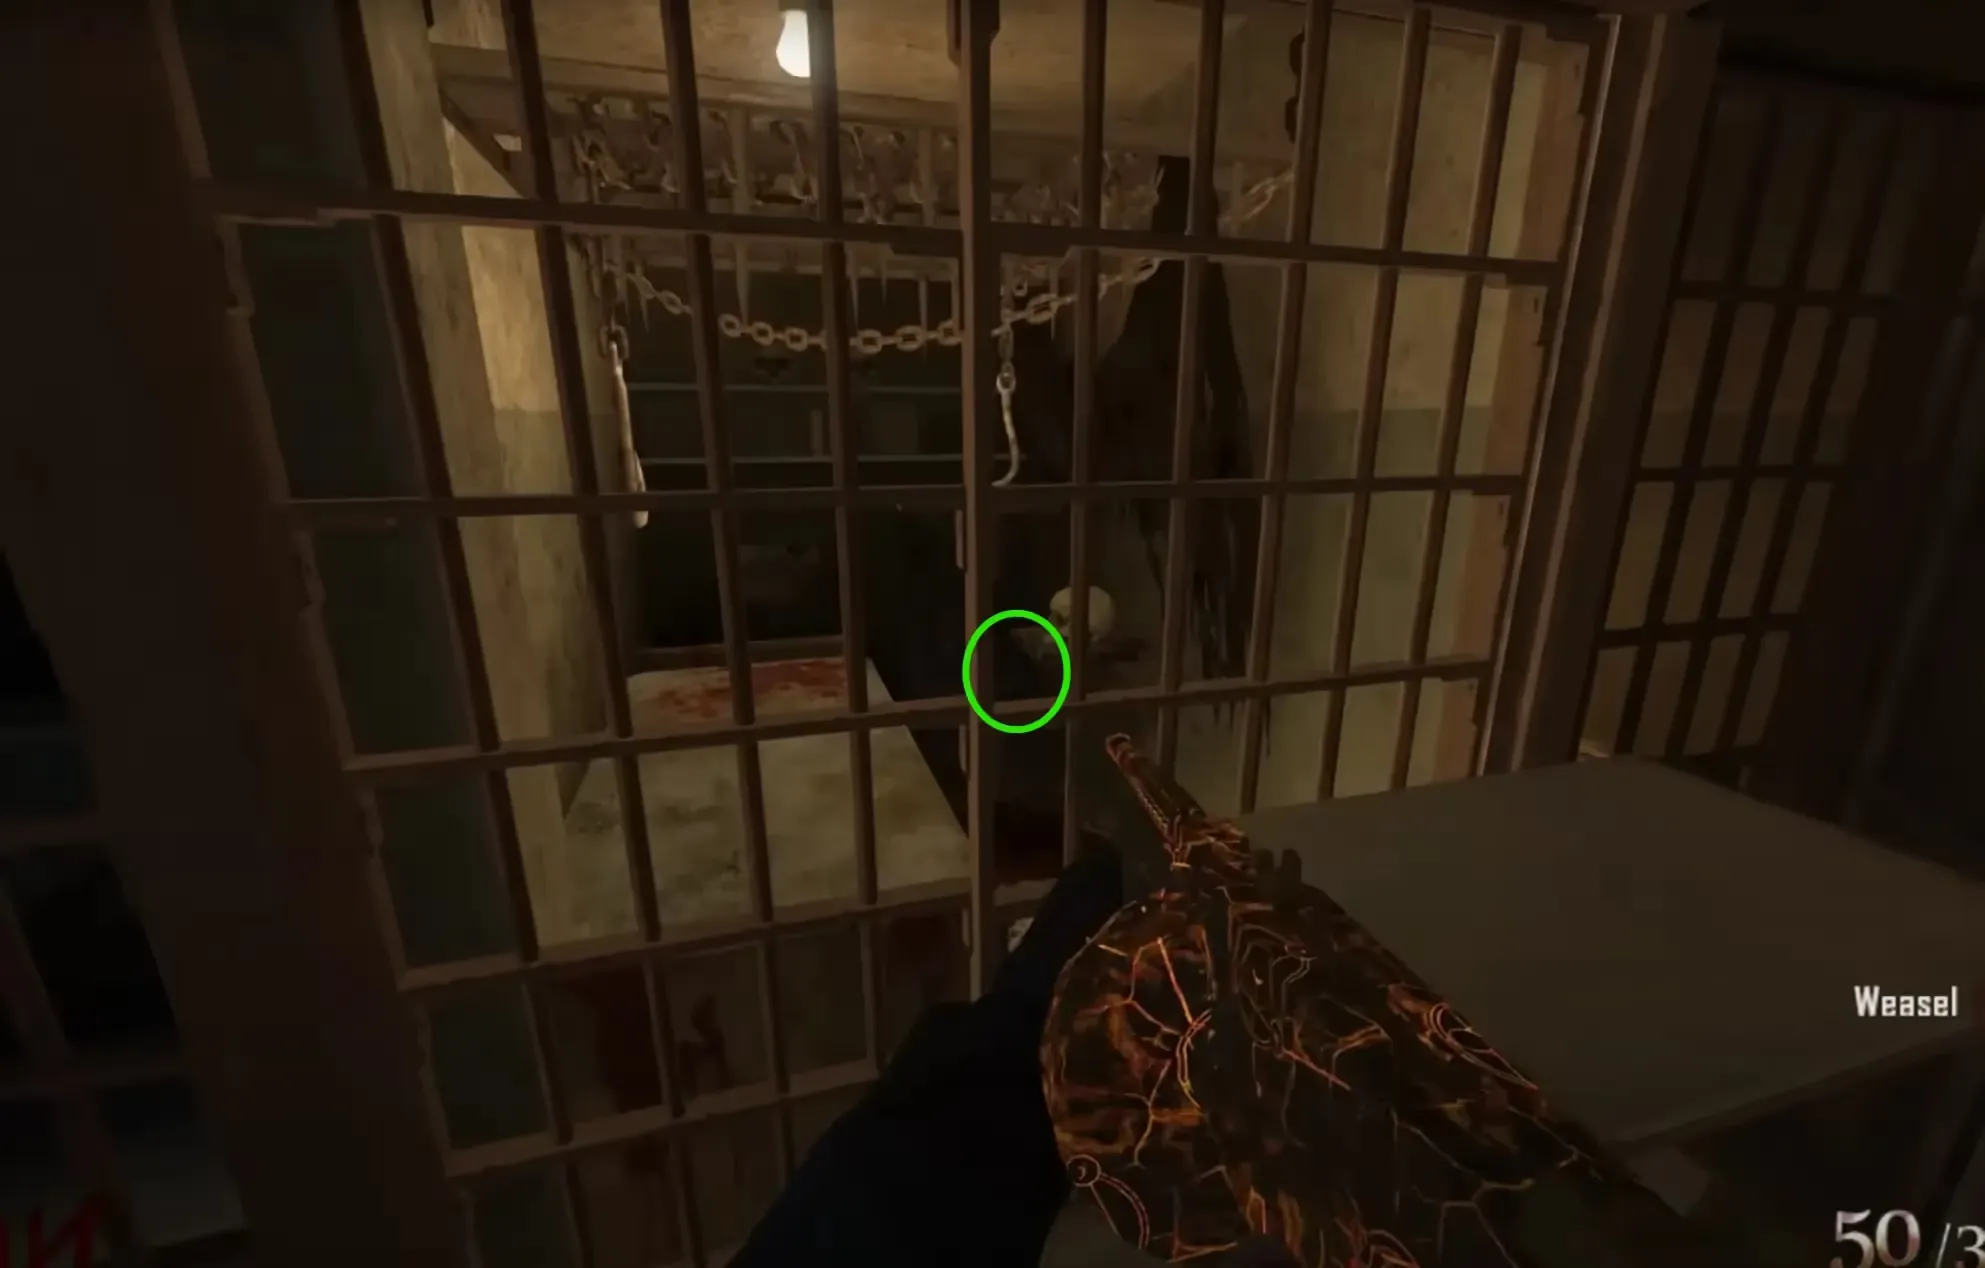
After collecting all skulls, a Blundergat should spawn on the table in the Warden's Office.
The Blundergat can be upgraded to the AcidGat, however, it is not required for the main quest. See Video Guides for more information on how to upgrade the Blundergat.
Acquiring the Spoons
You'll need to use the Hell's Retriever to acquire two spoons around the map. For the first spoon, you'll need to tear down a poster in a cell outside the Warden's Office by throwing your Hell's Retriever at it revealing an afterlife symbol.
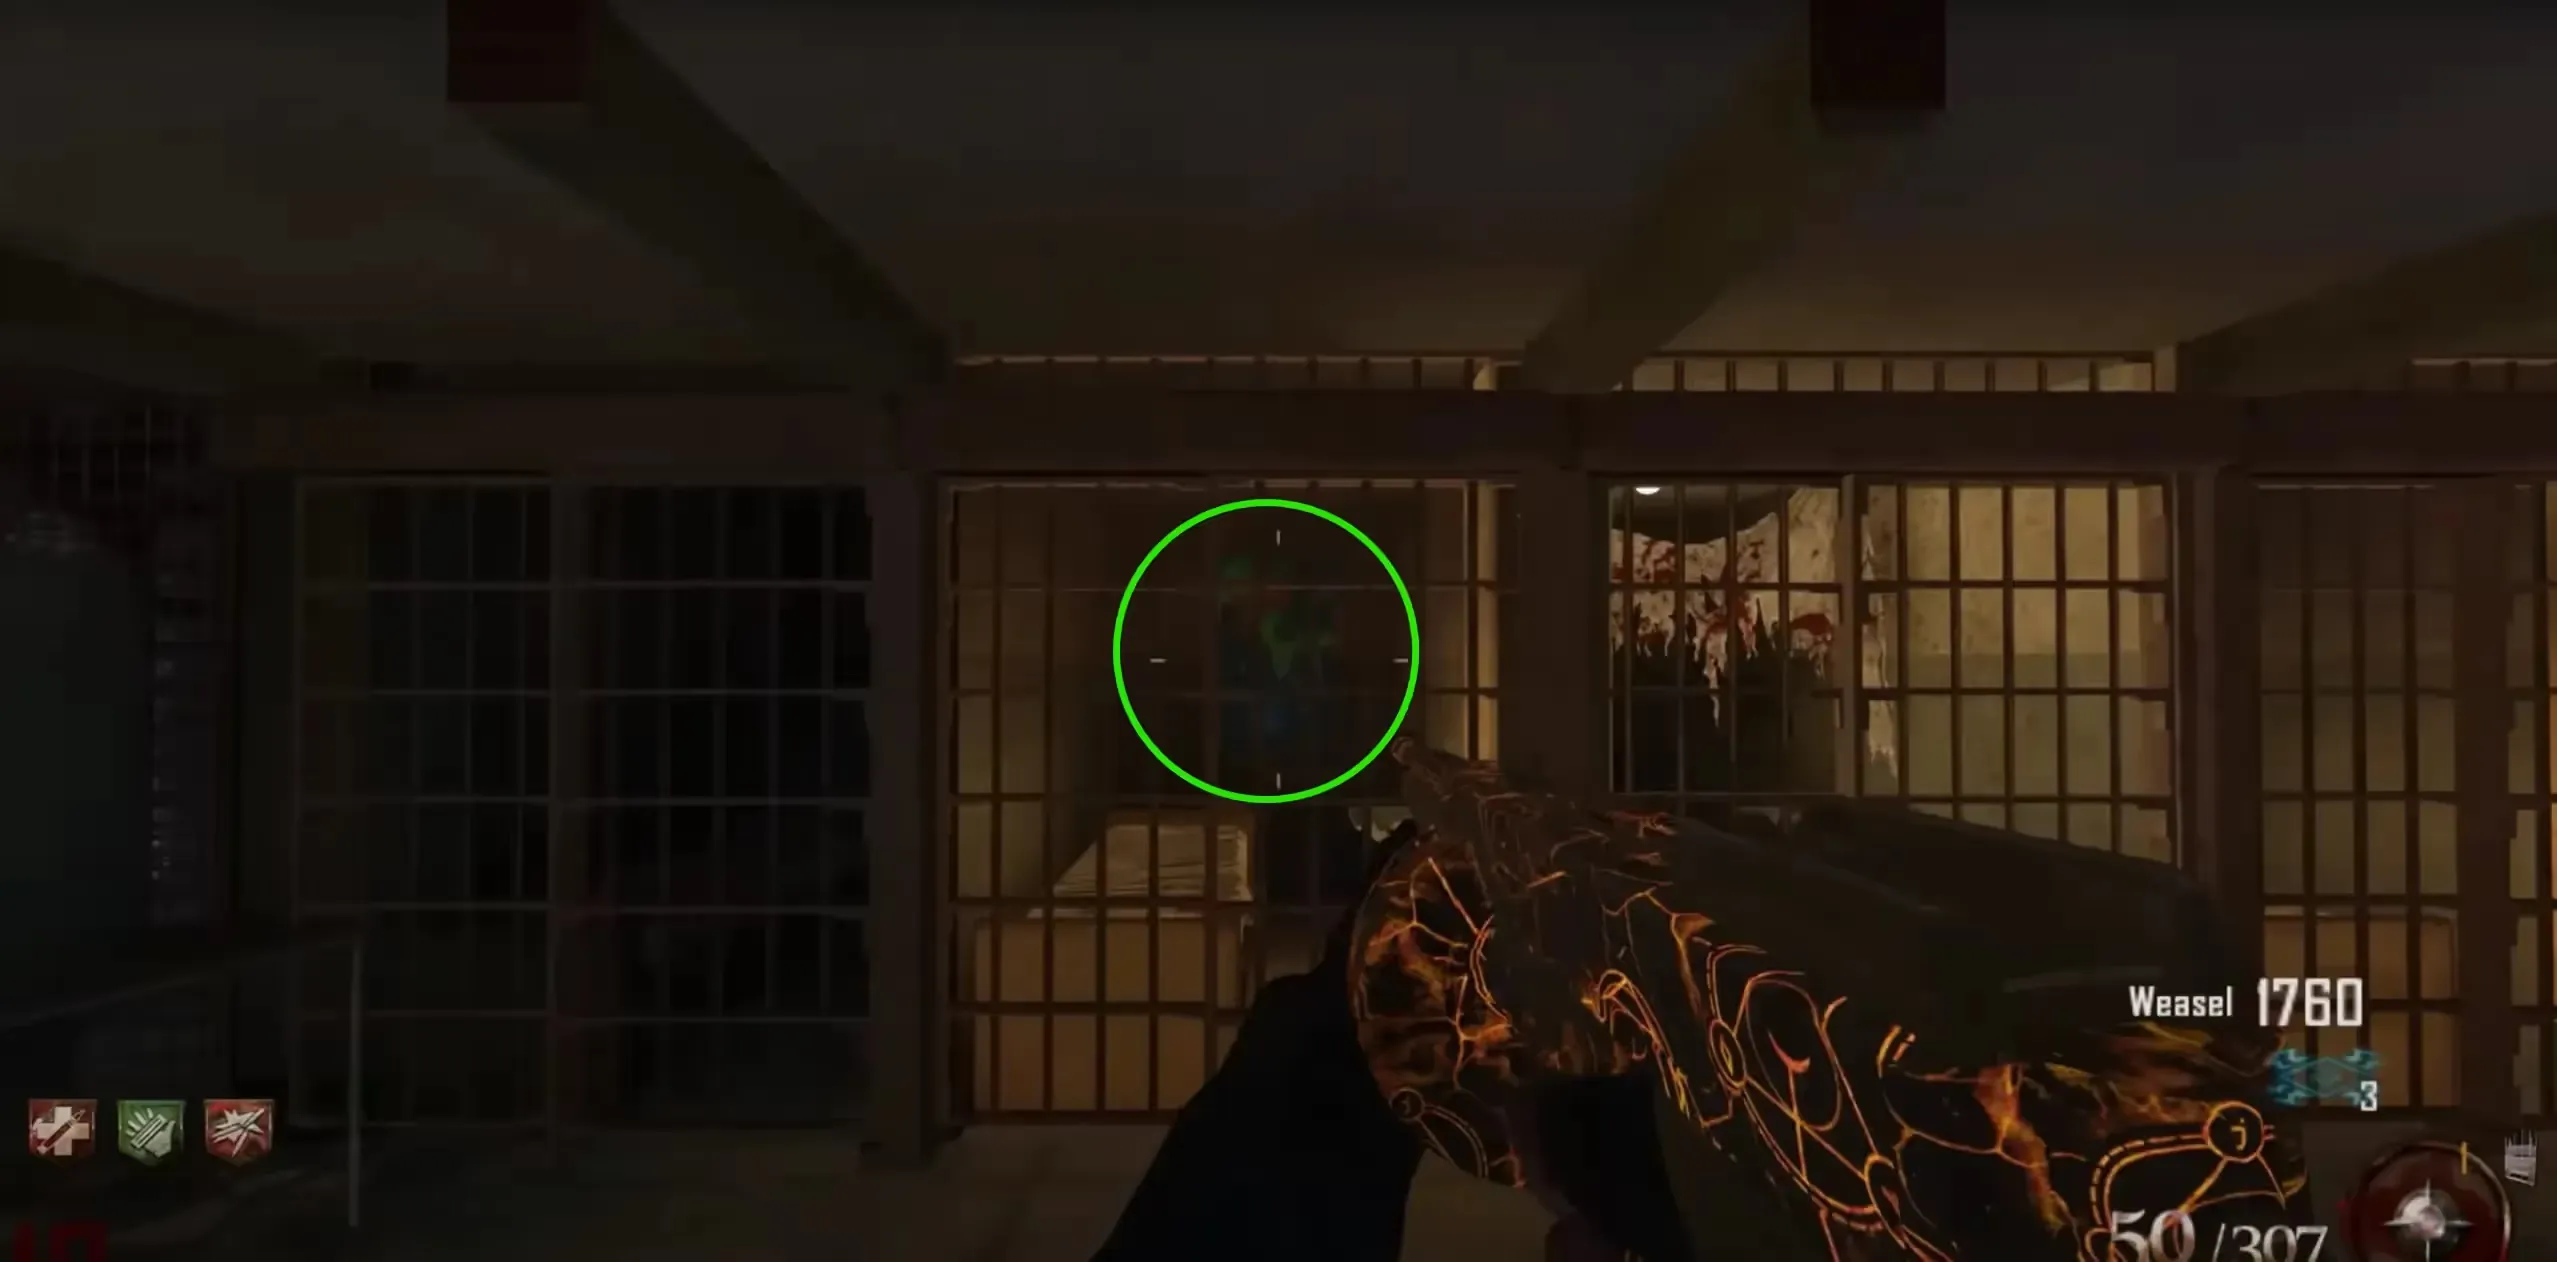
You'll then need to enter the afterlife and you'll see a blue portal just outside the Warden's Office that you have to go through and on the floor in front of the afterlife symbol will be a spoon that you need to shock. Once completed, you'll hear Brutus laughing.
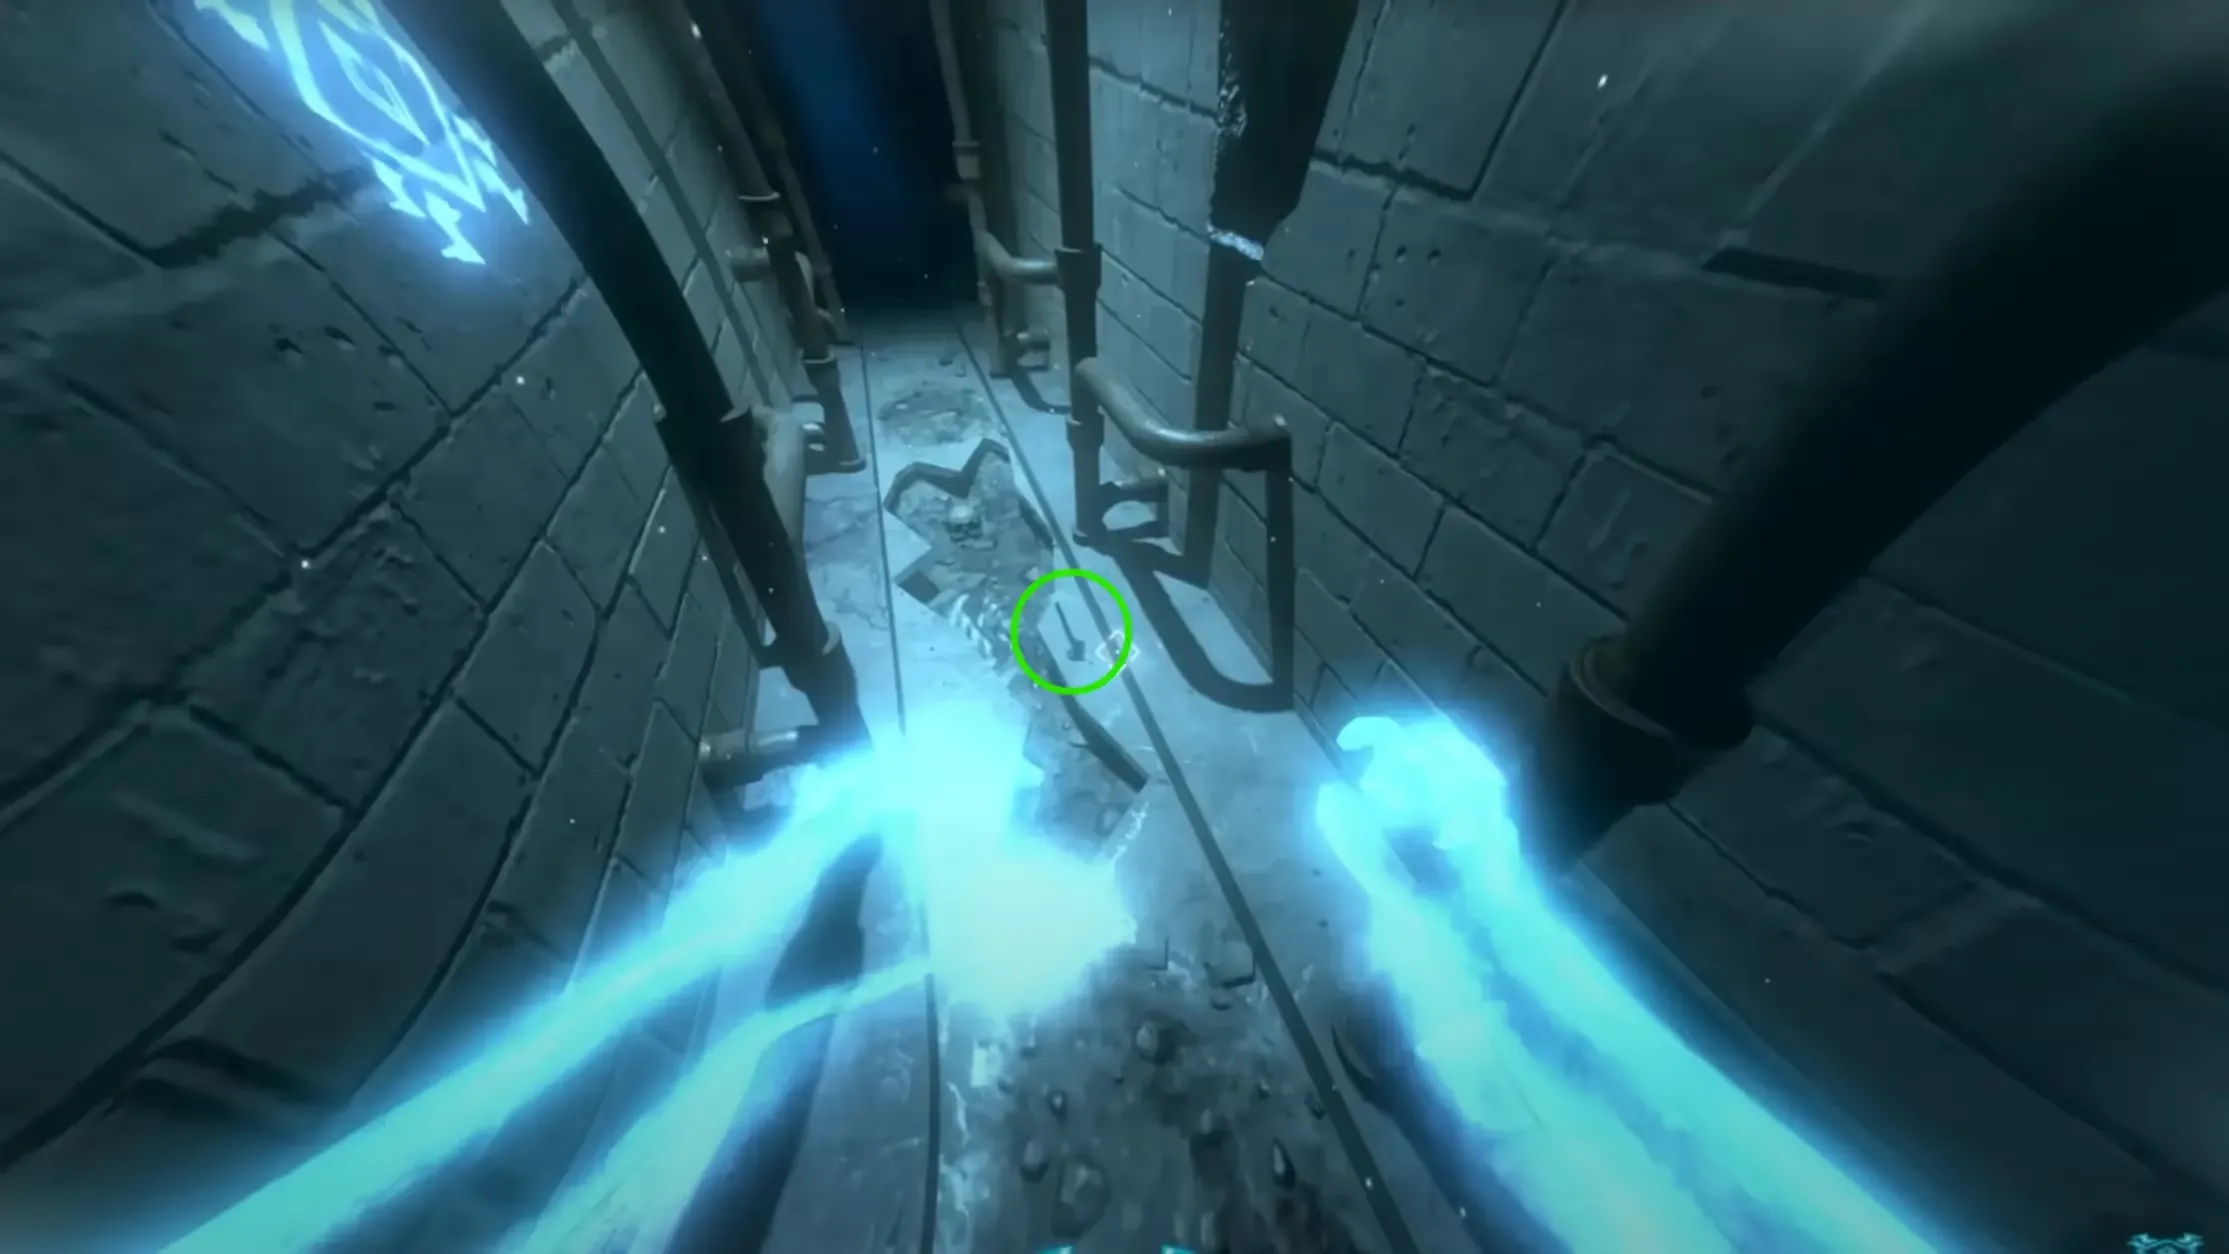
The second spoon is located in the cafeteria through the window to the left of the workbench. The spoon will be on top of a table on the left side of the room through the window and you'll have to throw your Hell's Retriever at the spoon to collect it.
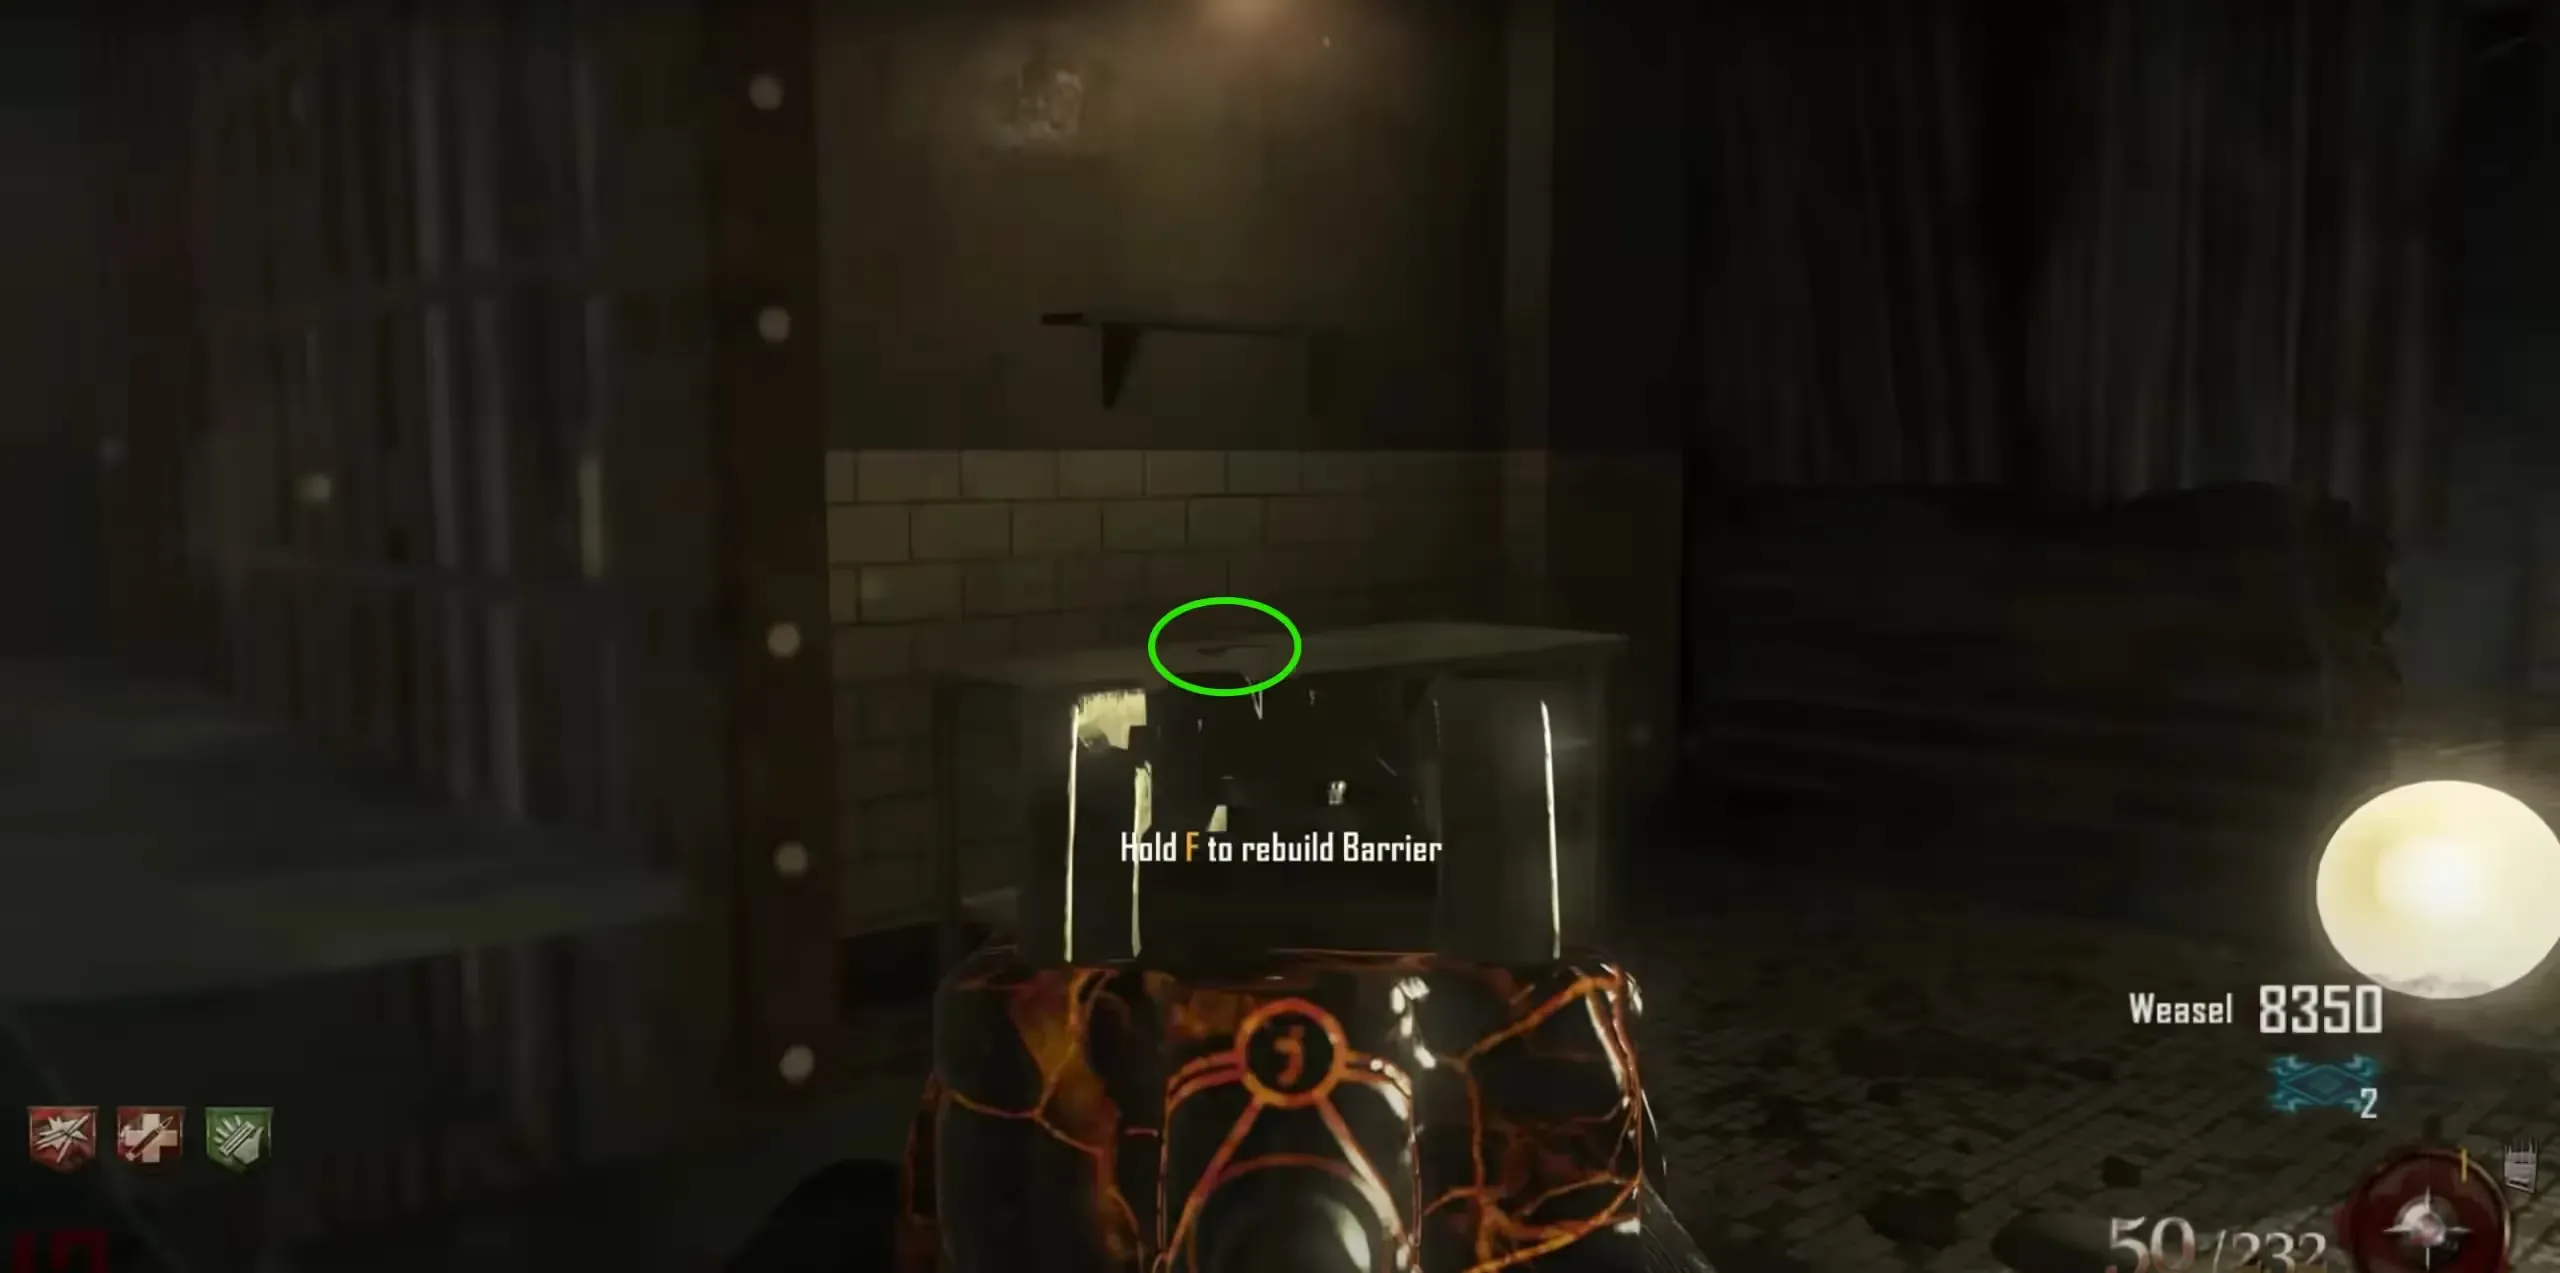
Once completed, you'll hear Brutus mutter something demonically.
Final Step
Head to the Citadel Tunnels, you should now see that the numbers at the bottom of the spiral staircase are infinitely cycling (if you don't see this, make sure you have made at least 3 roundtrips to and from the bridge). You'll now need to enter the afterlife and input the following codes into the number pad:
- 101
- 872
- 386
- 481
All four codes do not need to be entered in one afterlife as this is almost impossible to do.
After doing this successfully, the screen will turn black and white while some dialogue plays. Once the screen returns to full color, you'll need to collect 5 audio logs that are power-ups shaped like headphones on the way up to the roof from the Citadel Tunnels. The 5 audio log locations are as follows:
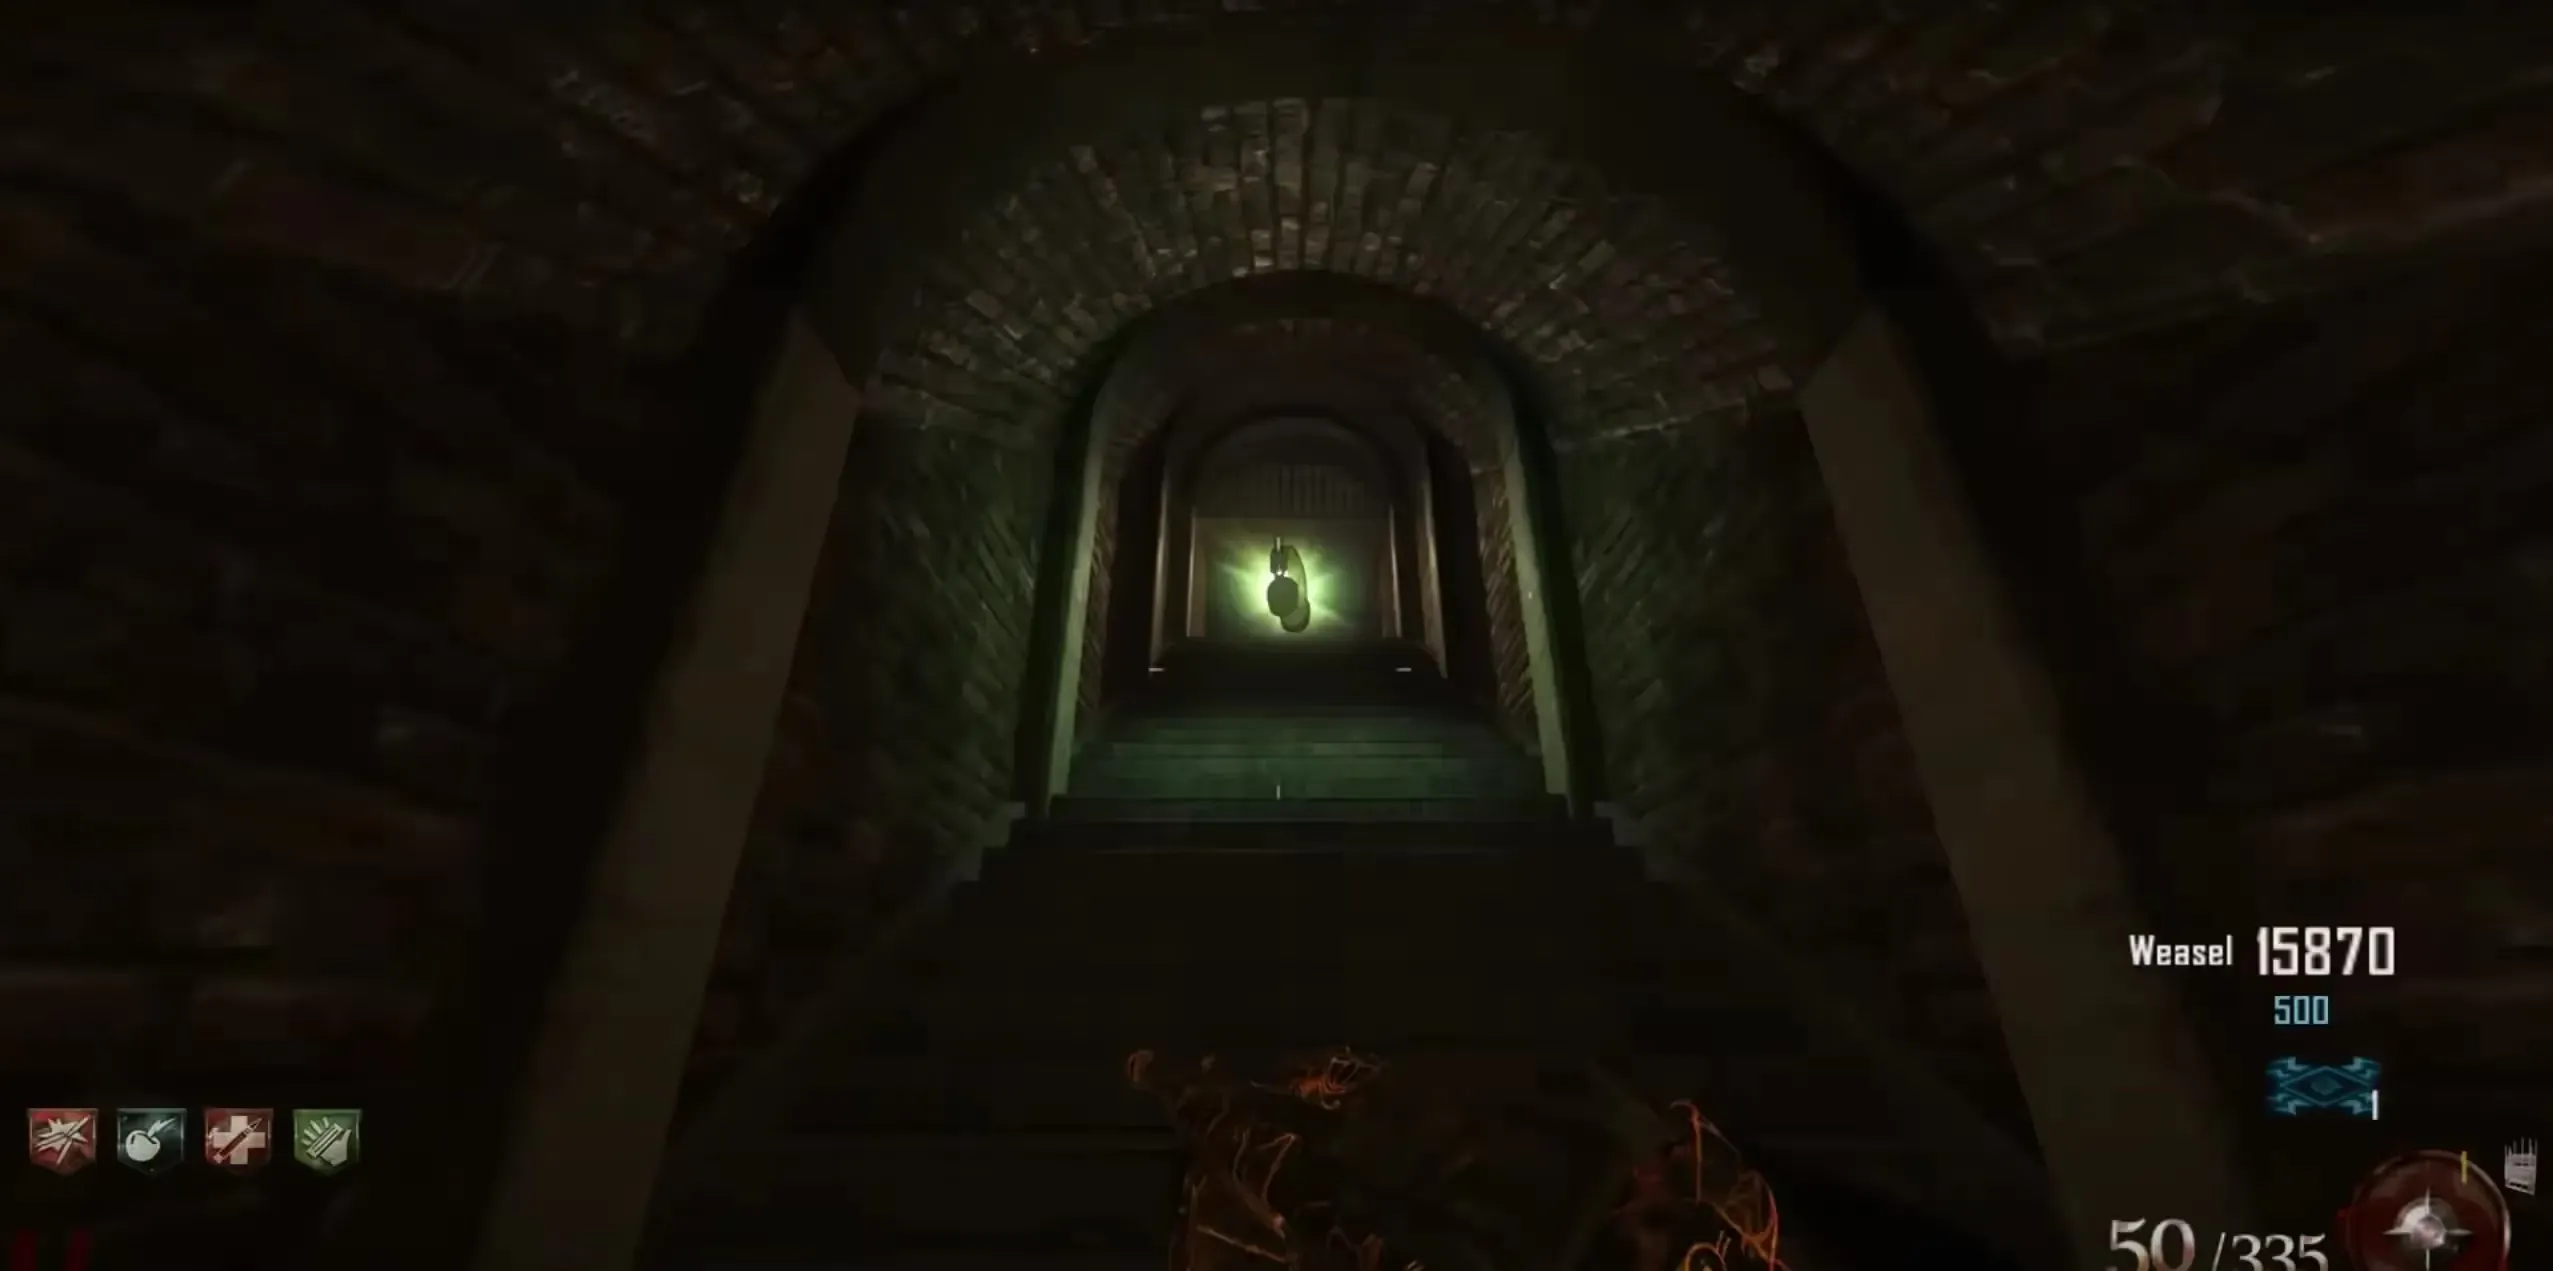
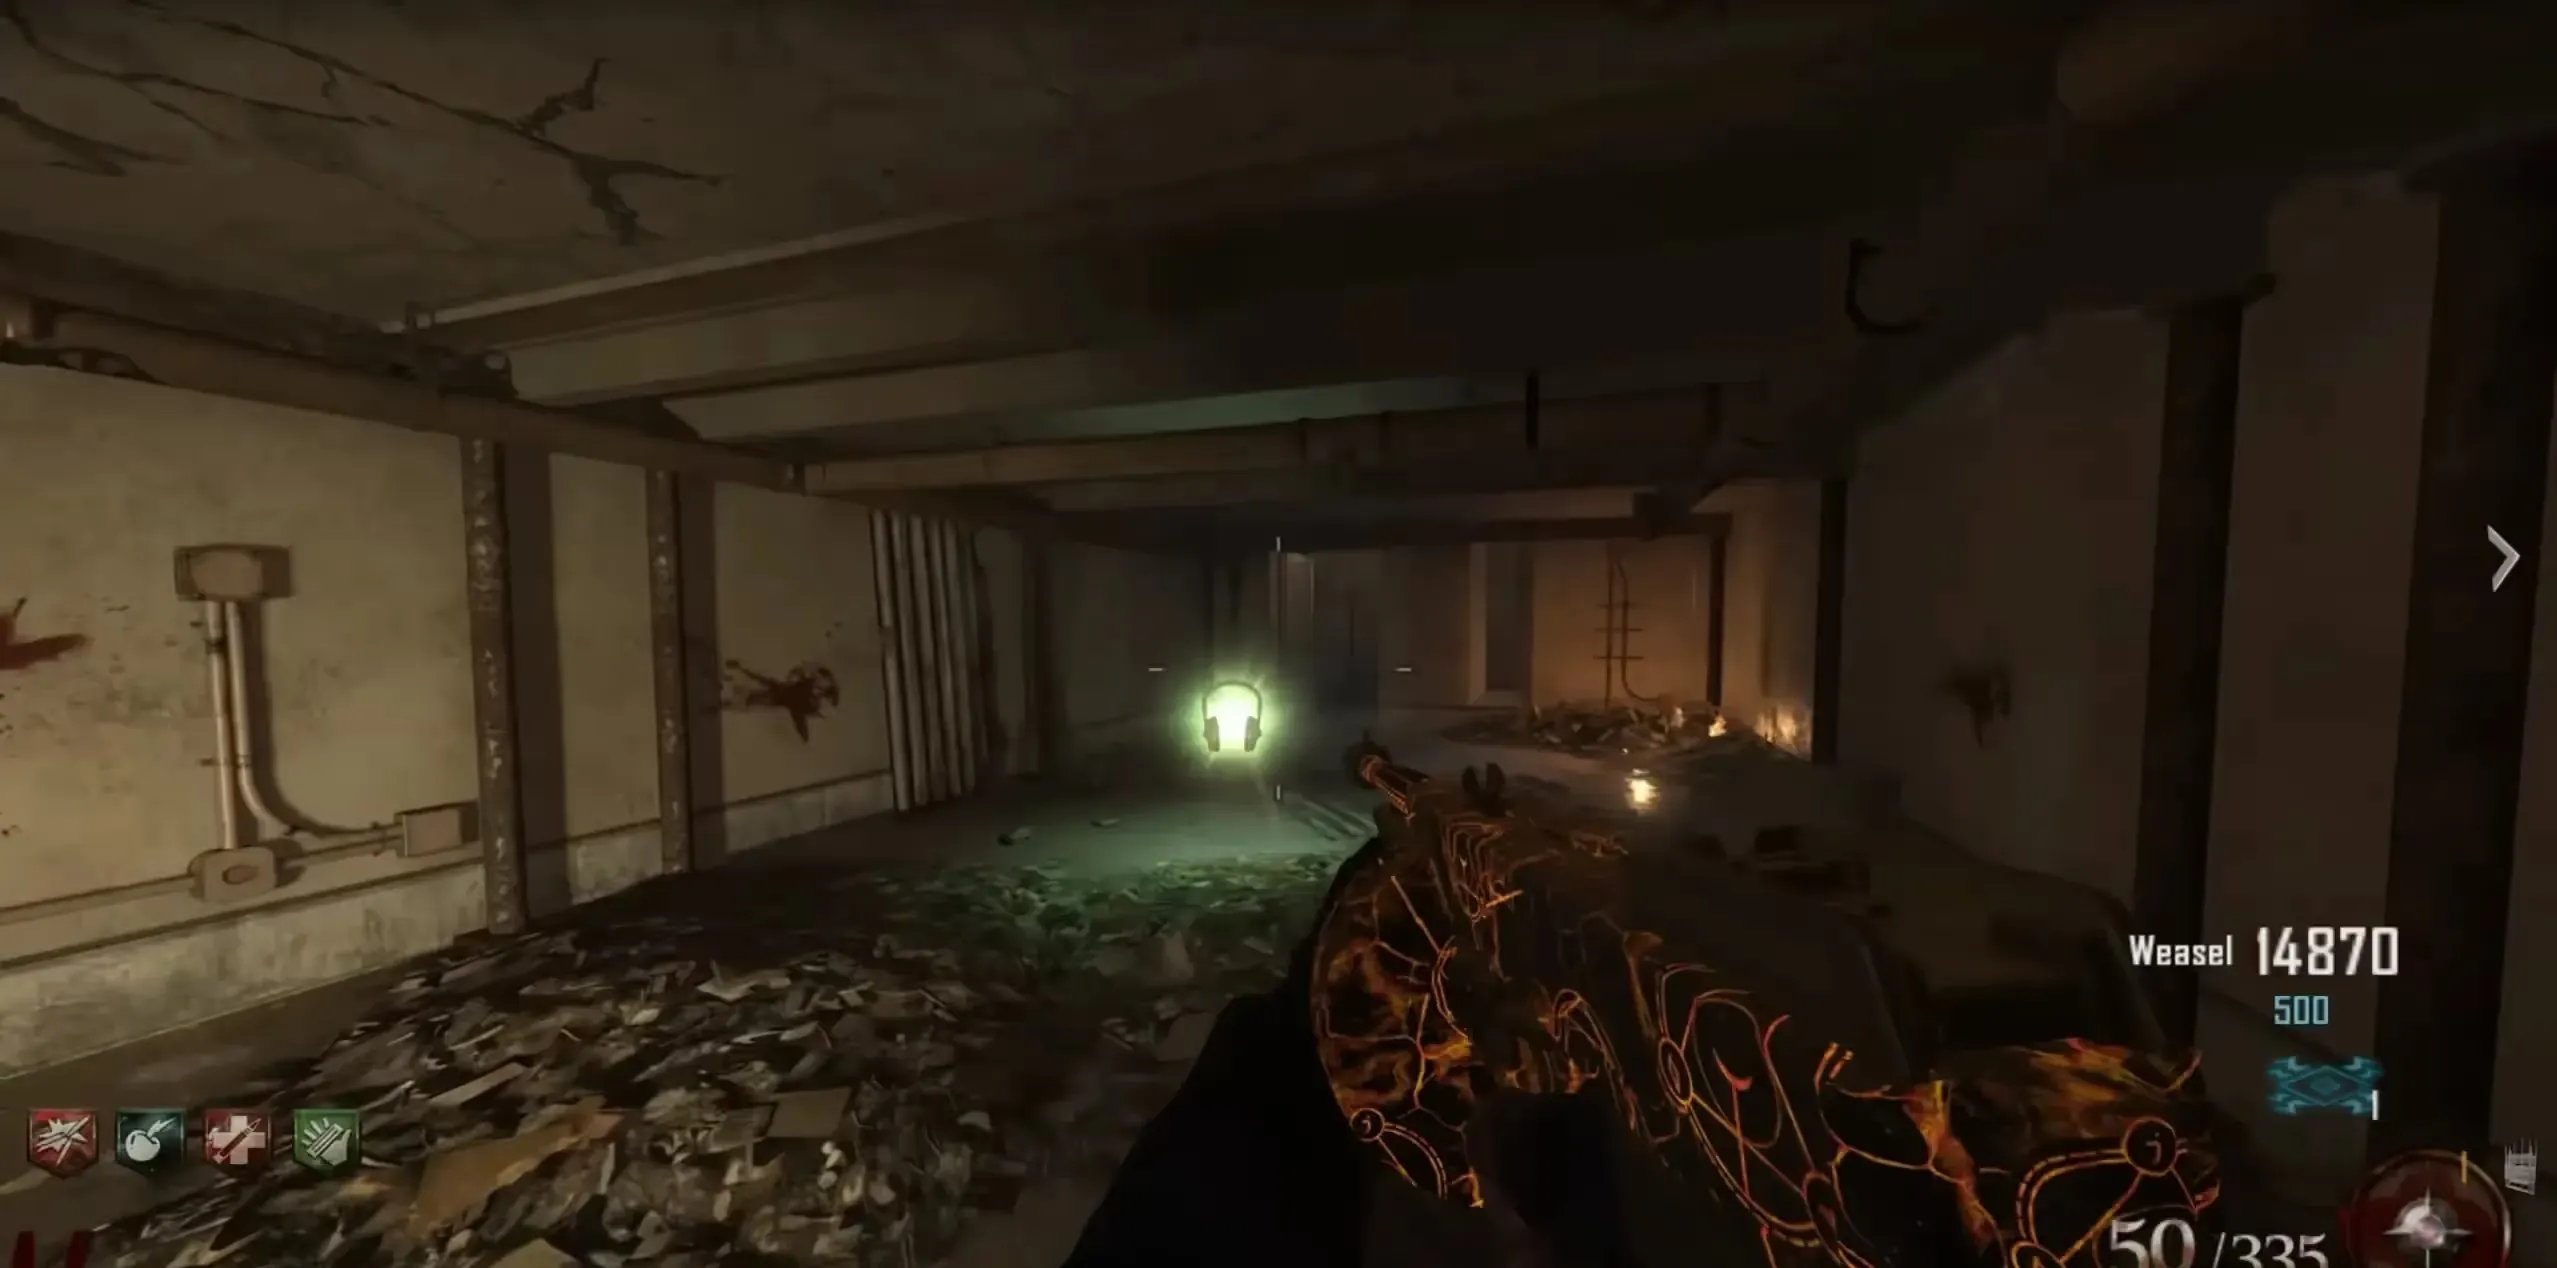
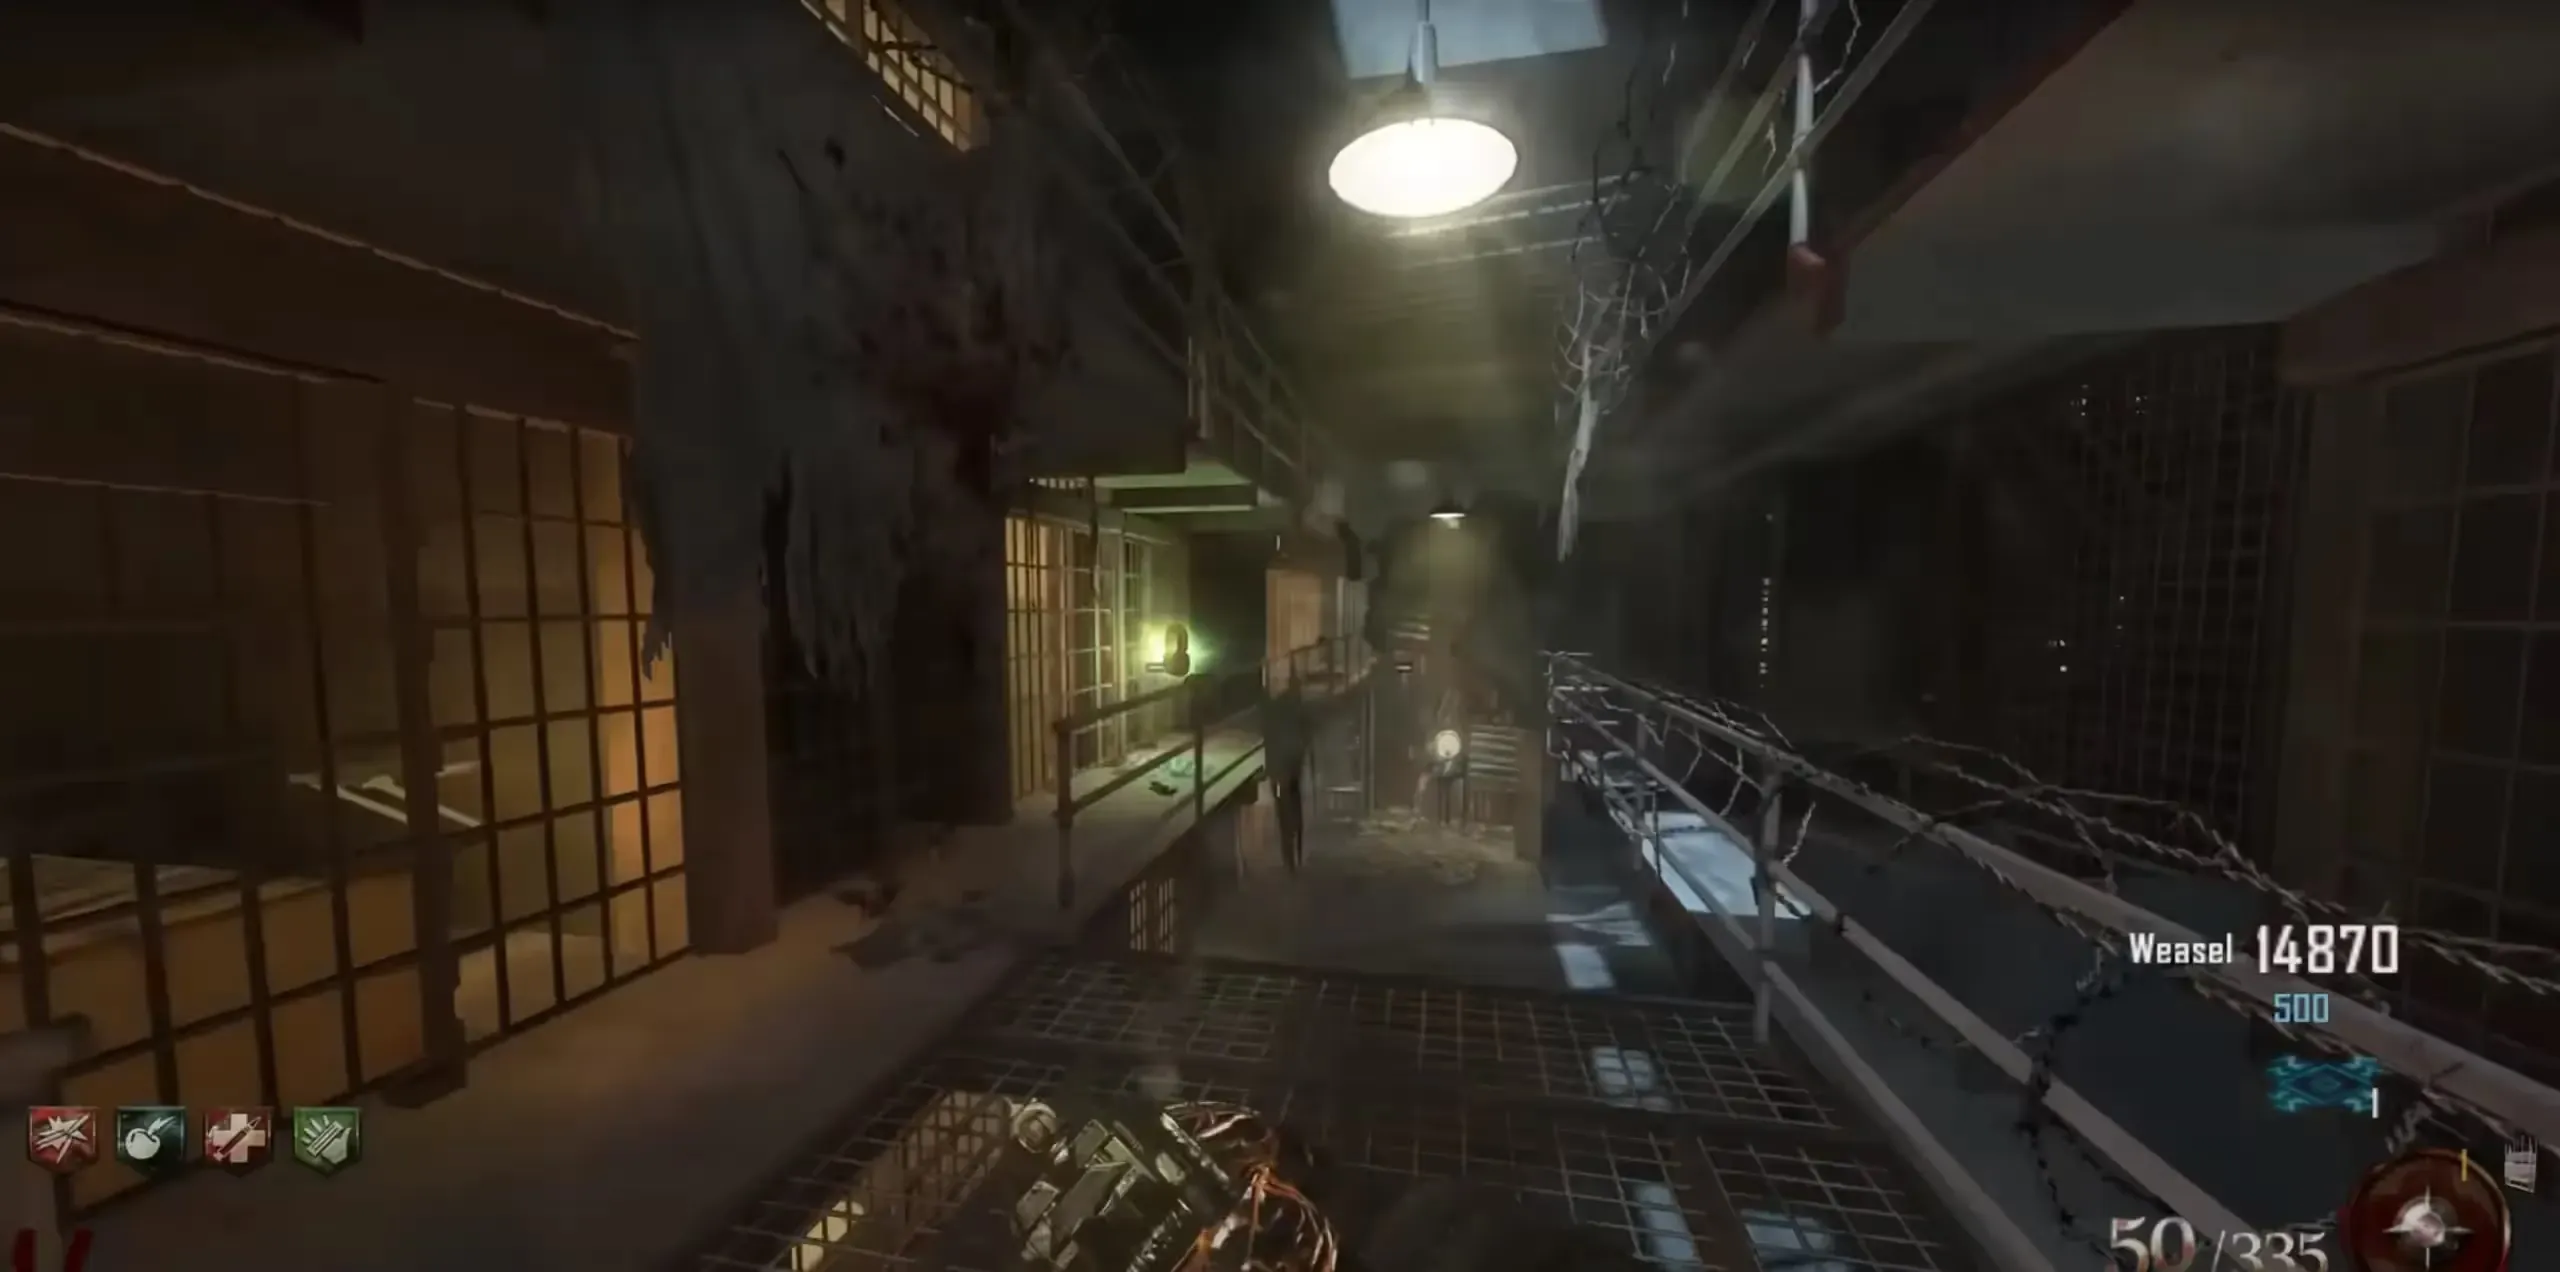
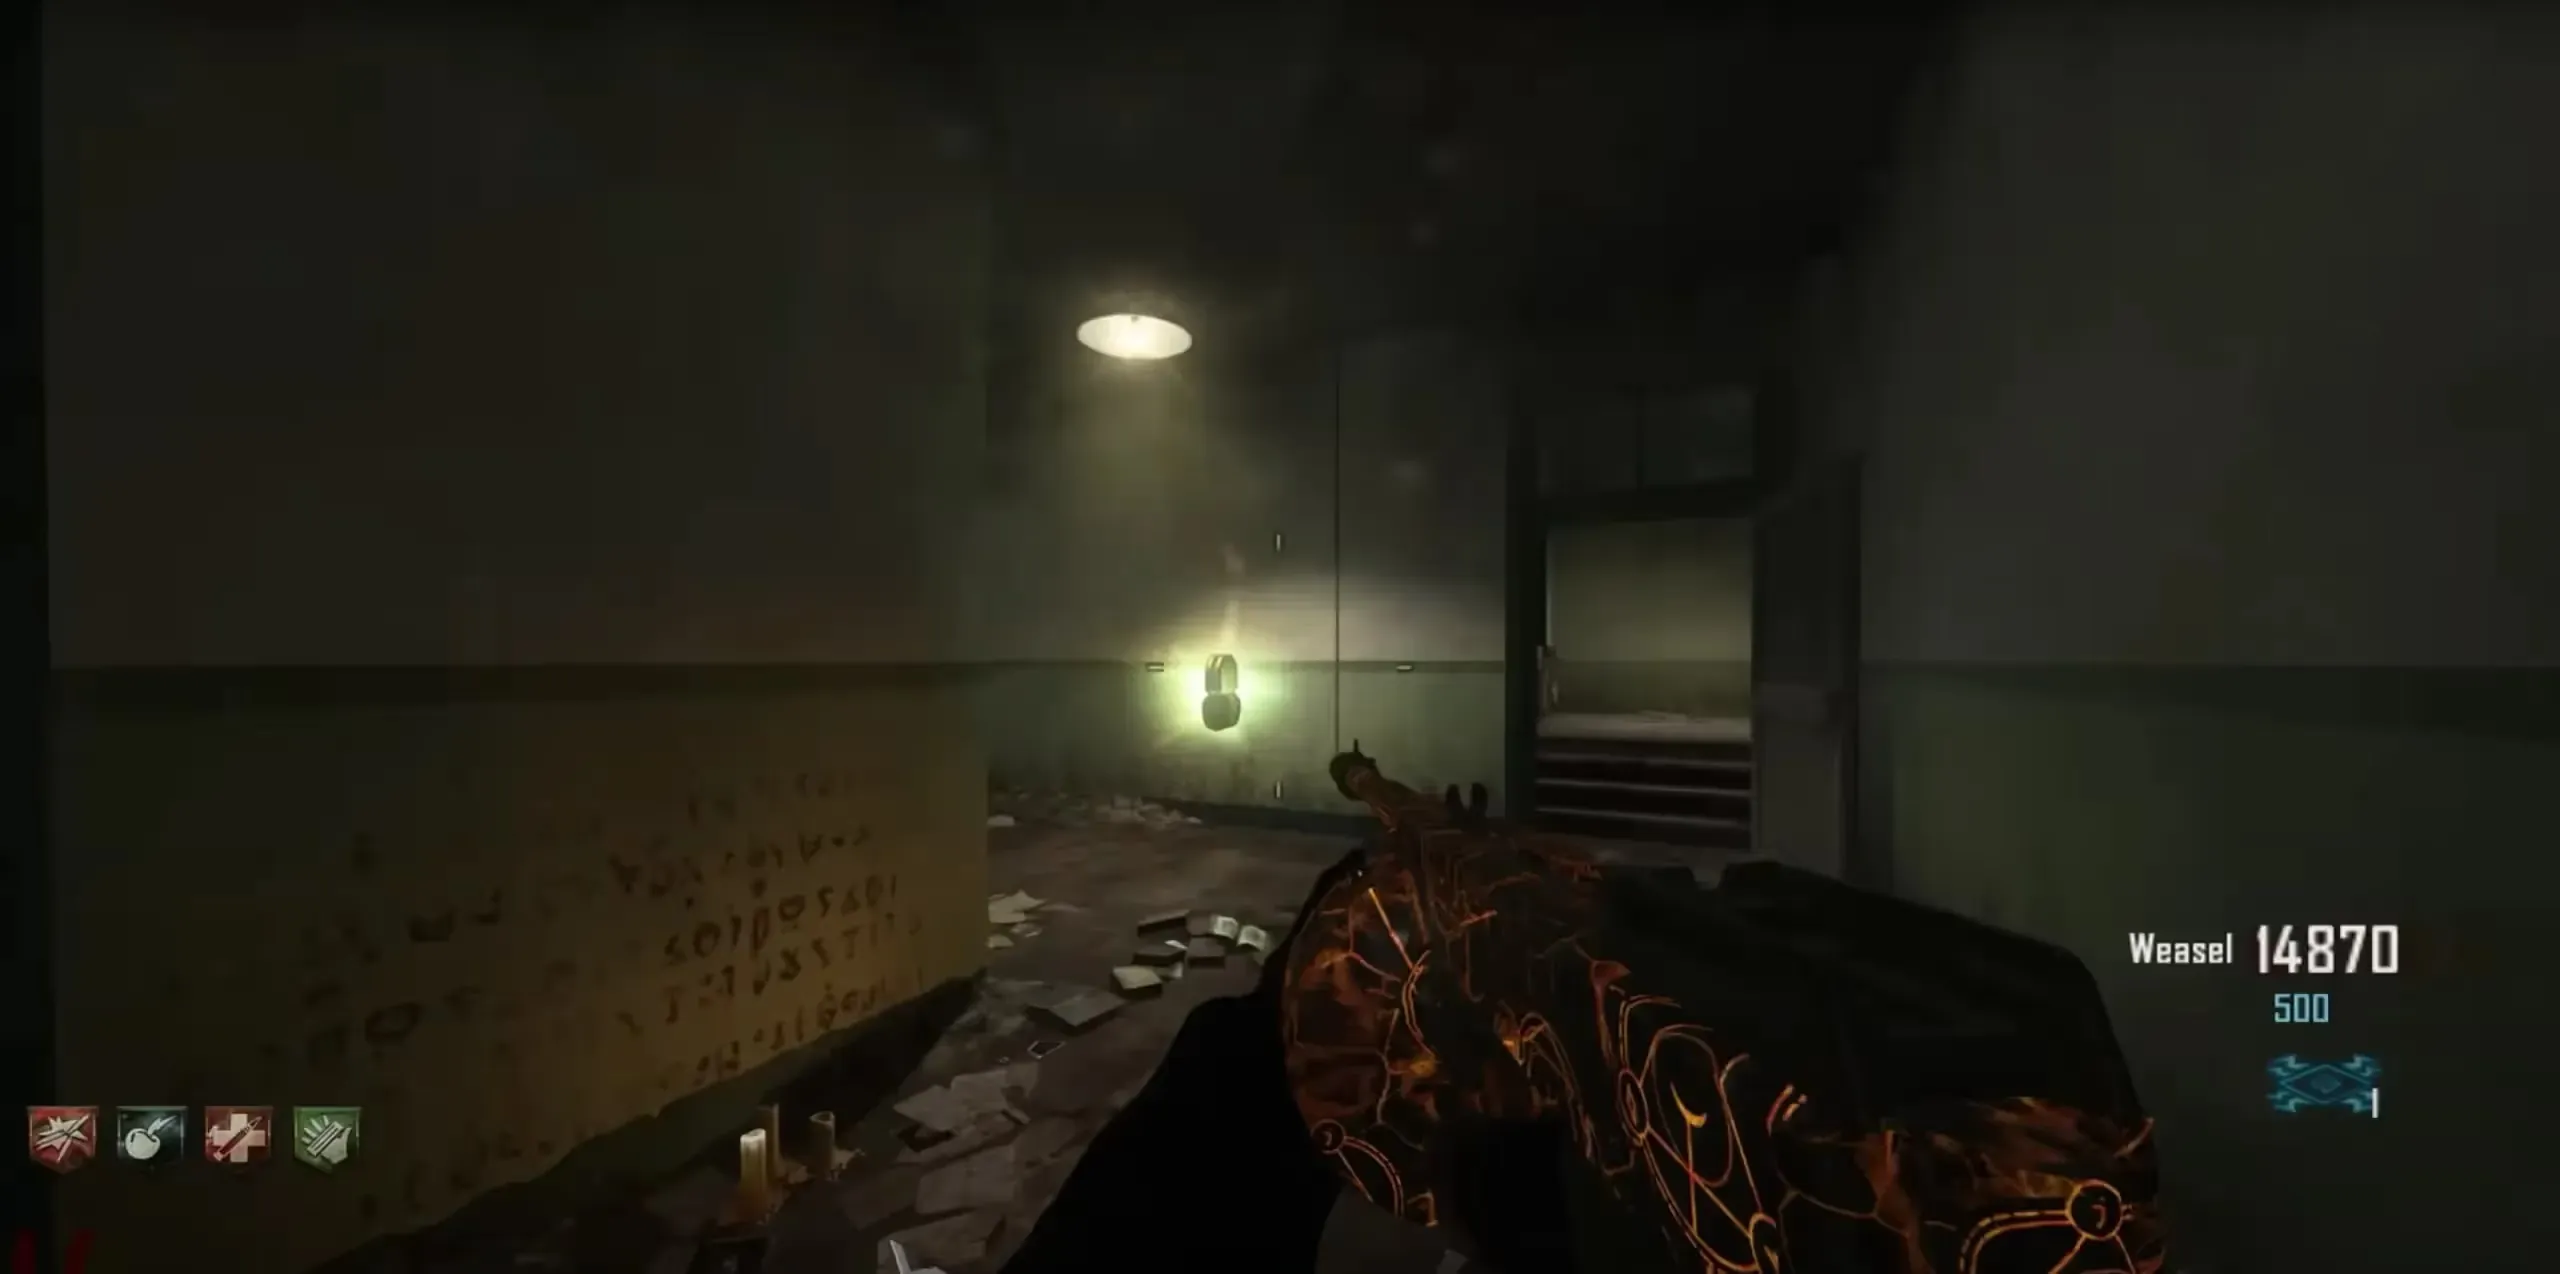
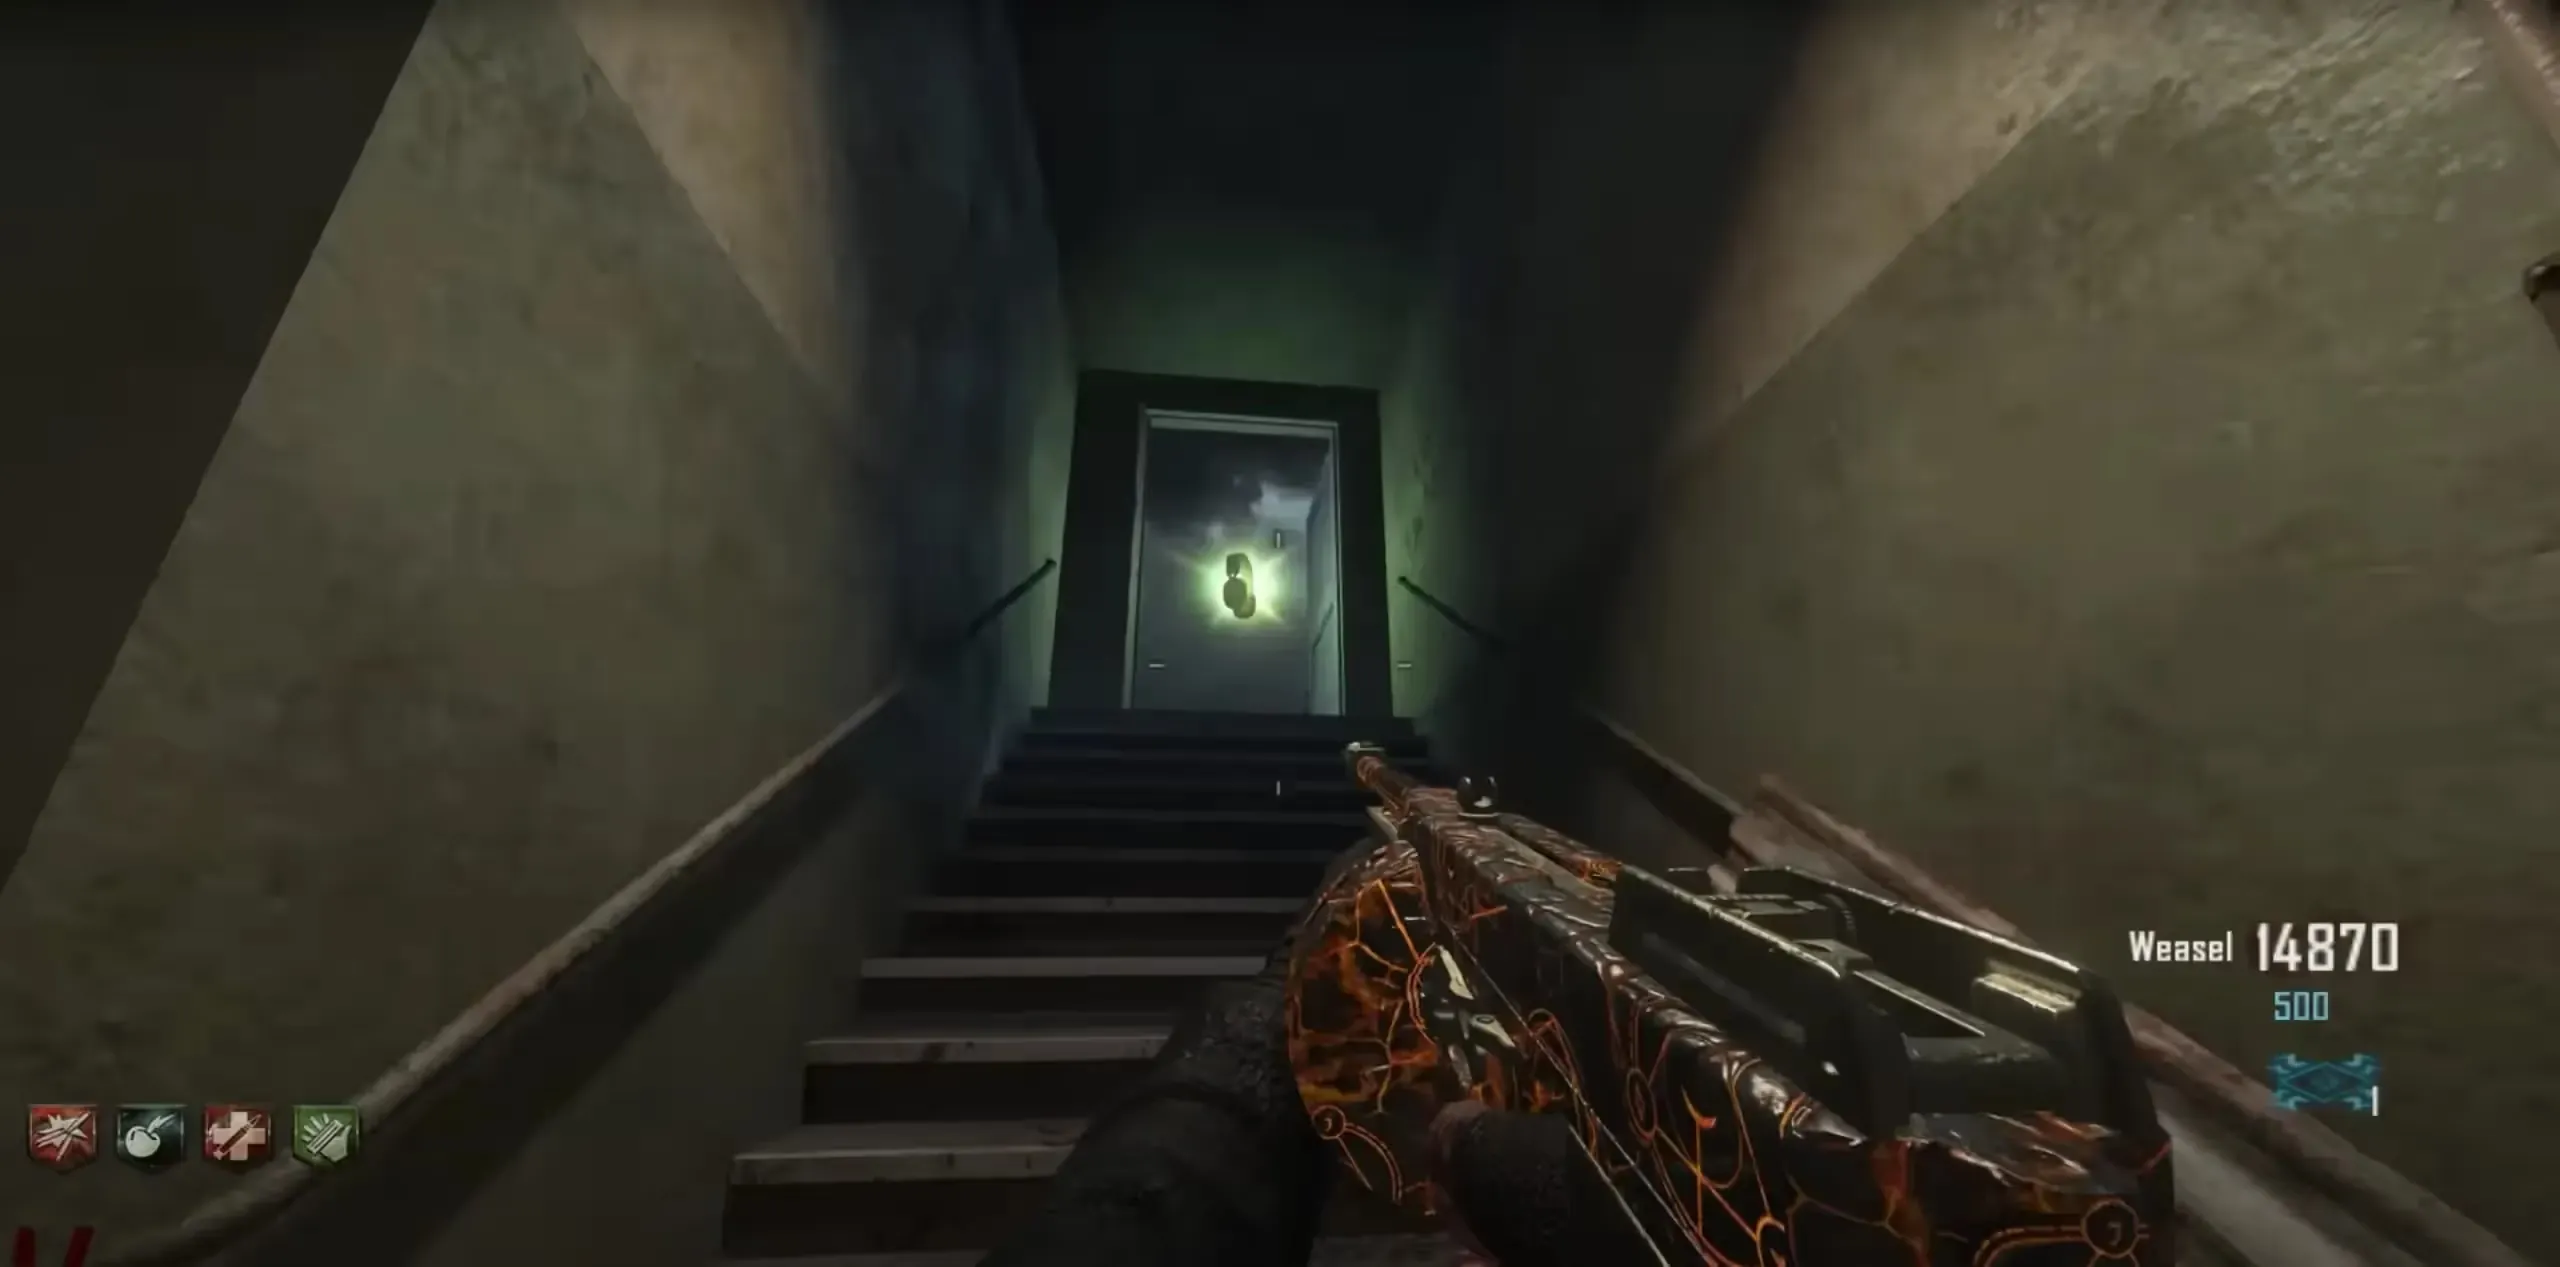
Finally, everyone in your game needs to enter the afterlife and interact with the plane to board it (the plane does not need to be fueled). The plane will then crash into the bridge once more and you'll find the human version of yourself in one of the electric chairs.
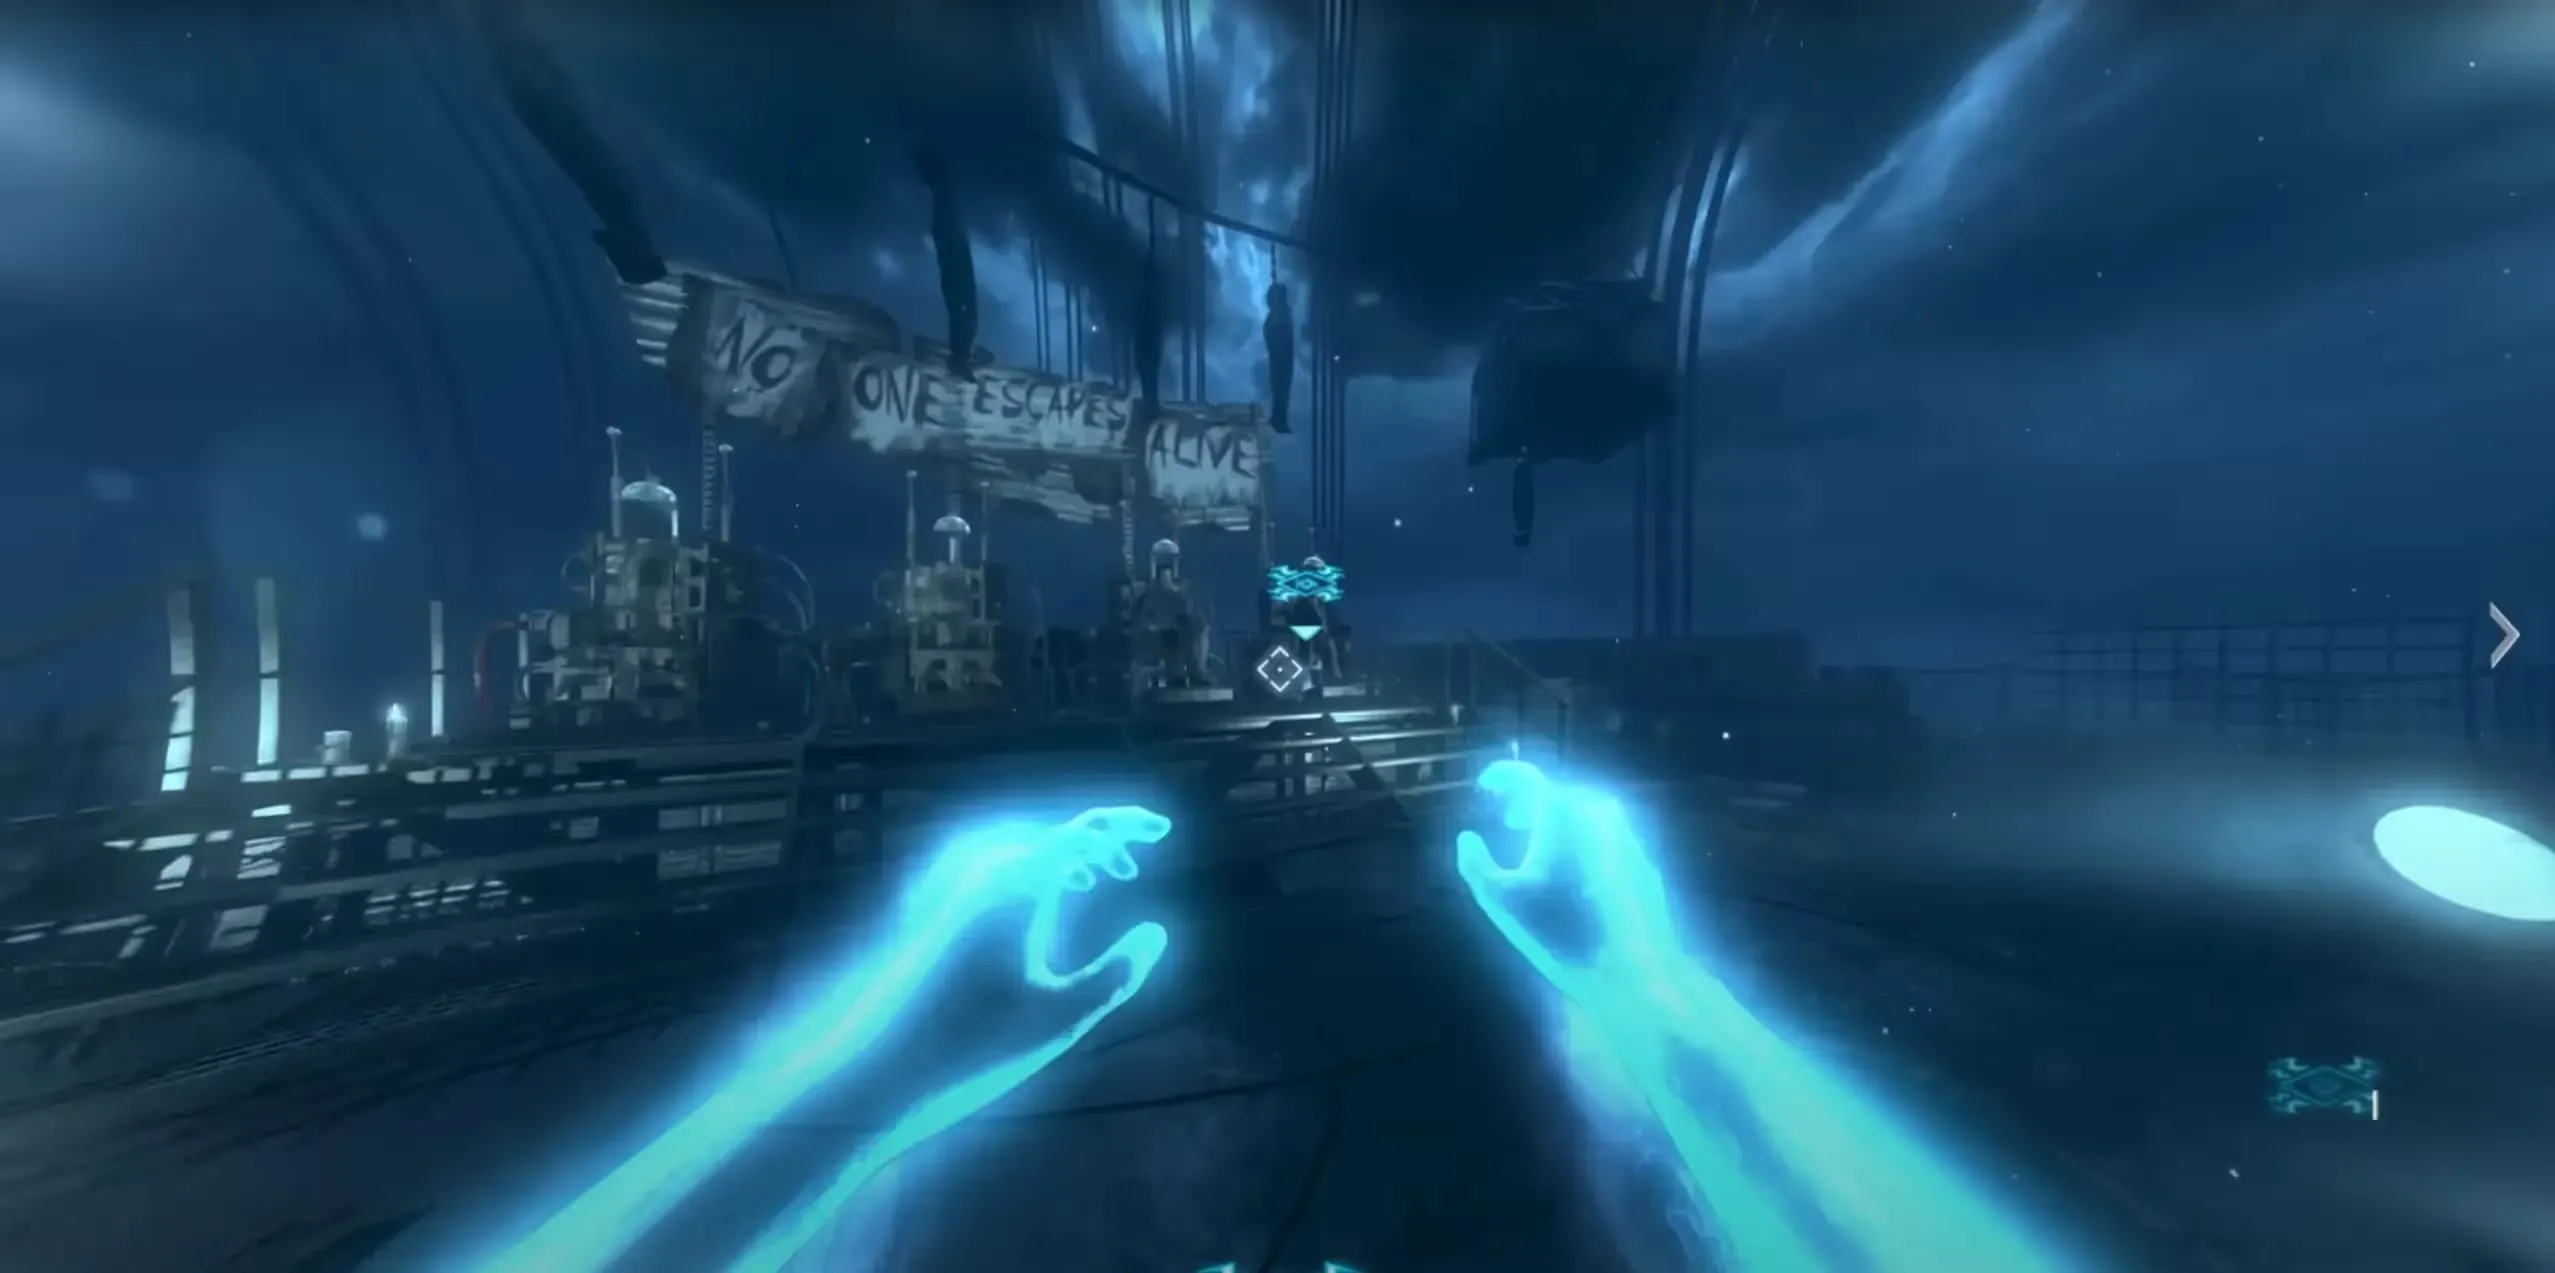
Revive yourselves and now whoever is playing as Albert "Weasel" Arlington will be able to kill the other players and vice-versa. Killing "Weasel" will continue the cycle, and "Weasel" killing the other players will cause the cycle to be broken.
Once again, breaking the cycle is confirmed to be the canon ending in the Call of Duty: Zombies timeline.
Congratulations! You've beaten the Mob of the Dead main quest: Pop Goes The Weasel.
Video Guides
Guide by MrRoflWaffles
Credits
Some images used were sourced from the following community members:
