Golden Armor
Golden Armor
This side quest has players complete two blood sacrifices to reveal a Golden Armor wall buy that everyone in the game can purchase for free, allowing you to regenerate armor over time.
Starting the Blood Sacrifices
You must find and melee two wooden boxes in the Dark Aether Nexus and grab the statue heads inside each box.
If you don't have
Melee Macchiato you will need to melee the box a couple of times to break it.
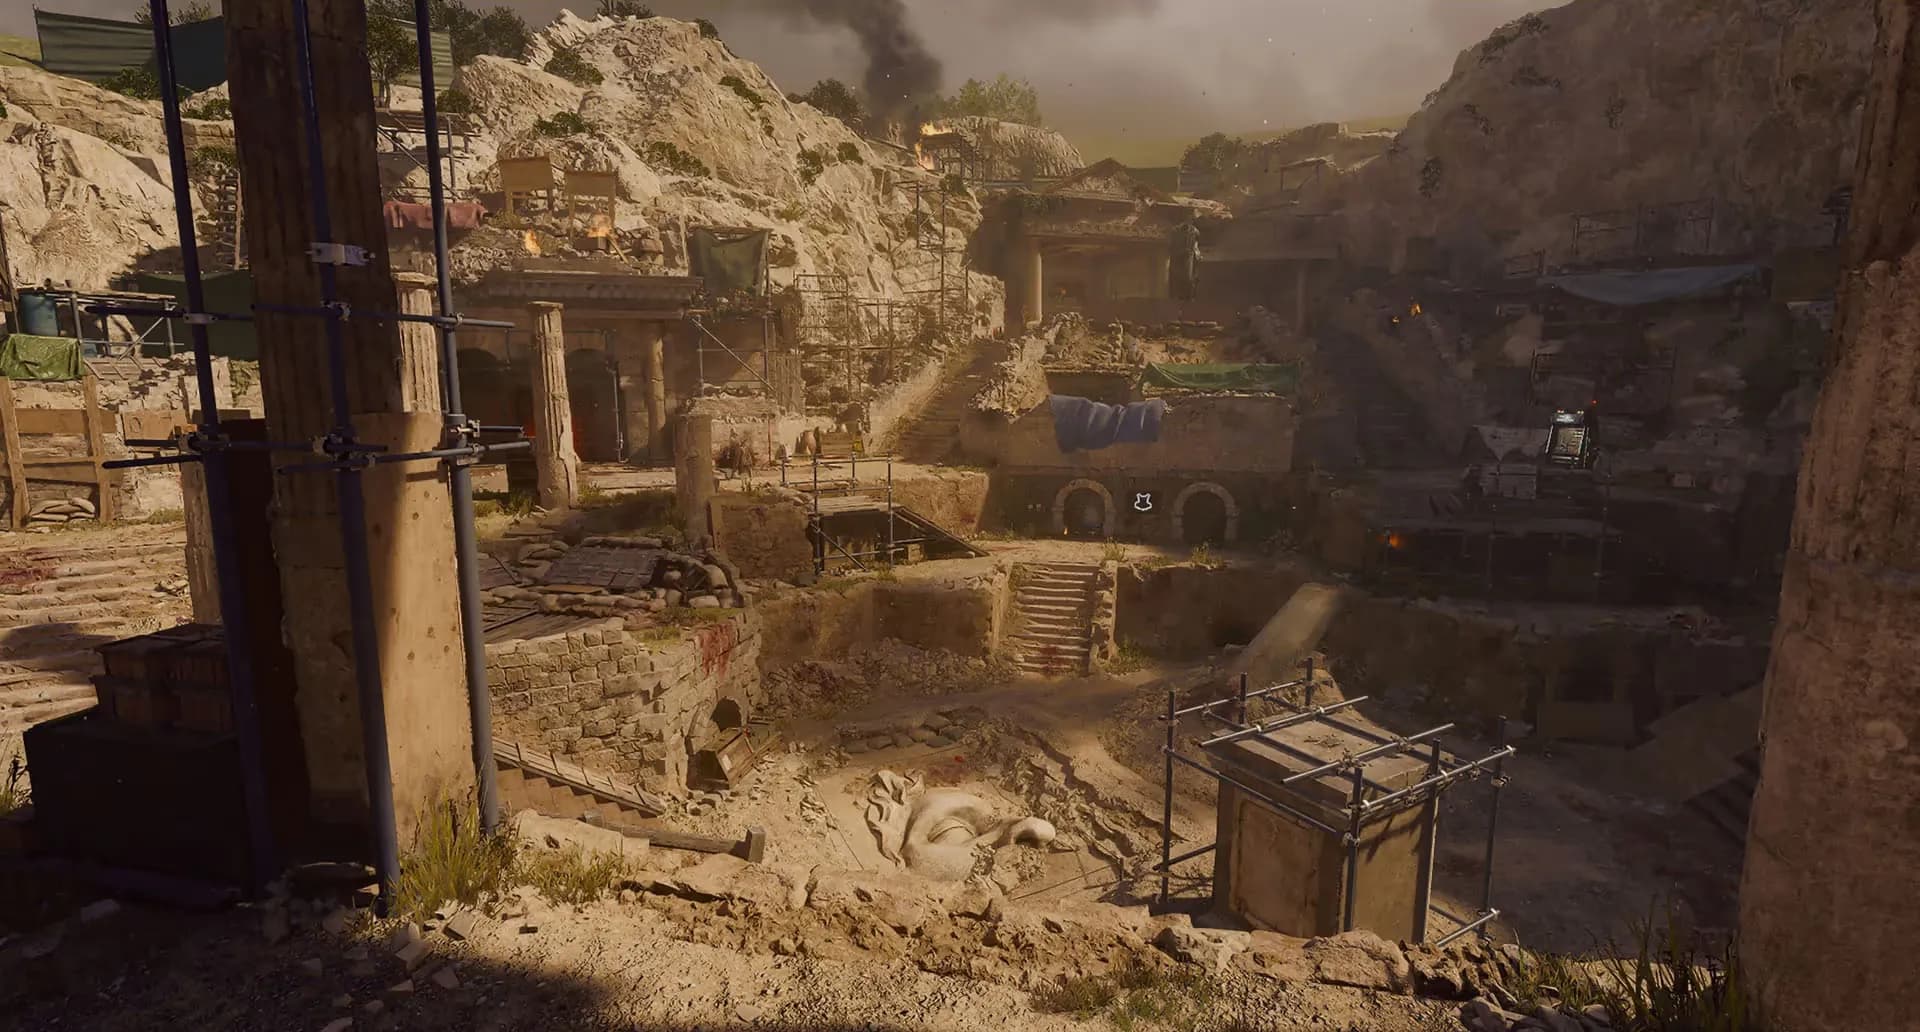
Once you have both heads, head to the Dig Site and interact with the two giant statues to place the heads back on each of them. Once placed, you will be able to start a blood sacrifice at each of the statues.
Completing the Sacrifices
These blood sacrifices are pretty difficult and require you to be geared to complete legitly, below will be two ways of completing the sacrifices, legitly and by using a Mutant Injection which is not allowed to be used once the sacrifice has started.
Non-Legit Method
At any point, this method could be patched out by Treyarch forcing you to do the legit method instead.
Purchase a Mutant Injection and activate it before starting each of the blood sacrifices, you can interact with the statues while in the Mutant Injection, which is probably what will be hotfixed when Treyarch patches this.
Legit Method
Before attempting this, make sure you have all your perks that increase your survivability, and damage, the Upgraded Staff of Ice, Tier III Armor, fully Pack-A-Punched weapon with max rarity or ideally the Ray Gun. Also make sure to have either
Light Mend or
Cryo Freeze on your weapon depending on which sacrifice you are doing first.
The statue near the Dark Aether Nexus portal will spawn three HVT Doppelghast which are weak to
![]() Light Mend while the statue near
Light Mend while the statue near ![]() PHD Flopper will spawn three HVT Shock Mimic
zombies, which are weak to
PHD Flopper will spawn three HVT Shock Mimic
zombies, which are weak to ![]() Cryo Freeze. Make sure to switch between ammo mods before starting the next sacrifice if you aren't
using the Ray Gun.
Cryo Freeze. Make sure to switch between ammo mods before starting the next sacrifice if you aren't
using the Ray Gun.
GobbleGums like
Free Fire,
Kill Joy,
Shields Up and
Idle Eyes are extremely useful for these sacrifices if you want to use them. With
Once you start a sacrifice, activate your field upgrade either ![]() Aether Shroud or
Aether Shroud or
![]() Frenzied Guard and lay as much damage into one of the HVTs as possible with your
strongest weapon. Once the field upgrade is over, train the HVTs in a circle around the Dig Site while shooting charged
Ice Staff shots to slow them down and do damage.
Frenzied Guard and lay as much damage into one of the HVTs as possible with your
strongest weapon. Once the field upgrade is over, train the HVTs in a circle around the Dig Site while shooting charged
Ice Staff shots to slow them down and do damage.
In a multiplayer lobby, only one person needs to be inside the Dig Site to keep the sacrifice active while the others can lure the HVTs outside of the Dig Site to fight them with full health. This makes this quest really easy in a group, but unfortunately solo players do not have that luxury.
Once they are slowed, pull out your strongest weapon and lay into the HVTs. Rinse and repeat this cycle until all the HVTs are dead, you can buy armor if you get low from the wall buy for 10,000 points as a last resort. If you think you are going to go down you can leave the area to cancel the blood sacrifice and get your health back.
The normal round will progress while you are doing this side quest and it is pretty difficult to not accidentally kill the final zombie so be prepared to also fight off zombies. The Upgraded Staff of Ice makes this a non-issue which is why it is highly recommended.
Once both blood sacrifices have been completed, the Golden Armor wall buy can be found in the Roman Mausoleum to purchase for free.
Video Guides
Guide by TheGamingRevolution

Wishing Well
This wishing well has something hiding inside, clear it out to be able to "wish" for things like free points, doubling your points, and sharing your points with your friends.
Free Pack-a-Punch
Discover a way to earn a free Aetherium Crystal offerring a level 1 Pack-a-Punch upgrade to any weapon you are currently holding.