
Ashes of the Damned
Dust to Dust
The main quest for Ashes of the Damned is called Dust to Dust. This quest has our crew fighting to release the tortured souls of the damned and the Shadowsmiths, while also restoring the souls of our characters.
Requirements
- Necrofluid Gauntlet
-
 Wisp Tea
-
 Melee Macchiato
- Stun Grenades
Recommended Loadouts
| Start Weapon | Field Upgrade | Lethal | Tactical |
|---|---|---|---|
| DS20 Mirage | Molotov | Combat Stim/Decoy | |
| MXR-17 | Molotov | Combat Stim/Decoy |
The weapon you bring in does not matter too much, as you will mainly be using Ol' Tessie to defeat the final boss.
Recommended GobbleGums
| Solo GobbleGums | Co-op GobbleGums |
|---|---|
These gobblegums are just a recommendation and are not required to complete the quest.
Step 1: Activate Klaus
There are four different items you can start collecting before Step 1, to progress towards Step 4 if you choose. The only two you cannot collect yet are the Powder of the Forgotten and the Mysterious Limb.
Wait until Round 8 and head to the right side wall near the gate leading to Blackwater Lake in the Janus Towers Plaza, where a Uber Klaus will spawn out of the car, which you must kill to obtain the Stabilizer Chip.

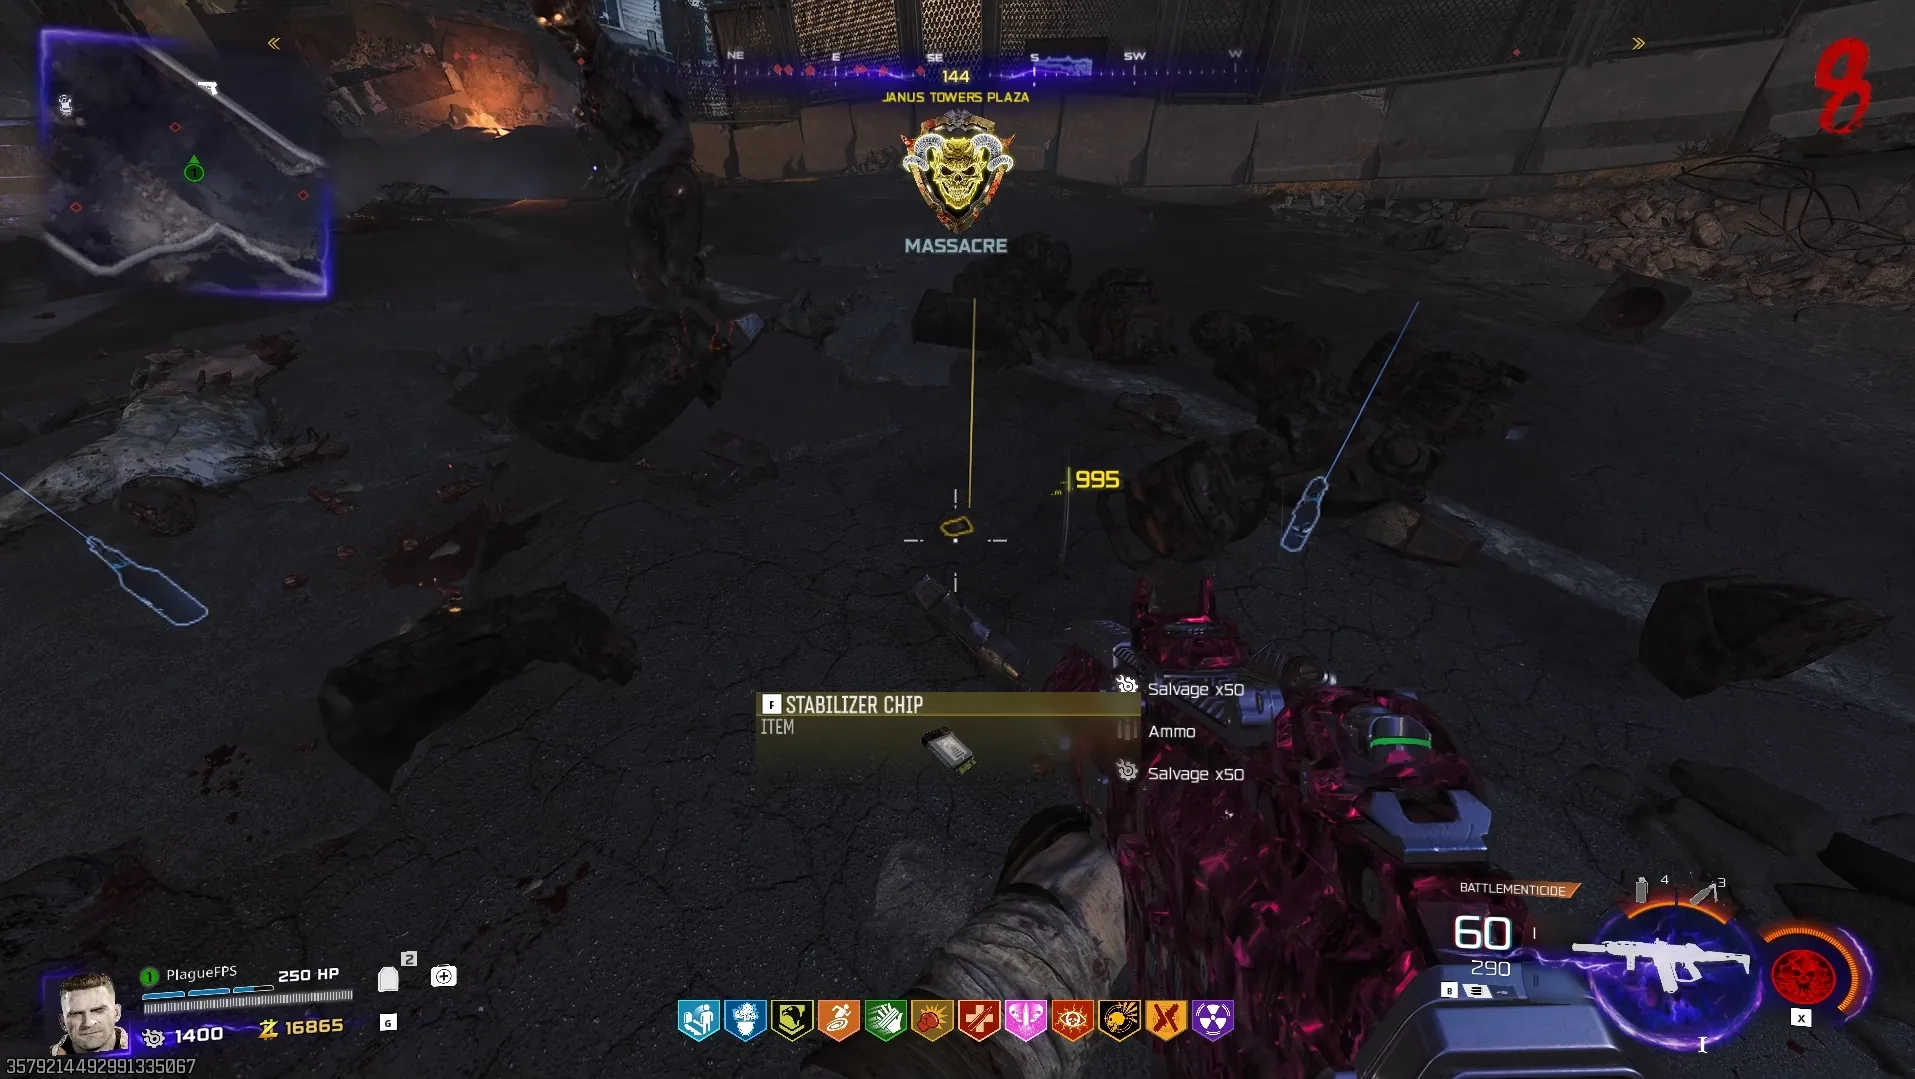
Once you have the chip, head to the Ashwood Sheriff's Office where you'll find Klaus locked in the jail cell. Install the Stabilizer Chip into the panel, on the door of the jail cell, until you are prompted with a "Update requires restart" message on the panel.
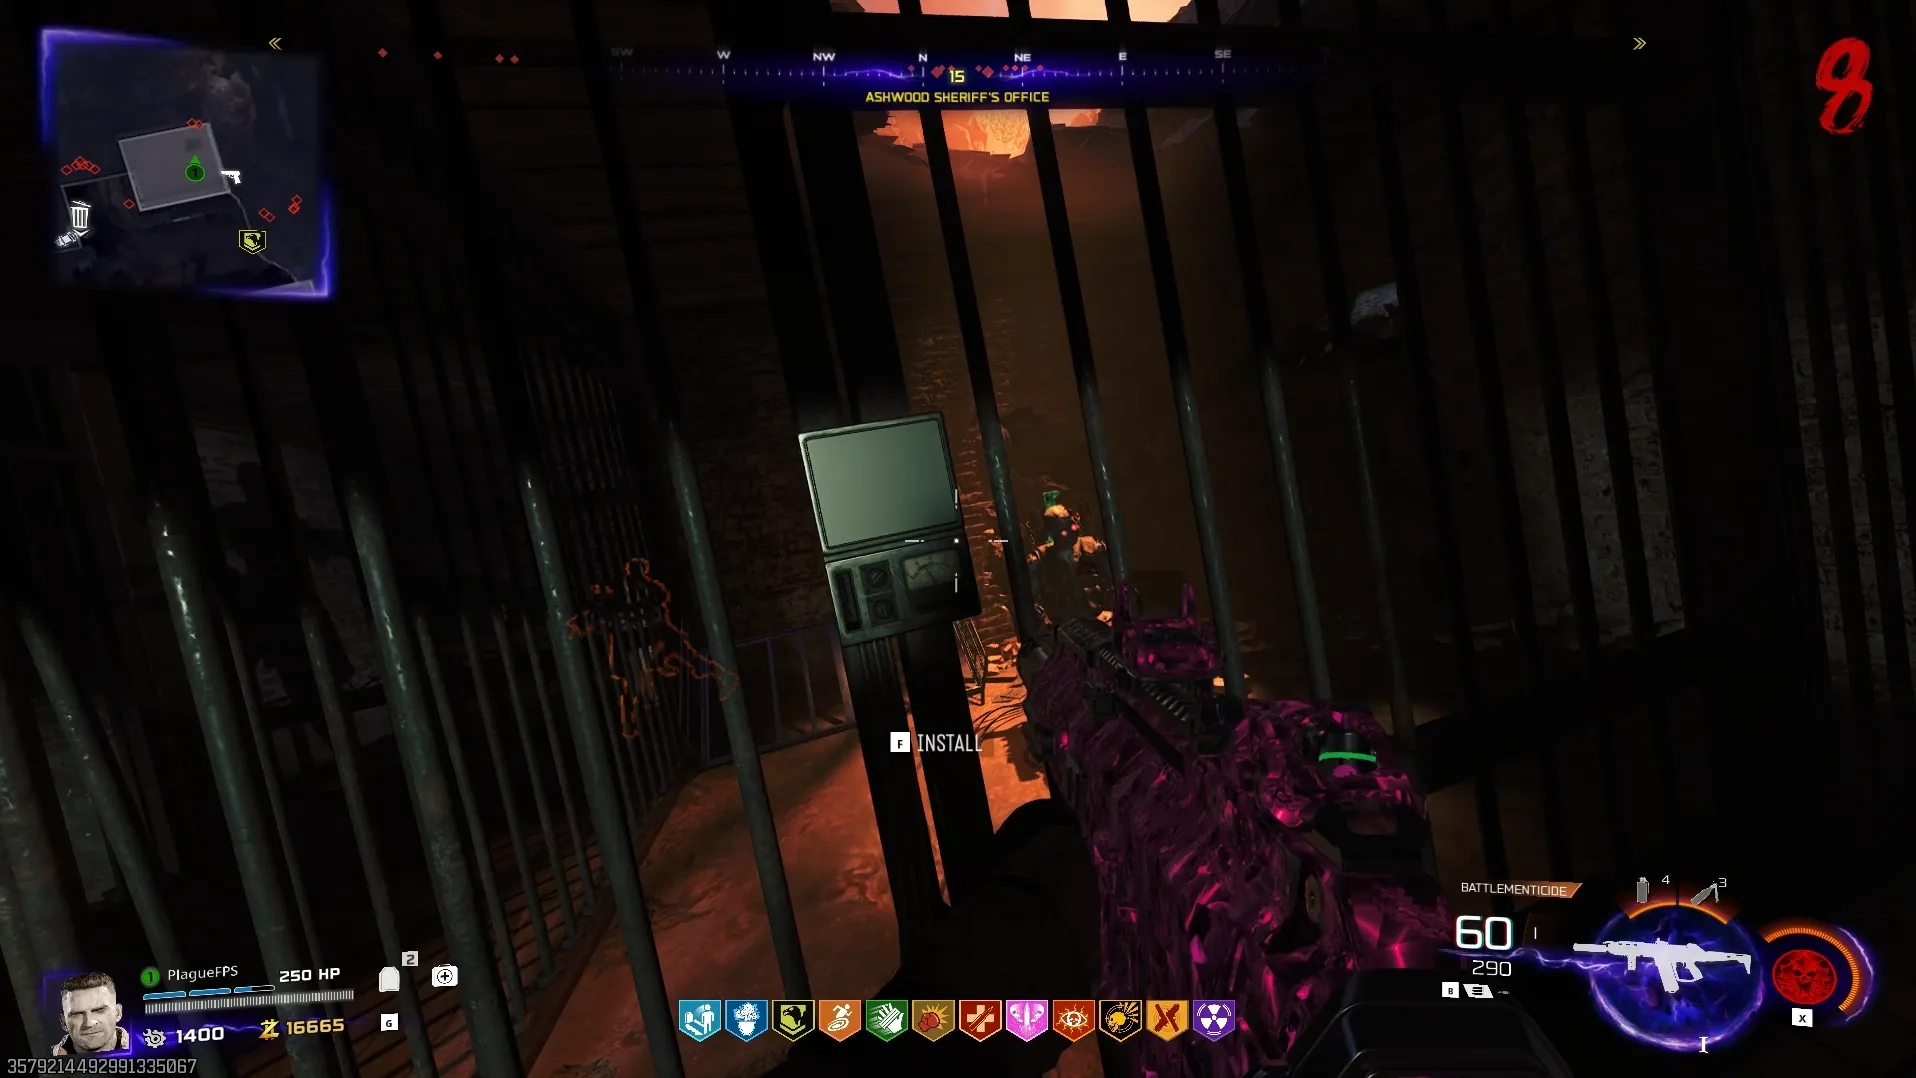
Once prompted, throw two Stun Grenades in quick succession at Klaus to restart and update him, and therefore activating him.
You'll know if you have done is successfully, if Klaus gets a stun ring effect around his head.
Step 2: Upgrade Ol' Tessie
Head to Exit 115 and wait for a zombie called The Cook to spawn in. Killing The Cook will drop a Freezer Key which you can use to open the Freezer inside the diner, revealing the Abomination Carcass for you to collect.

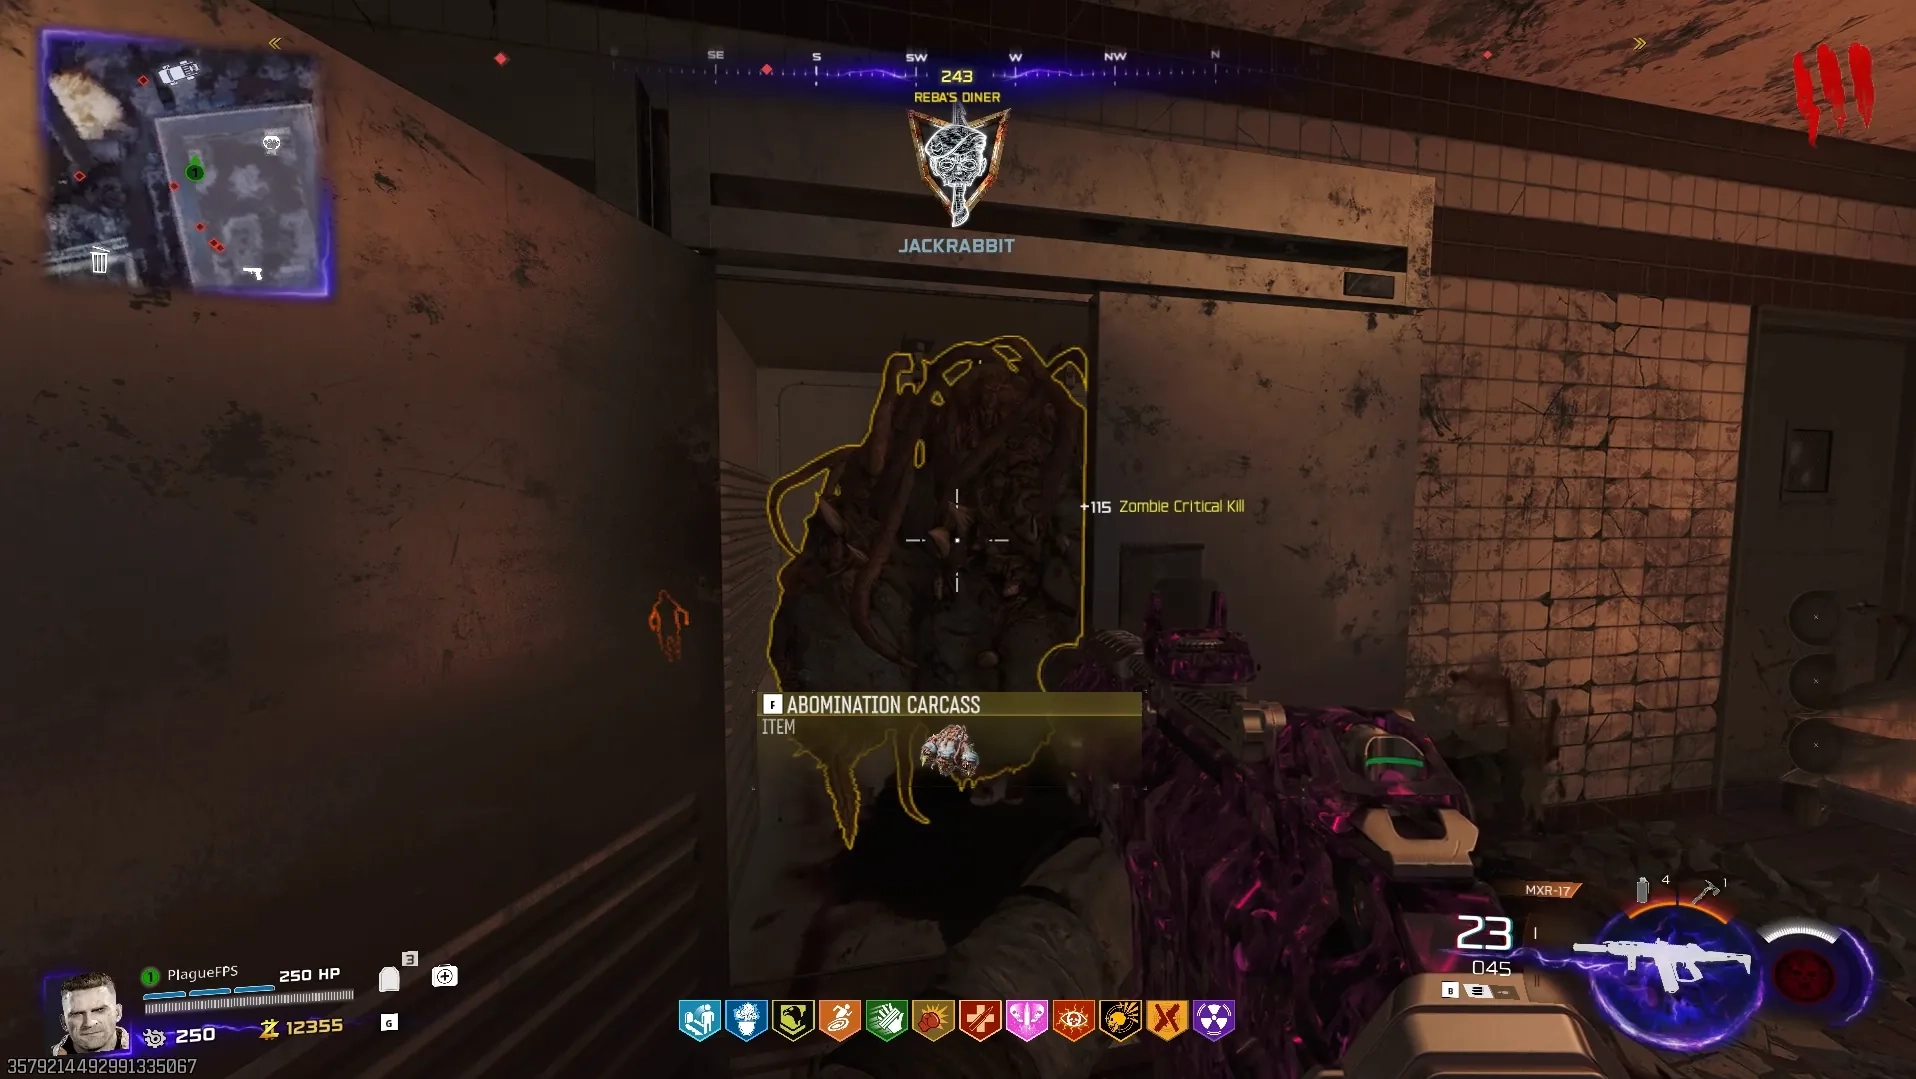
Once you have the Abomination Carcass, head back to Ashwood and upgrade Ol' Tessie in the Garage to gain the Beam Attack ability.
Step 3: Obtain the Necrofluid Gauntlet
If you already got this weapon out of the box, you can skip this step and proceed straight to Step 3.
Head to the Zarya Cosmodrome and activate Klaus, then head downstairs to the Support Systems and call Klaus in front of the sparking panel with a red light in between the two staircases to have him fix it.
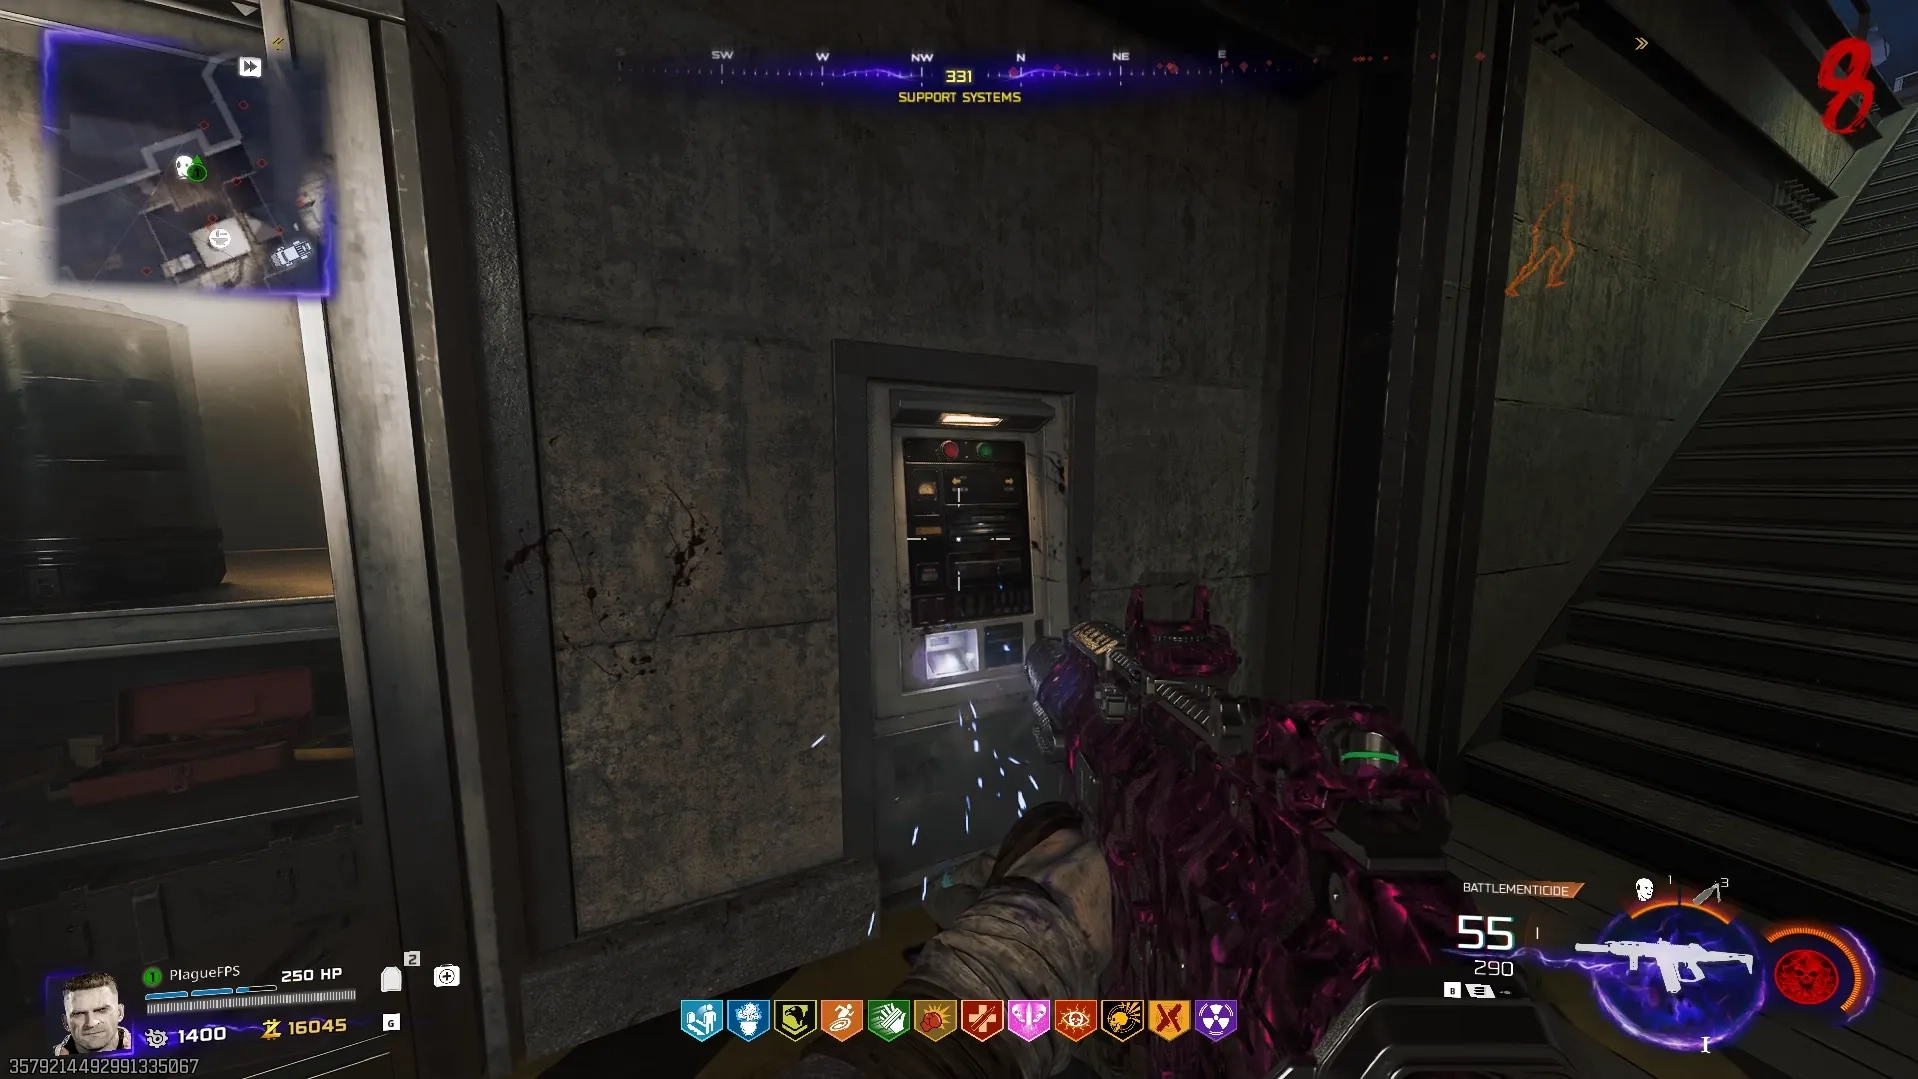
Once repaired, interact with the panel to start a small one-minute lockdown, where you'll have to stand inside of the red circle on the ground until the progress is complete.
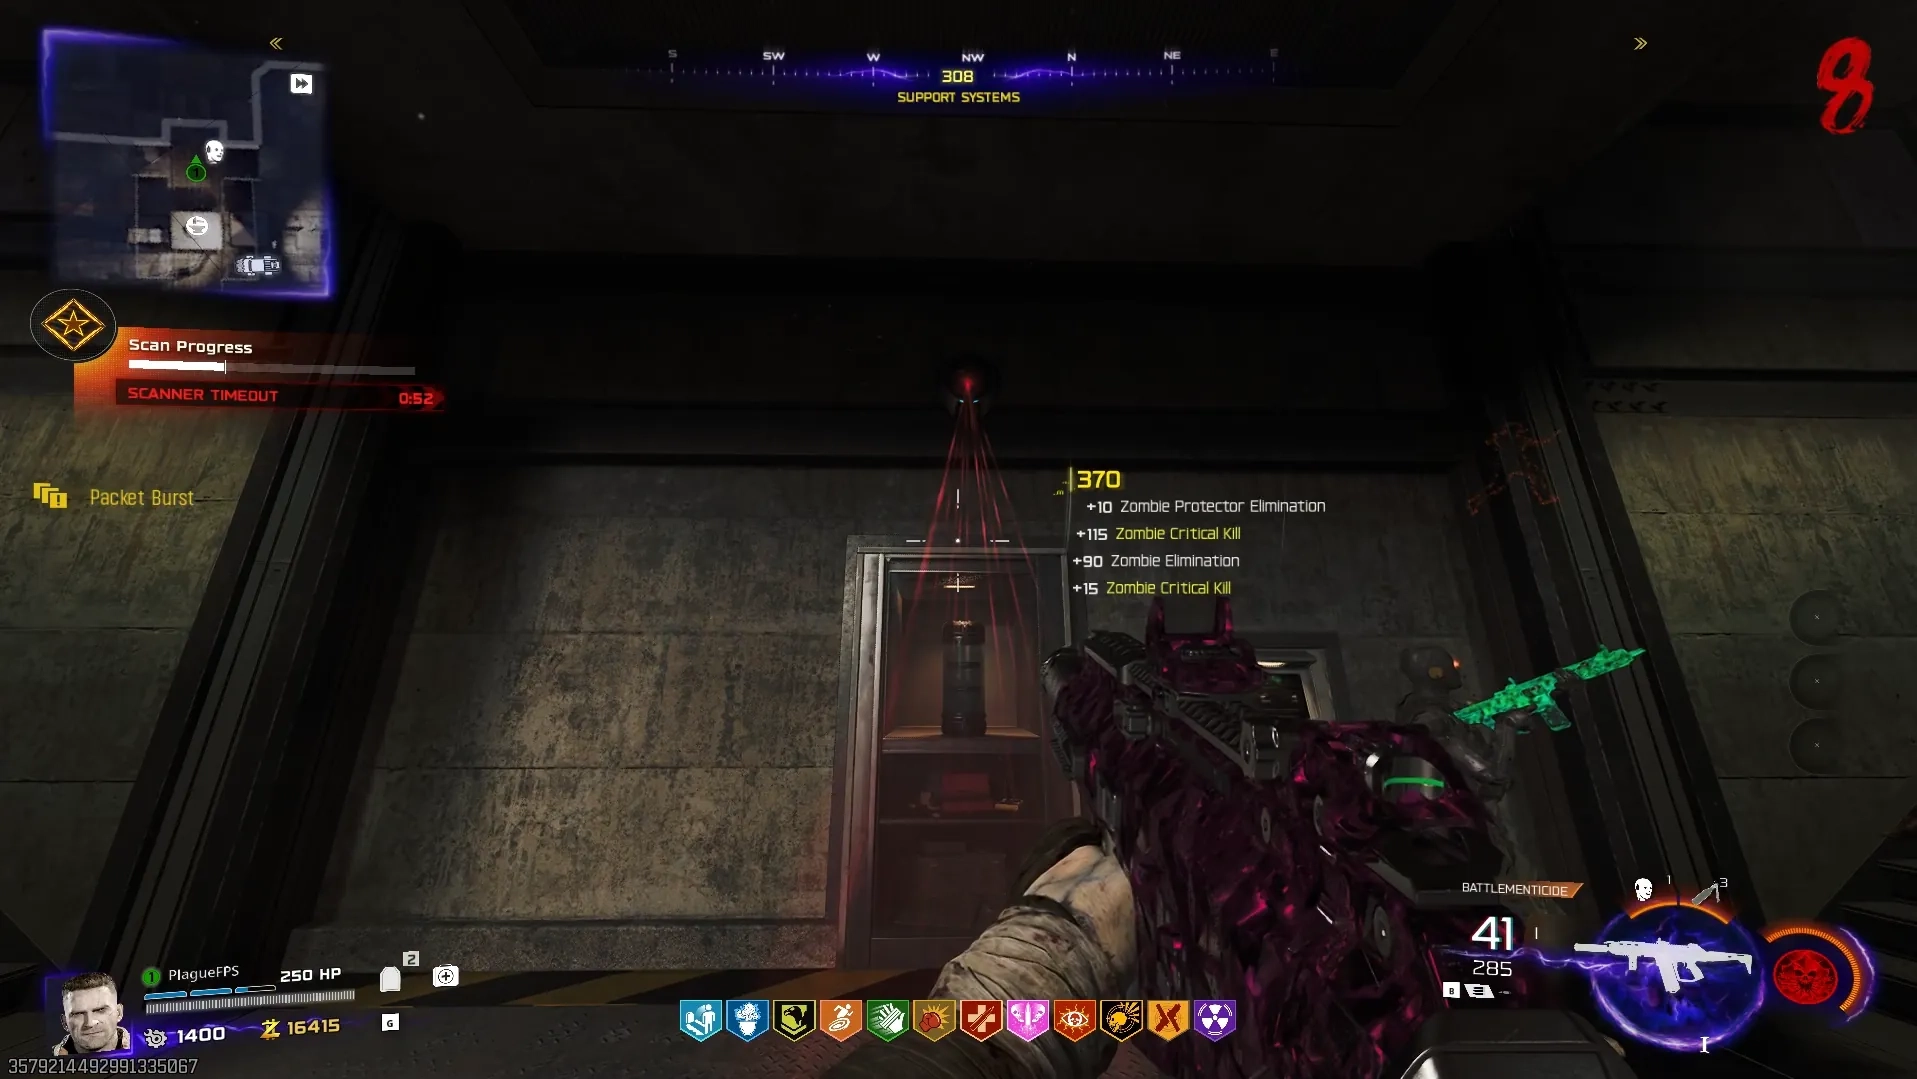
Once completed, the Aether Barrel next to the panel will be interactable, and you must take it to each of the three power generators on the map and place it inside to refill it's energy. The order you do this in does not matter, however, there is a clear logical order of: Ashwood, Blackwater Lake, and ending with Vandorn Farm.
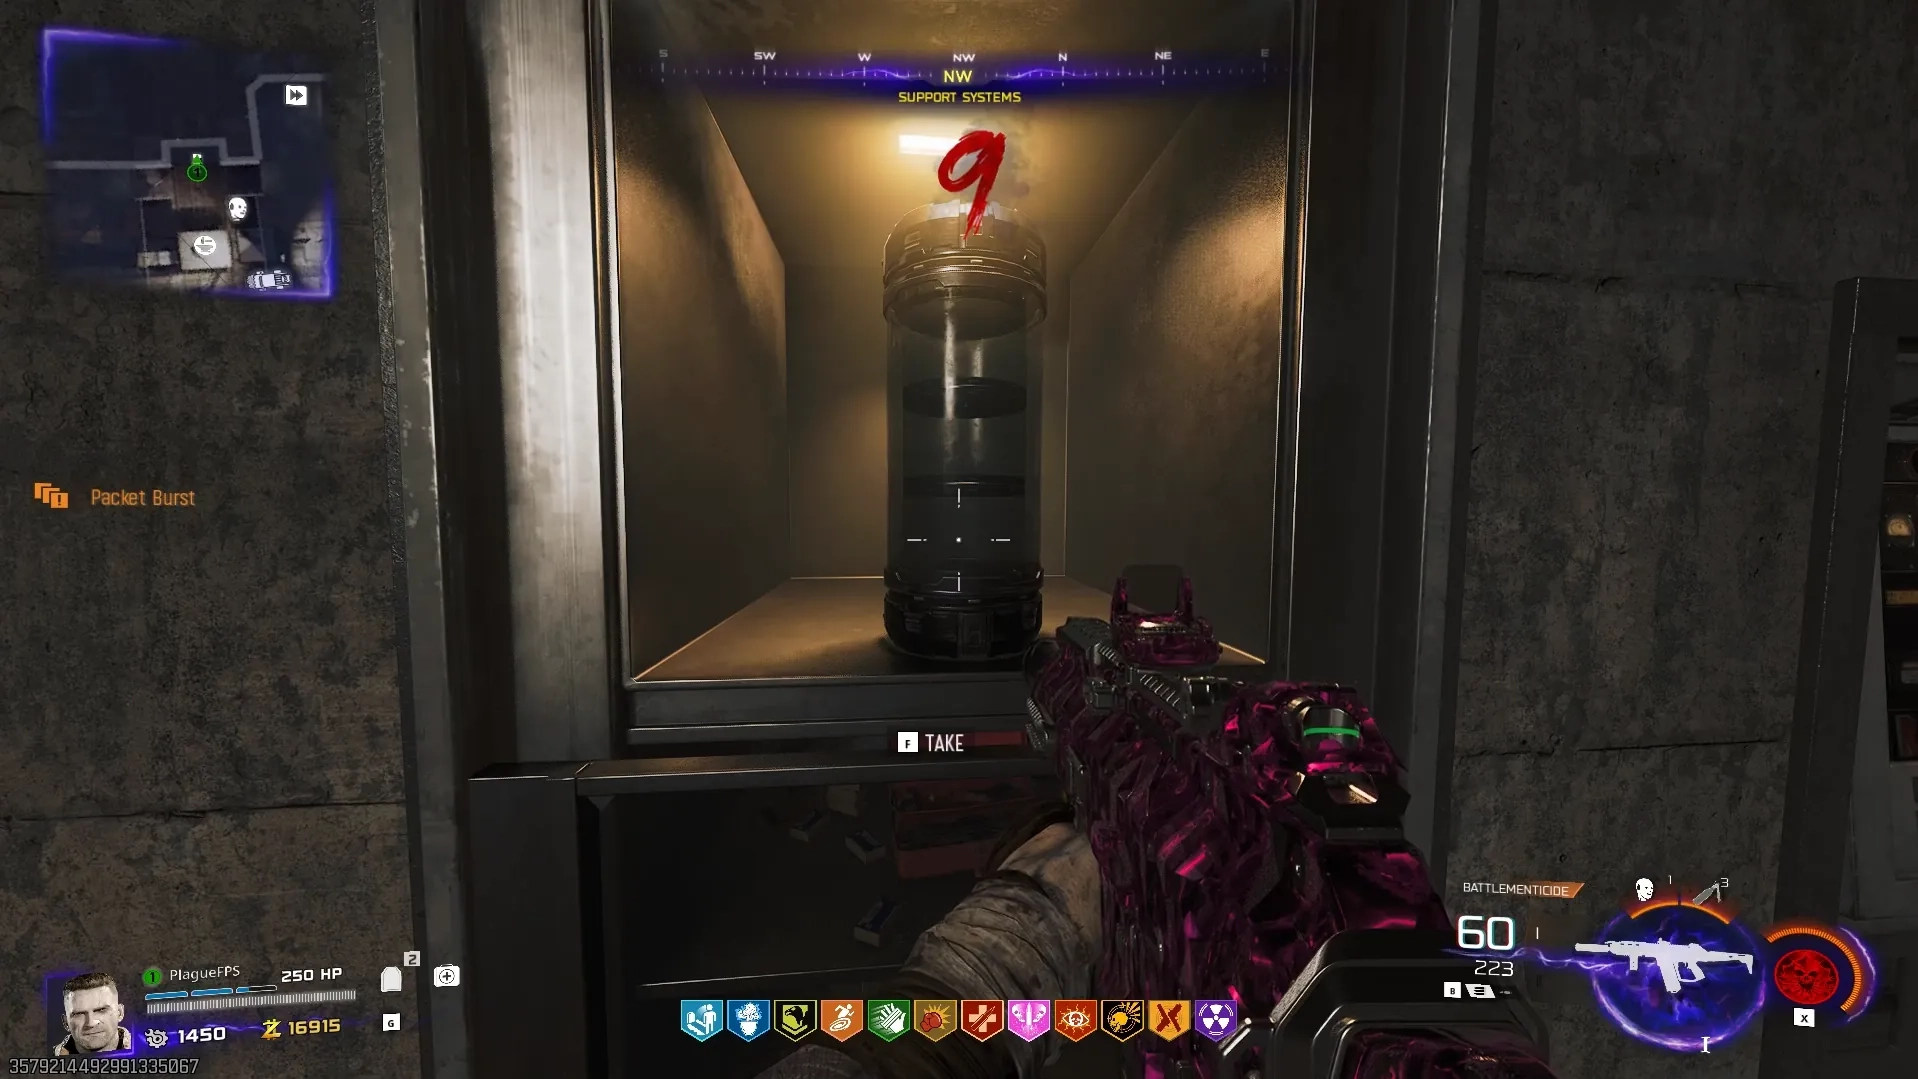

Once the Aether Barrel has been slightly filled at the first generator, you will now be on a a 1:45 minute timer to get it to its next generator. After the final generator, in Vandorn Farm, you must take it underneath the farm, into the Cellar and interact with the cube on the pedestal to dispense the energy into it, activating it.
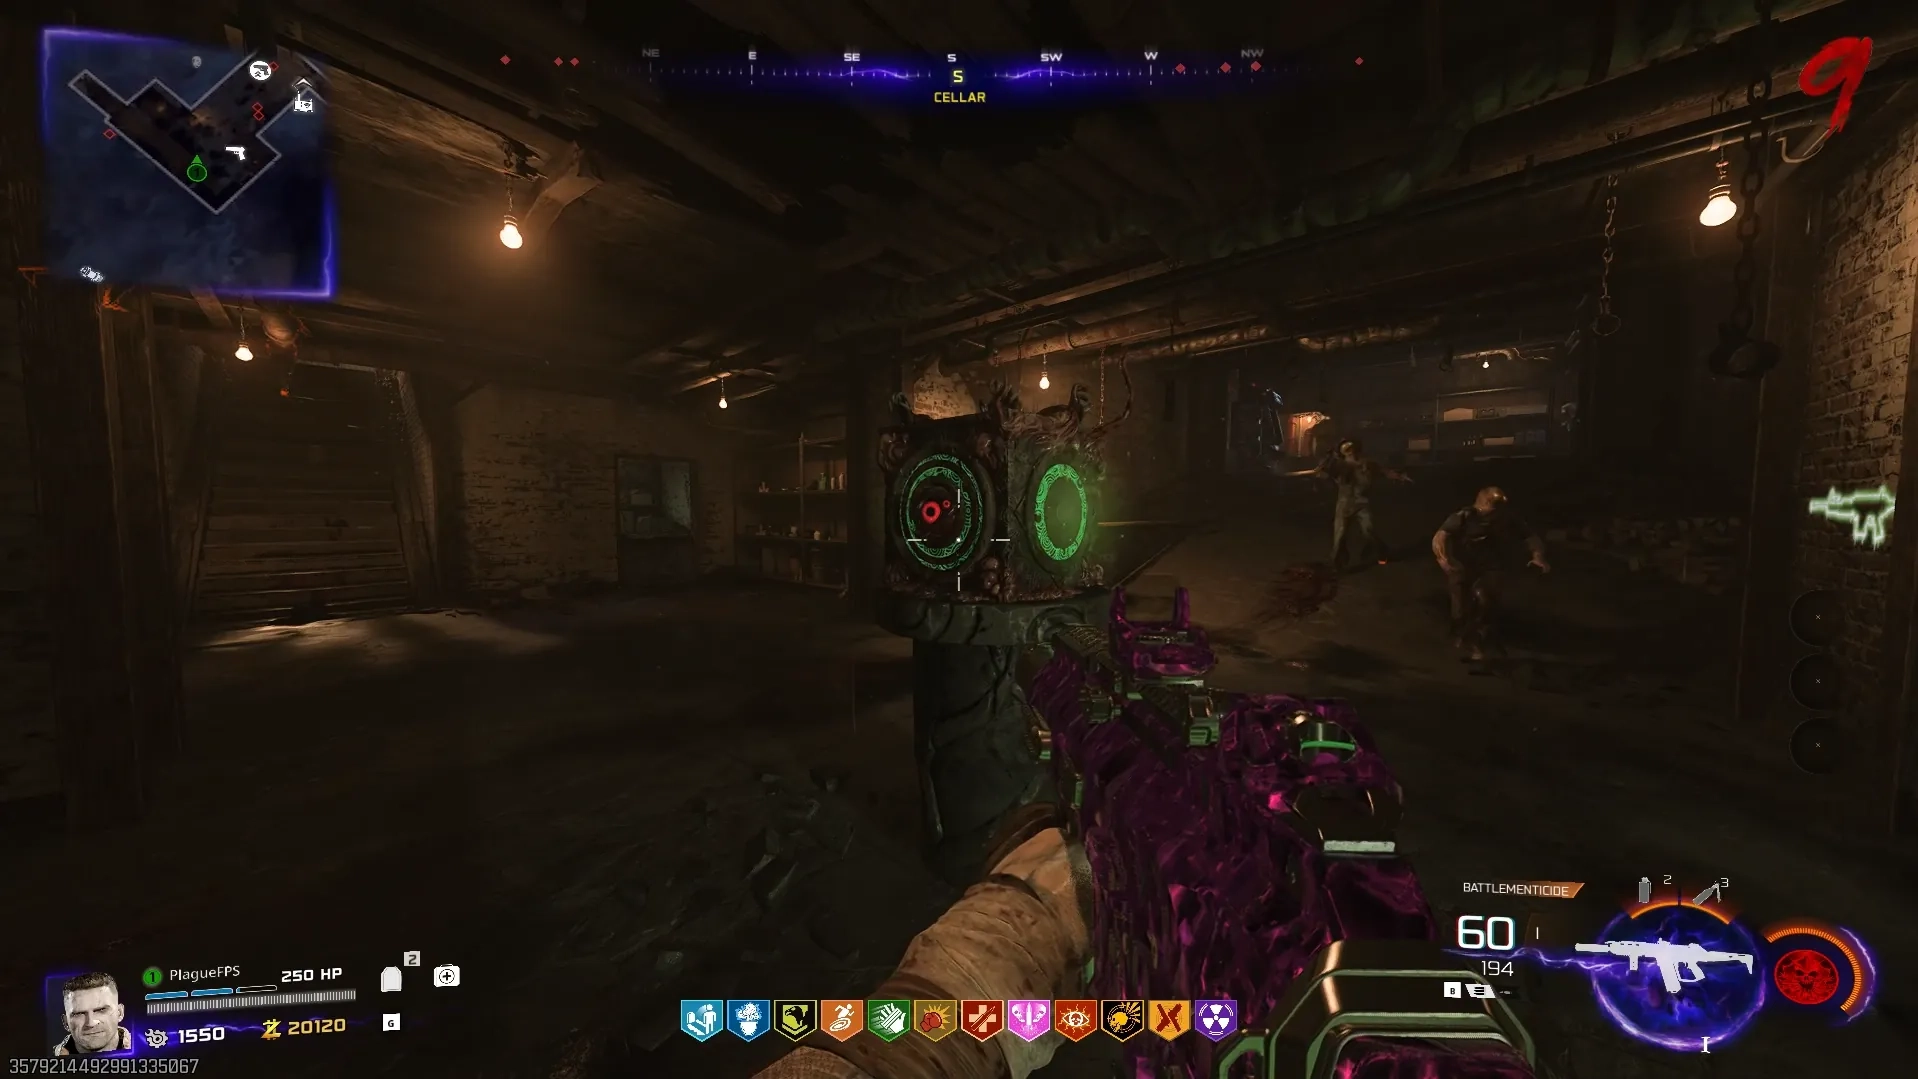
Once activated, you'll now need to input three different symbols by interacting with the green sides of the cube to input a symbol, and then interact with the eyeball to confirm your selection. The three symbols you need to input can be found on the roofs of the buildings in Vandorn Farm, which can be seen when using the Jump Pad to go in and out of the farm.
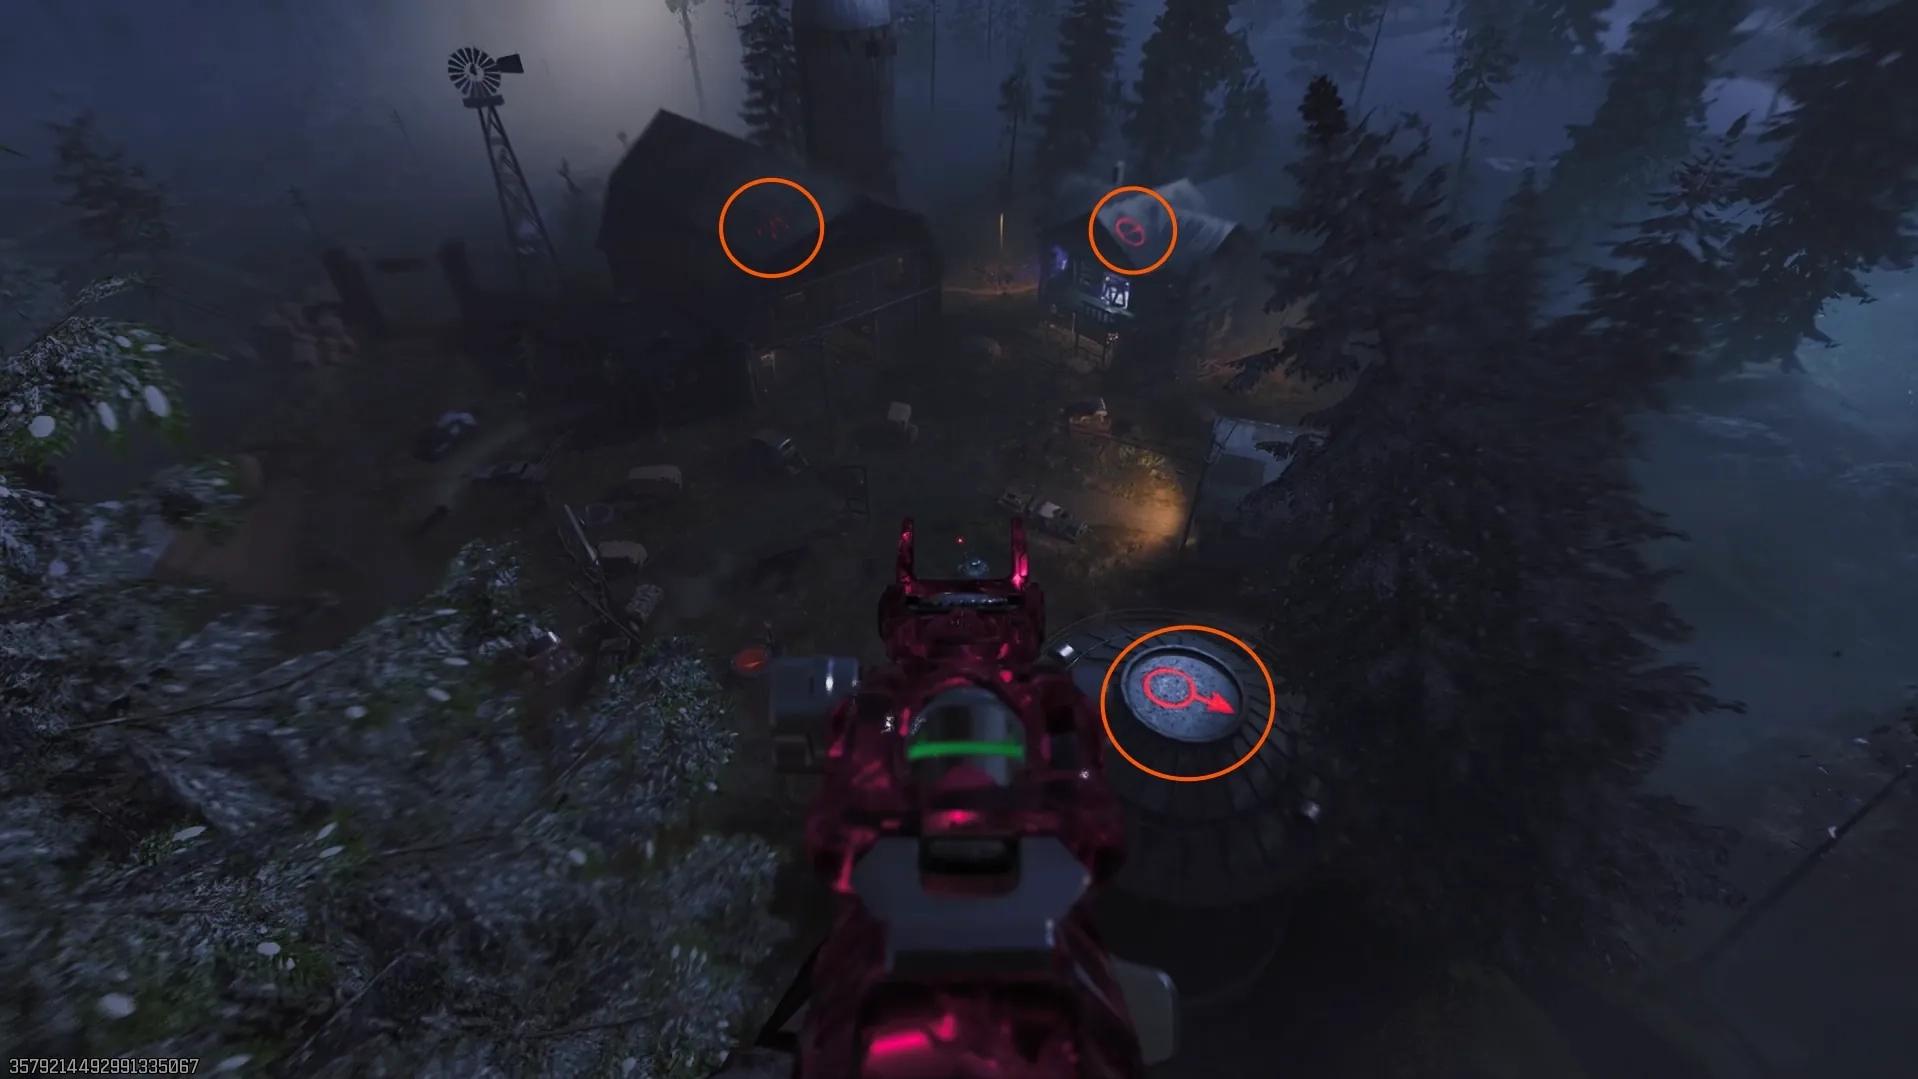
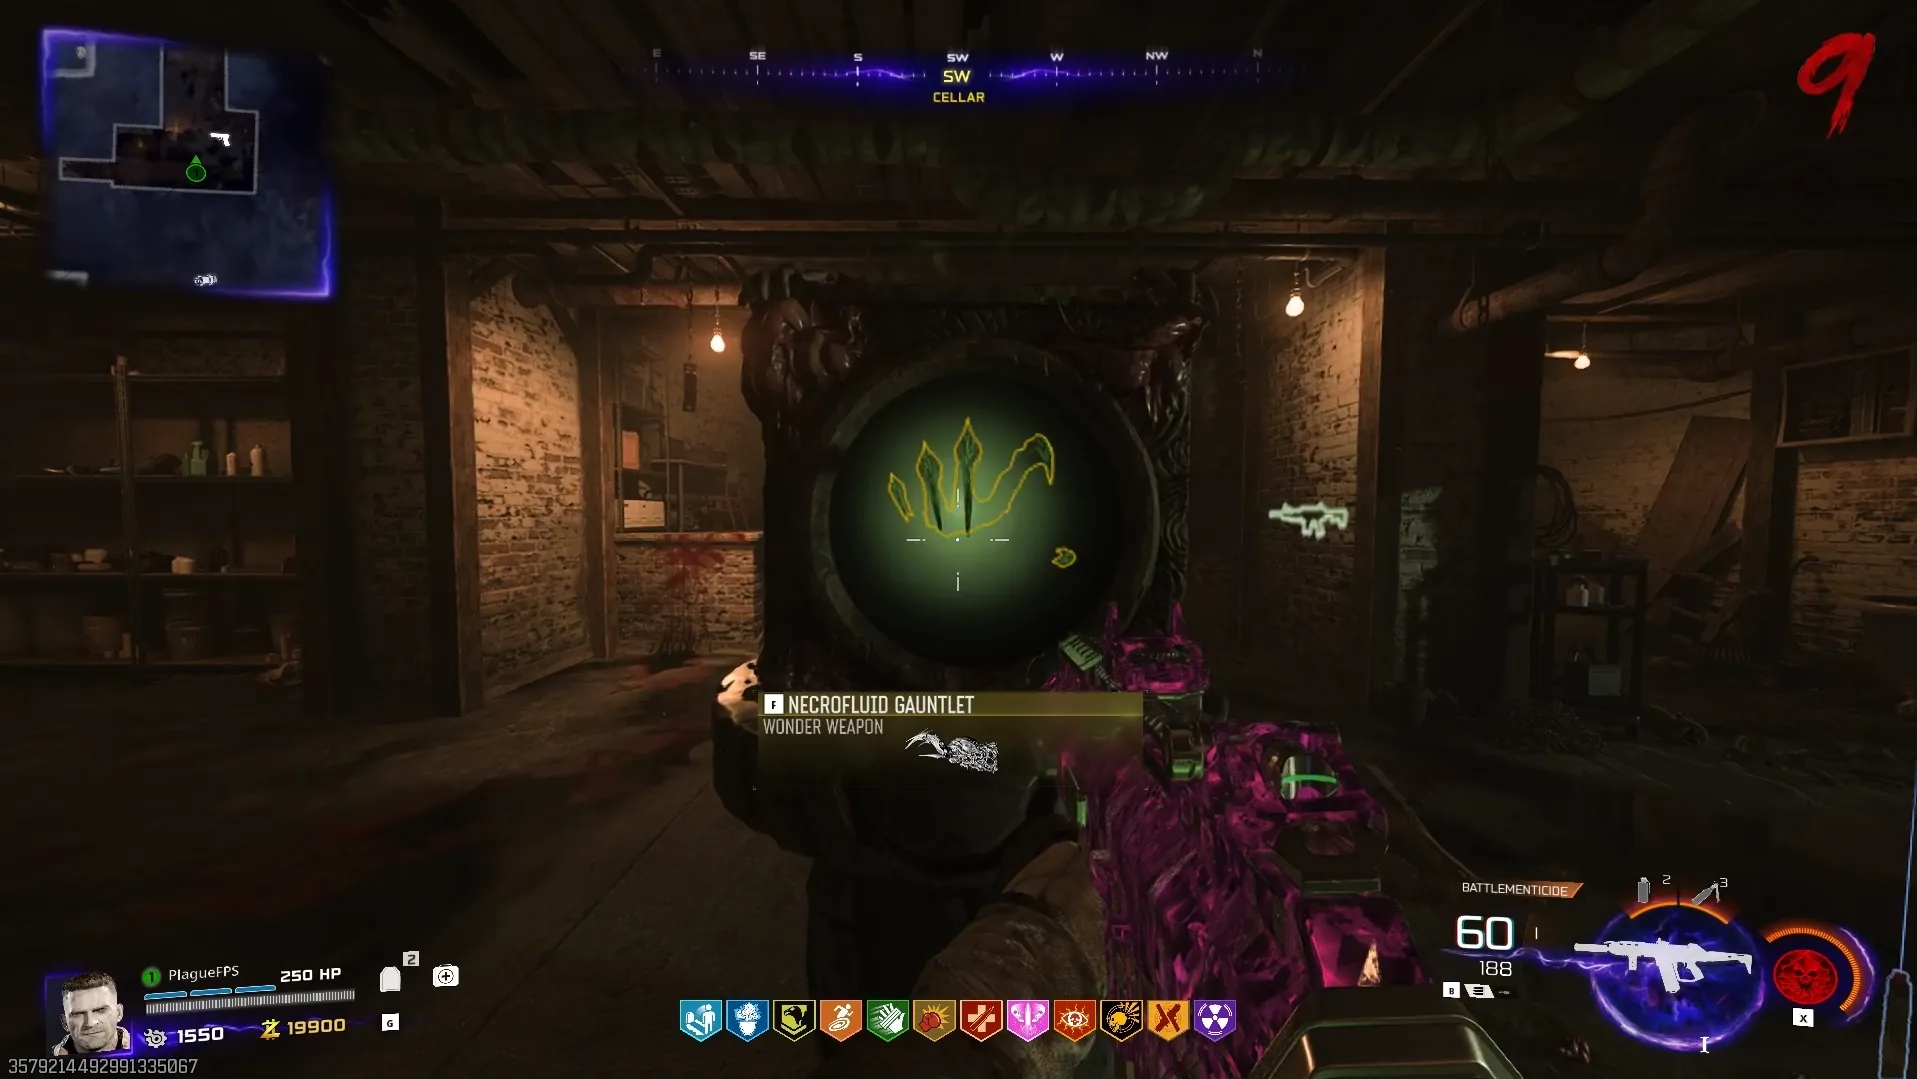
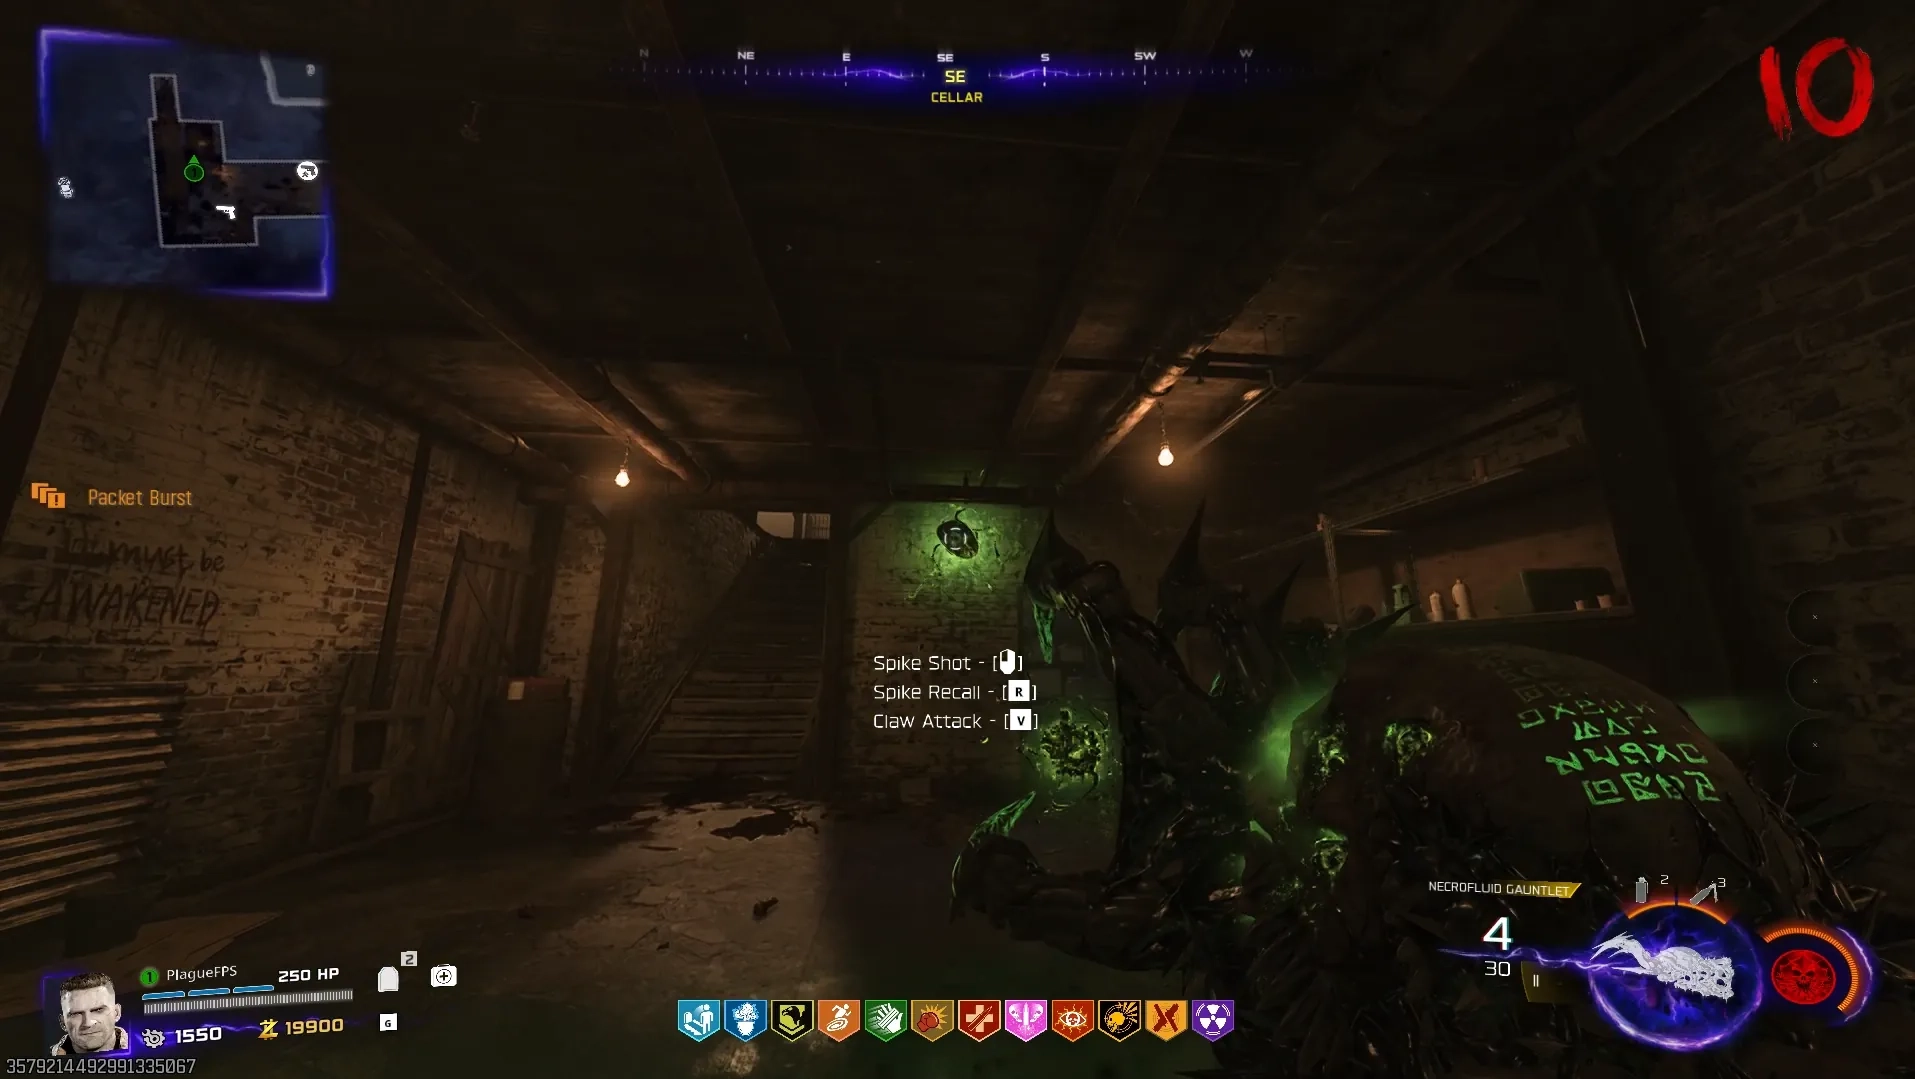
Once you know your three symbols, input them into the cube, and confirm your selection by interacting with the eyeball, revealing the Necrofluid Gauntlet for you to claim. Once claimed, a small lockdown will begin, where you'll need to shoot all the green orbs with the Necrofluid Gauntlet and then reload to retract the spikes, pulling in the green orbs, once all green orbs are pulled in, the lockdown will end.
Step 4: Craft the Serum
Once you have the Necrofluid Gauntlet, purchase ![]() Wisp Tea if you don't already have it and head to the mirror in the Tailor Shop in Ashwood.
Wisp Tea if you don't already have it and head to the mirror in the Tailor Shop in Ashwood.
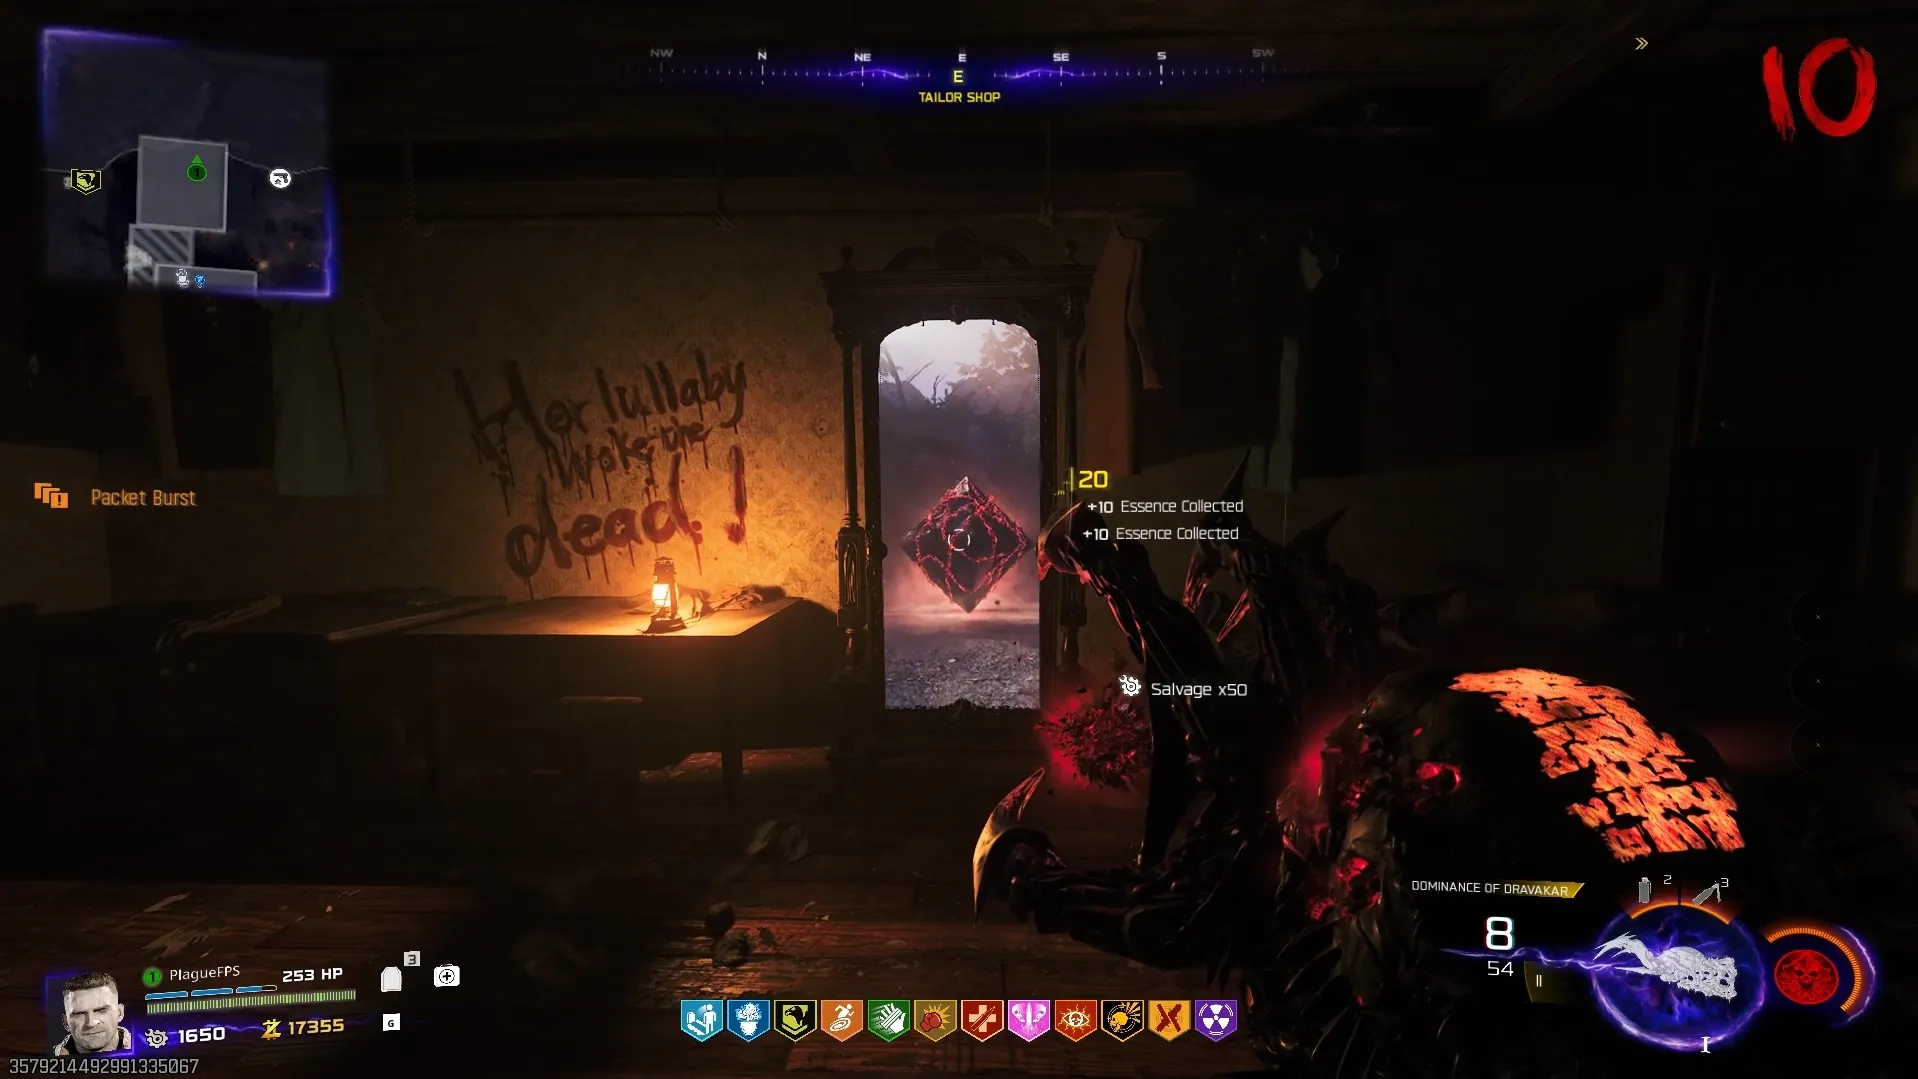
You need to activate ![]() Wisp Tea, which will fly into the Mirror revealing a prism image, then shoot the Mirror with the Necrofluid Gauntlet to
break it, dropping the Powder of the Forgotten.
Wisp Tea, which will fly into the Mirror revealing a prism image, then shoot the Mirror with the Necrofluid Gauntlet to
break it, dropping the Powder of the Forgotten.
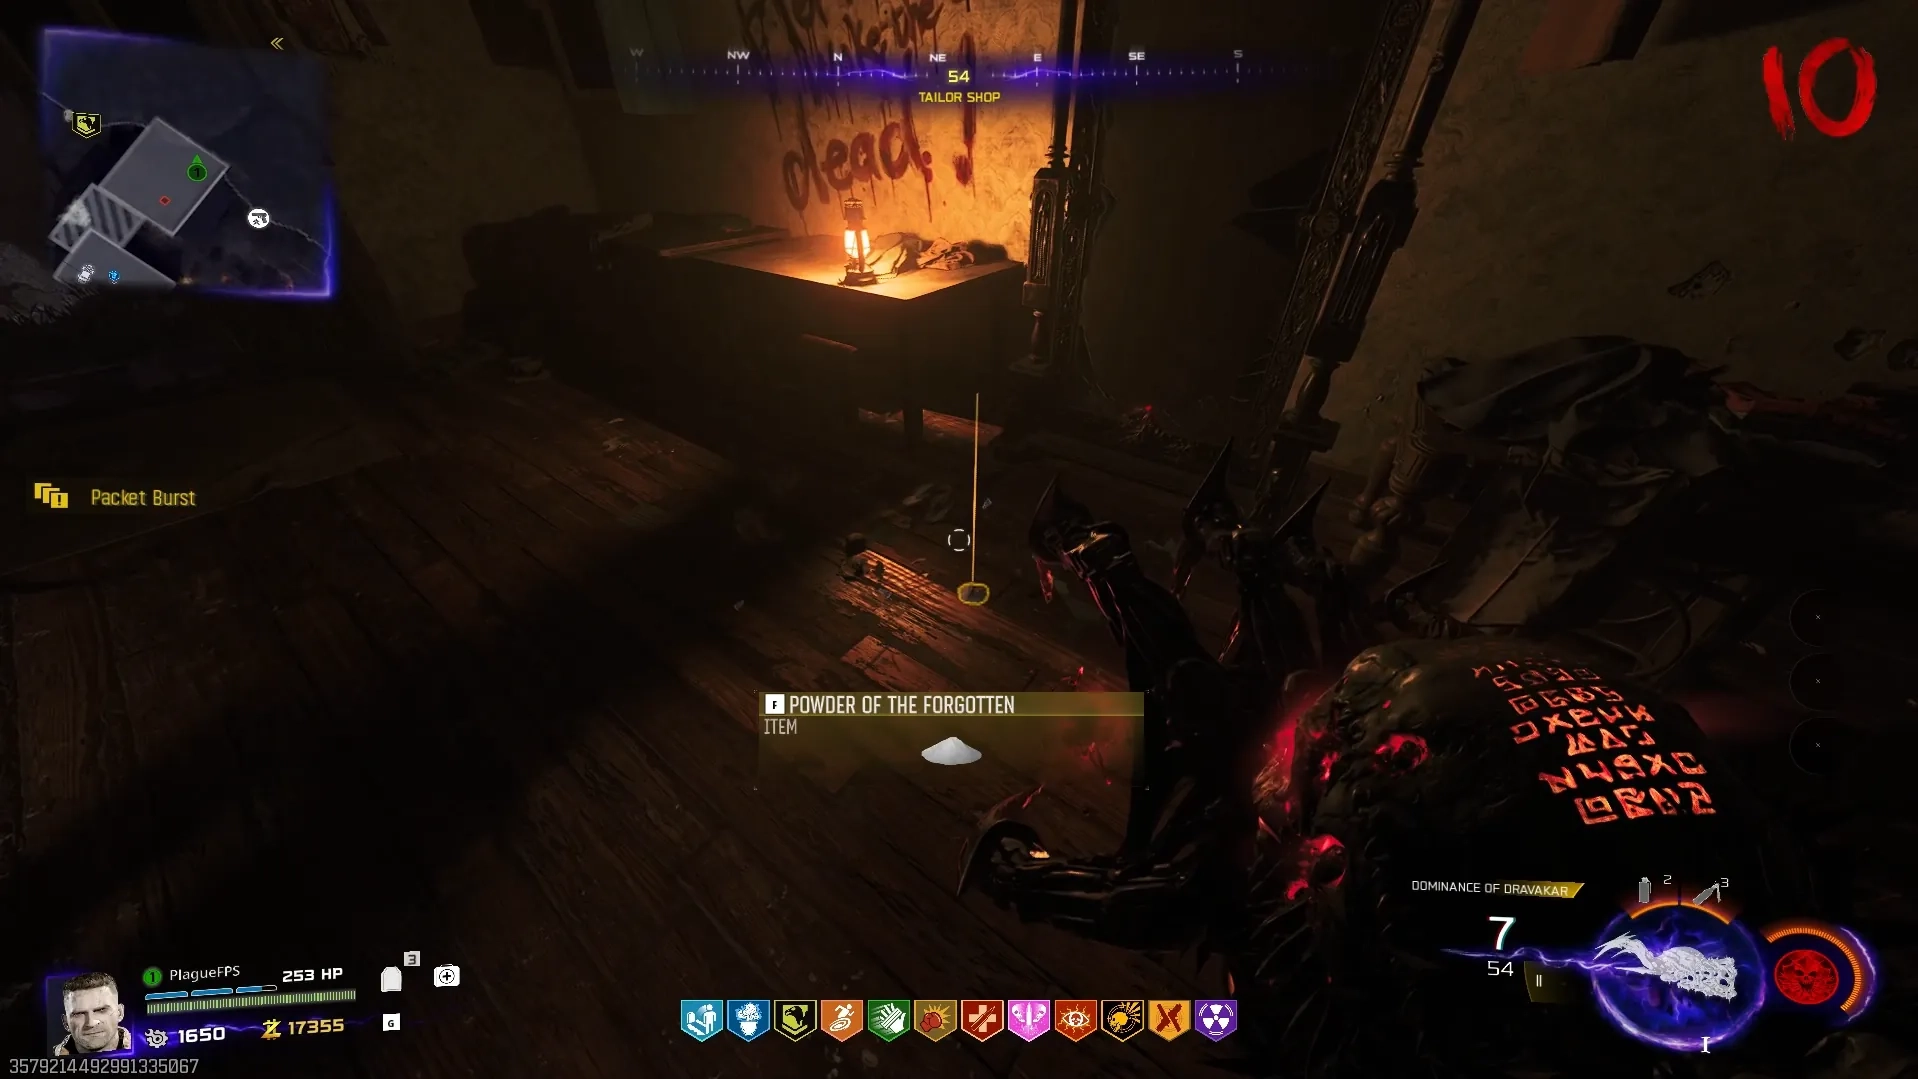
Once you have the Powder of the Forgotten, head to Yuri's Lab in the Zarya Cosmodrome, and interact with the powder on the table to puff up the powder, revealing a Pigpen Cipher on the wall, which will tell you the three items you need to collect to craft the serum from top-to-bottom.

You can use the following image to figure out which of the three items you need to collect to craft the serum. From top to bottom, the items in this image are: Widow's Lantern, Mysterious Limb, Ravager Eyes, Hoard Hunk Chunks, and Human Bones.
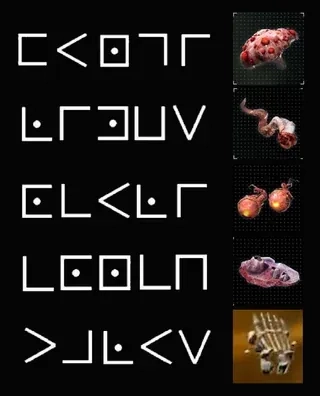
If you already have your needed items, you can skip to the crafting the serum step.
Widow's Lantern
Head to the kitchen in the Cabin in Blackwater Lake and underneath the stove will be a Jar of Spores you can interact with and collect. Interact with the Horse Carcass outside of the entrance to Vandorn Farm with red spores on it, to plant the spores on the horse.

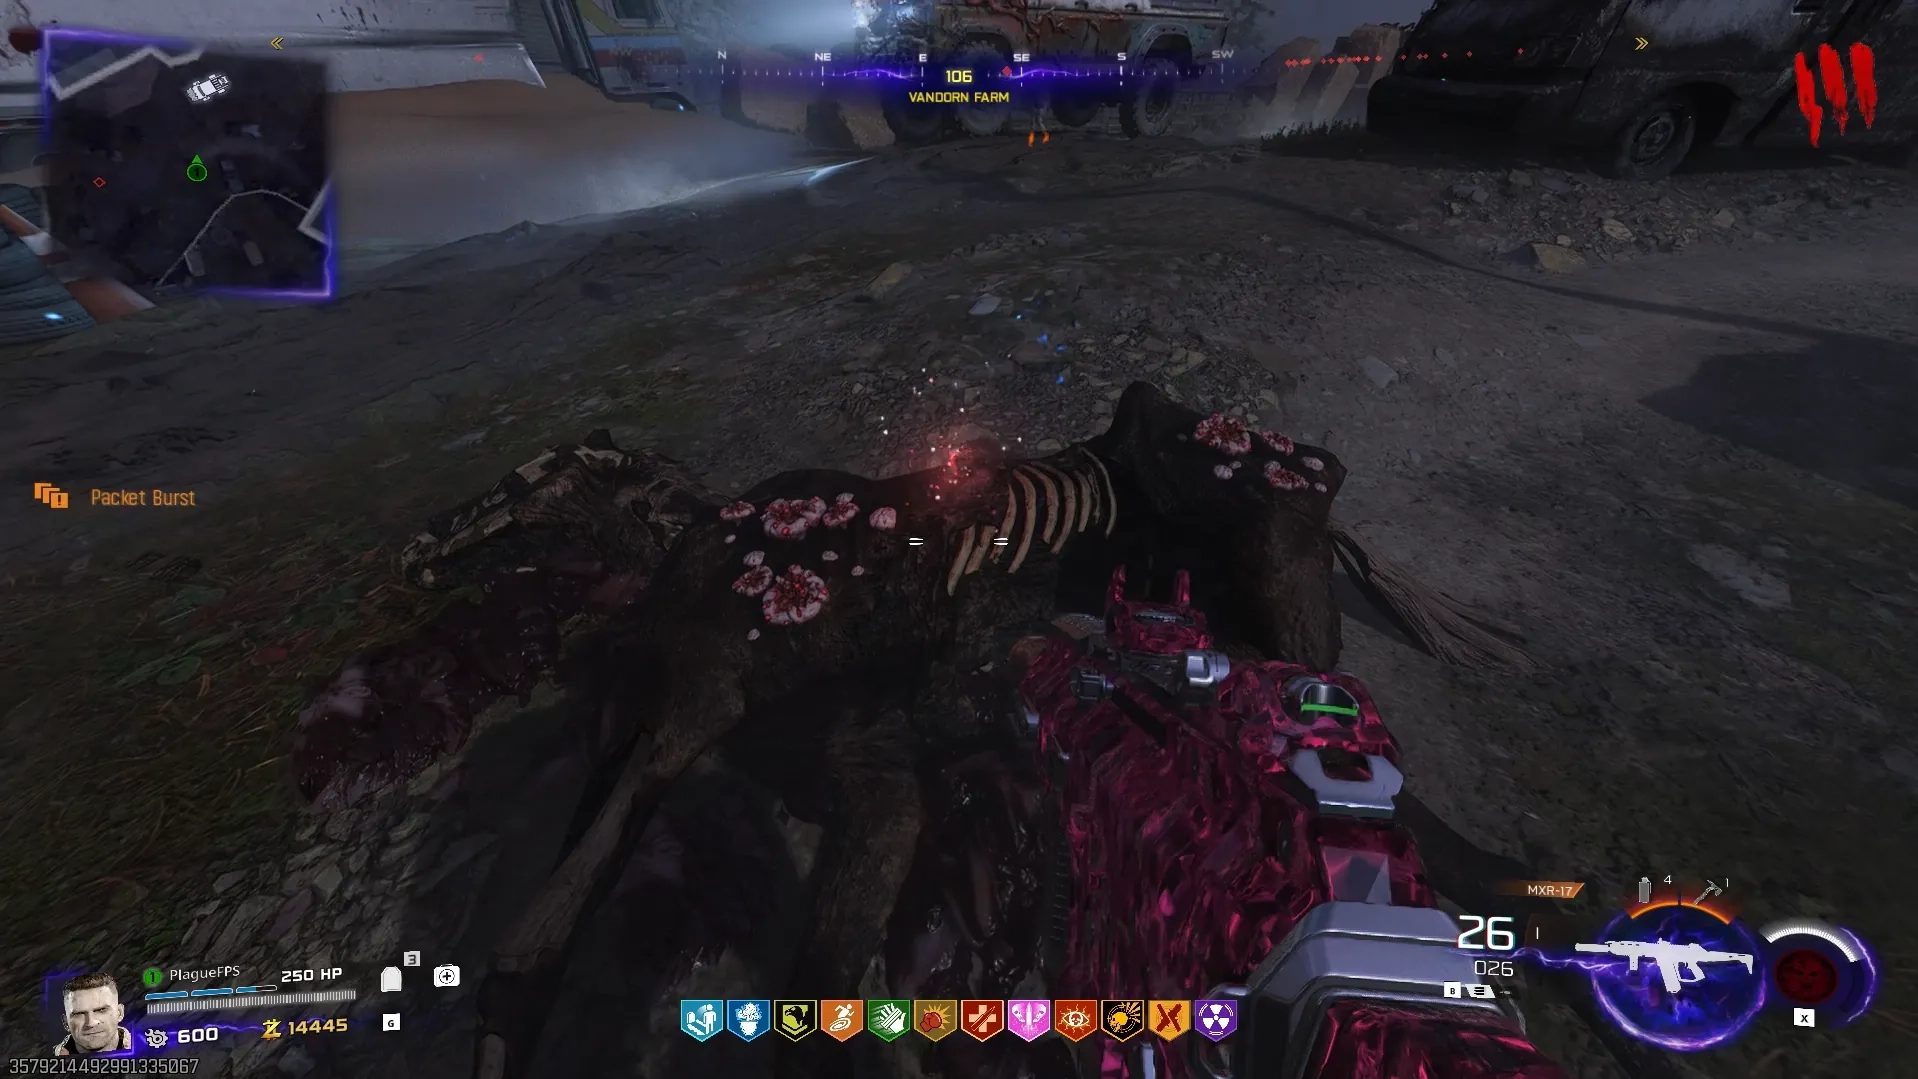
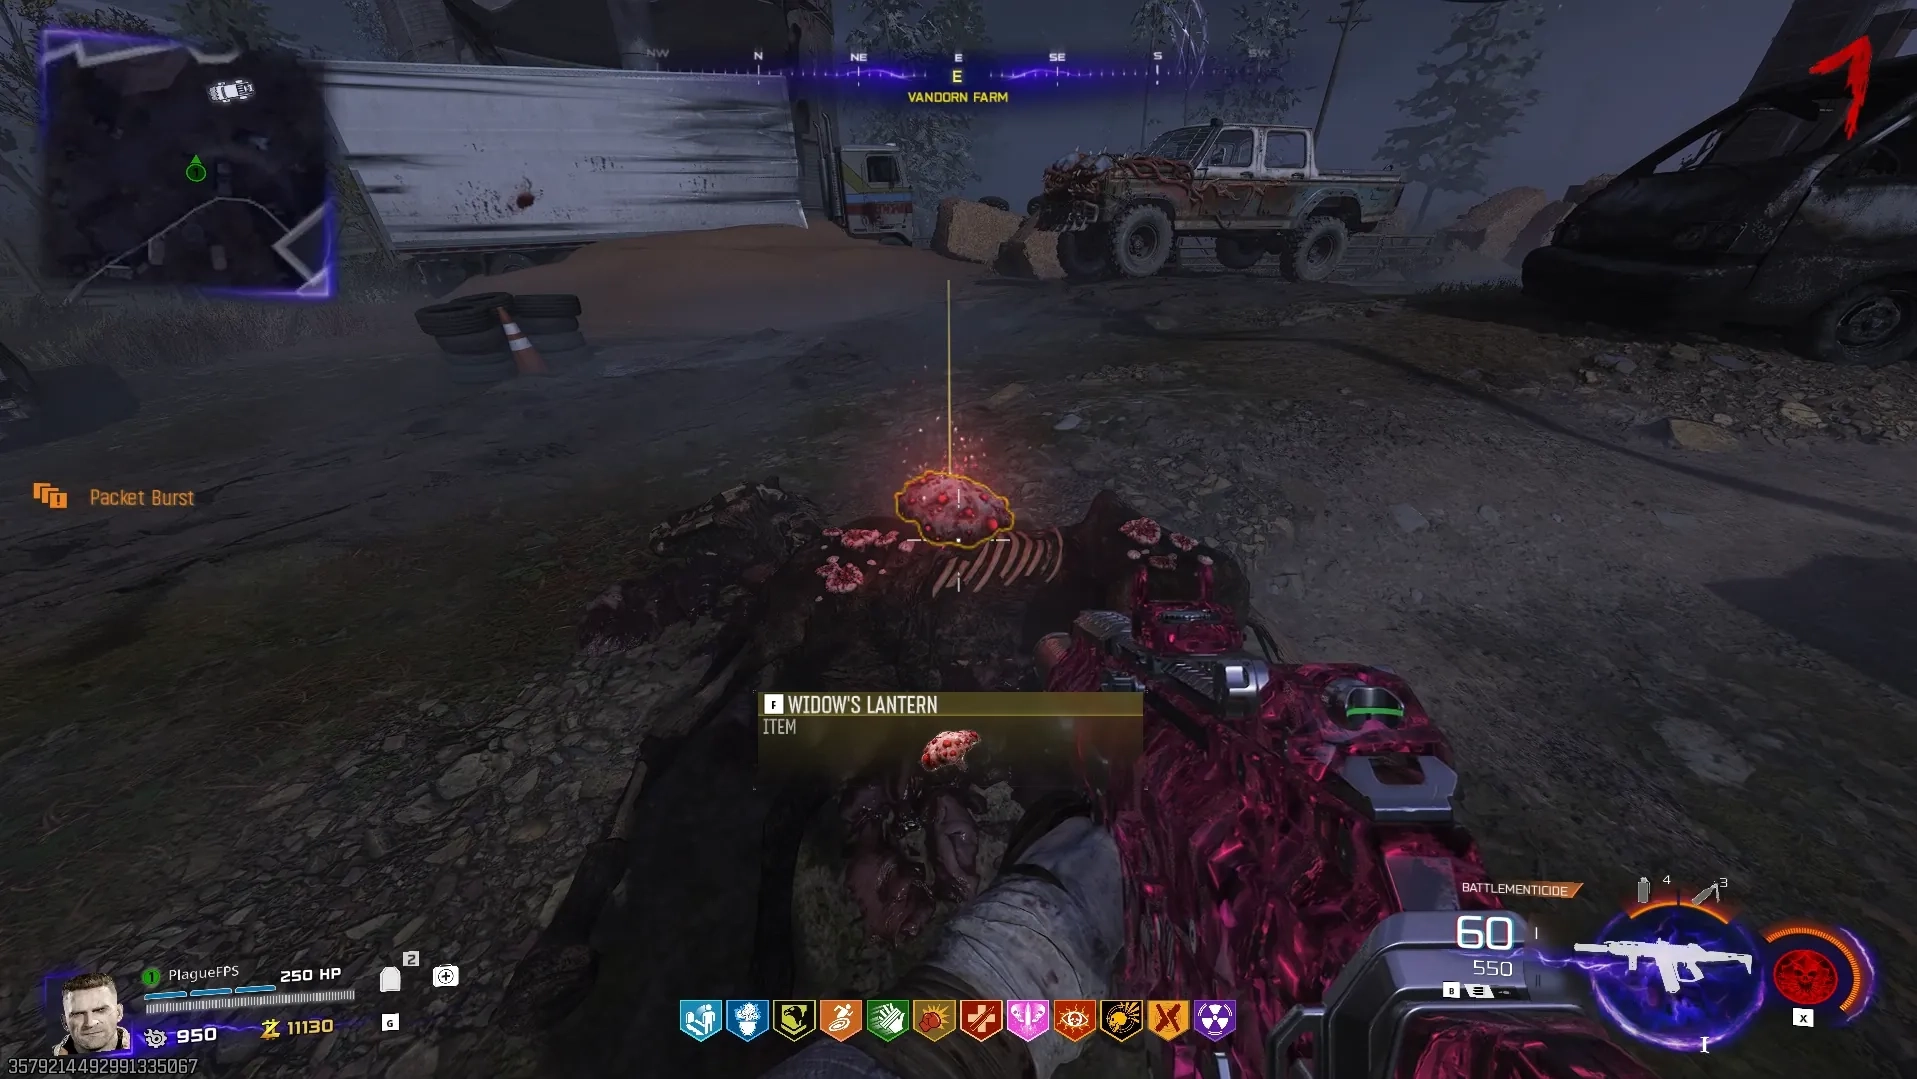
Once placed, you need to wait two full rounds for the spore to fully grow and transform into the Widow's Lantern item that you can interact with to collect.
Ravager Eyes
Kill a Ravager with any Saw Blade Trap to drop the Ravager Eyes item that you can interact with to collect.

Hoard Hunk Chunks
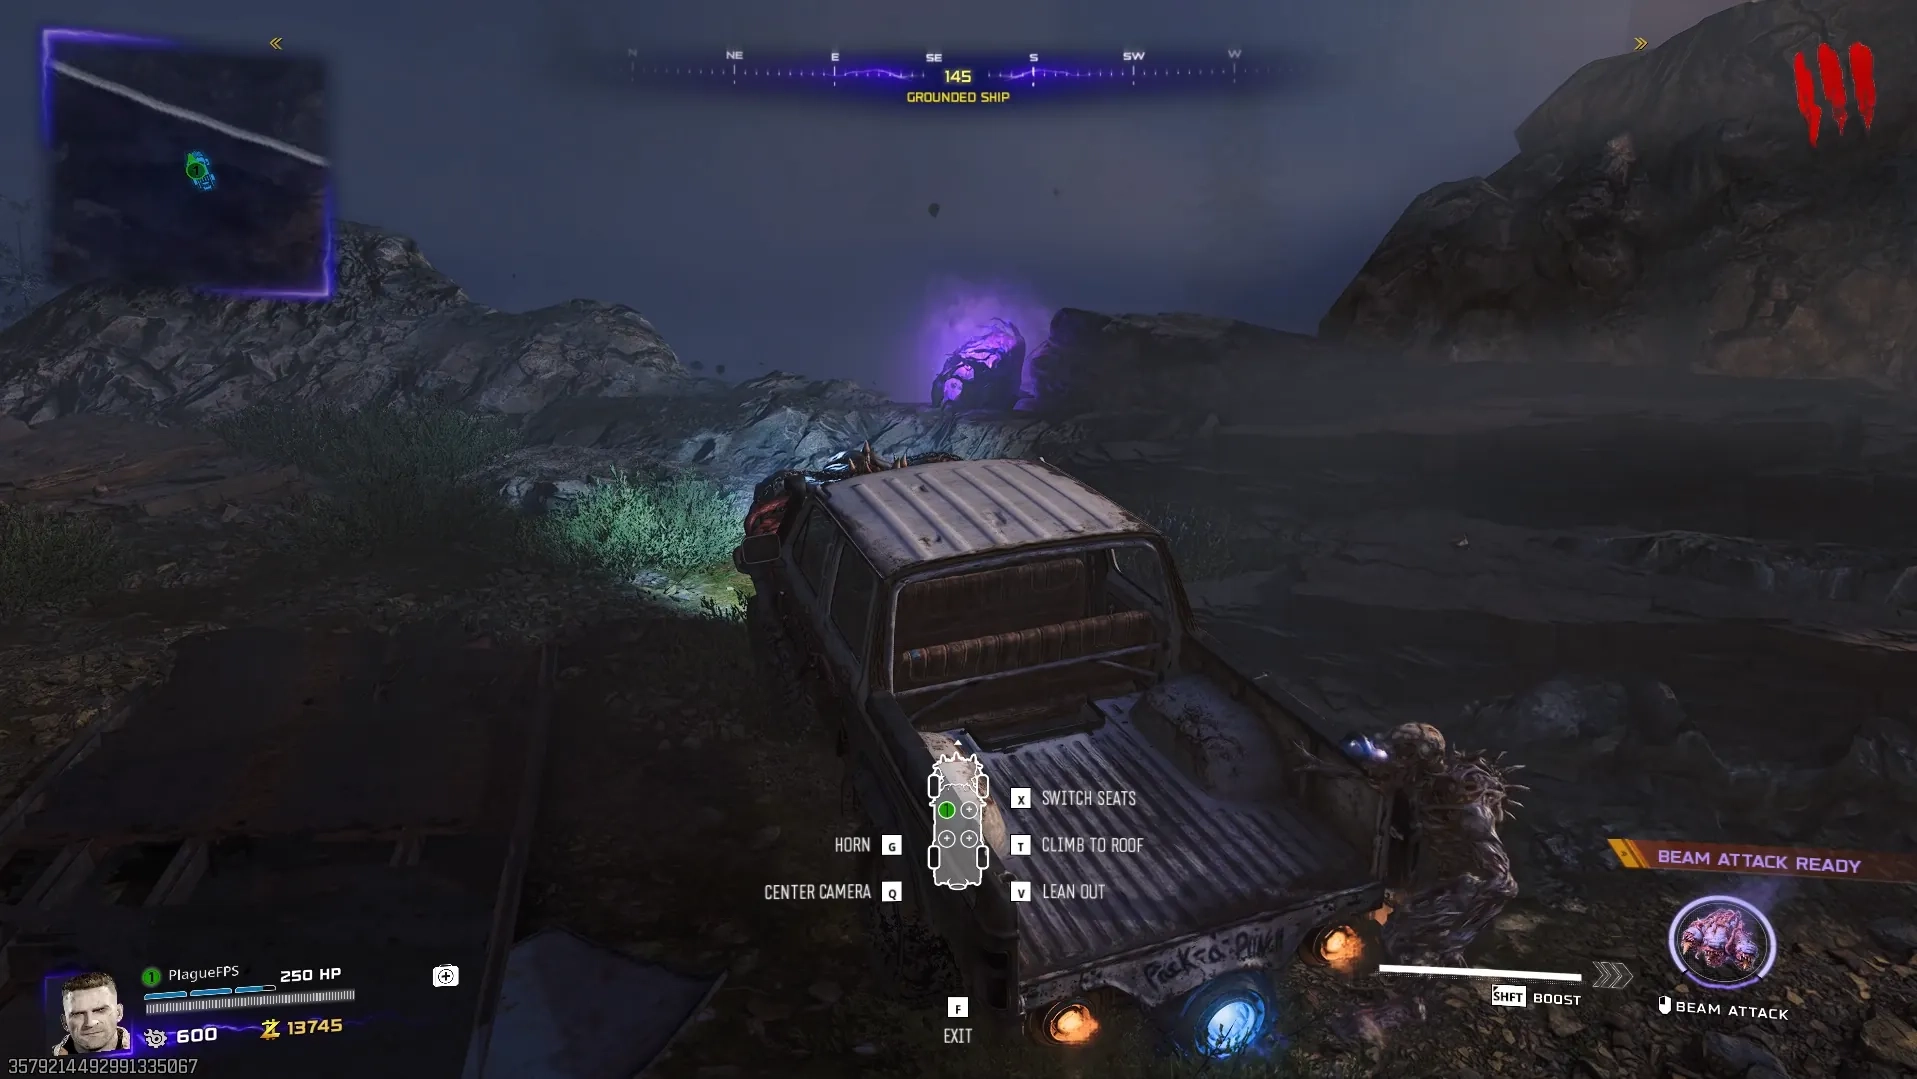
Before you can obtain this item you'll need to have upgraded Ol' Tessie with the Abomination Carcass to gain the Beam Attack ability.
You need to use the Beam Attack from Ol' Tessie on one of the purple glowing Overgrown Hoard Hunks in the Fog to destroy them, dropping the Hoard Hunk Chunks.

Human Bones
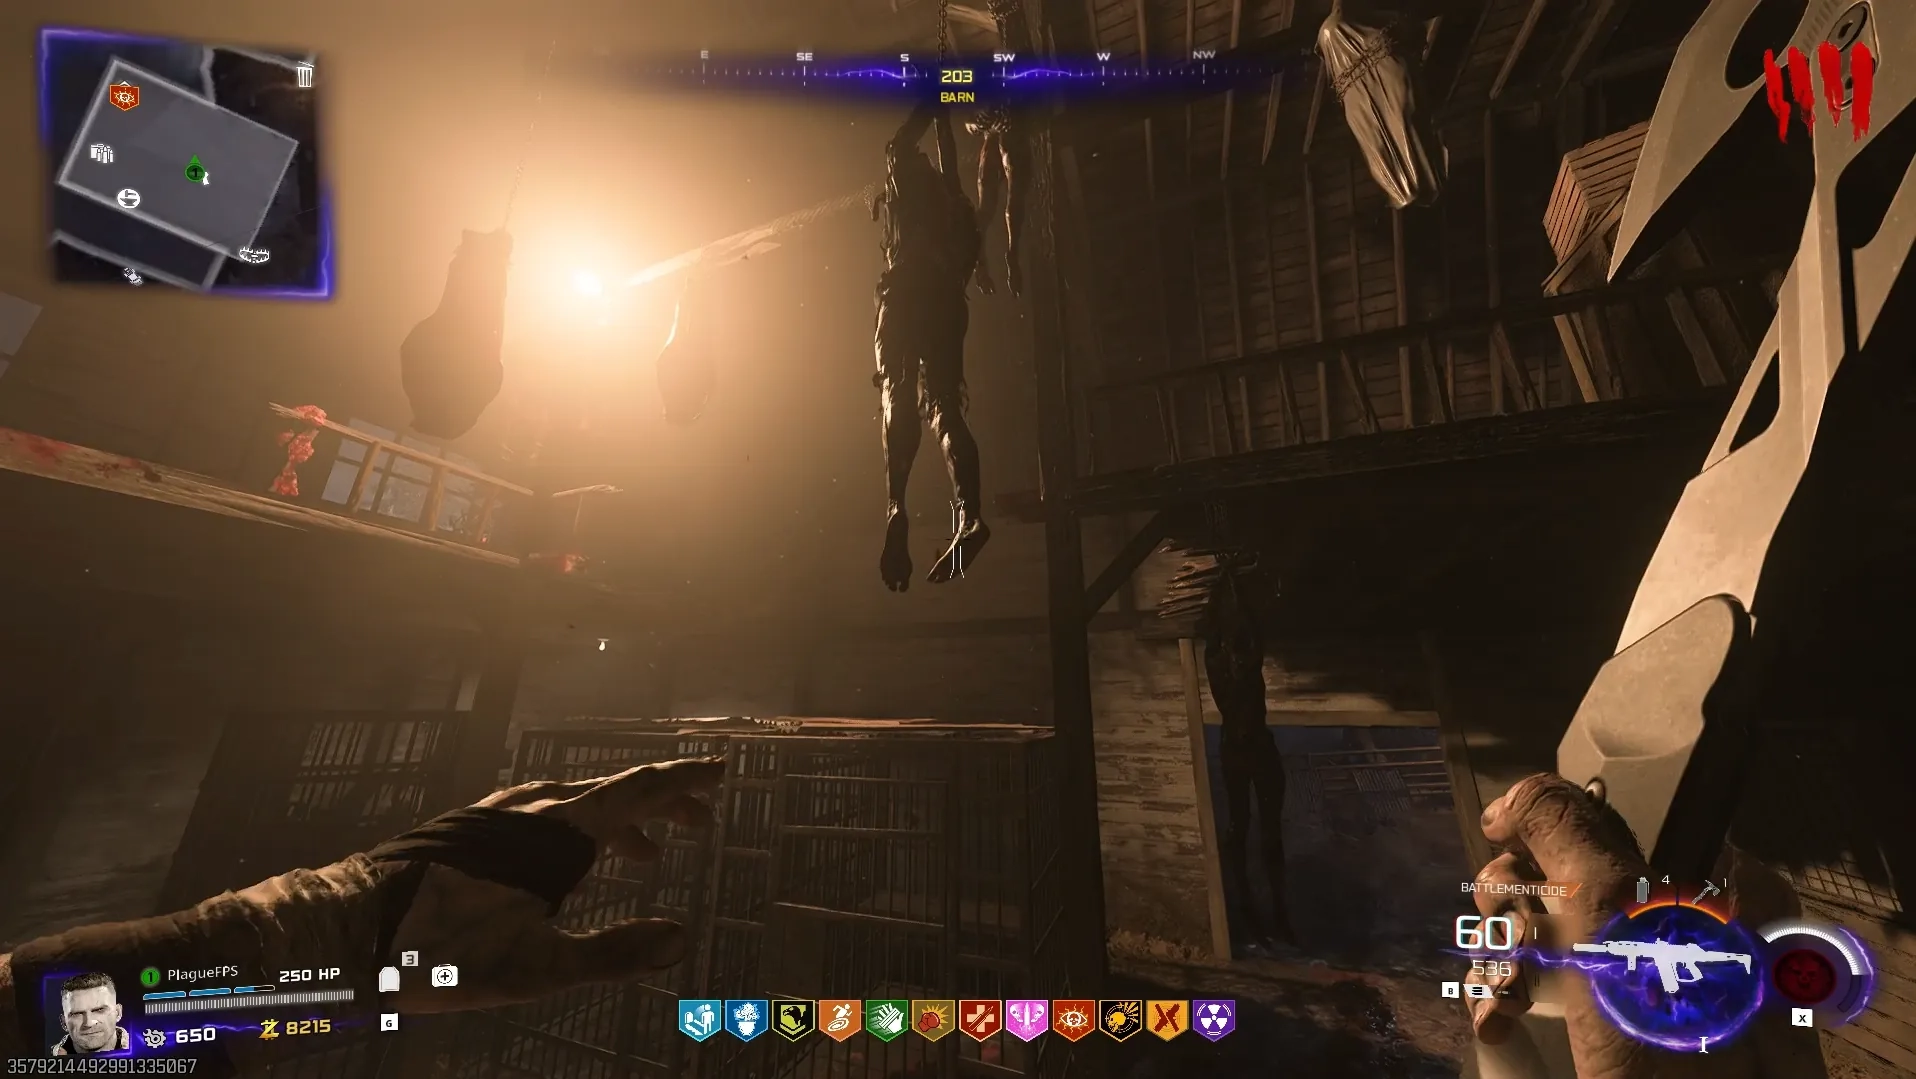
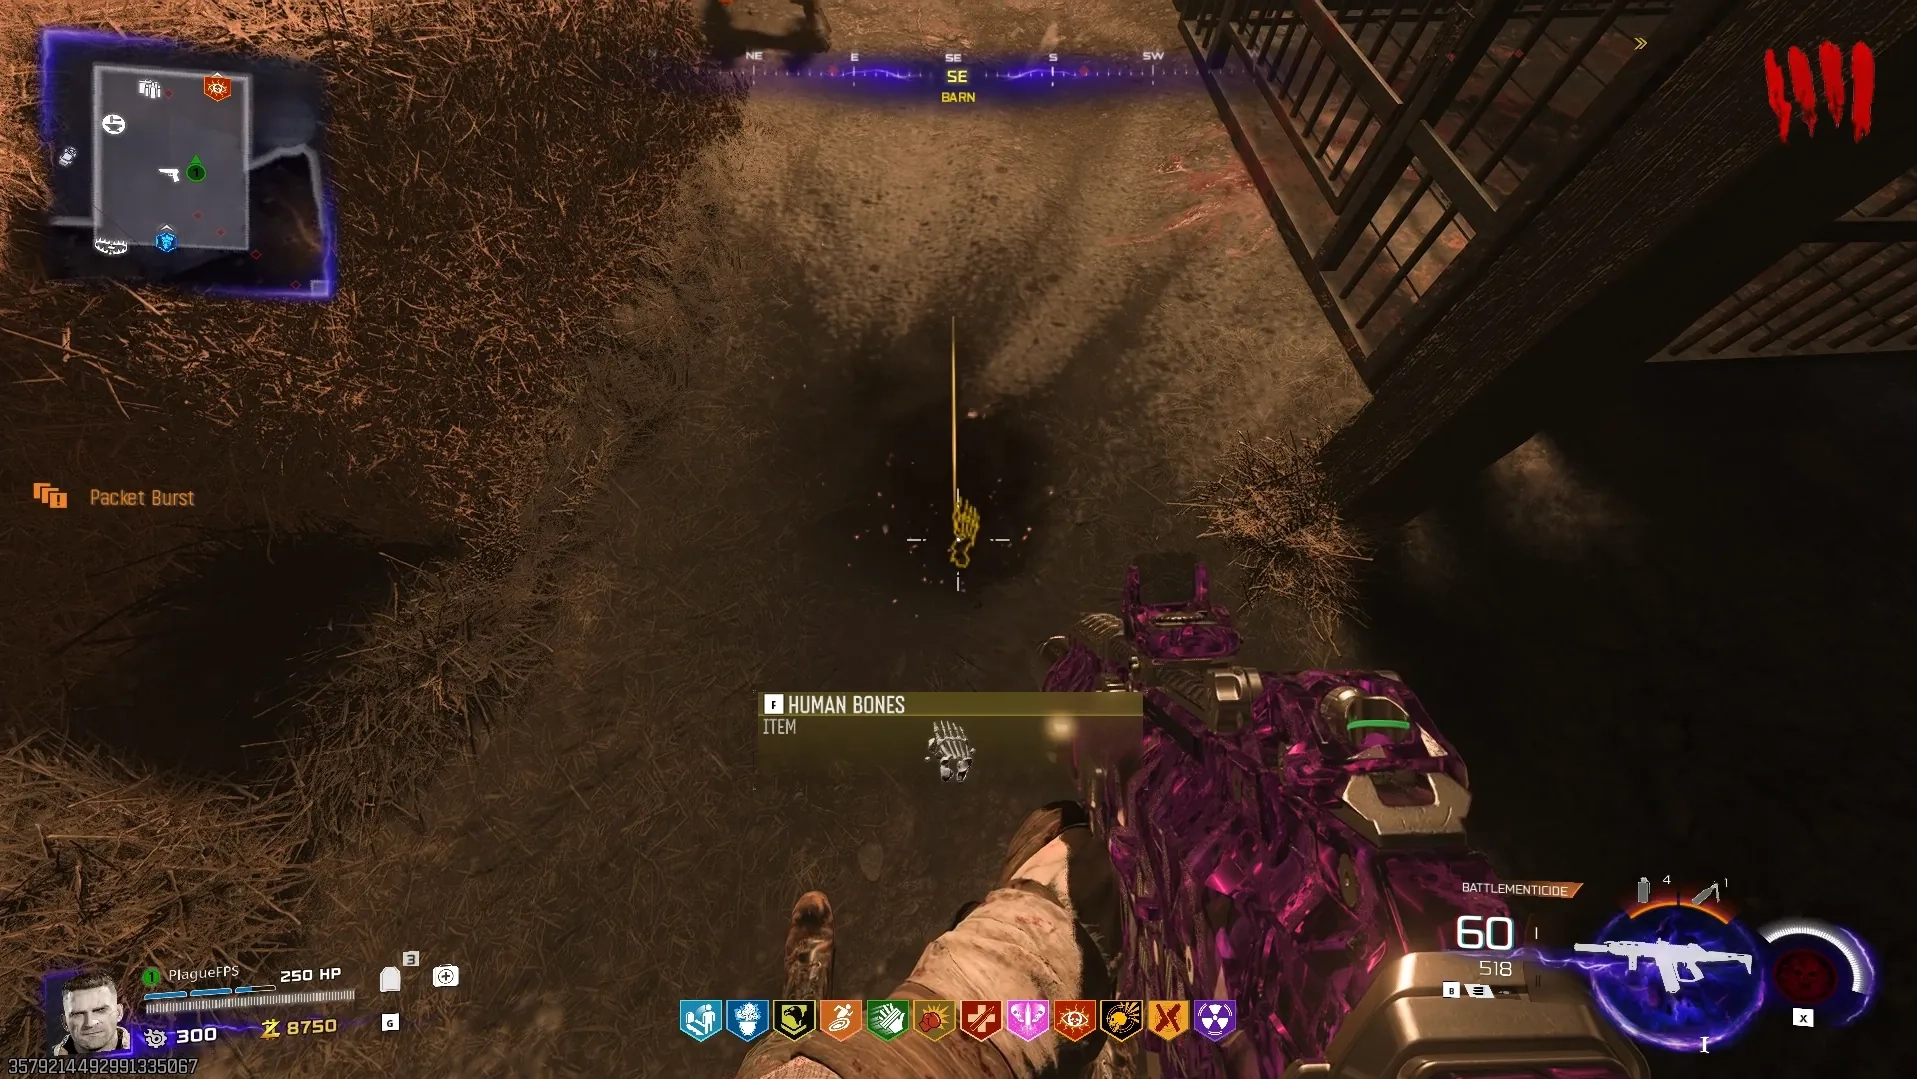
Head to the Barn in Vandorn Farm and throw a Combat Axe at the right foot of the hanging body right of the Ryden 45K wall buy to cut off its foot. Afterward, throw a Molotov at the foot to burn off the skin, revealing the Human Bones for you to collect.
Mysterious Limb
Before you can obtain this item you'll need to have upgraded Ol' Tessie with the Abomination Carcass to gain the Beam Attack ability.
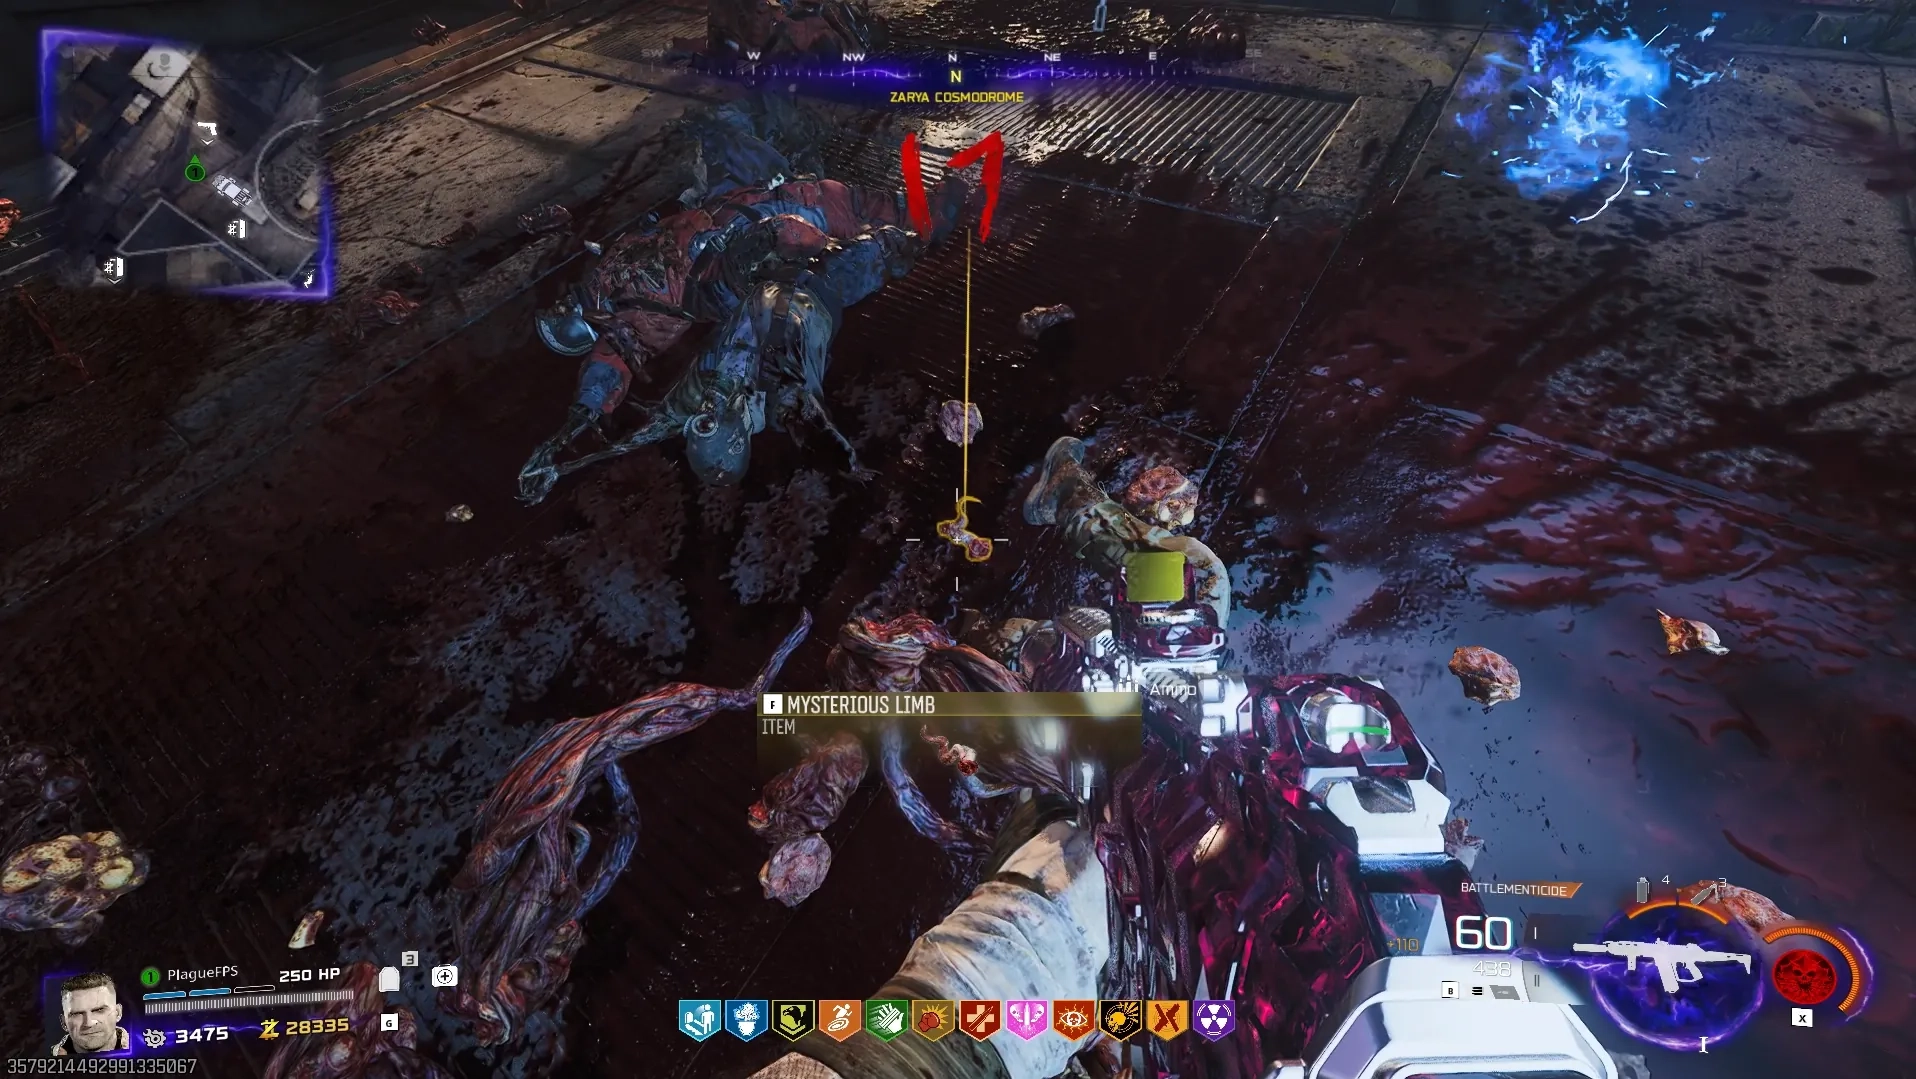
Wait until Round 16 for a Zursa to spawn, and you need to lower it's health significantly to be able to kill it with the Beam Attack from Ol' Tessie, dropping the Mysterious Limb item for you to collect.
Crafting the Serum
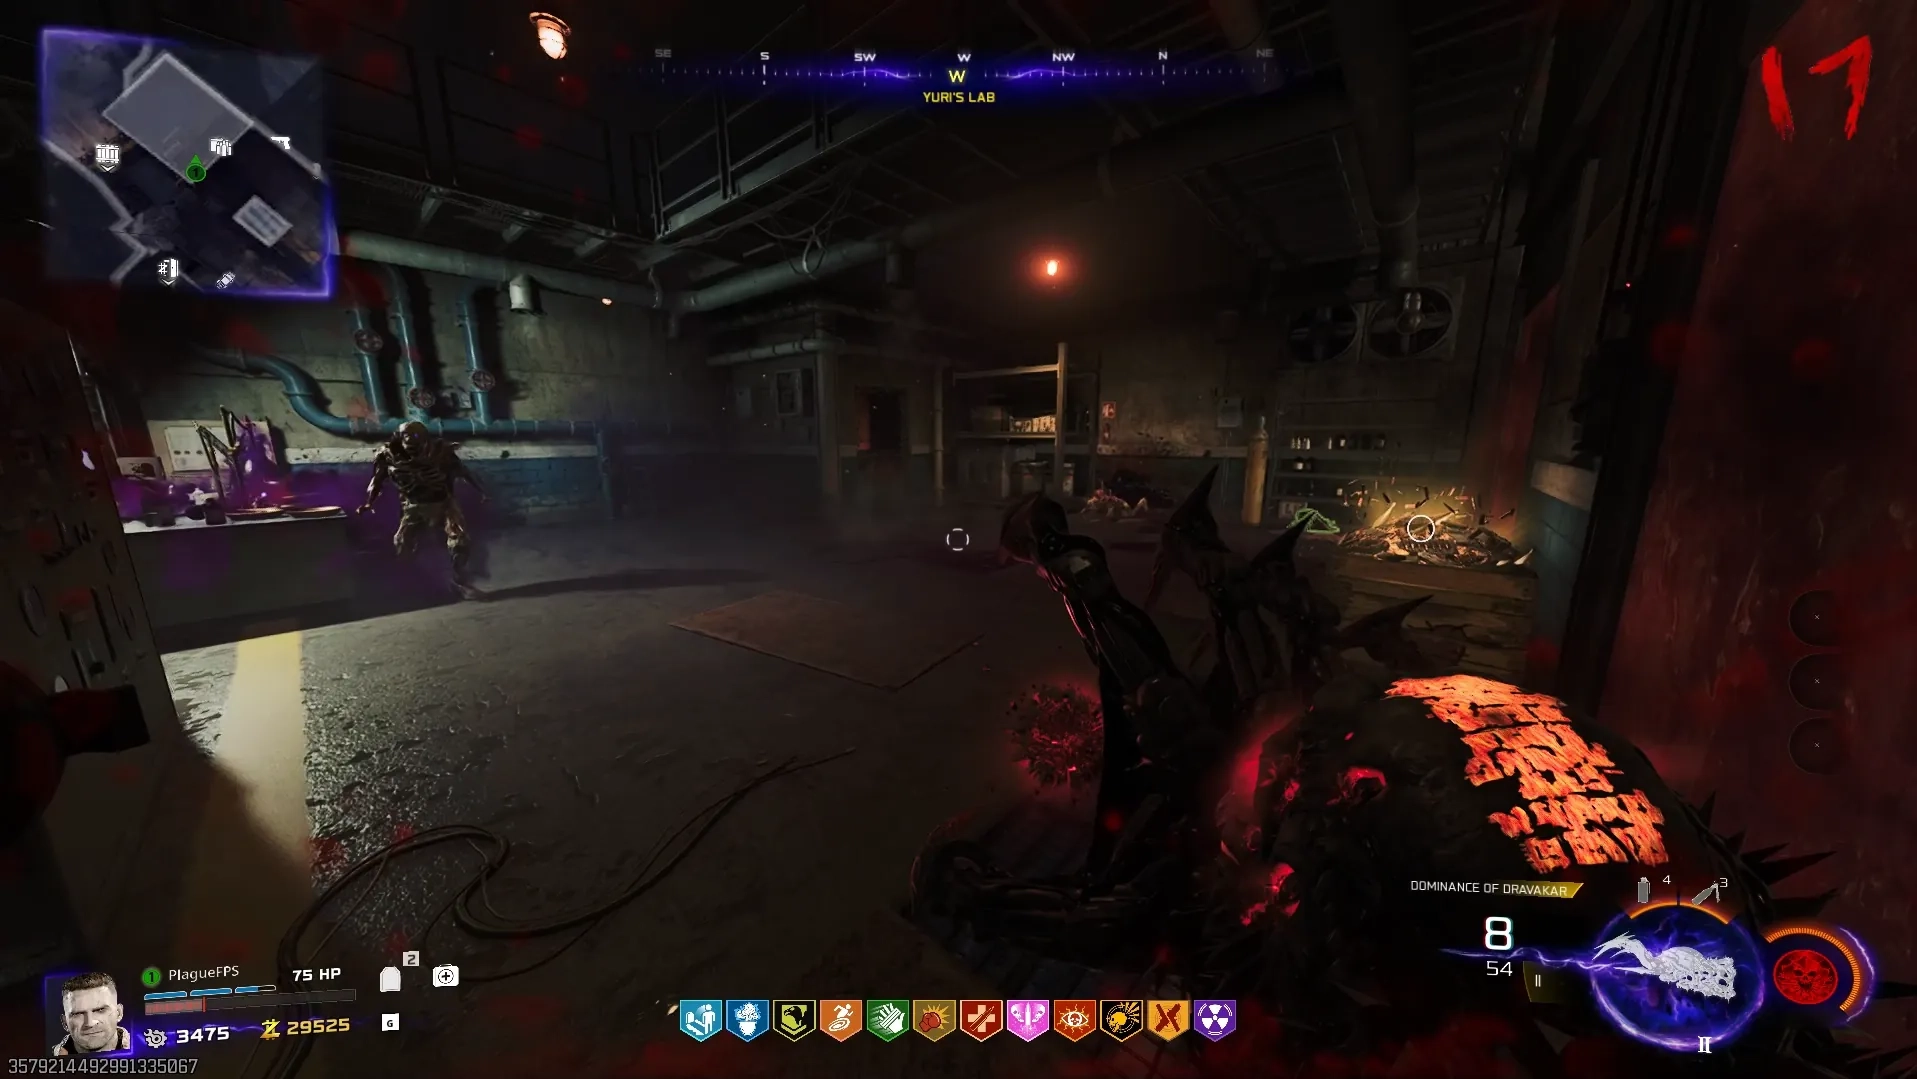
Once you have the three items revealed by the code, interact with them in order from top-to-bottom on the wall. If done correctly, you will be prompted to "Add Blood", beginning a lockdown, where you will be forced down to 75HP and the only way to heal is to use the Necrofluid Gauntlet to recall shots into zombies.
Step 5: Collect the Keys
There are three glowing keys found in the Fog areas of the map, that you will need to shoot with the Necrofluid Gauntlet and press the alternate fire ability to cause an explosion launching the key to your feet. Each key has three possible spawns which you can find below:
Terrapin Key
This key when picked up will significantly reduce your speed, so ensure you have Ol' Tessie right next to you before picking it up so you can get away.
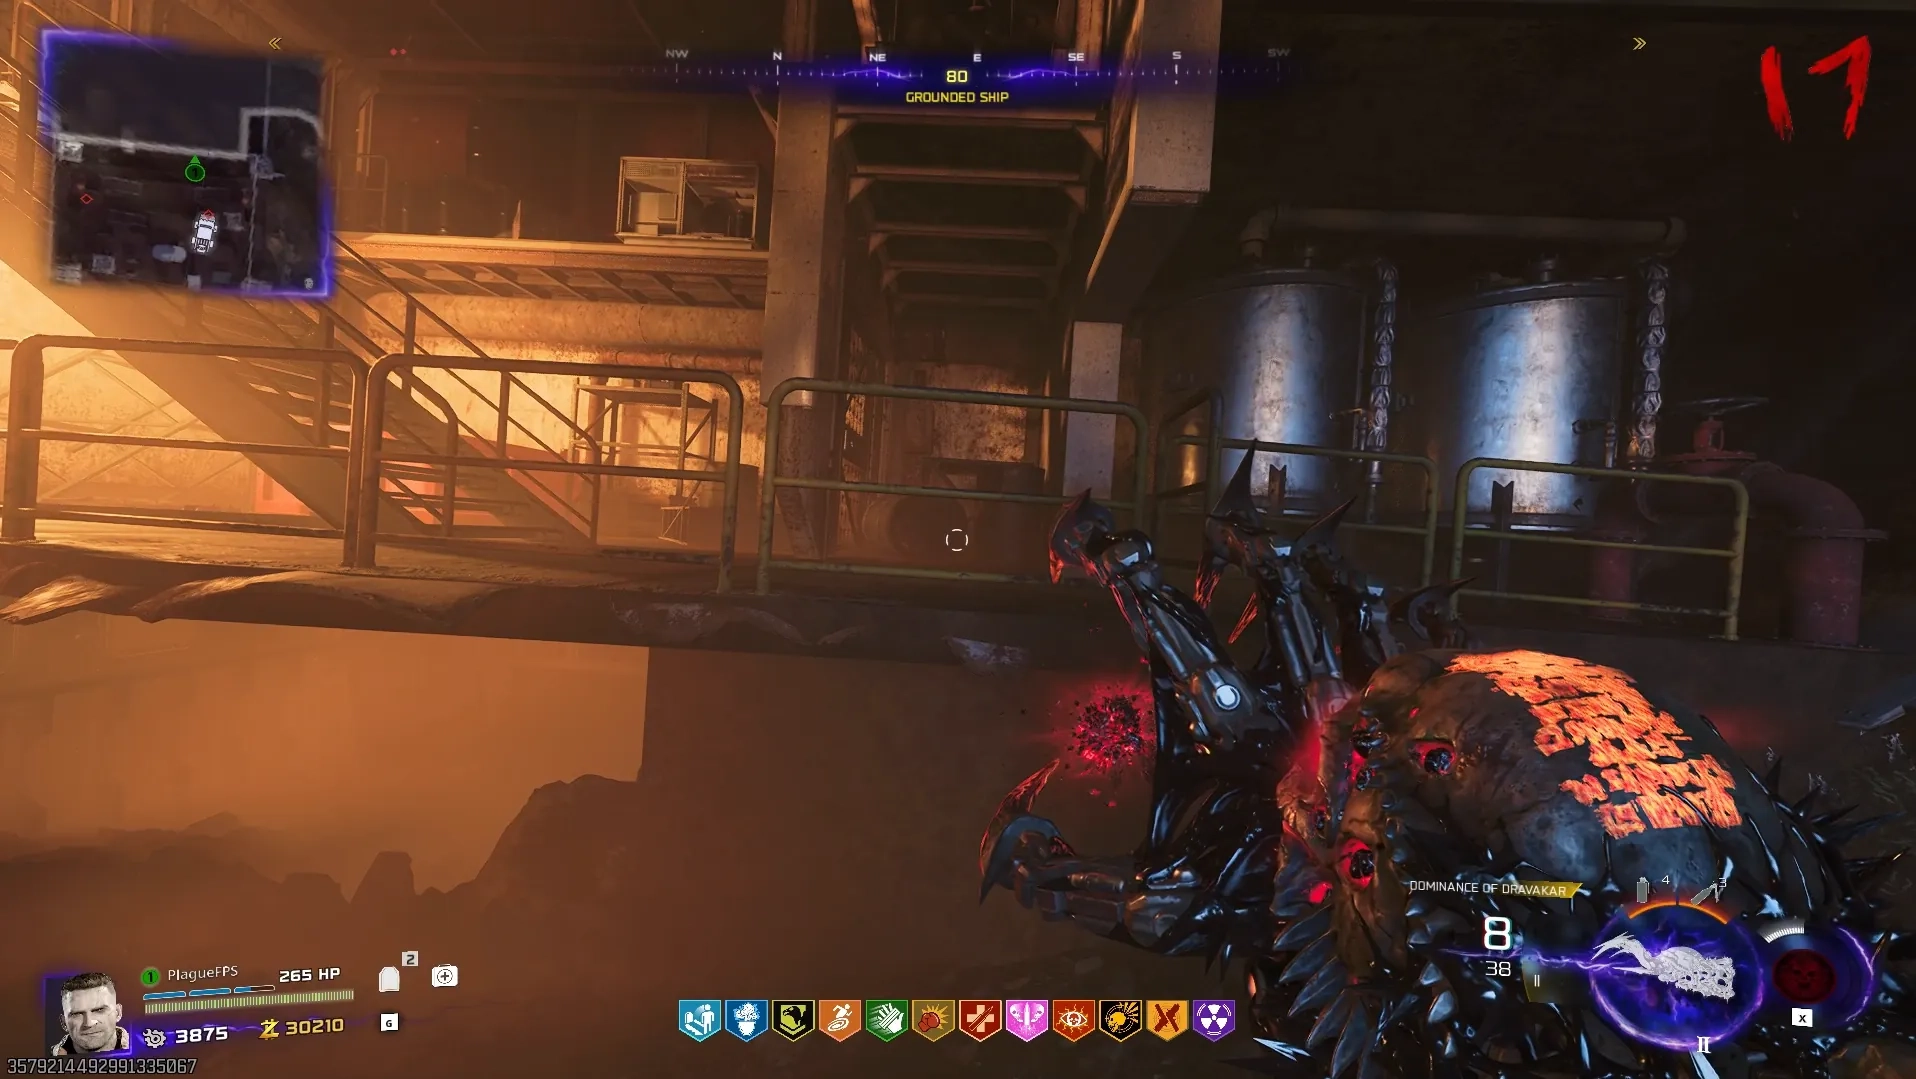

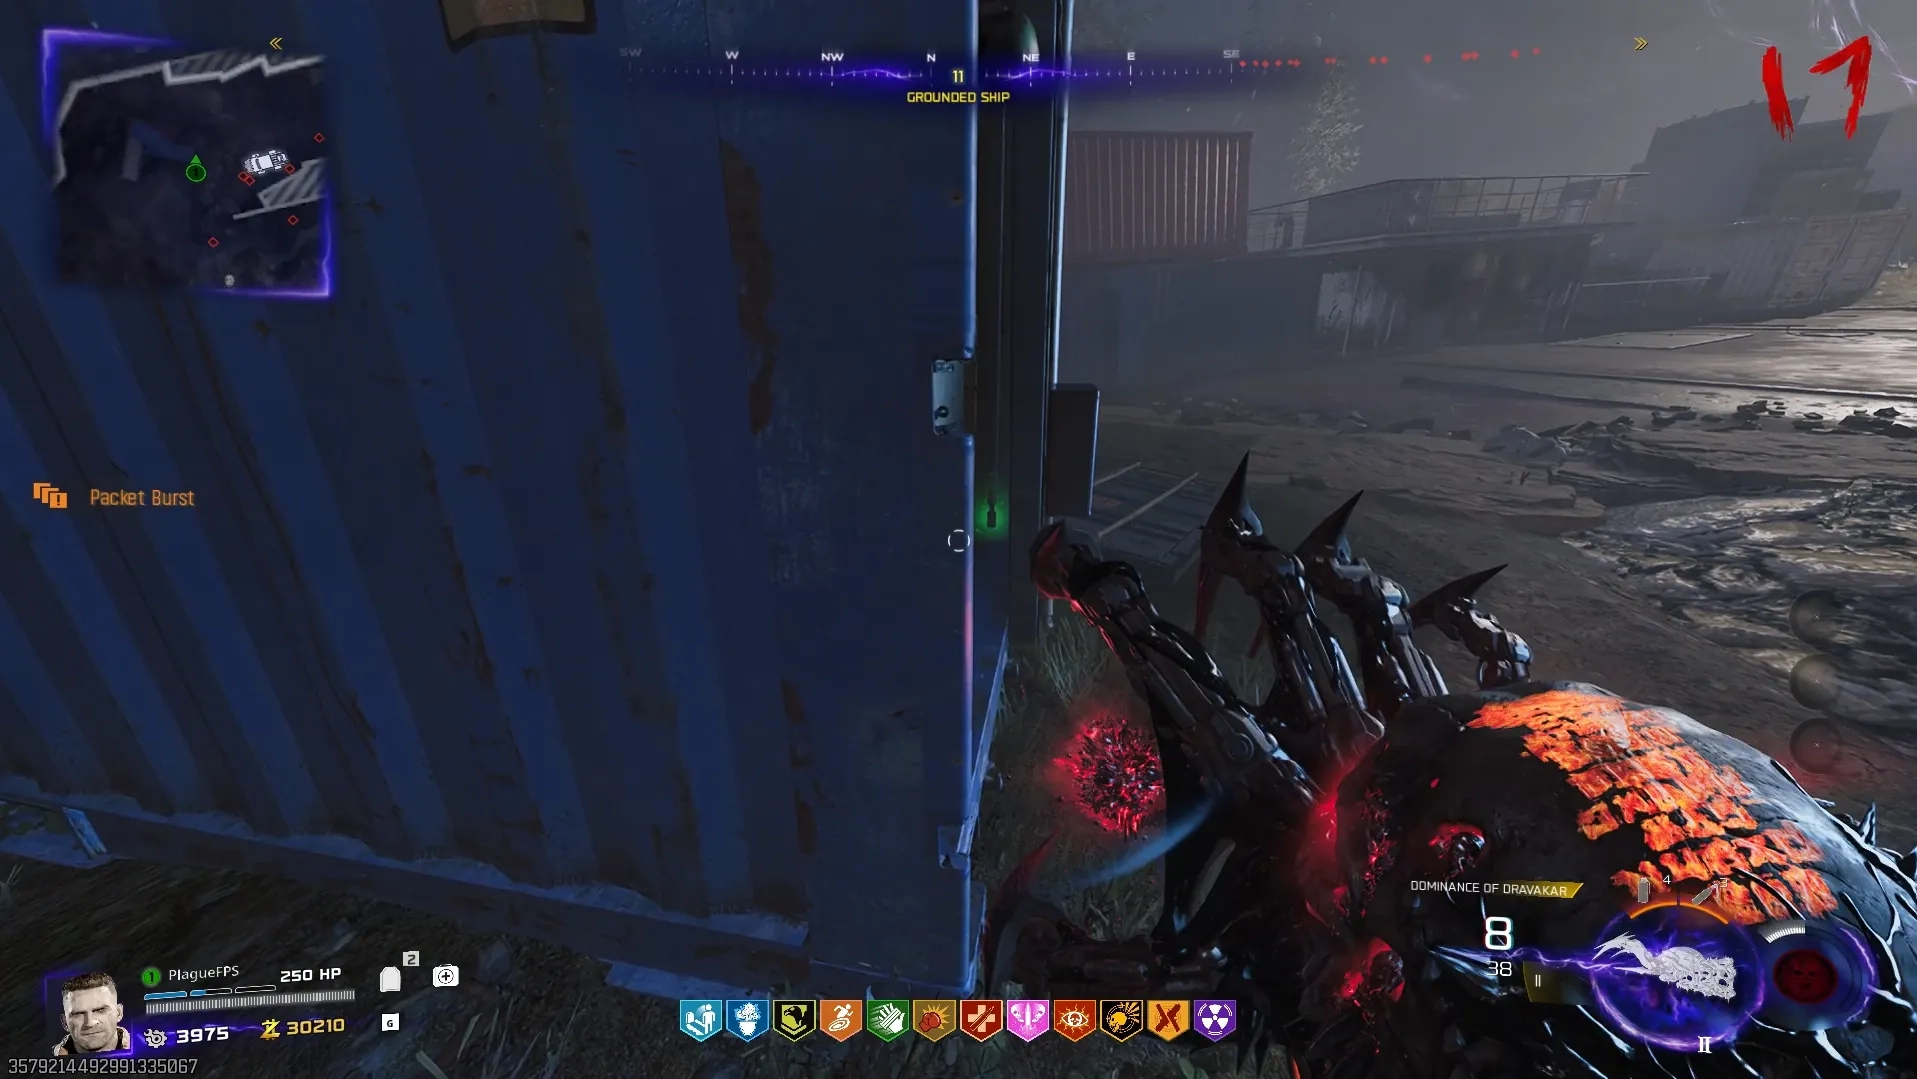
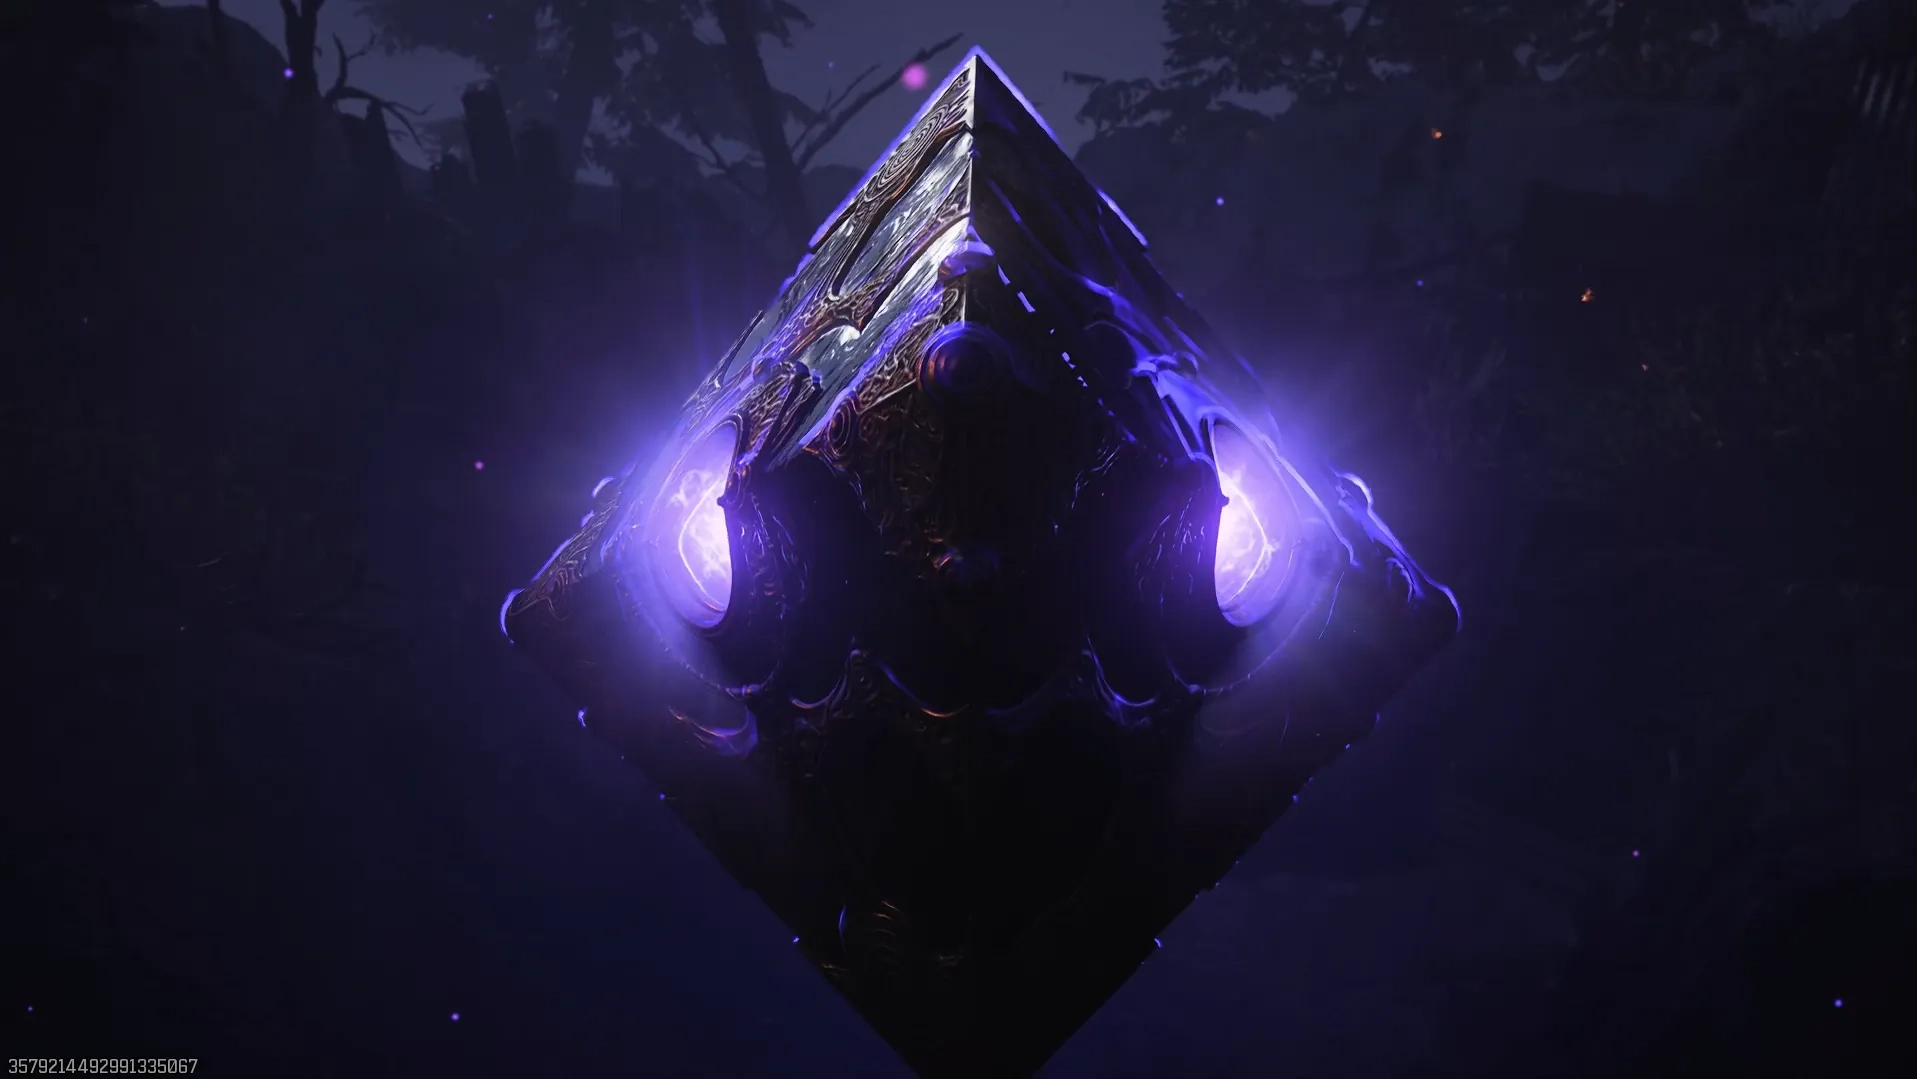
Once collected, bring the key to the Prism in the Rabbit Alley in Ashwood and interact with it to remove one of the three locks.
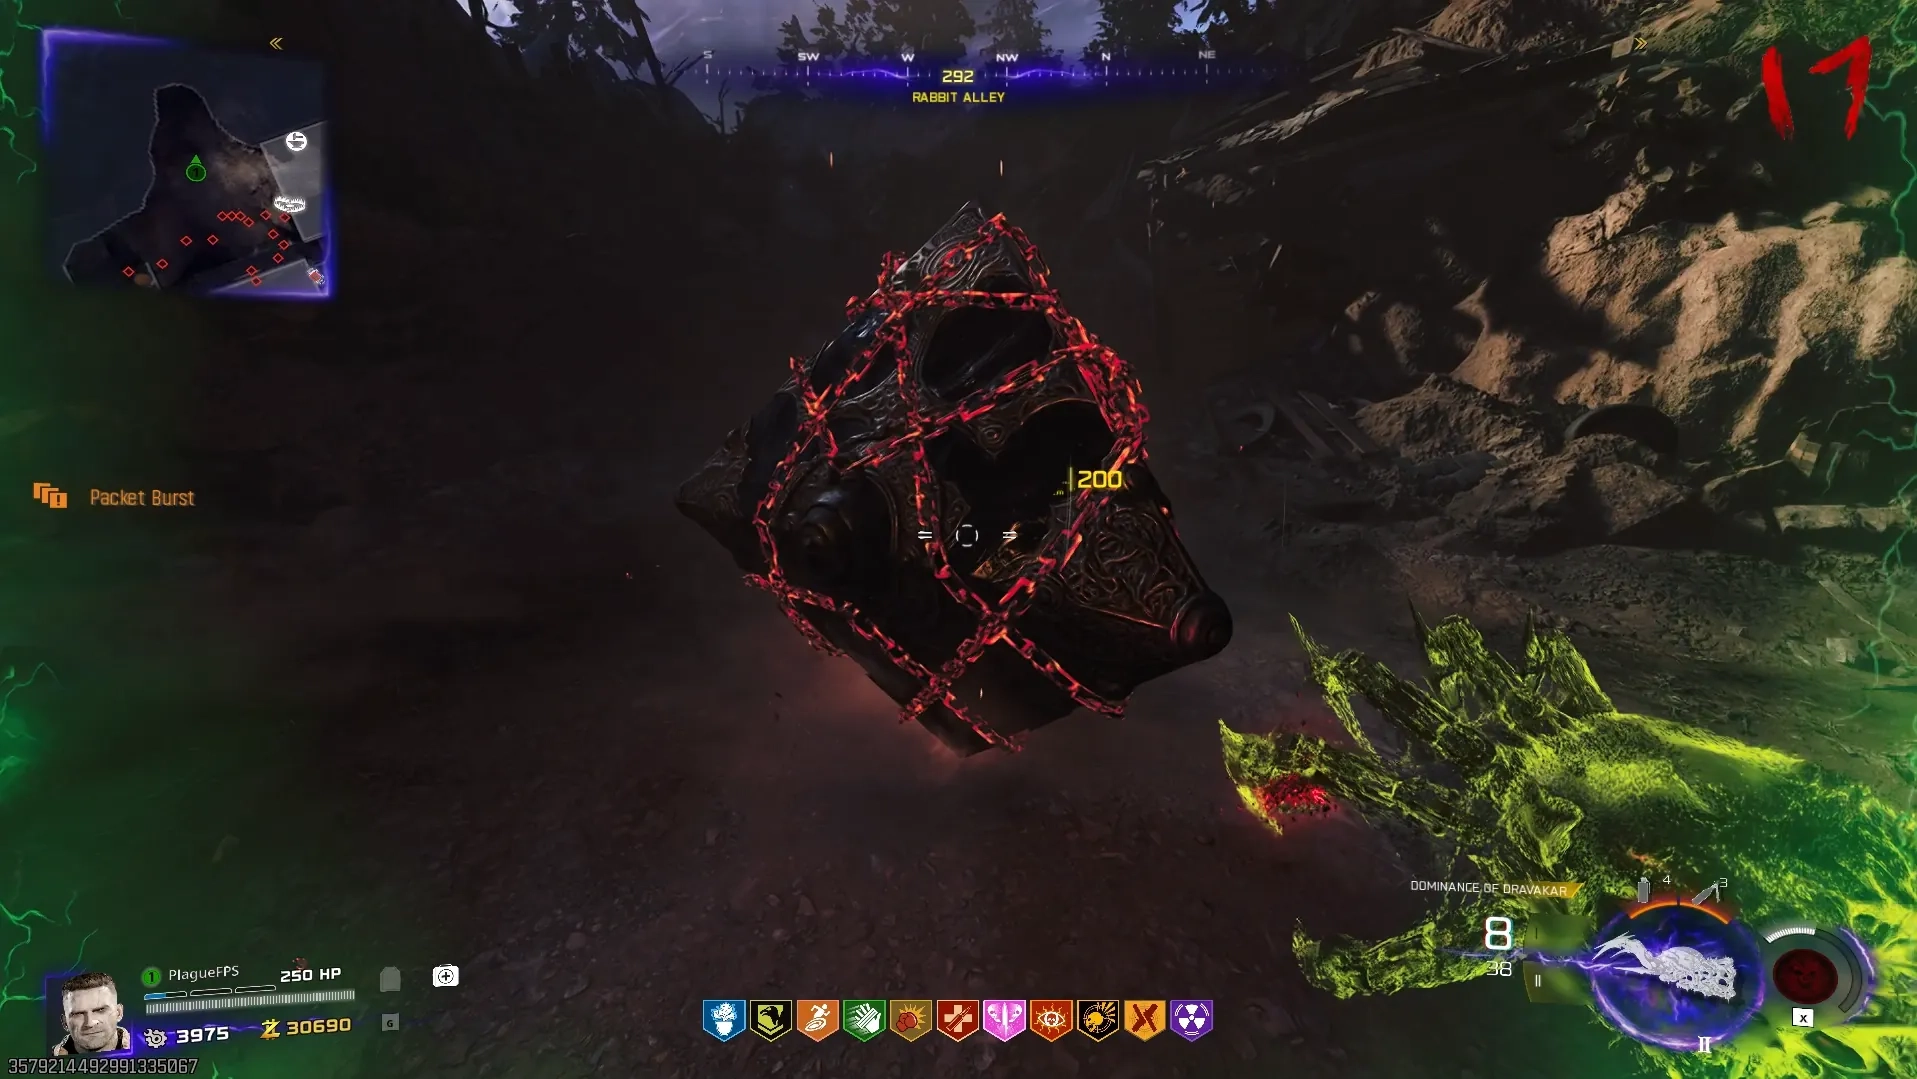
Nightbird Key
This key when picked up will significantly reduce your health, so ensure you have Ol' Tessie right next to you before picking it up so you can get away.


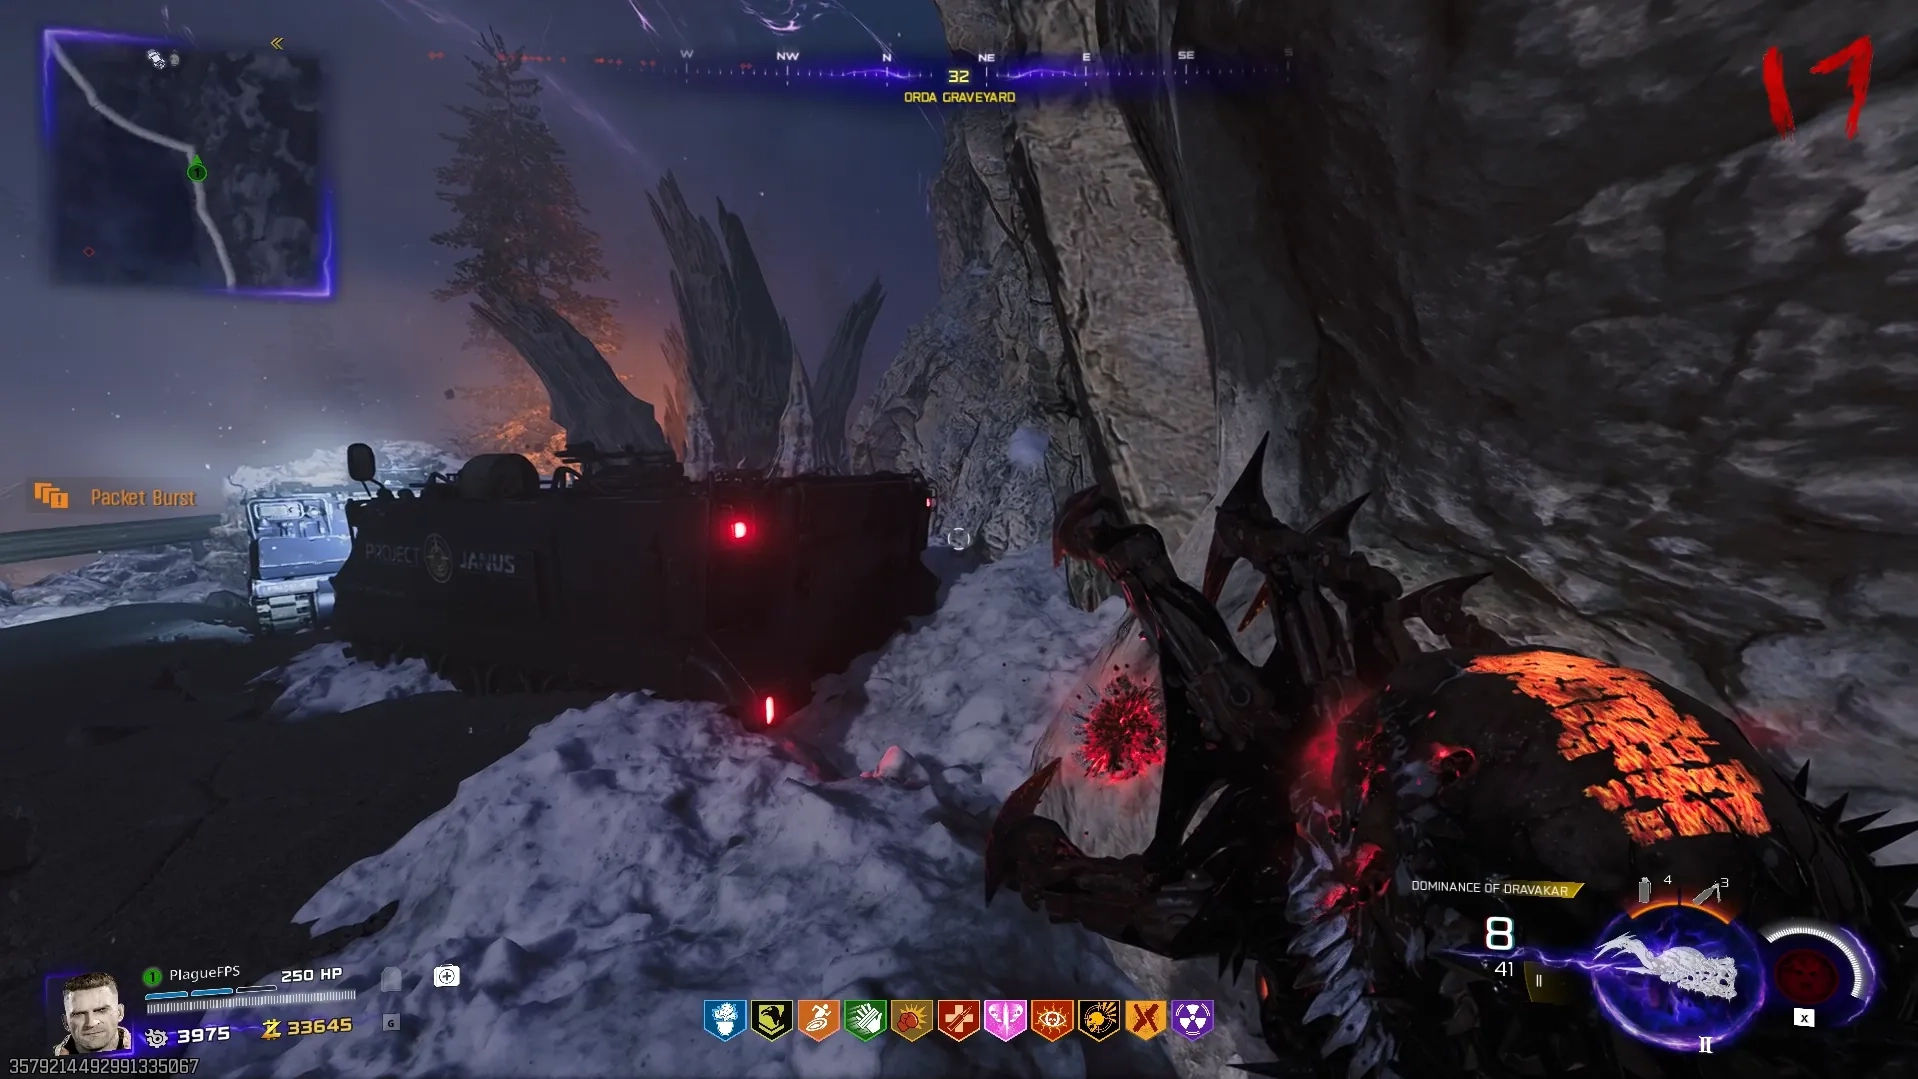
Once collected, bring the key to the Prism in the Rabbit Alley in Ashwood and interact with it to remove another lock.

Bruin Key
This key when picked up will force you to have your dedicated melee weapon equipped.
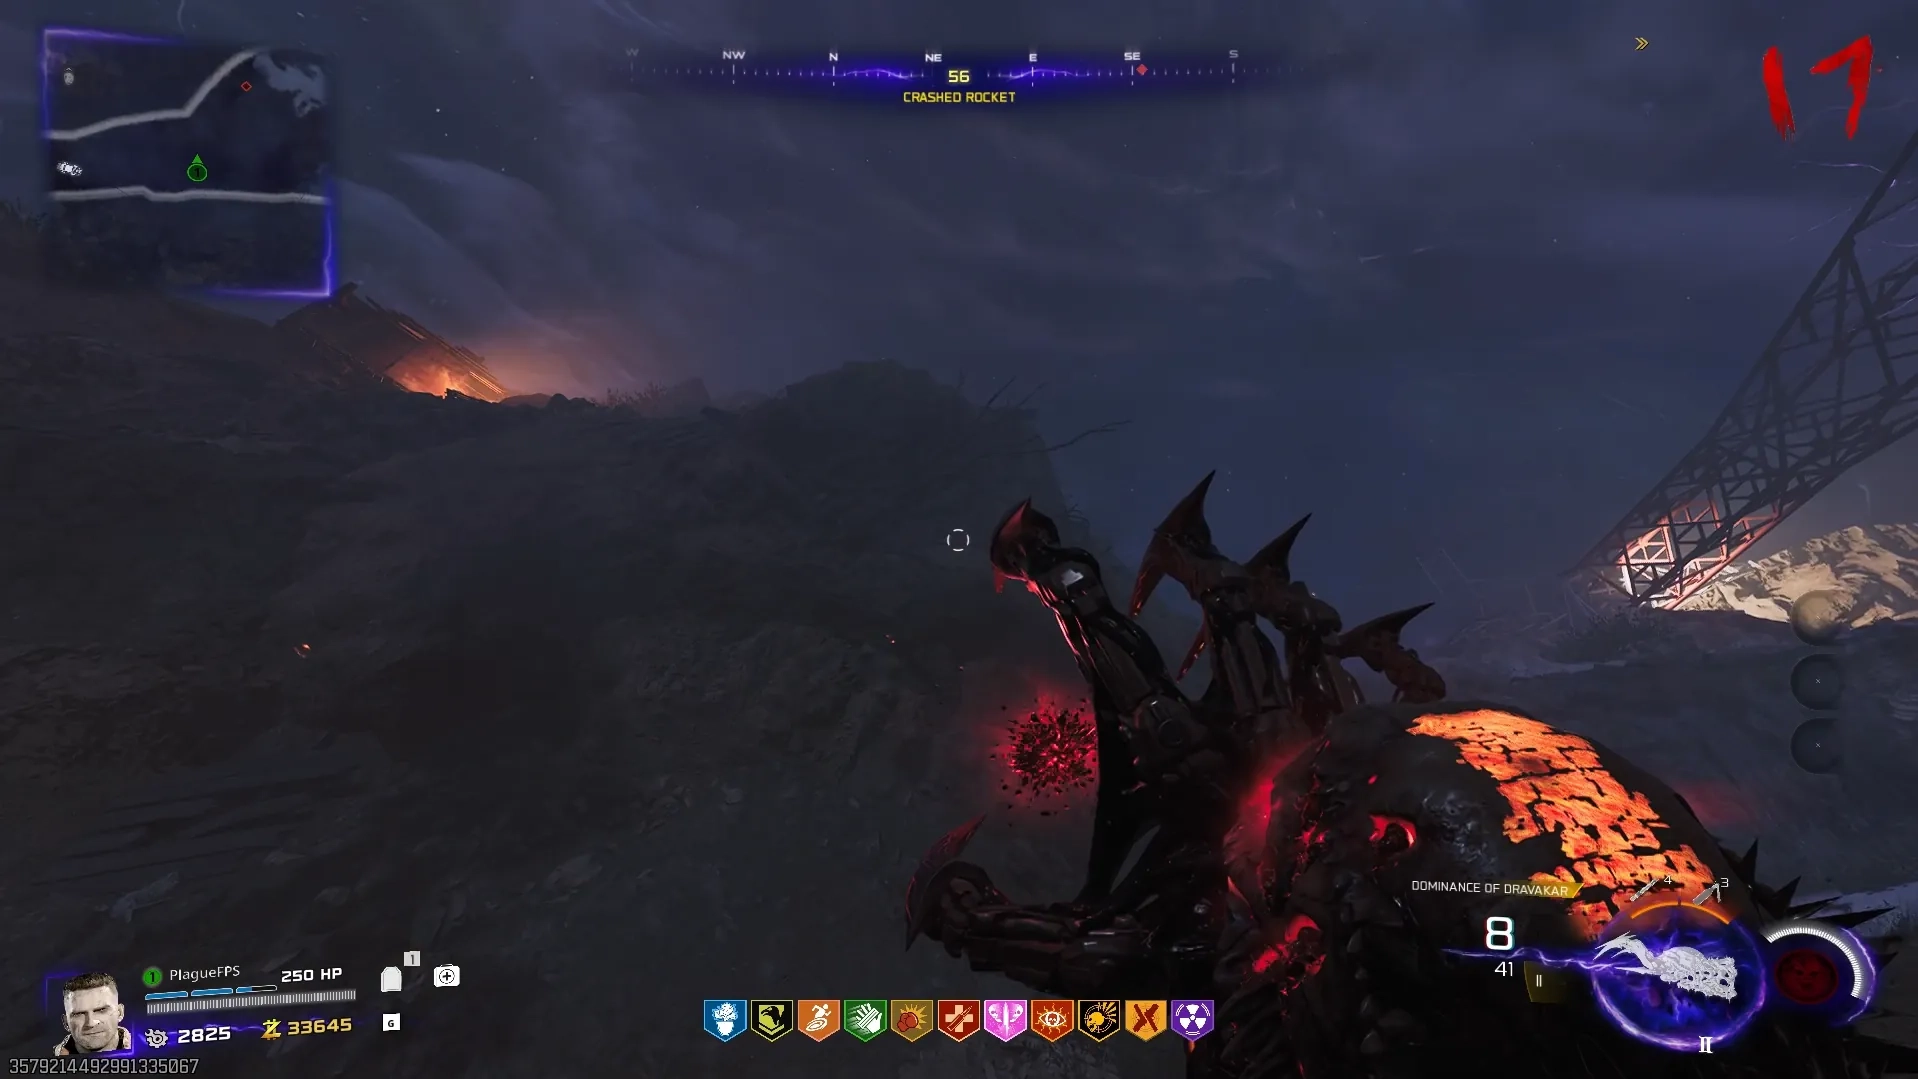

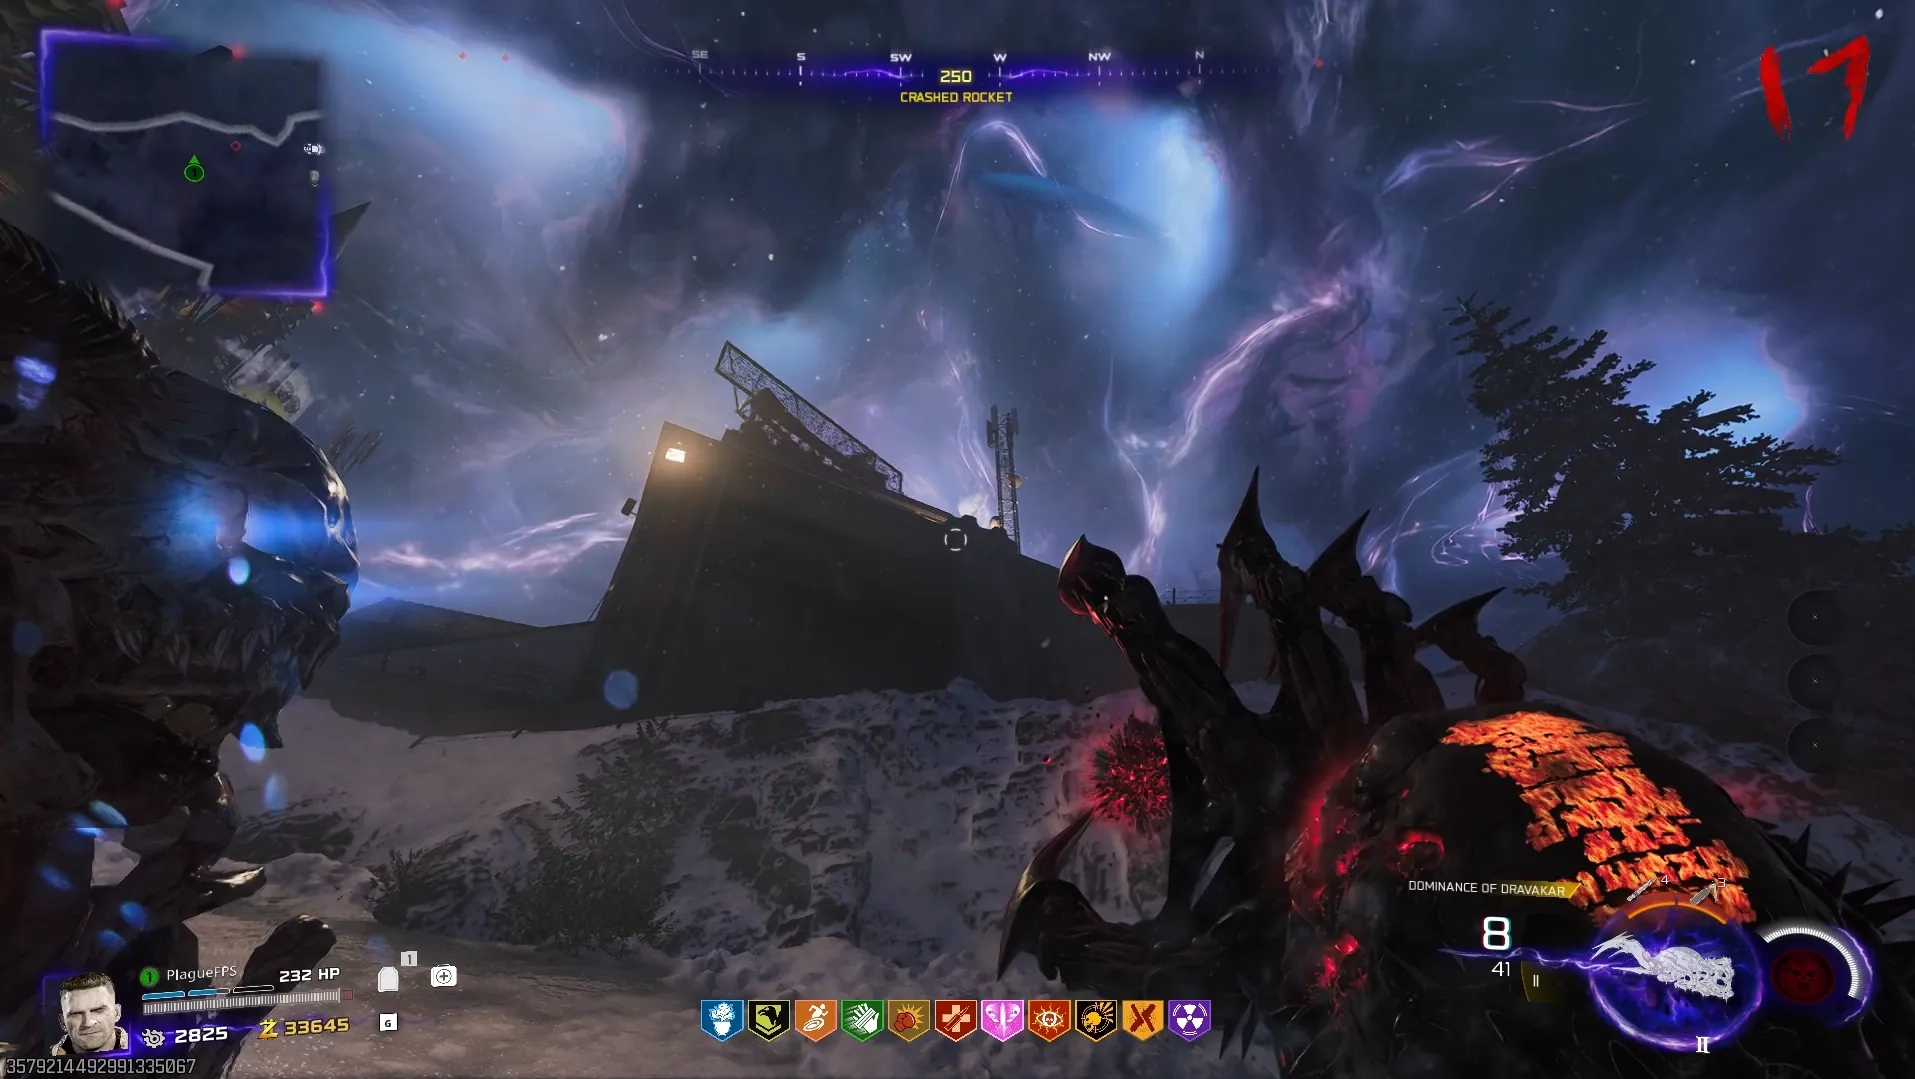
Once collected, bring the key to the Prism in the Rabbit Alley in Ashwood and interact with it to remove the final lock.

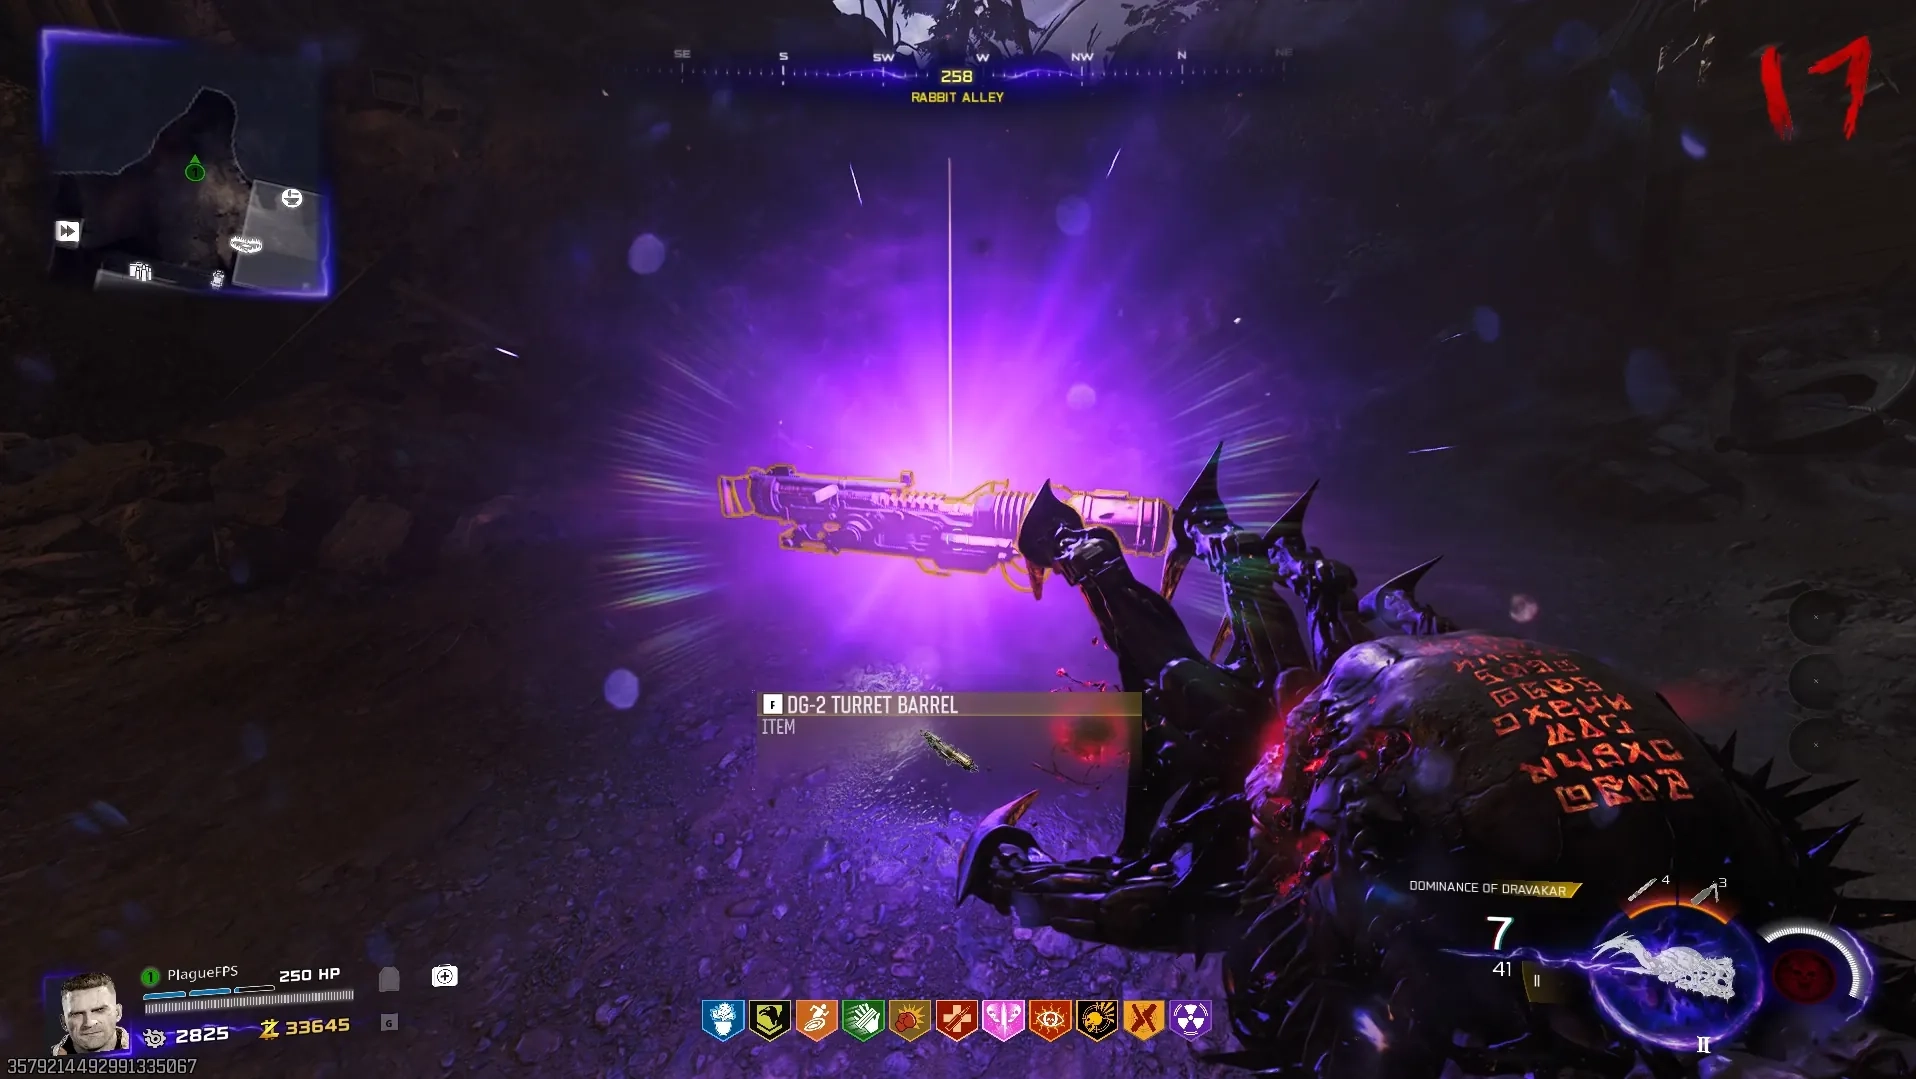
Once all locks have been removed, you will be shown a mid-game cutscene telling you about what you need to do next, and once that is over, you can collect the DG-2 Turret which was inside the Prism and put it on Ol' Tessie in the Garage.
Step 6: Complete the Three Challenges
Using the DG-2 Turret on Ol' Tessie, you must shoot the Aether Clock Tower floating above Ashwood to charge it. Once charged, three of the four clock faces will stop moving, and you'll need to shoot one of the frozen clock faces with the Necrofluid Gauntlet and recall the shot to be infused with Aether Energy, turning you purple.
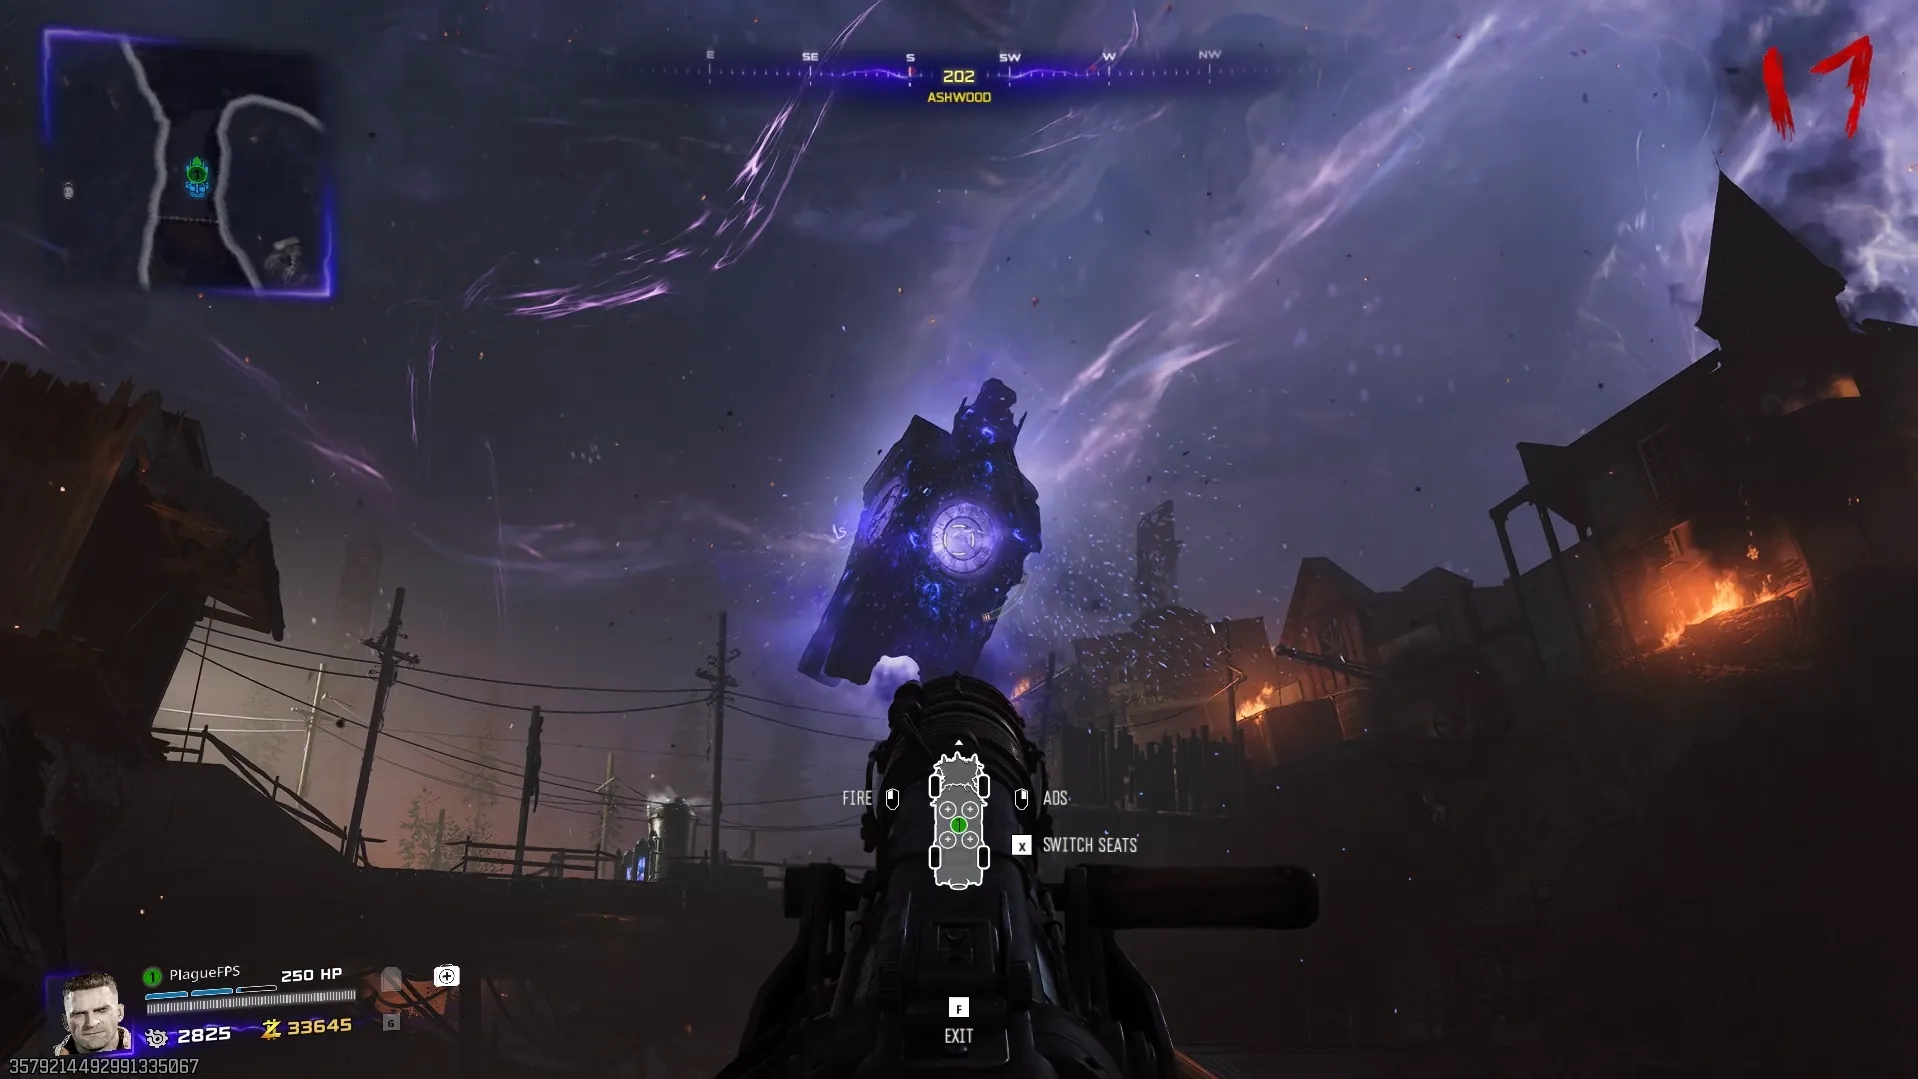
Once charged, you can begin one of the three challenges below. If you run out of Aether Energy, go back to the clock and shoot another frozen clock face to get it back. If the clock is no longer charged, shoot it with the DG-2 Turret again to charge it. If it is unable to be charged, flip round to be able to charge it again.
Vandorn Farm Challenge
While infused with Aether Energy, head inside the Farmhouse and look at the hour-hand on the clock left of the dinner table. Whatever the hour is, you must stand on that equivalent Roman numeral found on the floor around the dinner table. The roman numerals are placed around the table to mimic a clock, starting with XII(12) behind the head of the table and going clockwise.
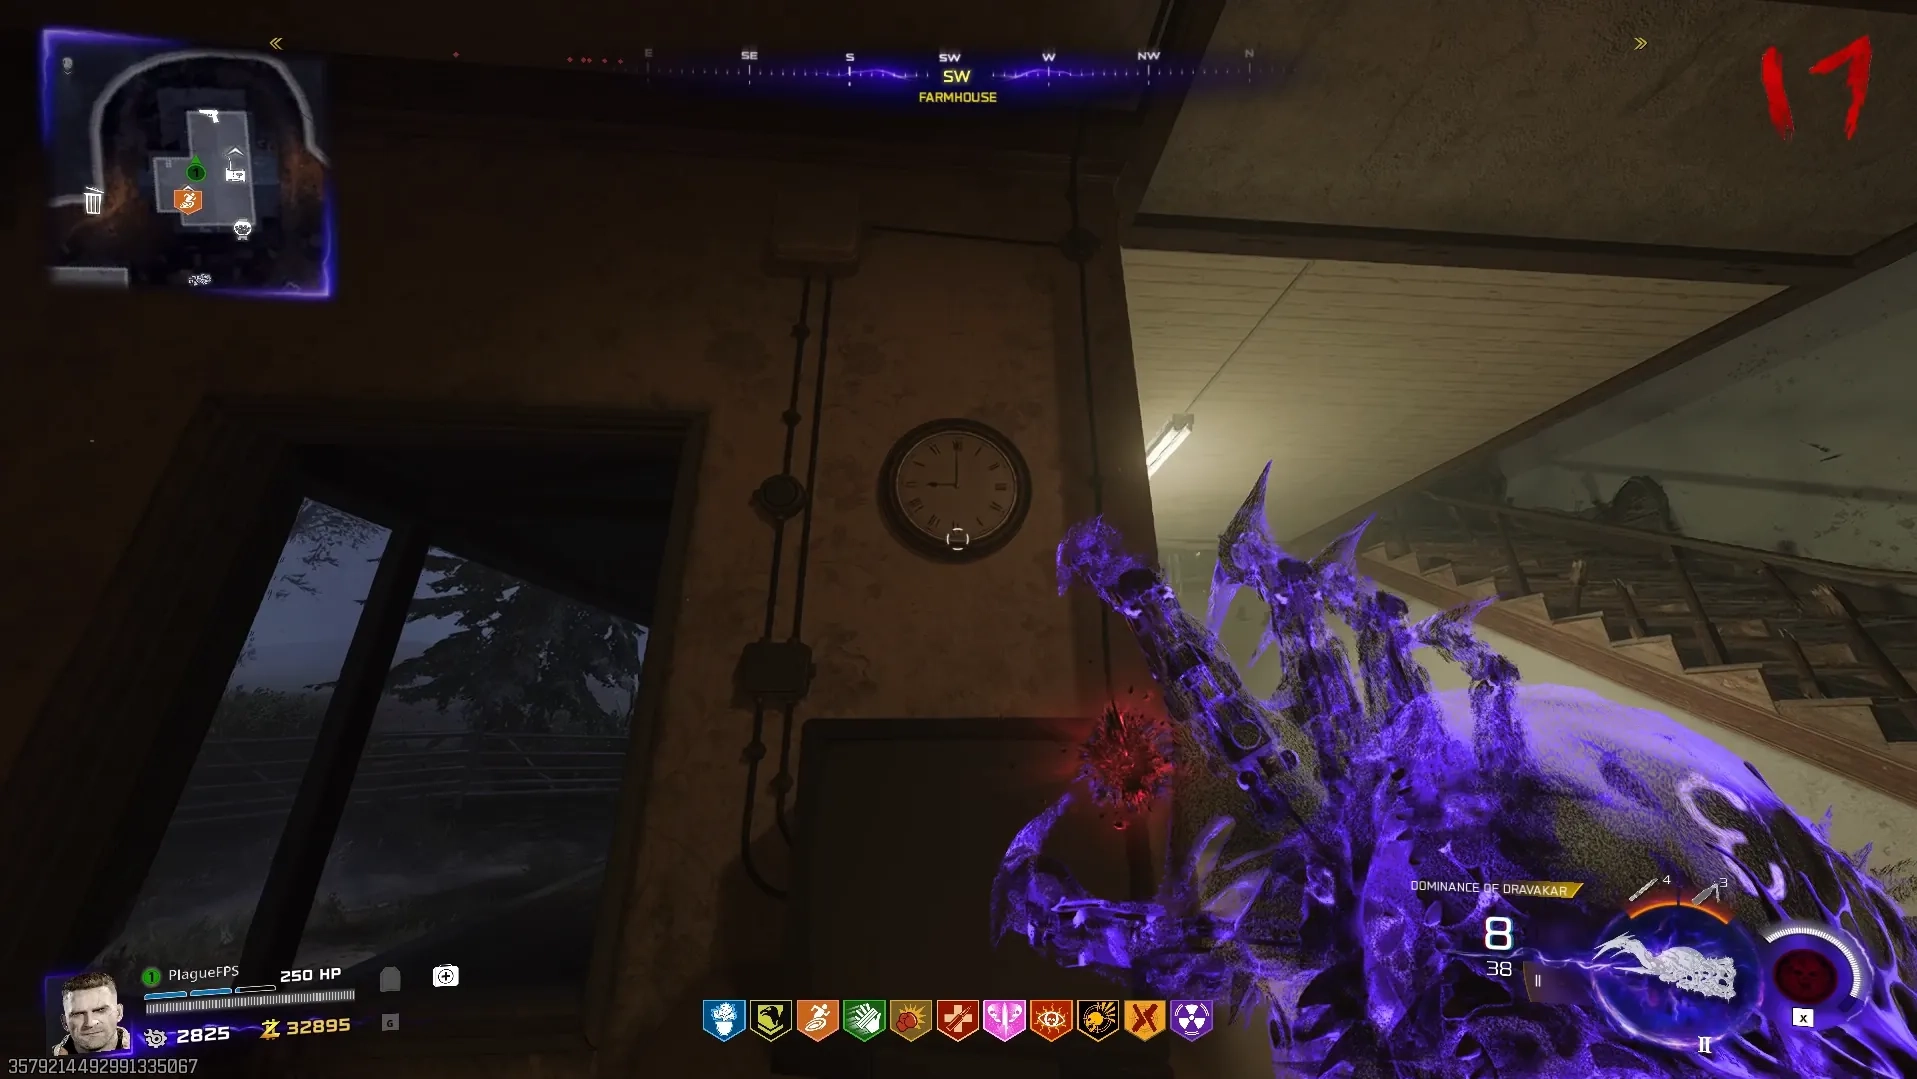
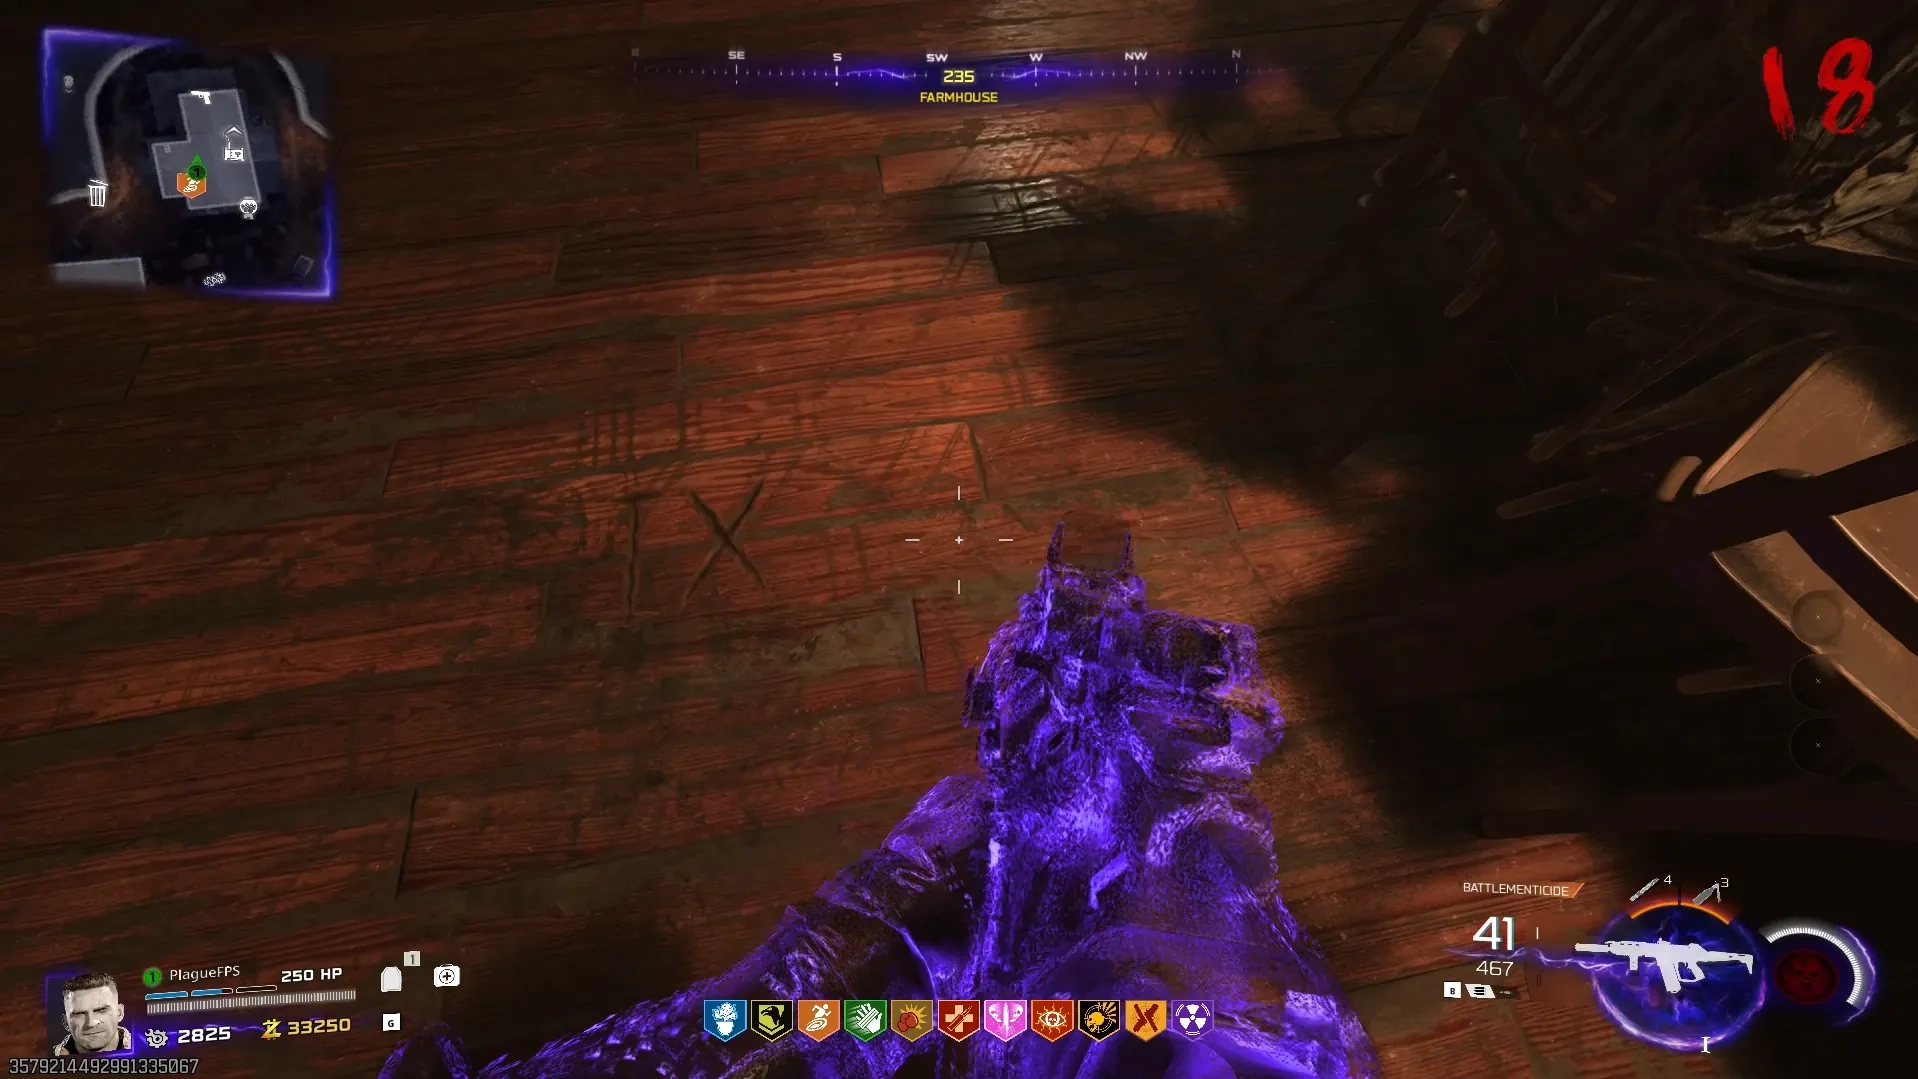
Once you are standing on the correct roman numeral, look at the head of the table, and if done correctly, he will begin slowly turning his head towards you until his eyes glow red. Once red, shoot the head with the infused Necrofluid Gauntlet, snapping his neck and infusing it with Aether Energy.

Once completed, you must now collect four artifacts found around the farm and place them in their respective red symbols outside. The four artifacts and their locations are as follows:
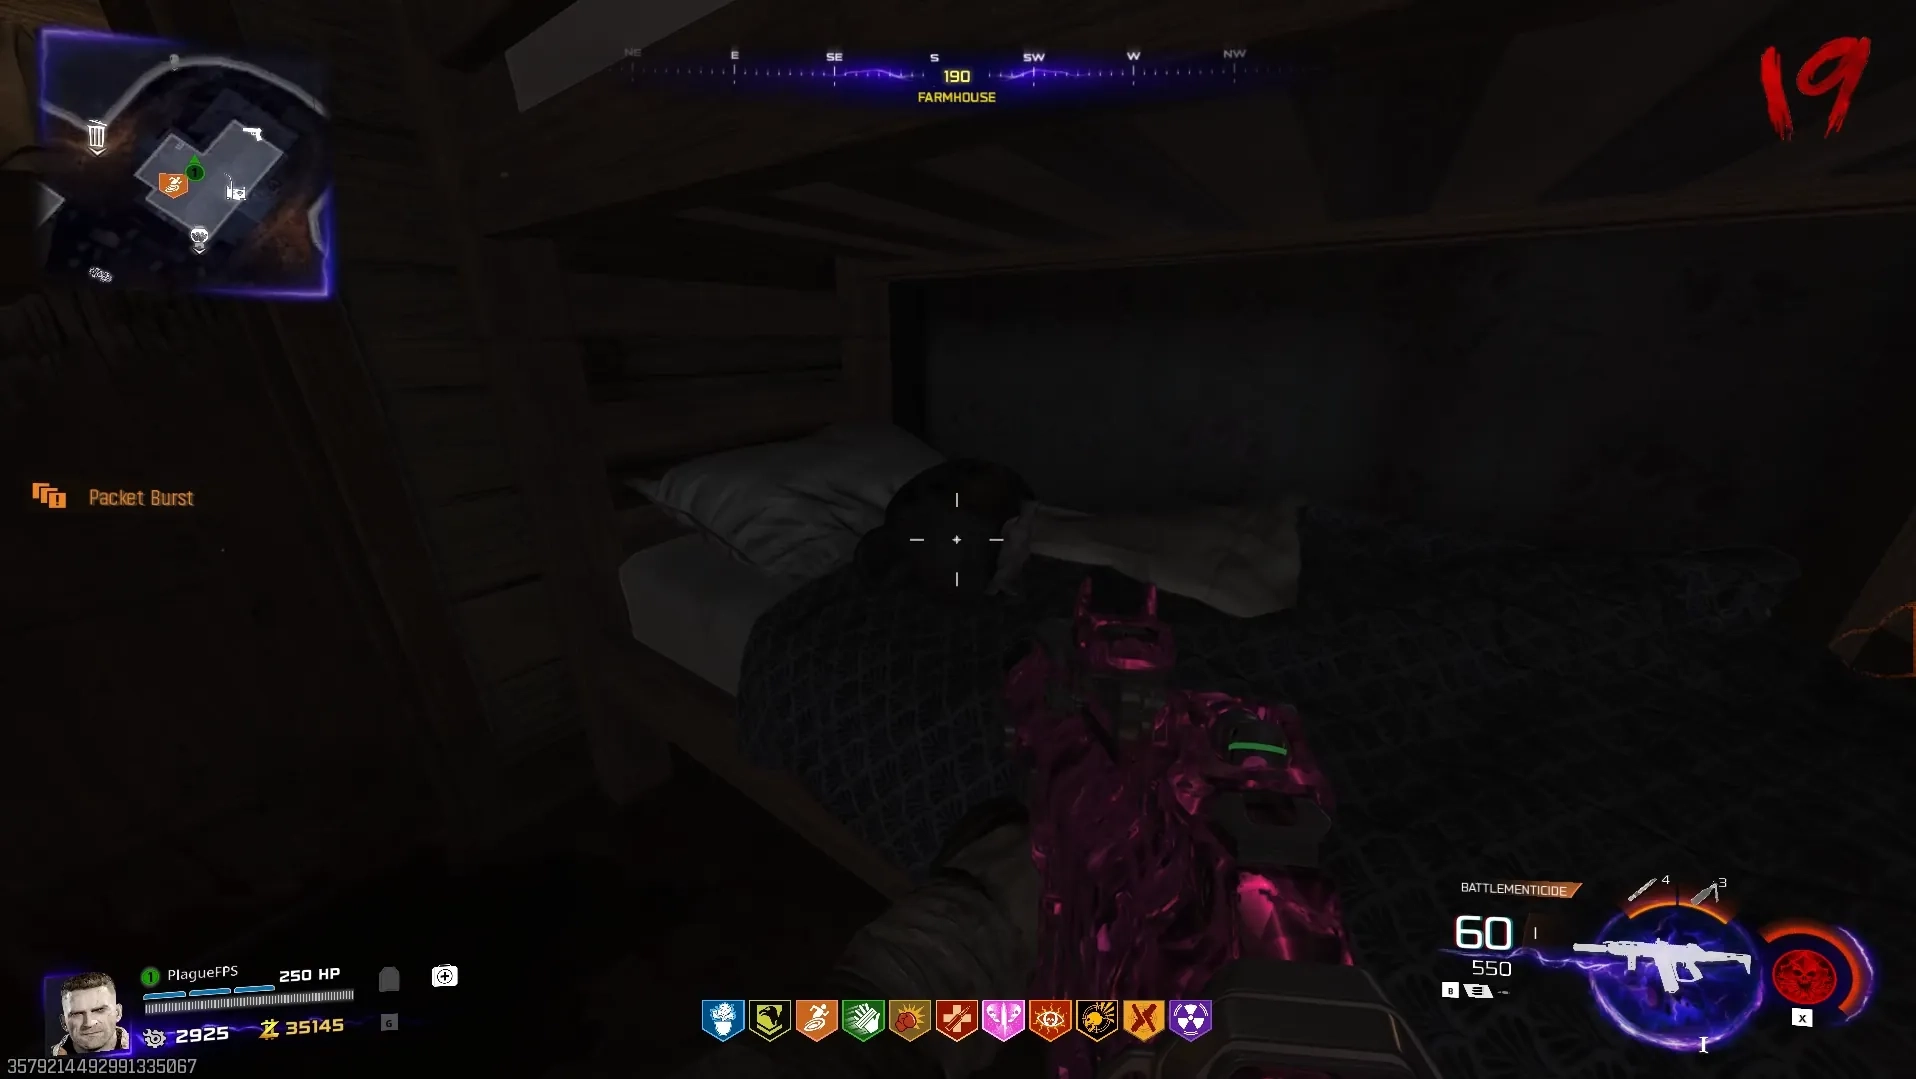
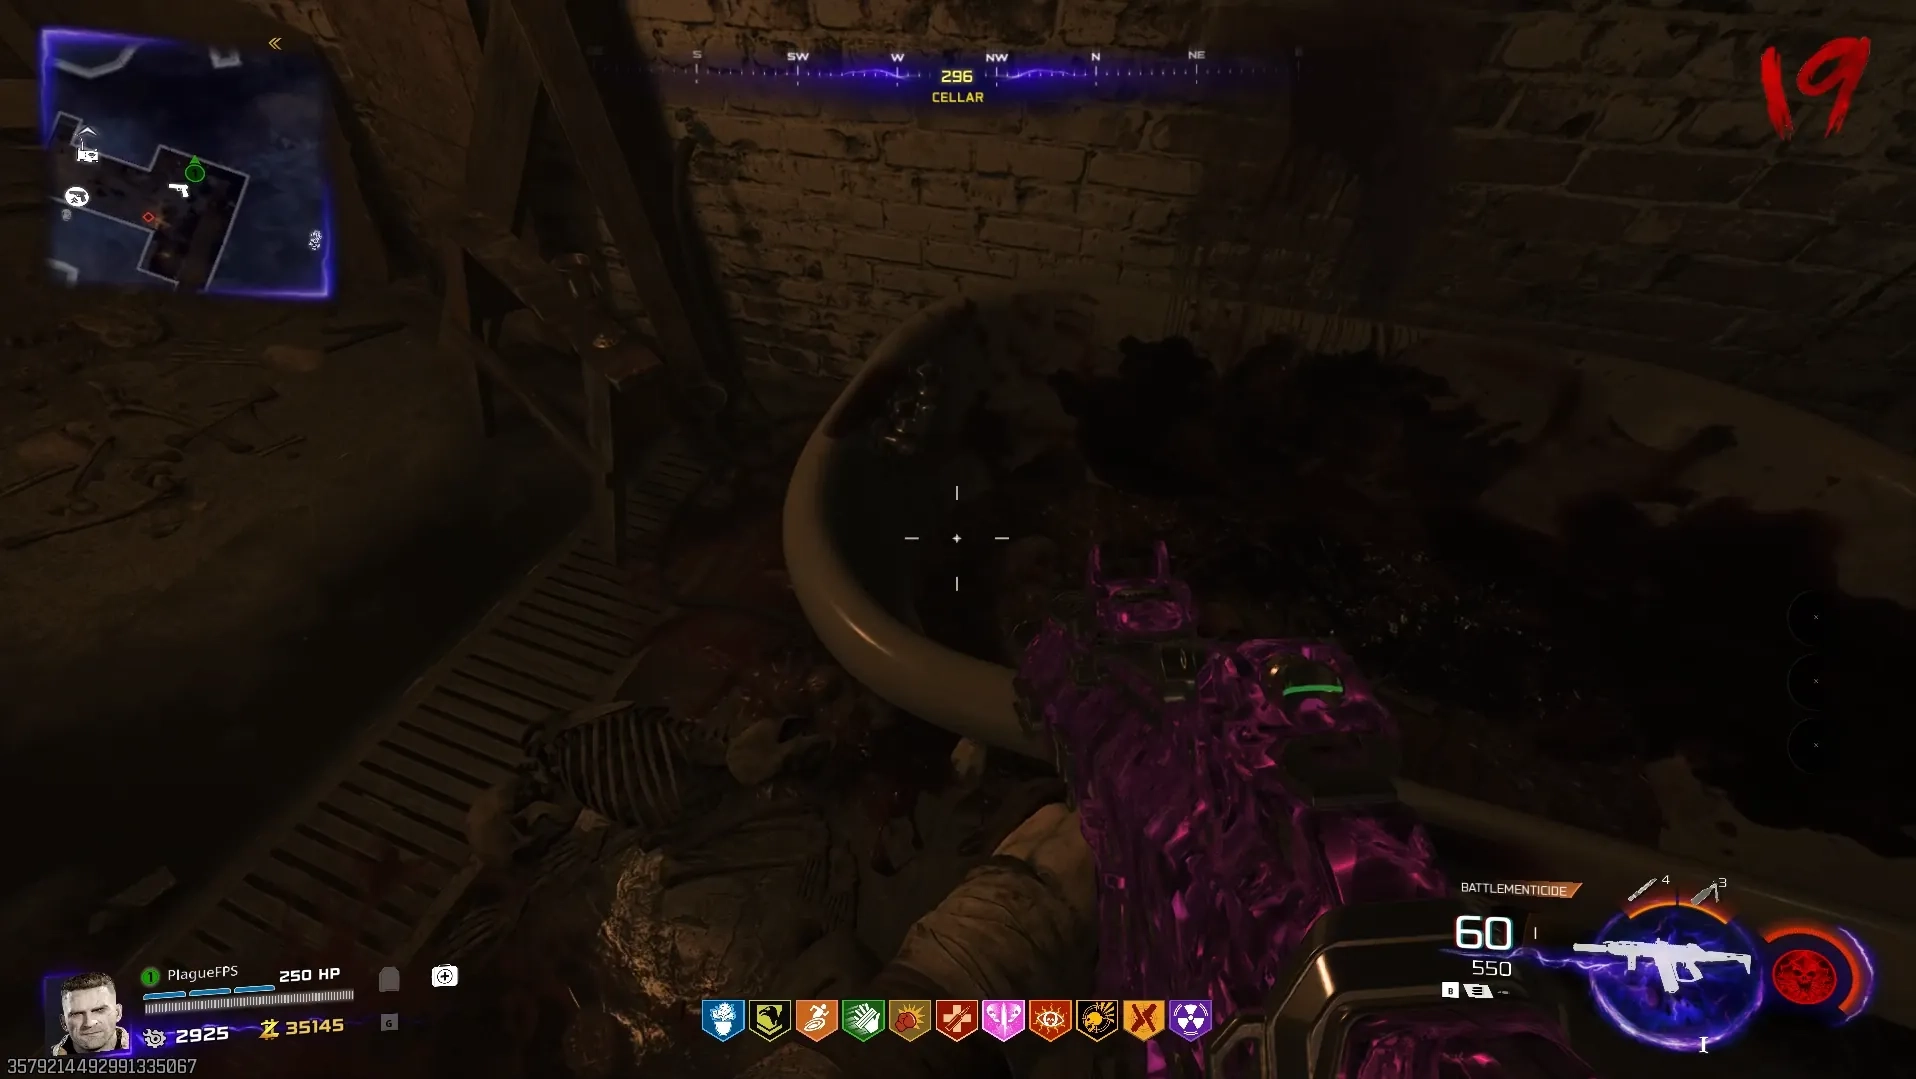
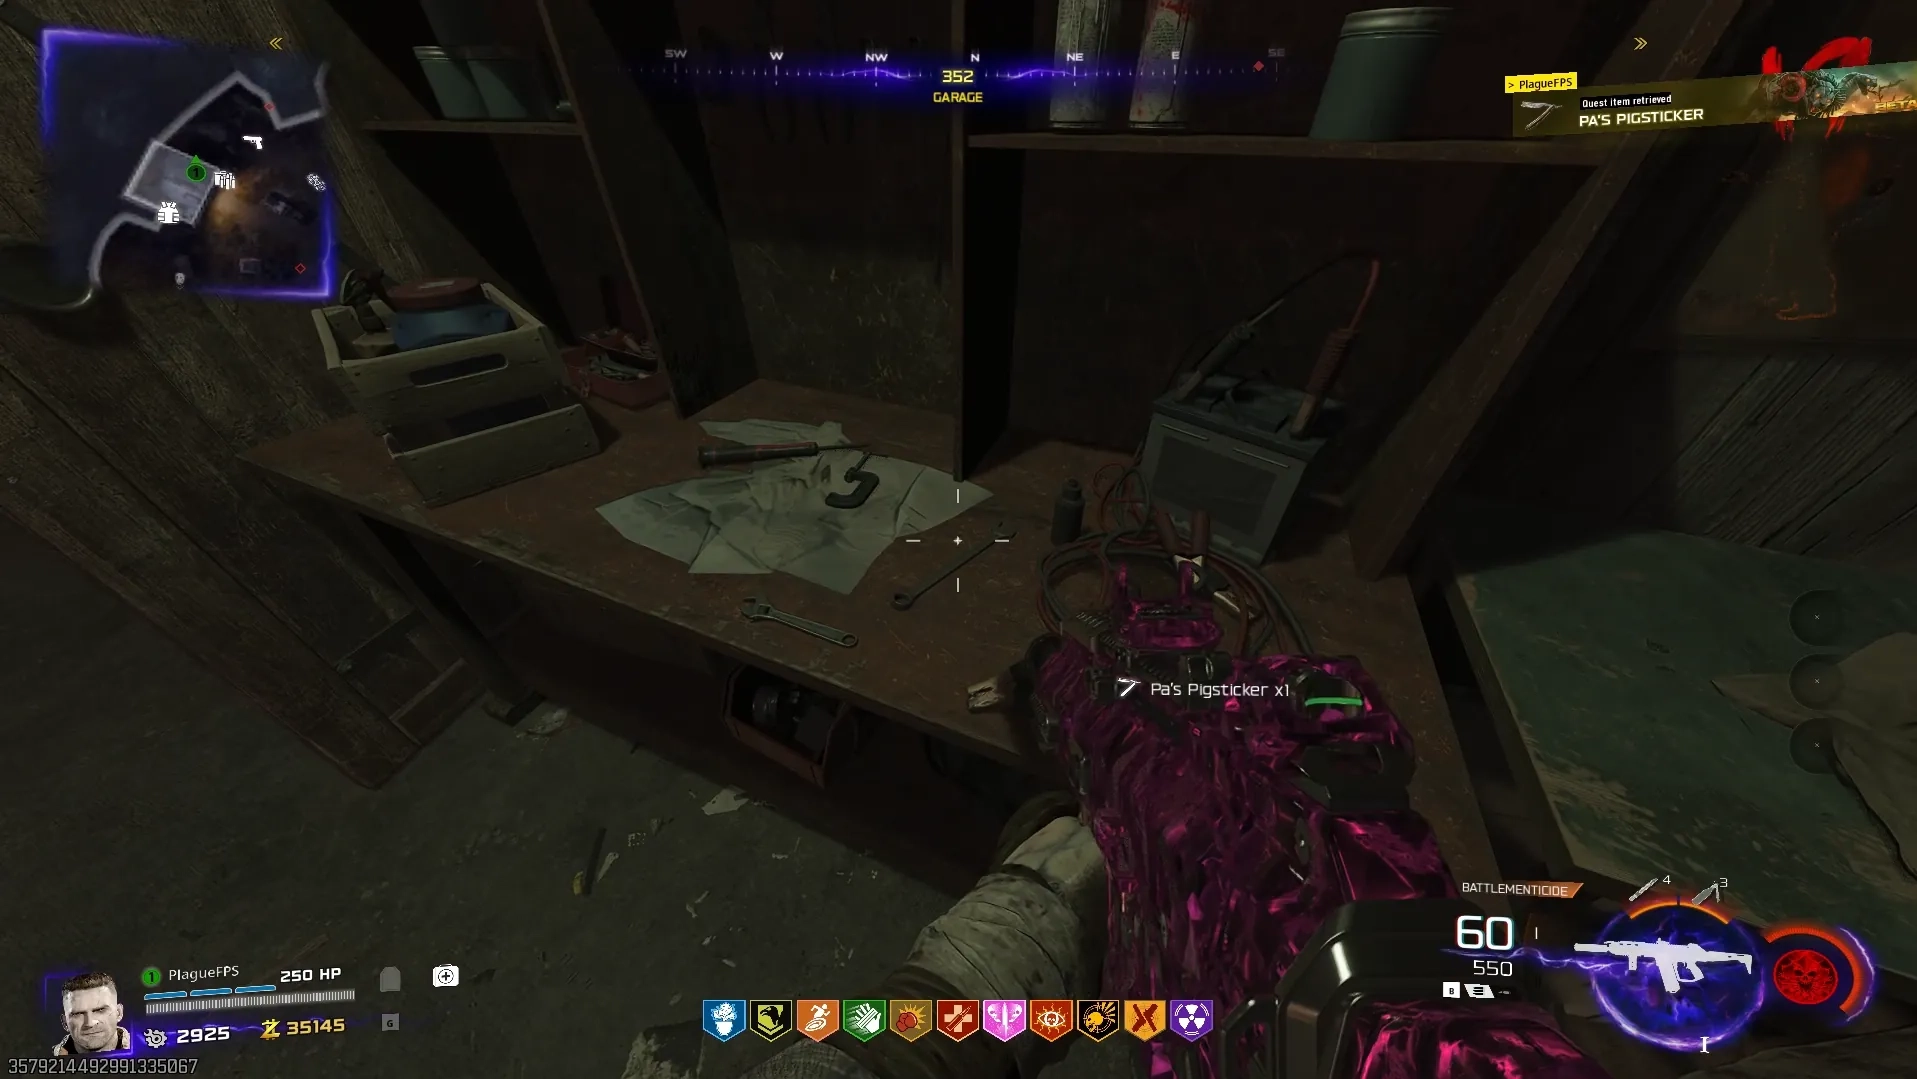
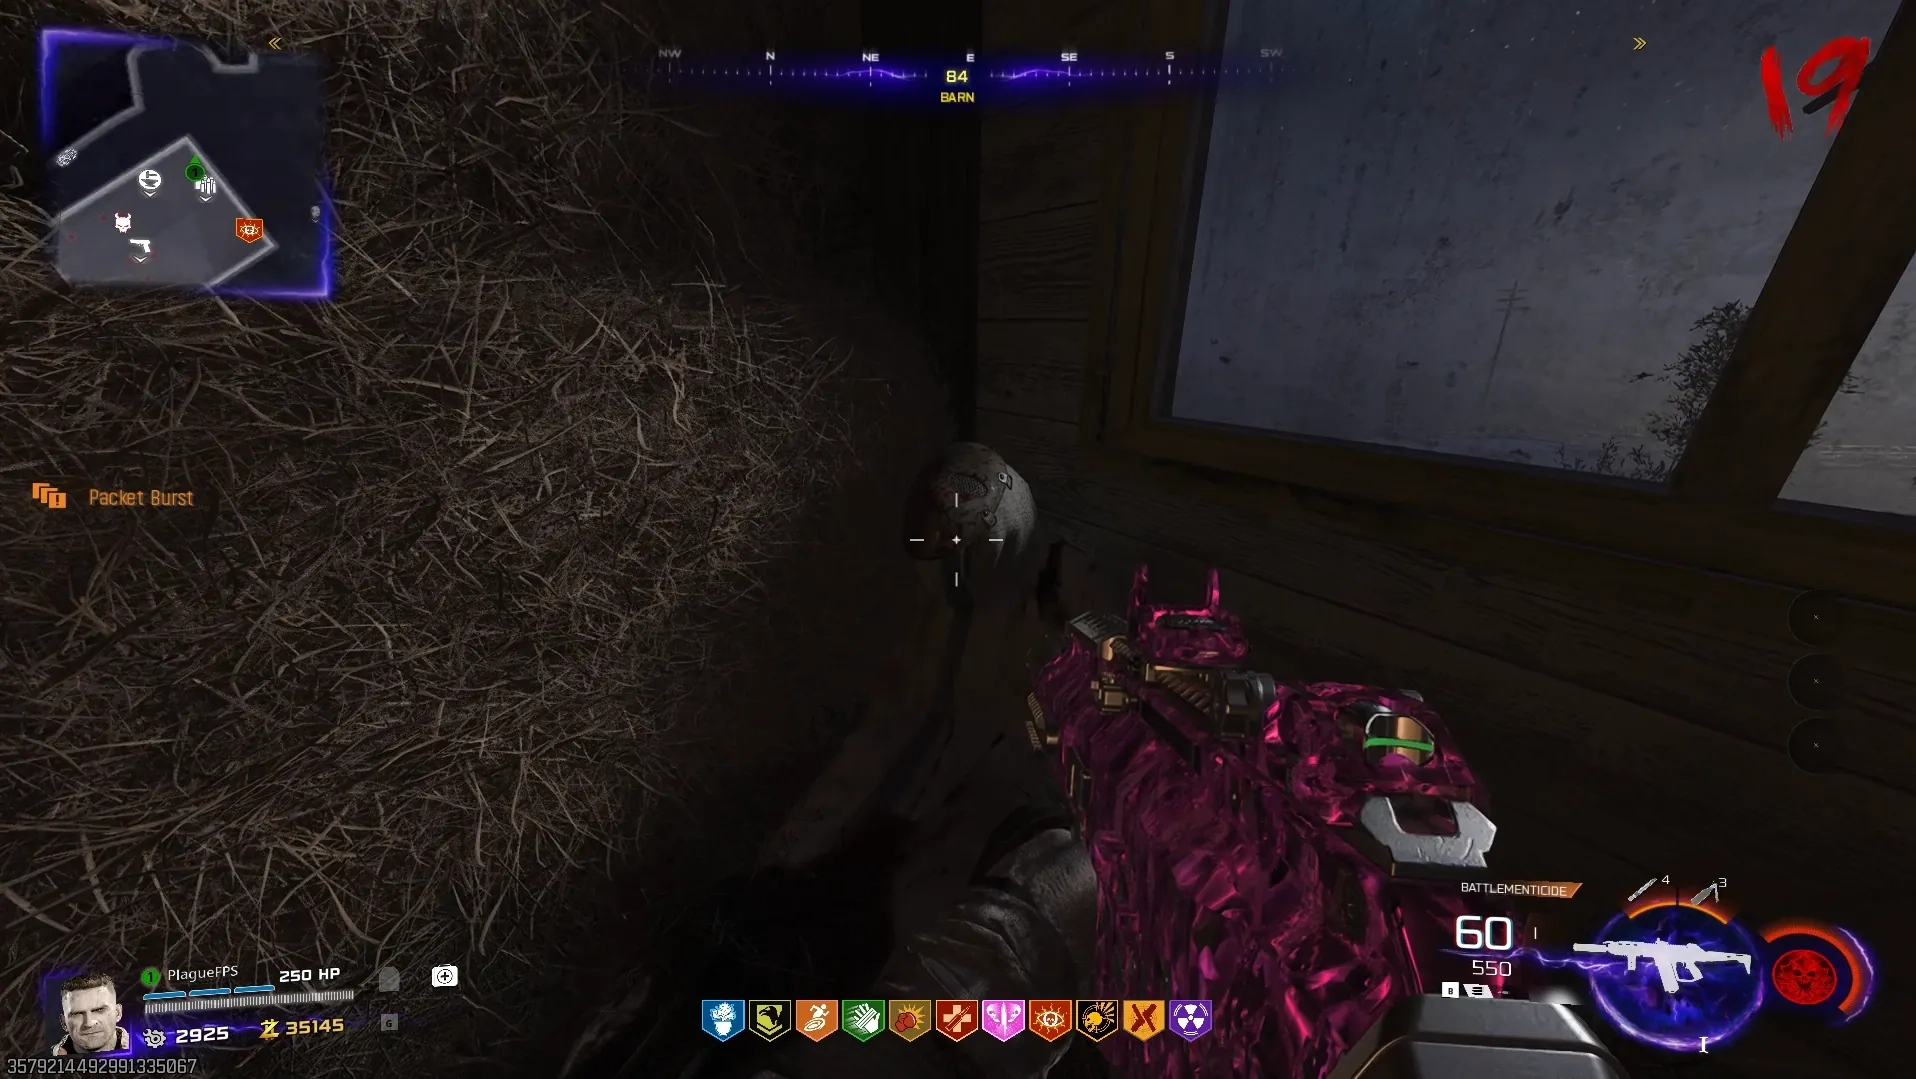
Once you have all four artifacts, place each of them down on their red symbol outside turning the symbol gold, and once all symbols are gold, interact with one of them again to begin a lockdown, where you will need to protect these symbols from zombies, completing this challenge.
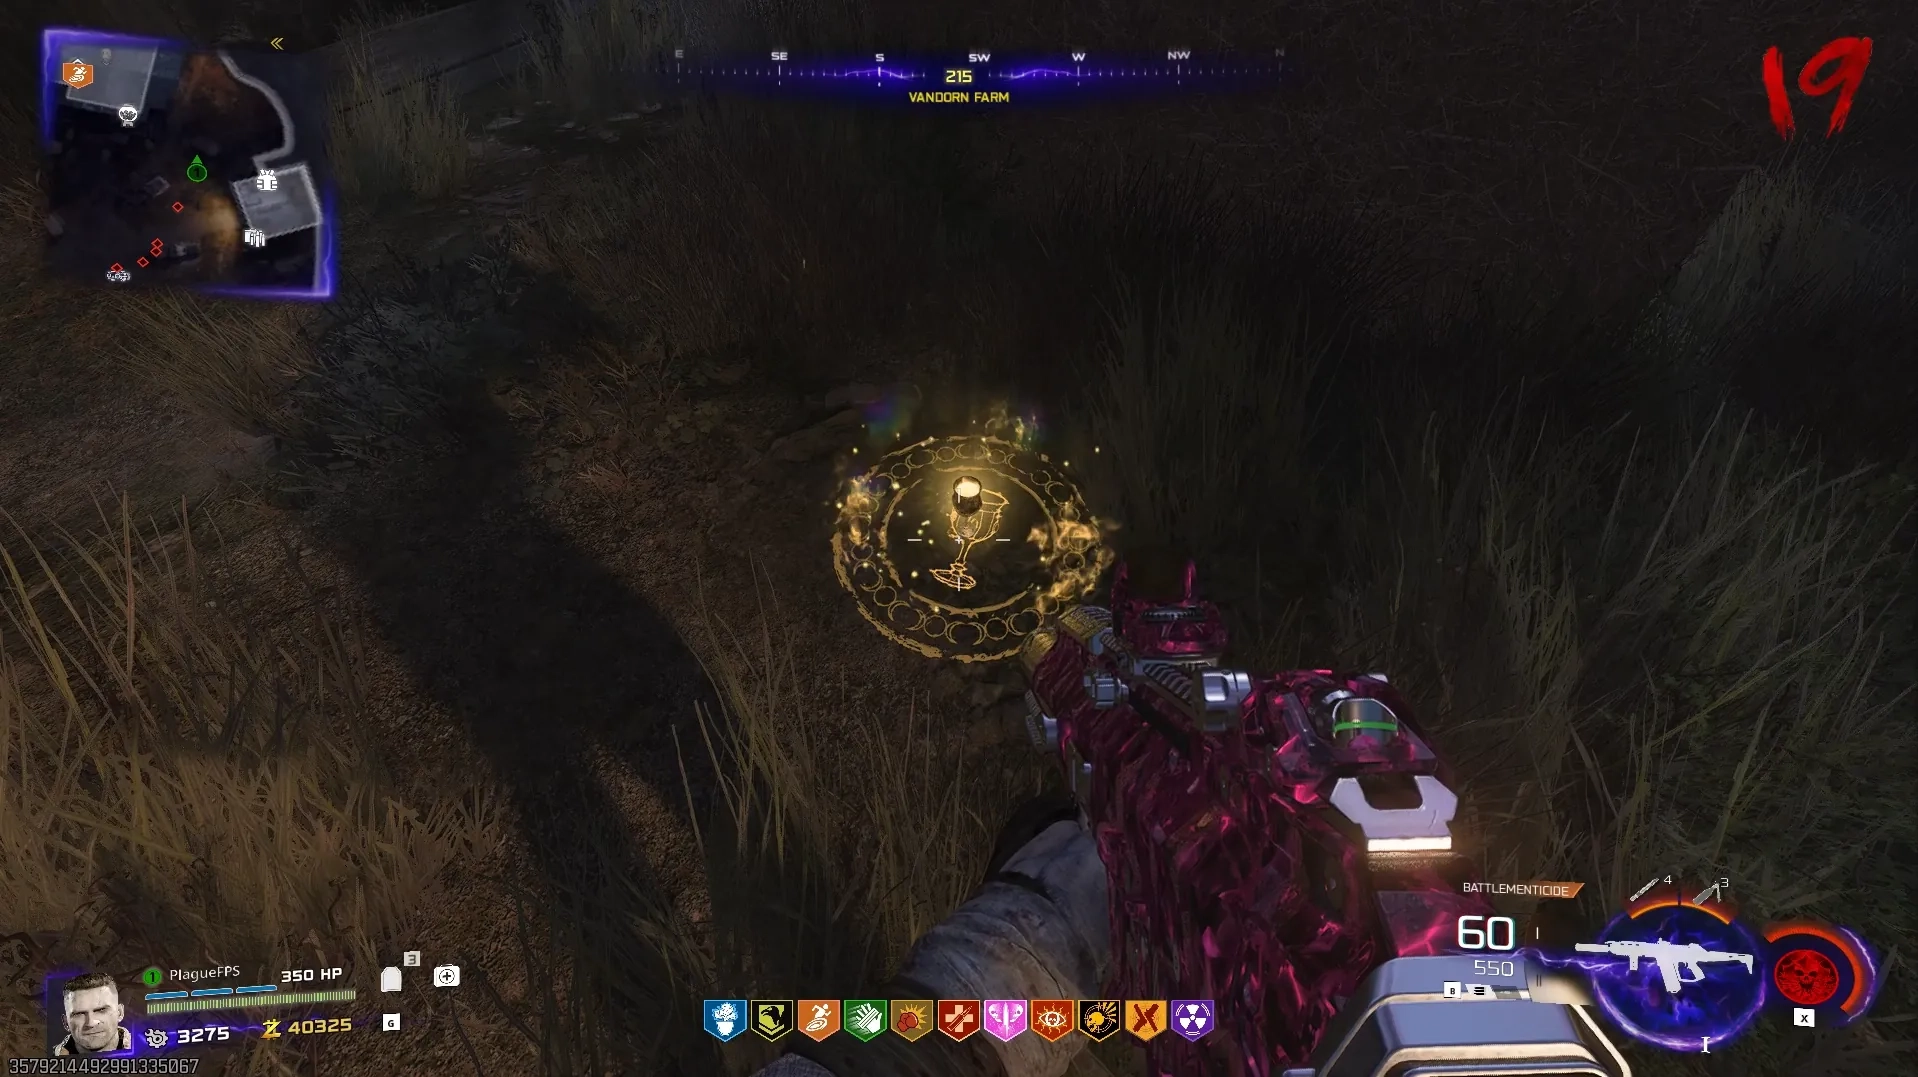
If you are having trouble on solo, you can activate
Frenzied Guard to have all zombies aggro you, making this challenge really easy.
Zarya Cosmodrome Challenge
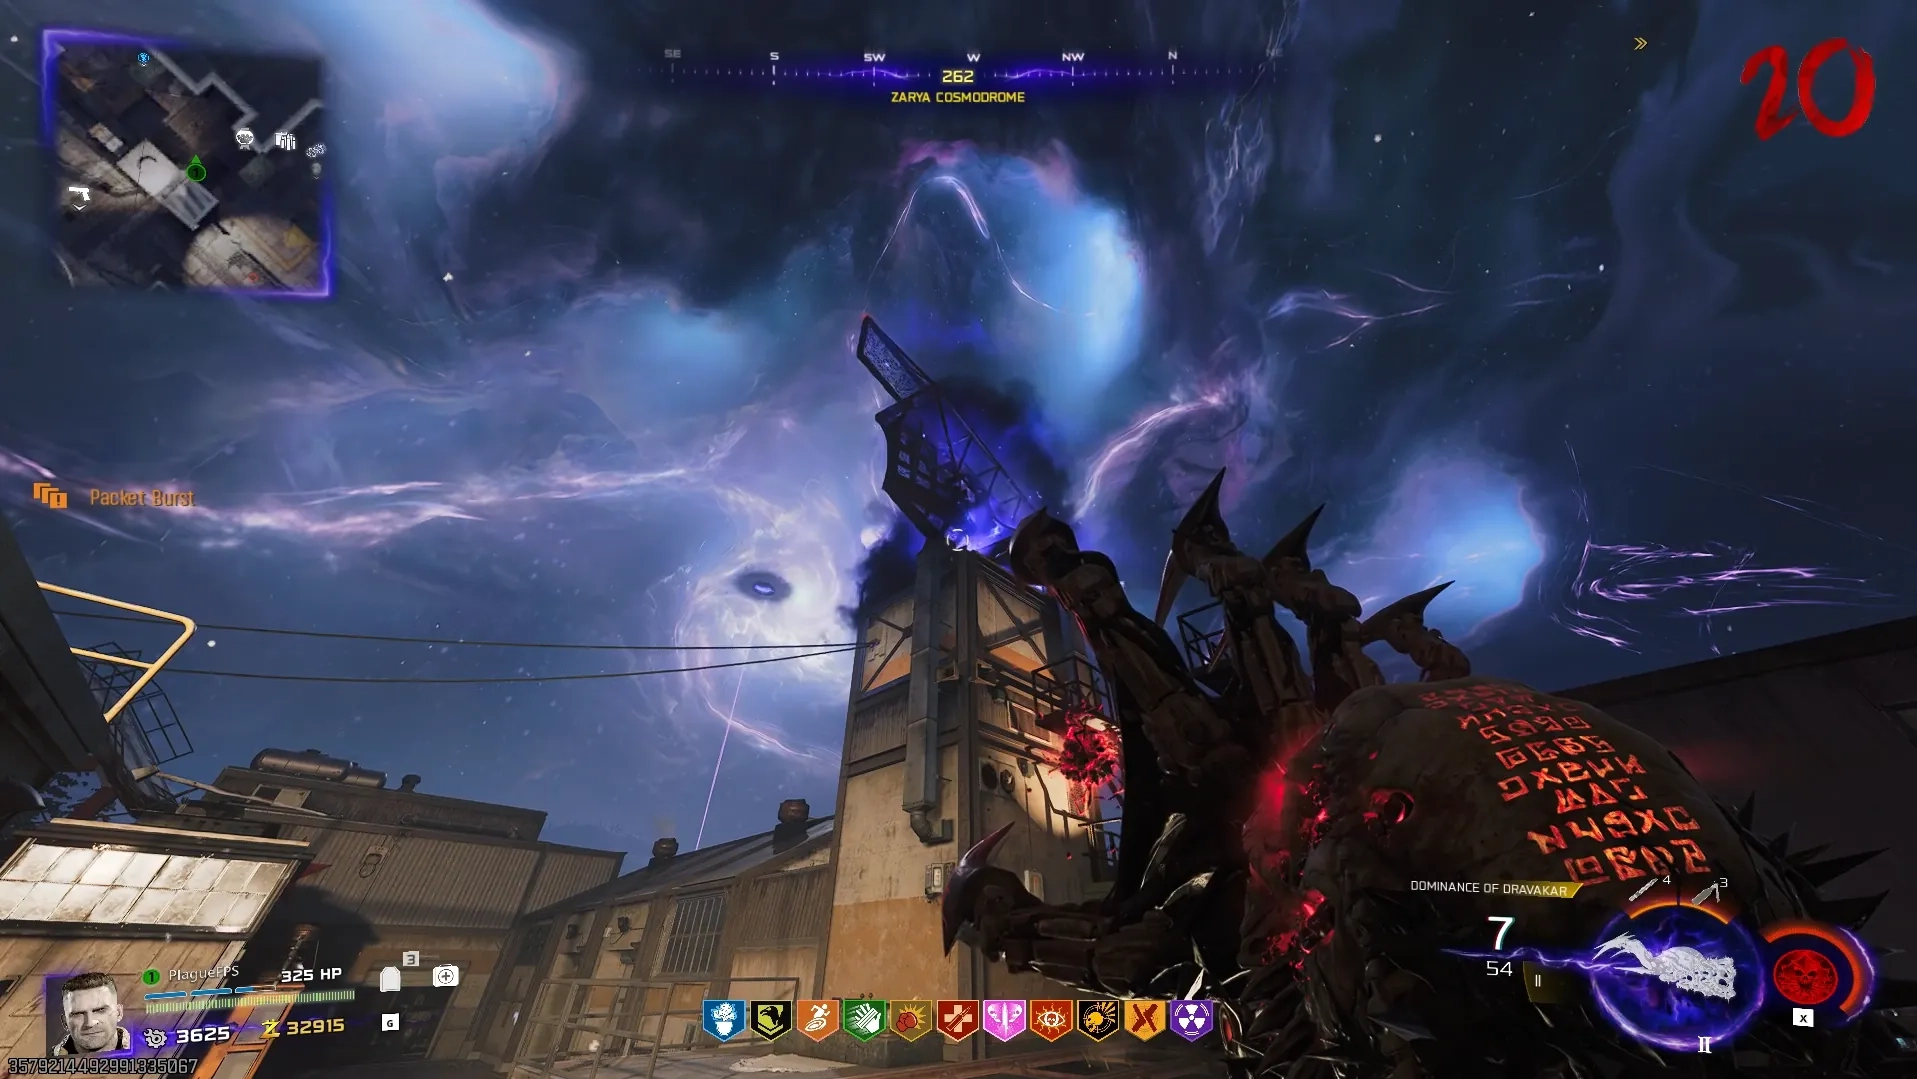
While infused with Aether Energy, head to the Zarya Cosmodrome and shoot each of the giant rotating radars with an infused shot of the Necrofluid Gauntlet, to infuse them with Aether Energy and slow them down.
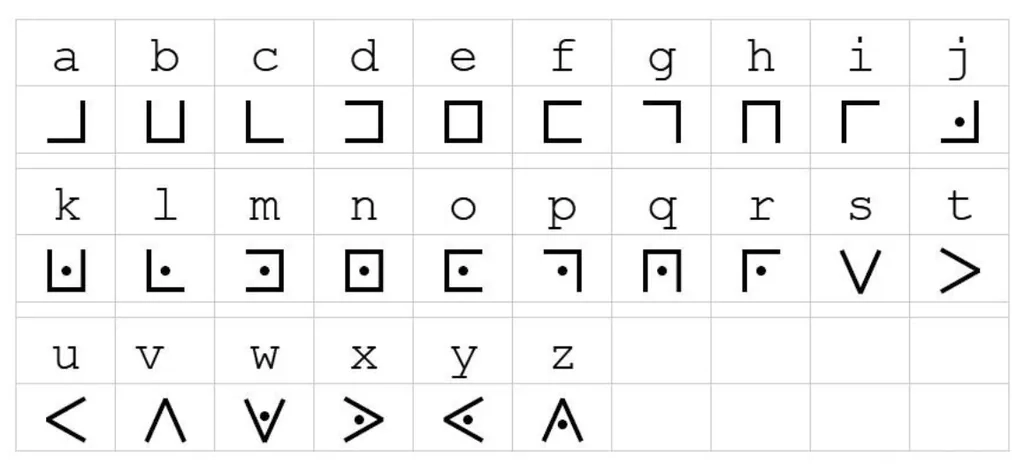
Once both radars are infused with Aether Energy, head inside the Control Room and on the right-side, you'll find two monitors flashing two symbols at a time from the Pigpen Cipher. These symbols represent letters of the alphabet and are used to spell out one of four words:
- Launch
- Rocket
- Weapon
- Engine
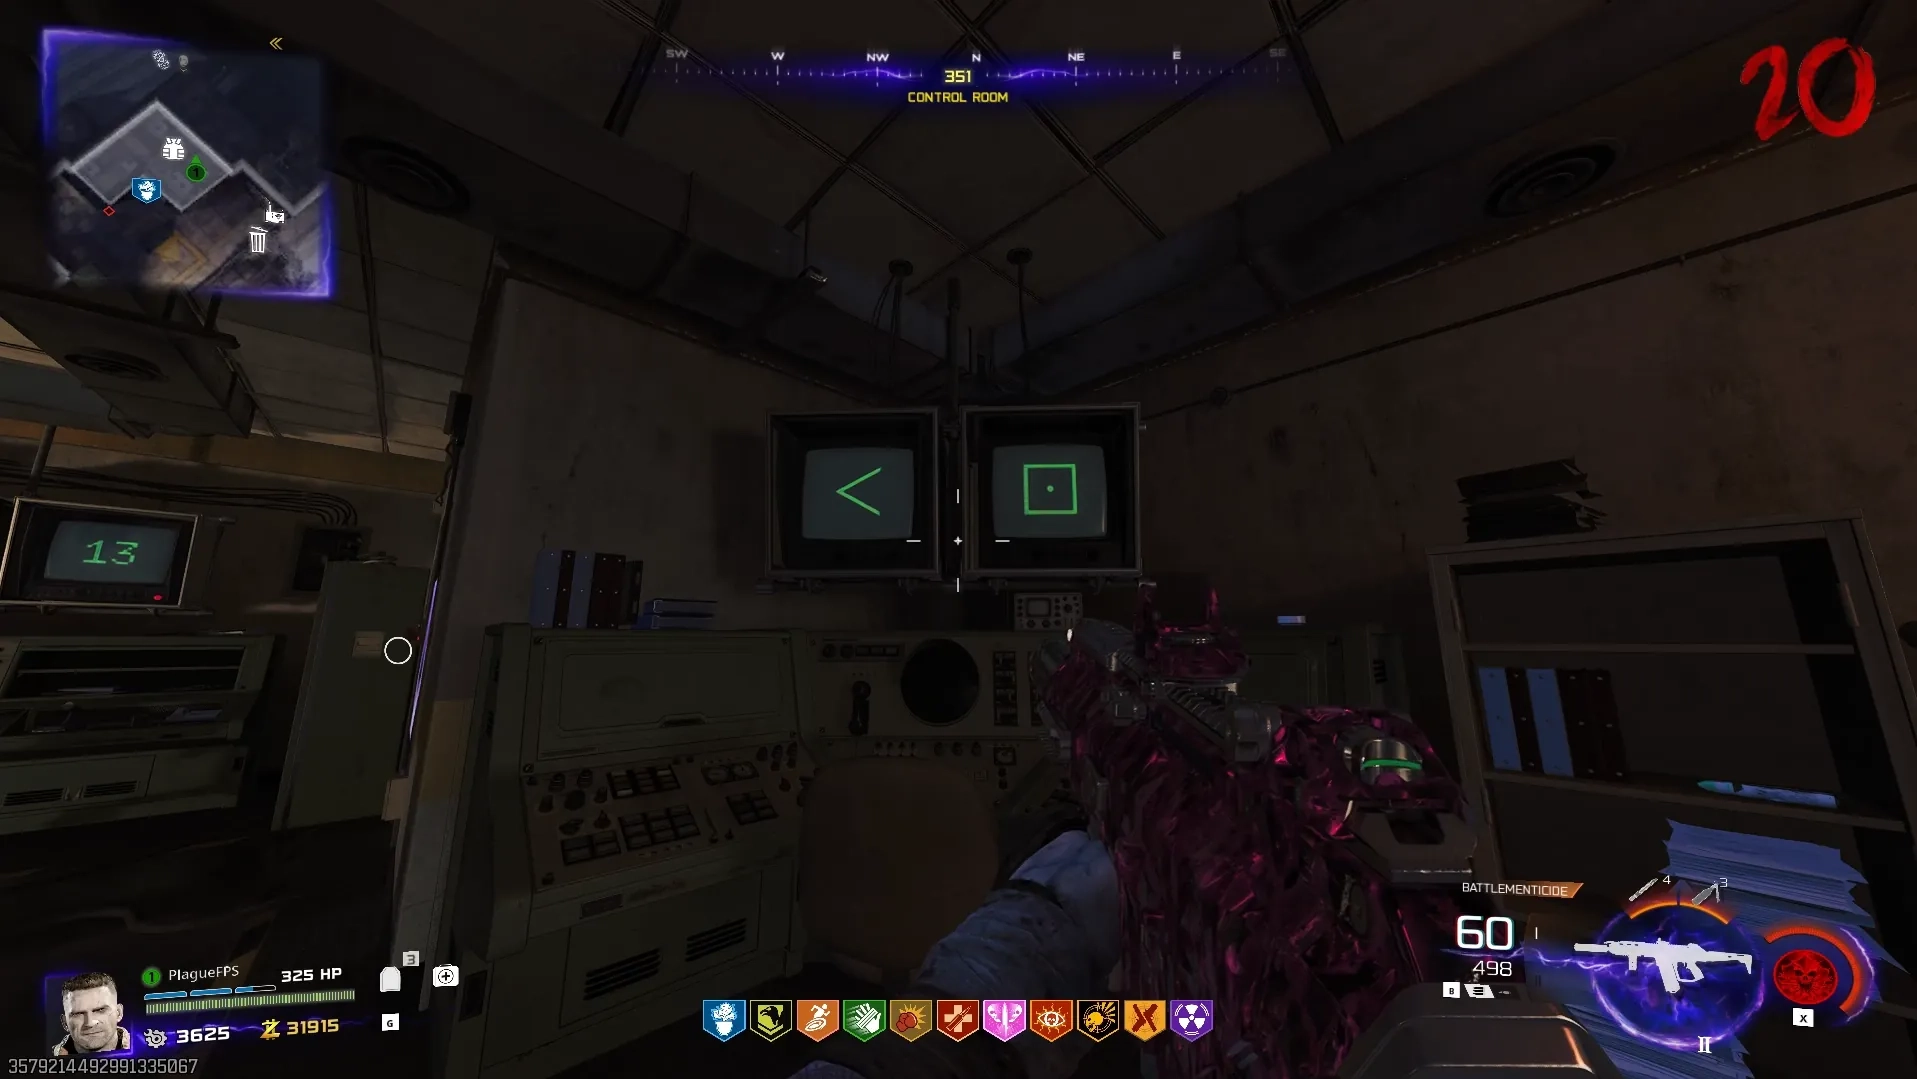
Use the image below to find out which letters are being flashed at you, and use those letters to form one of the four words.
Once you know which word you have, you must input the number code which represents that word in the six monitors with ghosts sitting in front of them. These monitors will be flashing numbers and you must shoot the red button on the monitor to stop them on the correct number forming part of the word, until you have the full word inputted. Below is the code for each word:
- Launch = 11, 0, 20, 13, 2, 7
- Rocket = 17, 14, 2, 10, 4, 19
- Weapon = 22, 4, 0, 15, 14, 13
- Engine = 22, 4, 0, 15, 14, 13
If you input that code correctly in the six monitors from left-to-right, your screen will flash white and the rocket will blast off, and you will have completed this challenge.
Do NOT use the Raygun to input the code as its splash damage will hit multiple buttons at once, potentially failing the challenge, and forcing you to start over.
Exit 115 Challenge
Before doing this challenge, you must have
Melee Macchiato equipped.
Head to Exit 115 and wait for colored lightning to strike, and while infused with Aether Energy, shoot the clock on the roof of the Service Station with the Necrofluid Gauntlet to freeze time for one minute.
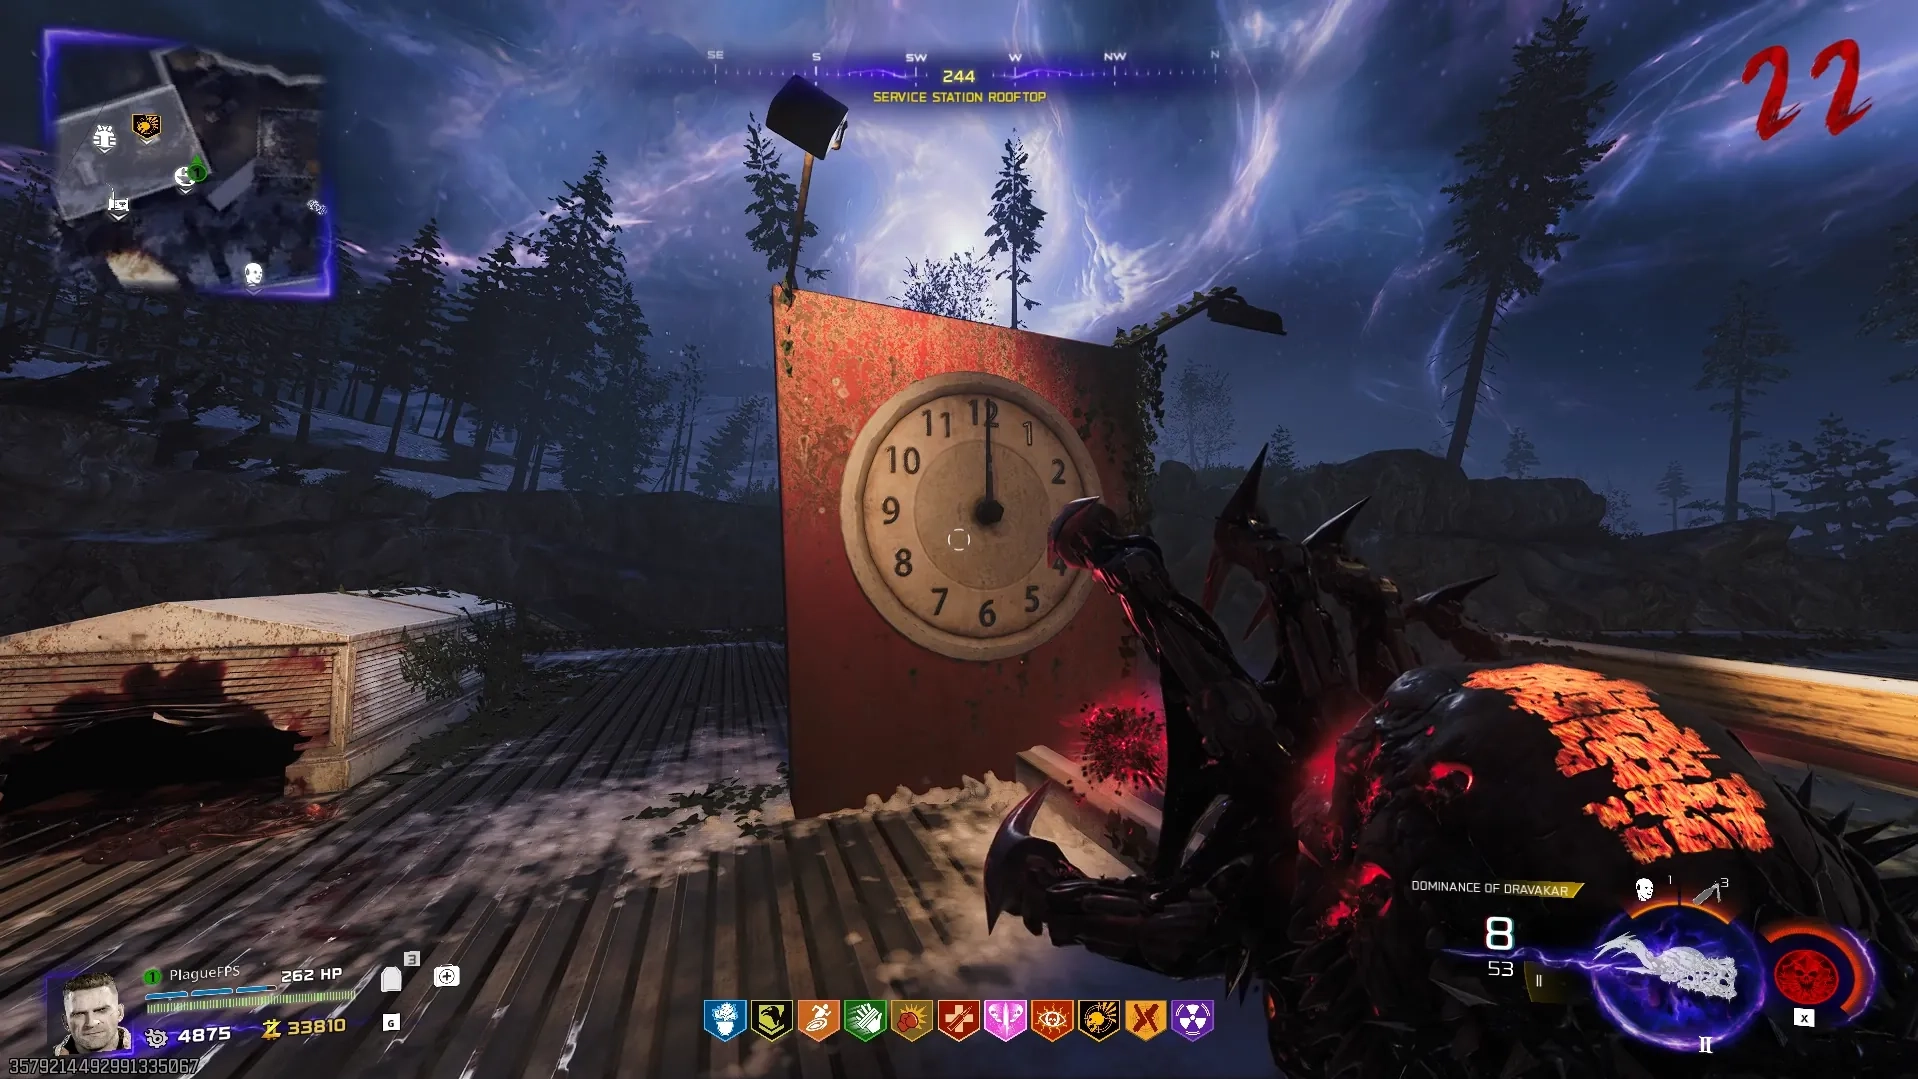
Once frozen, you must revive and lure three special zombies into their respective lightning strike. In no particular order here is how to revive each zombie:
It is highly unlikely, that you will be able to complete this challenge in a single time freeze if you are not in a group, which is fine. You'll just need to wait a couple of rounds for the lightning to strike again, and shoot the clock with another infused shot to continue from where you left off.
Waitress
Head inside the Diner and punch the cash register with ![]() Melee Macchiato to revive the Waitress. Then run up to the roof to lure
her into the blue lightning strike.
Melee Macchiato to revive the Waitress. Then run up to the roof to lure
her into the blue lightning strike.
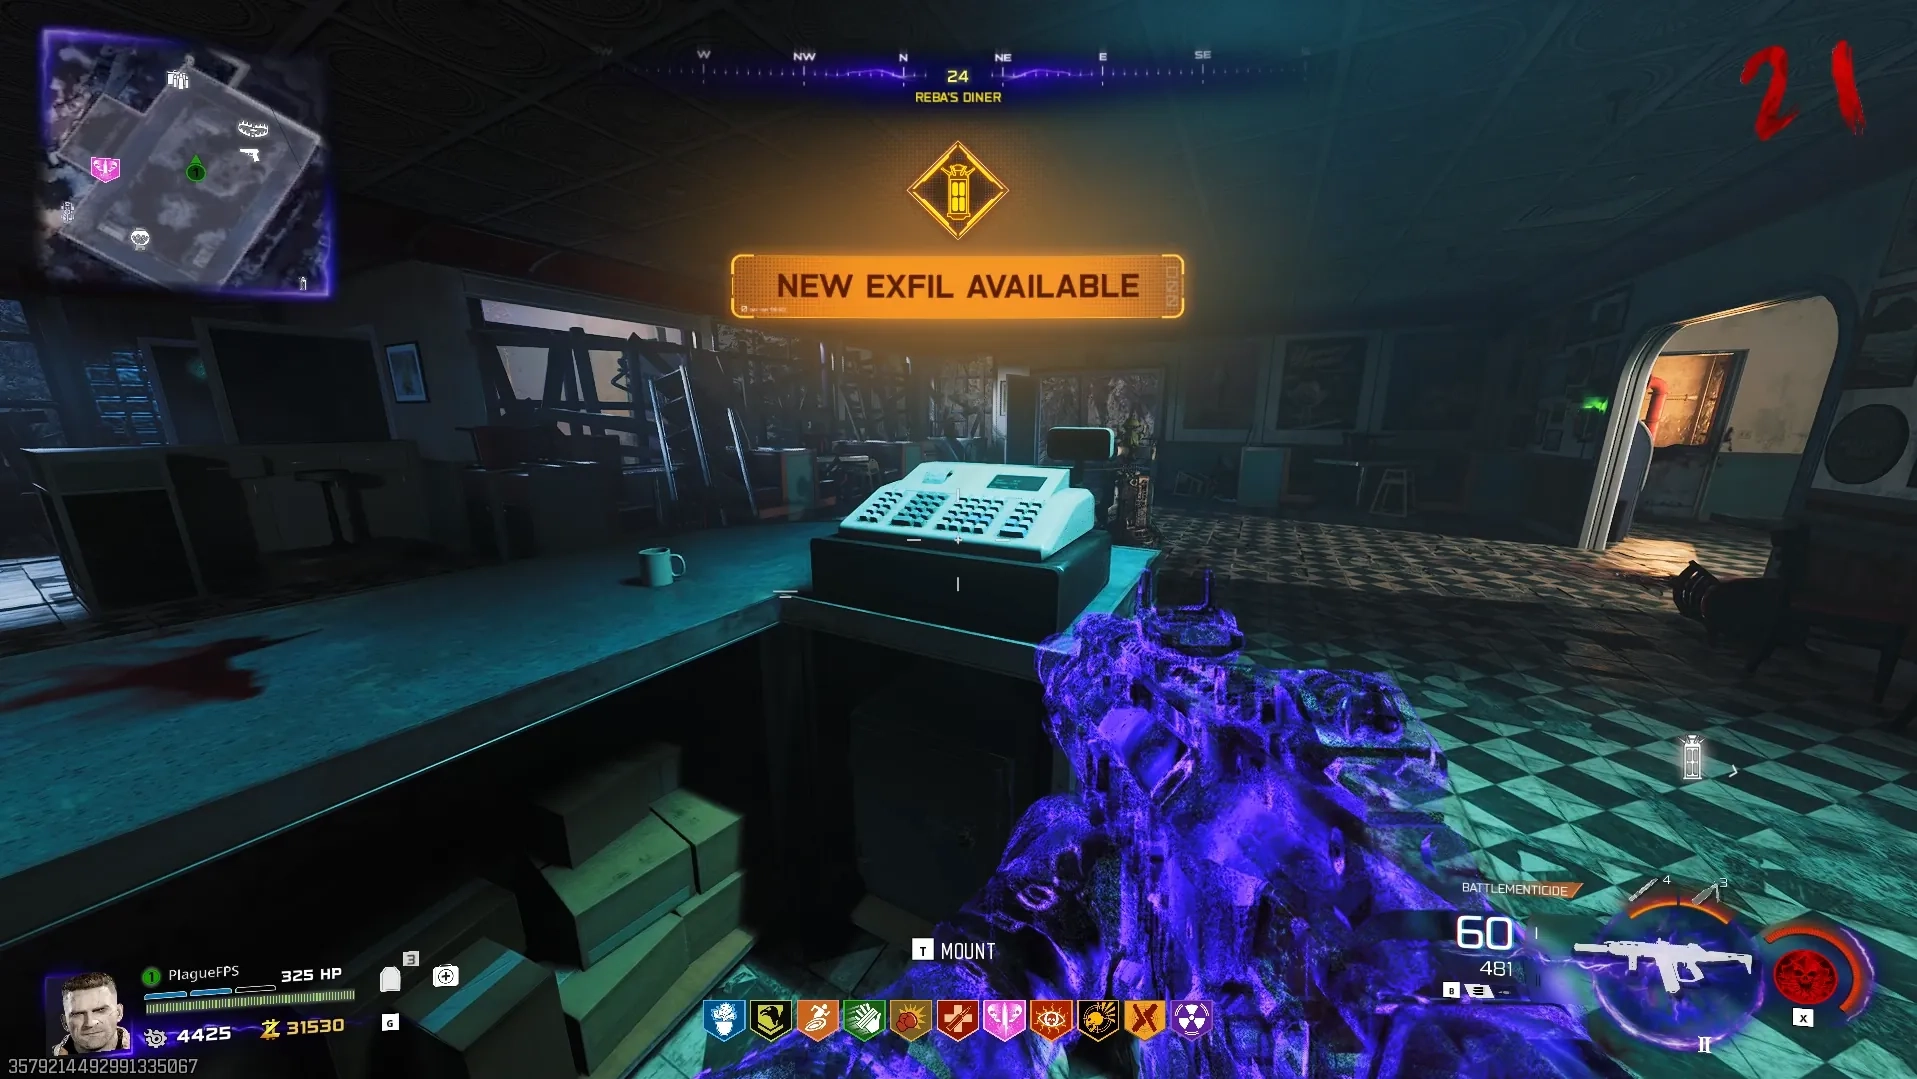
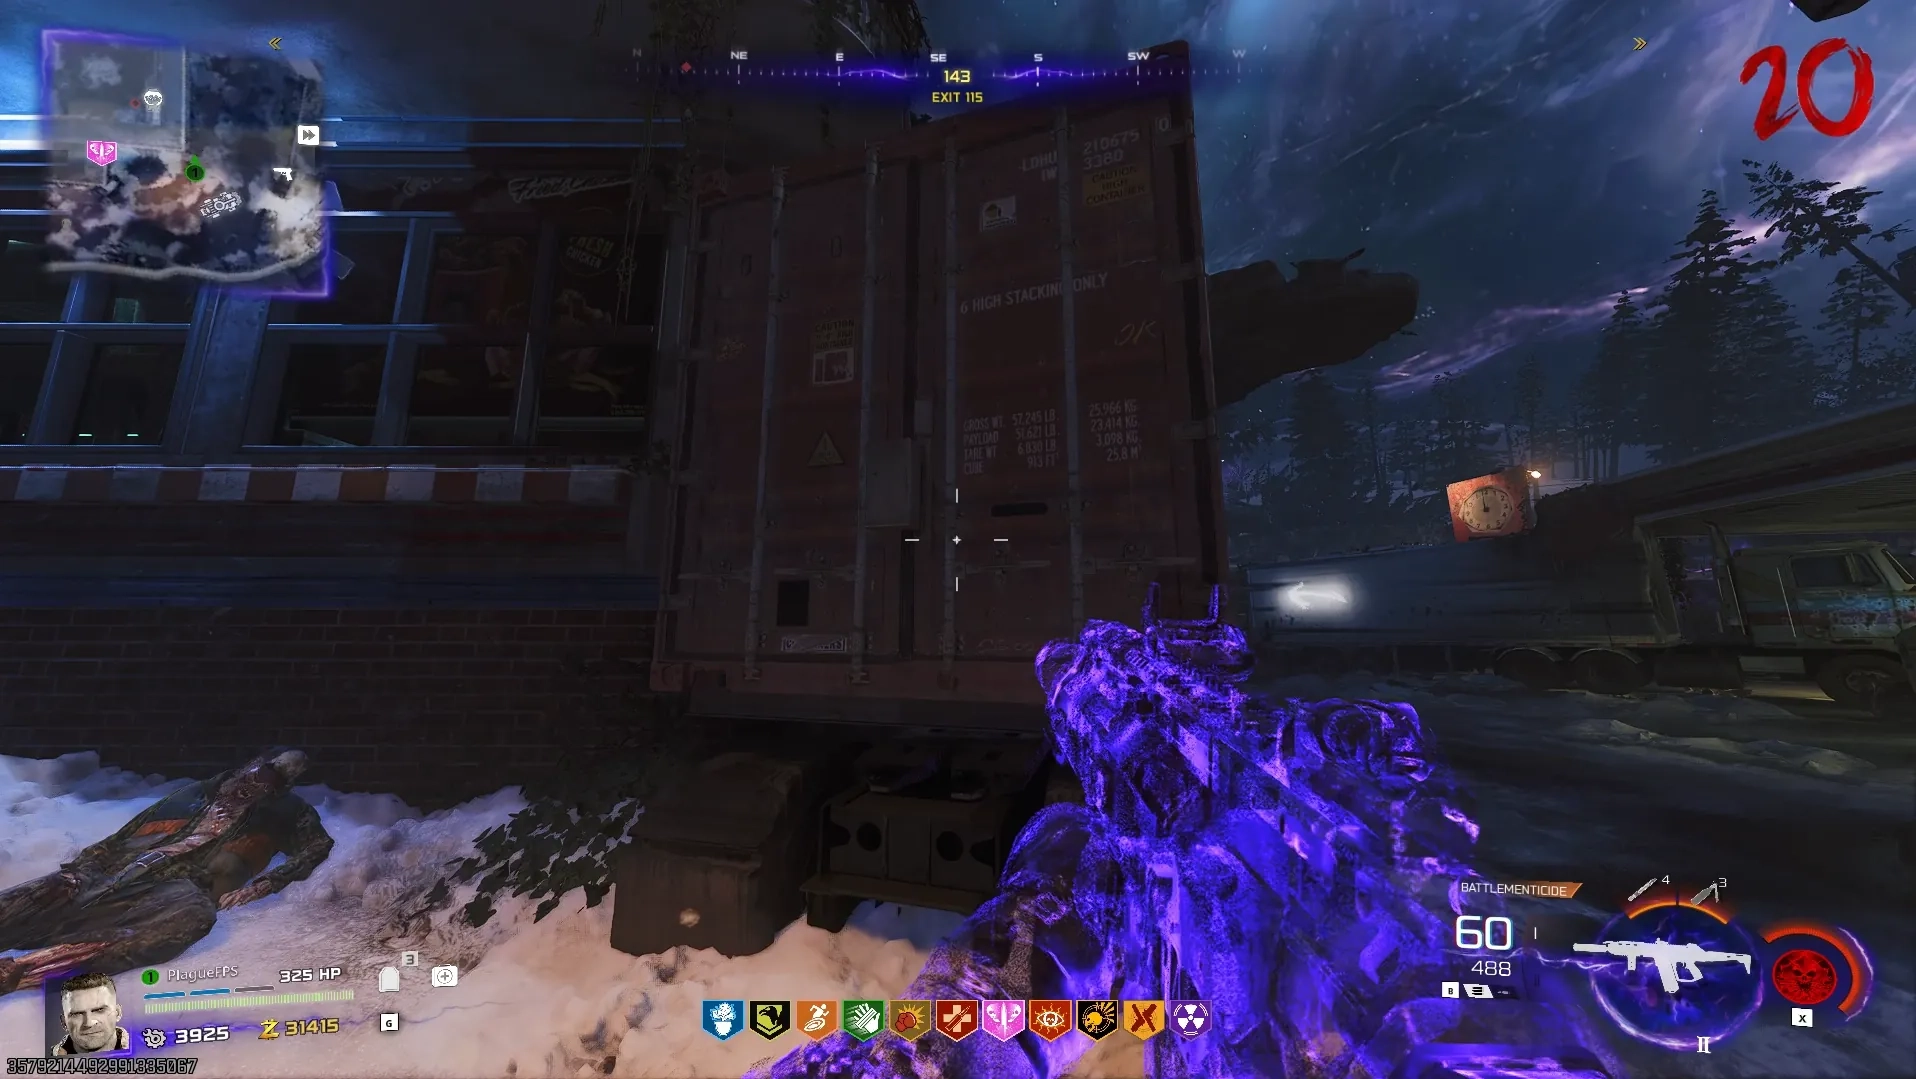
Trucker
Use Ol' Tessie to ram into the back of the 18-wheeler truck carrying the red container to open it, reviving the Trucker to the left of it, then run up to the roof of the Gas Station to lure him into the pink lightning strike.
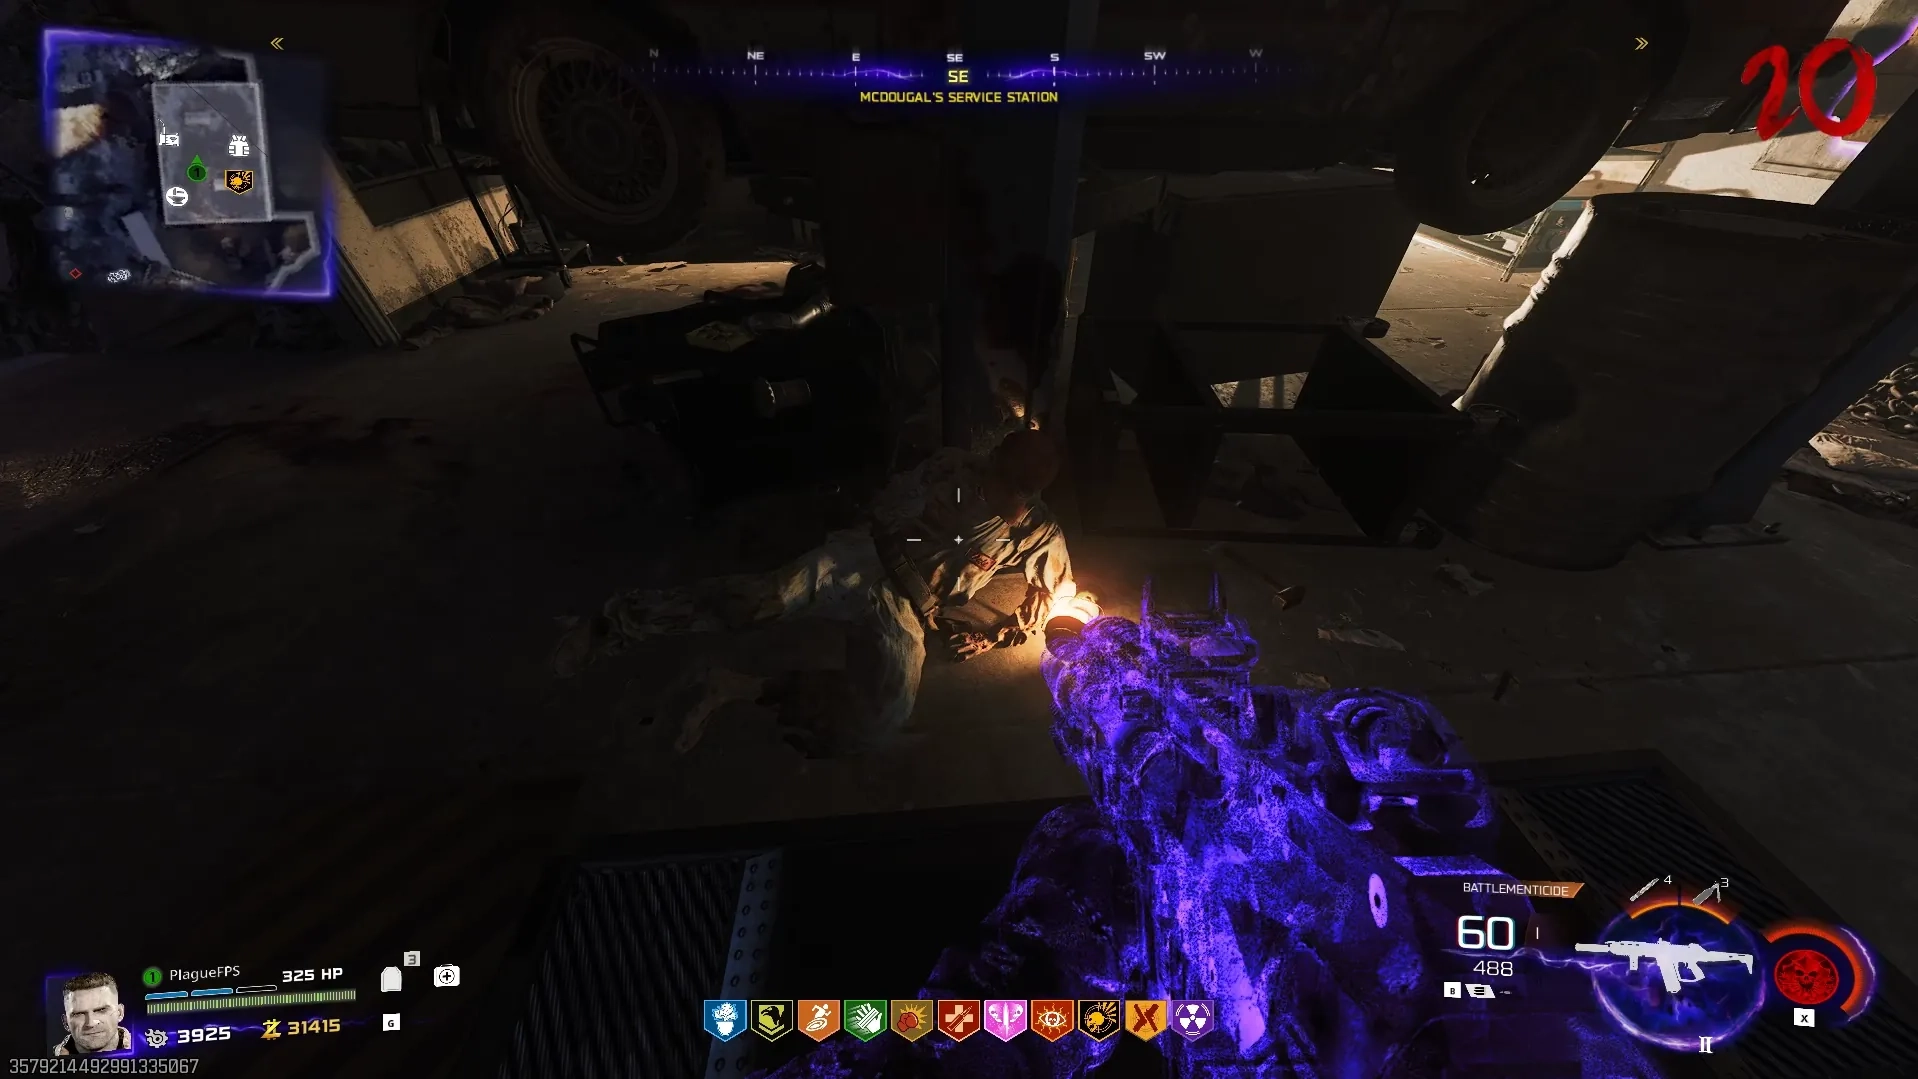
Mechanic
Head inside the Service Station and call in Klaus, and once he arrives, call him onto the Mechanic laying on the ground, where he'll stomp on the ground reviving the Mechanic. Then run up to the roof of the Service Station to lure him into the orange lightning strike.
Once all three zombies have been revived and lured into their respective lightning strikes, you will have completed this challenge.
Blackwater Lake Challenge
While infused with Aether Energy, head to the back porch of Blackwater Lake and interact with the wisp on the dock to begin this challenge, then head into the Projector Room in the Cabin and shoot the Projector with the infused Necrofluid Gauntlet to begin flashing four images on the screen.
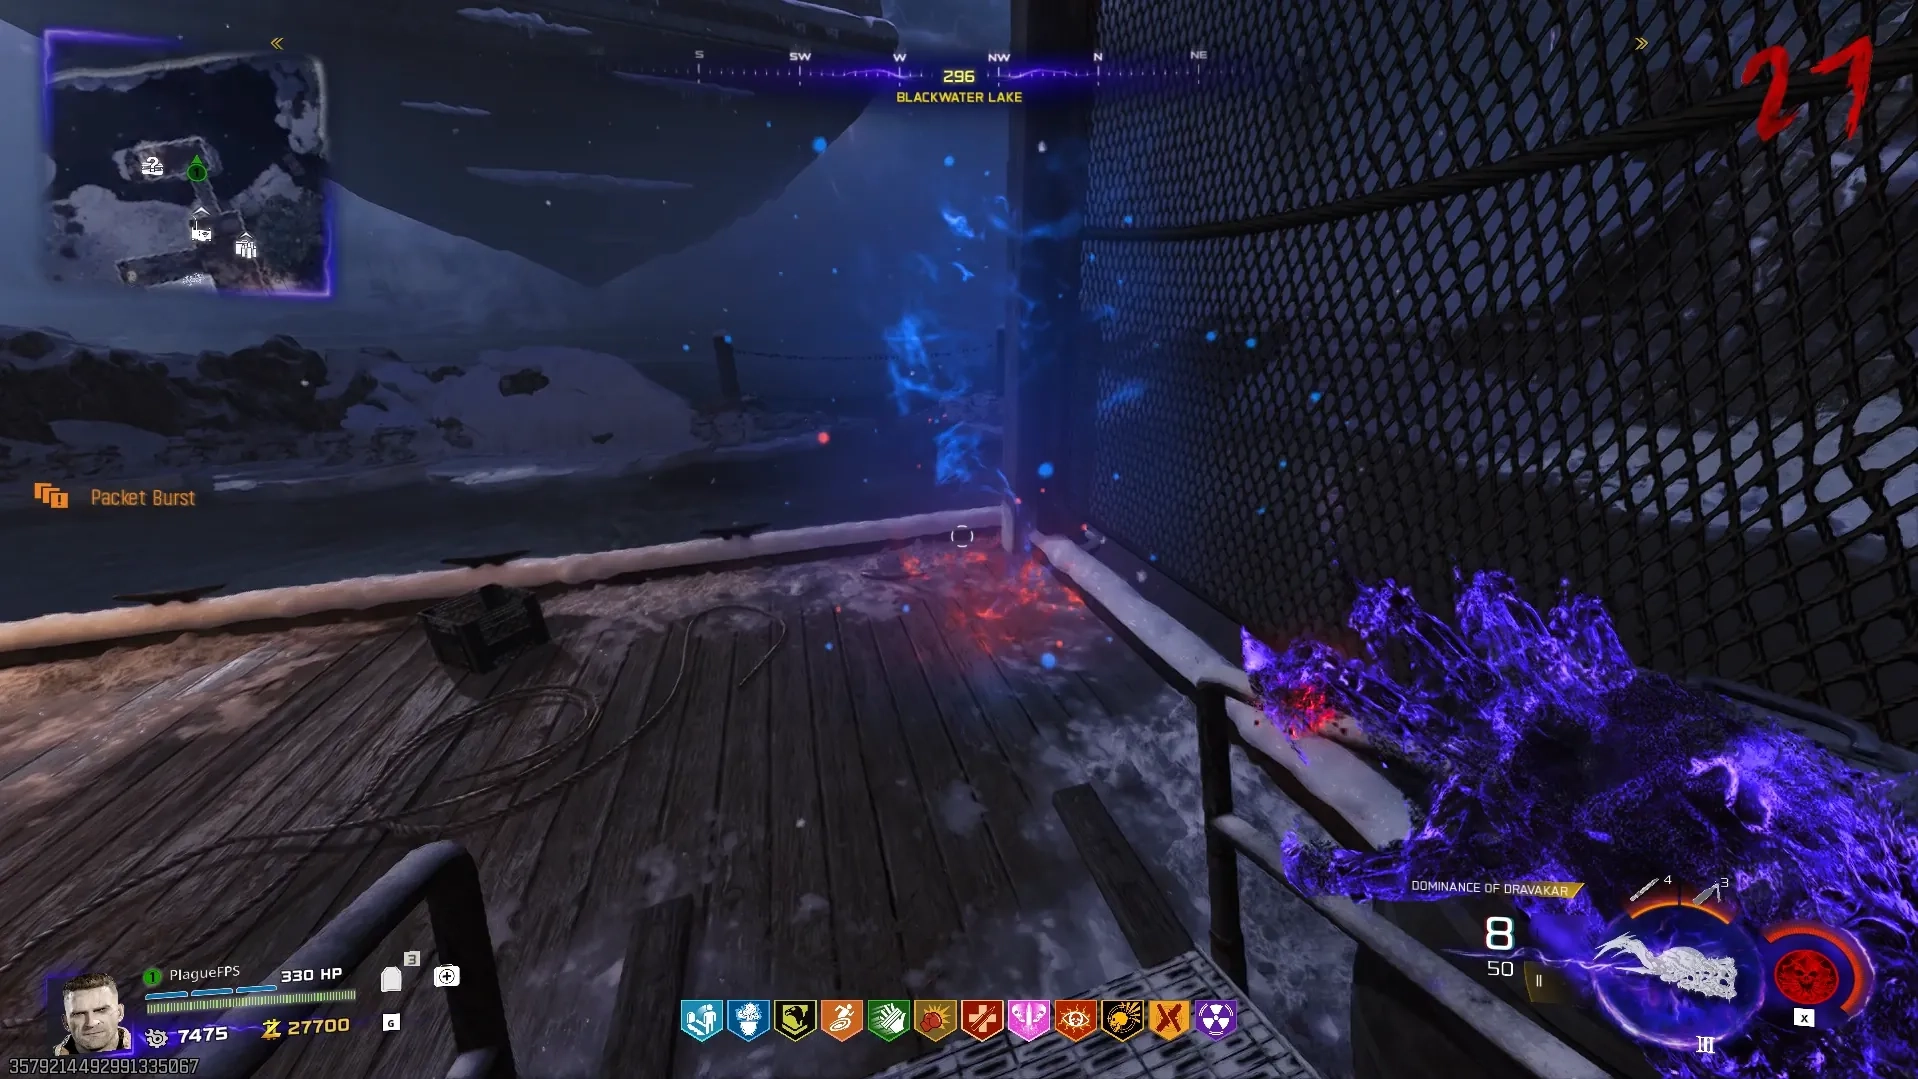
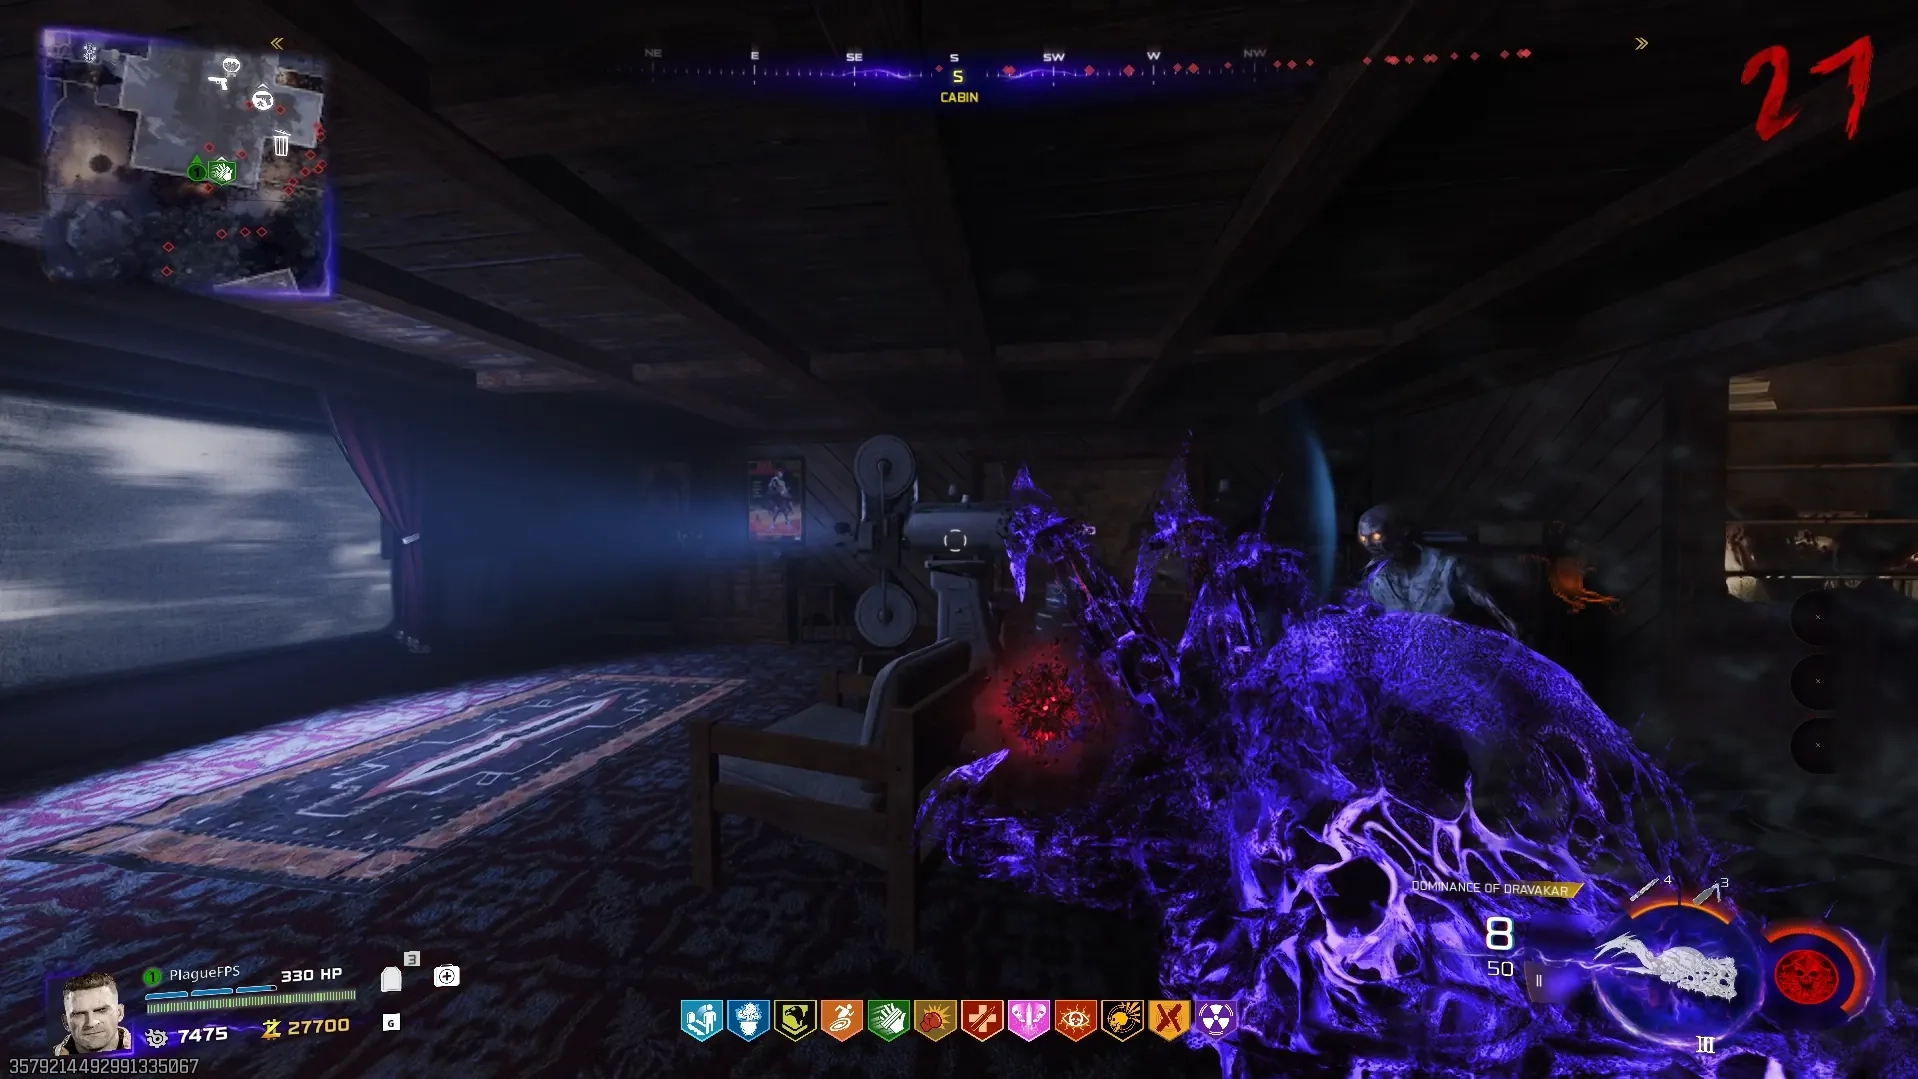
You must remember the order these images were flashed on the screen, as they will dictate the order you must shoot the projector reels in that area. The four images are as follows:
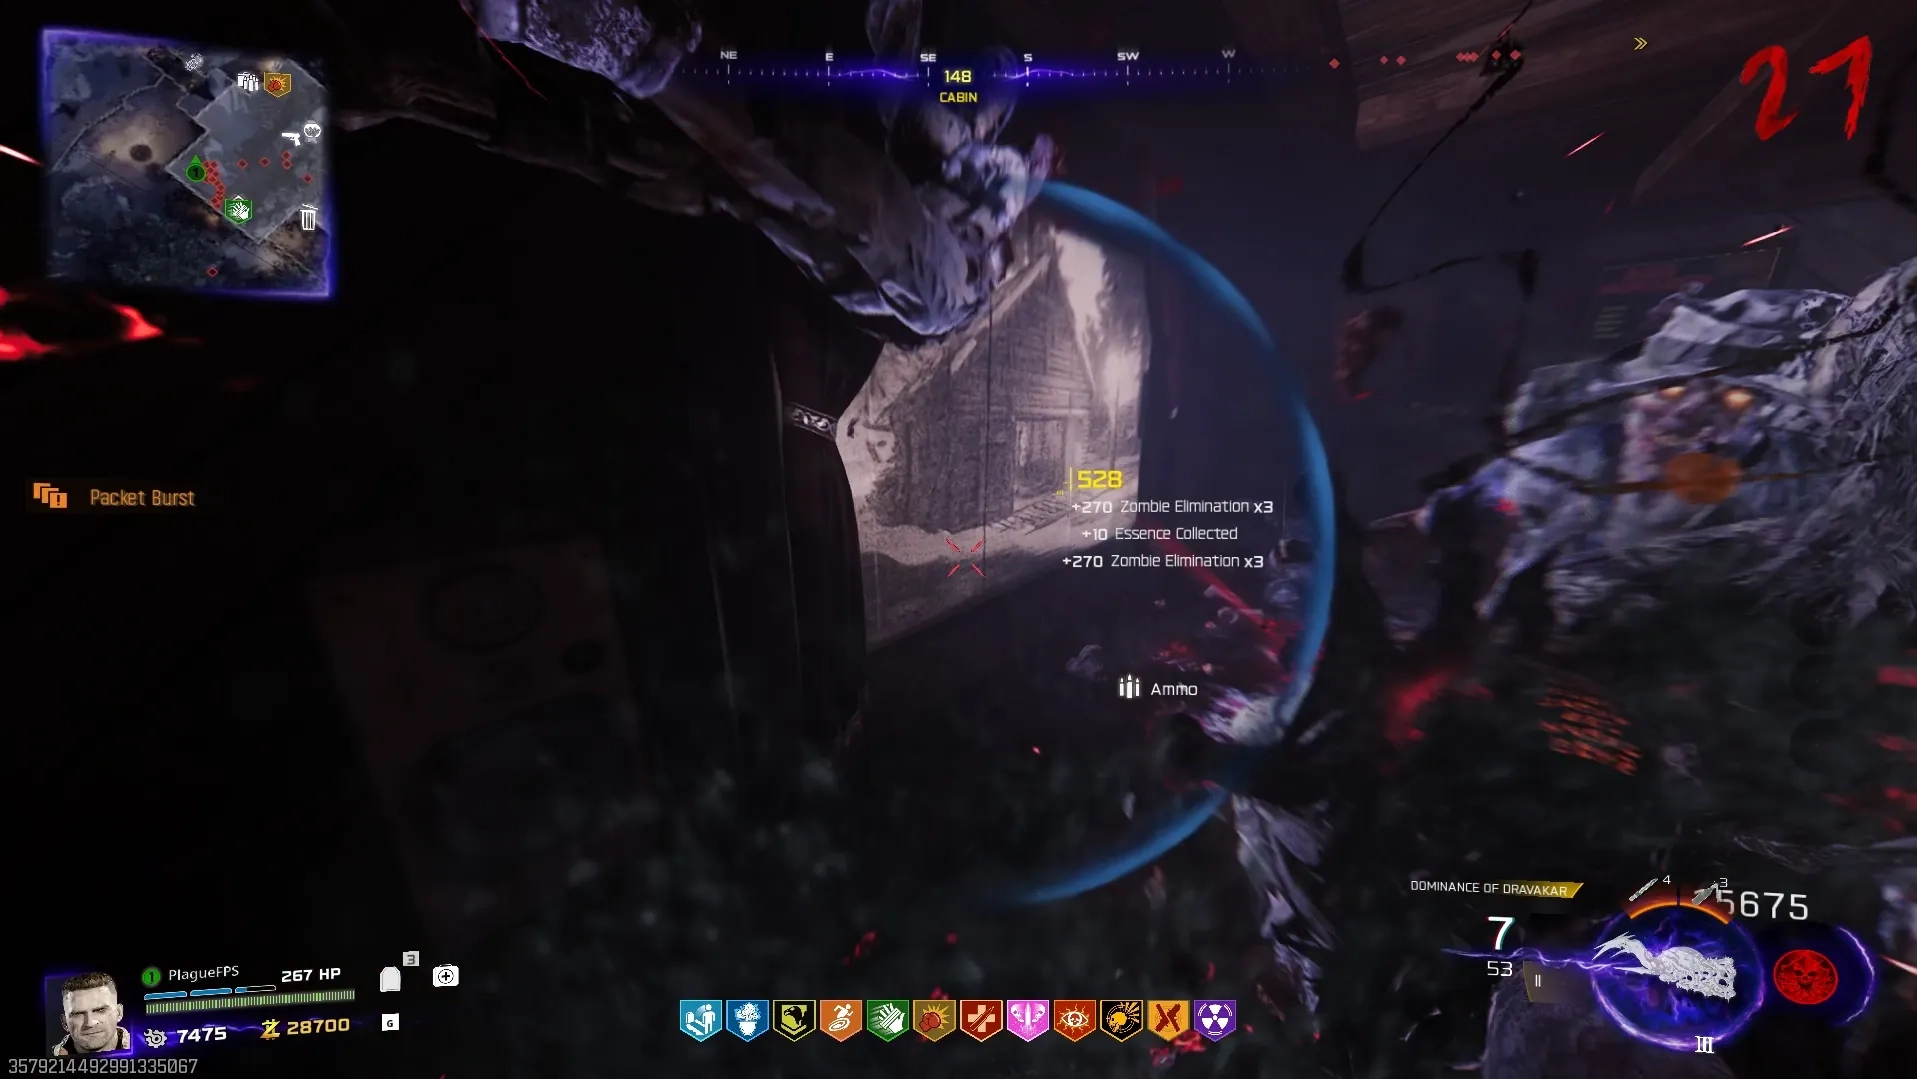

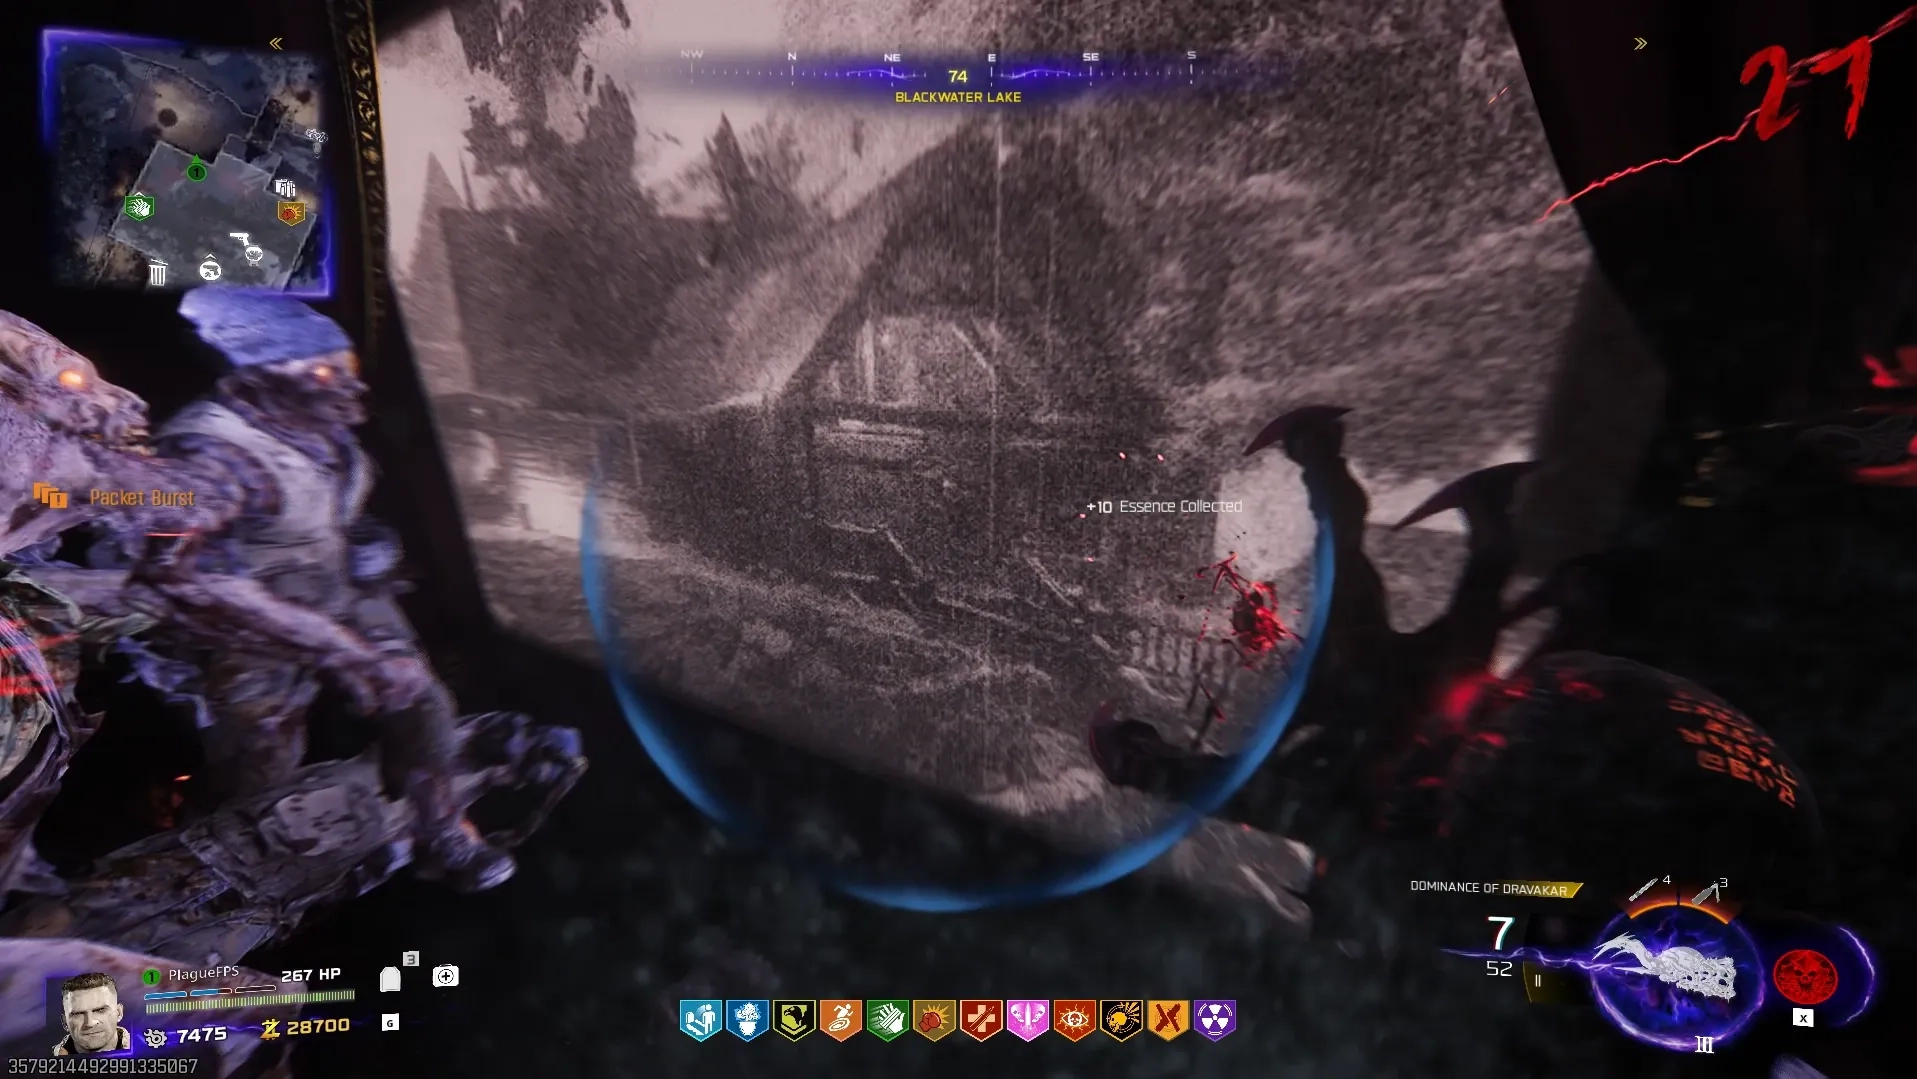
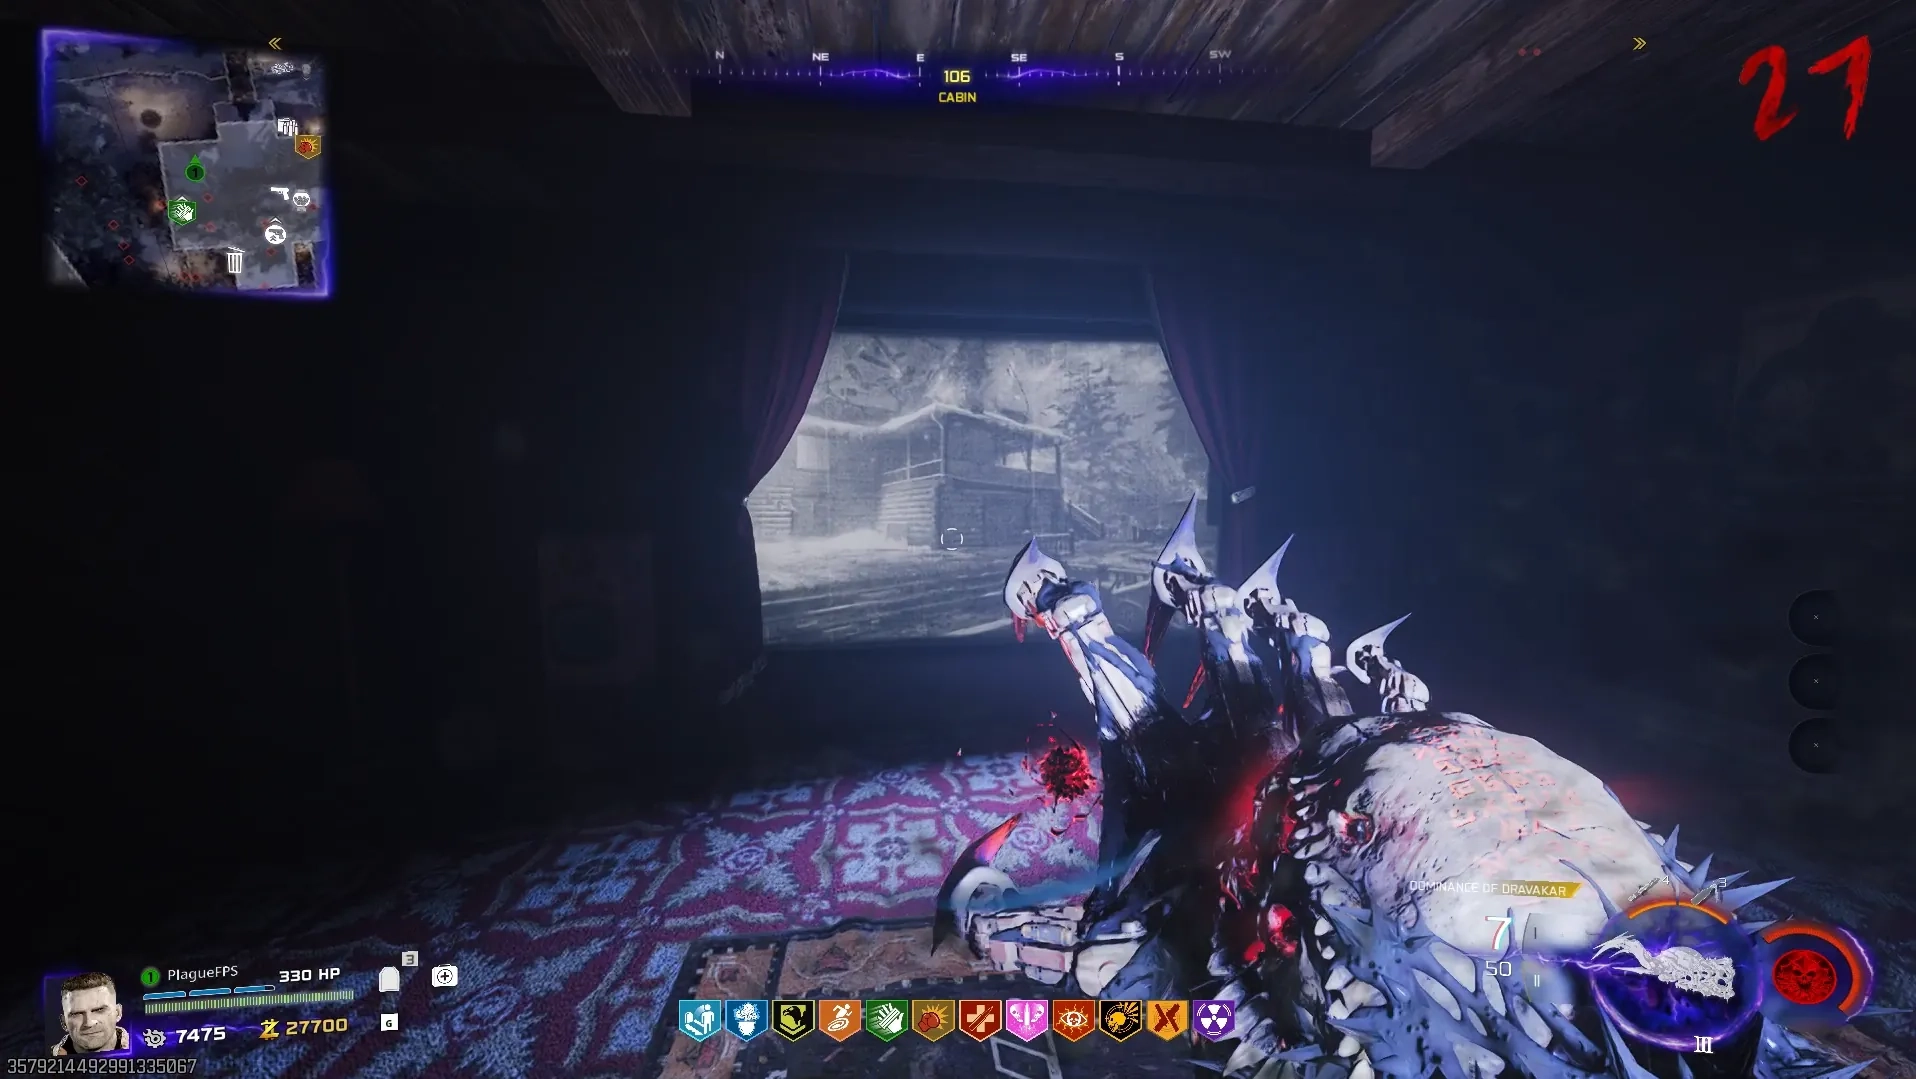
Once you know the order of the images, you can begin shooting the projector reels in that order with the Necrofluid Gauntlet. The locations of the projector reels for each of those locations are as follows:
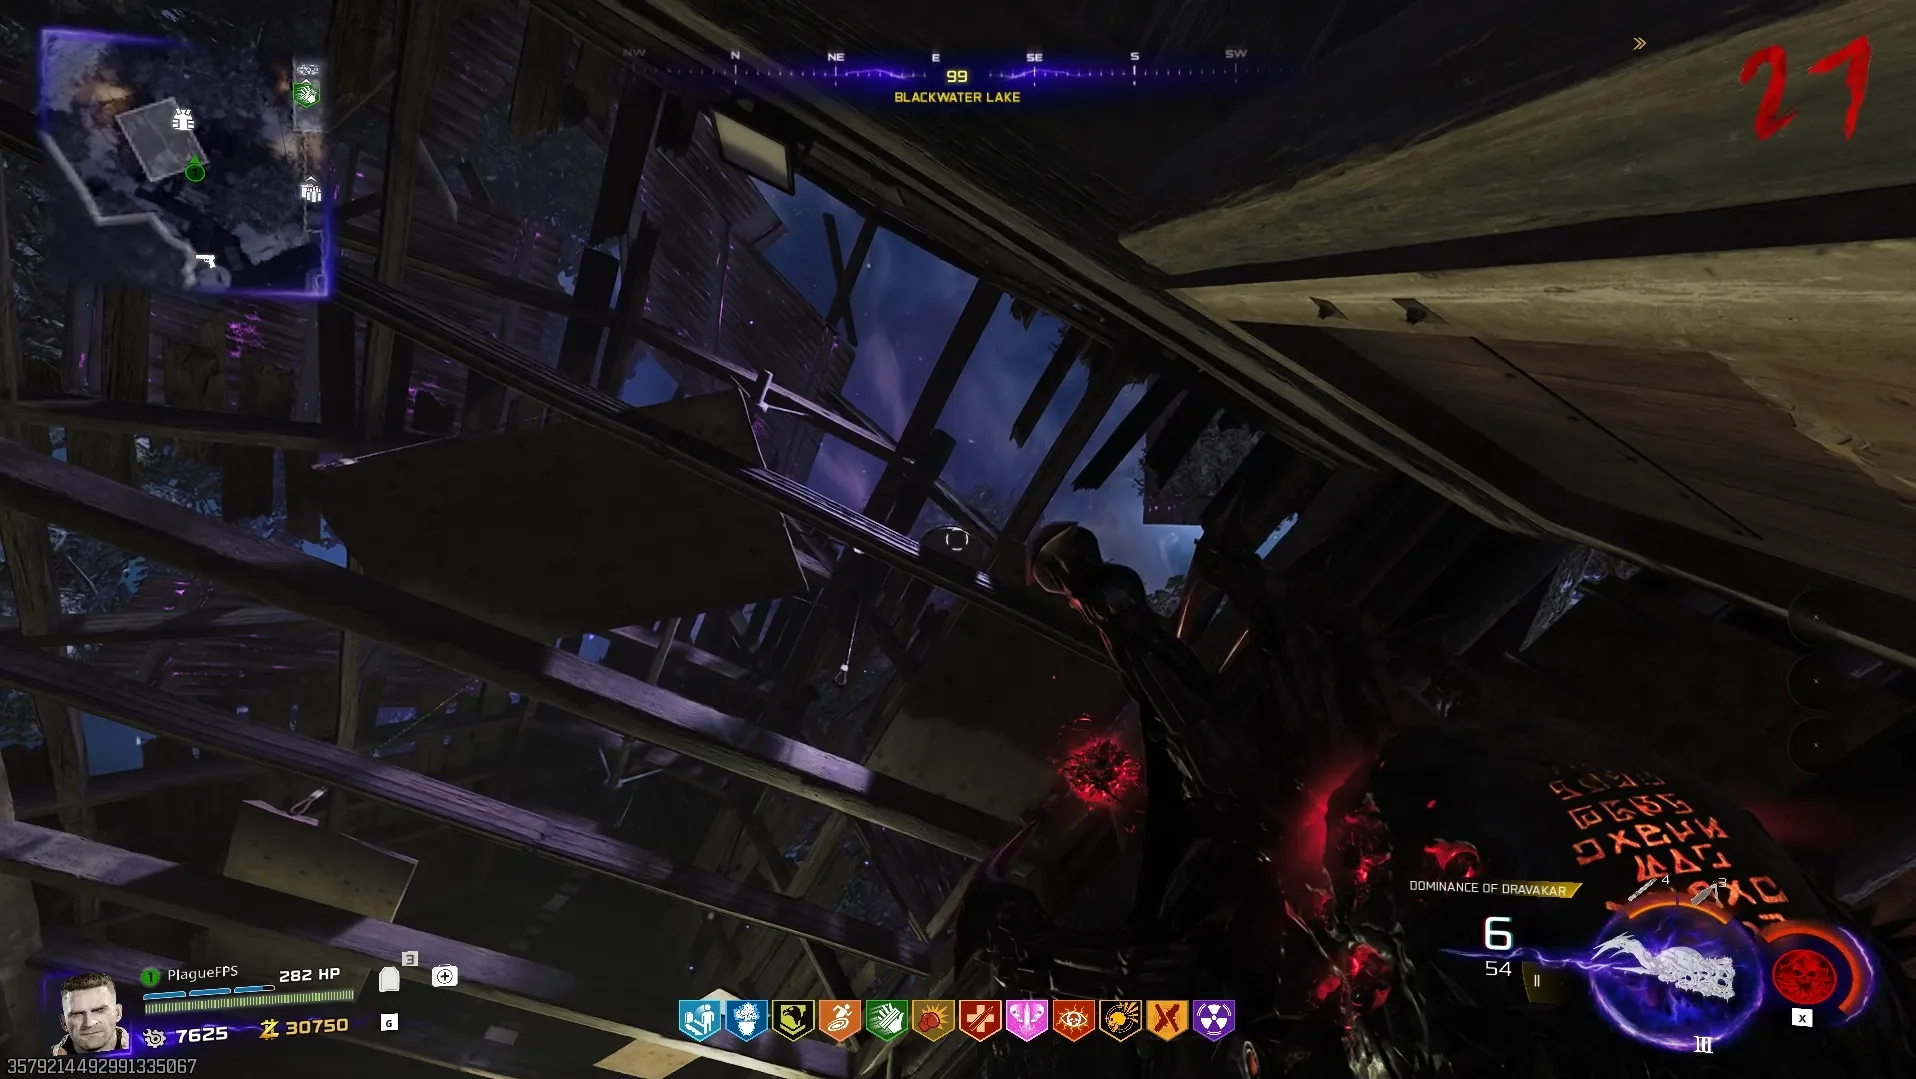
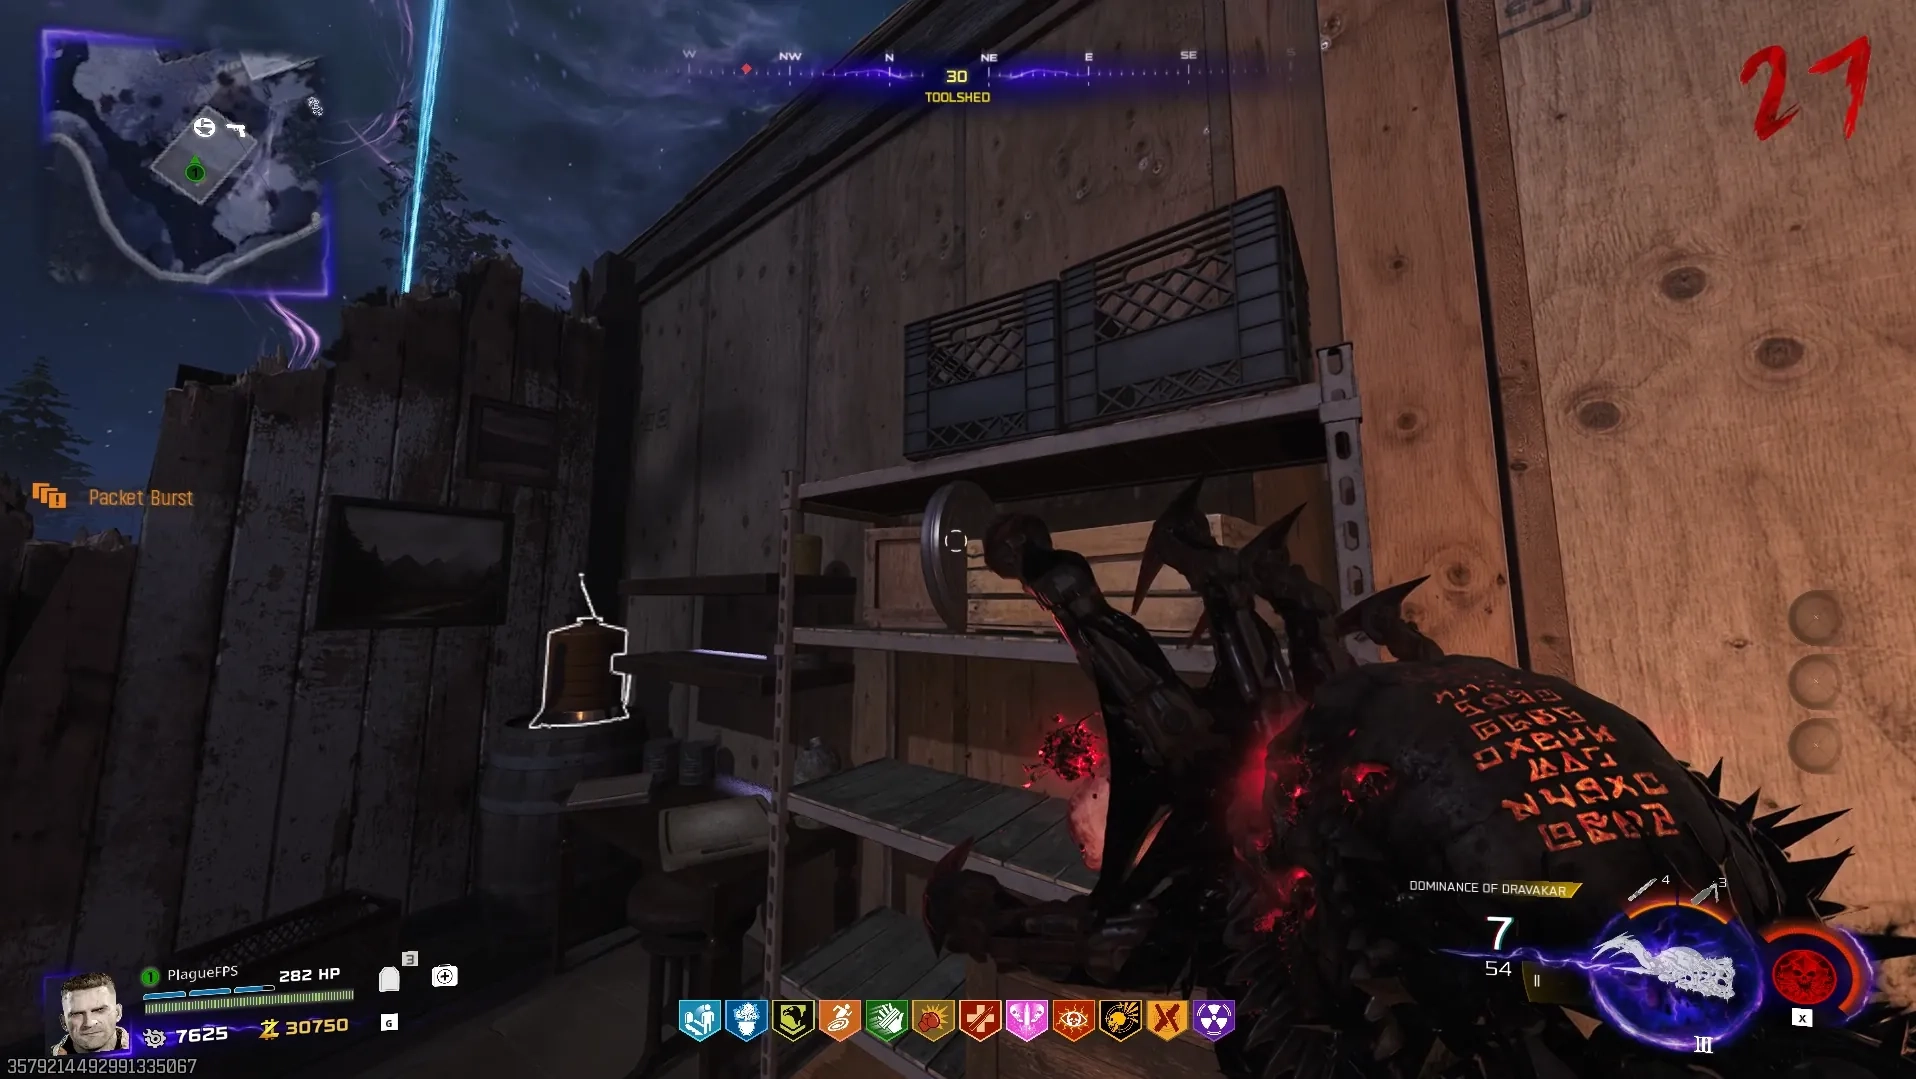
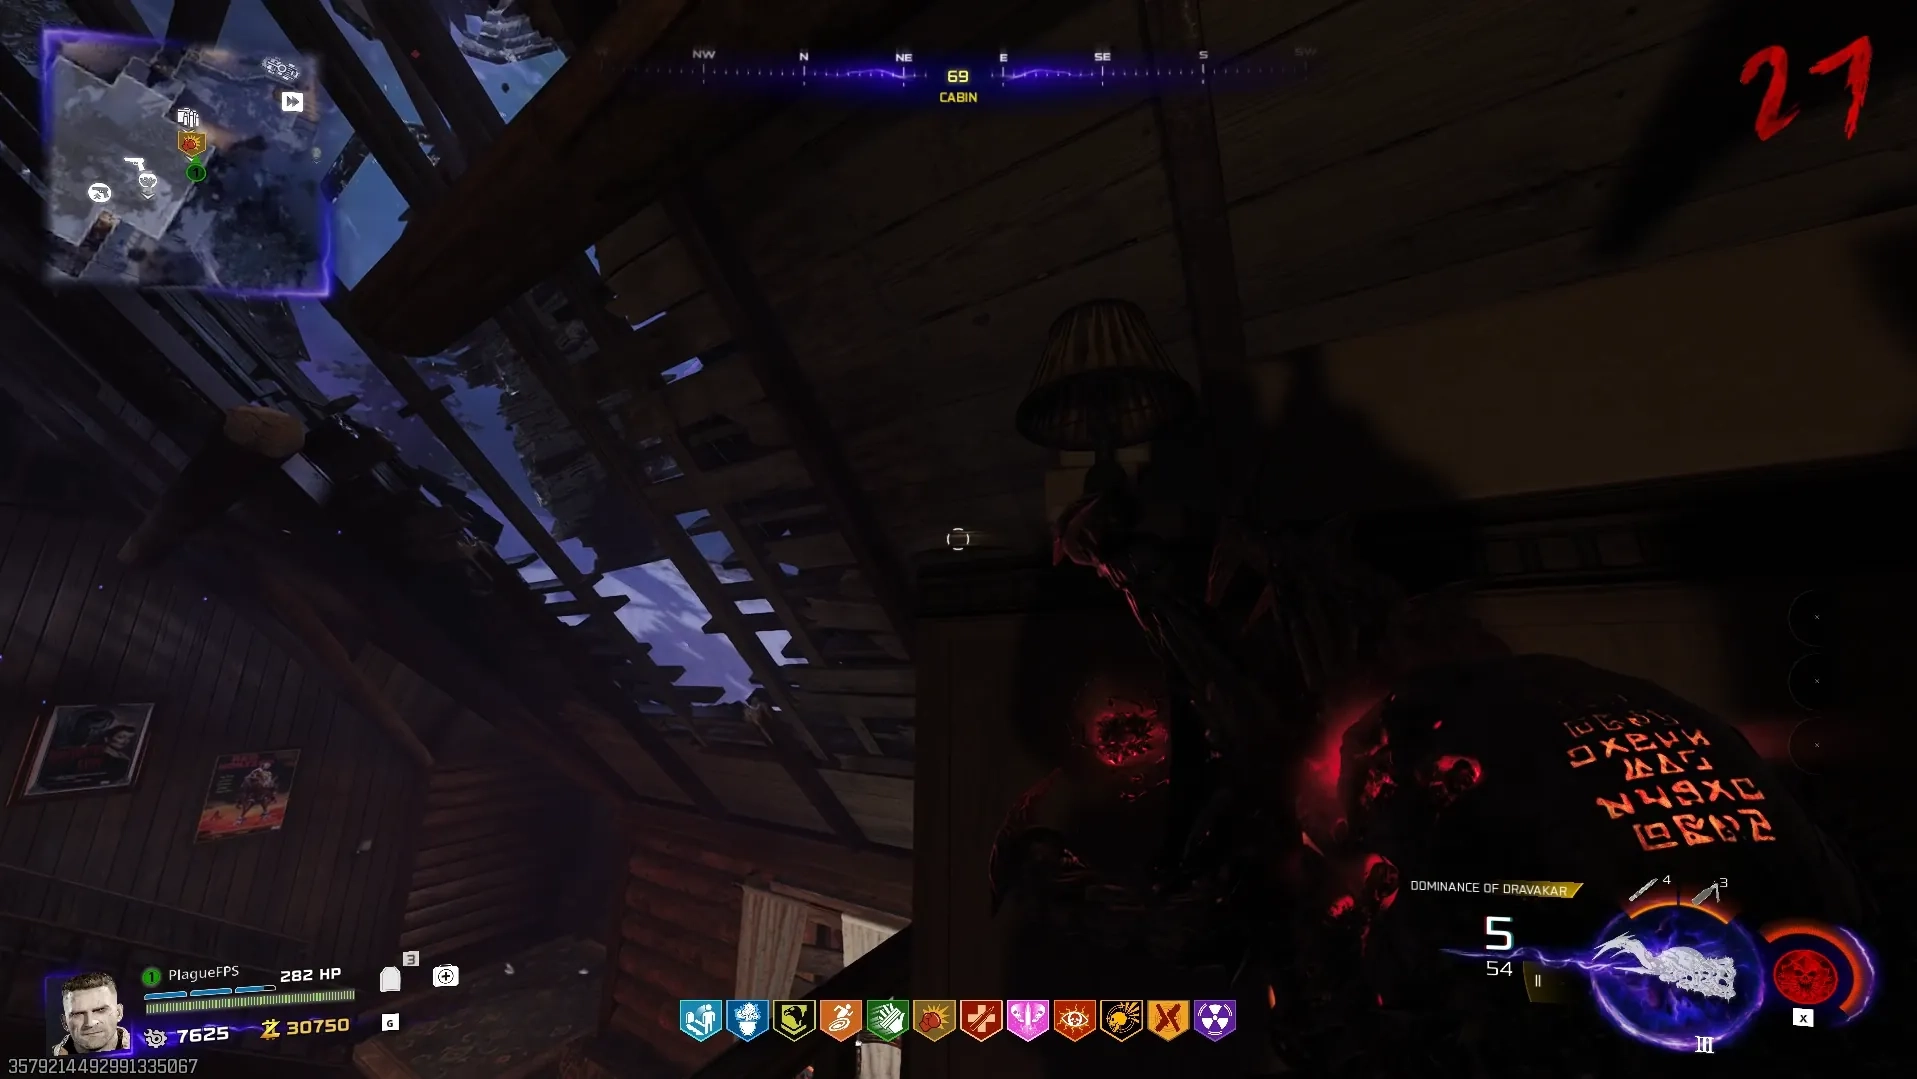
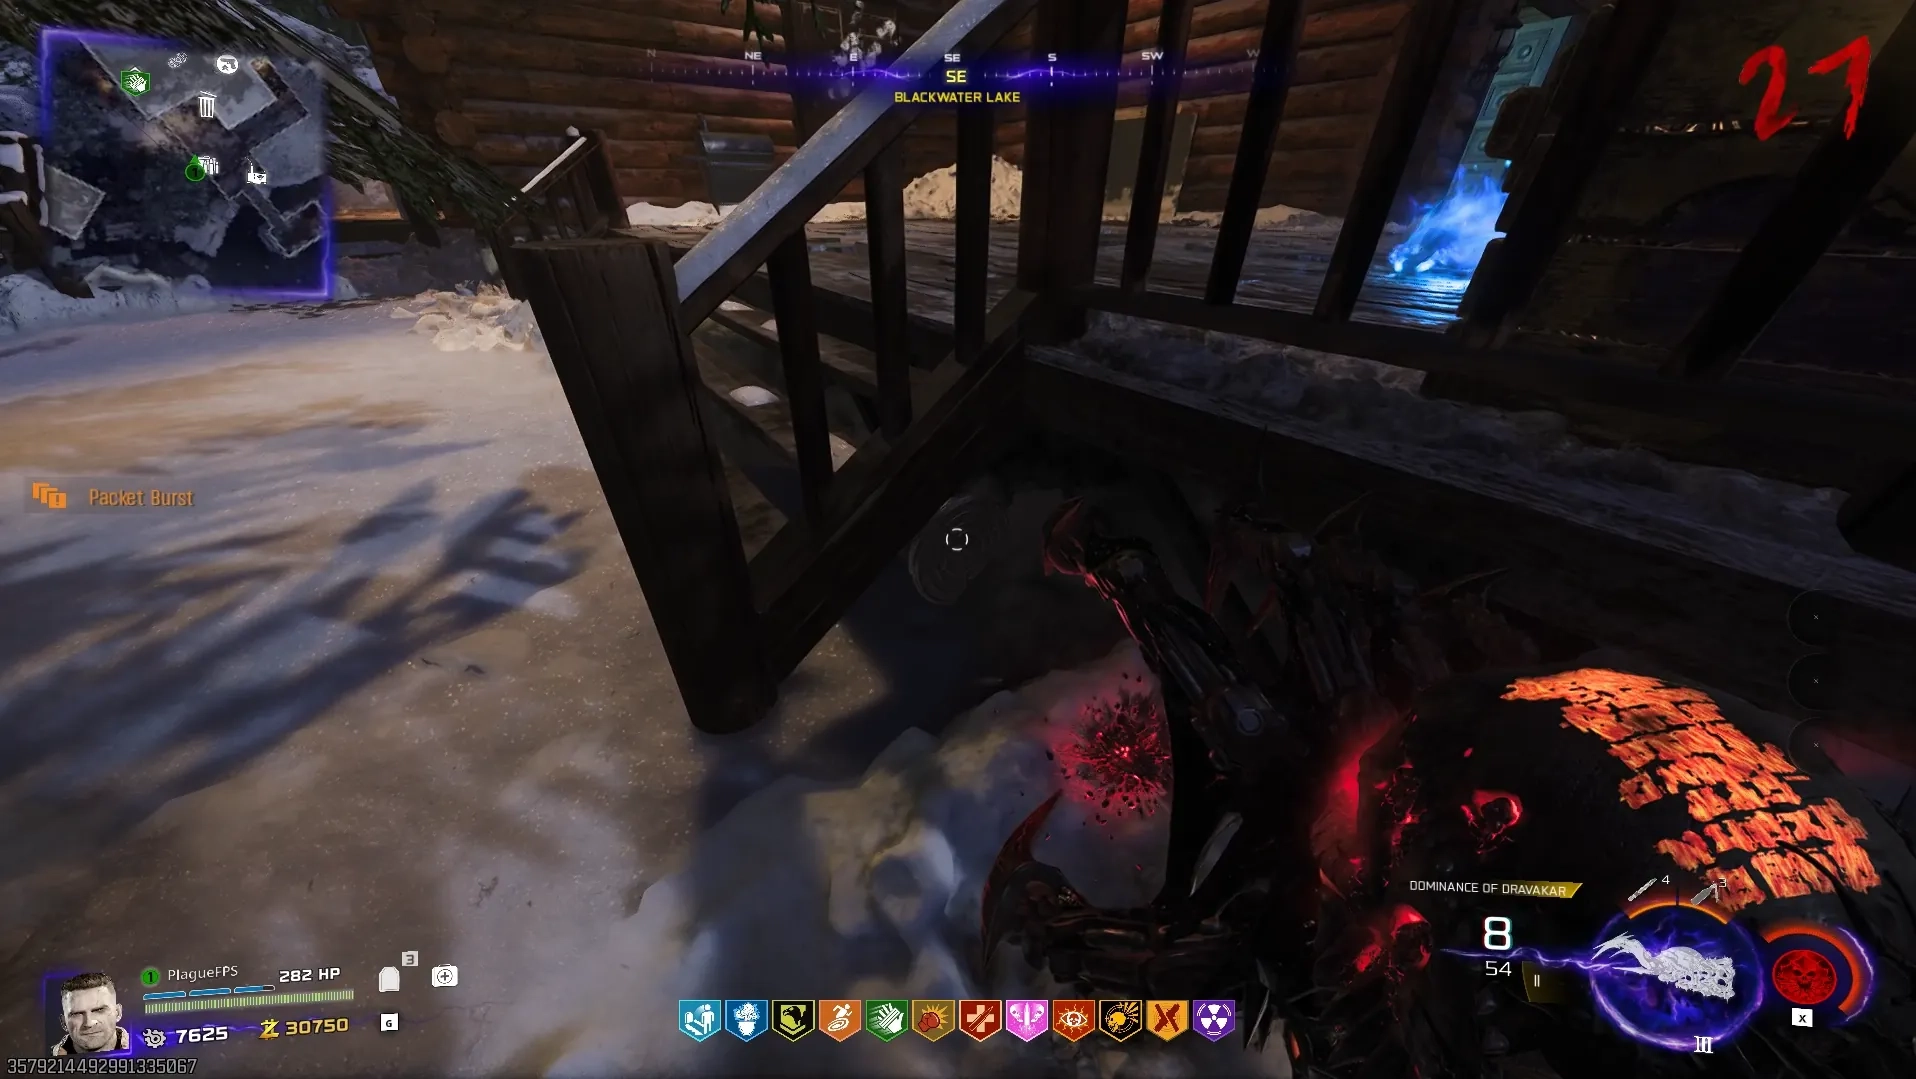
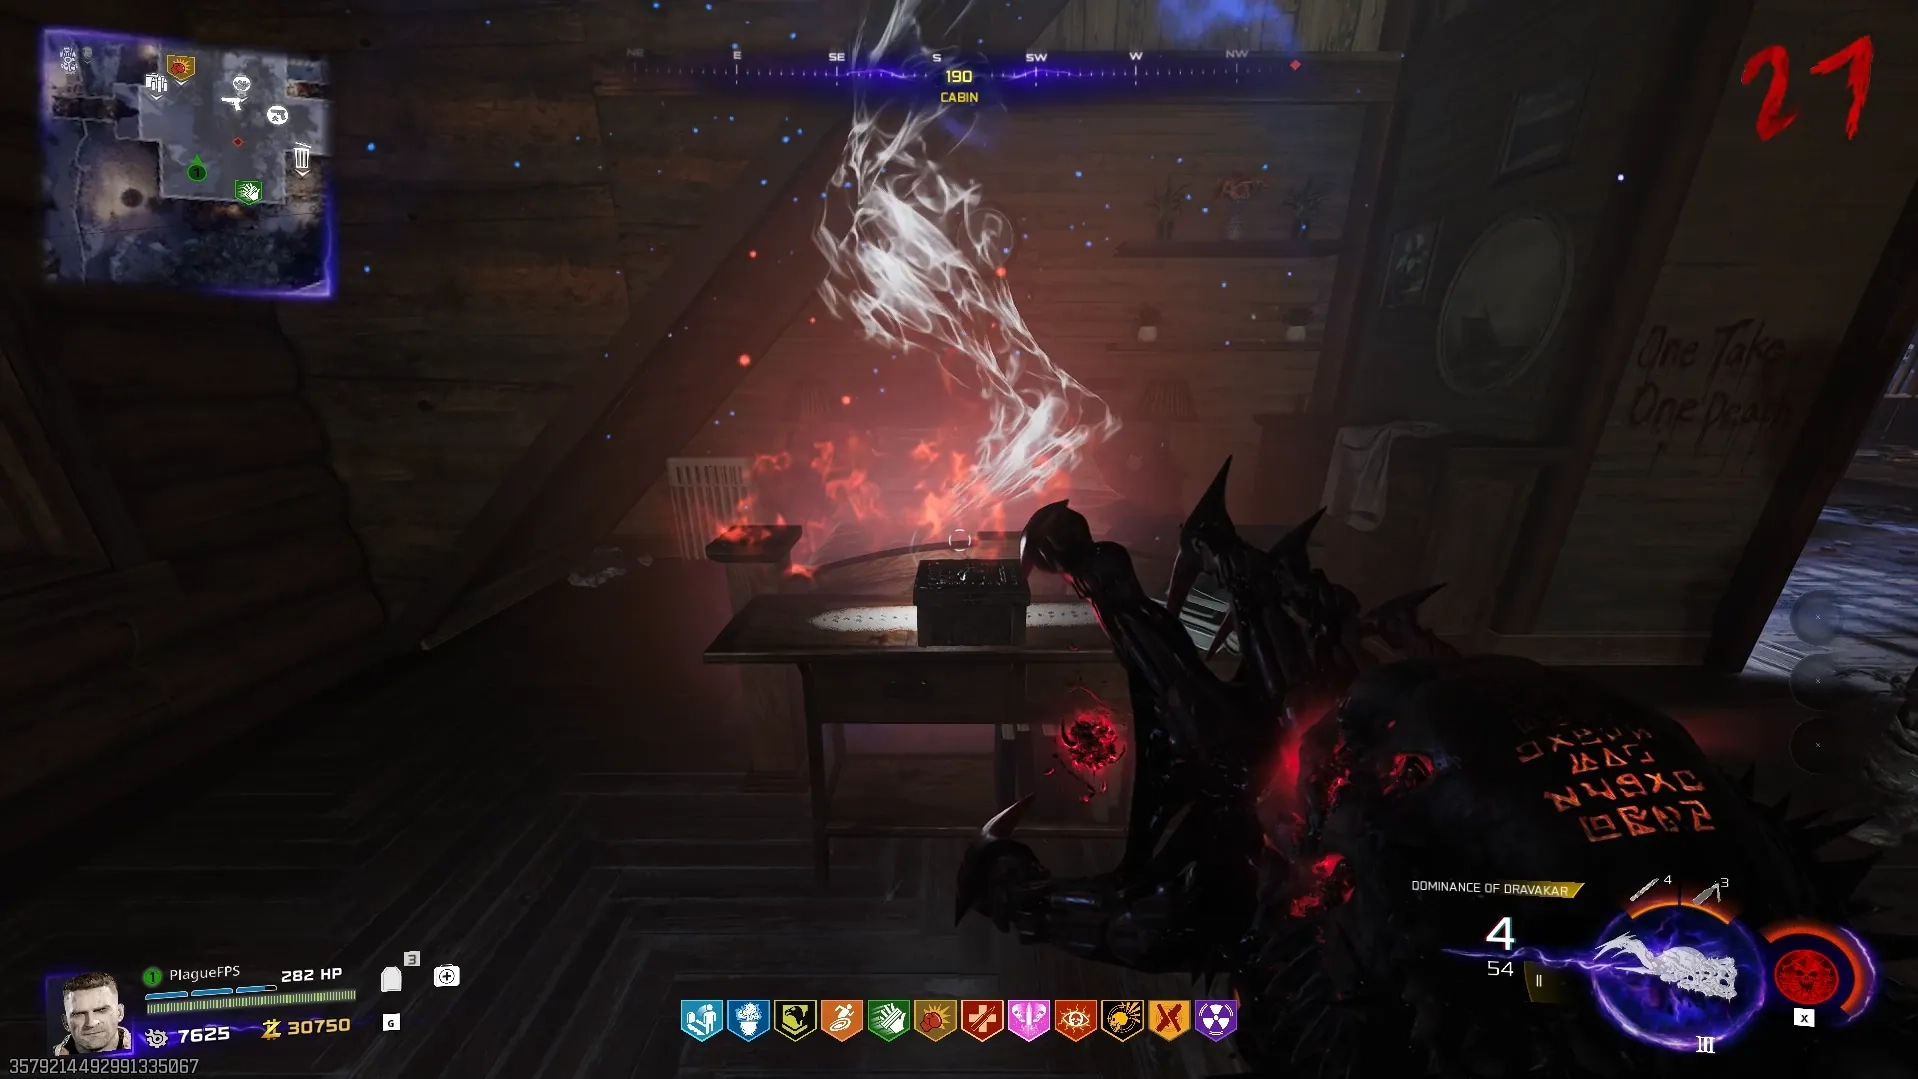
If done correctly, the box at the foot of the bed upstairs in the Cabin will have a wisp on it, and you need to summon Klaus and call him to the box to collect the item from inside and complete this challenge.
Step 7: Defeat Veytharion
At this point, you should fully prepare for the boss fight against Veytharion. Tier III Armor, all perks, field upgrade charged, are the most important since you'll be doing damage with Ol' Tessie.
Entering the Boss Area
Interact with Klaus near the dock to begin the final encounter. This encounter will have you race Ol' Tessie from Blackwater Lake to Janus Towers Plaza then Vandorn Farm then Ashwood then back to Blackwater Lake in a full circle, collecting driving over Wisps along the way.
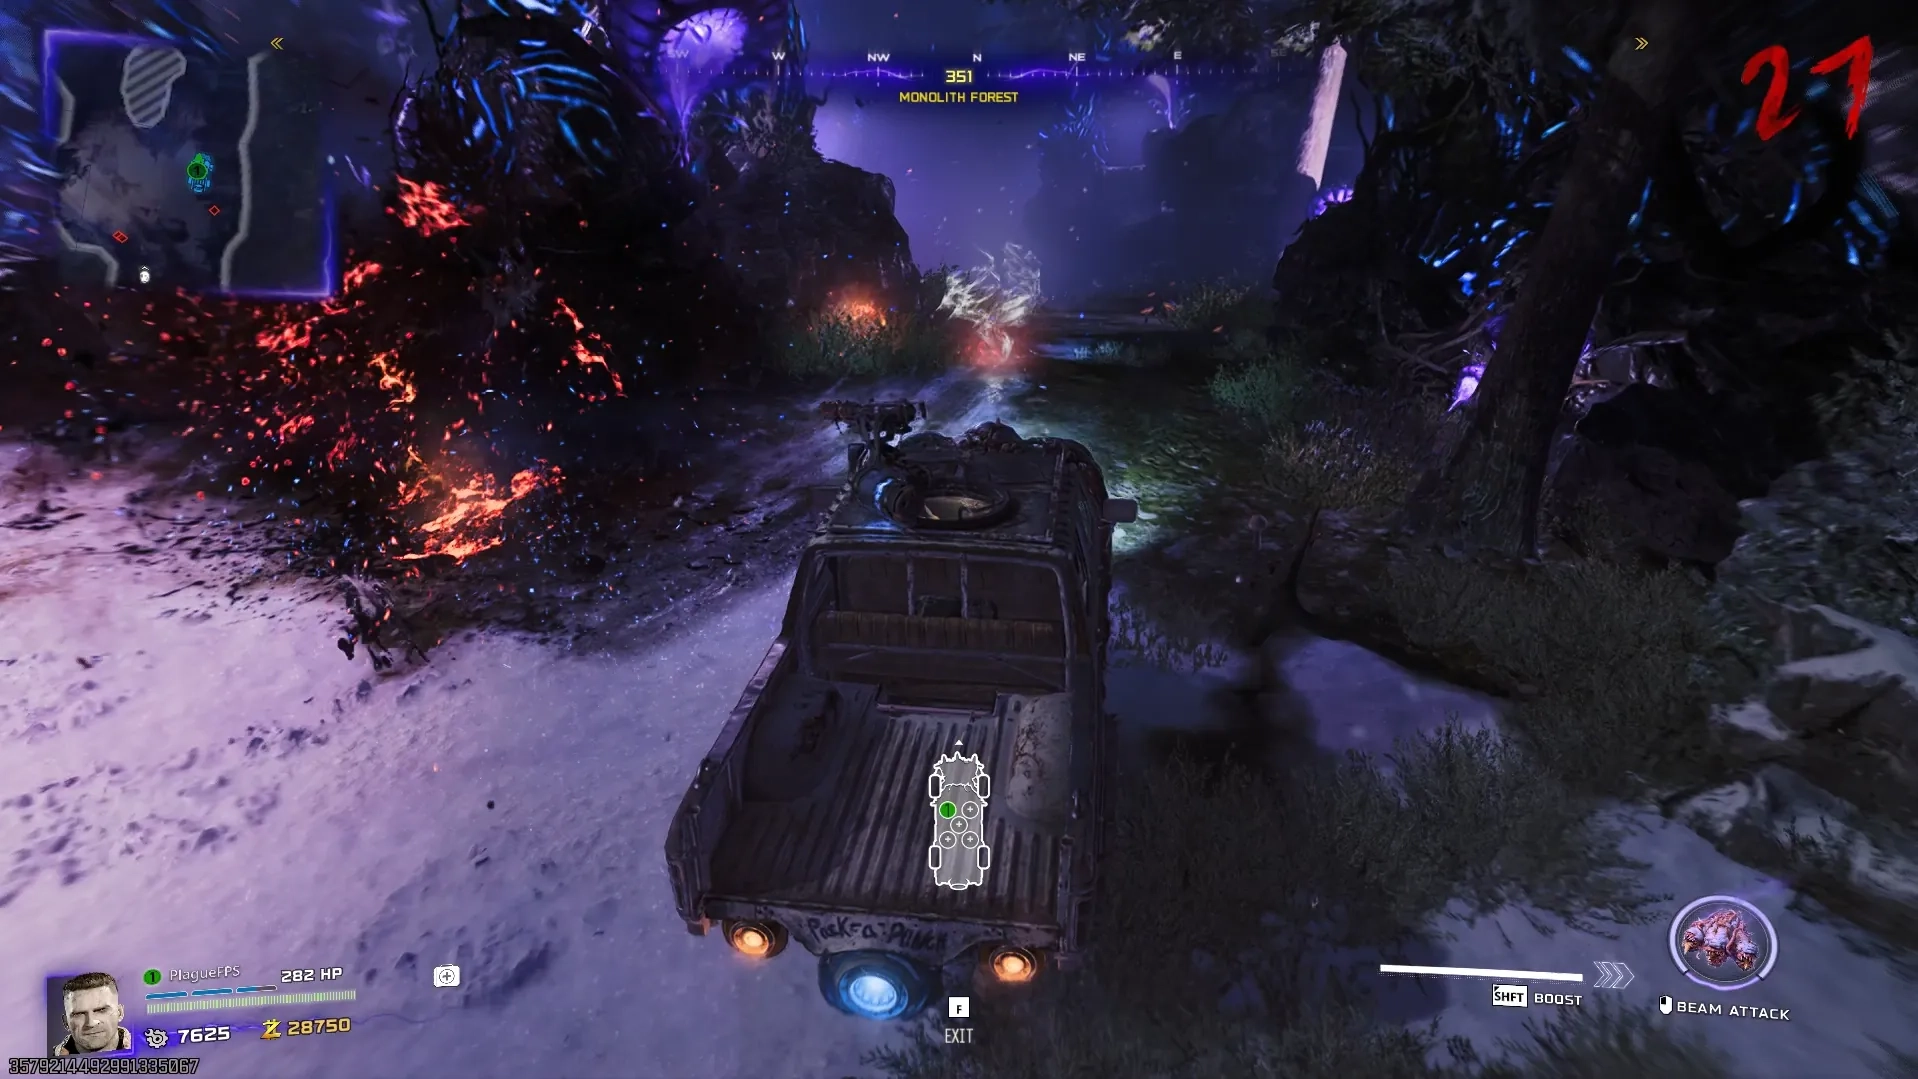
After starting the encounter, get in Ol' Tessie and wait at the gate leaving towards Janus Towers Plaza, until you see the first Wisp appear on the right path. They take about 10 seconds to appear after starting the encounter.
There are three Wisps in the Fog of each area that you must collect while doing this circle and once all wisps have been collected, you will be automatically teleported to the boss area.
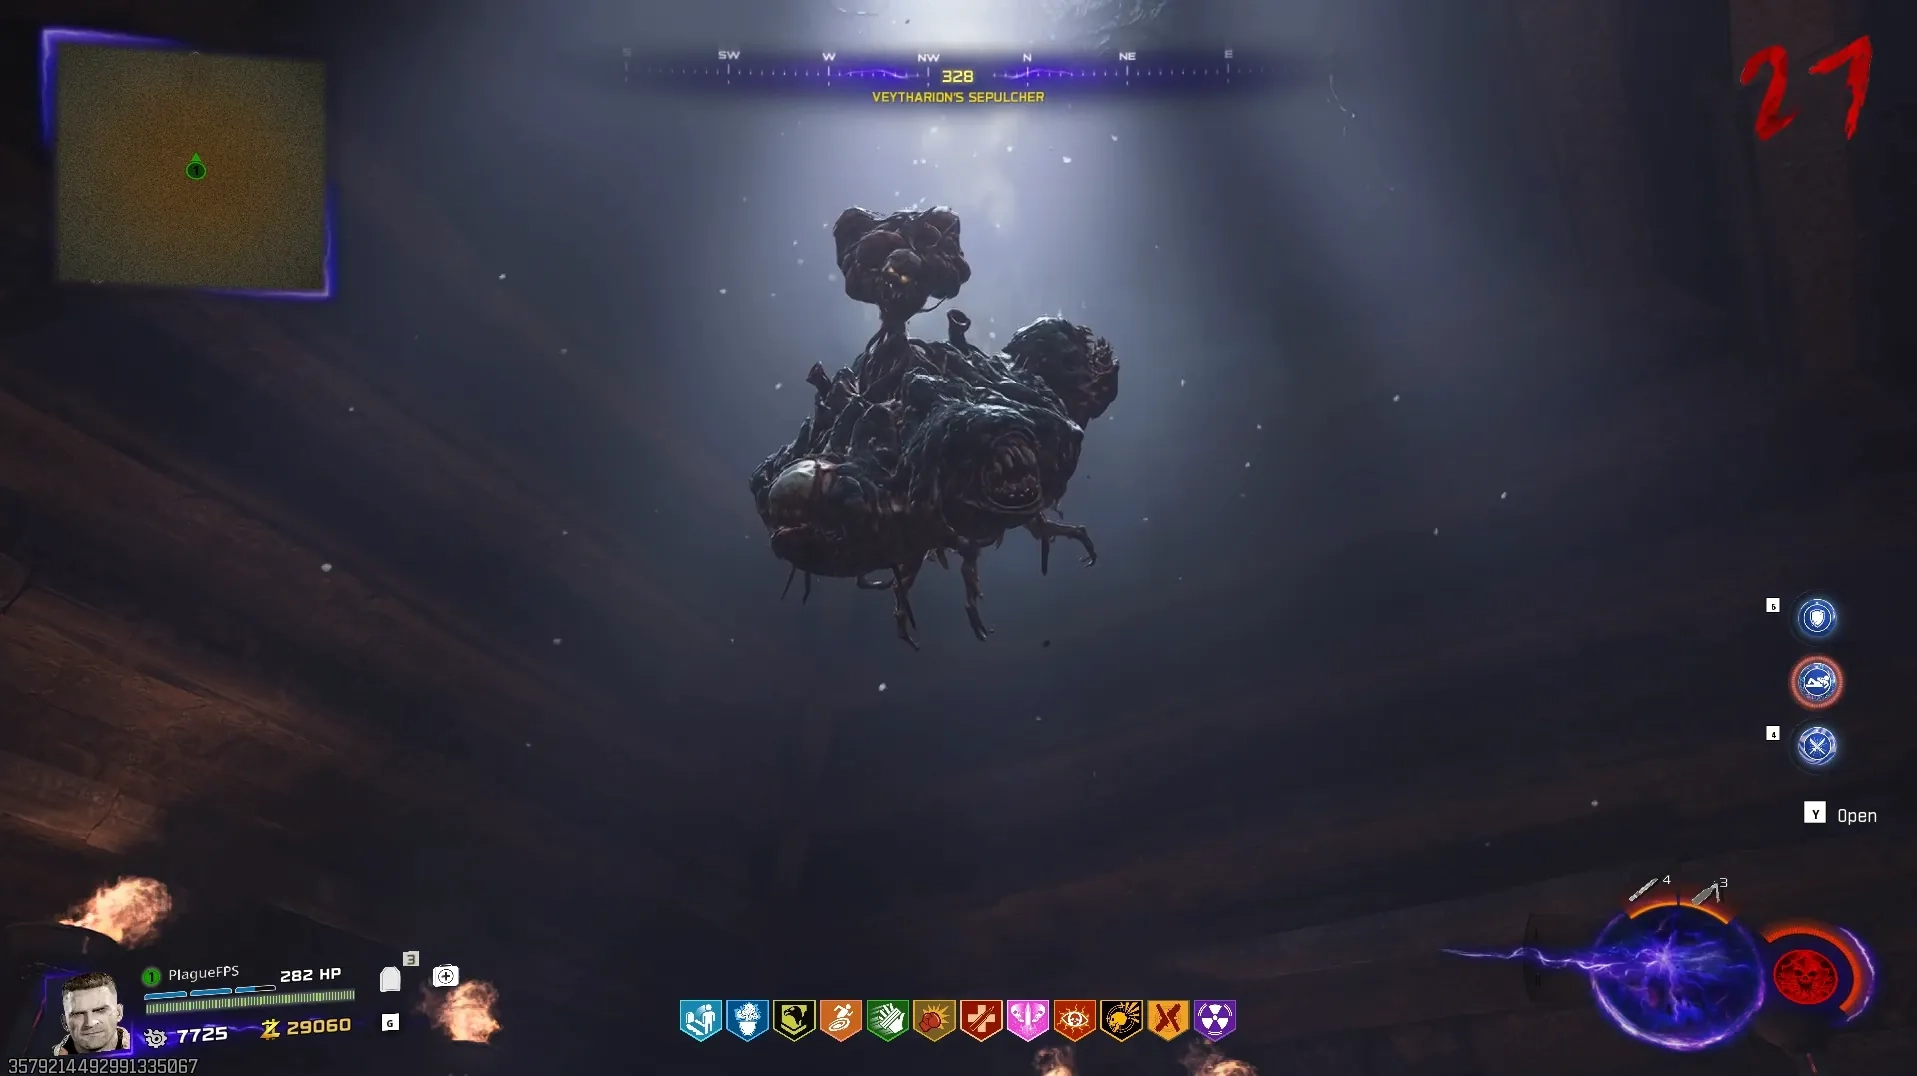
When driving onto the Grounded Ship, you will need to make a hard-right after getting on the ship, do not drive forward through the ship like you normally would.
Phase 1 & 2
During this phase, you need to be driving Ol' Tessie, avoiding the missiles fired by Veytharion, and use the boost to ram into Veytharion whenever he is in the middle of the arena. This will expose a giant weak point, which if you ram into with Ol' Tessie by boosting into it, will deal a massive amount of damage.
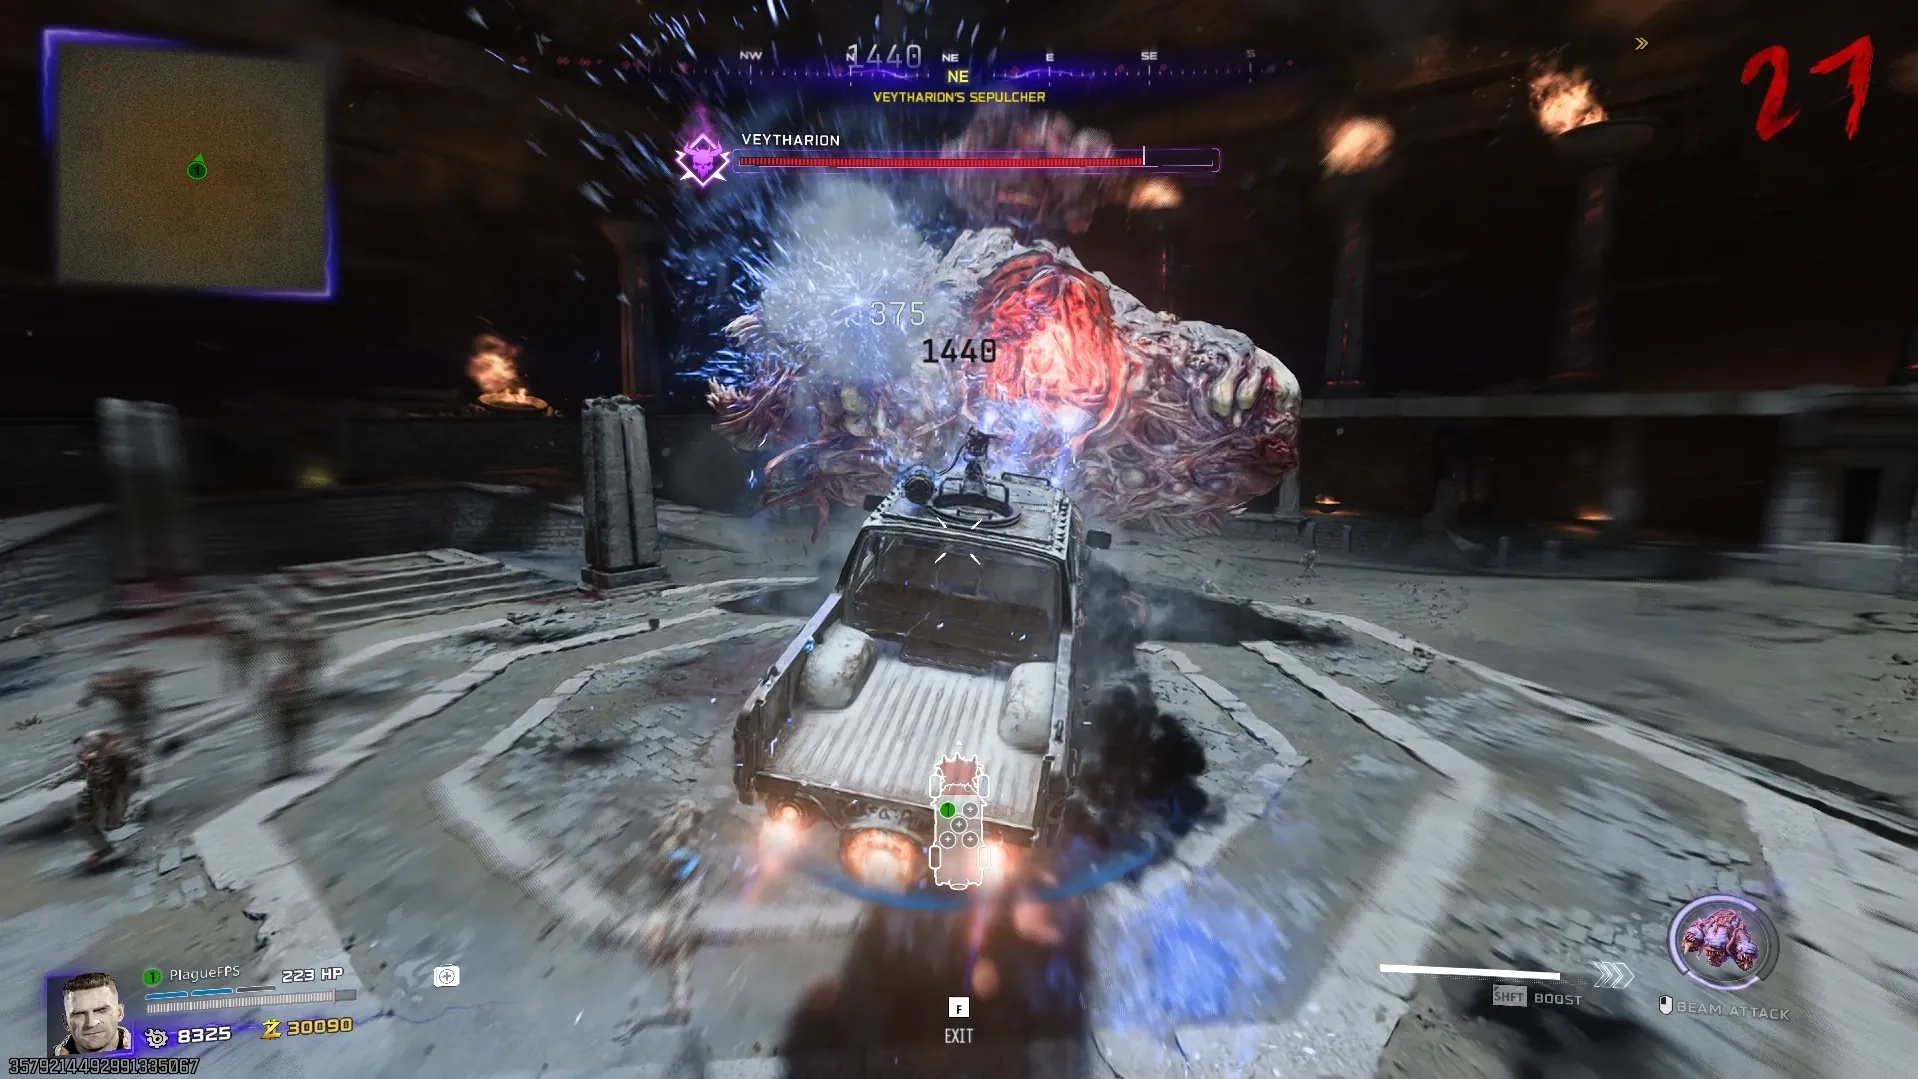
Rinse and repeat this process until Veytharion goes immune and start spinning like a bay-blade. This is the phase transition period, where you will need to wait for him to launch a purple beam of light onto the arena, which you need to drive through to supercharge Ol' Tessie, and then ram into Veytharion to knock off his shield.
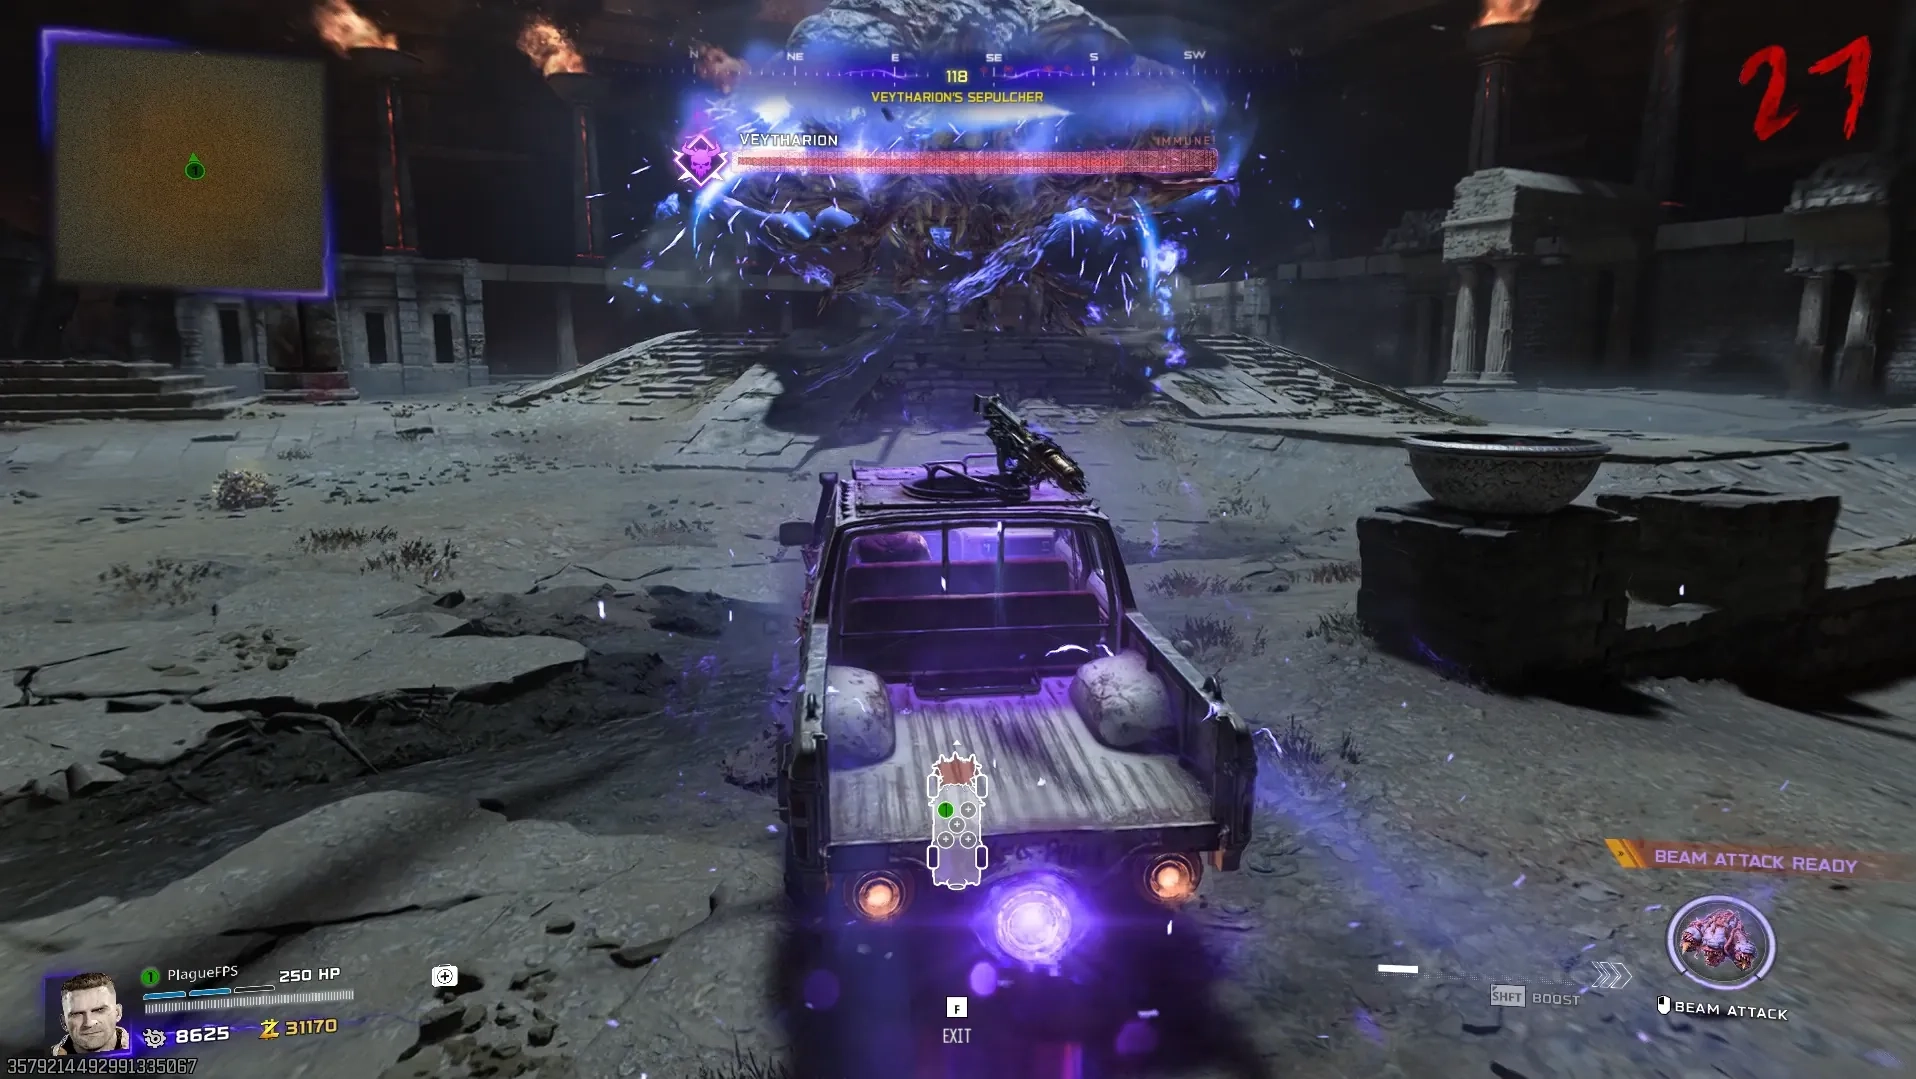
Once his shield is knocked off, he will be phases and have a golden weak point underneath him as he flies up, quickly position Ol' Tessie and switch to the DG-2 Turret seat and unload on that golden weak point until he recovers, entering the next phase.
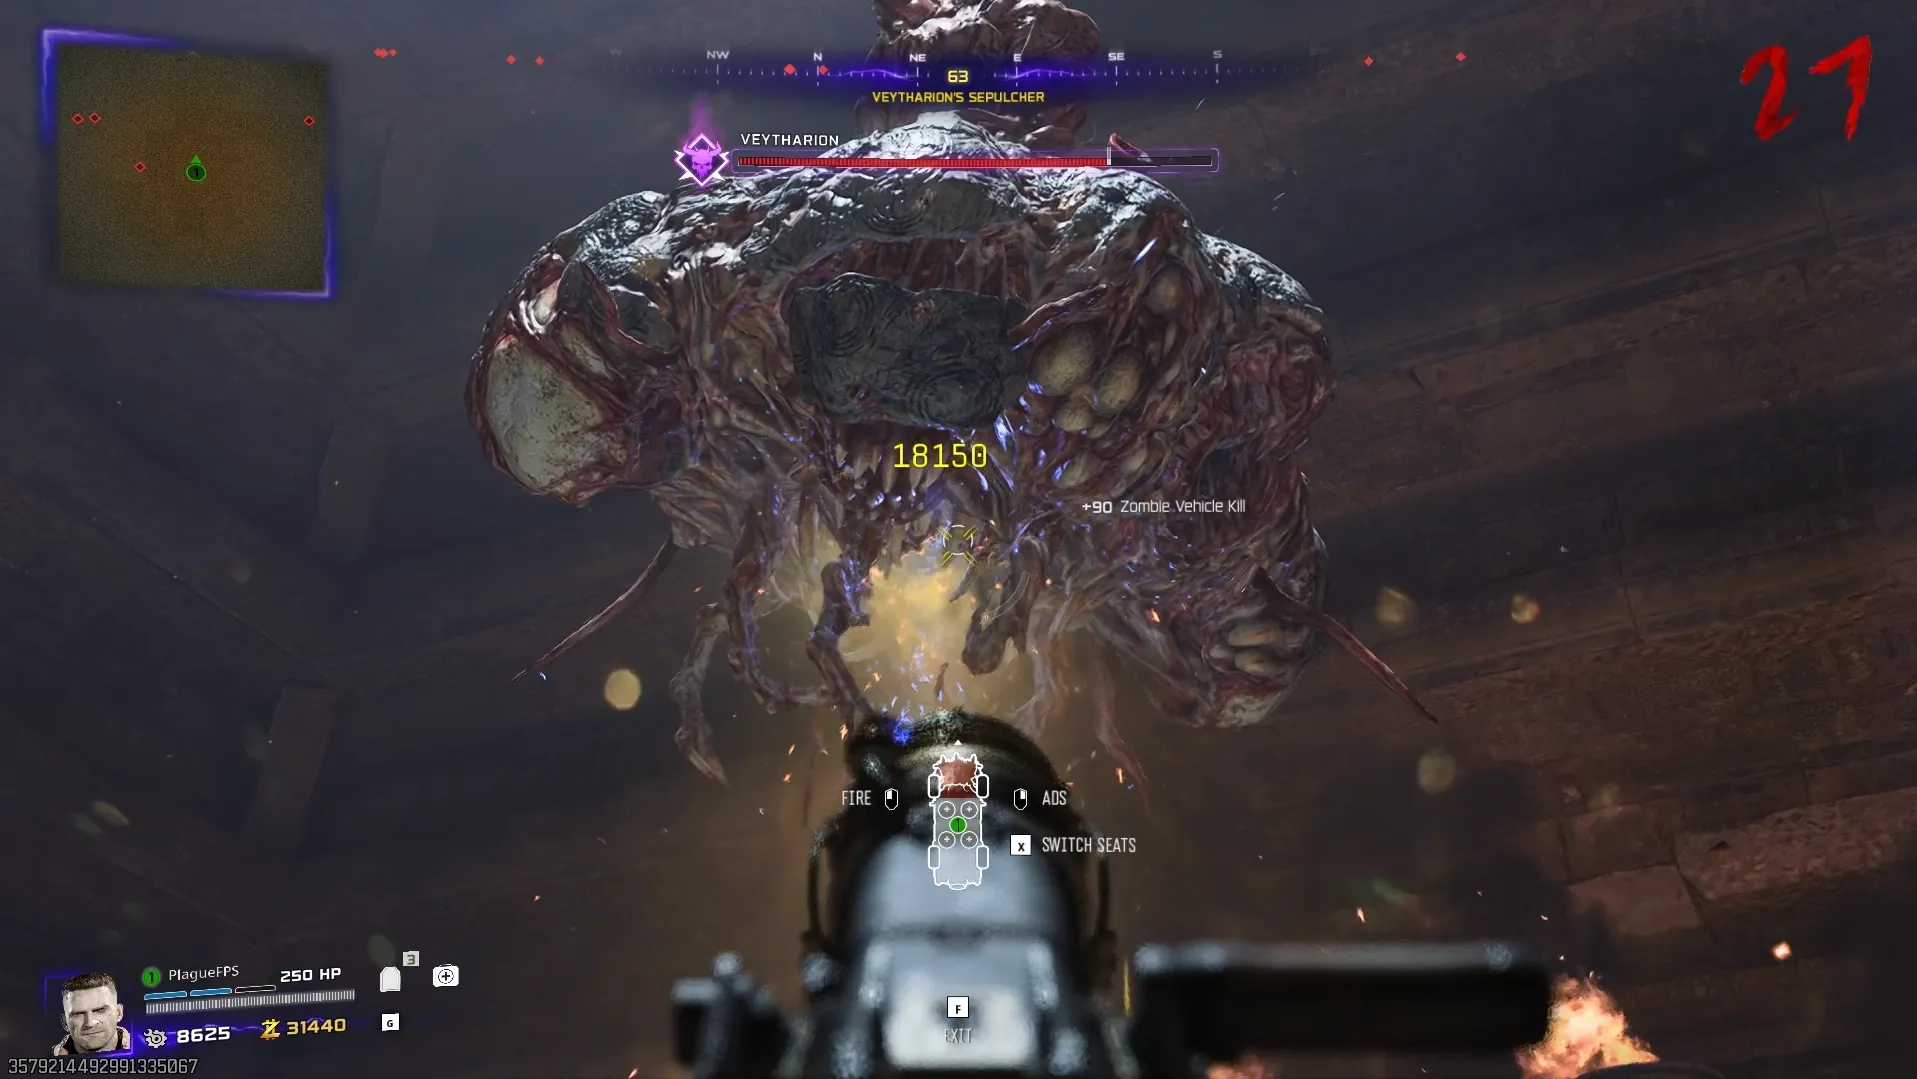
Phase 3 & Beyond
During the rest of this boss fight, Veytharion gains a new attack where he will charge up a massive purple laser, dealing critical damage to any player in its path, that you can cancel by boosting into the mouth charging the laser with Ol' Tessie, or avoid by hiding behind the car, or some natural cover.
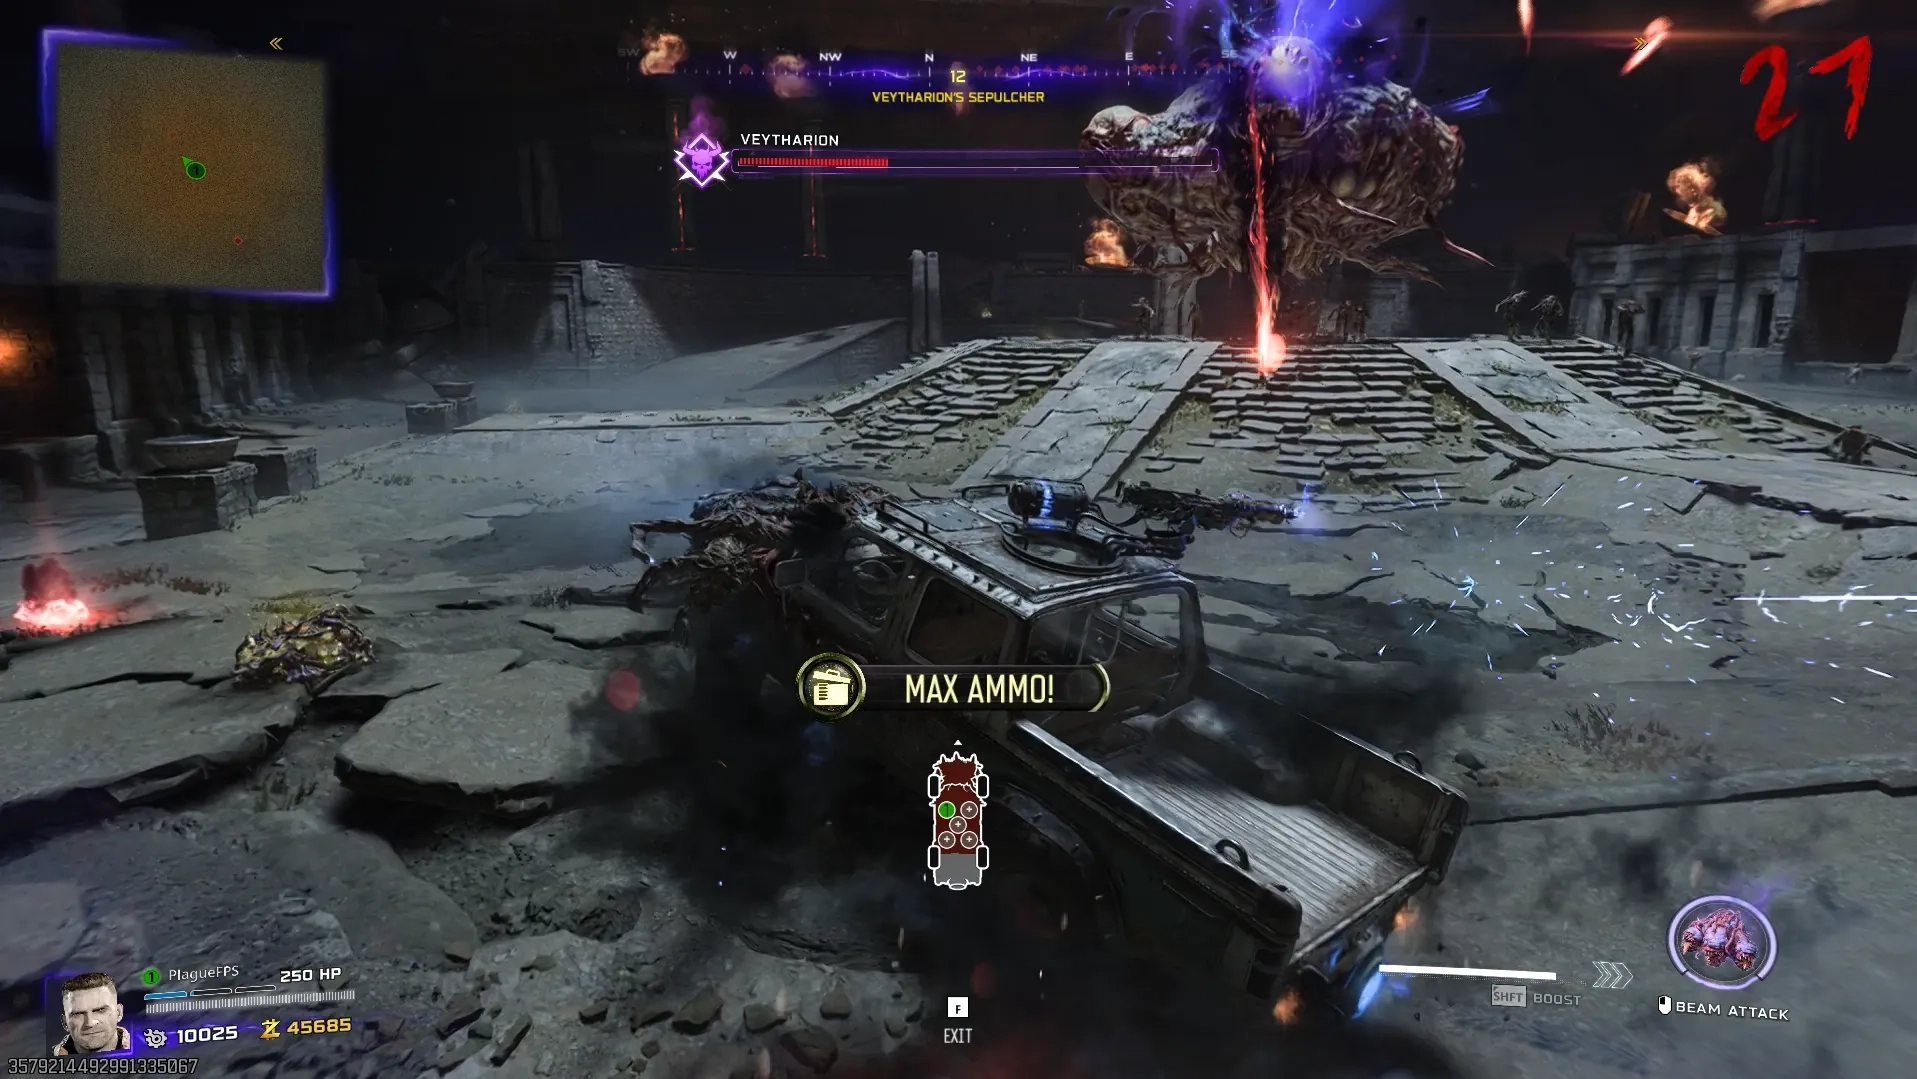
Other than that, the fight is the same and you need to be constantly ramming into Veytharion to deal damage massive damage when he is in the middle of the arena, repairing the car immediately when it gets destroyed, even using field upgrades if you have to, and finally switching to the DG-2 Turret when you phase him to shoot his golden weak point, until Veytharion is eventually defeated, triggering the ending cutscene.
Congratulations, you have completed the Ashes of the Damned main quest: Dust to Dust!
