
Shattered Veil
Main Quest
This main quest has our crew of Weaver, Grey, Carver, and Maya traveling back to Liberty Falls with the Sentinel Artifact, hoping to save Agent Maxis.
Requirements
This quest can be completed with any number of players. You'll need the following items to complete this quest fully:
-
 Aether Shroud
- Combat Axe
If you do not have
Recommended Loadouts
| Start Weapon | Field Upgrade | Tactical | Lethal |
|---|---|---|---|
| Maelstrom | Decoy | Molotov | |
| Grehkova | Decoy | Molotov |
The Ray Gun MKII can be your main damage weapon in this main quest, so feel free to spawn in with whatever weapon you like.
Recommended GobbleGums
| Solo GobbleGums | Co-op GobbleGums |
|---|---|
These GobbleGums are not required to complete the main quest, they are only recommended to aid/enhance your experience and survivability.
Step 1: Repair the elevator
Before you can begin the main quest, you must first repair the elevator leading to the Mainframe Chamber. You can follow the on-screen markers showing you how to repair the elevator in-game to obtain both the Fuse from the Library and the Circuit Board from the computer in the Director's Quarters.
Step 2: Obtain the Ray Gun MKII
Progress until Round 10, once completed, you'll need to wait for a Lab Technician zombie to spawn in the Mainframe Chamber, who, once killed, will drop the Floppy Disk needed to gain information on the code needed to obtain the next part.
Once the Floppy Disk has been obtained, head to the East Foyer and interact with the computer in the corner of the room to place the Floppy Disk inside, triggering a fax machine to start slowly printing out a sheet containing information, during this time you'll need to defend yourself against some Vermin.
Once the sheet is done printing, interact with it to read the document containing a four-letter protocol name being either CRAB, WORM, MOTH, or YETI. Afterward, head to the Nursery to find a chalkboard with six groups of letters on it. You must find the group of letters that contains each letter of your protocol and then count the letters in that group to get a digit of the four-digit code needed.
You can use the tool below to get your code since there are only 20 possible combinations. In the images above, our word was CRAB and the first letter group on our chalkboard was E, so selecting those two will get us our Keypad Code: 9729. The first letter group is always the Top-Left group on the chalkboard.
Once you have the four-digit code, head down to the Service Tunnel, interact with the keypad on the door containing the HVT Doppelghast, and enter the four-digit code into the keypad to free it. Once freed, you must kill the HVT Doppelghast to obtain the Severed Arm.
Once you have obtained the Severed Arm, head to the Armory deeper in the Service Tunnel and place the arm on the biometric scanner right of the Ray Gun MKII, opening the case and allowing you to obtain the Ray Gun MKII.
Step 3: Obtain the Ray Gun MKII Variants
Before you can start working on the three variants you'll first need to obtain three empty canisters. Once all three canisters have been obtained you can begin working on all three variants. However, you can immediately start a variant once you have at least one canister if you'd prefer.
First Canister
The first canister can be obtained by shooting one of four blue crystals around the map. Each crystal has a chance to drop this canister so it may drop on your first or final crystal shot. Below are their locations.
Conservatory
South West Balcony
Service Tunnel
East Foyer
Currently, there are two ways you can break these crystals. Using the Ray Gun MKII base variant or using the
Dark Flare Field Upgrade to break them.
Second Canister
Head to the Rear Patio where ![]() Double Tap is located, and throw an LT53 Kazimir device on the floor outside the window behind the perk machine to
suck the empty canister out from the window. Once the device has ended, you can pick up your second canister.
Double Tap is located, and throw an LT53 Kazimir device on the floor outside the window behind the perk machine to
suck the empty canister out from the window. Once the device has ended, you can pick up your second canister.
If you don't want to craft a LT53 Kazmir, there is a guaranteed spawn in the Service Tunnel by the dead zombie body laying on top of the rubble in the center of the tunnel.
Third Canister
Head to the Mainframe Chamber where there will be a giant empty canister with a bold yellow letter next to it being either A or B, remember the letter that is next to this canister.
Once you have the letter, head to the Service Tunnel and look outside the barrier left of where the HVT Doppelghast used to be contained to find pipes that are labeled by letter, also being A and B.
there are some spawns around the map, with one being in the very spawn of the map on a log. Otherwise, you can craft some.
You must throw a Combat Axe first at the valve directly to the right of the leaking valve to open it, then at the valve leading to the letter you saw next to the empty canister in the Mainframe Chamber. If done correctly, the valves should be open, leading to your letter, and the empty canister should no longer be empty and filled with gas.
You do need to hit the valves pretty precisely with the Combat Axe so it may take a few tries to hit it. If you need more or did not spawn in with the Combat Axe
You must now destroy this canister with any explosive, like a Semtex, Mangler Cannon, etc., to drop your final canister for you to collect.
Ray Gun MKII-Wraith Fire
Head to Shem's Henge and place one of the empty canisters into the yellow machine opposite ![]() Speed Cola to begin the upgrade, spawning in one
Abomination when solo, two if not.
Speed Cola to begin the upgrade, spawning in one
Abomination when solo, two if not.
You must get the Abomination to use its lightning beam attack on the three smaller rocks surrounding Shem's Henge, making them glow with an ethereal blue aura. You'll then need them to make their charge attack into each of the glowing rocks to have them float up in the air.
Once all three rocks are floating in the air, the Abomination will despawn, and an energy siphon event will begin where a hole in the ground will begin stealing the aether energy from these rocks. At the same time, you must defend it from Vermin specifically.
Zombies will not be attracted to the hole in the ground, only Vermin as they try to sacrifice themselves to the hole to stop the energy siphon. If this is failed, you will need to interact with the machine again on the next round.
Once defended, you can head back to the canister, which will now be filled with energy and be transformed into the Explosive Canister.
Take this canister to the workbench in the Supply Depot, interact with the workbench to place down the canister, then hold interact on the workbench again to start crafting the Ray Gun MKII-Wraith Fire variant.
Ray Gun MKII-Rot Blight
Before starting this upgrade, you'll need to obtain four Plant Seeds. These plant seeds can be obtained from fully grown plants around the map that you must destroy with some type of explosive damage, Molotovs, and the normal Ray Gun MKII are easy ways to destroy these plants and get a seed to drop.
You'll know if you are destroying a plant successfully if it starts screaming when you destroy it and of course it will drop a seed. You can find all the locations of these plants on our Interactive Map.
Once you have four Plant Seeds, head to the Conservatory, where ![]() Quick Revive is located, and place the empty canister in the yellow machine on the
upper level, then place a seed in one of the four yellow seed propagators to begin a defense event where you must defend the seed from zombies while it grows.
Quick Revive is located, and place the empty canister in the yellow machine on the
upper level, then place a seed in one of the four yellow seed propagators to begin a defense event where you must defend the seed from zombies while it grows.
You must repeat this for the other three yellow seed propagators, all of which are located in the Conservatory. Once all four toxic spores have been harvested, you can head back to the canister to collect the Toxic Canister.
Take this canister to the workbench in the Garden Pond (Spawn Area) and interact with the workbench to place the canister, then hold interact to begin crafting the Ray Gun MKII-Rot Blight variant.
Ray Gun MKII-Preservation
Before beginning this upgrade, you'll need to obtain an Essence Bomb and two Reflectors. This bomb can be found by breaking white Project Janus crates scattered around the map, with the eighth one always dropping the bomb.
You can find the locations of all Project Janus crates on our Interactive Map.
The two Reflectors are located in lion fountains, one in the Conservatory and one on the South West Balcony. Interact with water inside these fountains to pick up the Reflectors.
Once you have the required items, head to the Service Tunnel and interact with the broken wall left of the Tier III Armor wall buy to place the Essence Bomb, blowing open a secret passageway to the Serpent Mound. Head inside and place the canister inside the yellow machine near the back of the room to begin the upgrade.
Once begun, place down a Reflector on the metal stand that the blue beam is hitting to redirect the beam, then place down the other Reflector on the other metal stand that the blue beam should now be hitting.
Once completed, the blue beam should be hitting one of the three Doppelghast statues. If so, you must melee the blue crystal to send a charge across the blue beam and into the statue to turn it into a normal Doppelghast that you must kill.
For the second Doppelghast statue, melee the first Reflector to change its direction and pick up the second Reflector and place it on the other metal stand at the top of the side passage within the Serpent Mound. Once placed, melee that Reflector to redirect the beam to a new Doppelghast statue. Once completed, melee the blue crystal again to send a charge across the beams and into the statue turning it into a Doppelghast that you must kill.
For the final Doppelghast statue, adjust the first mirror's direction again until it is hitting the statue, then melee the crystal, this time turning the statue into an HVT Doppelghast, which is going to be slightly harder to kill than a normal one. Once all three Doppelghast have been defeated, head back to the yellow machine to pick up the Light Canister, which you can now place at the workbench in the Director's Quarters by interacting with it, then holding interact on the workbench to craft the Ray Gun MKII-Preservation variant.
Step 4: Complete the three rituals
Each of these three rituals is tied to a specific variant of the Ray Gun MKII, meaning you'll need to have that variant of the Ray Gun MKII to complete the corresponding ritual. To begin a ritual, you'll first need to obtain that ritual's item.
Antler Carving Ritual
Using the Ray Gun MKII-Preservation variant, head to the Banquet Hall and interact with the computer next to the painting to begin an event where you'll need to get kills with that variant to charge the Liminal Portal.
Once charged, head inside the portal and look around the tables for a bright red bottle of Ritual Elixir that you must interact with to pick up.
Once you have obtained the Ritual Elixir, you'll need to pour this elixir into three chalices located around the map. Each chalice summons an Elder Disciple that you must defeat, which, once defeated, will spawn a symbol above the chalice indicating the completion of that chalice.
Bottlery Chalice
Overlook Chalice
Garden Pond Chalice
Once you have completed the three chalices, head back to the Banquet Hall, and on the walls around the Elevator will be three sets of numbers that you must remember in order from left to right. These are codes for a safe.
Head to the West Hallways and interact with the safe right of the ![]() Death Perception perk machine and enter the three sets of numbers from left to right,
opening the safe and revealing the Antler Carving for you to collect.
Death Perception perk machine and enter the three sets of numbers from left to right,
opening the safe and revealing the Antler Carving for you to collect.
Once you have the Antler Carving, head back to the Liminal Portal in the Banquet Hall with the Ray Gun MKII-Preservation variant and interact with the stone pedestal to begin the ritual.
During this ritual, an HVT Elder Disciple will be the enemy you have to kill to complete it and this disciple will have a shield at times which can ONLY be damaged by the Ray Gun MKII-Preservation variant.
Once the ritual is completed, you can interact with the Sentinel Artifact to pick it back up, indicating the completion of this ritual, and you can move on to the next one.
Metal Hip Flask Ritual
Using the Ray Gun MKII-Wraith Fire variant, head to the Banquet Hall and when entering from the Rear Patio on the left, on a table will be a cardboard box with a Sconce that you must pick up.
Once you have the Sconce, head to the Grand Foyer and place it in the hole in the wall right of the other Sconce, right next to the
![]() Juggernog machine, starting a short Simon Says mini-game.
Juggernog machine, starting a short Simon Says mini-game.
This mini-game has three rounds where the Sconces will flash their lights in the order you must interact with them, the first round being one flash, the second round being two flashes, and the third round being three flashes. Once you have completed the game, the wall will open up a secret passageway to the Distillery. Interact with the computer next to the painting in that room to begin another event where you must charge the Liminal Portal by killing zombies with the Ray Gun MKII-Wraith Fire variant only. Once completed, head inside the portal to spawn in the next item.
It is important that you actually go into the Liminal Portal otherwise you will not be able to obtain the ritual item.
Head to the Study. You must pick up a Bell that can spawn in one of three locations within this room:
Once you have the Bell, head to the bar in the Overlook and place it down next to the "Please ring the bell for service" sign. You'll then need to obtain
![]() Brain Rot on your weapon and charm a zombie next to this bell and interact with the bell to ring it.
Brain Rot on your weapon and charm a zombie next to this bell and interact with the bell to ring it.
If done correctly, the brain-rotted zombie should jump being the bar and begin drinking from a flask, killing the zombie and dropping the Metal Hip Flask on the plate left of the bell for you to pick up.
If the zombie doesn't jump behind the bar, be sure to ring the bell multiple times until it does.
Once you have the flask, head back into the Liminal Portal in the Distillery with the Ray Gun MKII-Wraith Fire variant and interact with the stone pedestal to begin the ritual.
This ritual spawns an HVT Mangler that will periodically have a shield that can ONLY be damaged by the Ray Gun MKII-Wraith Fire variant.
Once the ritual is completed, you can interact with the Sentinel Artifact to pick it back up, indicating the completion of this ritual, and you can move on to the final ritual before the boss fight.
Nuclear Plant Inspection Report Ritual
Using the Ray Gun MKII-Rot Blight variant, head to the Library and interact with the computer next to the painting to begin an event where you must kill zombies with the Ray Gun MKII-Rot Blight to charge the Liminal Portal. Once open, head inside the portal to spawn the next couple of items you will need to collect to start the ritual.
You must enter the portal at least once to spawn the next couple of items you will need.
You'll now need to collect three items while using the ![]() Aether Shroud field upgrade, so be sure to switch to it in the pause menu if you
didn't spawn in with it equipped. Each item has two known spawn locations that you must check while in
Aether Shroud field upgrade, so be sure to switch to it in the pause menu if you
didn't spawn in with it equipped. Each item has two known spawn locations that you must check while in ![]() Aether Shroud.
Aether Shroud.
If you do not have the
Audio Log
Ledger
If the Ledger is not in the study, it will be located in East Foyer, upstairs on the desk left of the couch with the briefcase
Nuclear Plant ID Badge
If the badge is not in East Foyer, it will be located in the Banquet Hall, inside of the fireplace left of the elevator. Having the
Extra Charge augment is extremely helpful for this step. You can see the item for about 10 seconds after exiting
Once you have the three items, head to the Library, opposite the Liminal Portal will be the glowing white books that you must interact with in a specific order.
There are only three books, so you can find the order very easily with trial and error by interacting with each of the books until it has an ethereal blue glow indicating that it is the start of the order, then interact with one of the other books to find out the full order.
Once you have interacted with the books in the correct order, a secret room will open up containing the Nuclear Plant Inspection Report. Once you have the report, head inside the Liminal Portal with the Ray Gun MKII-Rot Blight and interact with the stone pedestal to begin the ritual.
This ritual spawns an HVT Amalgam that will periodically have a shield that can ONLY be damaged by the Ray Gun MKII-Rot Blight variant.
Once the ritual is completed, you can interact with the Sentinel Artifact to pick it back up indicating the completion of this ritual, and you can begin preparing for the final boss fight.
If at any point you could not start a ritual, even with the ritual item and correct wonder weapon, you may need to flip the round to begin the ritual as if you get all the items needed within the same round it will not let you start the ritual.
Step 5: Defeat the Z-Rex
Before entering this boss fight make sure you have all your perks, max armor, fully pack-a-punched weapons with the Ray Gun MKII-Wraith Fire variant, and a Mutant Injection or Chopper Gunner as a get out of jail free card. Remember everyone in your game can have the same variant of the Ray Gun MKII.
This is a four-phase boss fight with NO MAX AMMOS, however, zombies in this boss fight constantly drop more ammo than usual to compensate. That being said, make sure to have a powerful enough secondary weapon to kill zombies to gain ammo for your Ray Gun MKII-Wraith Fire.
Entering the Boss Fight
Head down the Mainframe Chamber and interact with the console in front of the giant S.A.M. AI to begin the final encounter, triggering a short pre-fight cutscene.
Boss Attacks
The boss has four attacks, two melee, two ranged; A devasting chomp if he gets close to you launching your character up a bit, a triple tail slam that does a lot of damage in the later phases, a toxic vomit that it shoots onto the battlefield leaving toxic spots around the arena that damage and slow you down if you walk in them, and a leap attack that deals massive damage if he lands on top of you.
There are no wipe mechanics, and honestly nothing threatening if you stay away from the Z-Rex, however that is easier said than done as it is pretty fast in the later phases.
Phase 1
The Z-Rex will move around the arena in a medium-speed trot periodically eating Toxic Zombies that will appear on its sides that you can shoot for massive damage. The Z-Rex glowing eyes are also a weak point that you can always shoot at throughout this phase.
During this entire boss fight, you must be doing three main things, killing zombies for ammo, avoiding toxic pools, and keeping distance from the Z-Rex. If you can maintain those three things, you will be able to defeat this boss. Always look to damage Z-Rex when it is on the other side of the arena from you or if it has the Toxic Zombies on its sides.
Phase 2
The Z-Rex will move around faster, and the zombies will also be faster at this point you already need to constantly moving, planning routes around where the toxic pools are, and always keep a wall between you and the Z-Rex when you aren't damaging it.
Phase 3
The Z-Rex is going to be very fast at this point it can easily outrun you in straight lines so keeping a wall between you and the Z-Rex is even more important, only stop to do damage when the Z-Rex is on the other side of the arena from you and immediately begin running away again once it starts charging towards you.
Phase 4
At this point, the Z-Rex is constantly running, only stopping periodically to eat some Toxic Zombies or vomit.
![]() Aether Shroud is going to be massively helpful for this phase to allow you to do damage to the boss, otherwise you need to be constantly moving only
damaging the boss when it either stops for a bite or is on the other side of the arena from you.
Aether Shroud is going to be massively helpful for this phase to allow you to do damage to the boss, otherwise you need to be constantly moving only
damaging the boss when it either stops for a bite or is on the other side of the arena from you.
This boss fight is all about movement so
PHD Flopper with the
Tribologist minor augment is incredible for this fight and can definitely save your life. As long as you aren't running in a straight line, the Z-Rex will have a much harder time getting to you.
Once you have defeated the Z-Rex it will turn back into its skeleton form and fall to the ground and the ending cutscene will begin.
Congratulations you have completed the Shattered Veil main quest!
Video Guides
Guide by MZC
Guide by CodeNamePizza
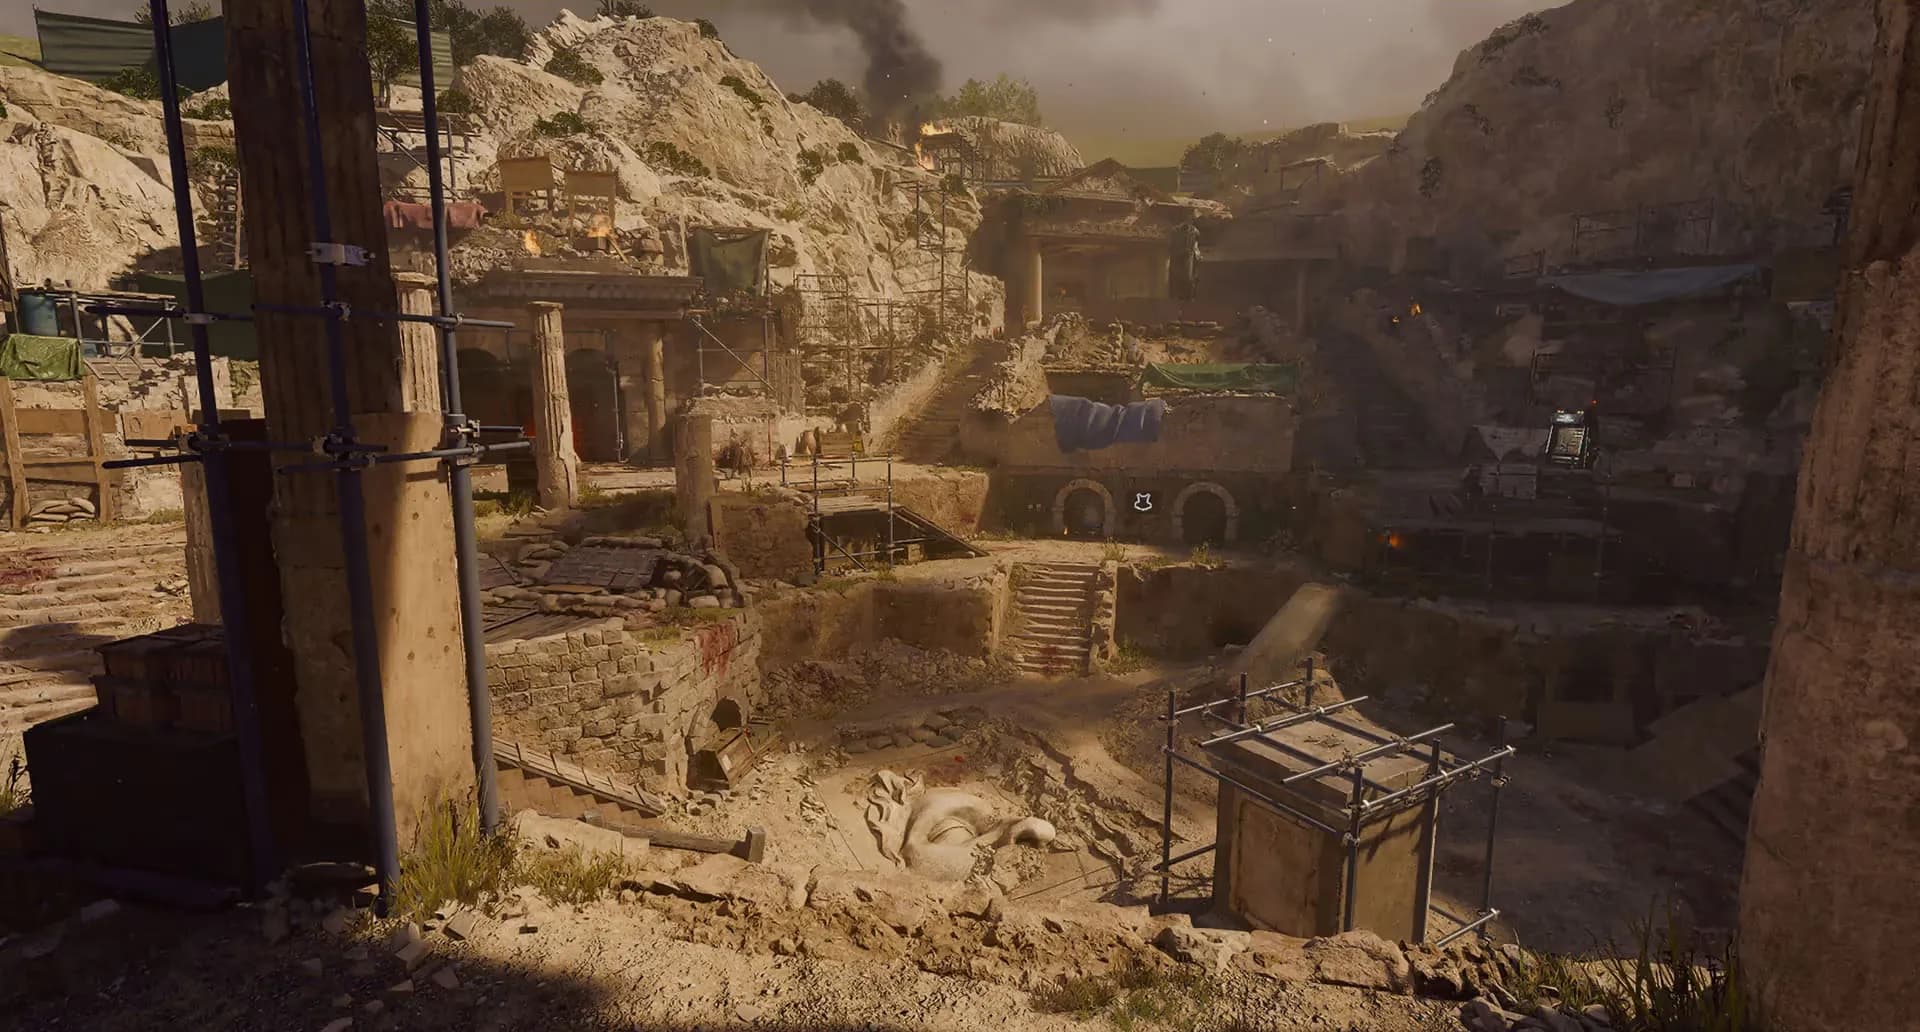
The Tomb
Cursed catacombs guard a gate to a world of darkness. Follow in the footsteps of a doomed explorer. Pass the Trials of the Damned. Claim the fabled Sentinel Artifact.
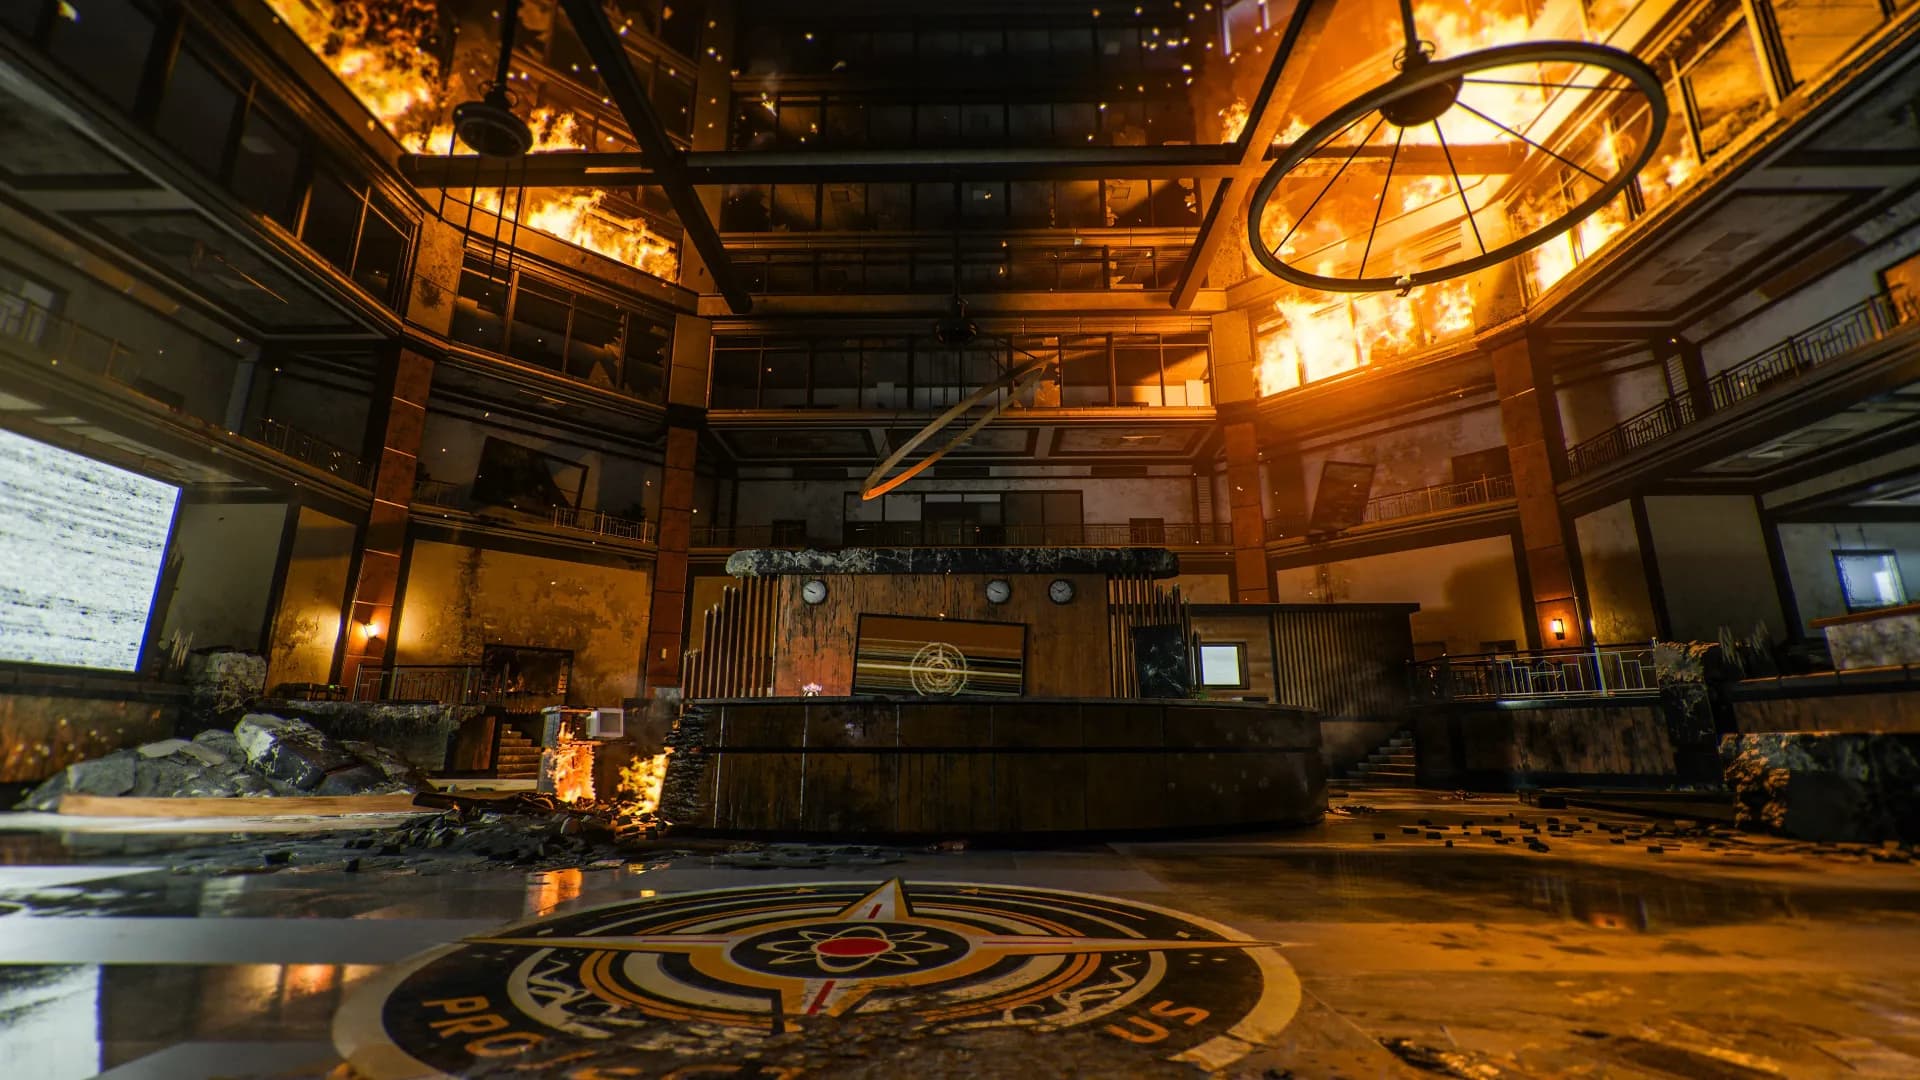
Reckoning
Project Janus HQ teeters on the verge of collapse. Stabilize the Aether Reactors. Unleash the Sentinel Artifact. Complete the mission that began on Terminus.