Blood of the Dead
Most Escape Alive
The main quest for Blood of the Dead is called Most Escape Alive. The goal in this quest for our Primis crew is to break the cycle and close the loop once and for all.
You must be playing on Normal difficulty or higher to do this main quest.
Requirements
This quest can be done with any number of players, but you will need to acquire the following items to complete it fully:
- Hell's Retriever
- Spoon
- Spectral Shield
- Monkey Bombs (can also be found in the Mystery Box)
While not required to complete this main quest, I strongly recommend getting the Magmagat, as this wonder weapon is extremely useful and powerful for many parts of this main quest. The Monkey Bombs are also only required if you want to begin Step 2 before Round 17.
Recommended Class Setups
| Special Weapon | Perks | Start Weapon | Equipment |
|---|---|---|---|
| Path of Sorrows | Strife | Wraith Fire |
Winter's Wail should be put into the Modifier slot.
Recommended Elixirs
Step: 1 Unleash the Spirits
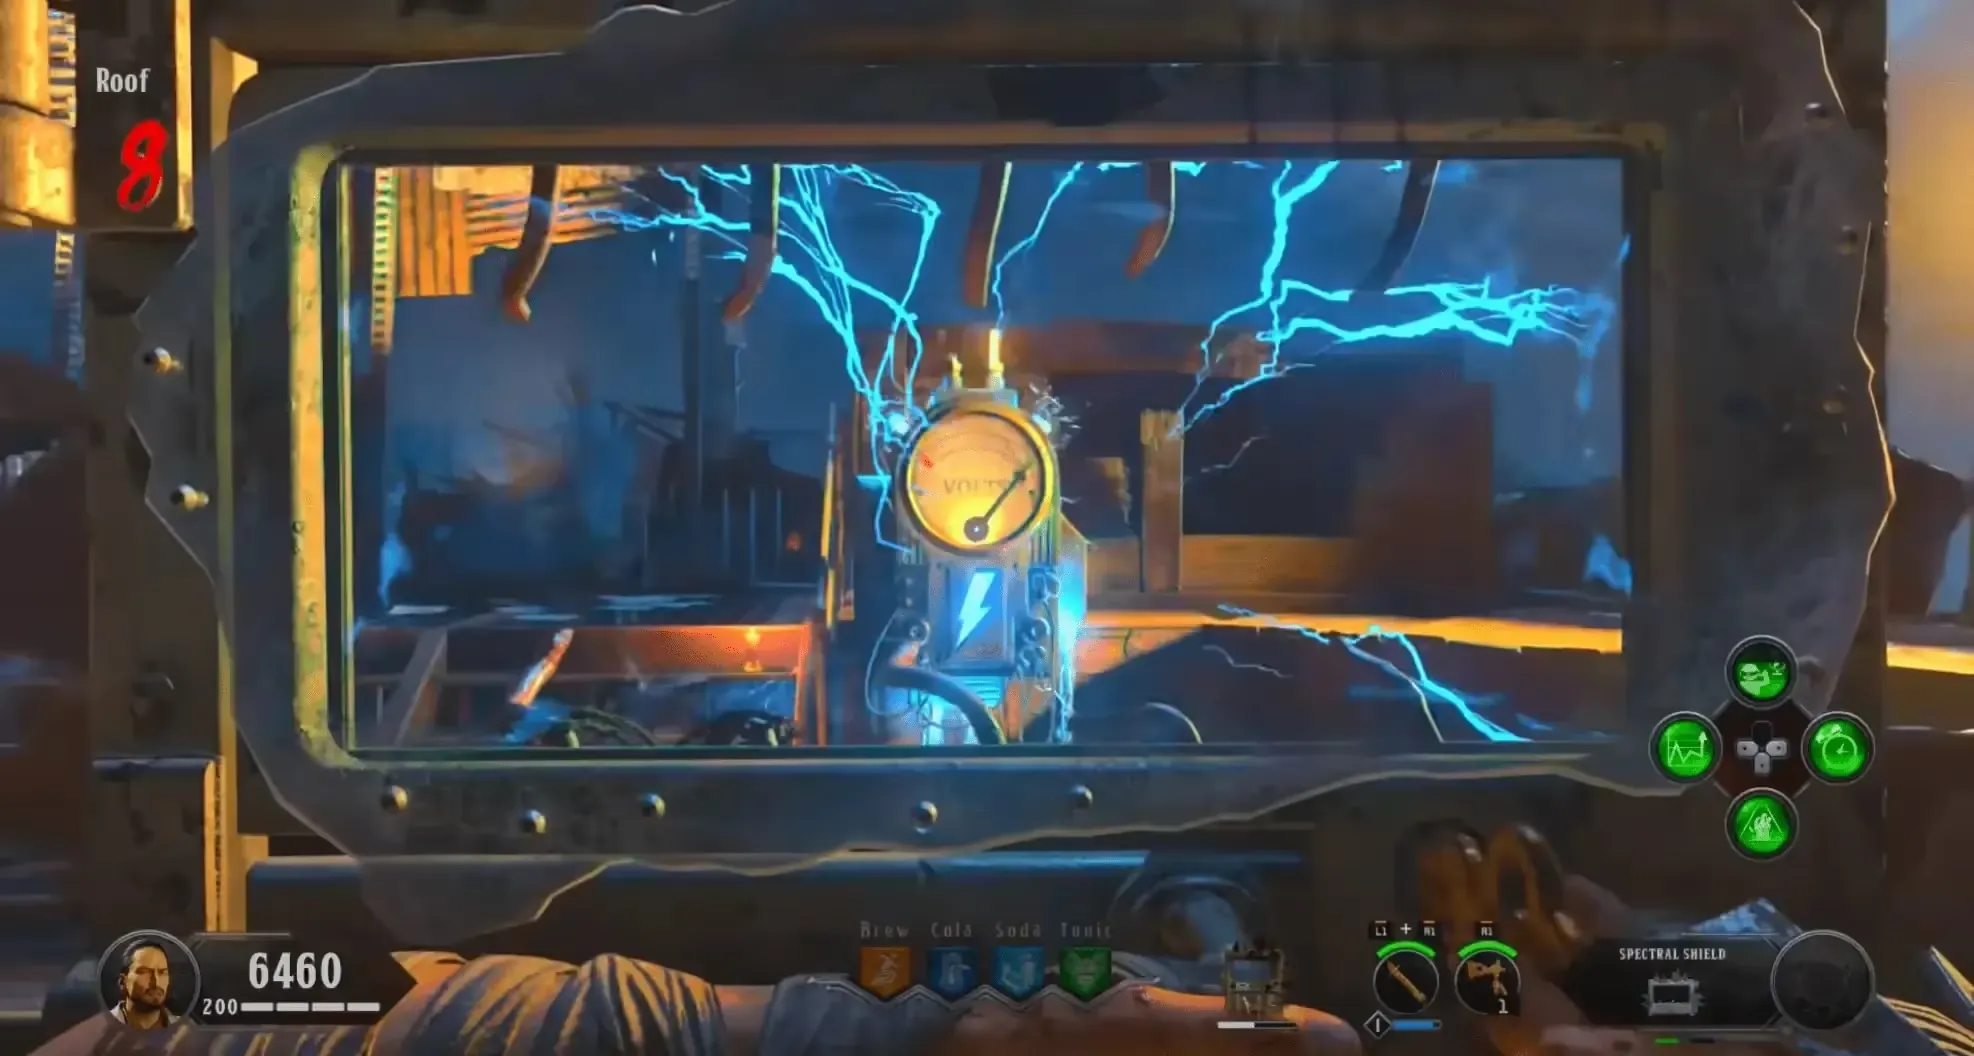
Unleash the spirits on the Roof of the prison to reveal the Pack-a-Punch by blasting the Voltmeter with the Spectral Shield.
Obtaining the Spectral Shield
The Spectral Shield requires three parts to build, each part (excluding the key) having three locations they can spawn
The first part is the Warden's Key, which can be obtained after killing Brutus when you cross the catwalk to enter the prison.
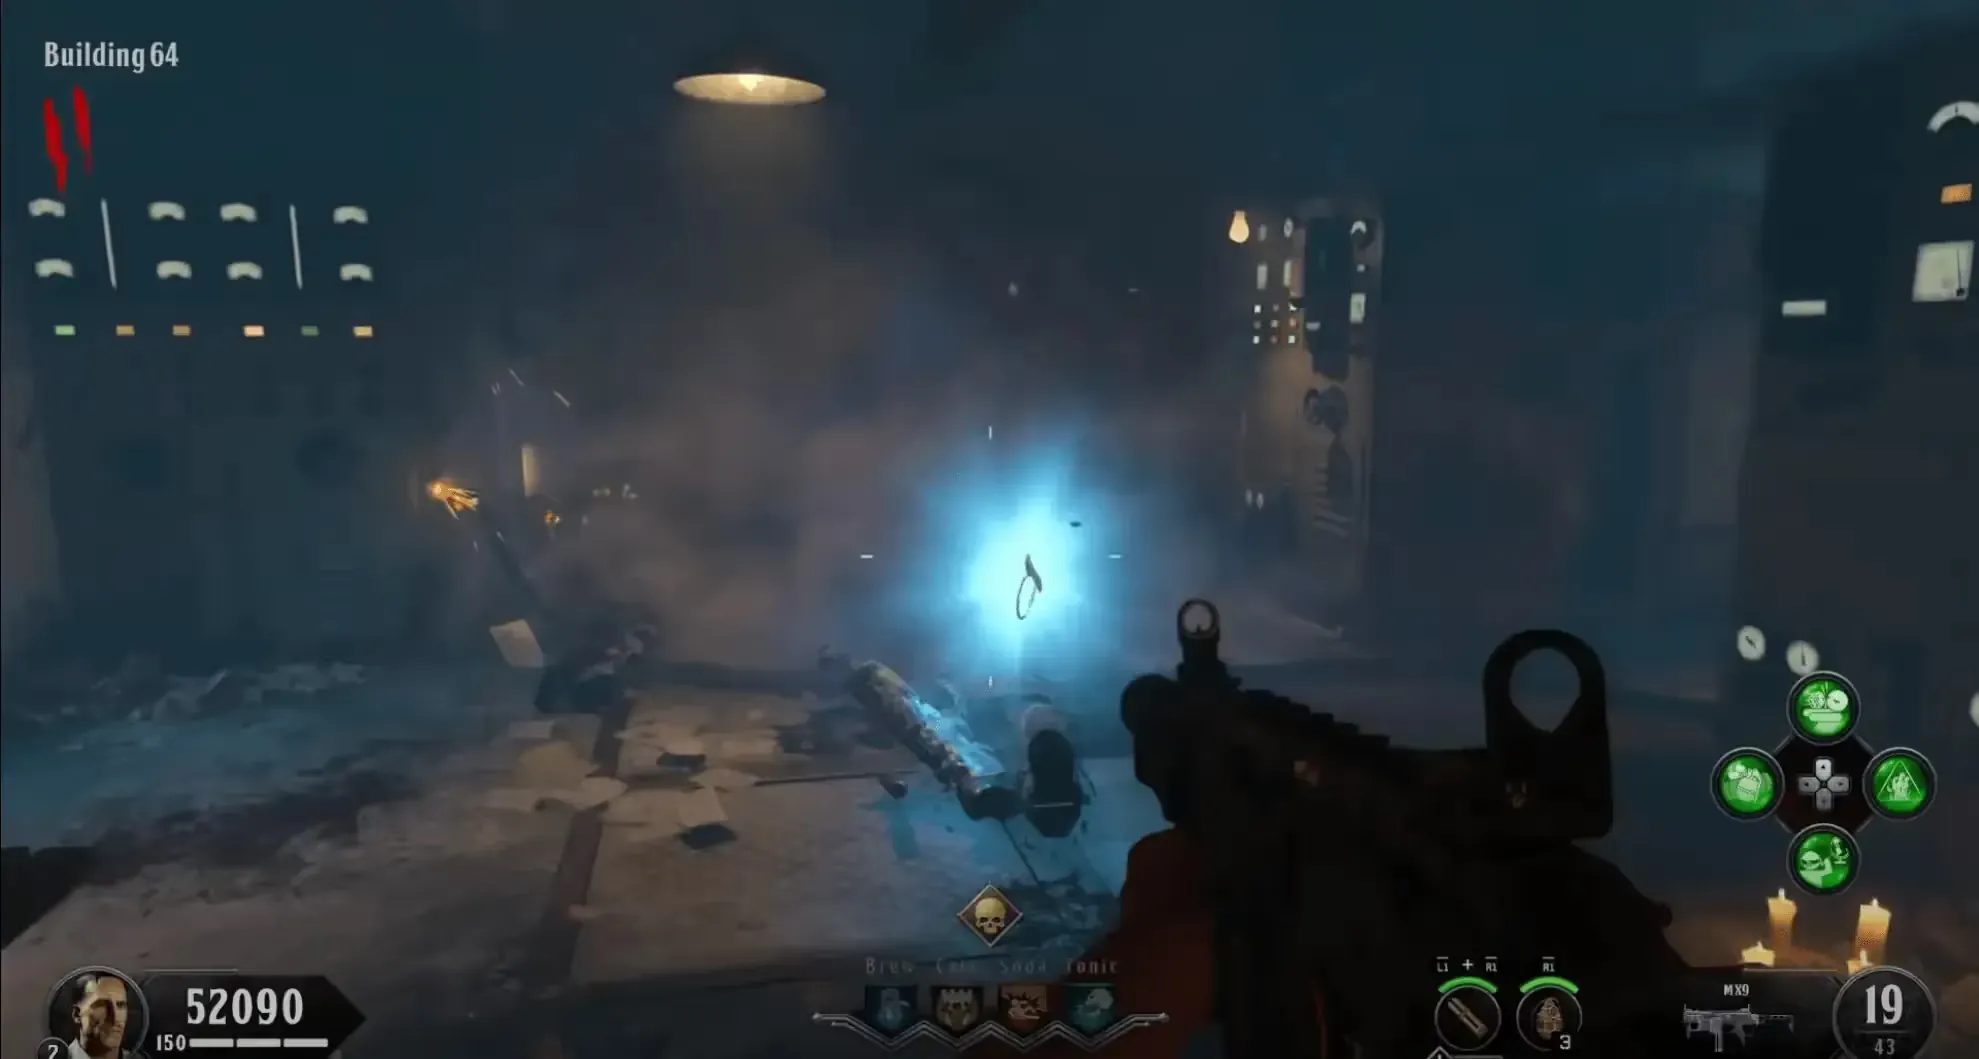
The second part is the Spectral Essence, which can be found on a power box around the map:
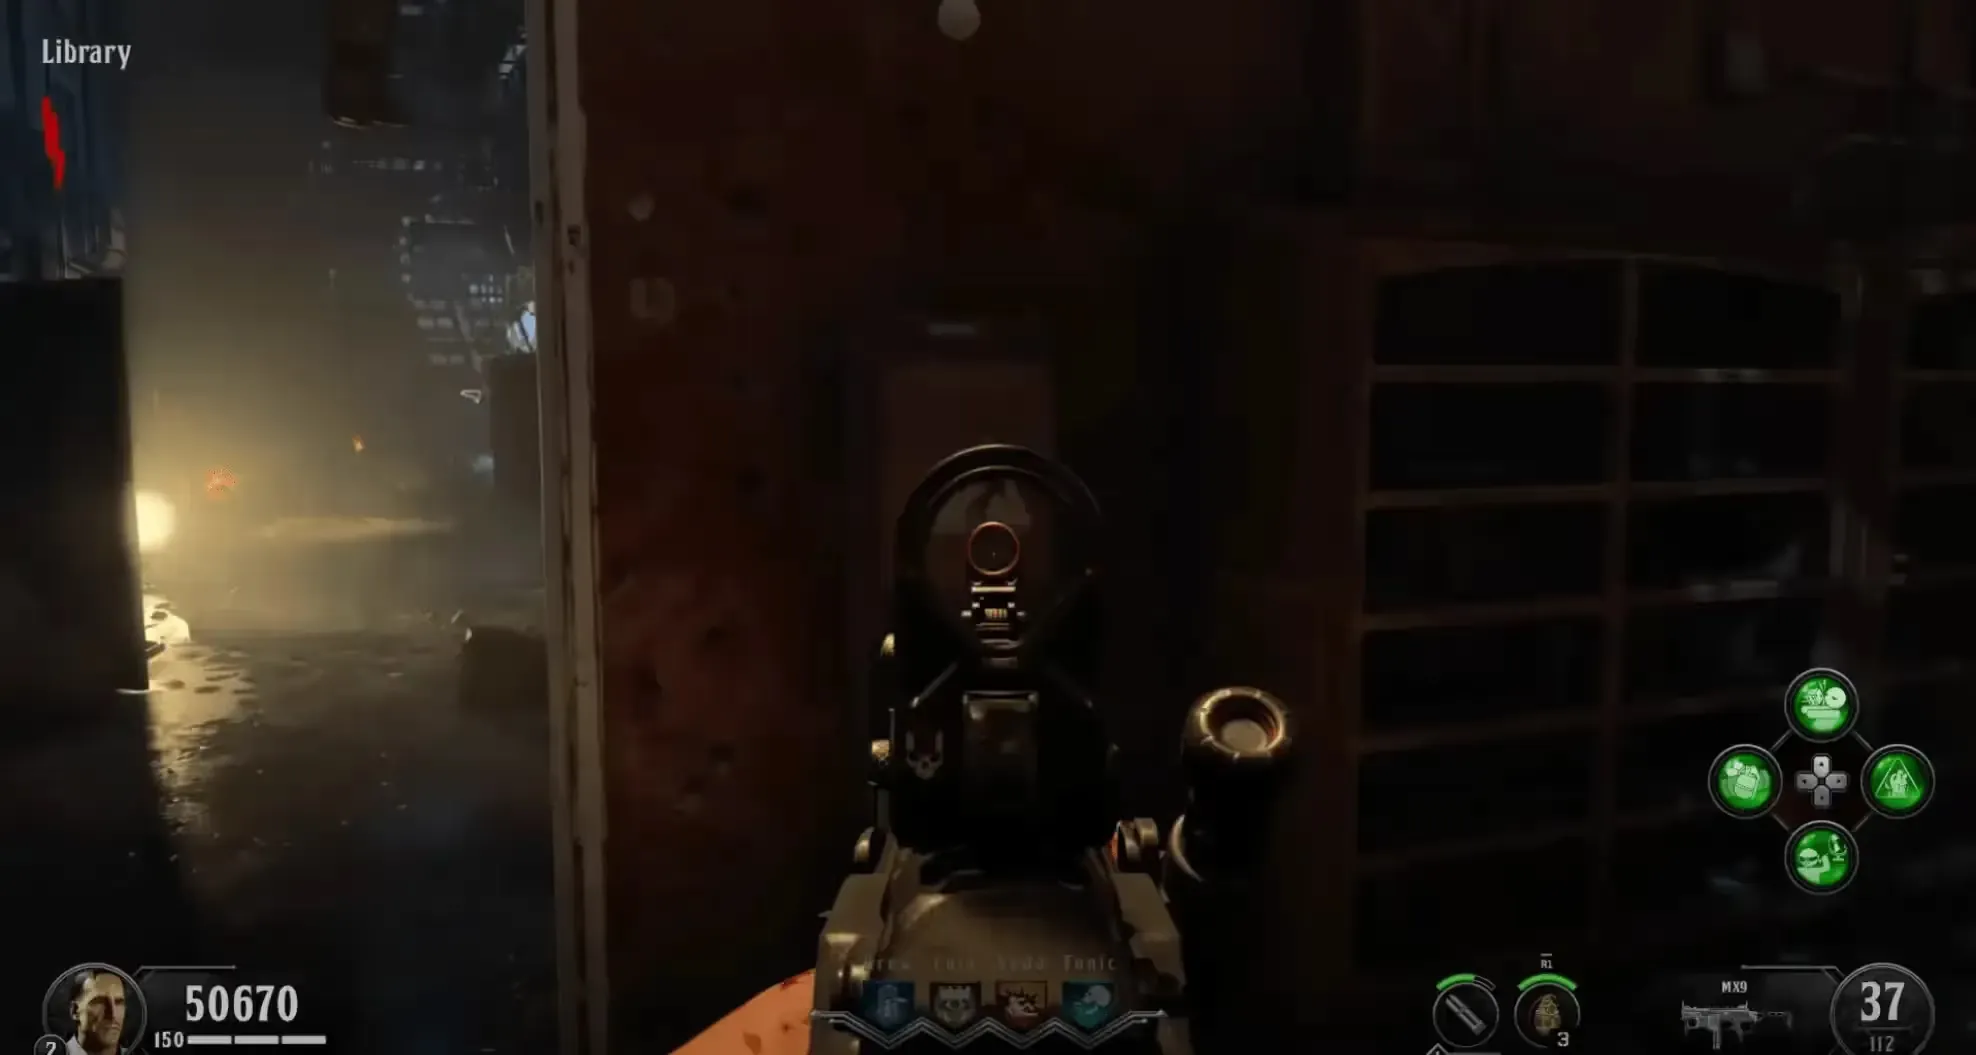
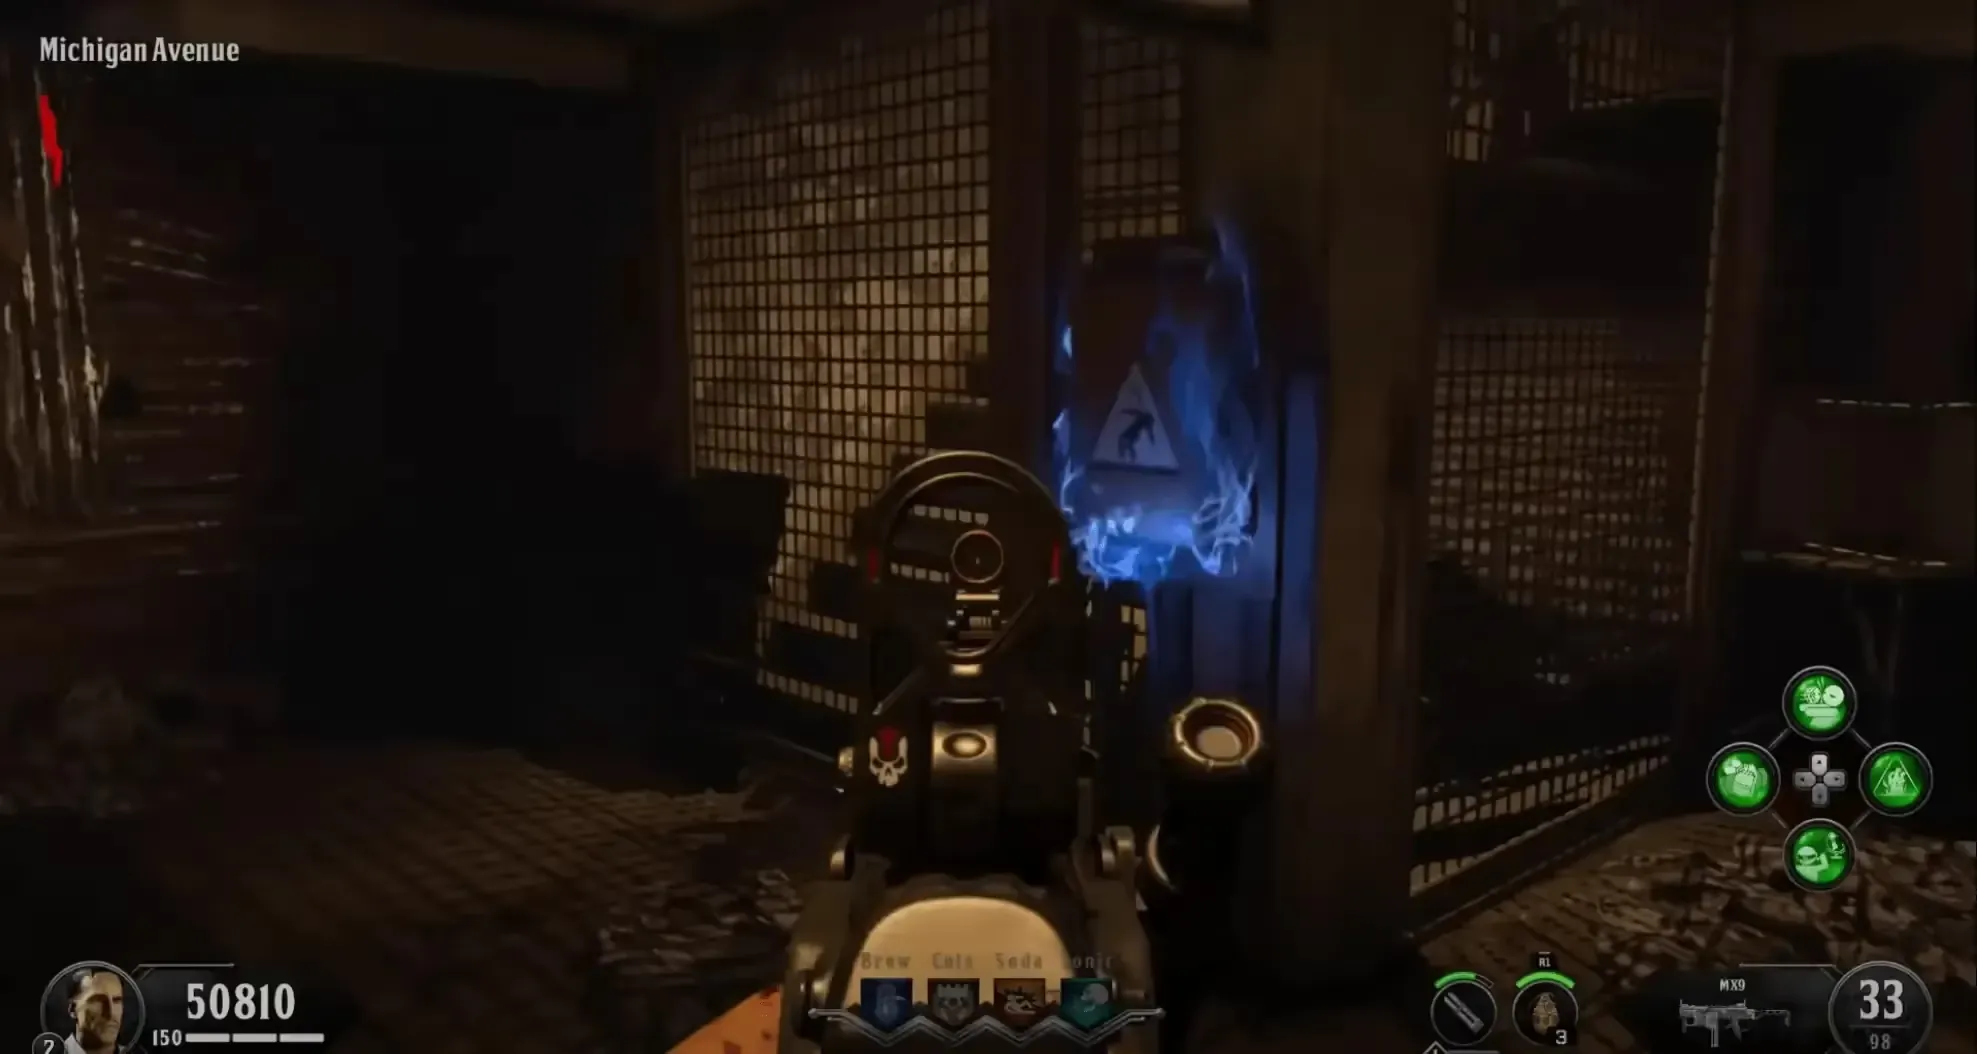
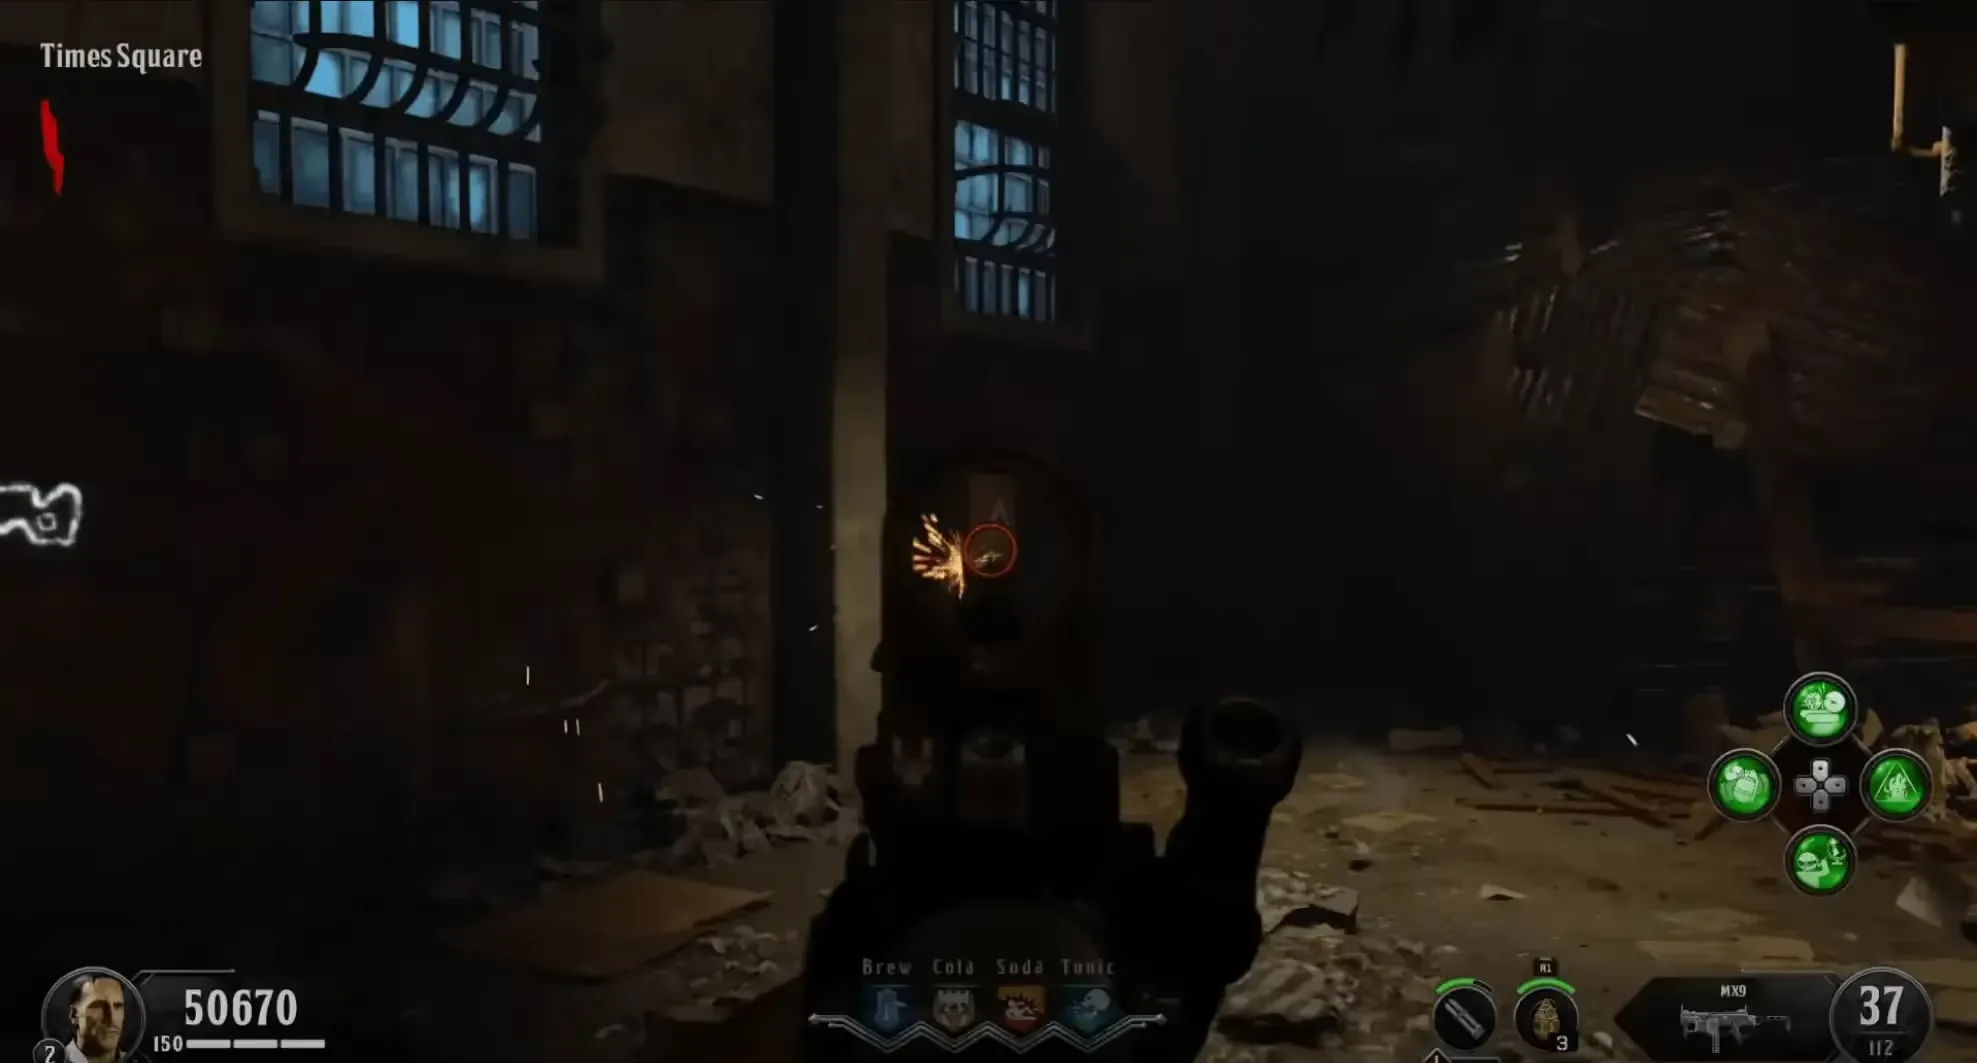
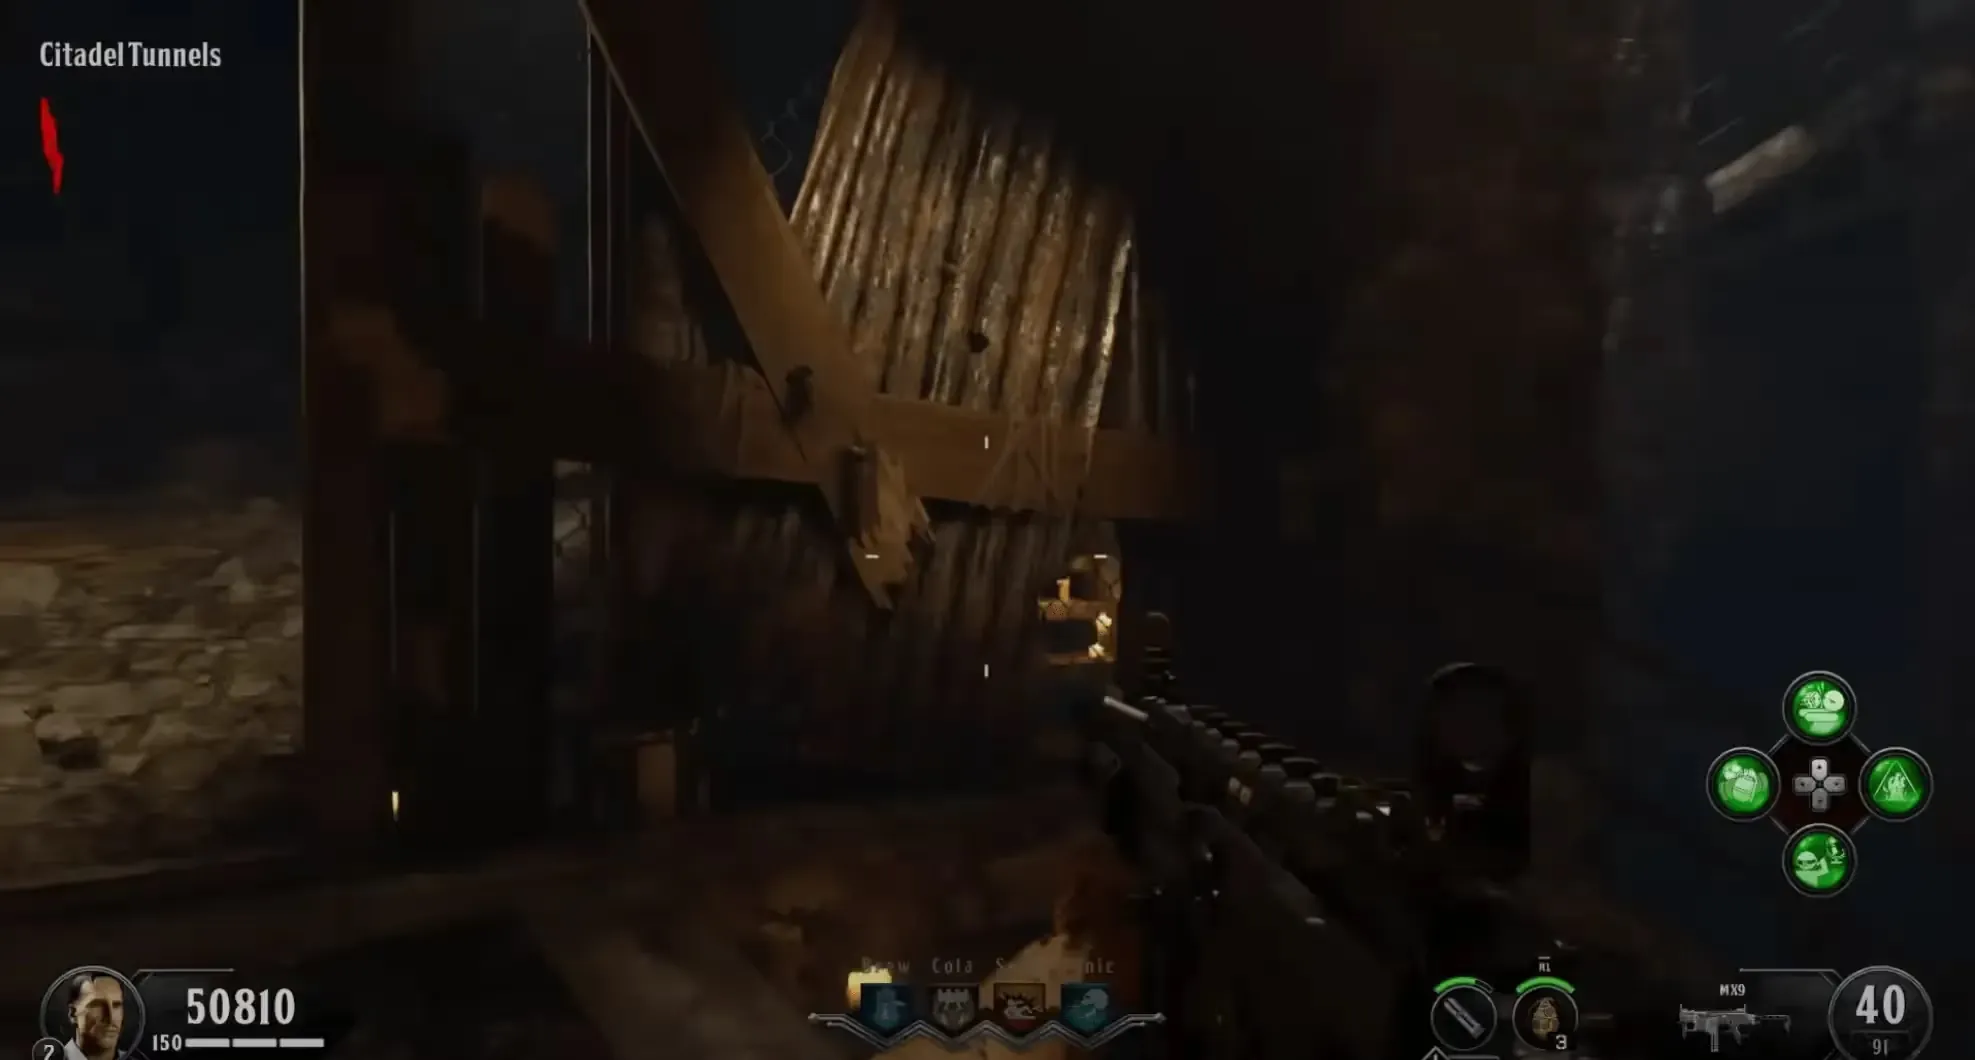
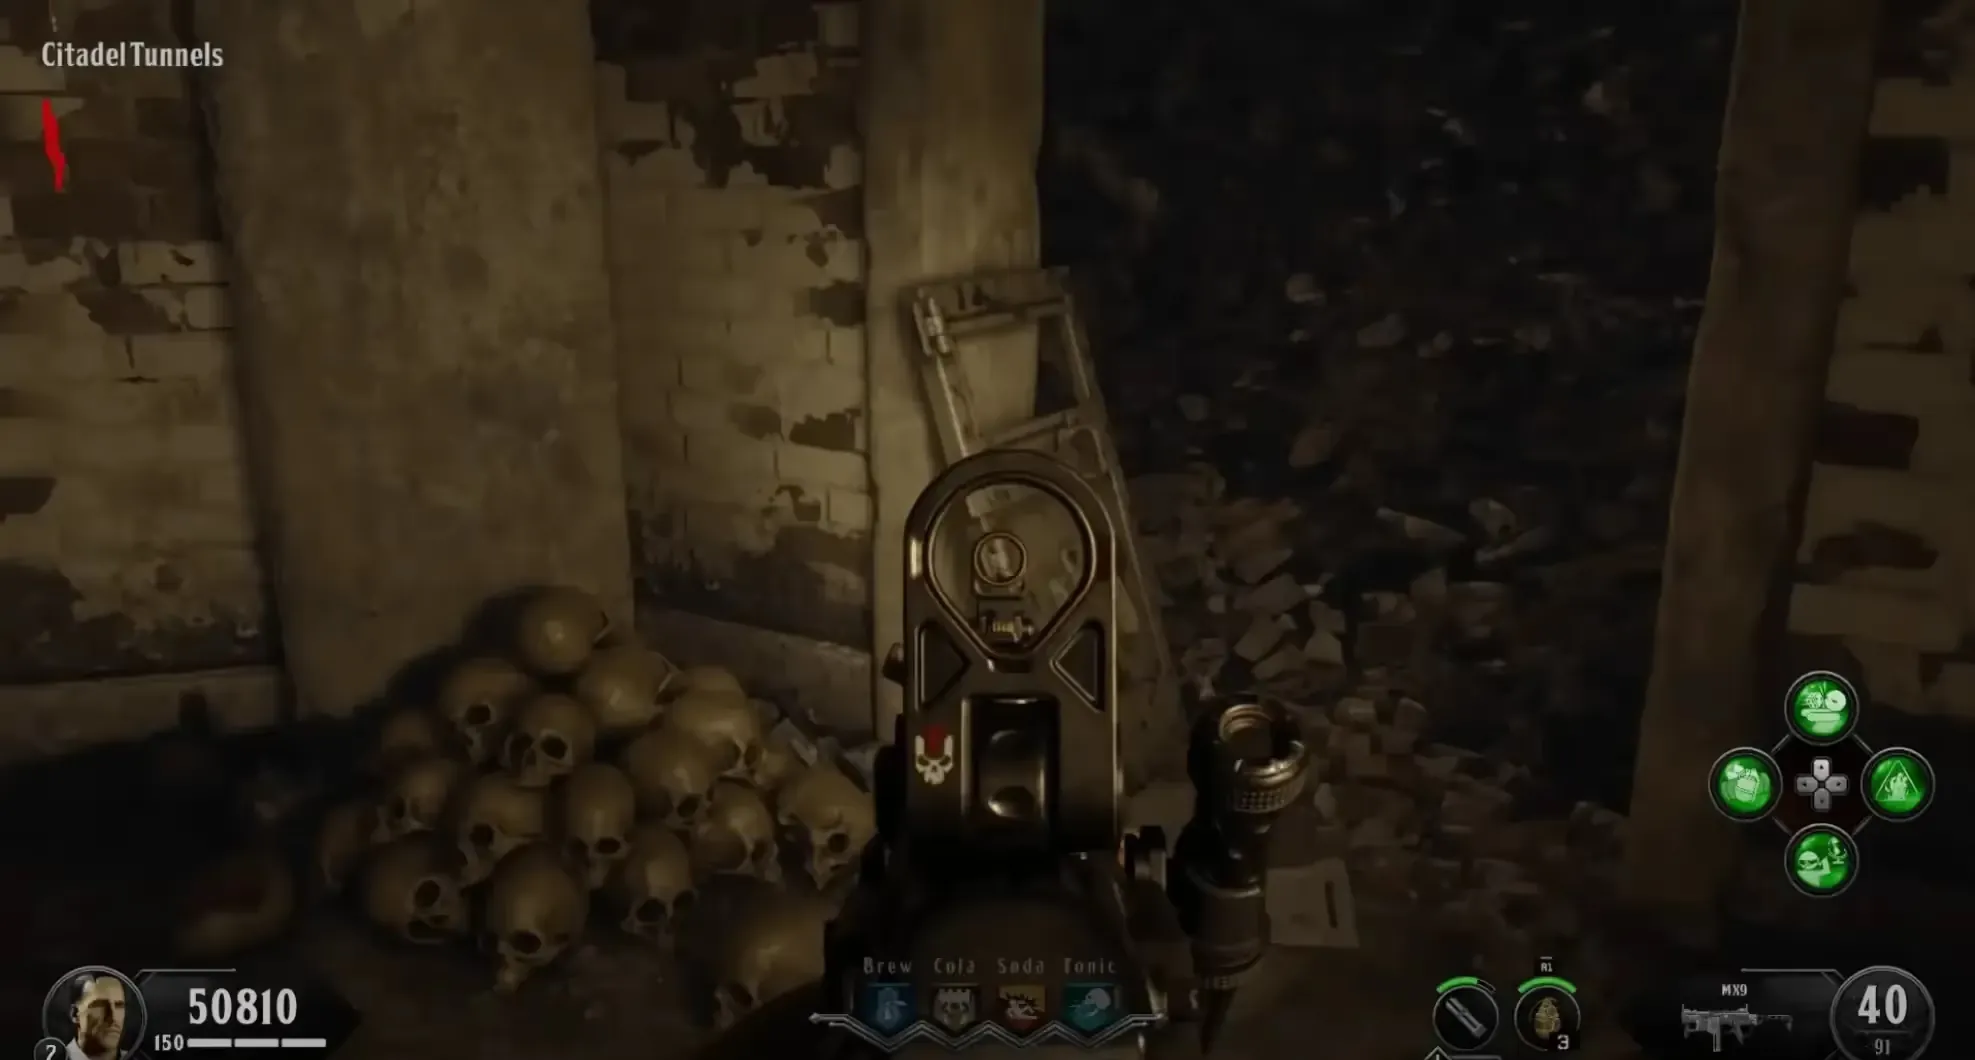
The final part is the Cell Door, which can be found near the Citadel Tunnels and China Alley:
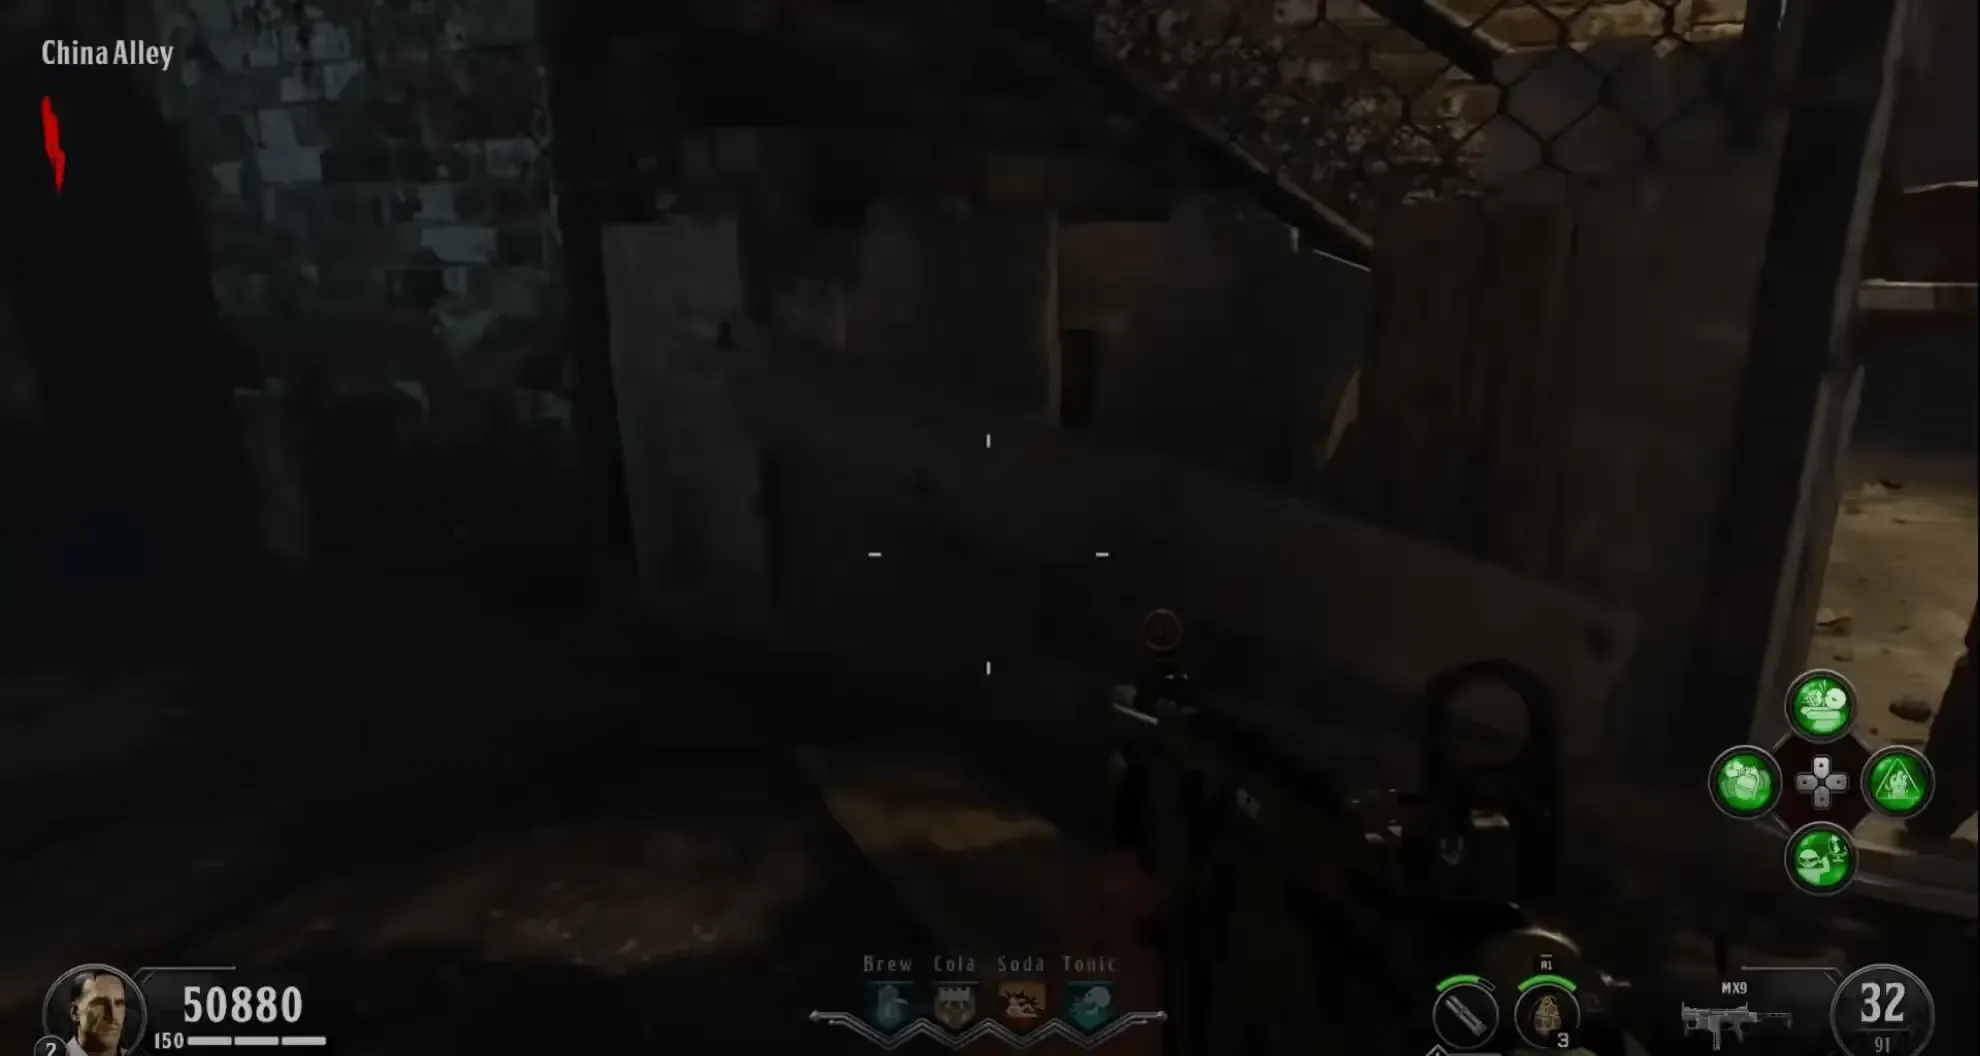
Once all three parts have been collected, head to the Cell Block 3rd Floor and build the shield on that workbench. You can also upgrade the shield to the Attuned Spectral Shield by hitting the Mystery Box until you get the lock, shocking it with the key until it turns blueish/white, and then throwing the Hell's Retriever at it.
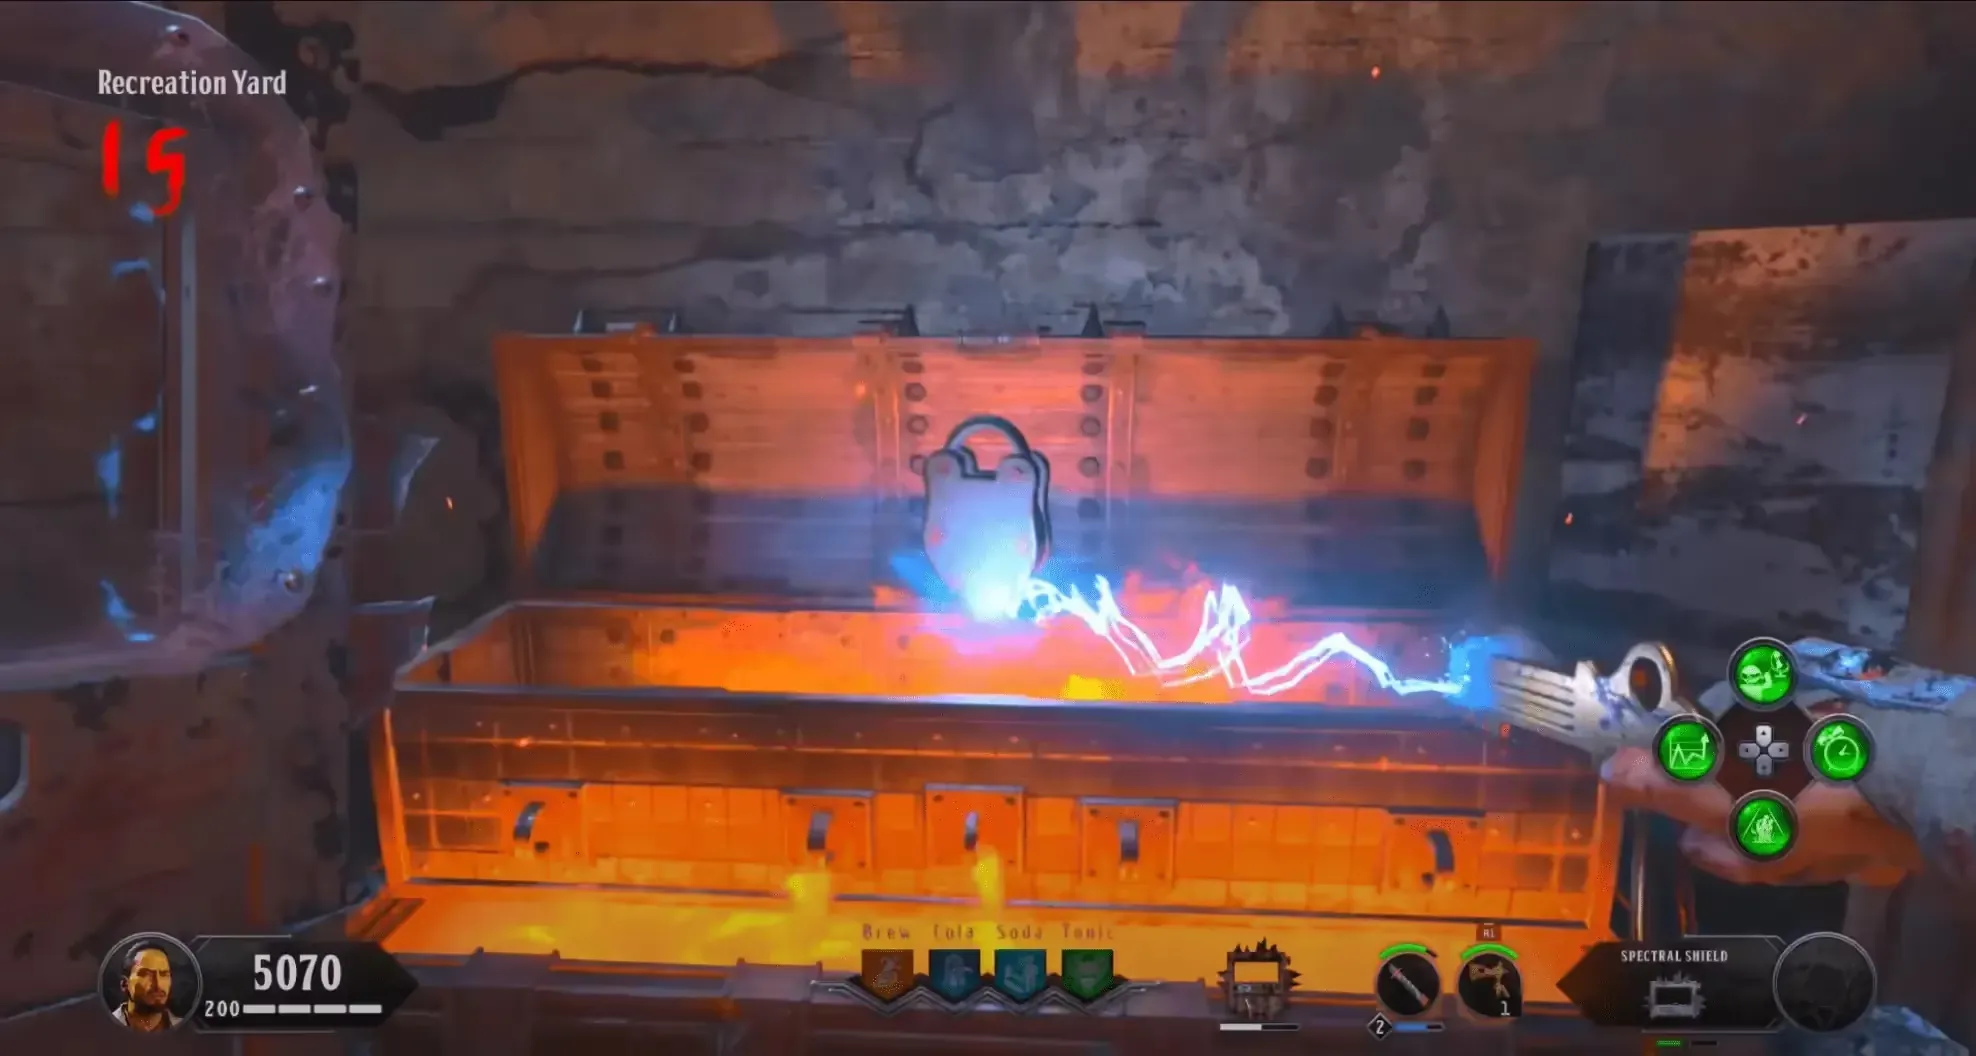
In co-op, when getting the Attuned Spectral Shield, all players with the Hell's Retriever can throw it at the same time as the person who throws it at the lock to give all players the upgraded shield.
Step 2: Shock and Denial
You need the Spoon and Monkey Bombs to do this step before Round 17. This is because without Monkey Bombs you need a special type of warden to spawn in which only spawns at Round 17 onward.
Head to the Warden's House and melee the wall with the Spoon upstairs, left of the wall buy. Lure a Brutus to the house and throw a Monkey Bomb at the wall buy at the top of the stairs, the warden should then destroy both the Monkey Bomb and the wall, revealing a secret area.
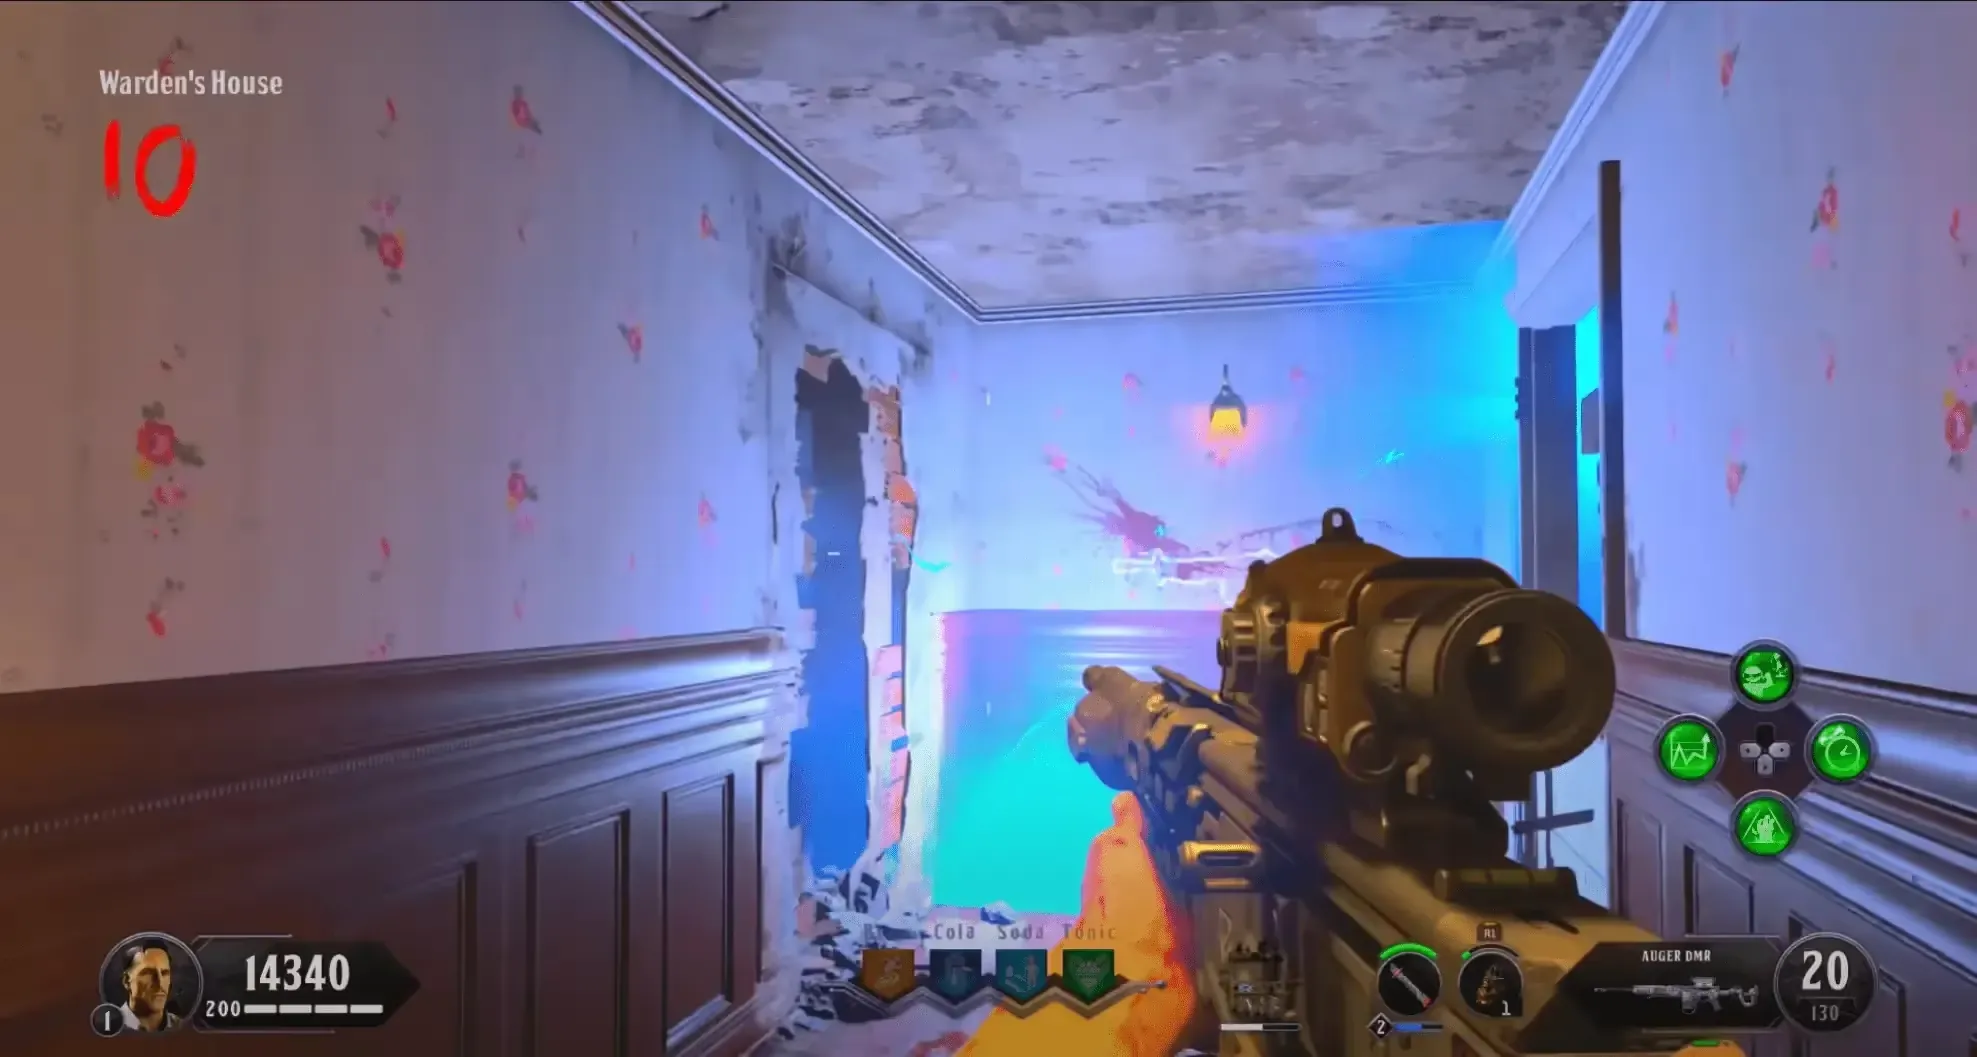
You can spawn in a Brutus by inputting the code 666 in the Voltmeters at the bottom of the Citadel Tunnels spiral staircase. If you the warden doesn't destroy the wall when destroying the monkey bomb, try again, but this time throw the Monkey Bomb a little closer to the wall.
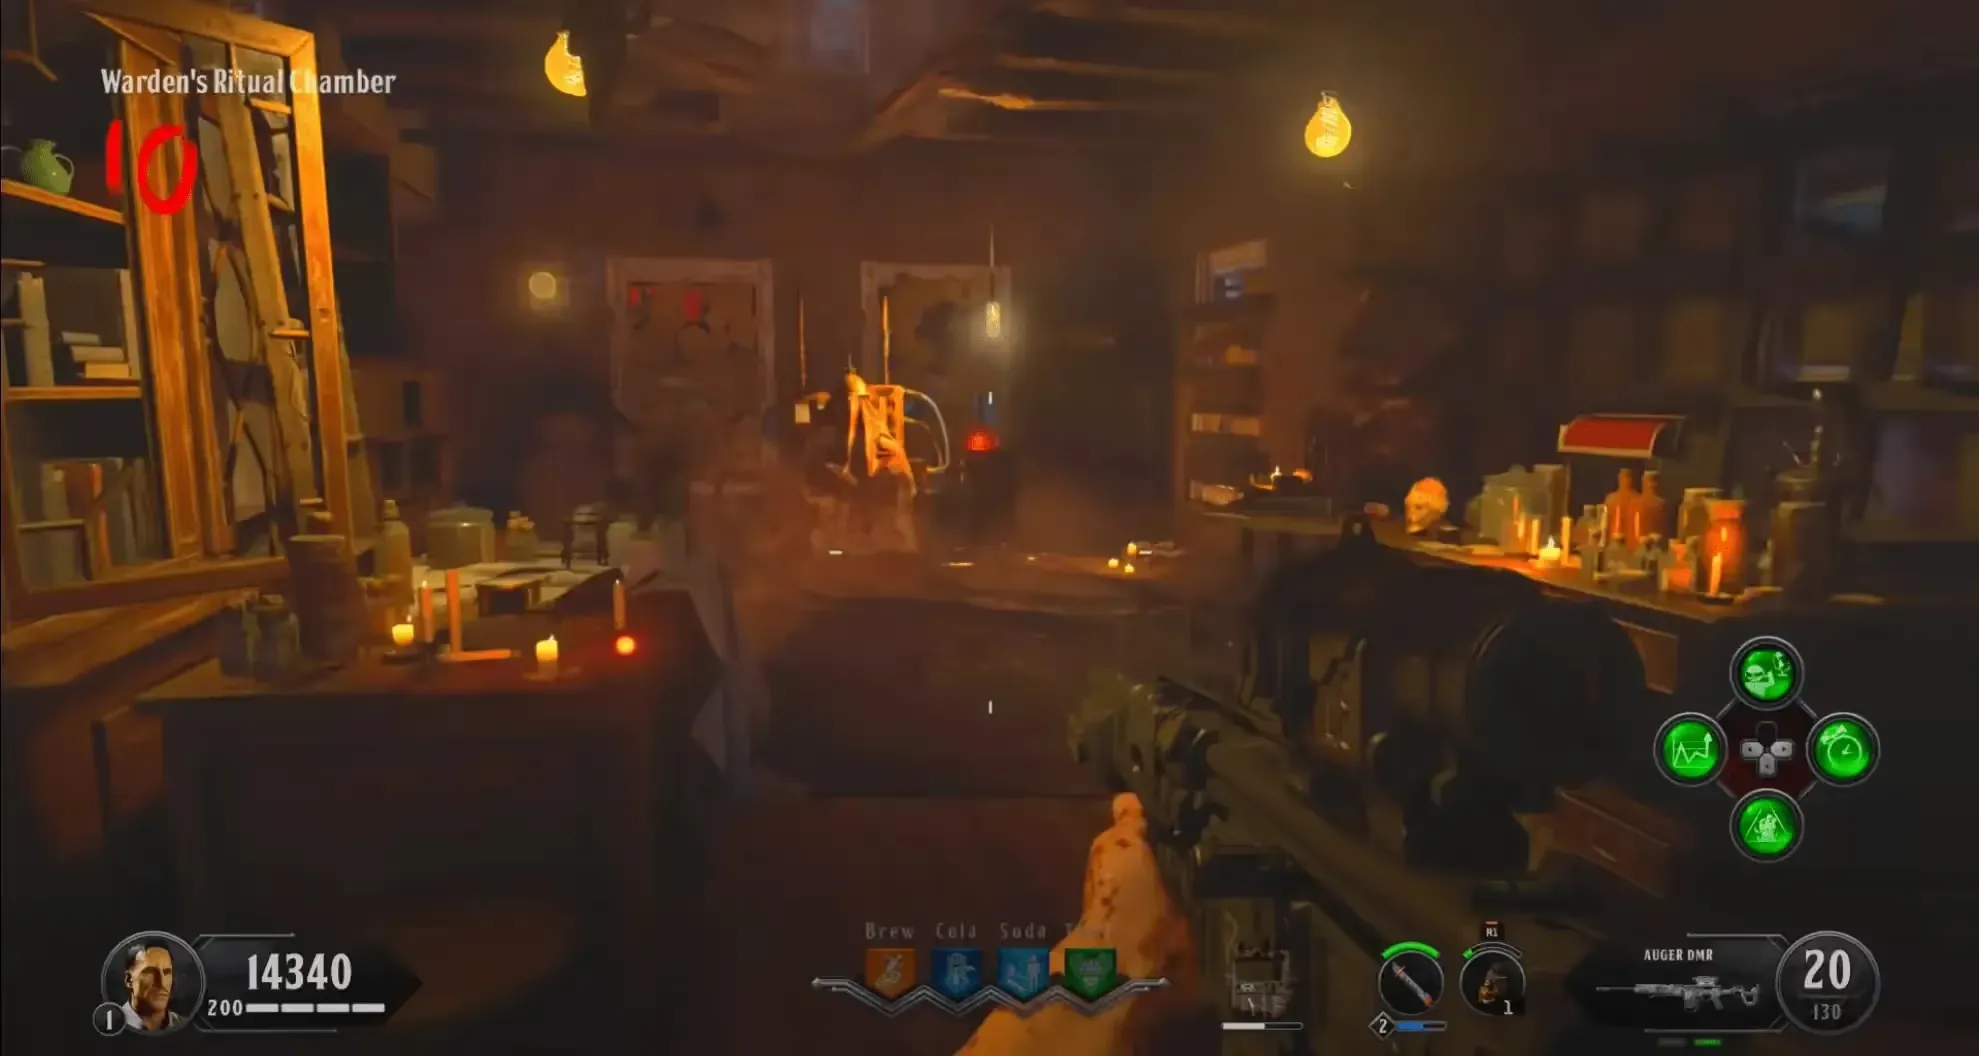
Enter the secret room, and hold the interact button on the red orb on the table left of the entrance, then interact with the electric chair to complete this step.
Obtaining the Hell's Retriever
You must feed three Cerberus' heads around the map, six zombies each. These heads are located in the following locations:
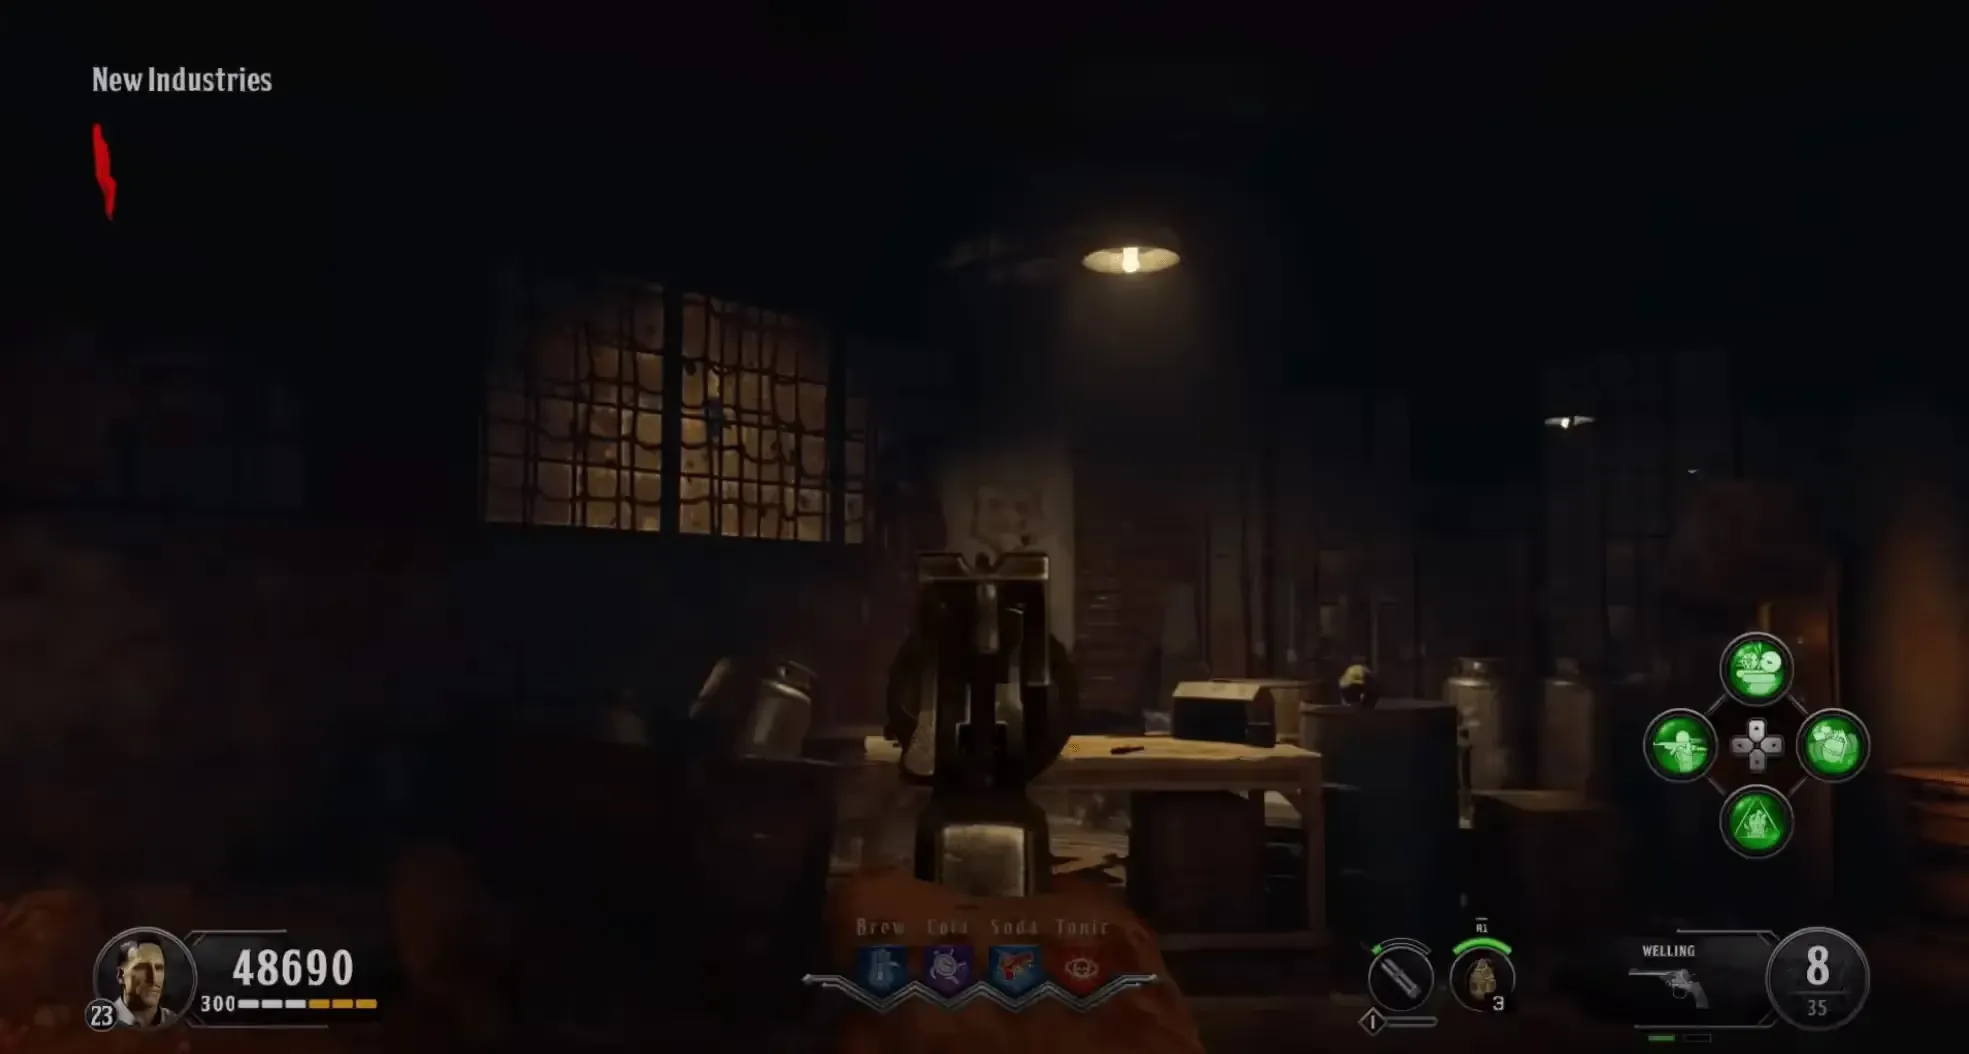
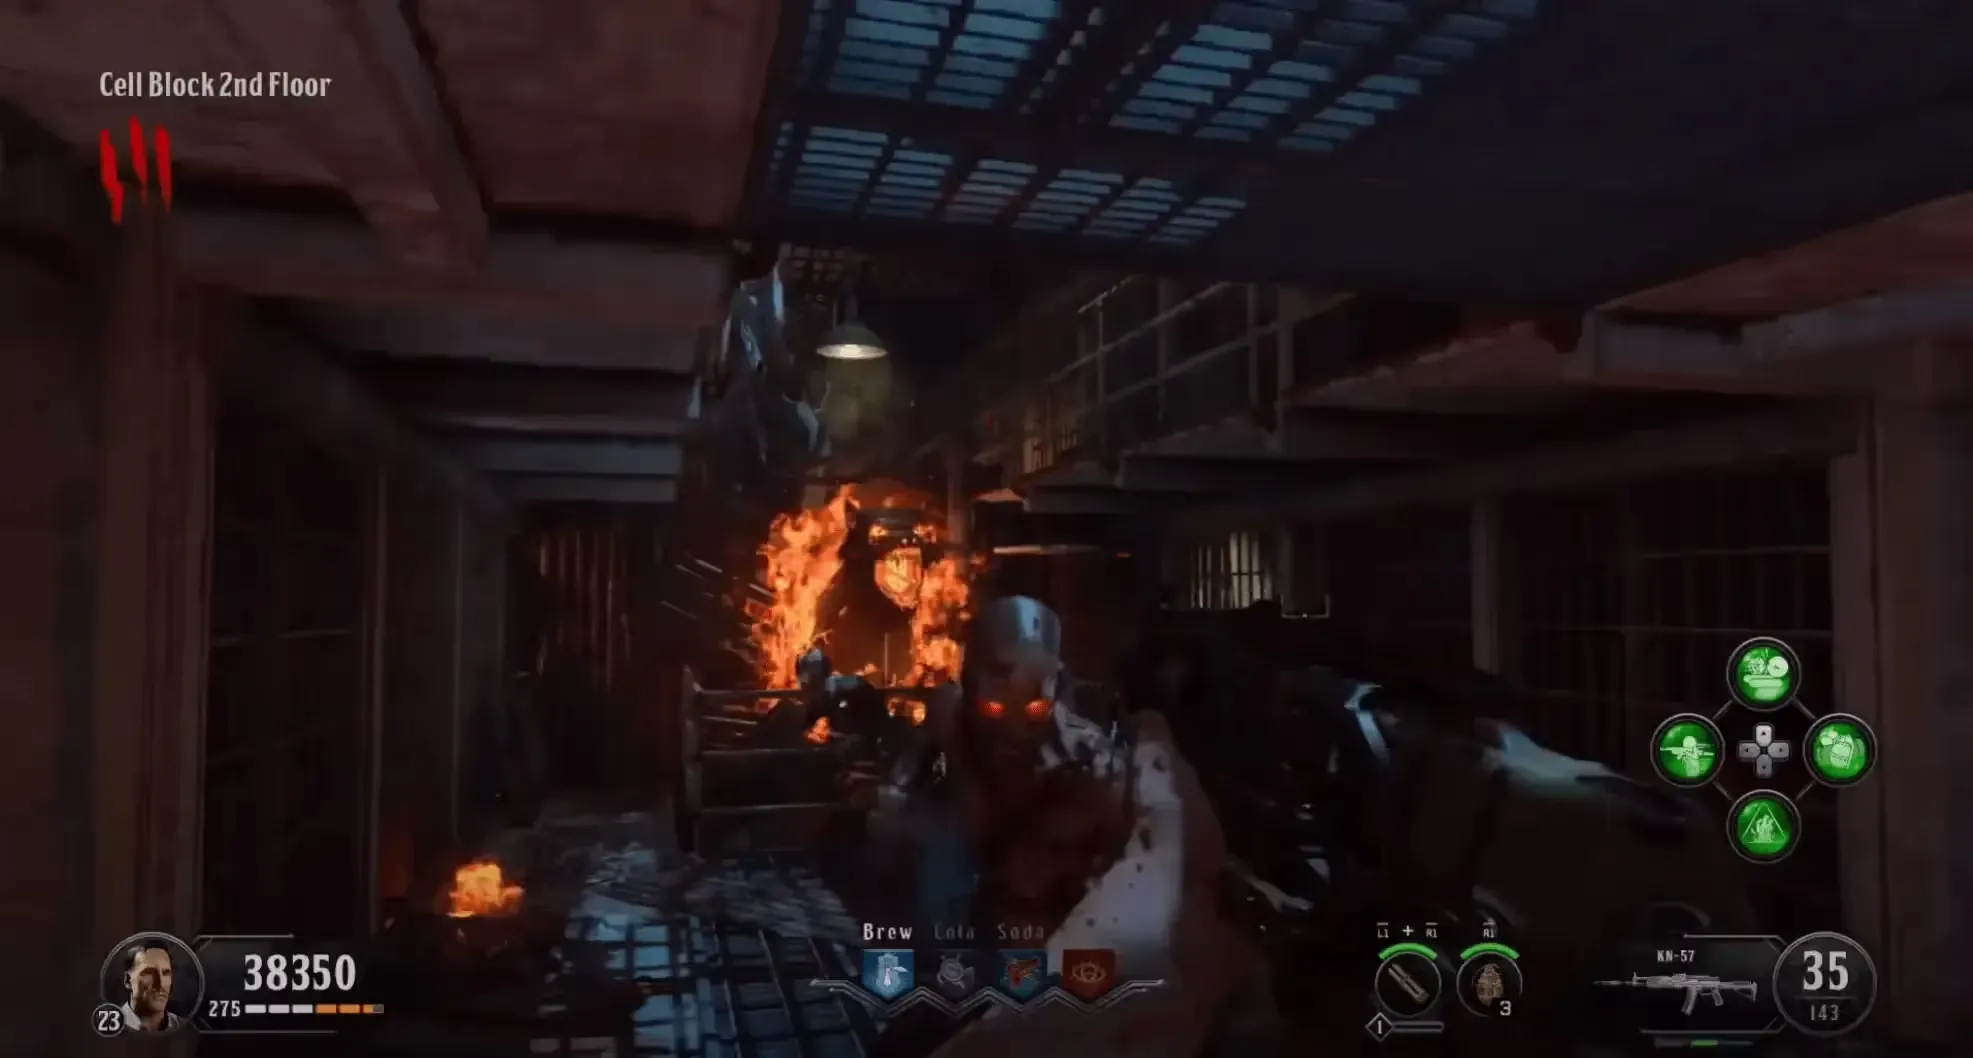
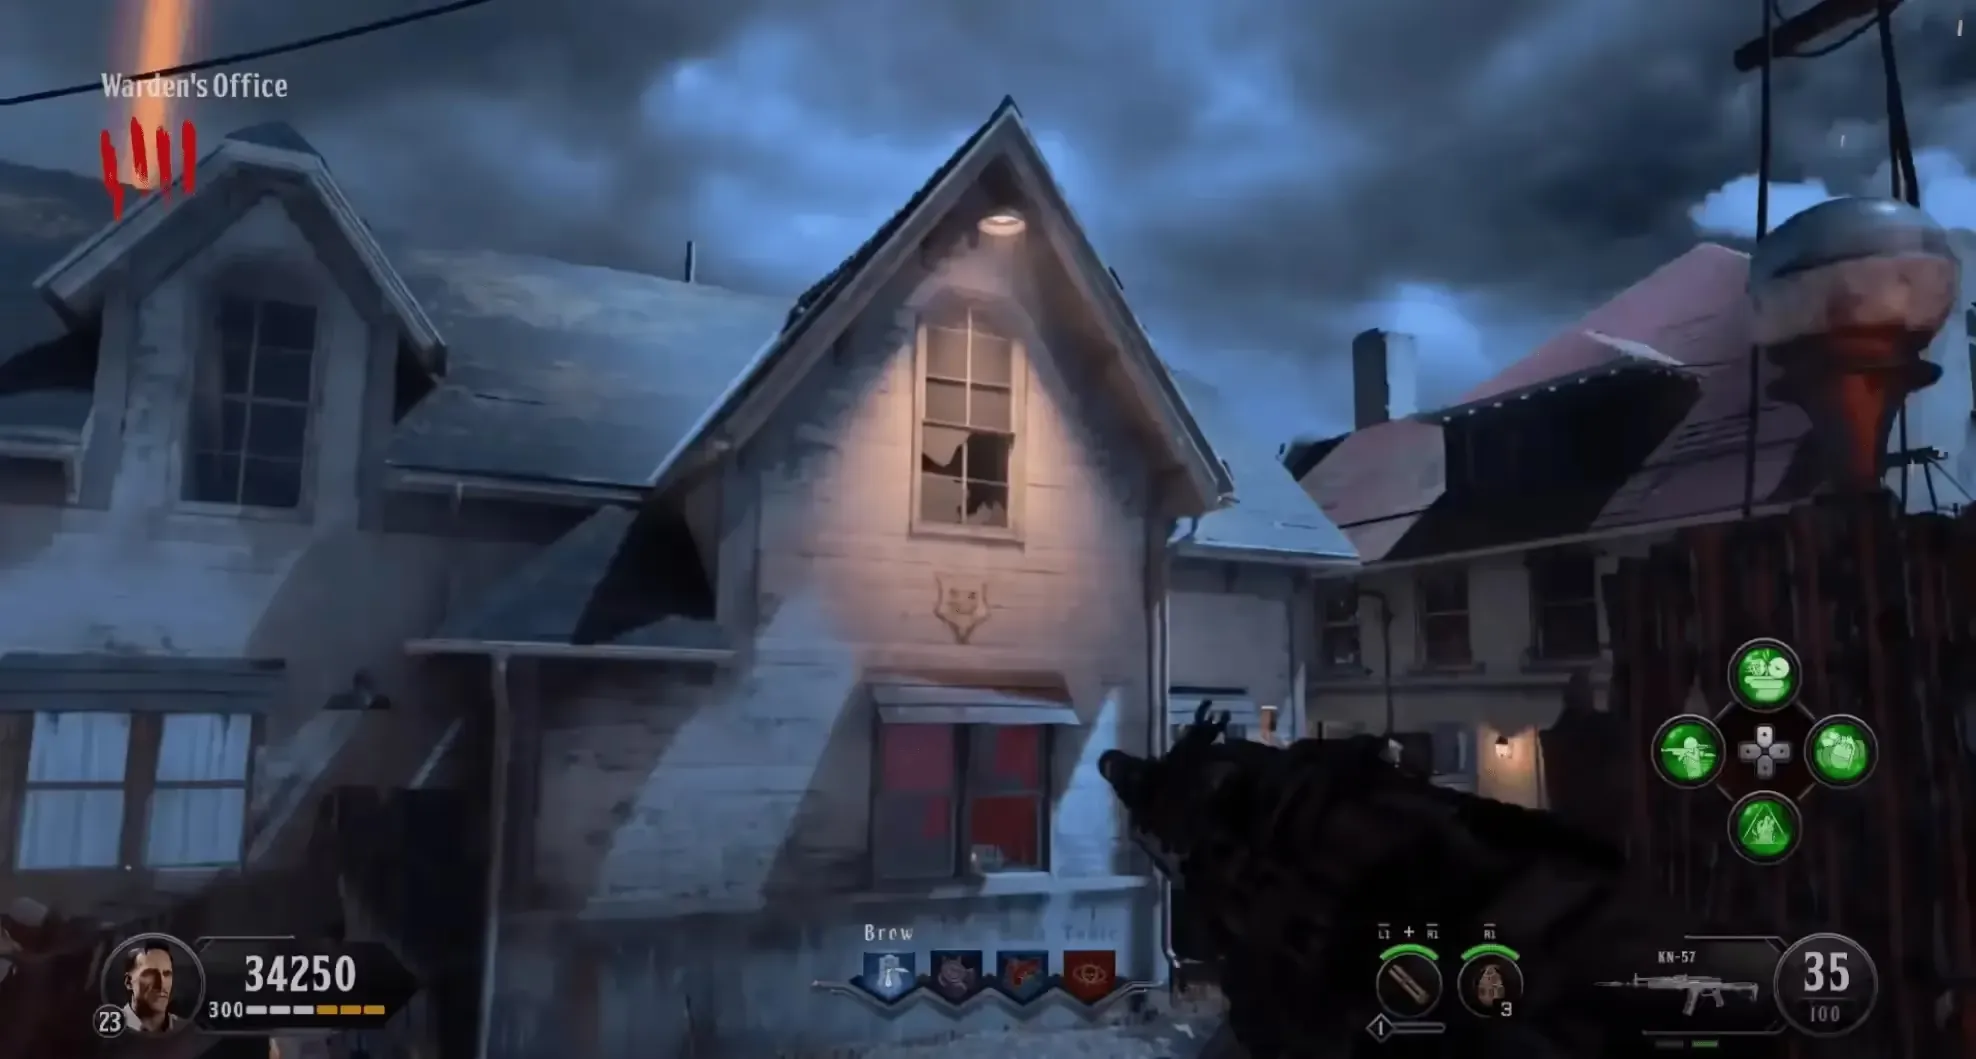
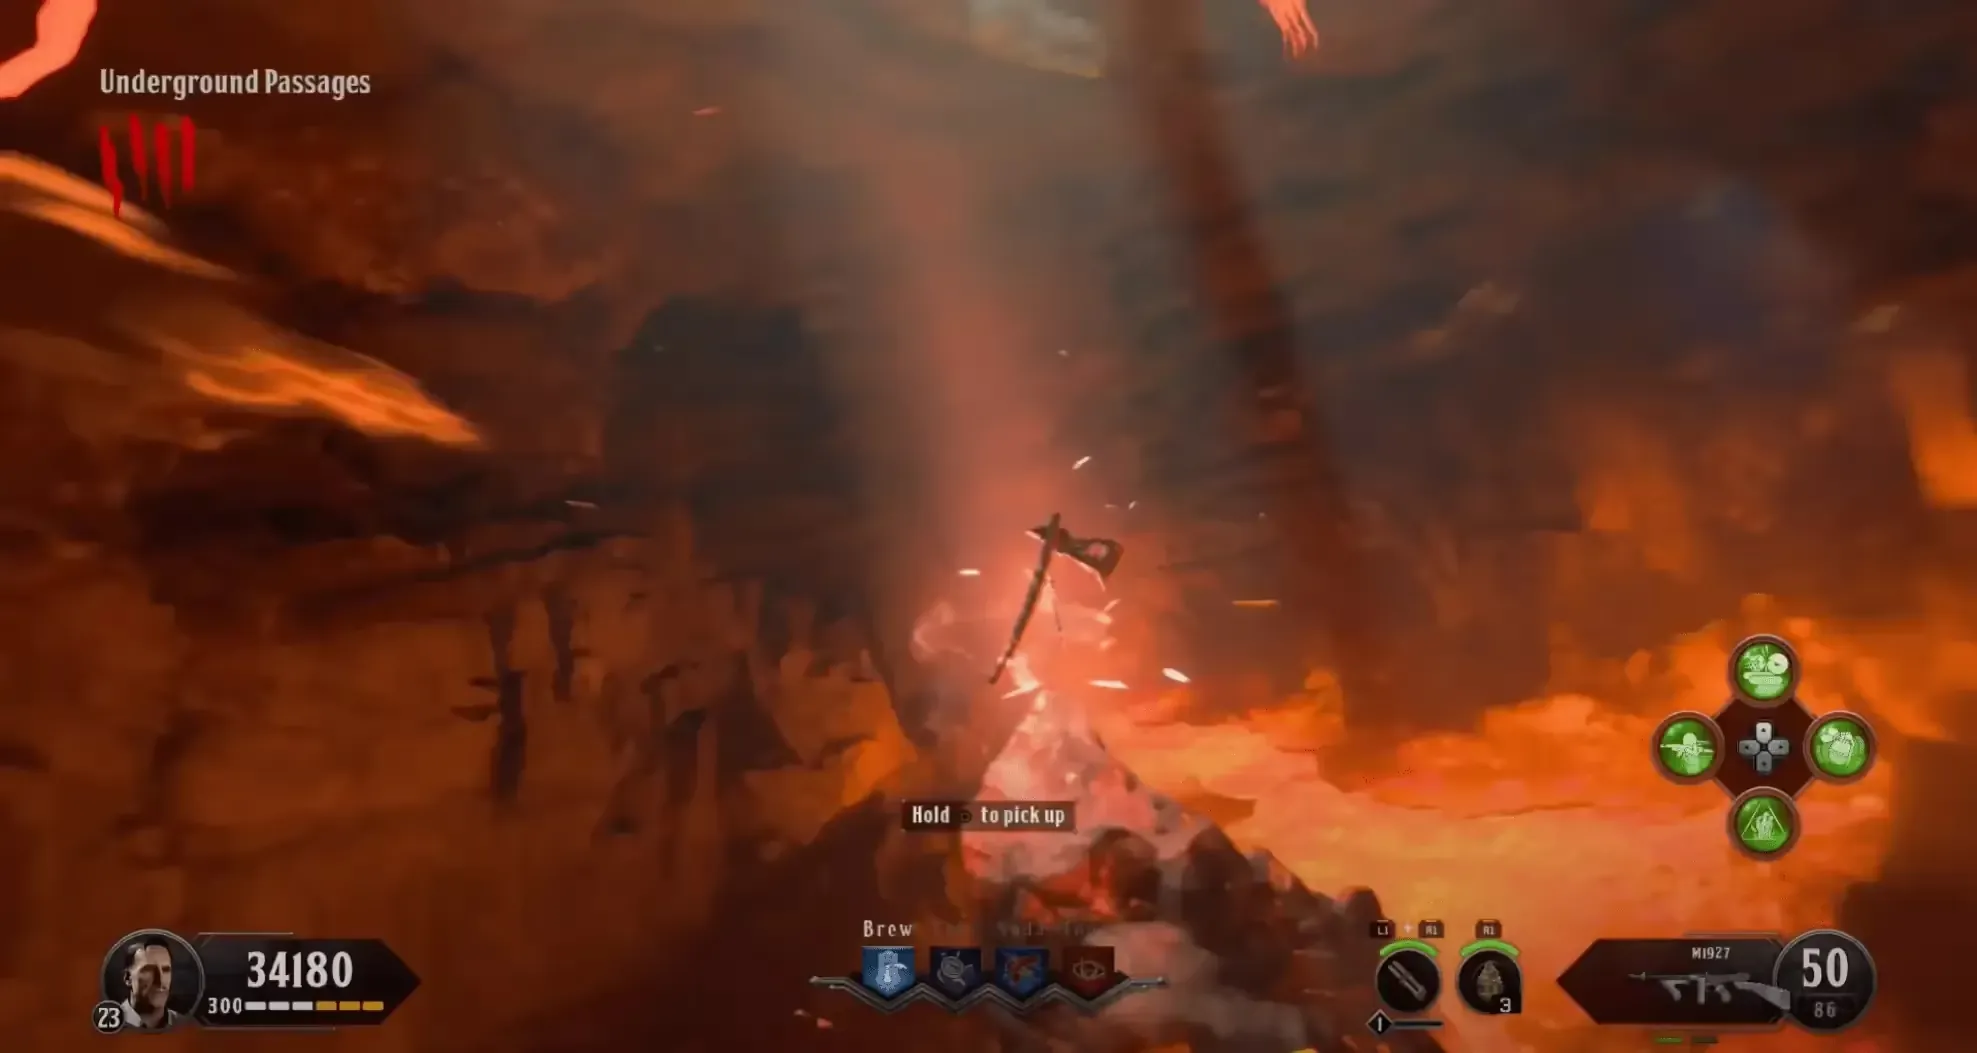
After all three heads have been fed, use the underground Fast Travel from the Showers to the Warden's House or vice versa, and hold the interact button when traveling through the Hell's Retriever which can be seen on top of a rock when traveling through the underground.
Obtaining the Spoon
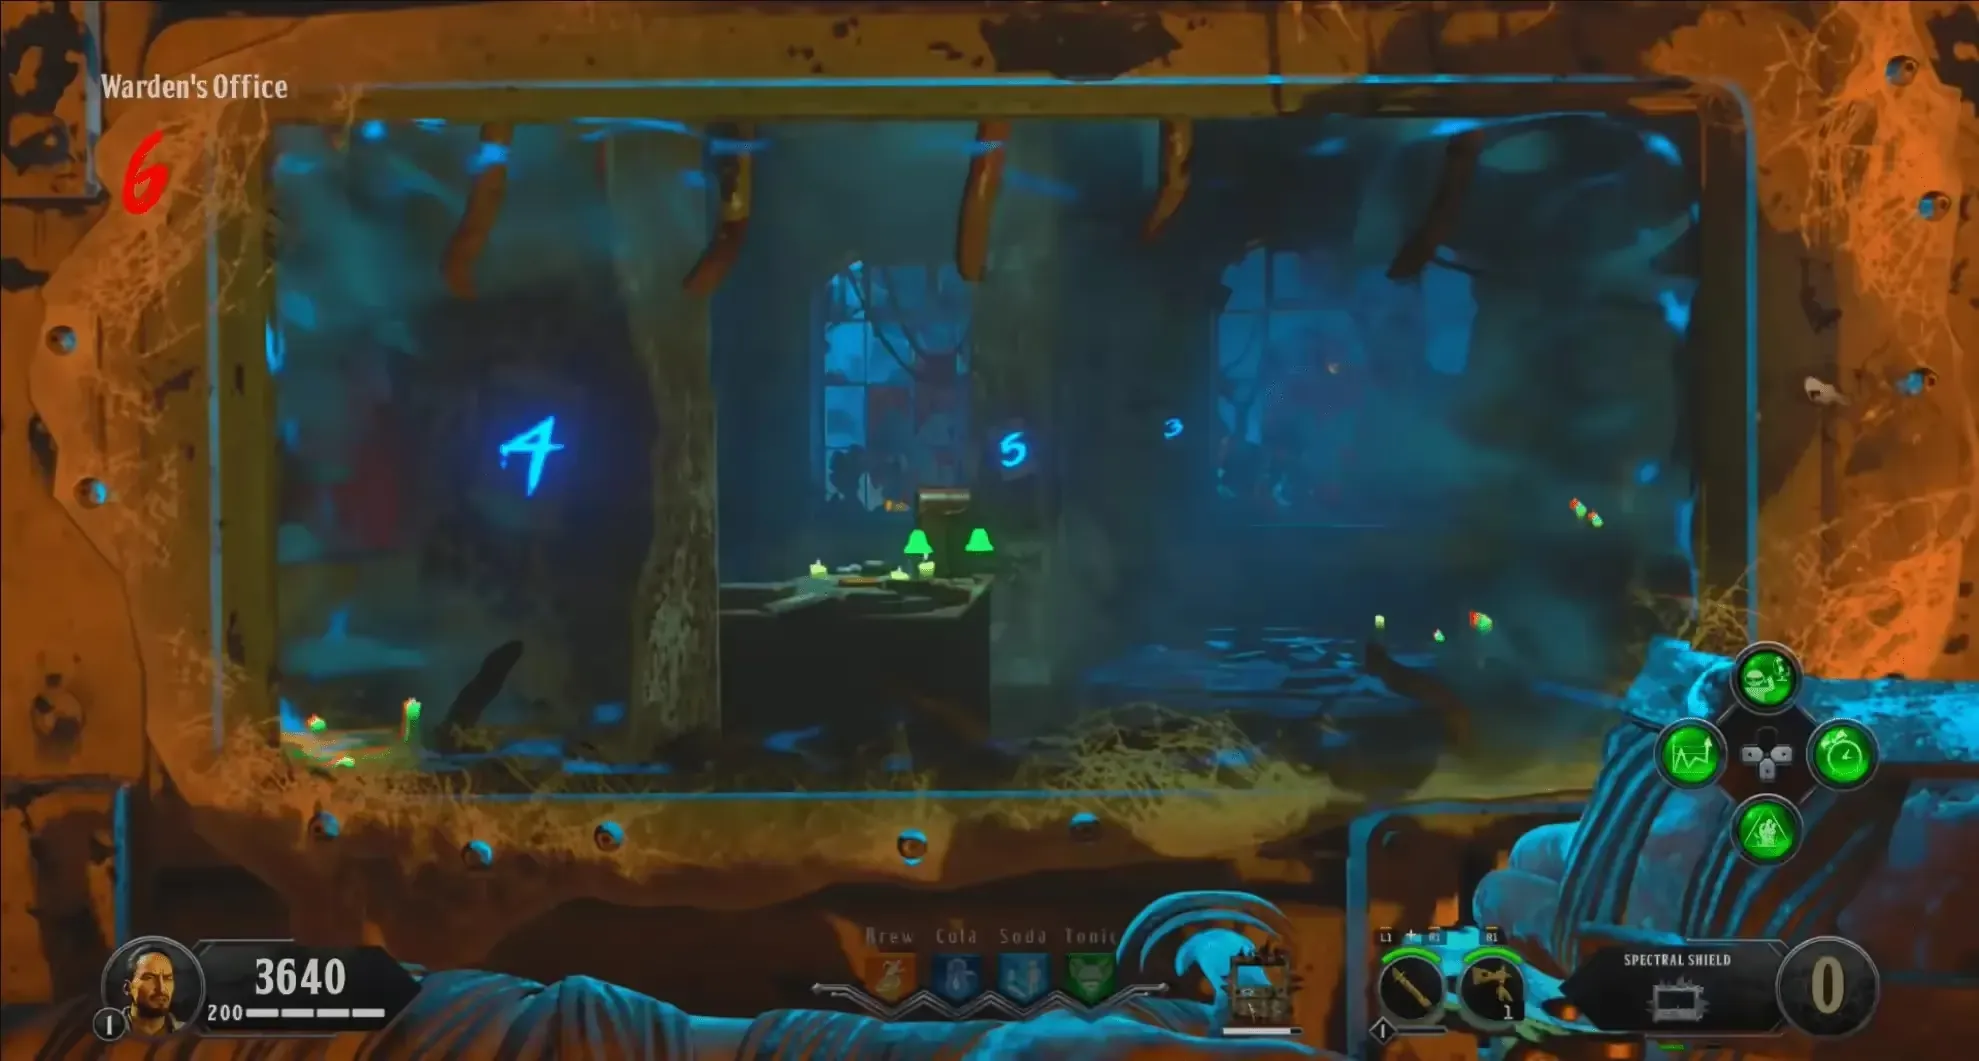
Head to the Warden's Office, pull out your Spectral Shield put your back against the perk machine, and aim in with your shield to reveal three numbers on the pillars in the Warden's Office, with the number closest to the perk machine being the starting point. Head to the Voltmeters at the bottom of the Citadel Tunnels spiral staircase and input the numbers you saw in the Warden's Office.
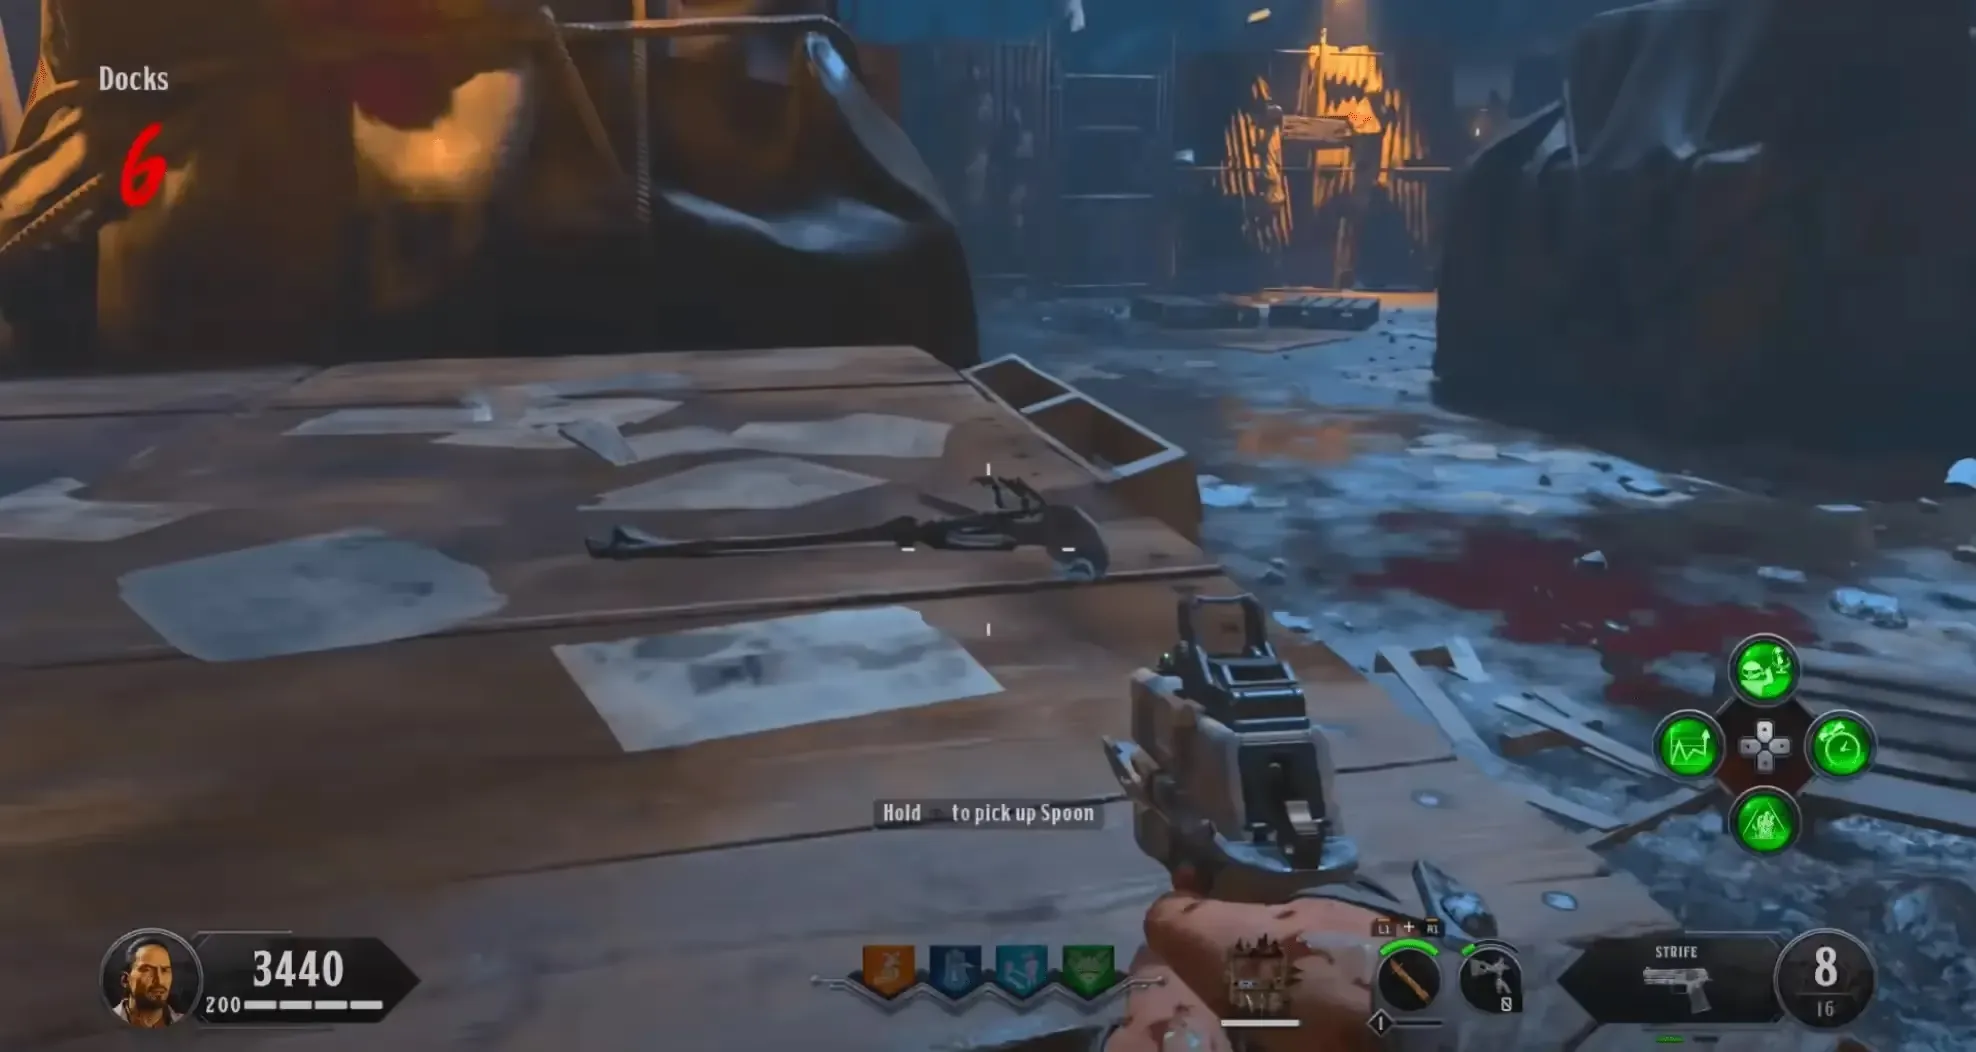
Once inputted, head to the Docks near the Mystery Box location and blast the Voltmeter there to activate a crane that will have a skeleton inside holding the Spoon. Use the Hell's Retriever at the skeleton's arm to sever it from which you can grab the spoon.
Obtaining the Monkey Bombs
This requires a LVL 2 Special Weapon. If you don't have your Special Weapon to lvl 2, pop your
Arsenal Accelerator elixir to get it back and kill zombies until it is the correct level.
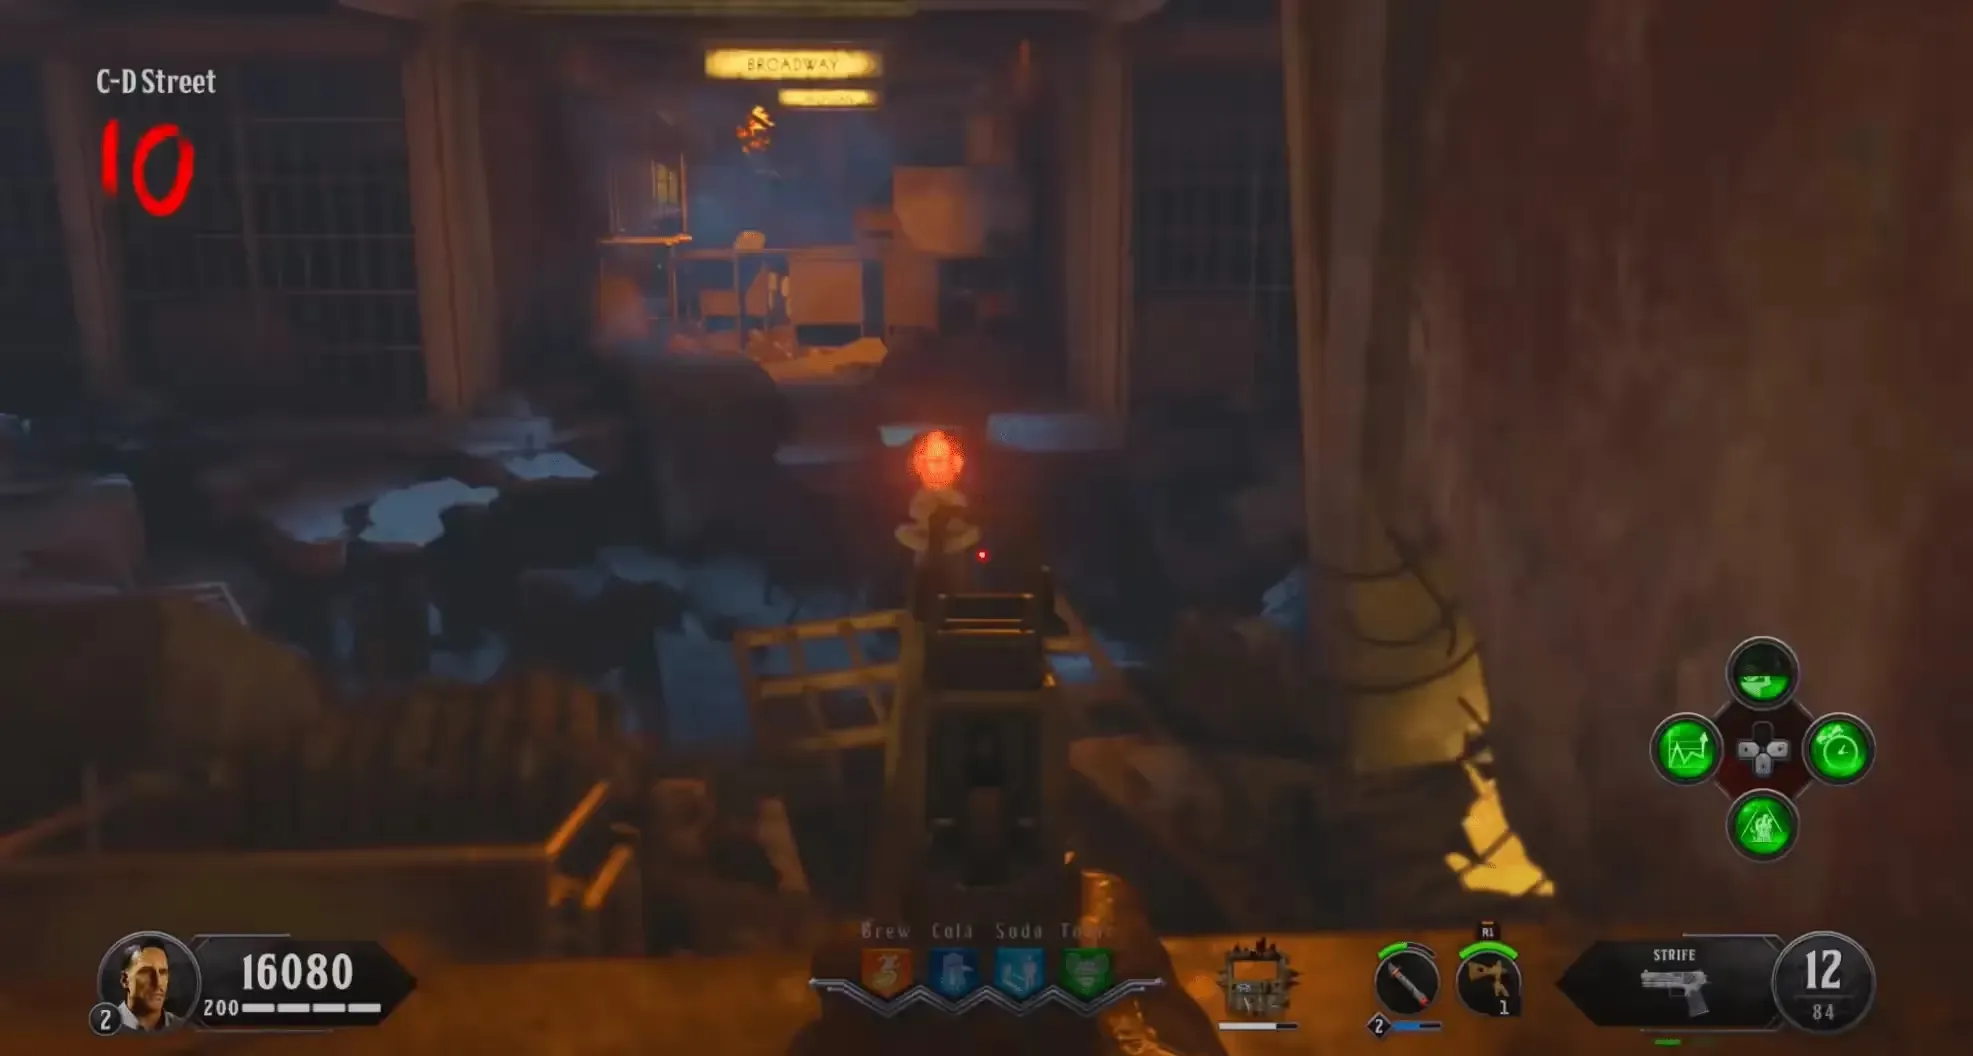
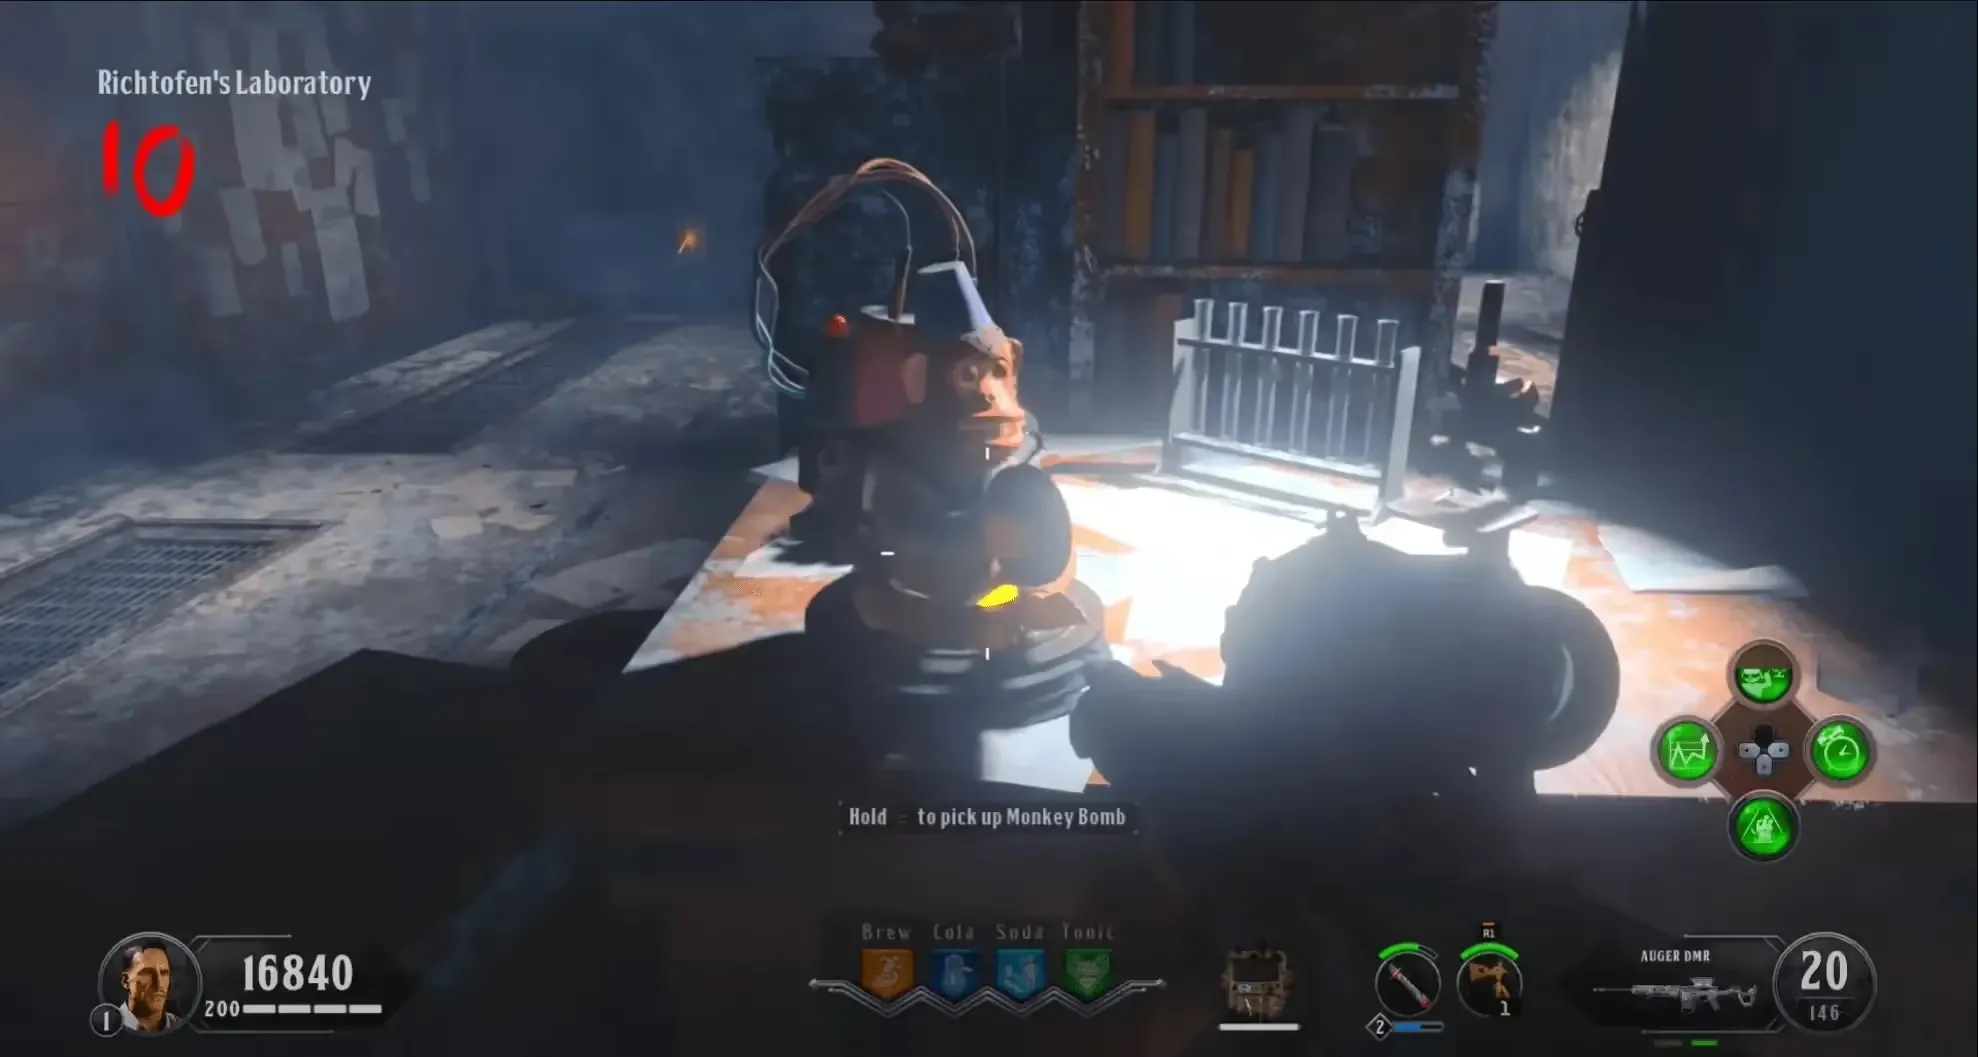
Head to C-D Street, under the stairs leading to Cell Block 2nd Floor is a Monkey Bomb statue that you must get 20 kills near while using an LVL 2 Special Weapon. Once you have gotten enough kills, the head of the statue will be glowing red and you must shoot the statue's head and head back to Richtofen's Laboratory (spawn) to find your Monkey Bombs on the table in the lab.
Step 3: Guilt and Pain
Head to Richtofen's Laboratory and hold the interact button on the map opposite the Cryogenic Chambers to place the red orb you obtained from the warden's secret room. The Kronorium in the corner left of the Cryogenic Chambers will now have a blue glow around it, interact with the Kronorium, and an ethereal seagull will steal it and fly out of the room and disappear.
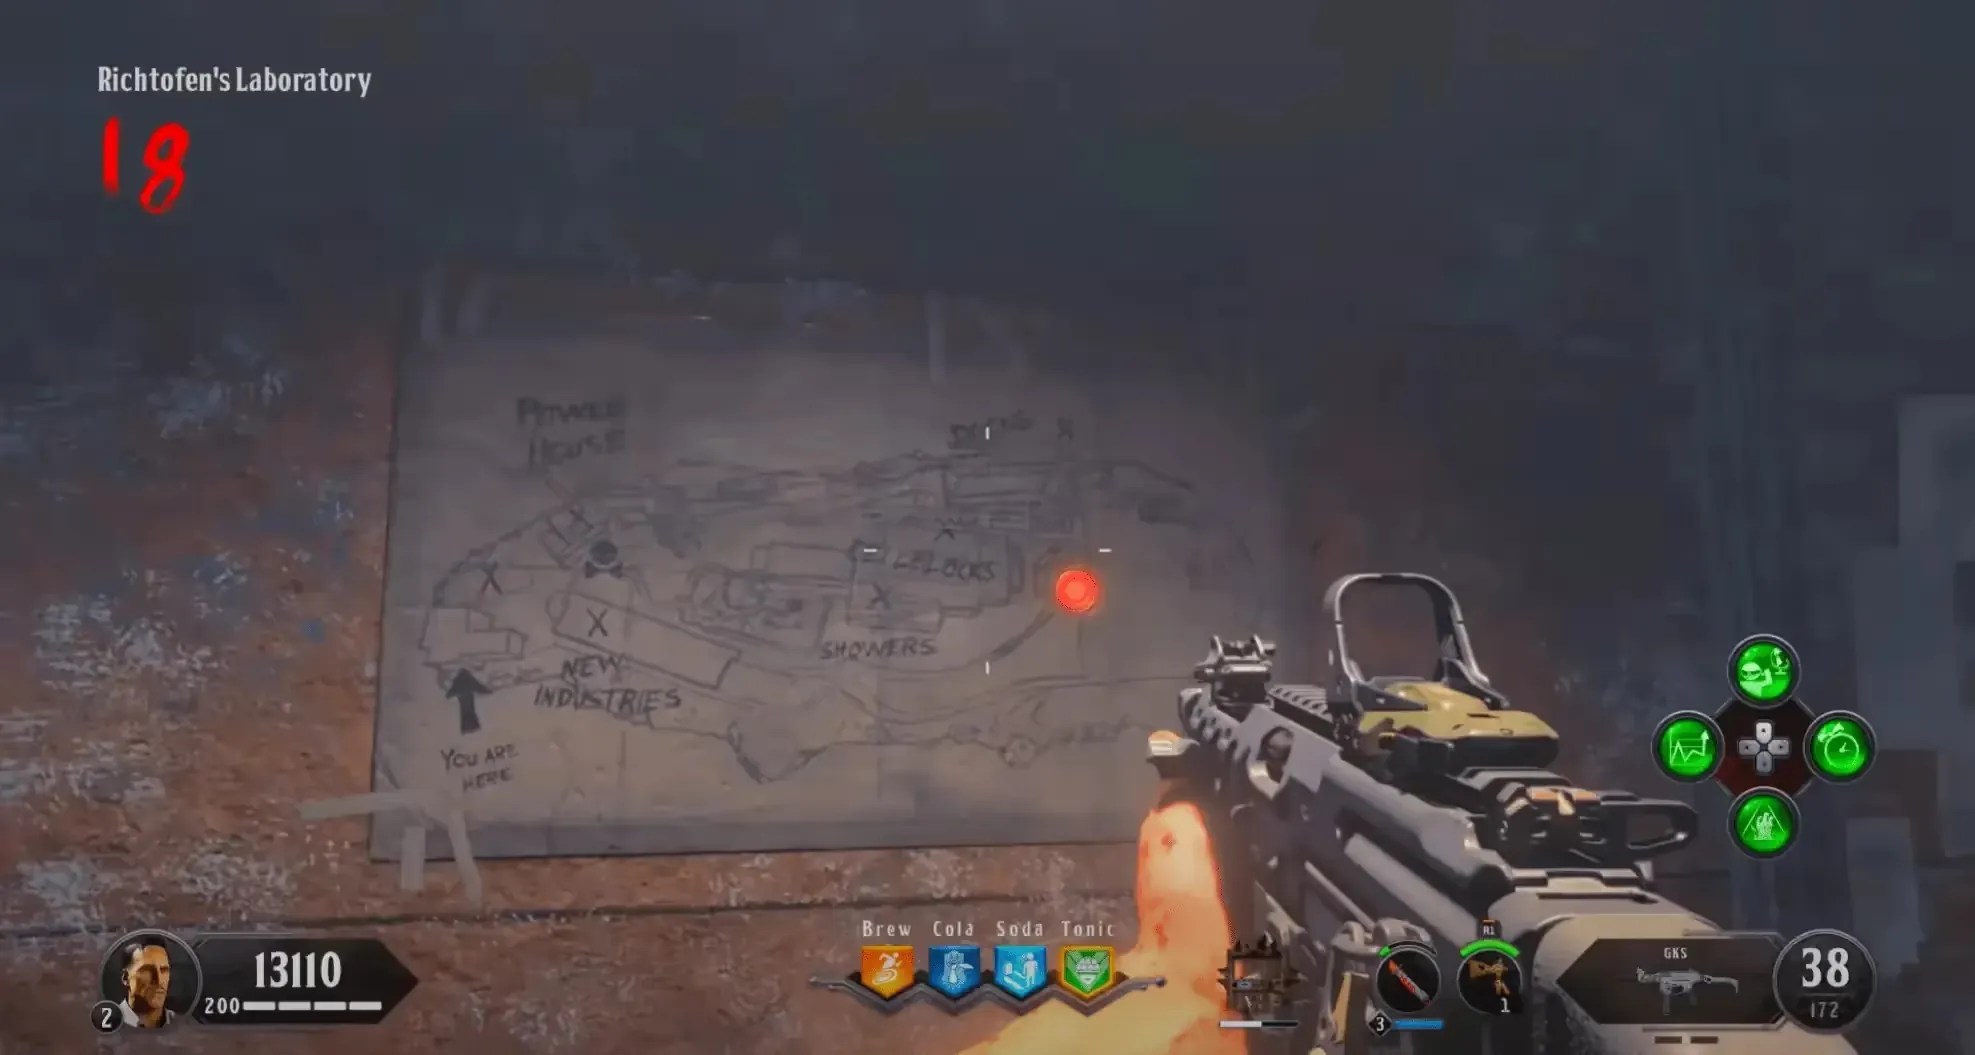
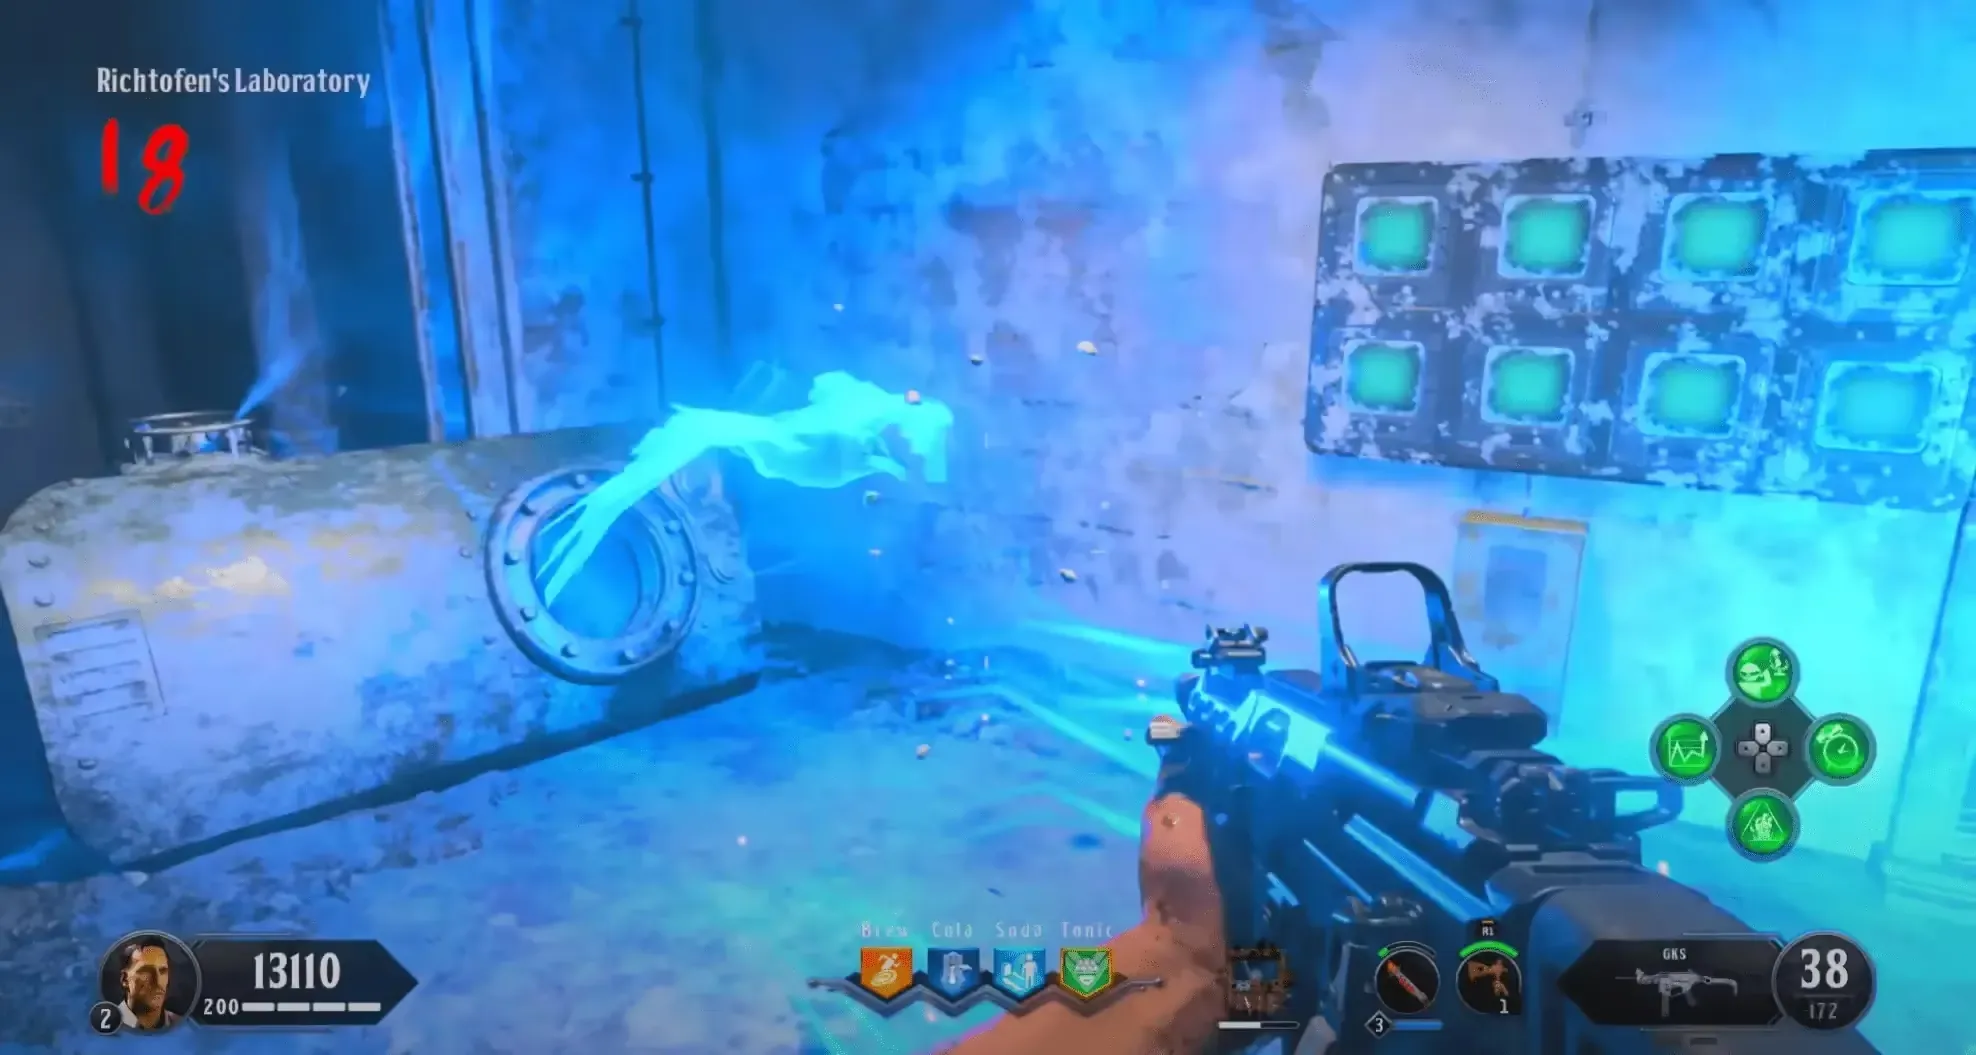
You must find this bird four times using the Spectral Shield. The bird can only be seen and heard while in Spectral Vision (aiming with the shield); you can only find the bird once per round. The first bird only has four spawn locations:
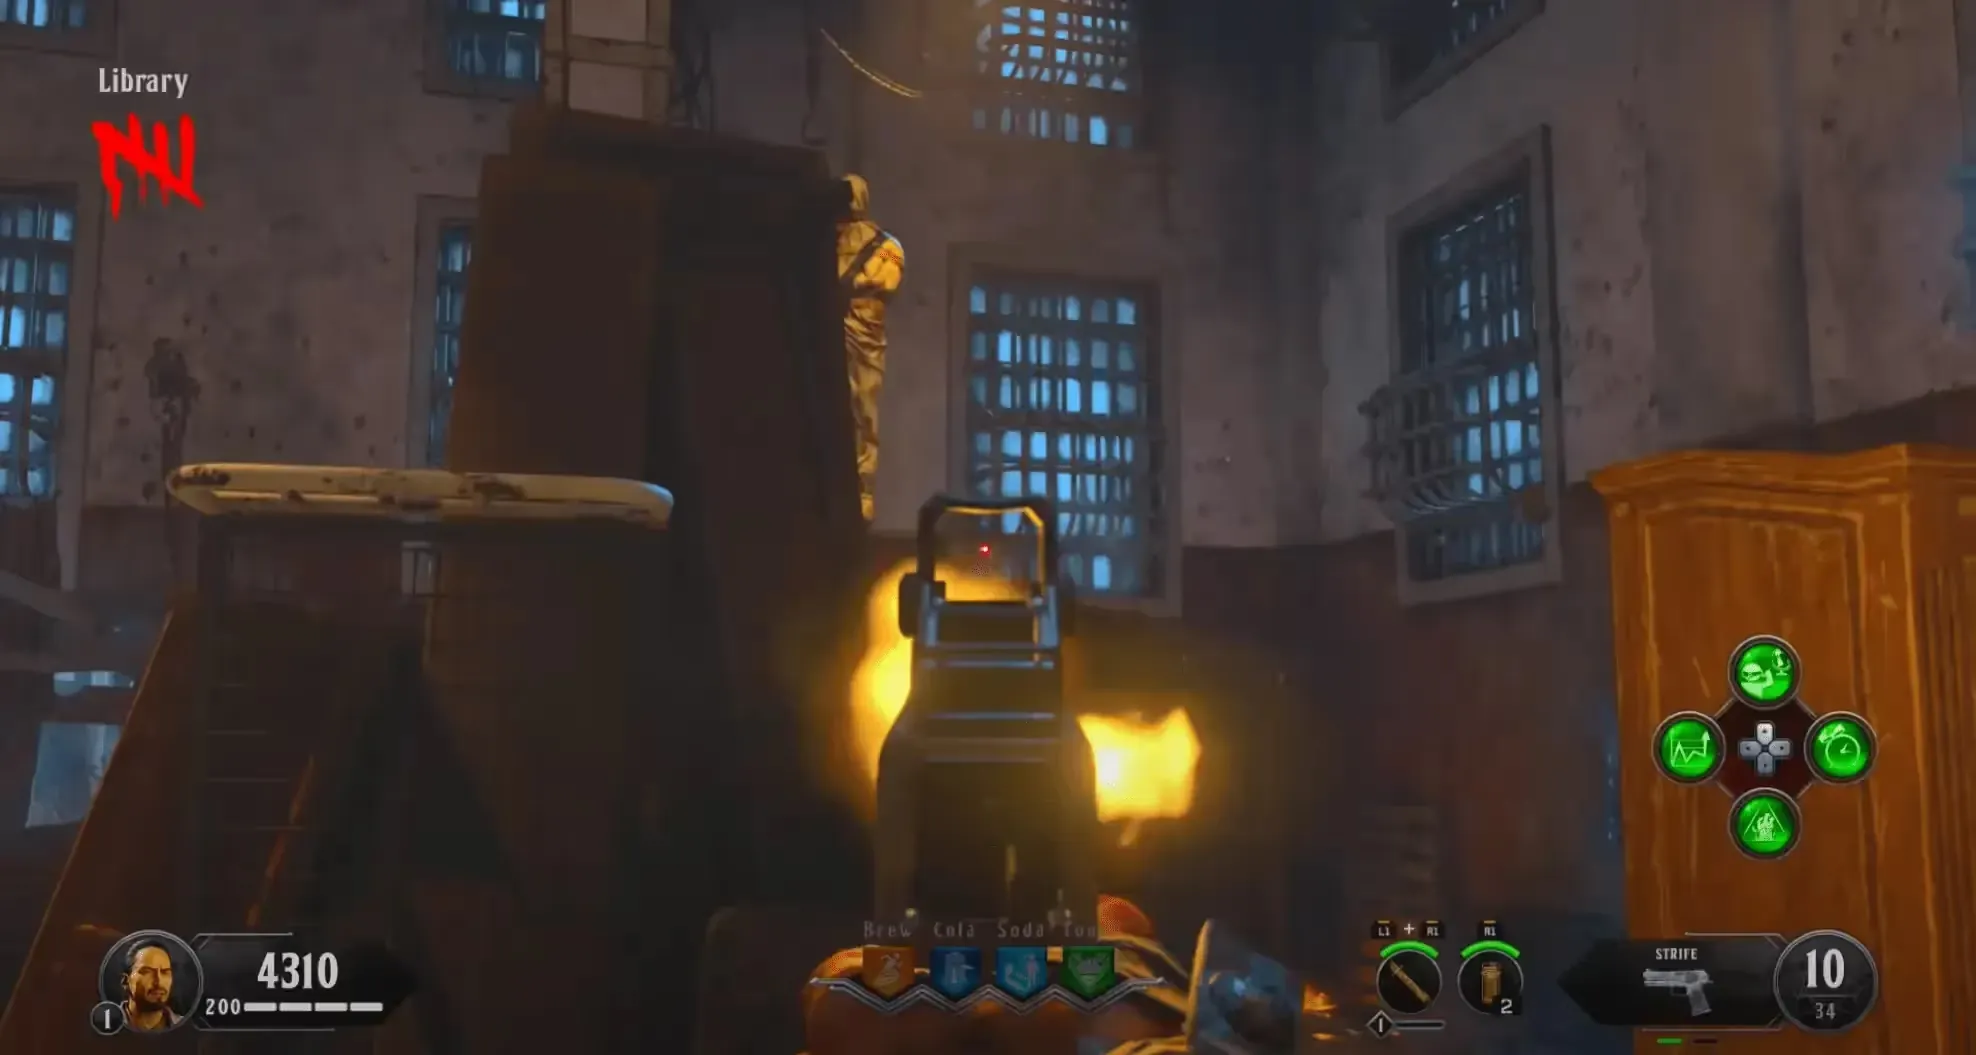
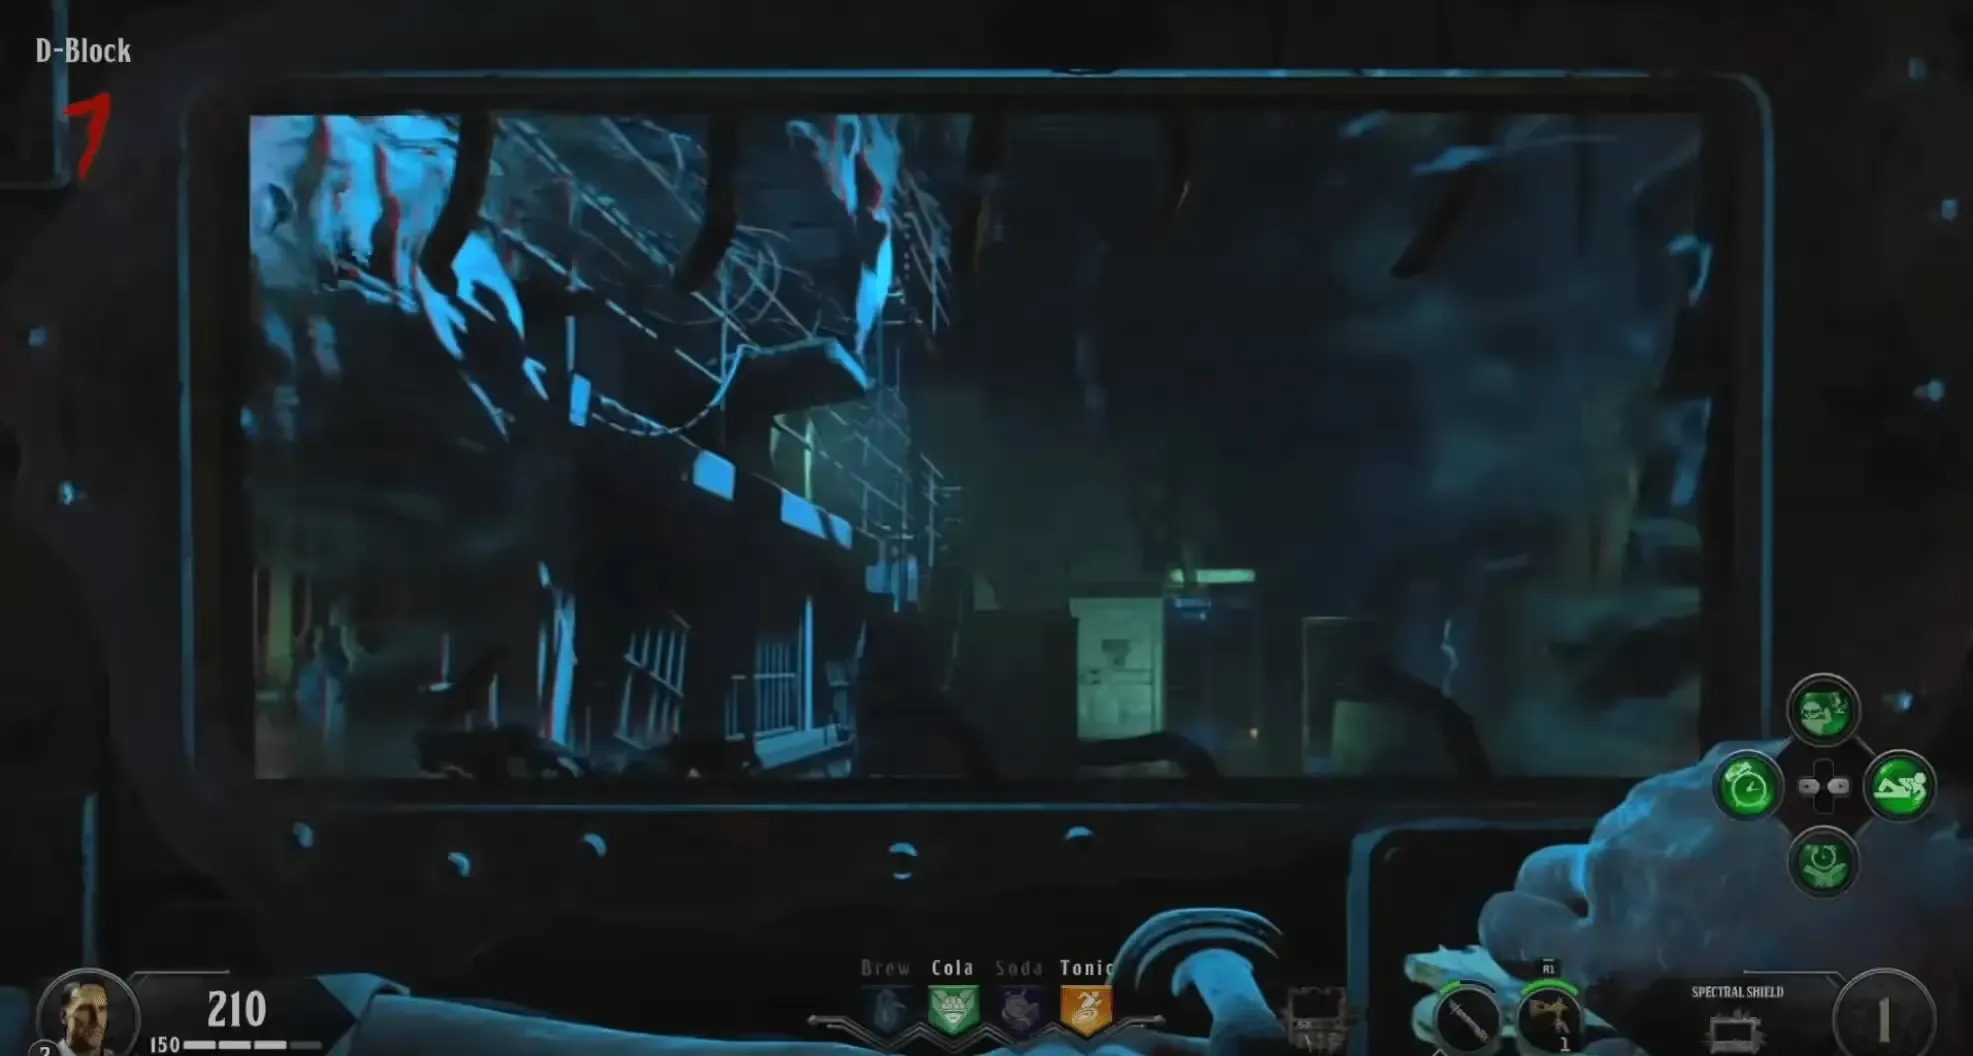
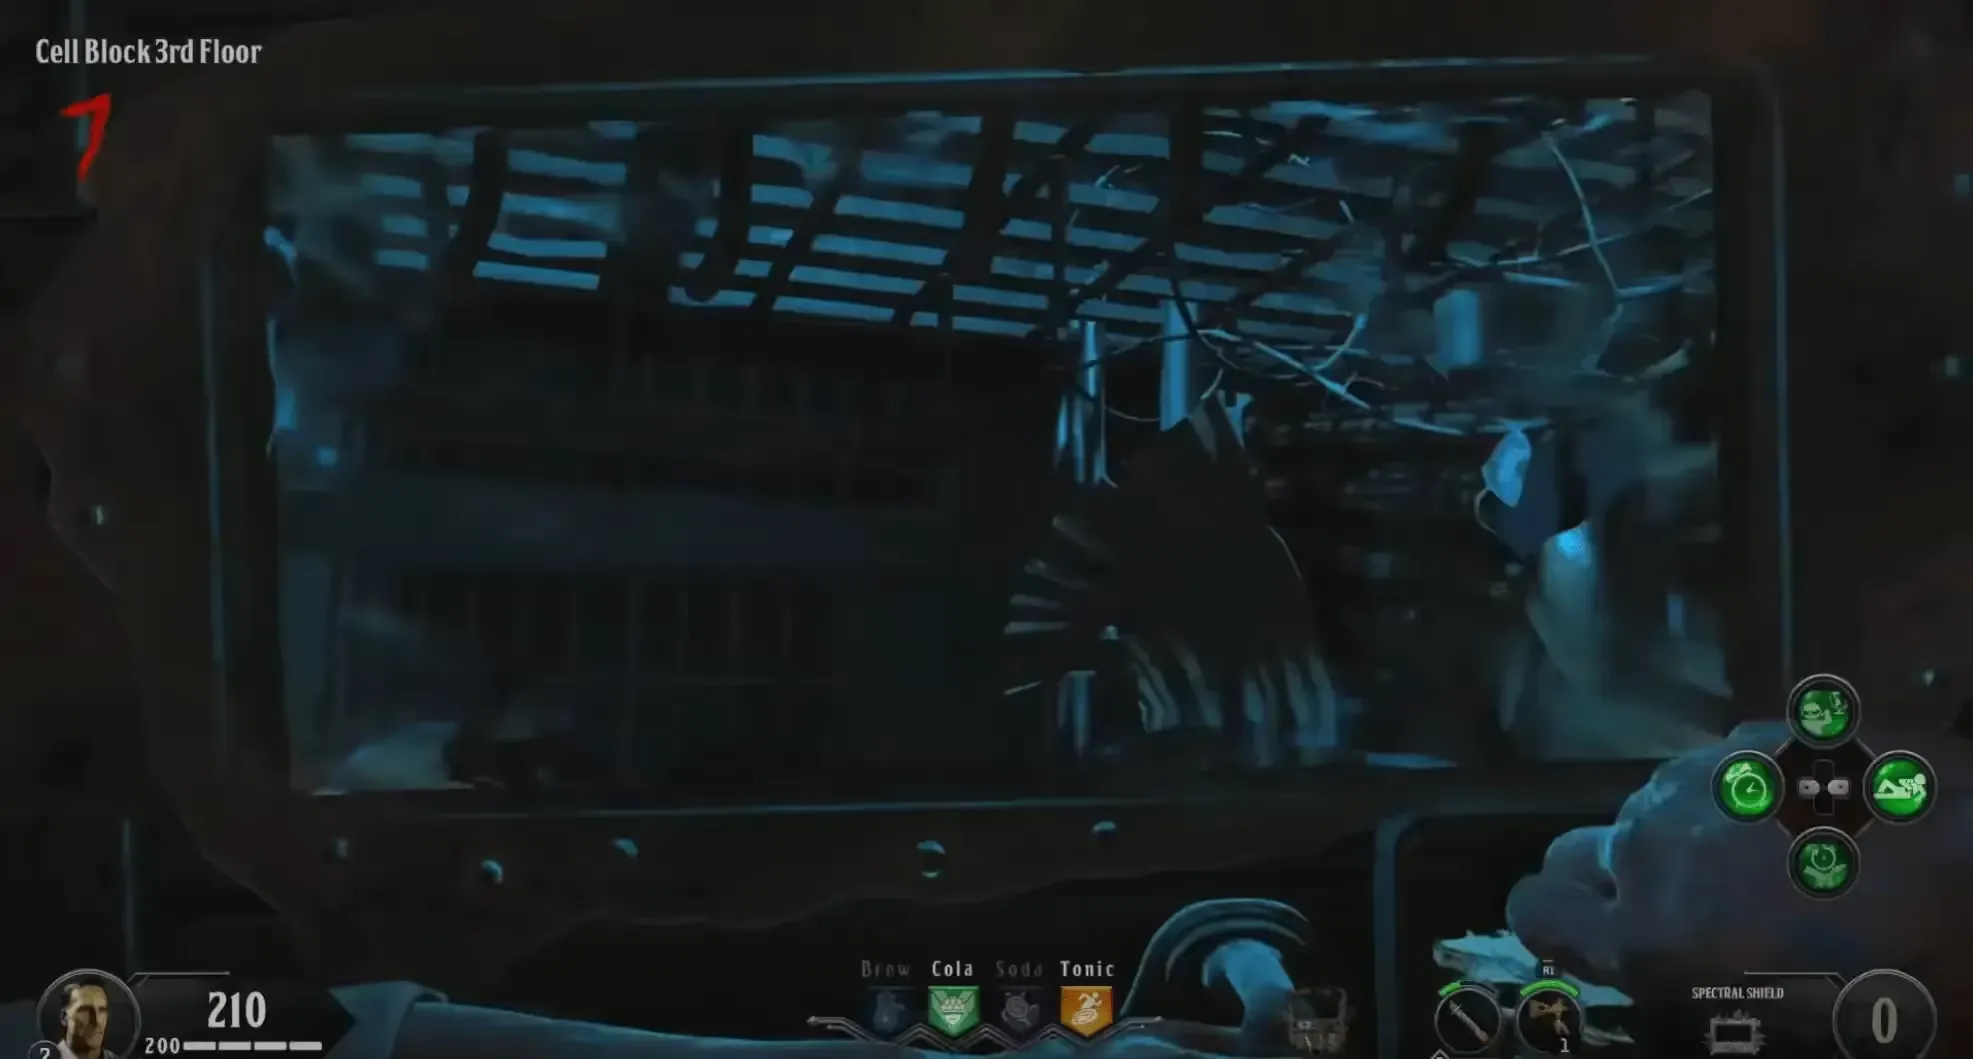
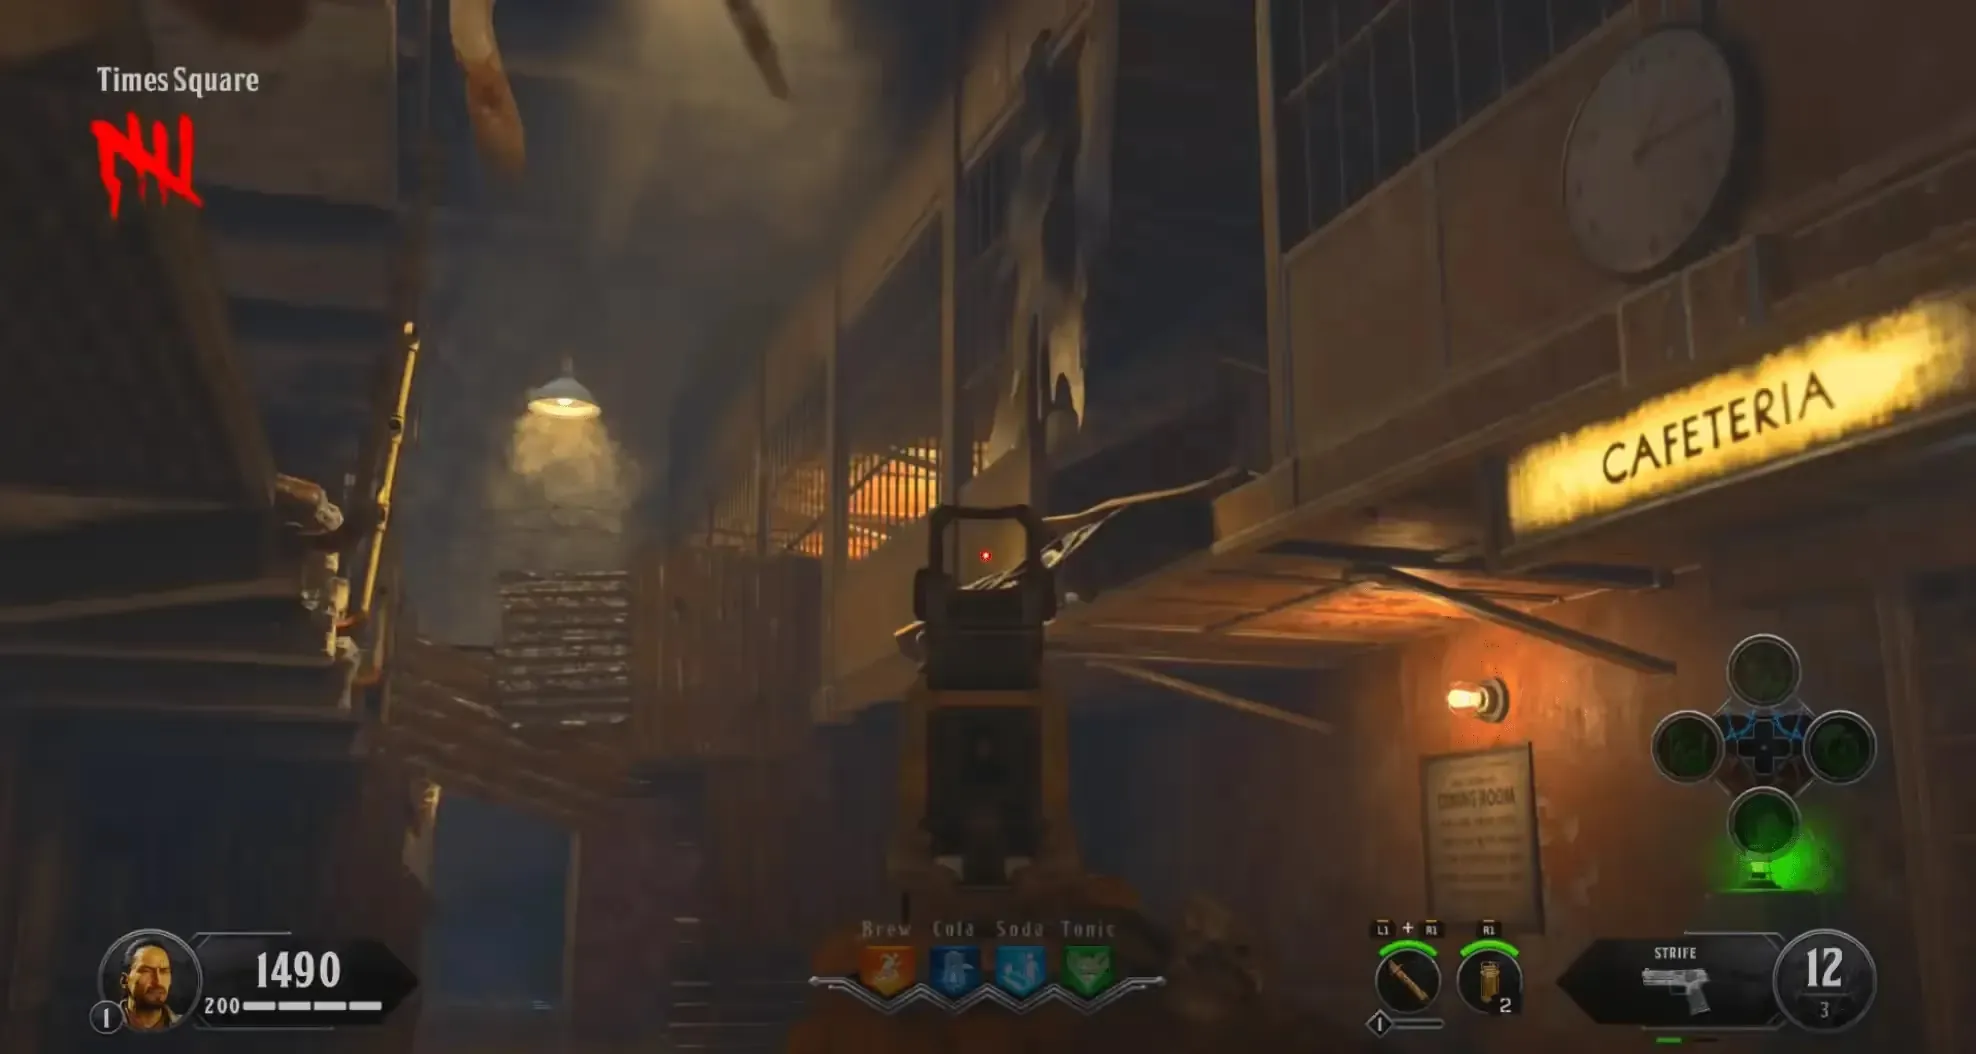
If you run out of shield charges at any point, every round a random power box on the map will be sparking and if you pull out your shield and interact with that sparking power box you will re-fill all your shield charges.
The second and third birds can spawn anywhere on the map and there are too many locations to list, however, if you head to the Upper Gondola Platform before ending the round after blasting the first bird, when you're ready you can end the round and use your Spectral Vision and look out toward the water and after around 15 seconds you will see a blue trail shooting toward either the far right, down, or far left.
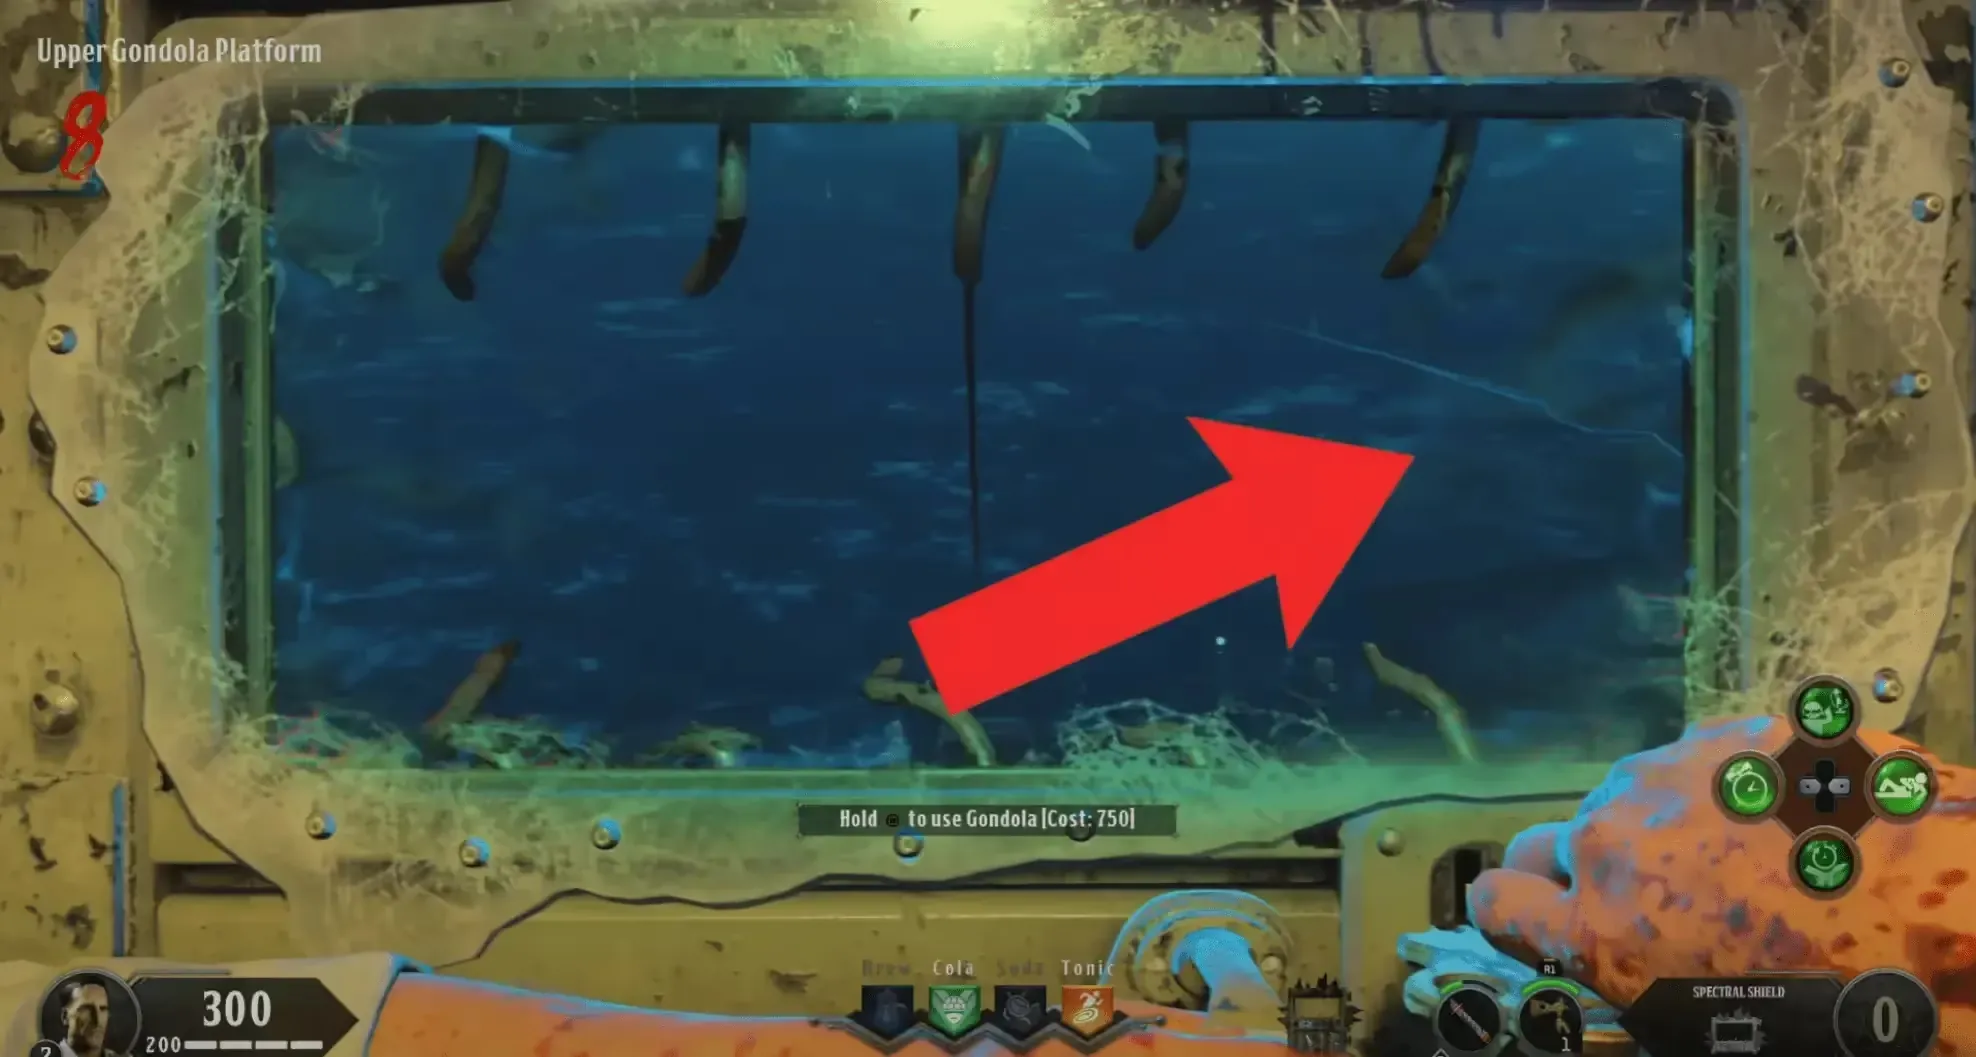
If the trail is to the far right, then the bird is around the Warden's Office area of the map, if the trail is down then the bird is around the Docks area of the map, if the trail is to the far left then the bird is around the Spawn/Catwalk area of the map.
Use the trail as a general area location for the birds, and walk around that area using Spectral Vision to listen for the seagulls' squawks. If you hear the squawking, then you are close to the bird and should look around until you see the bird with the Spectral Vision and blast it.
The fourth/final bird can only spawn around the Warden's Office and the Docks, but you can only hear this bird in Spectral Vision and cannot see it this time. You need to listen for the bird, then when you hear the bird remember the area you heard the bird, and head to the Voltmeters at the bottom of the spiral staircase and input the code 872 to spawn in a Zombie Blood power-up.
While you cannot see the bird without Zombie Blood, you can see a white sparkle which is where the bird is located, but I wouldn't worry about finding the sparkle as knowing the area/room the bird is in will be more than enough to find it once we have Zombie Blood activated.
Activate your ![]() Temporal Gift elixir, pick up the Zombie Blood, and head back to the area where you heard the bird. Now with Spectral Vision, you will be able to see the
bird within Zombie Blood. When you see the bird, DO NOT BLAST IT; instead, throw your Hell's Retriever at the bird to take back the Kronorium, and place the
Kronorium on the electric chair in the warden's secret room to receive a white flash indicating the completion of this step.
Temporal Gift elixir, pick up the Zombie Blood, and head back to the area where you heard the bird. Now with Spectral Vision, you will be able to see the
bird within Zombie Blood. When you see the bird, DO NOT BLAST IT; instead, throw your Hell's Retriever at the bird to take back the Kronorium, and place the
Kronorium on the electric chair in the warden's secret room to receive a white flash indicating the completion of this step.
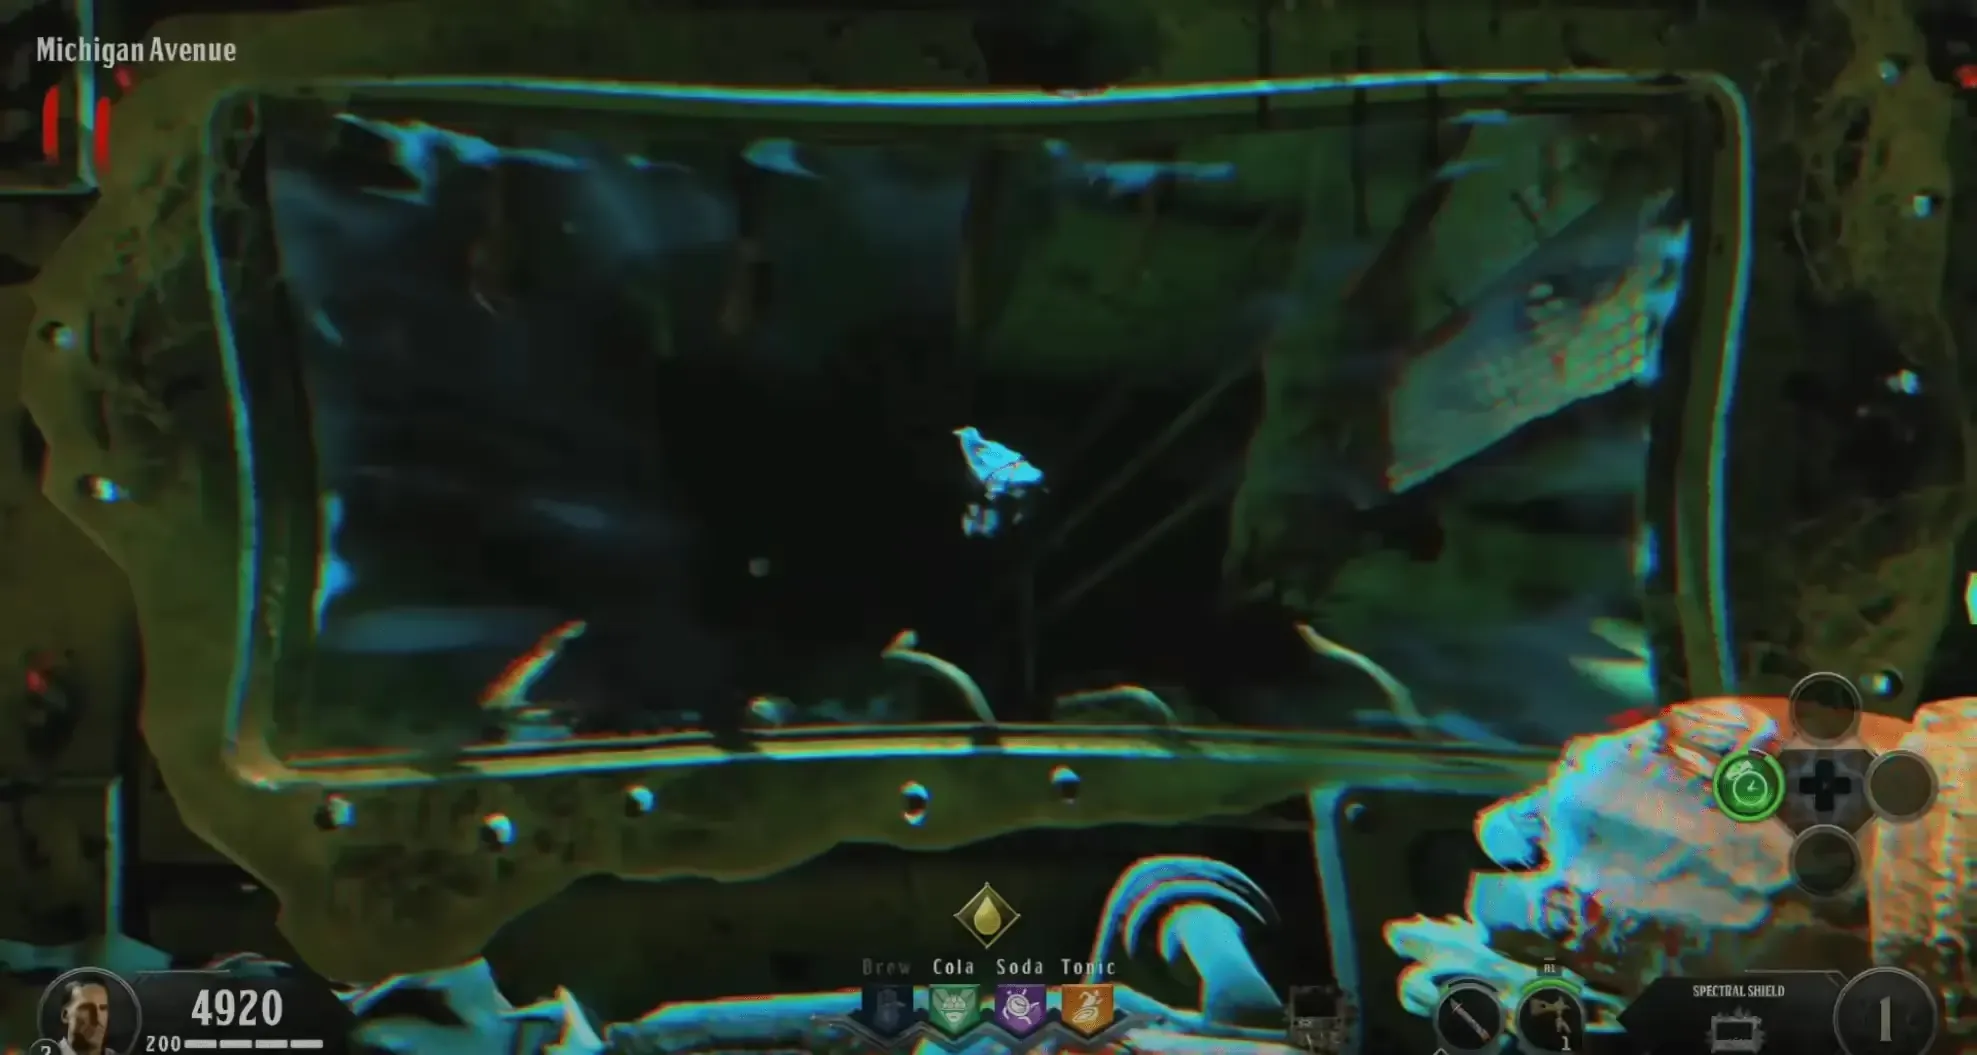
If you fail to grab the Kronorium during the Zombie Blood, you can get another one by inputting the same code 872 on the next round. You can only get one Zombie Blood per round from this method.
Step 4: Anger and Bargaining
Interact with the Kronorium to stop the pages from flipping, revealing a code. You must input this code into the Voltmeters at the bottom of the spiral staircase, spawning a red portal that you must blast with your shield to begin a challenge. The lighthouse near the Warden's House will be shining a red light on this portal, so look at the lighthouse to see where the portal is.
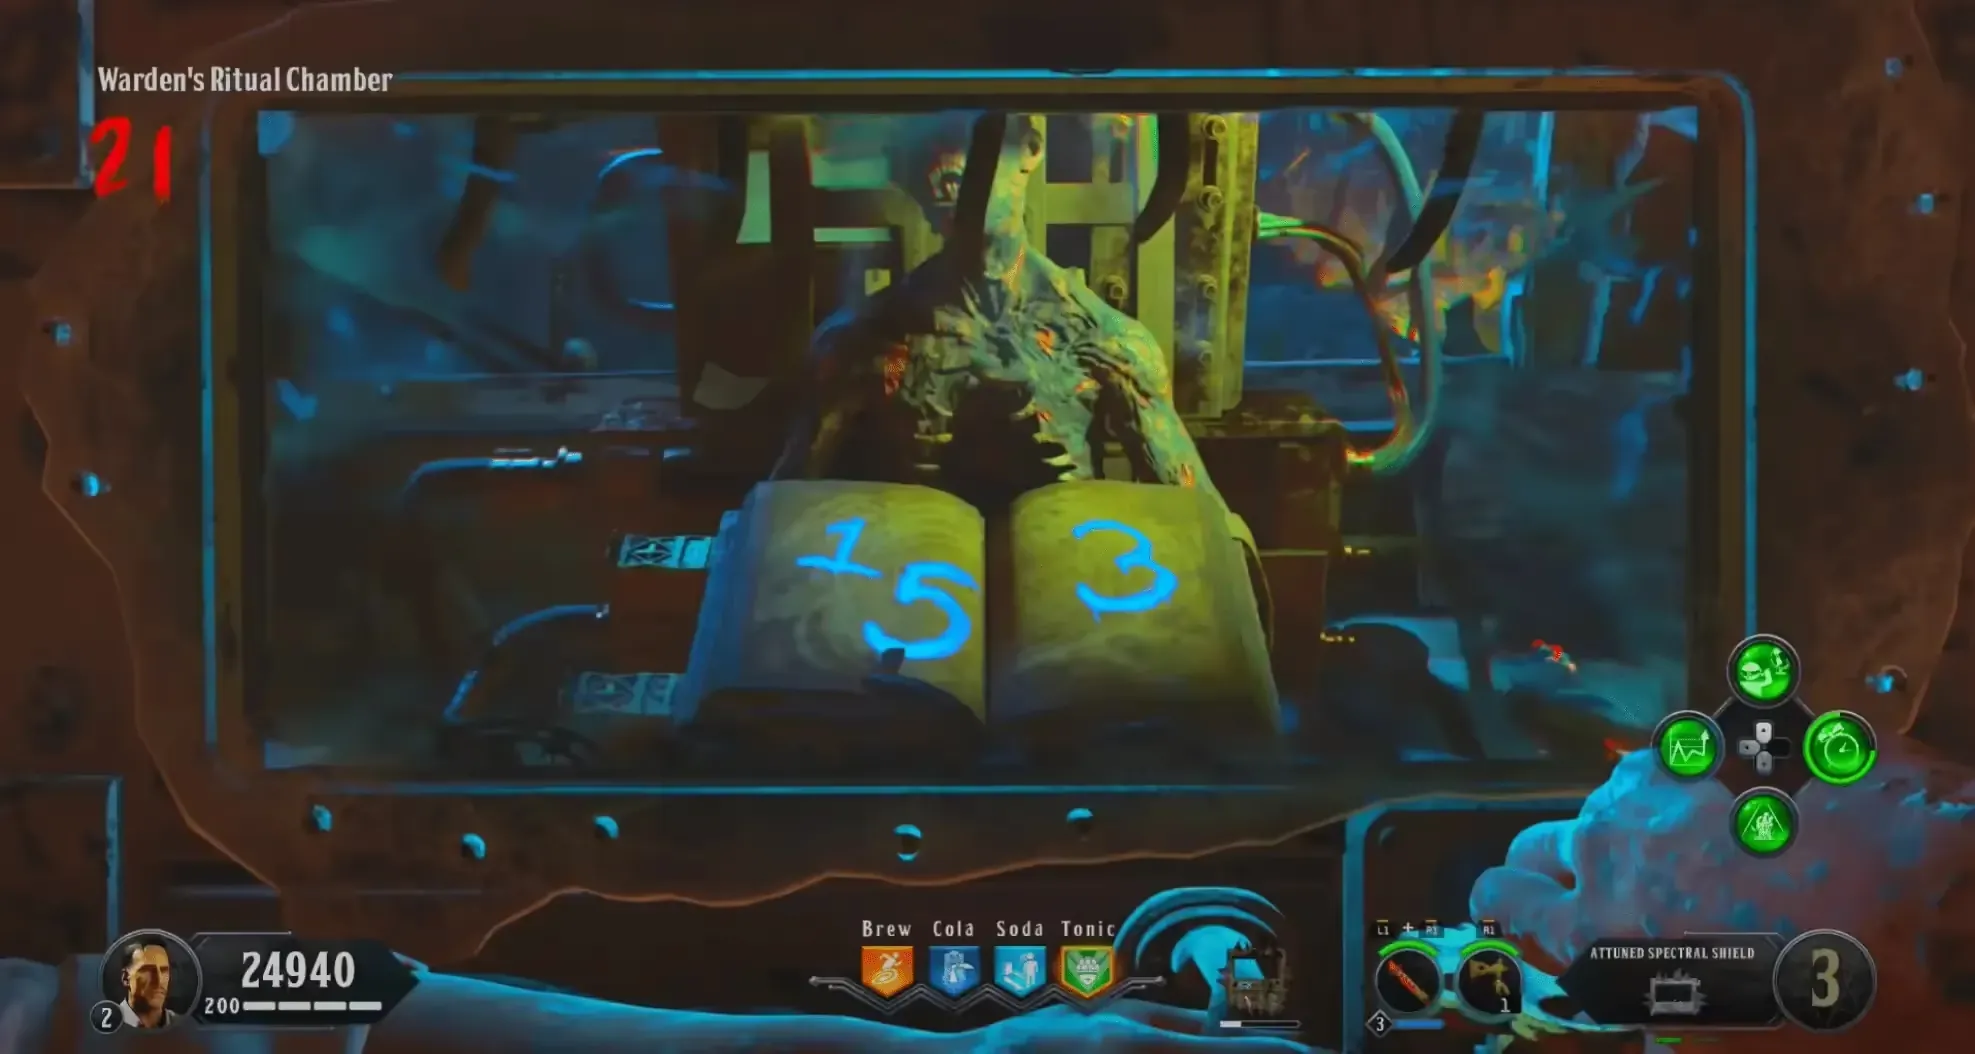
The codes and the order of the challenges you receive will be randomized each game. Also, remember to always blast the red portal before attempting the steps for the challenge as you need to blast the red portal in order to actually begin the challenge. There are always five total challenges.
Docks Challenge
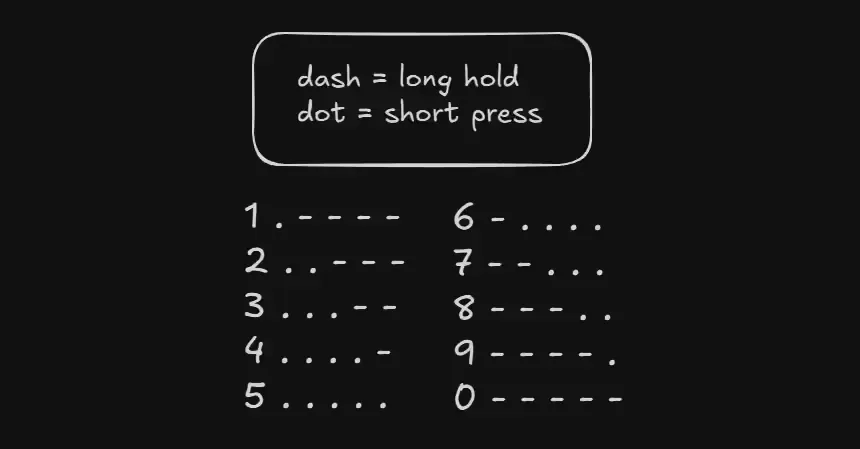
You must input the correct Morse Code number using the device found in the Sally Port, just outside the Warden's Office. You can find this code by looking at three buoys out on the water that will be flashing numbers in Morse Code using your Spectral Vision. Use the image below if you don't know Morse Code:
The locations of the three buoys on the water are:
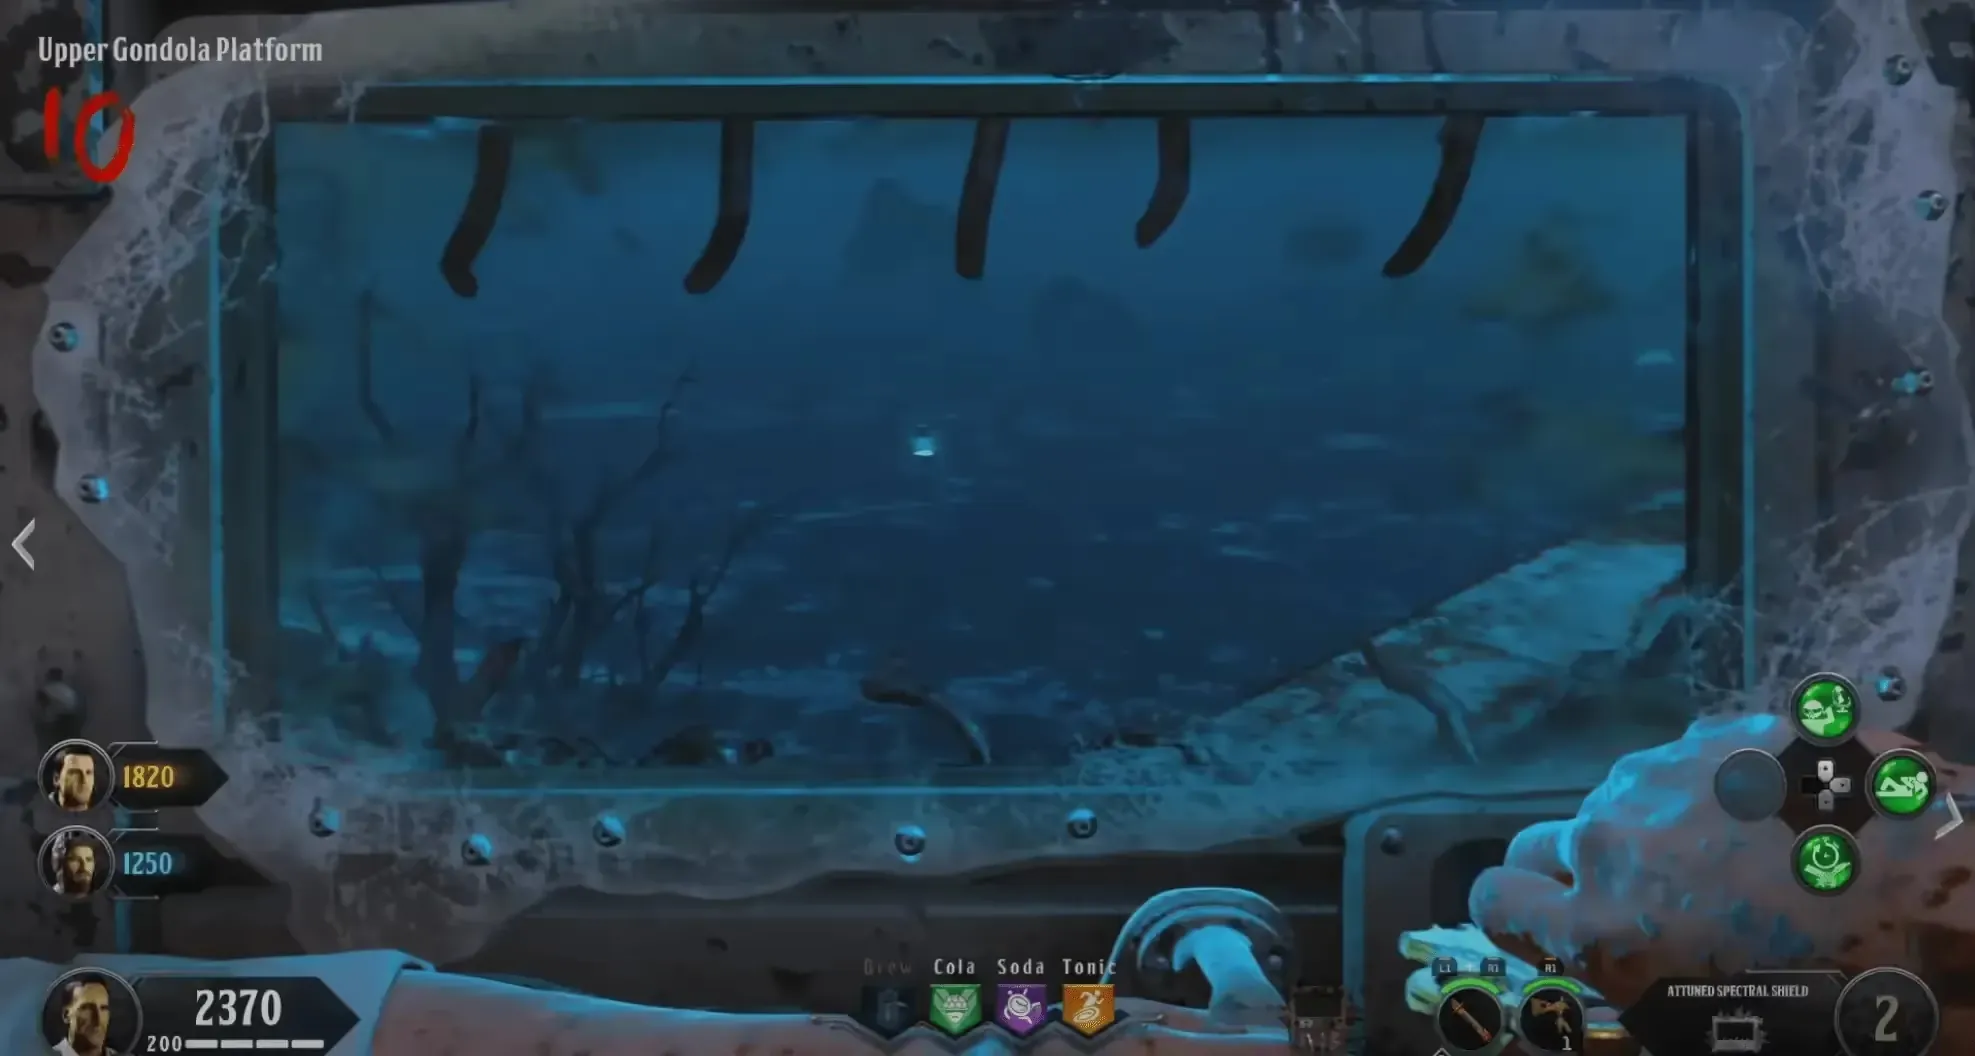
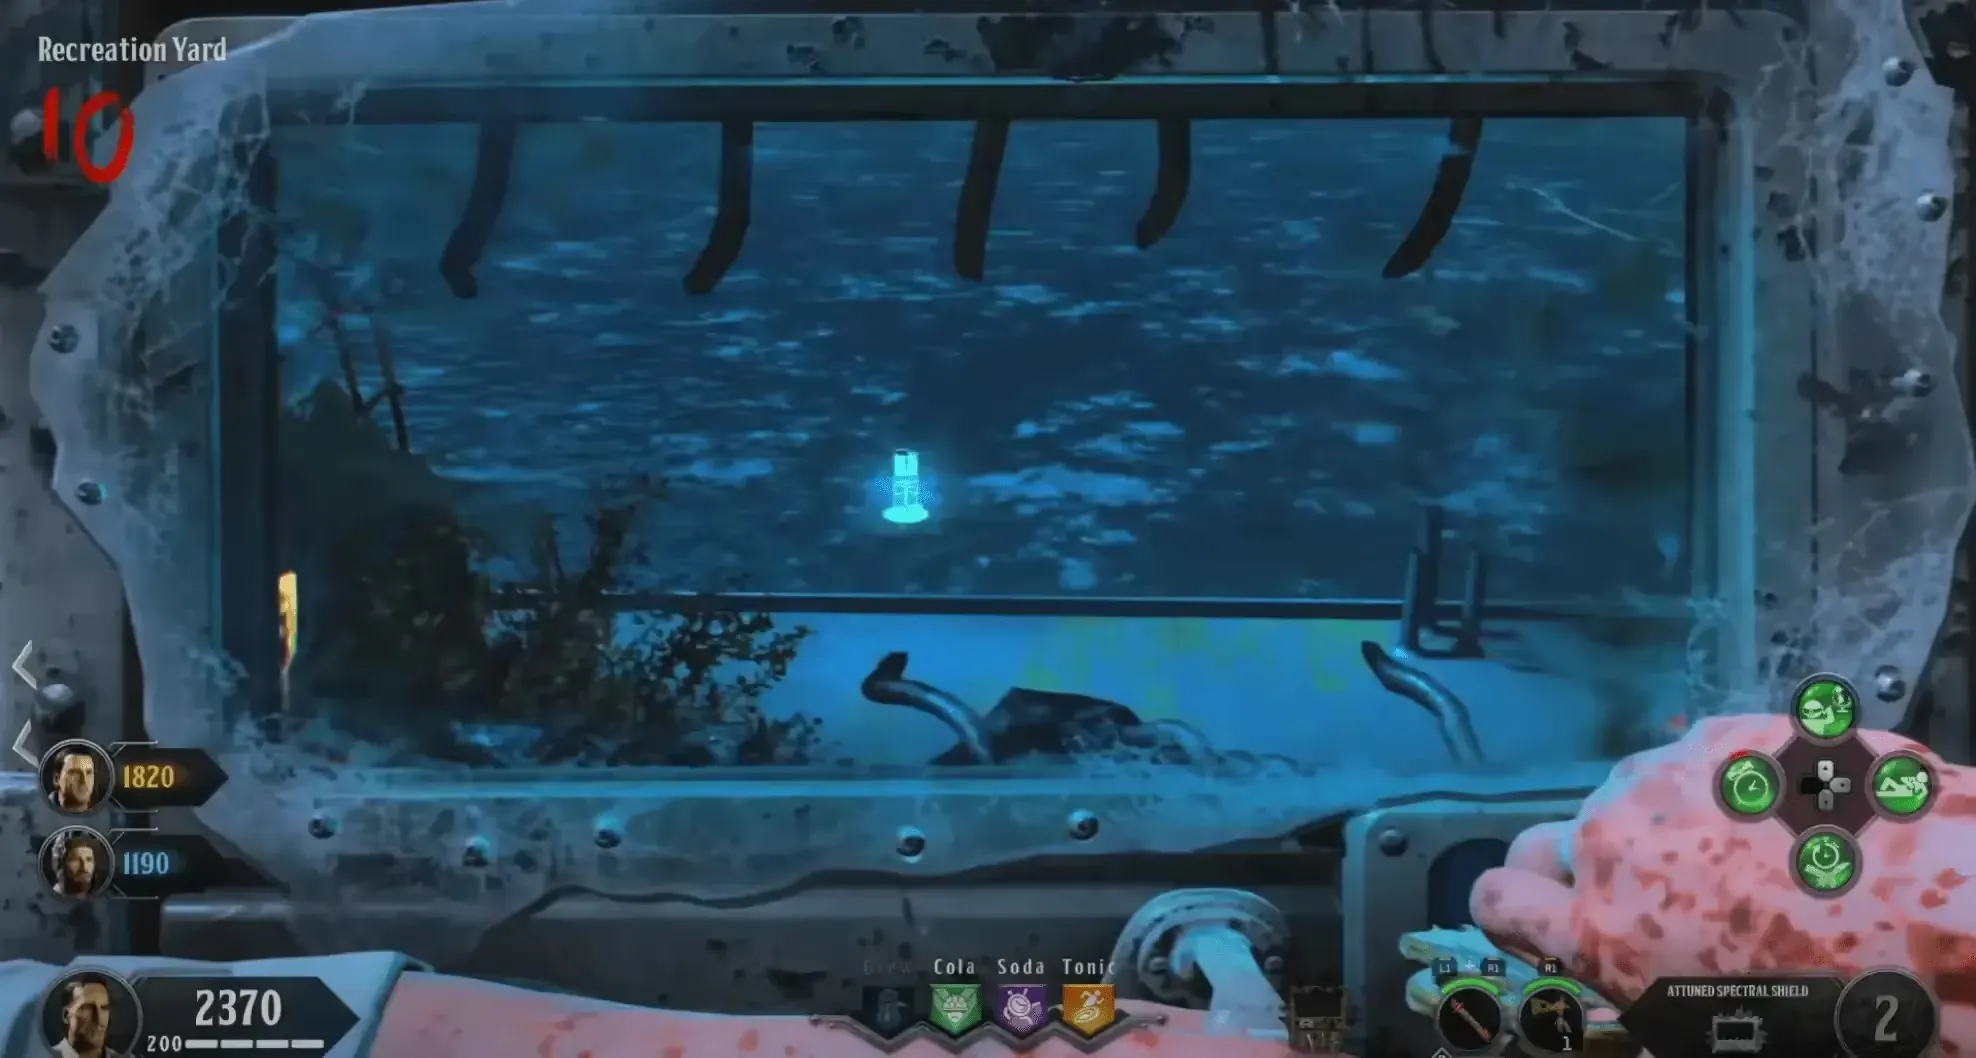
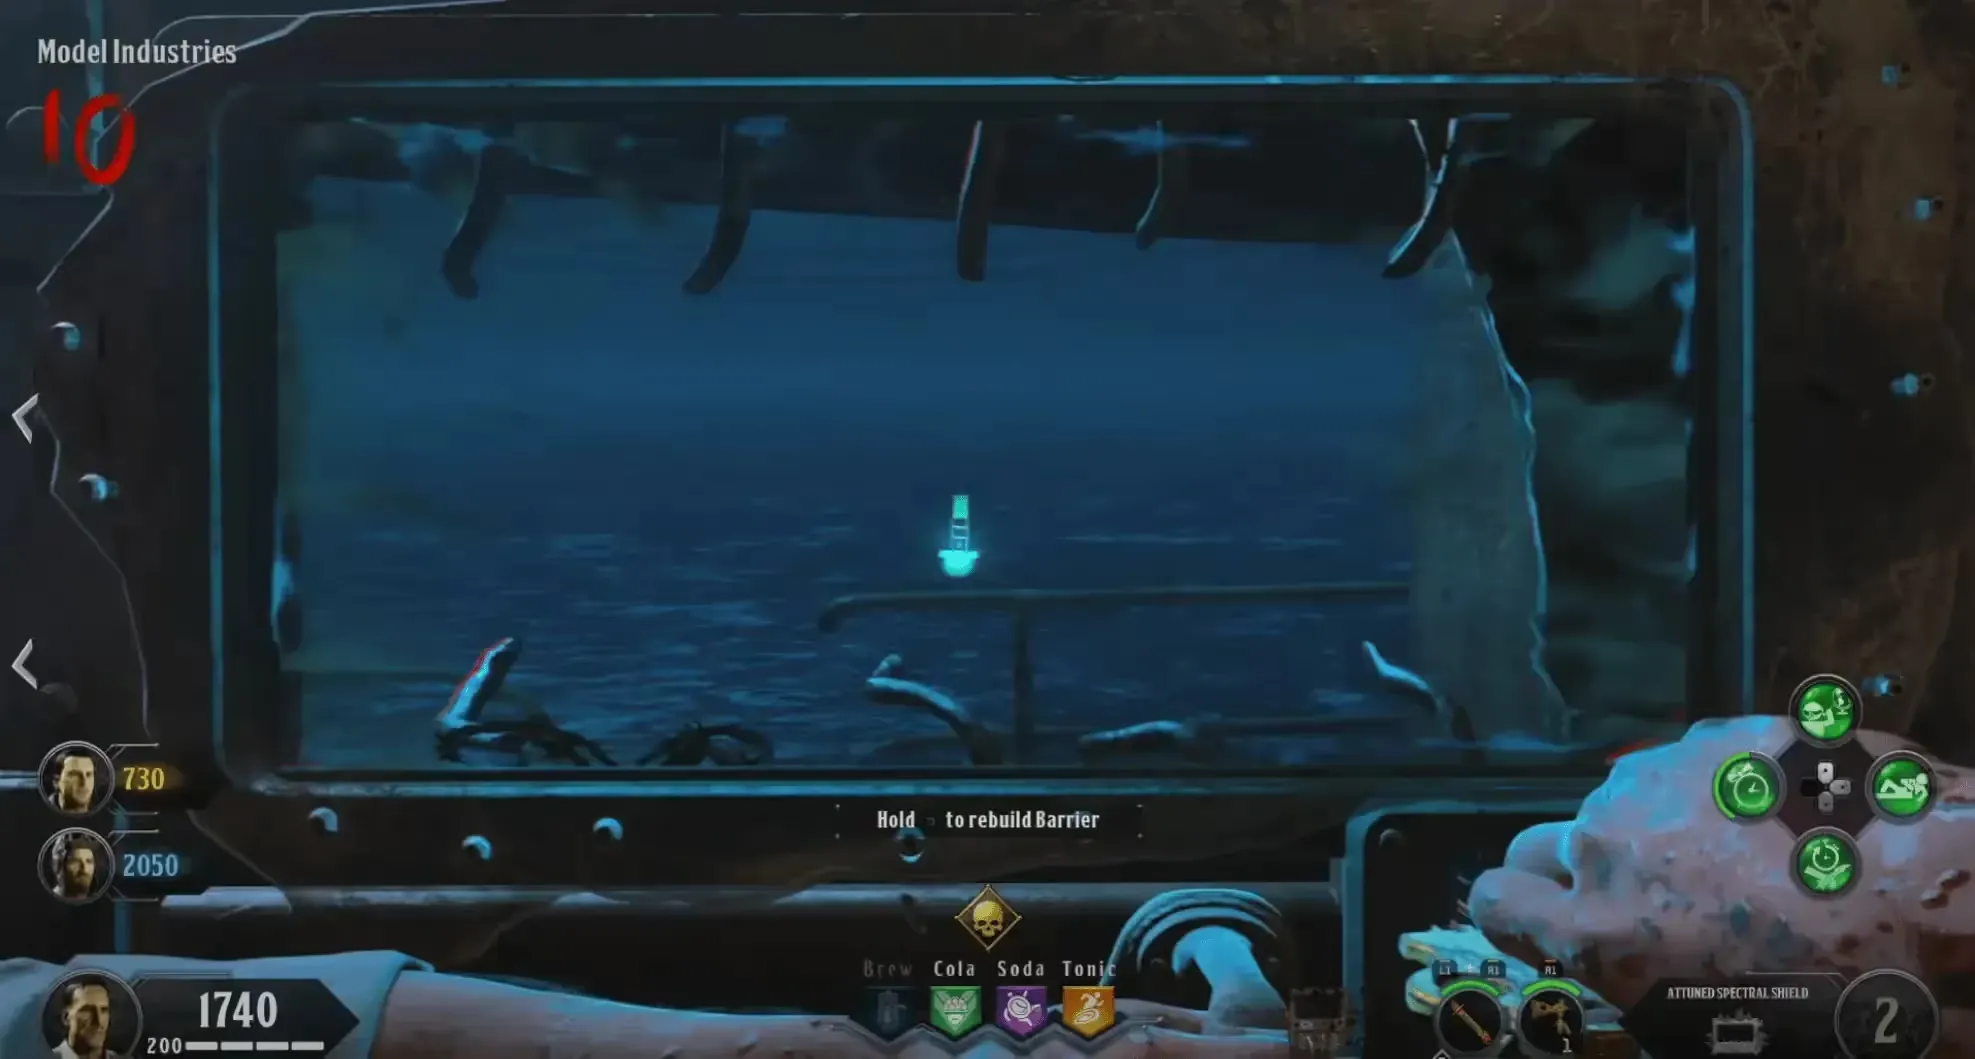
Once you have the three numbers, add them up, and the sum of the three numbers is the number you need to input into the device at Sally Port using Morse Code. Tap interact for a short dash, and hold interact for 2-3 seconds for a long dash. If done successfully, you will hear a character quote saying you did it correctly.
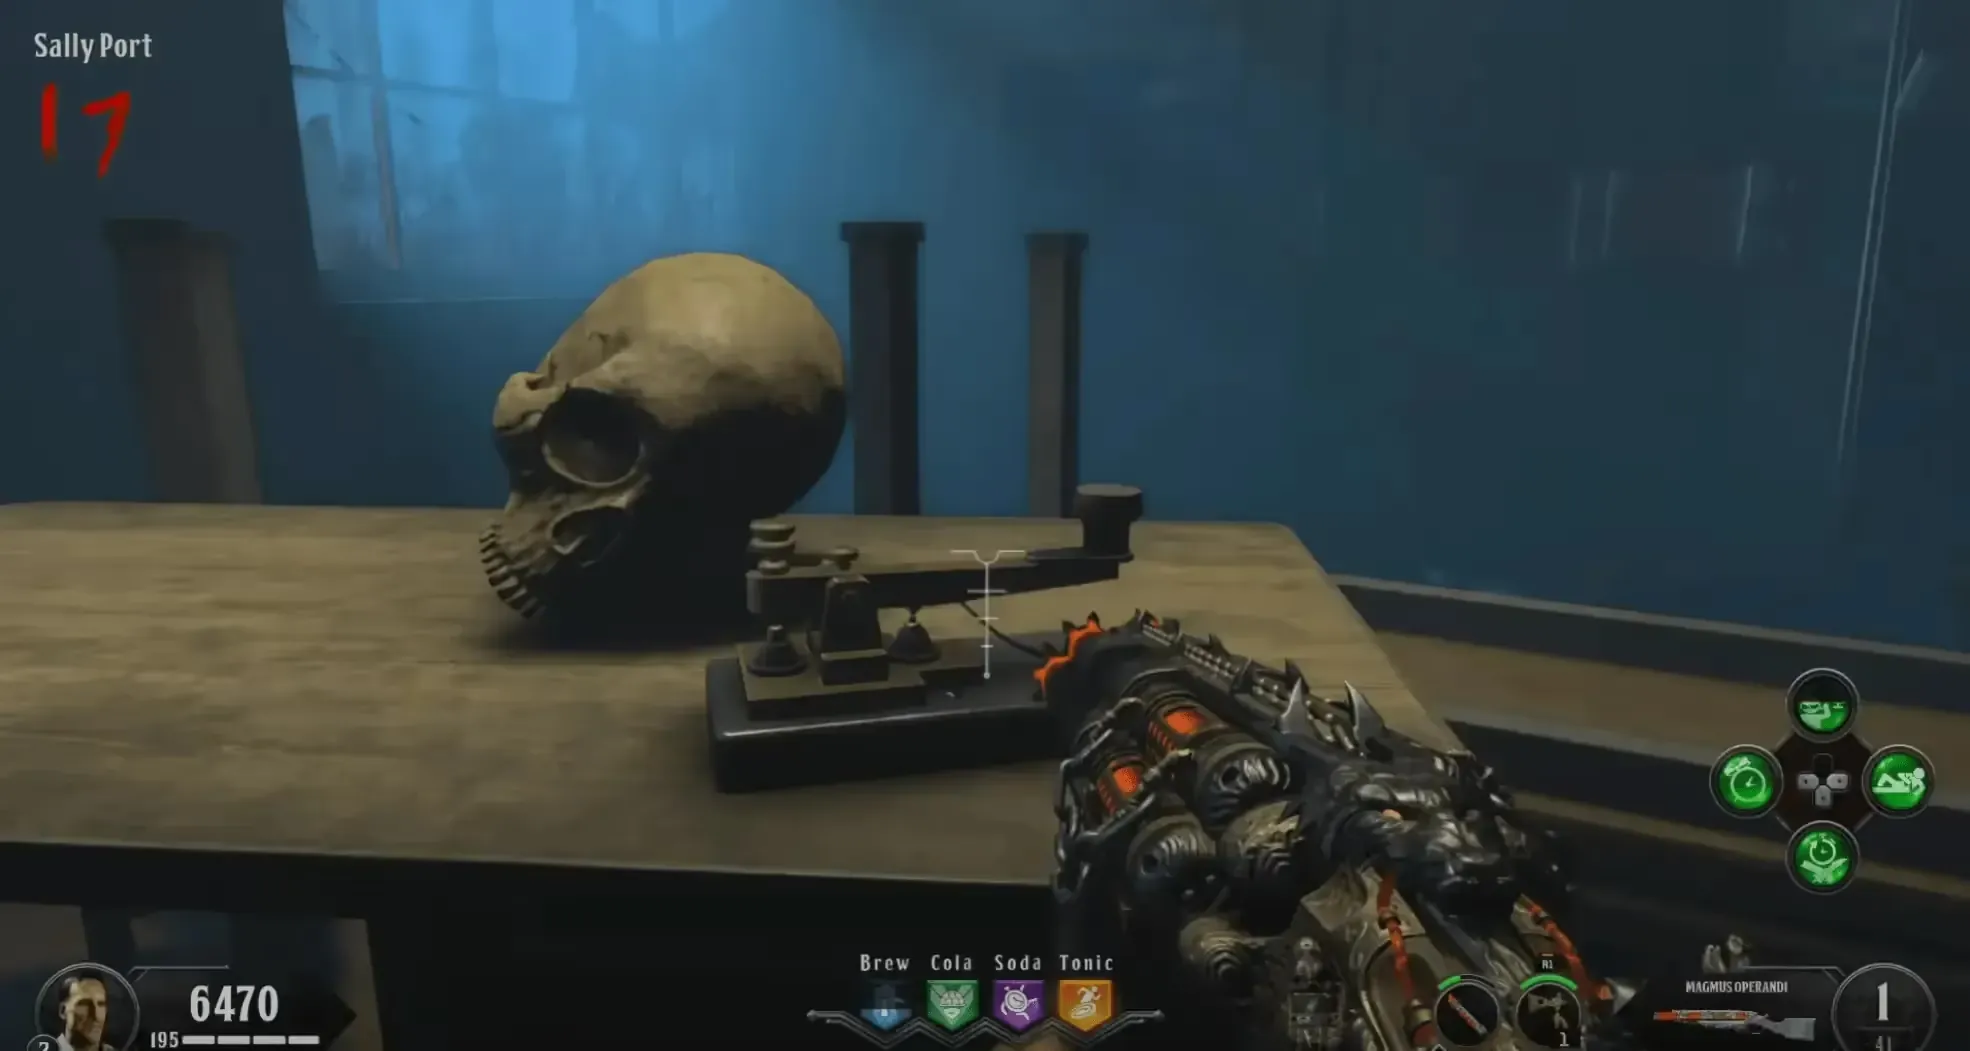
If you hear Brutus laugh at any point while inputing the number, that means you inputted it wrong and need to try again.
Once completed, head to the Infirmary and kill a zombie in the room with a spirit lying on a stretcher. After killing the zombie, use your Spectral Vision, and you should see an ethereal spirit. Blast the spirit with your shield and kill zombies near the spirit until it begins to move.
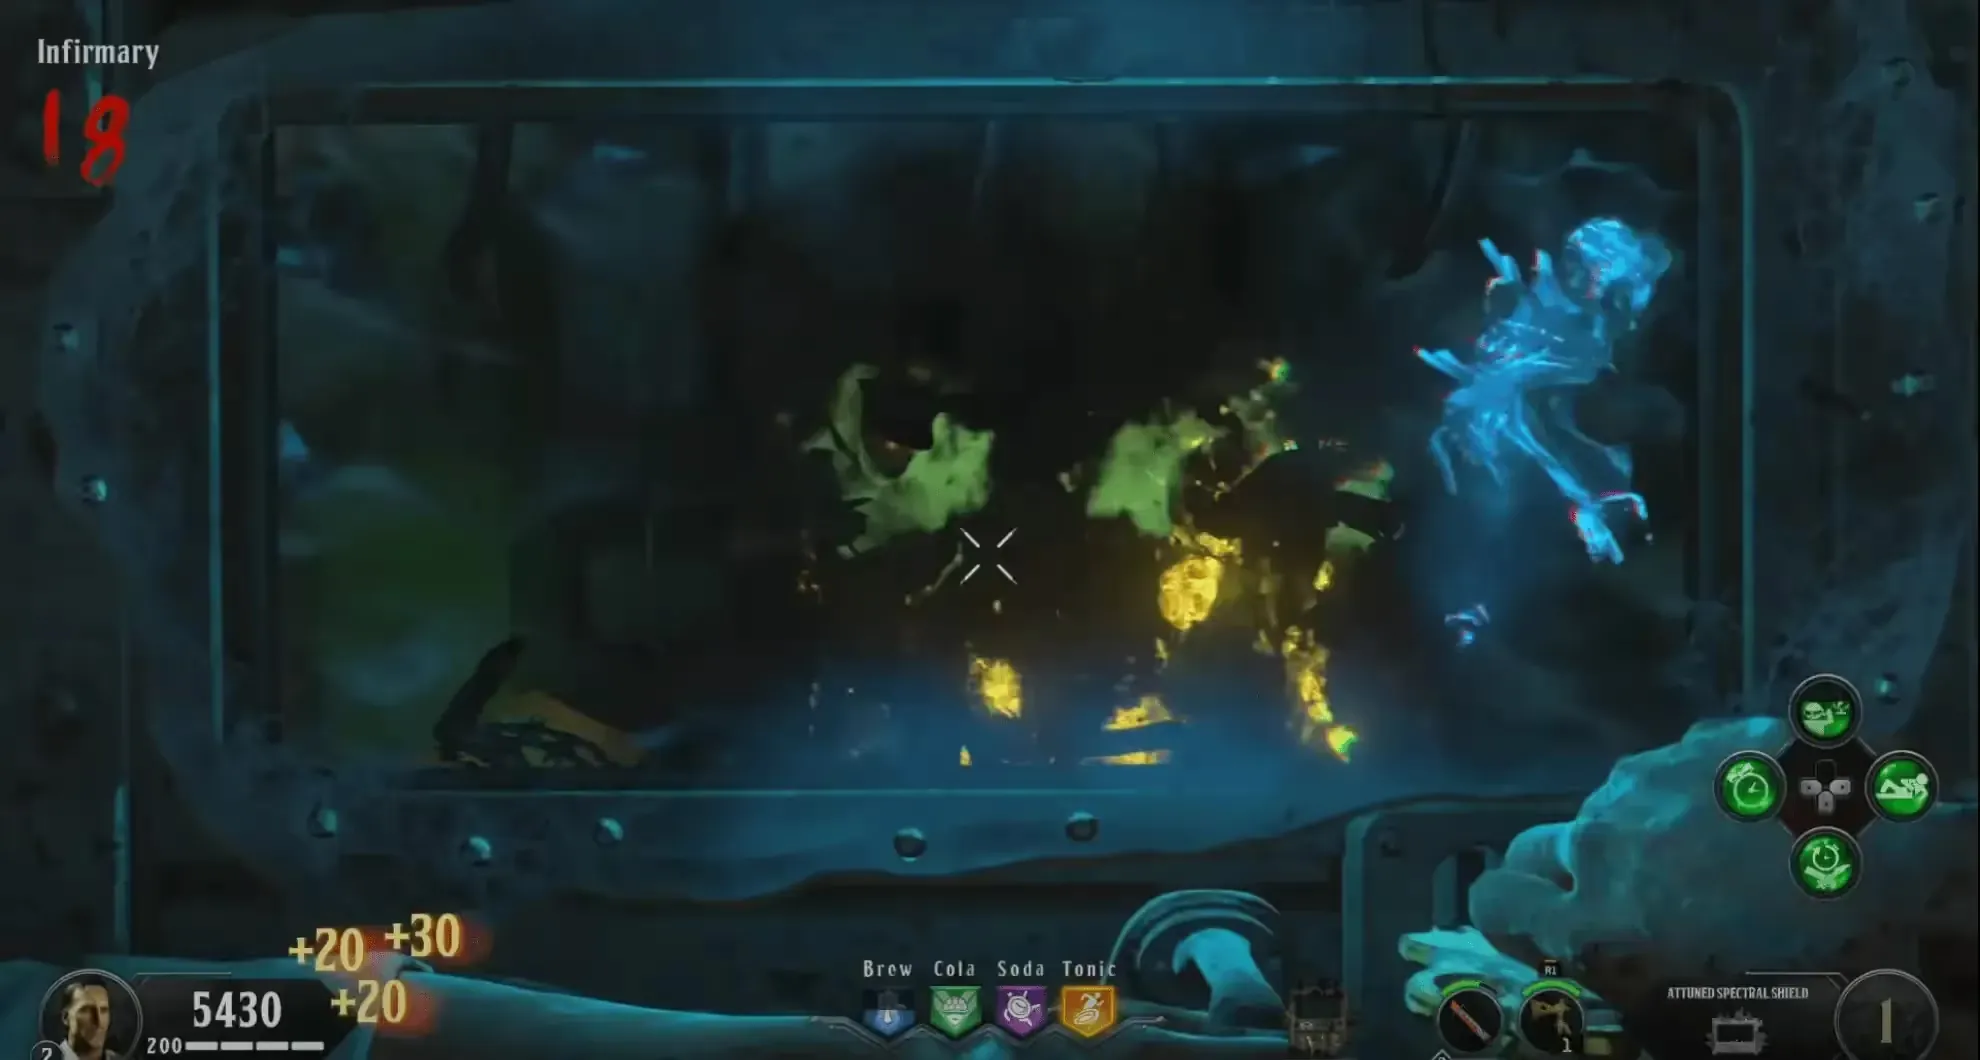
Sometimes you may have to interact with the spirit to begin the escort.
Once the spirit begins to move, escort him to the Docks where you found the red portal, and the spirit will go through the portal and drop a red orb on the ground for you to pick up. Afterward, head to the Warden's House to interact with the Kronorium and get the new code you must input to receive a new challenge.
Power House Challenge
Use your Spectral Vision to observe a spirit moving by the power switches in the Power House until you hear a quote from your character. Afterward, head to Building 64 near the Docks and interact with the sparking generator to start a memory game.
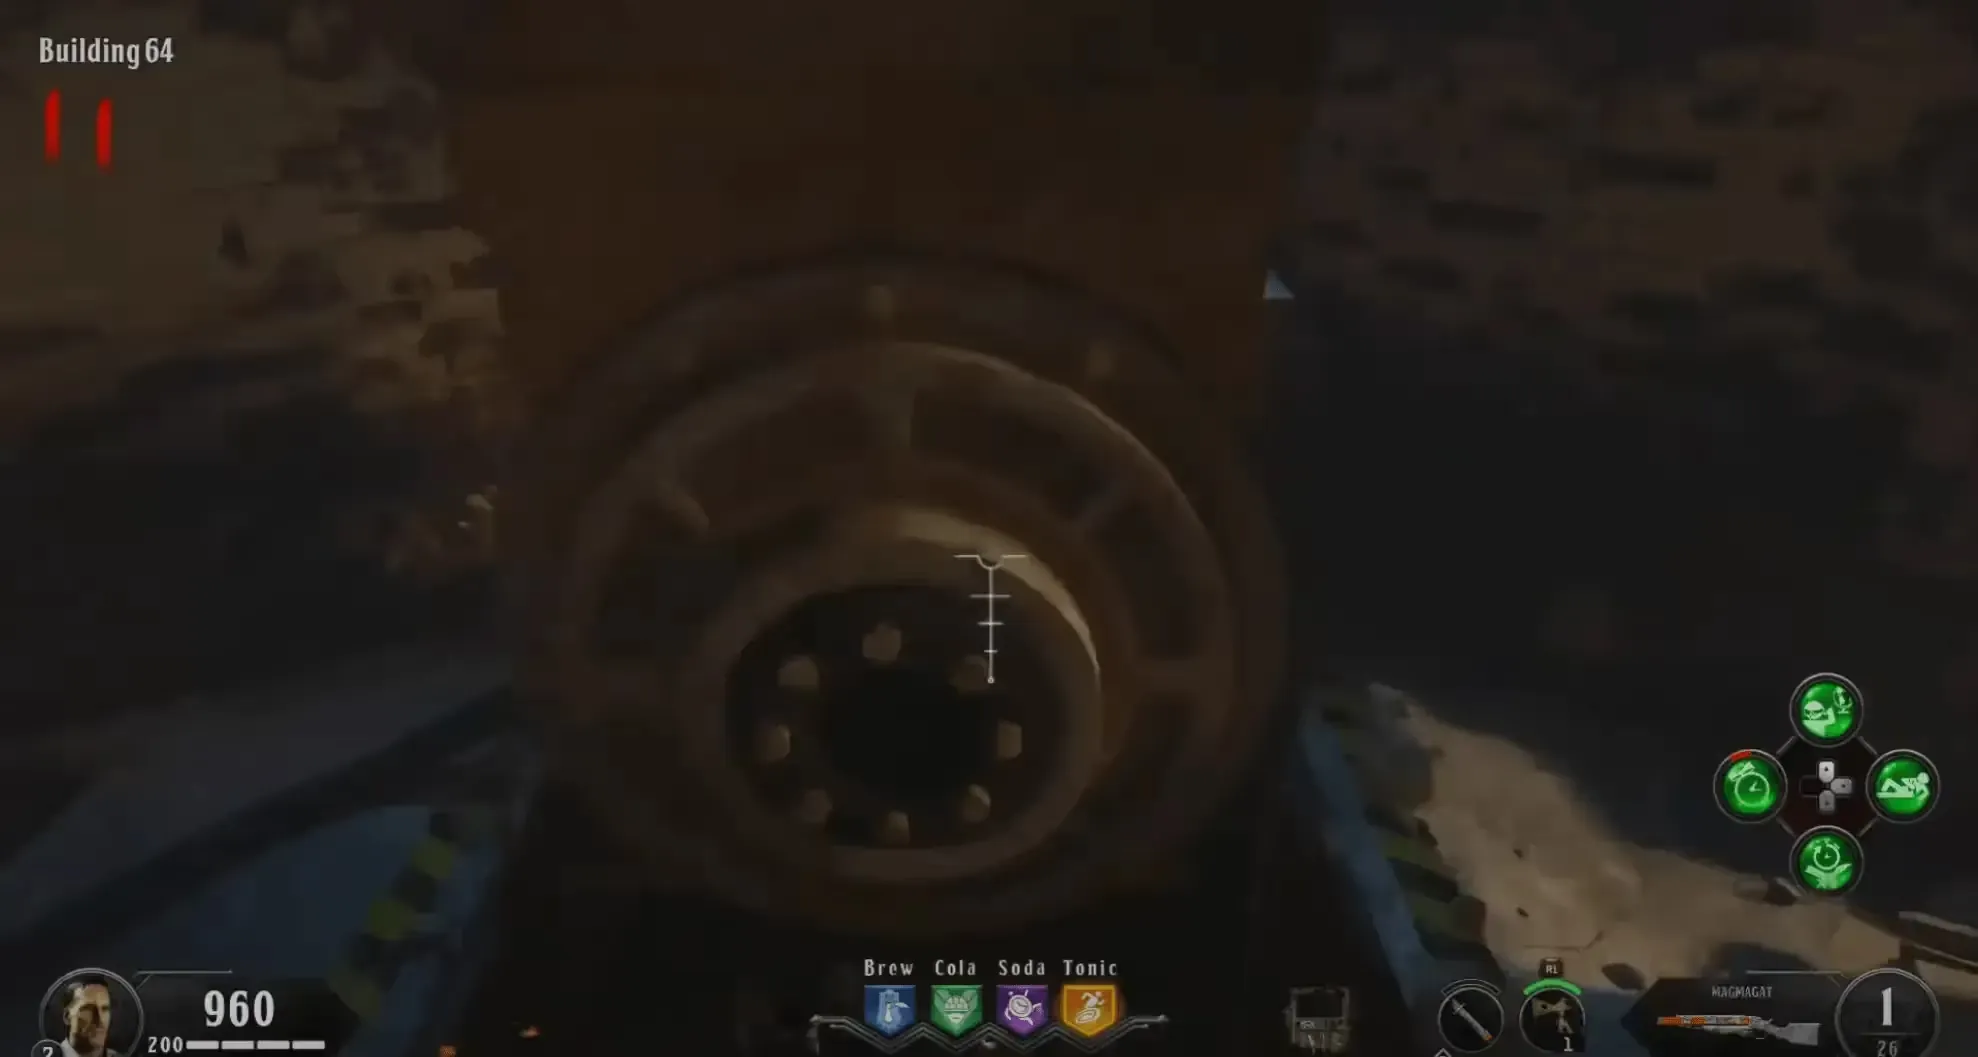
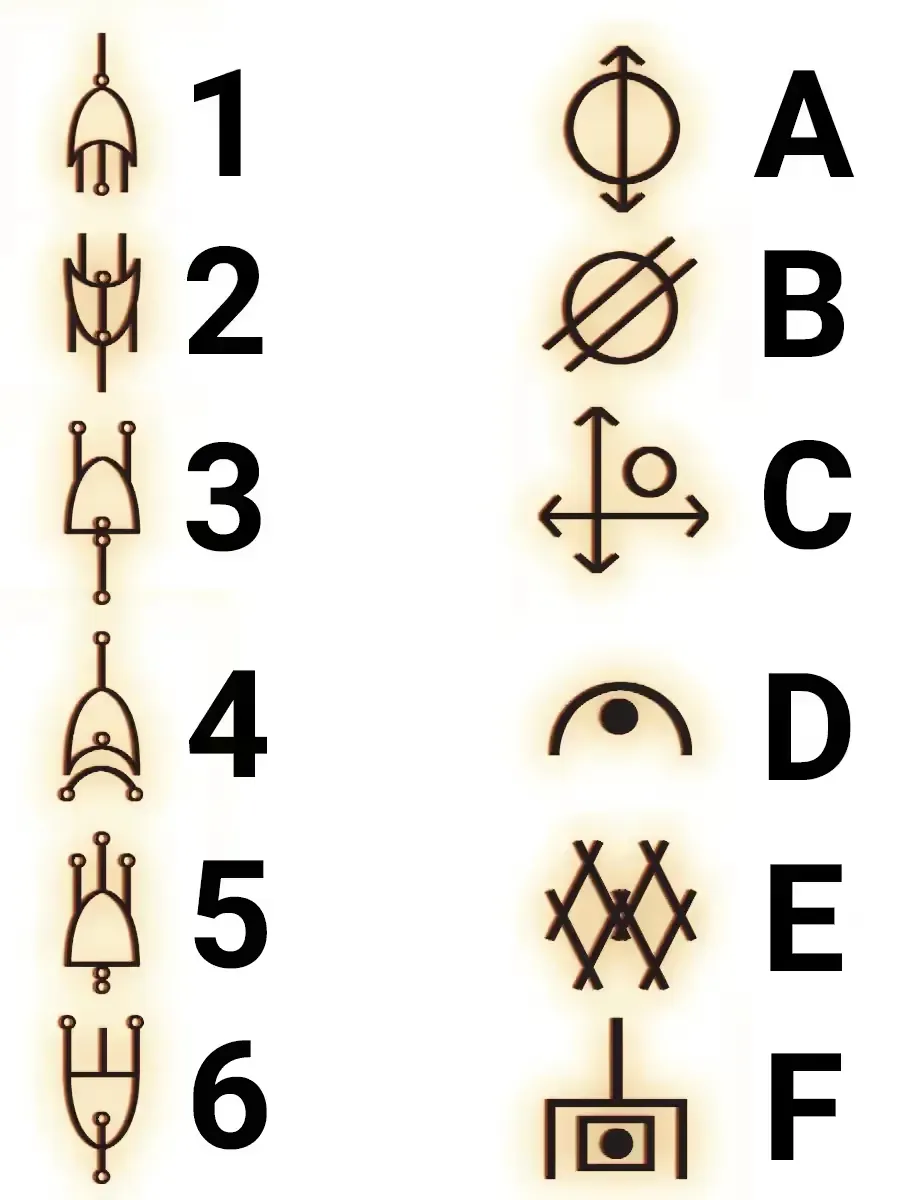
This memory game has five phases, each adding a generator you must remember and interact with. The game starts with just one generator, while the final phase has five generators. Once you have completed the memory game, three generators will stay lit while one is flashing. You must remember the three that have stayed lit (ignoring the one that is flashing) and note the symbol displayed on a piece of paper just below the generator using the numbers on this image:
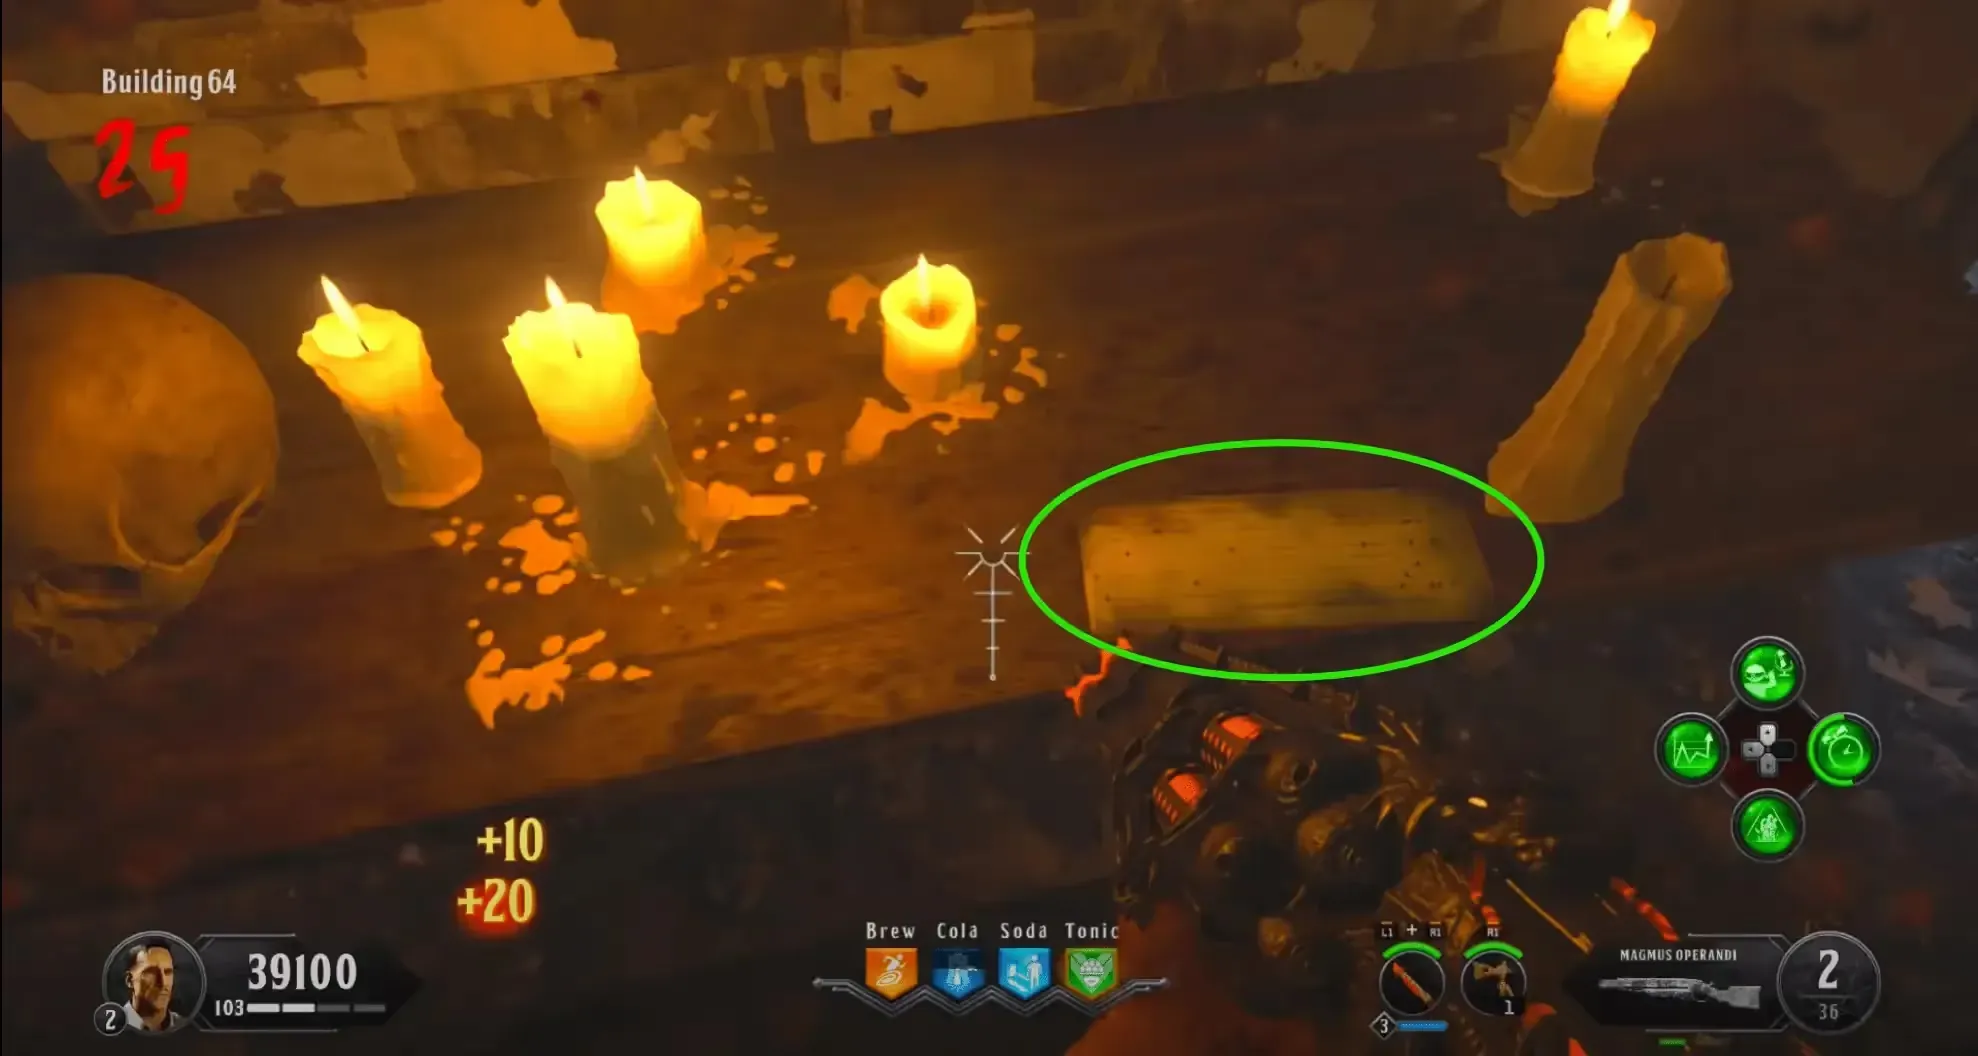
Once you know your symbols/numbers, grab the Punchcard on the small candle-lit wooden shelf near the exit toward the spiral staircase, head to Model Industries, and insert the Punchcard into the terminal in the right corner of the room.
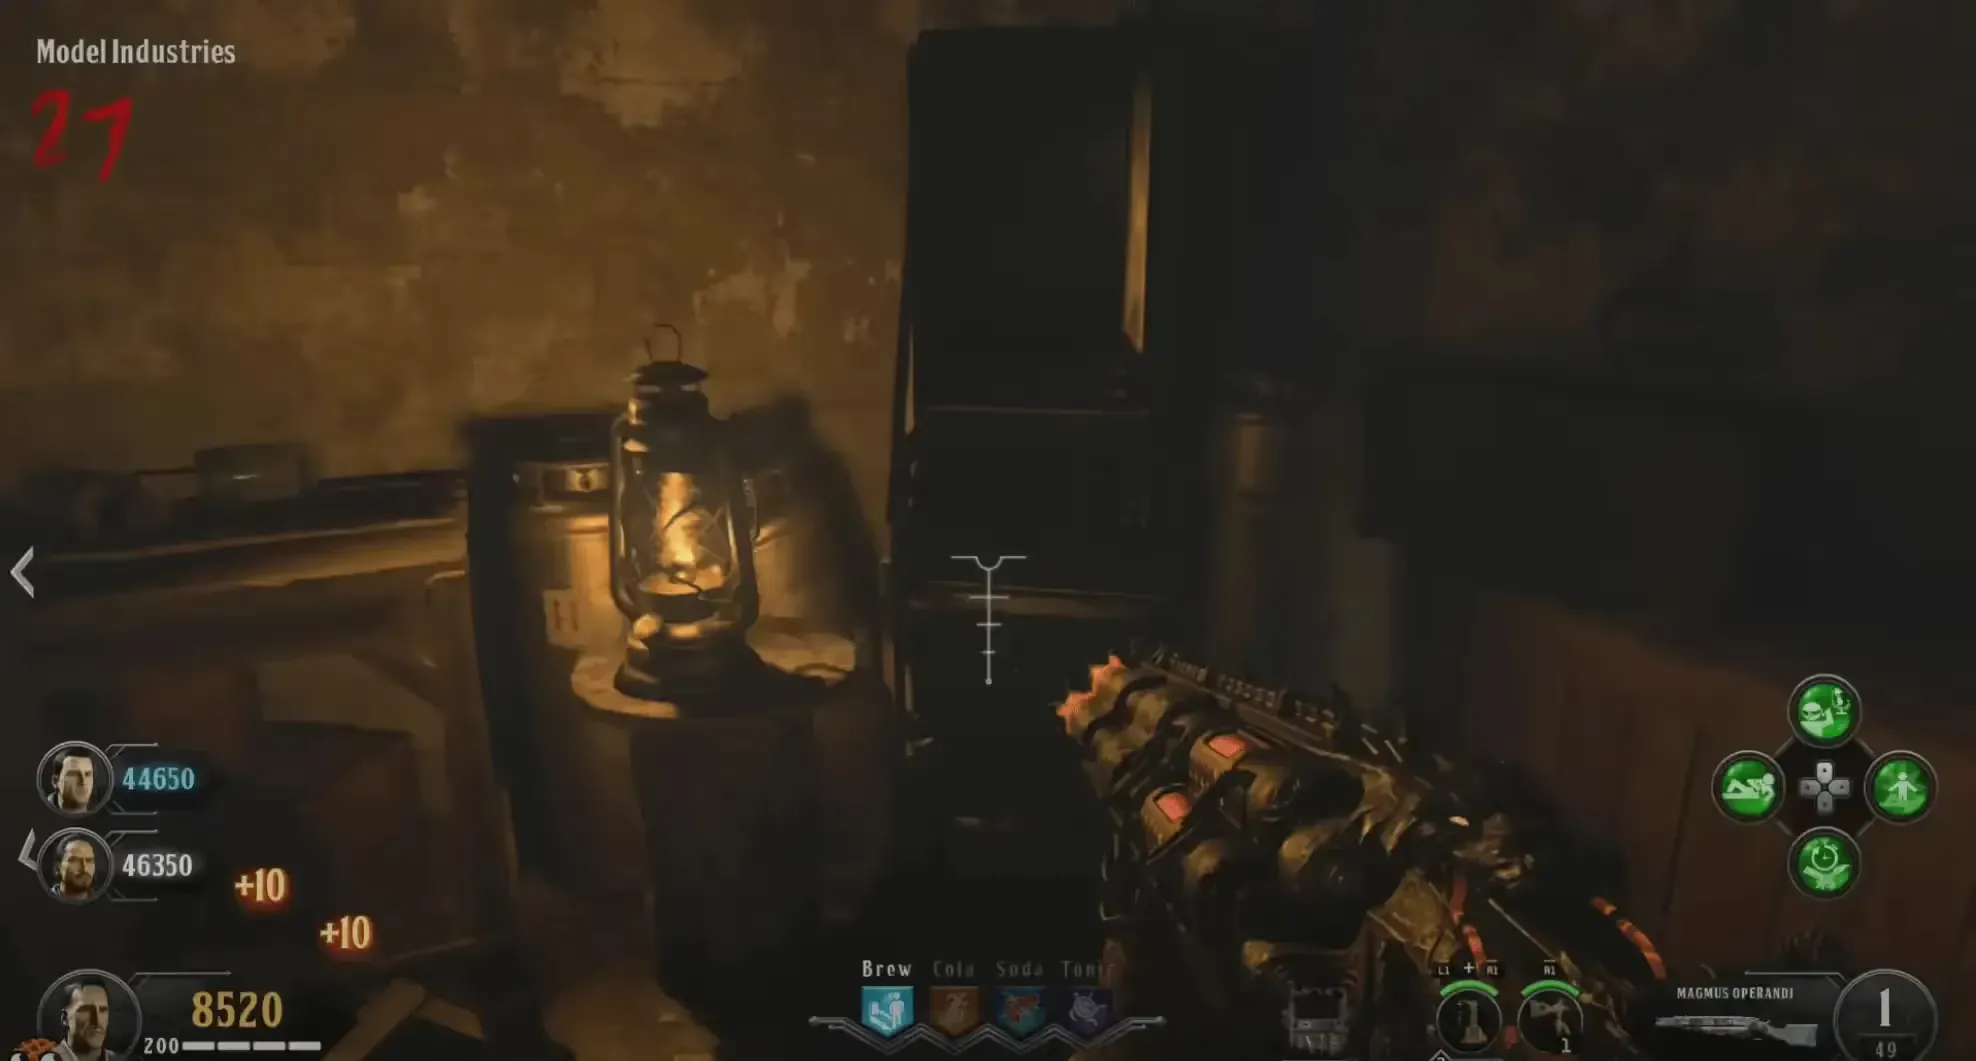
Six monitors will now be activated, three of which will have the symbols shown on the lit generators, and you must interact with those monitors to receive three new symbols that you must remember using the letters on this image:

Finally, head to the Power House, and using your Spectral Vision, you must observe the spirit and blast it just before it is about to pull the lever with one of your symbols on it. You can find the symbols just below the levers. There is no time limit, so be patient and only blast the skeleton when it is going to pull the correct symbols lever.
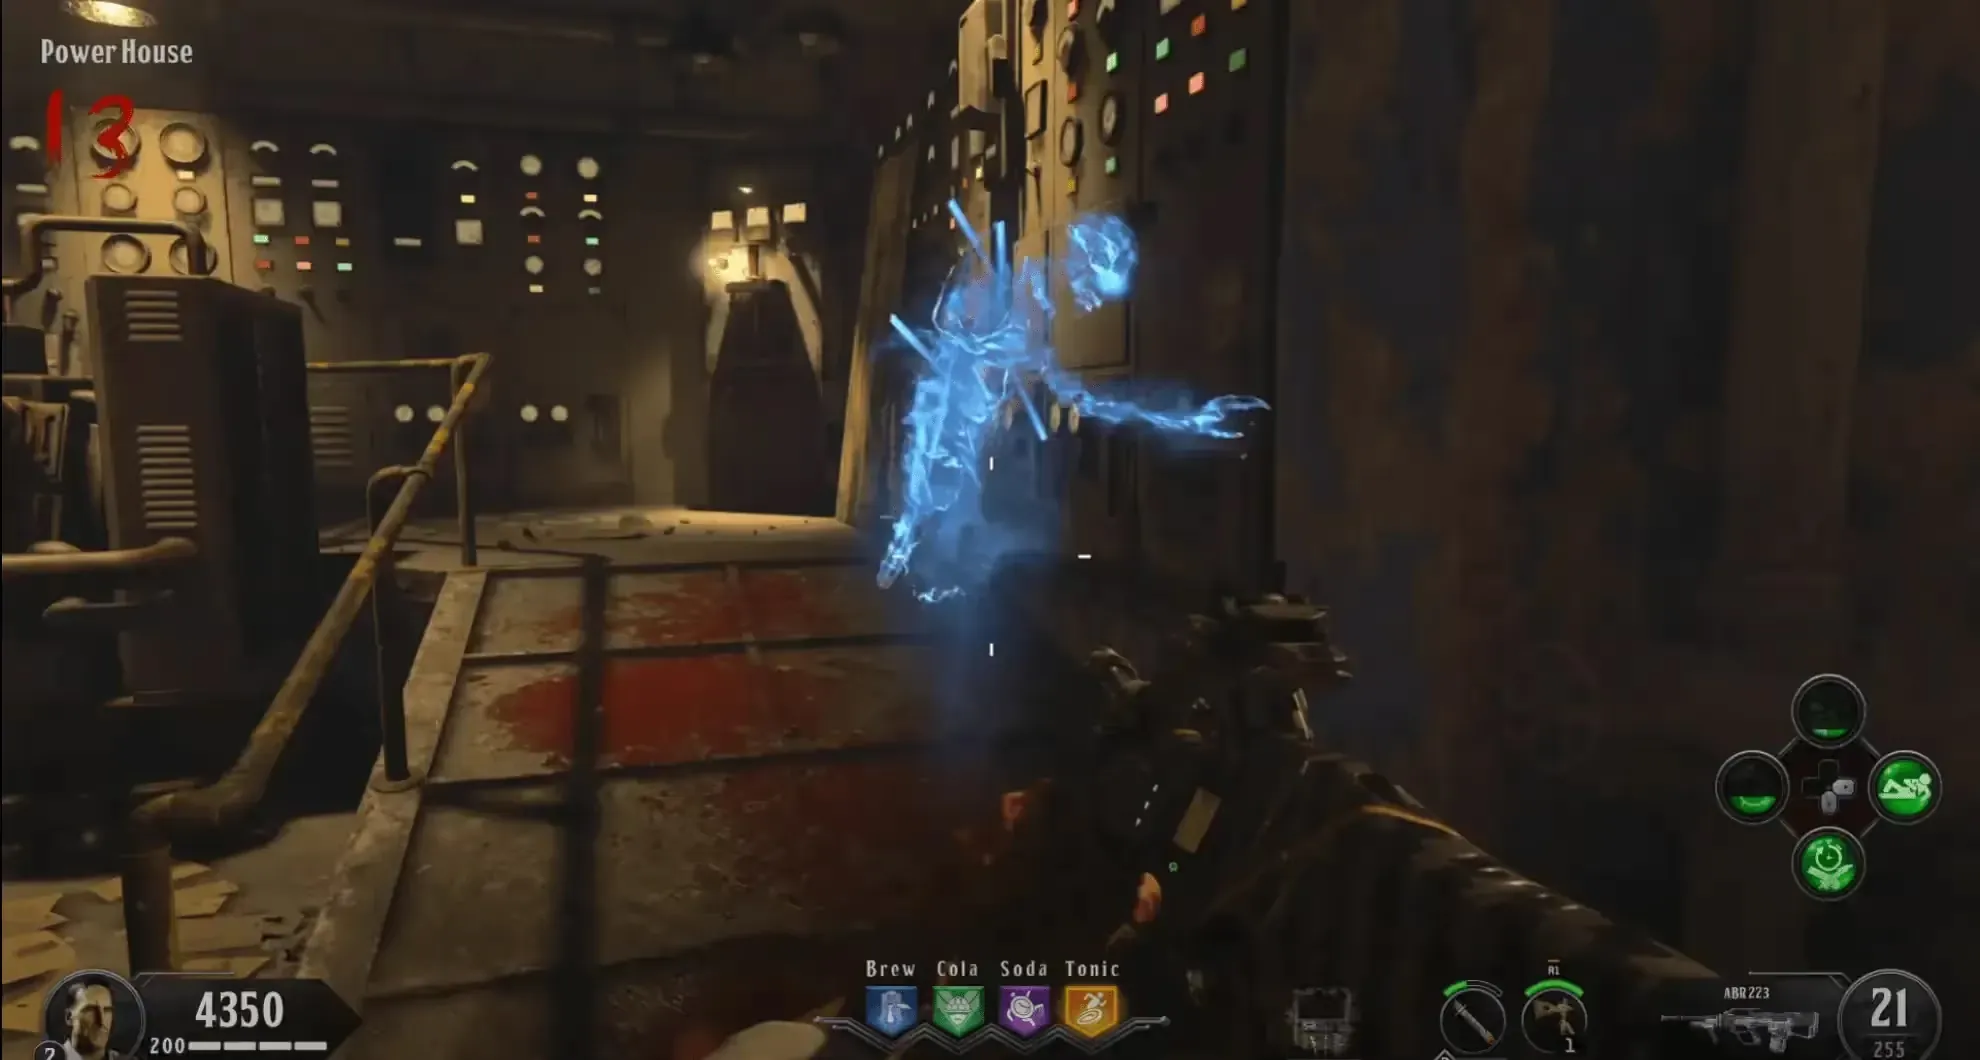
If you blast the spirit at the wrong time, and it pulls the wrong lever, the spirit will disappear without dropping a red orb, and you will need to repeat the entire challenge again after flipping a round.
If done successfully, the spirit will disappear and drop a red orb for you to pick up. Afterward, head to the Warden's House to interact with the Kronorium and get the new code you must input to receive a new challenge.
New Industries Challenge
You must have the Attuned Spectral Shield to complete this challenge, otherwise you won't have enough shield charges, if solo.
Head to D-Block in the prison, kill a zombie, revealing an ethereal spirit you can only see in Spectral Vision, and use your shield to blast the spirit. This will allow you to see the spirit without Spectral Vision, and you must constantly use your Shield Key on the spirit until it disappears.
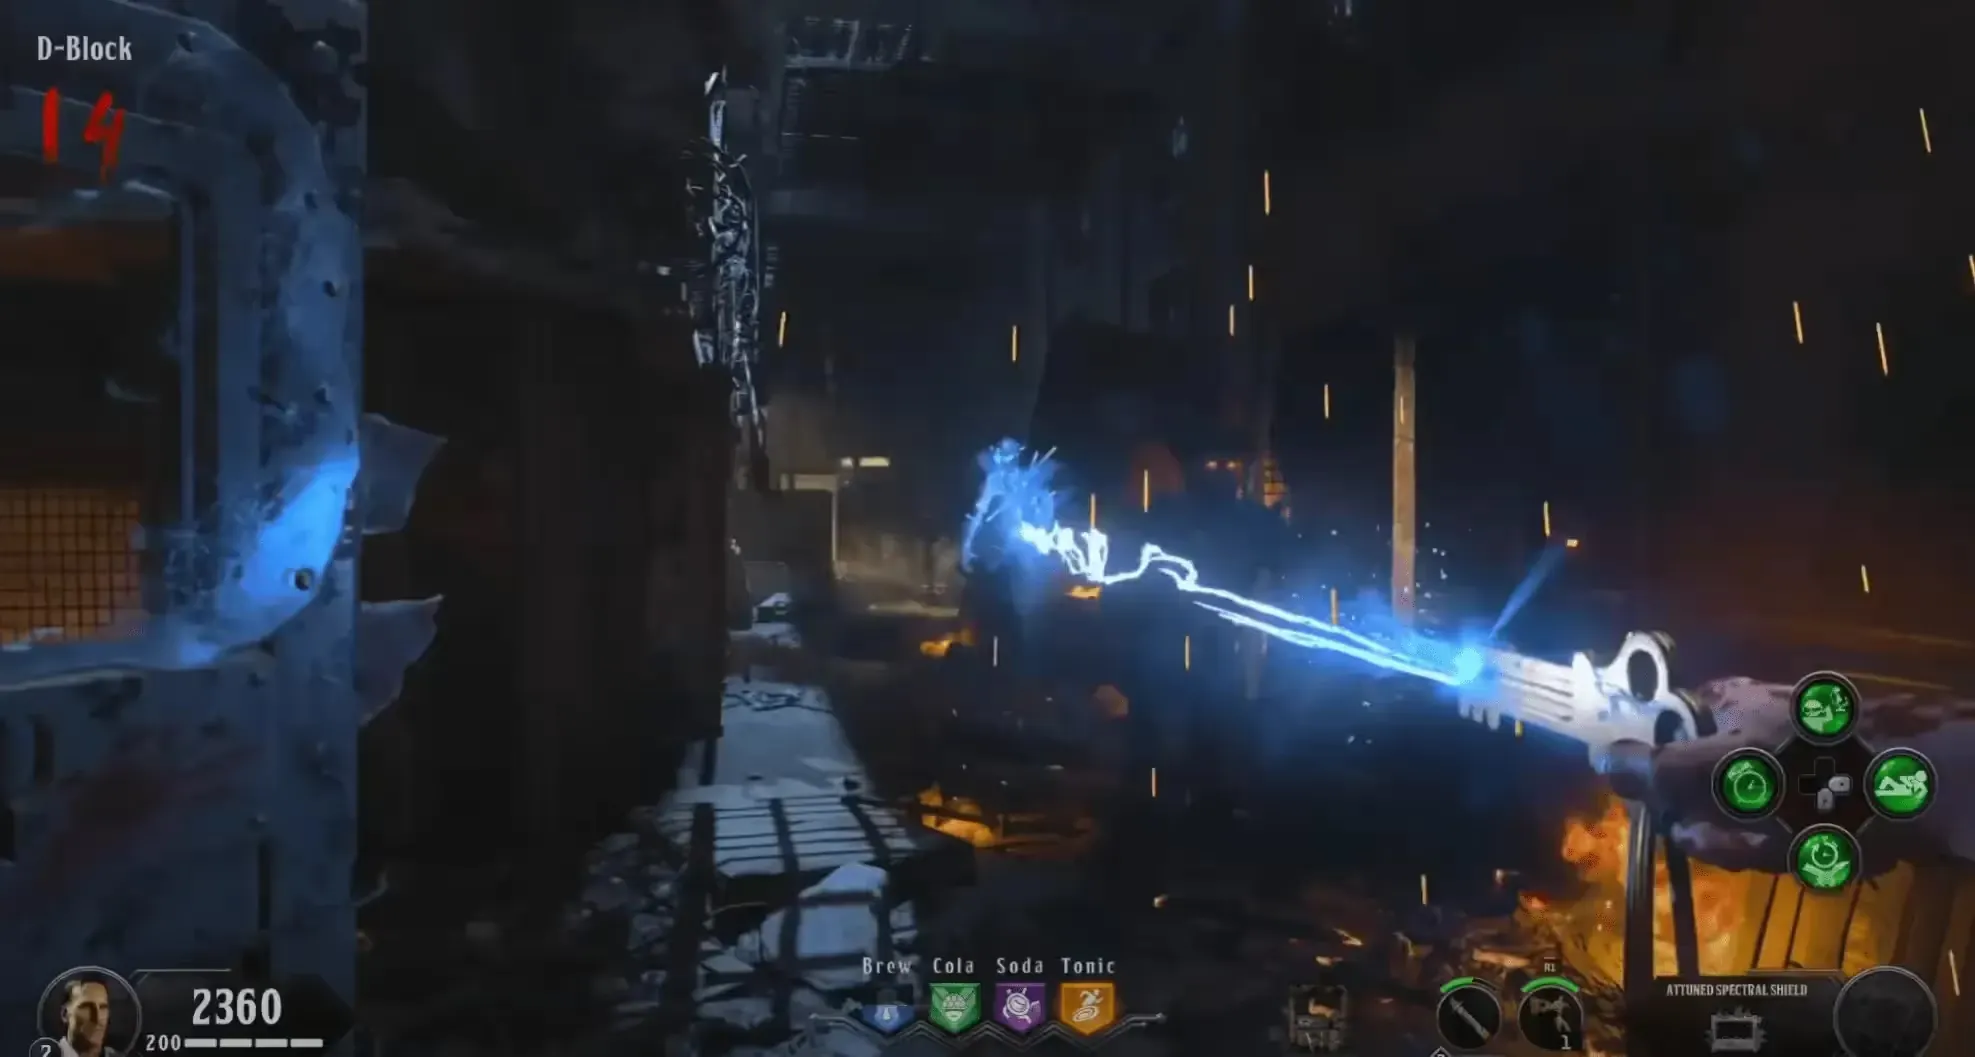
When the spirit disappears, you need to blast it with your shield and then use your Shield Key on it again. Repeat this process until the spirit is fully red and you are unable to use the Shield Key on it anymore. You must get the spirit to this point before it reaches the New Industries building.
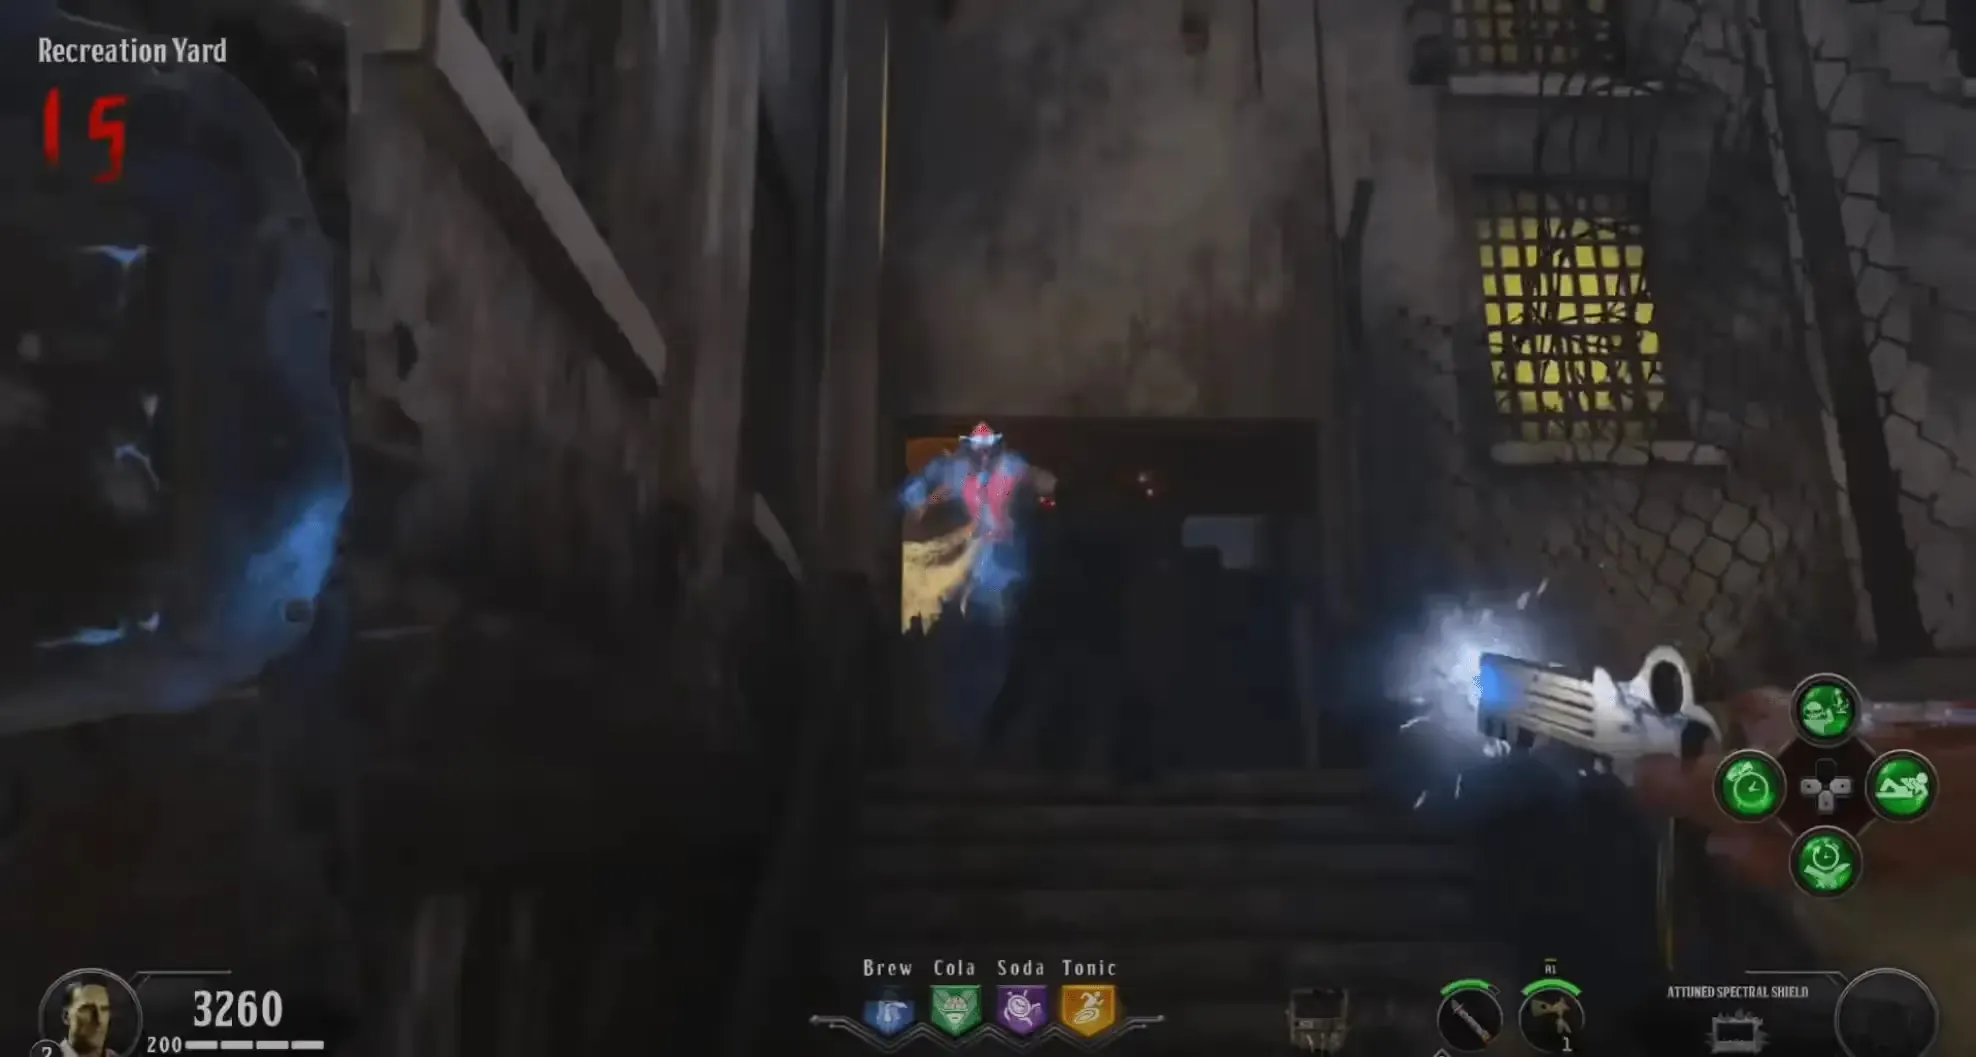
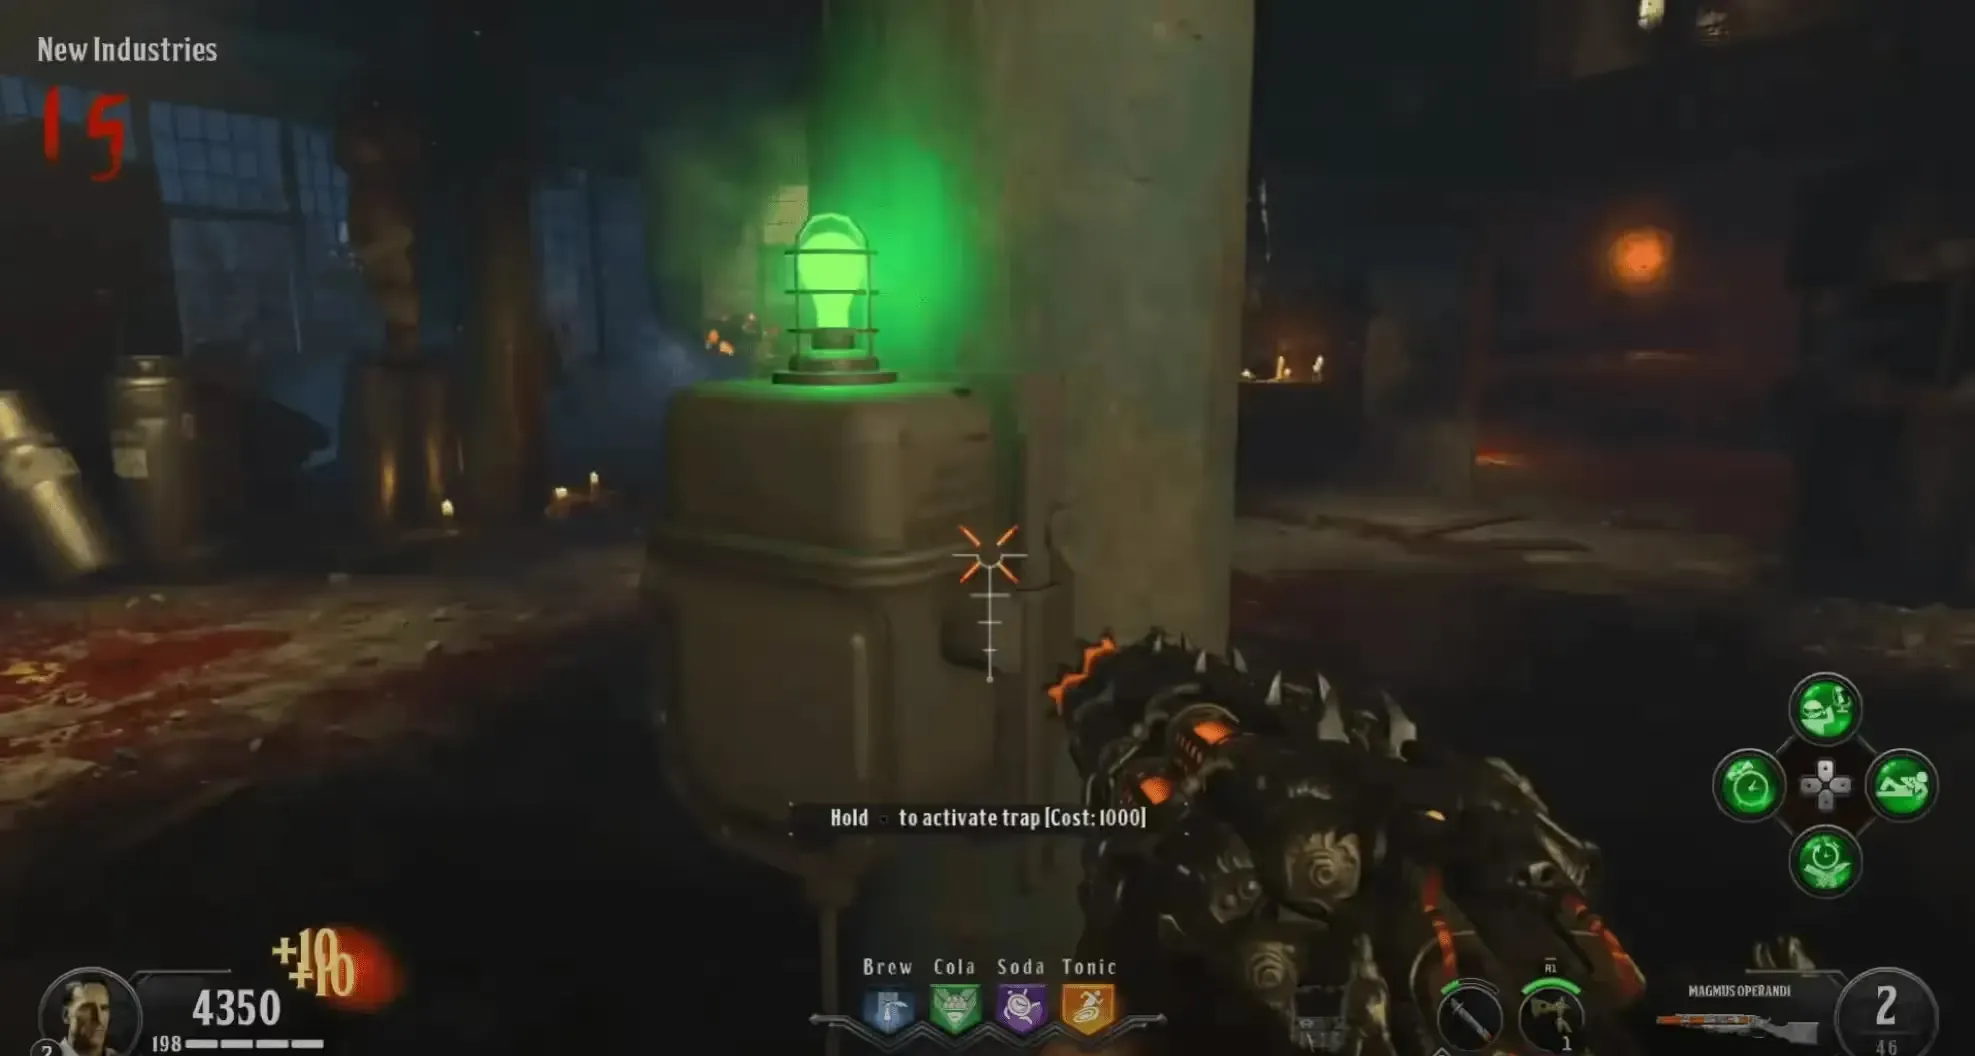
Once the spirit is fully red, wait until it is near the Mog-12 wall buy, and turn on the trap in the New Industries building to kill the spirit as he passes through it, dropping a red orb for you to pick up. Afterward, head to the Warden's House to interact with the Kronorium and get the new code you must input to receive a new challenge.
Warden's Office Challenge
Head to the Cafeteria, kill a zombie, then blast the spirit to begin the escort. Escort this skeleton to the red portal in the Warden's Office while protecting him from waves of zombies. If the spirit gets hit too much, it will turn red and eventually disappear, failing this challenge.
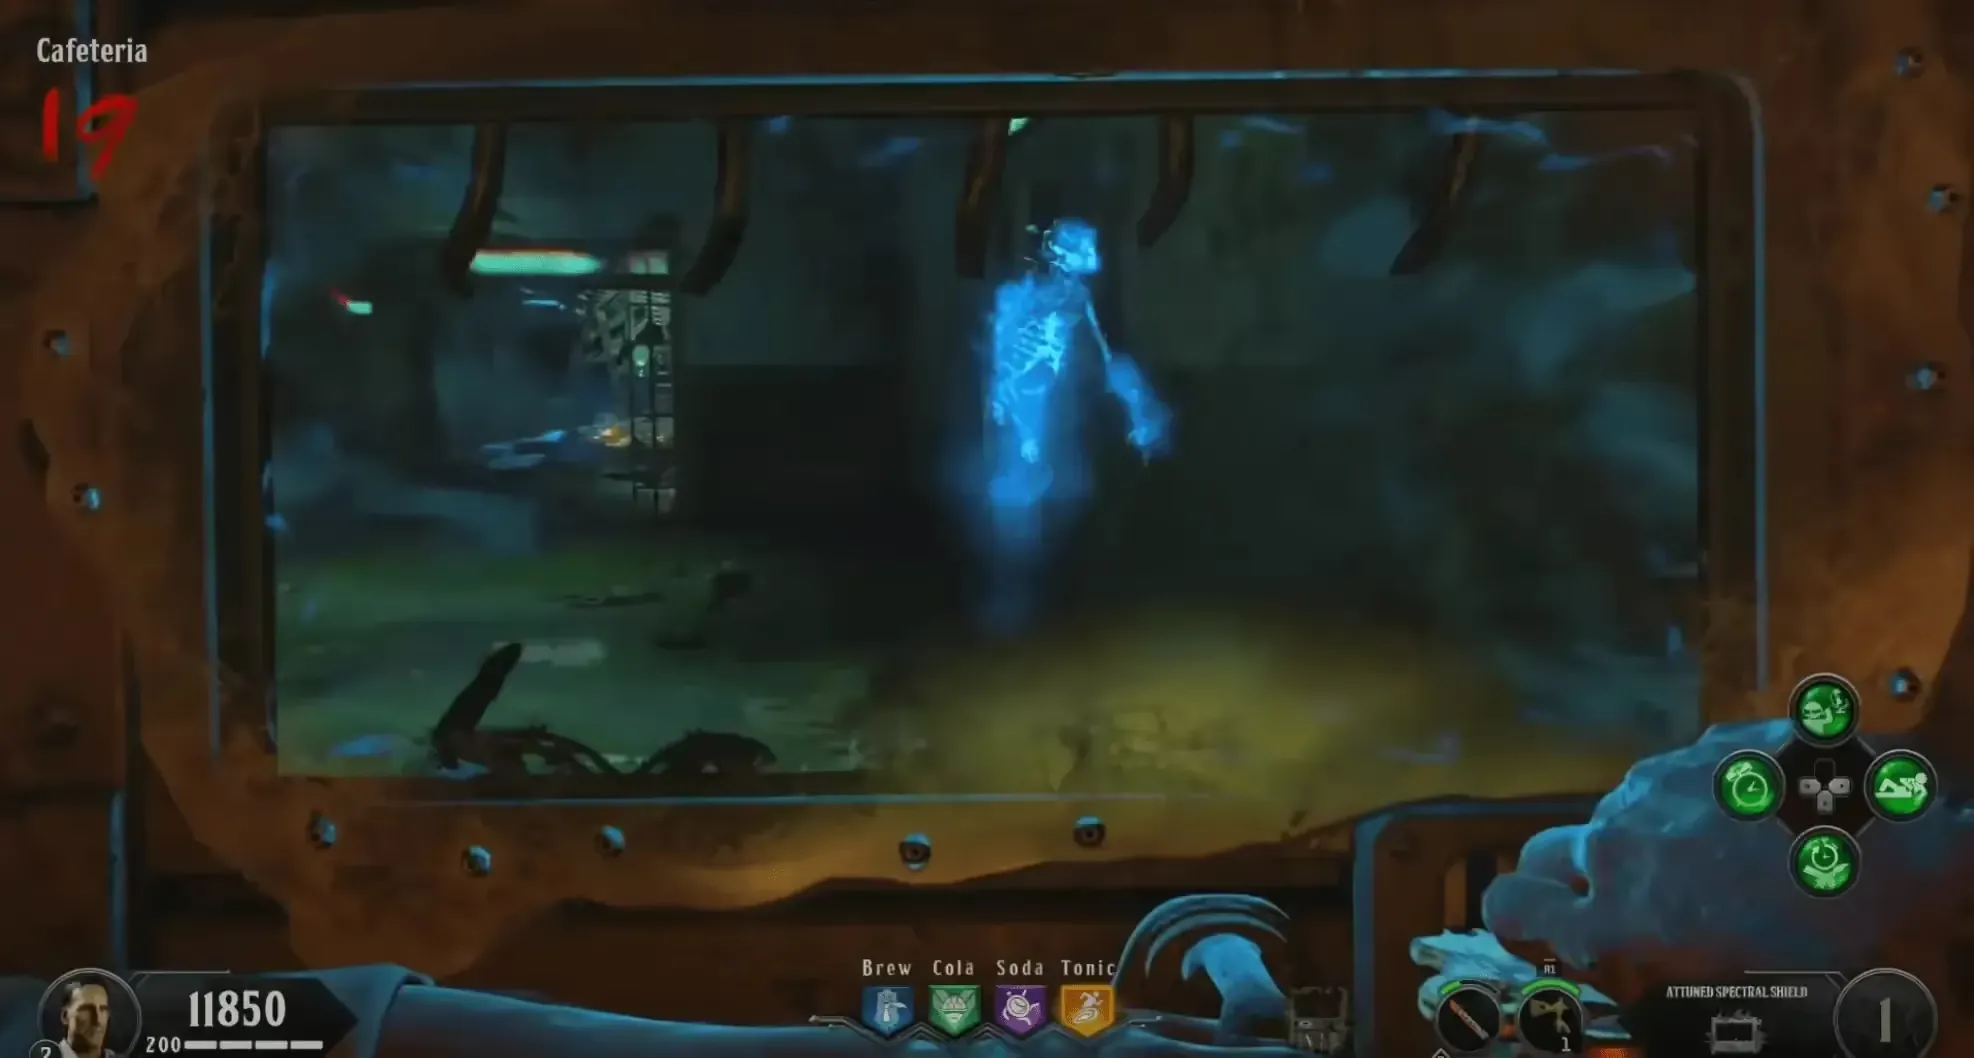
The Magmagat is extremely useful during this challenge and makes it one of the easiest challenges out of the five, use your Special Weapon if you get into trouble and if you are running mega elixirs,
Undead Man Walking significantly lowers the difficulty of this challenge.
Once the spirit enters the red portal, it will drop a red orb for you to pick up. Afterward, head to the Warden's House to interact with the Kronorium and get the new code you must input to receive a new challenge.
Showers Challenge
After blasting the red portal, a spirit will appear holding a banjo. Grab the banjo from the spirit, and a blue circle will appear on the ground in the Showers. You must stand in this circle while killing zombies to collect souls for the banjo.
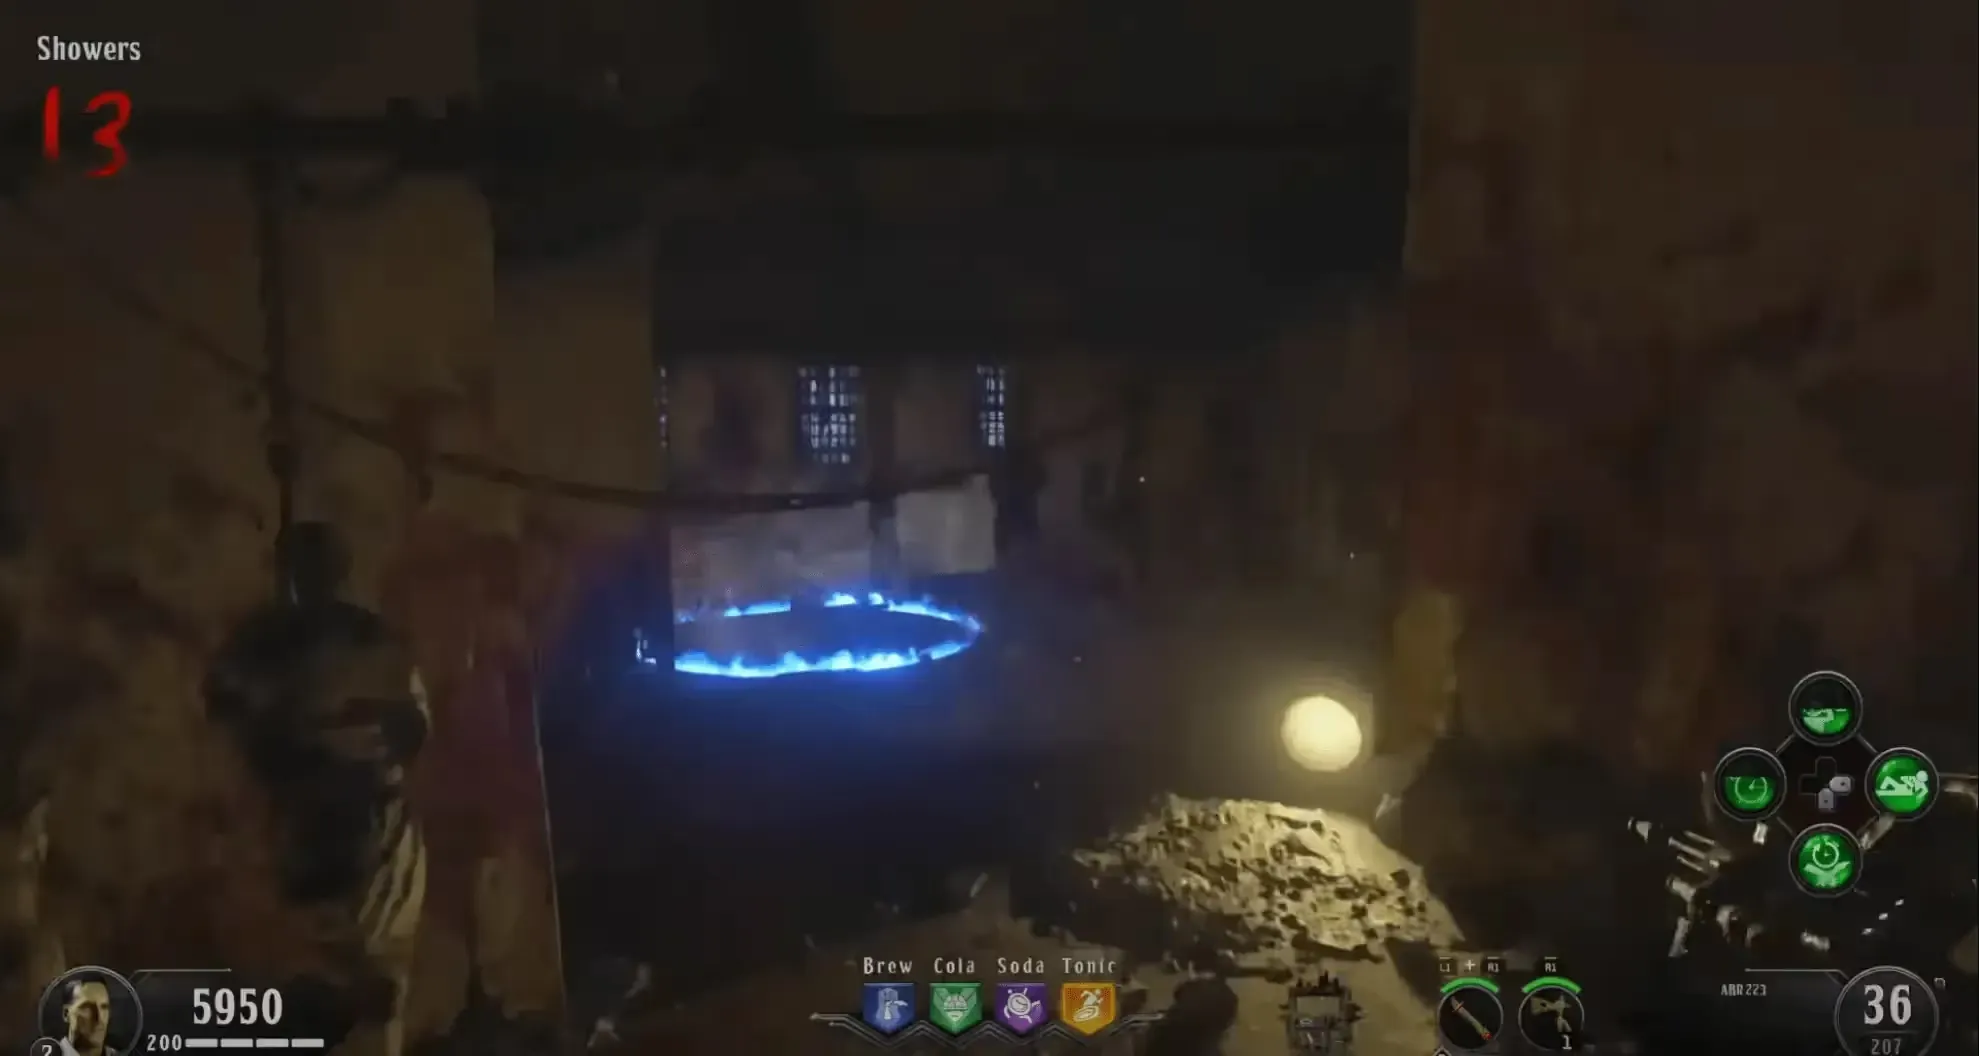
Once you have collected enough souls, you will hear a banjo riff play, if at any point you start taking 10 damage over time, this indicates you have failed the step and must return the banjo to the spirit before you are killed and then pick the banjo right back up to reset the challenge.
Once completed, return the banjo to the spirit, and it will disappear into the red portal and drop the red orb on the ground for you to pick up. Afterward, head to the Warden's House to interact with the Kronorium and get the new code you must input to receive a new challenge.
Obtaining the Blundergat
You must first obtain the Blundergat before you can obtain the Magmagat.
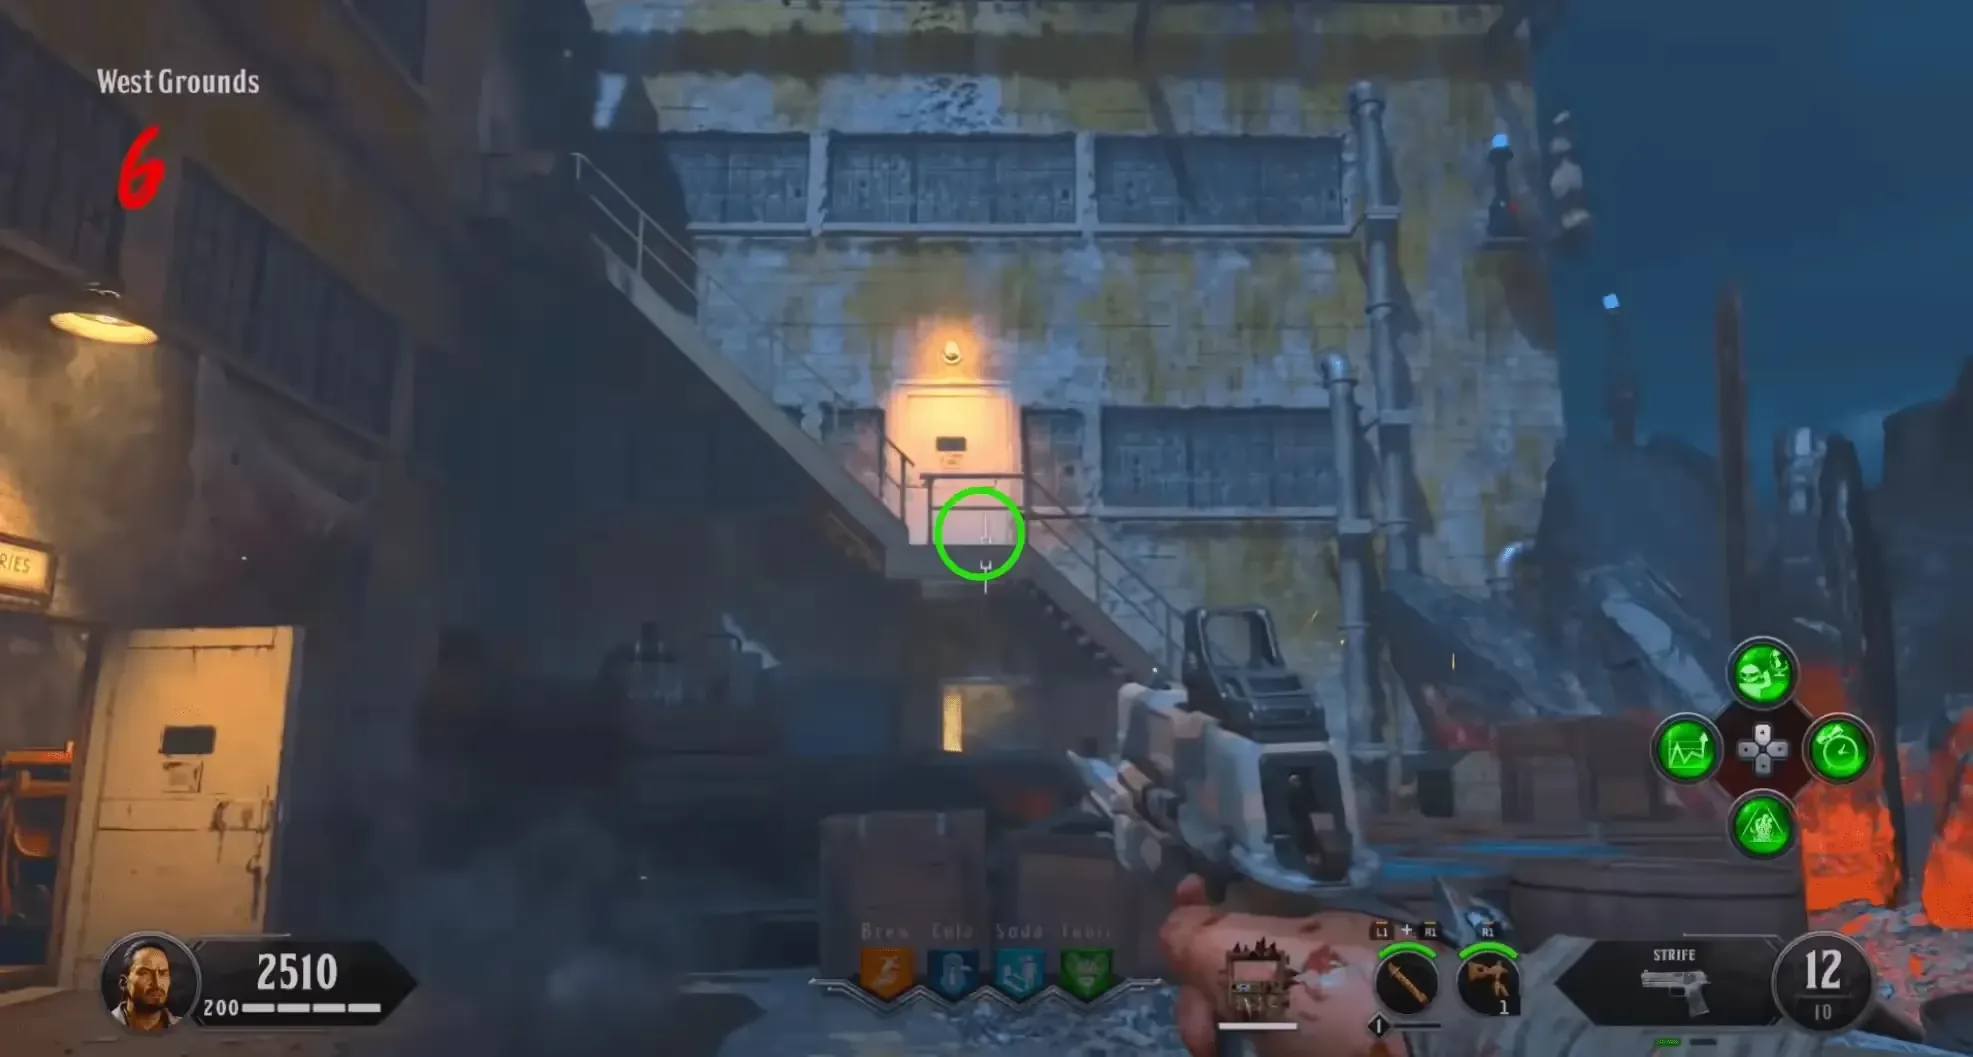
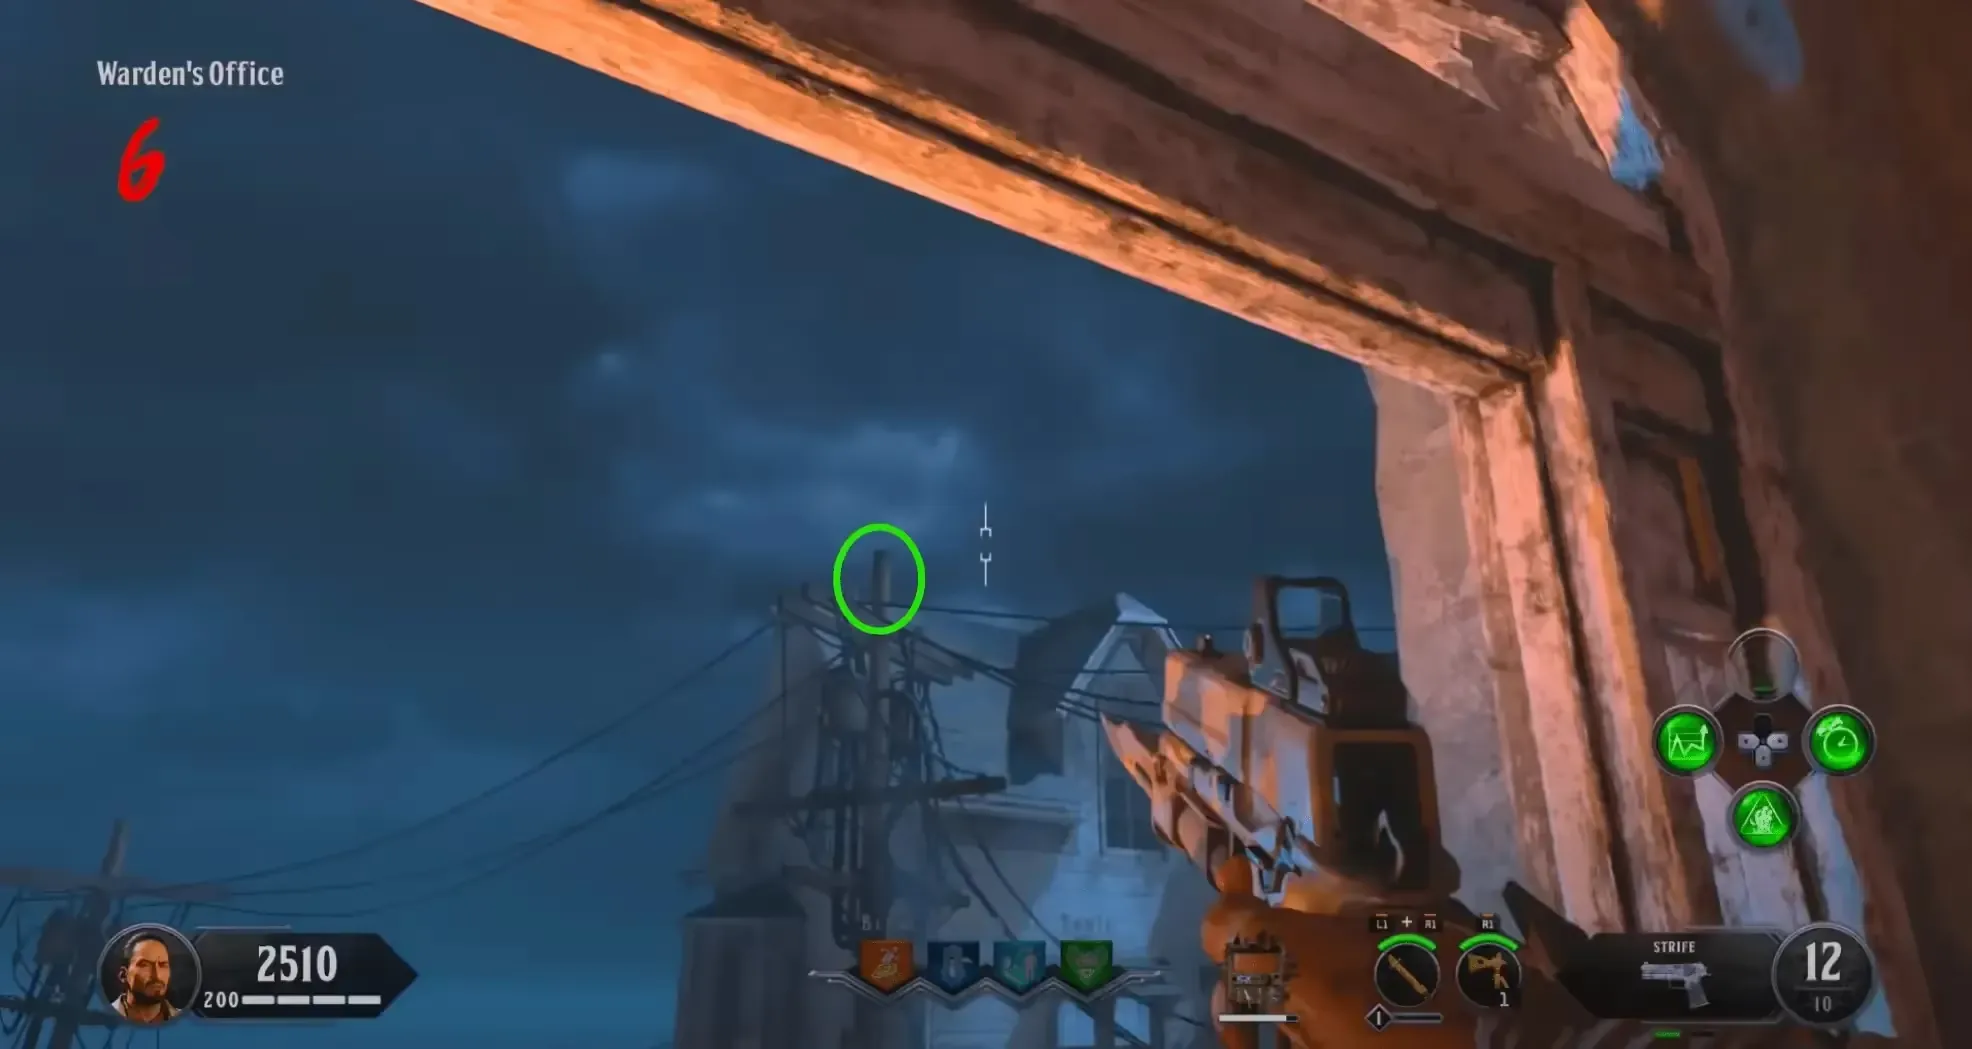
The Blundergat can be obtained by using your Hell's Retriever to collect five skulls around the map or from the Mystery Box. You can only see these skulls through the shield's Spectral Vision, but you can collect them without seeing them. The locations for the five skulls are:
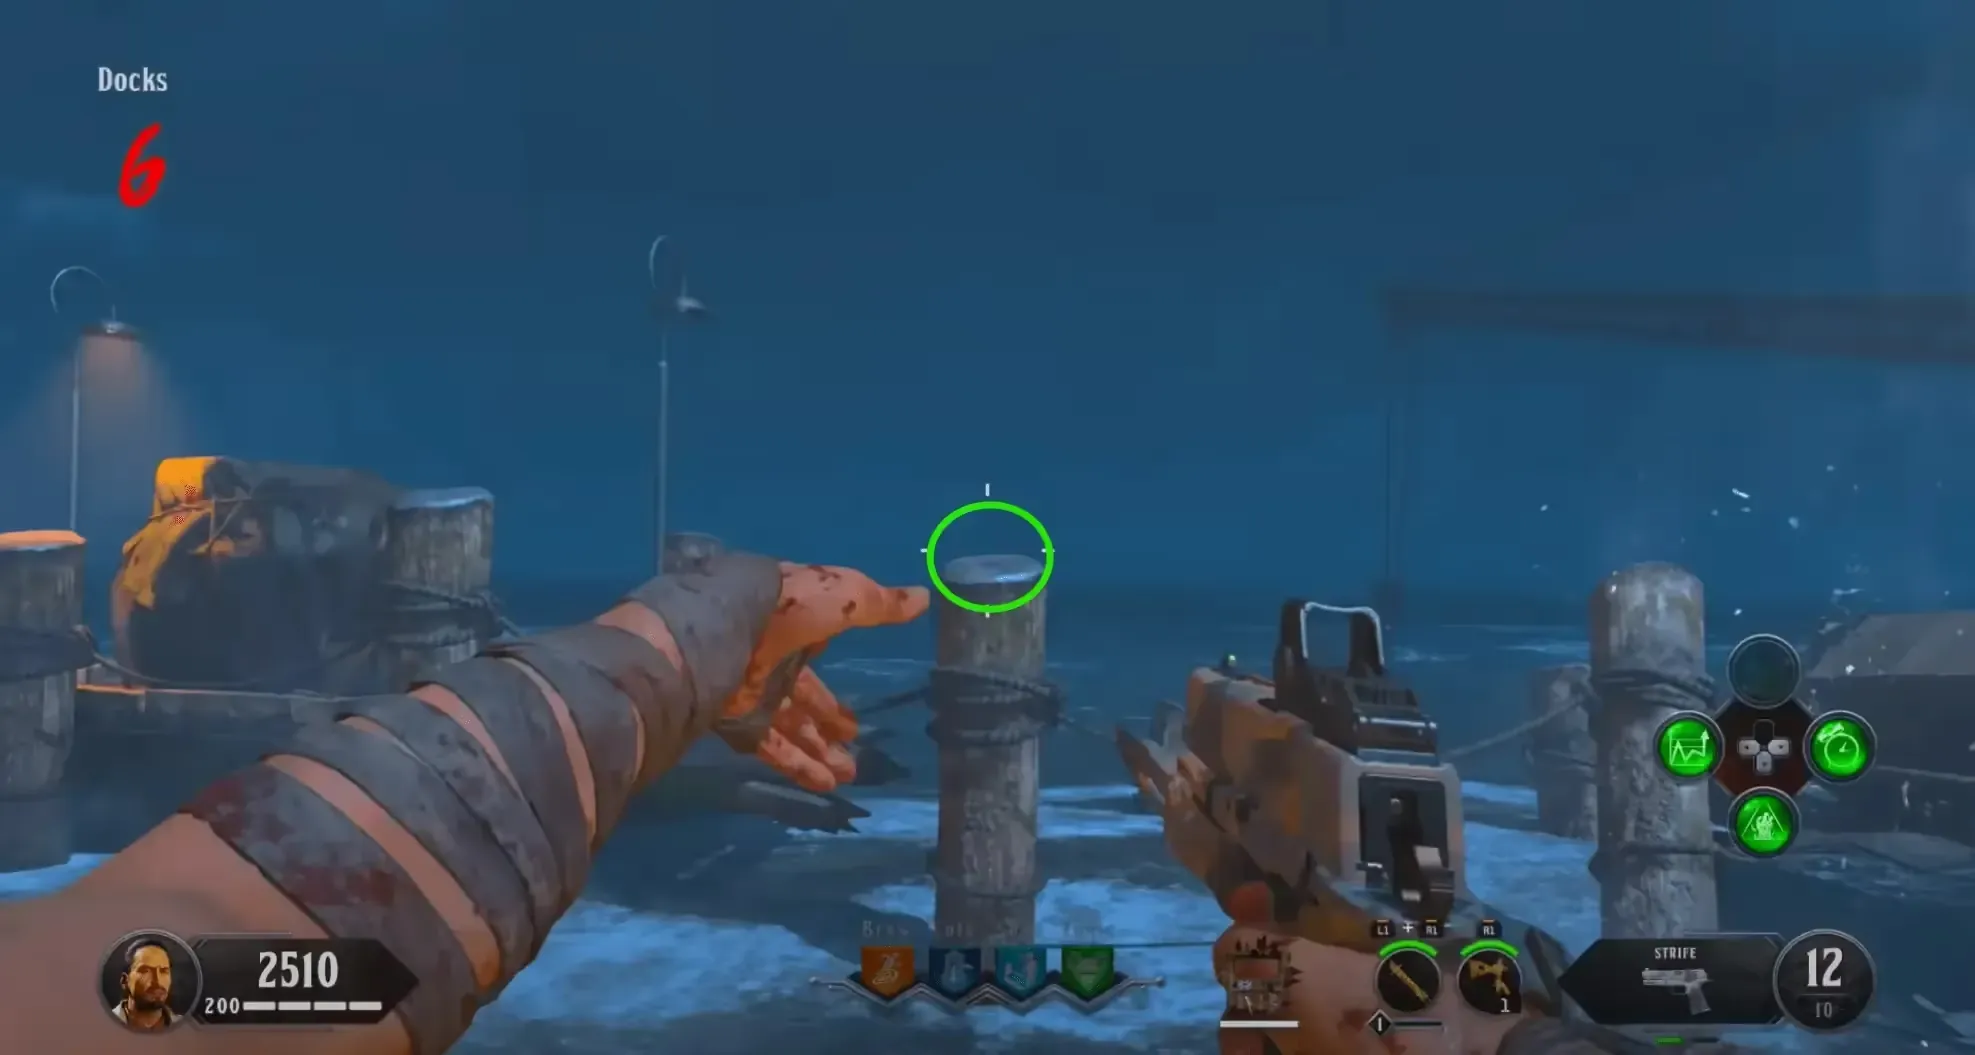
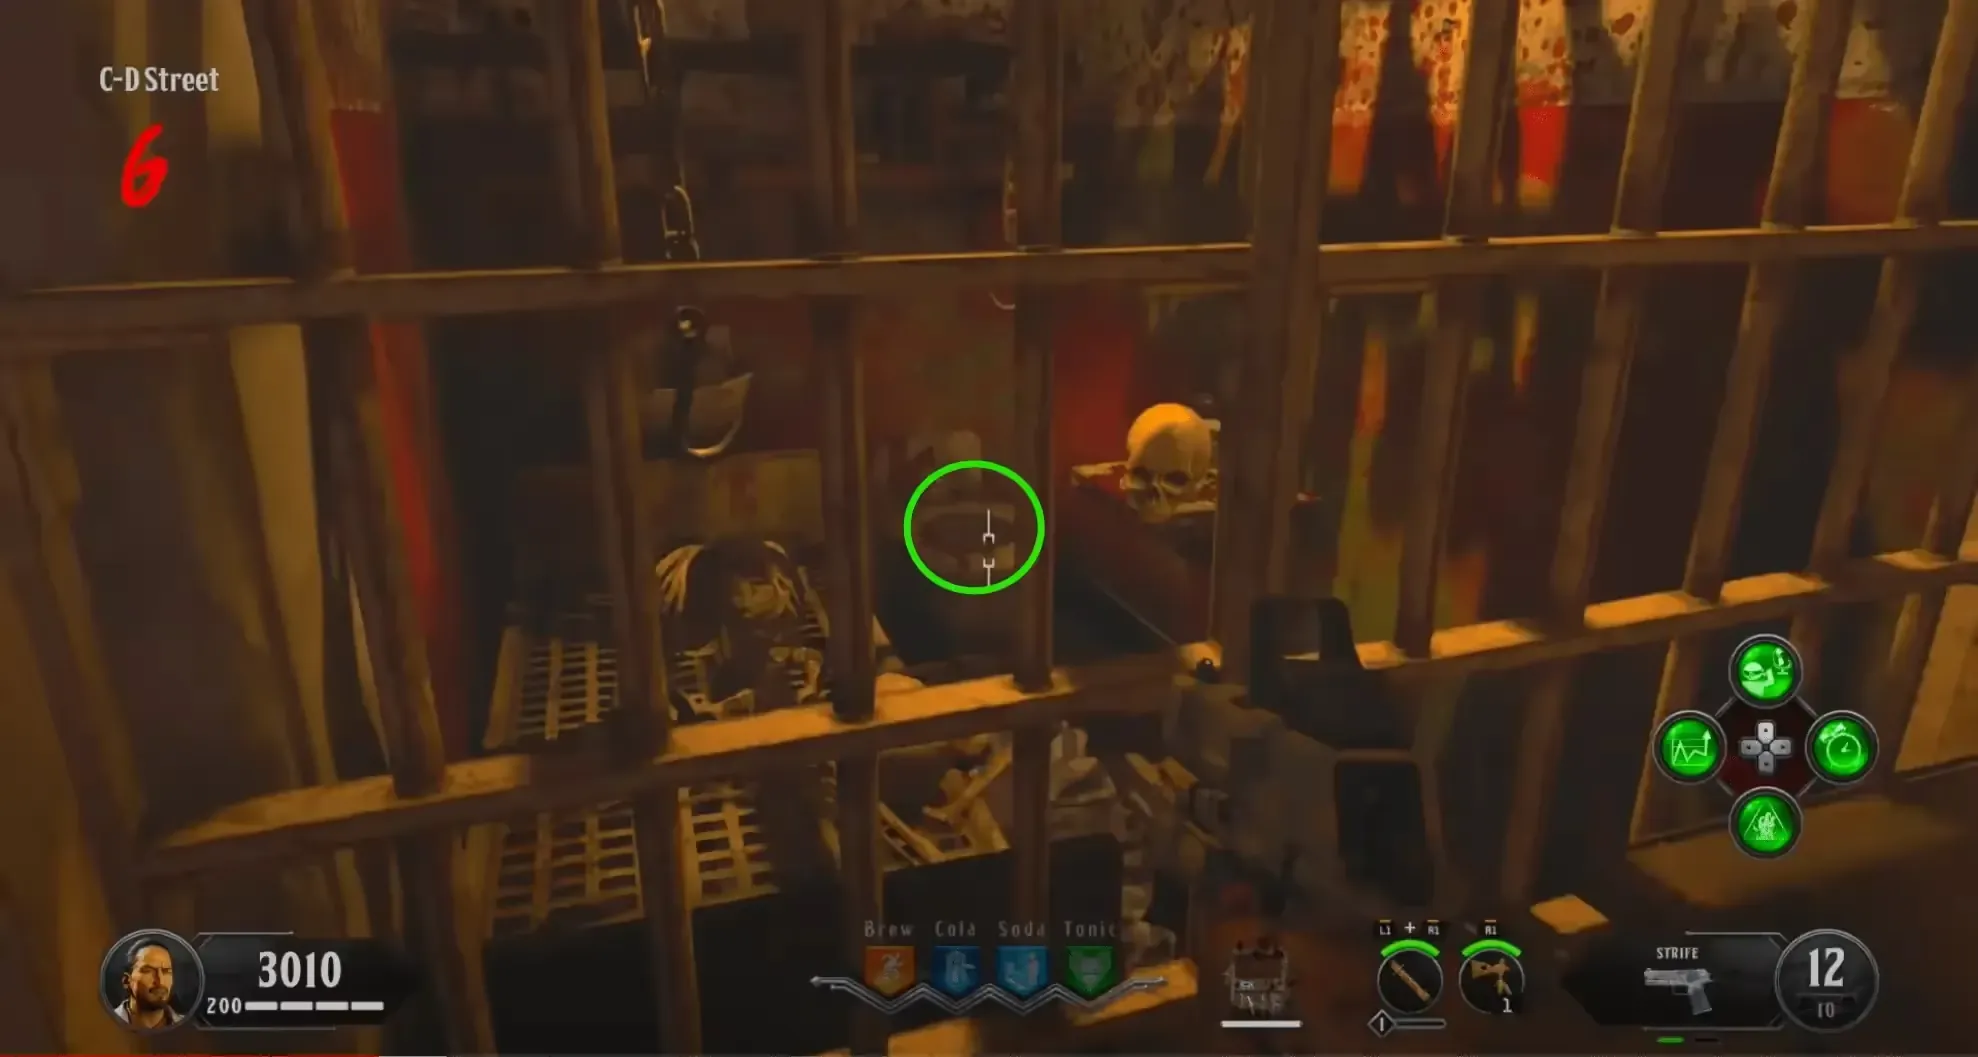
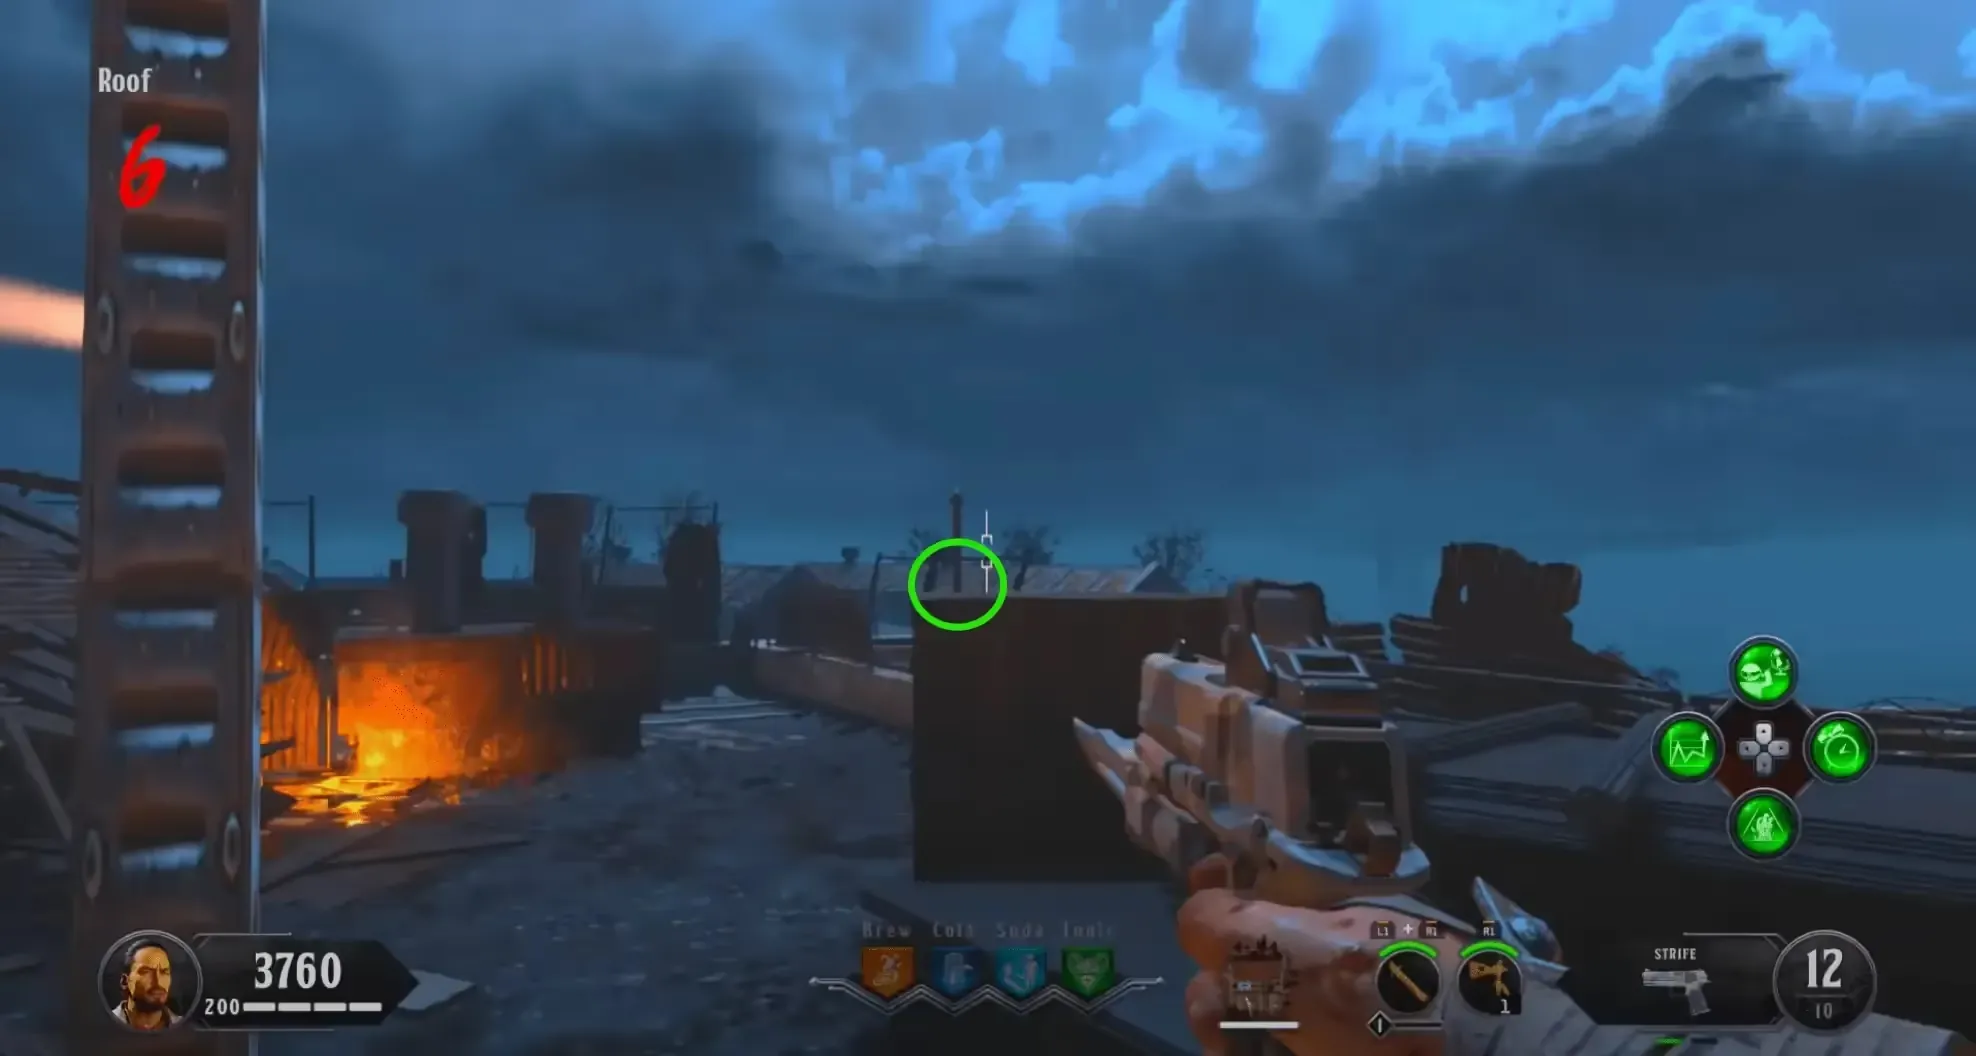
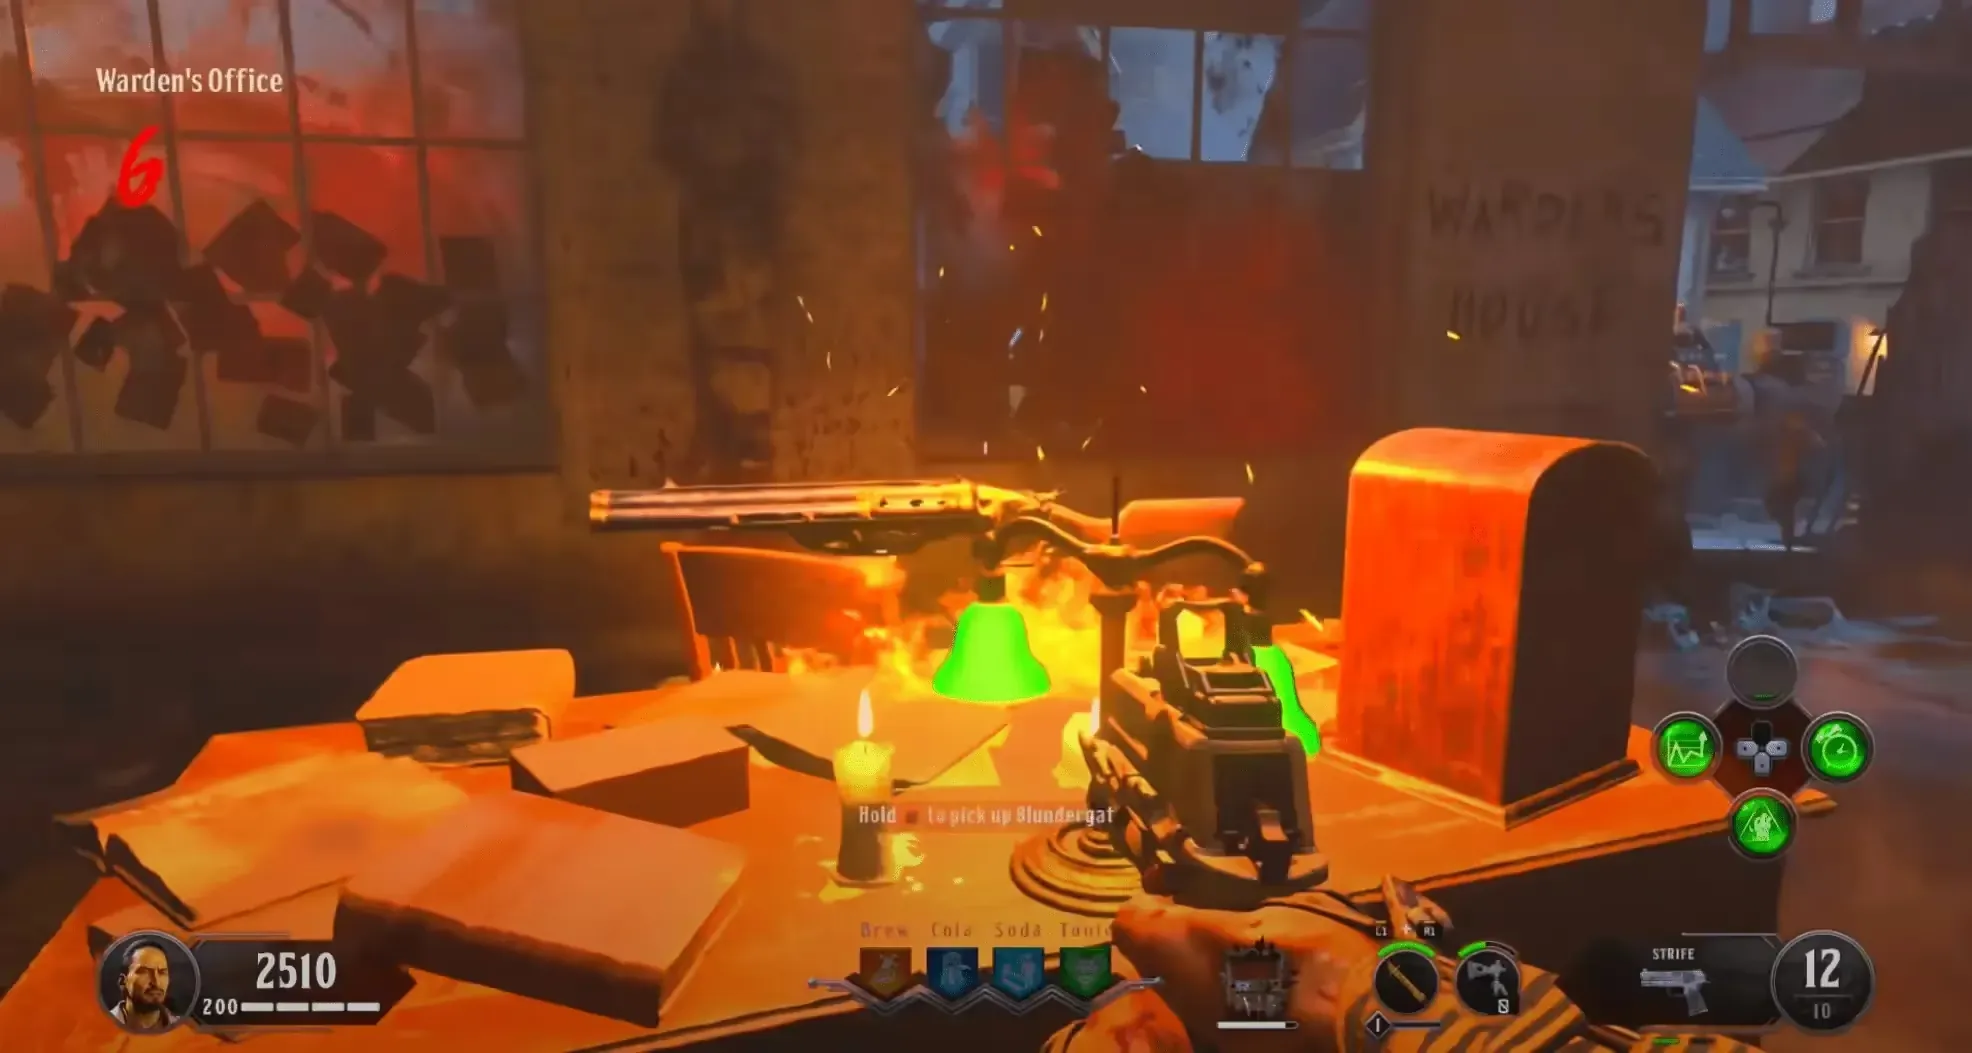
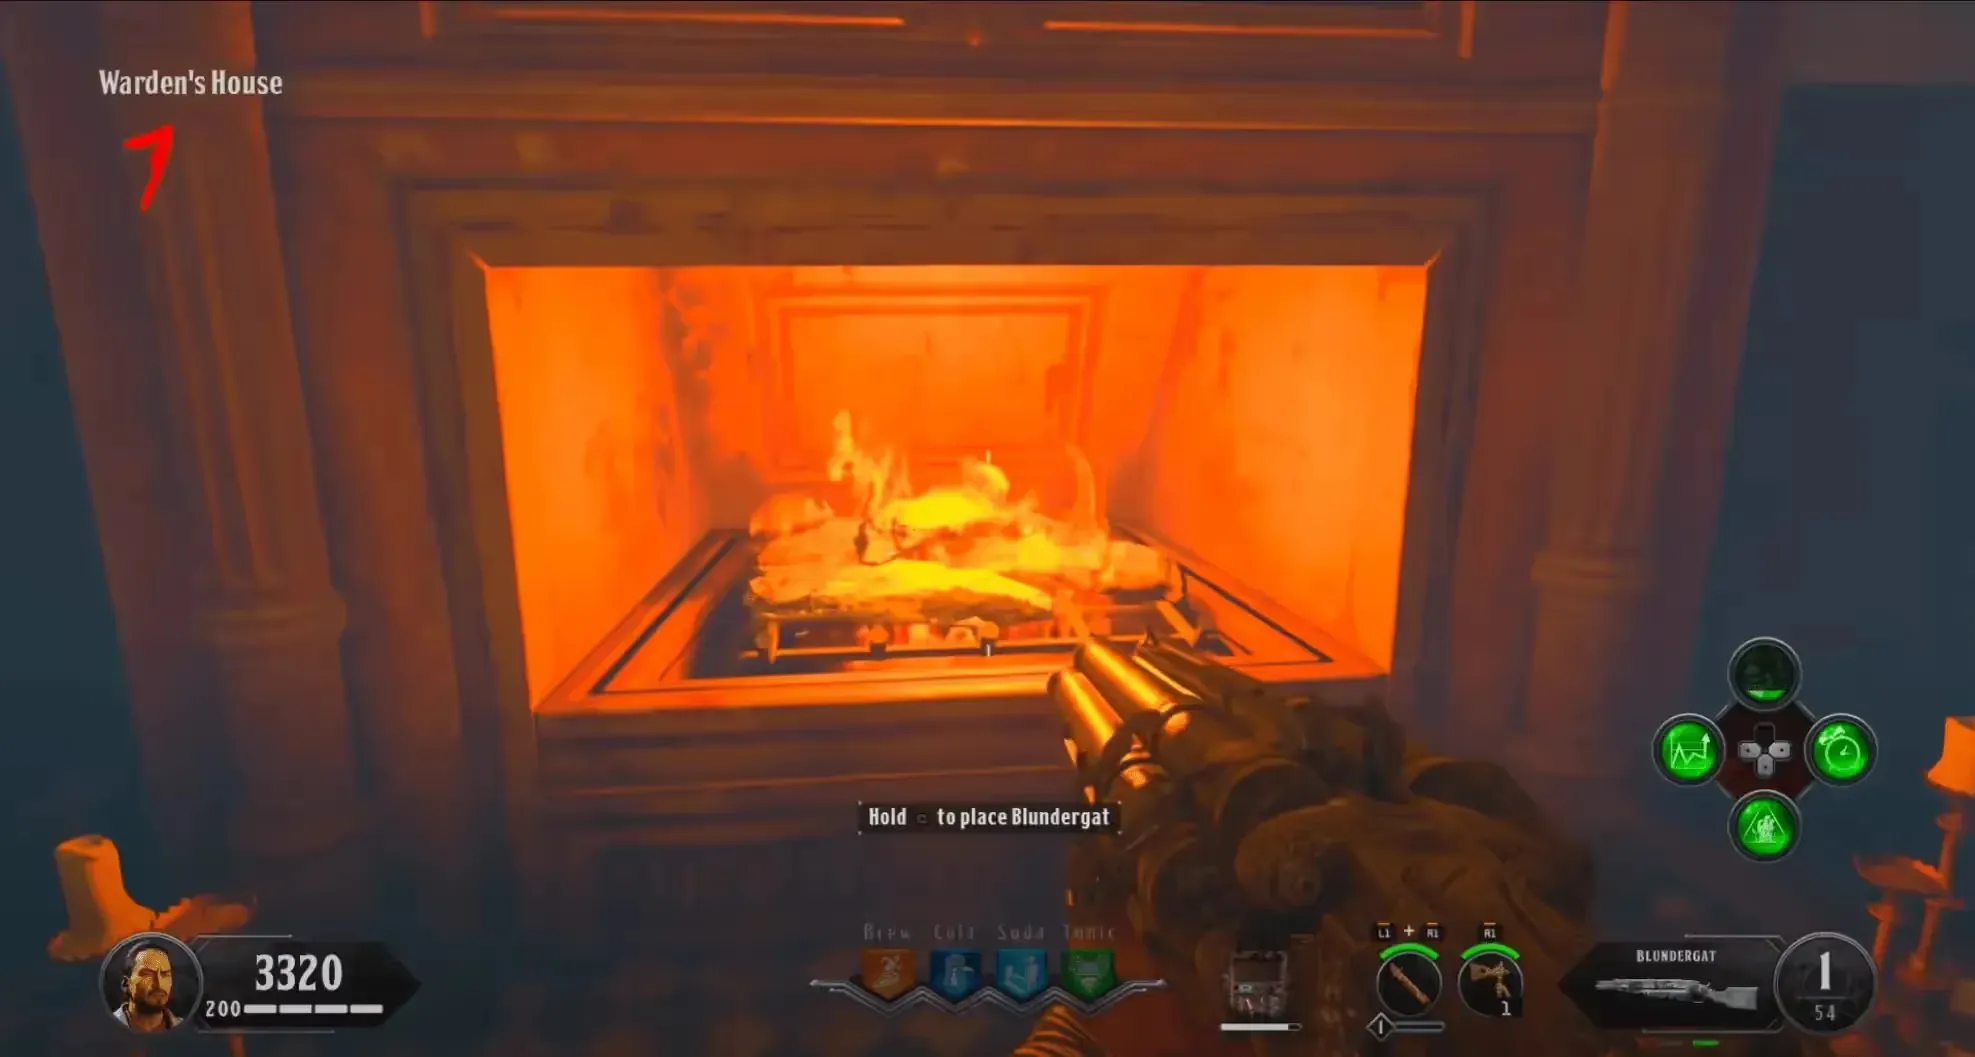
After collecting the five skulls, a Blundergat will spawn on top of the table in the Warden's Office, pick it up, and bring the Blundergat to the Warden's House and place it inside the fireplace to begin collecting souls for the Magmagat.
Obtaining the Magmagat
Kill zombies in the Warden's House and walk over their blue soul orb to collect their soul for the Magmagat. Once enough souls have been collected, an audio cue will play, and the three skulls above the fireplace will be engulfed in blue flames, and you can deposit the essence into the fireplace.
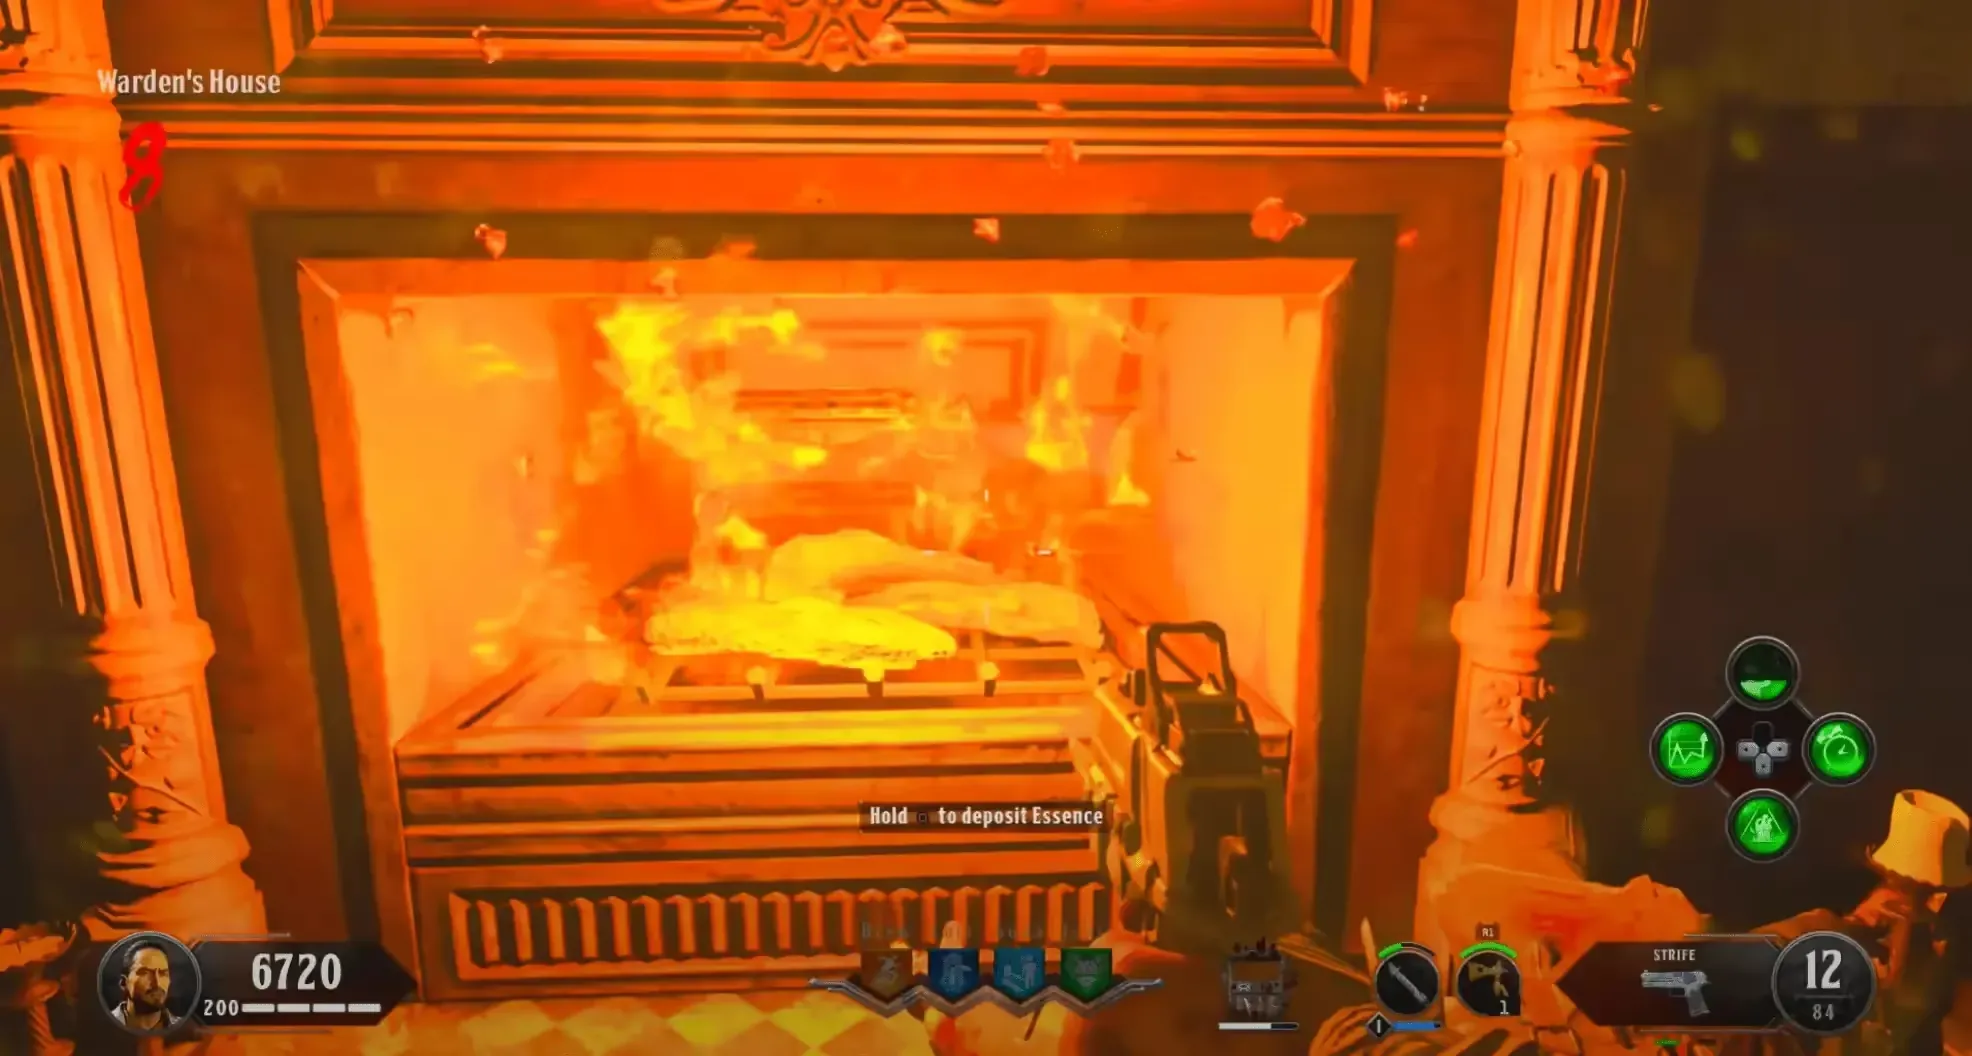
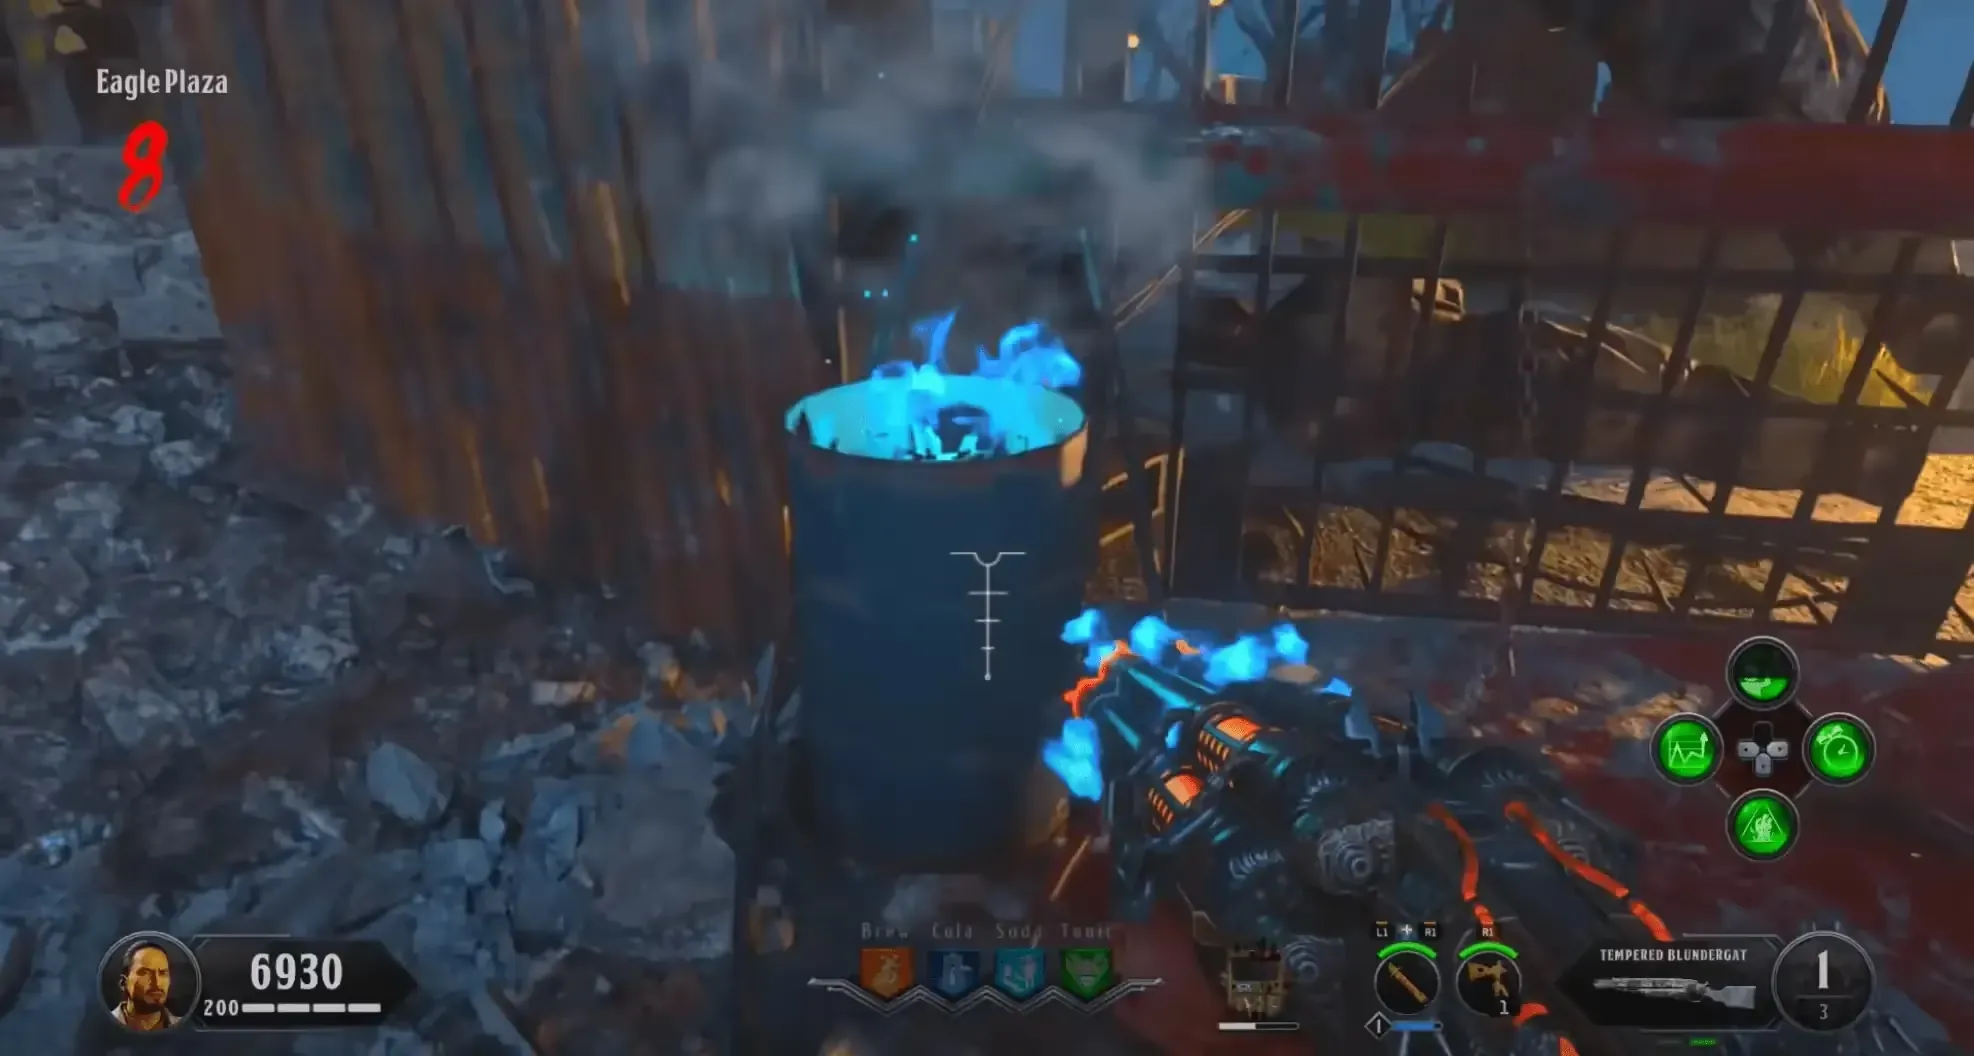
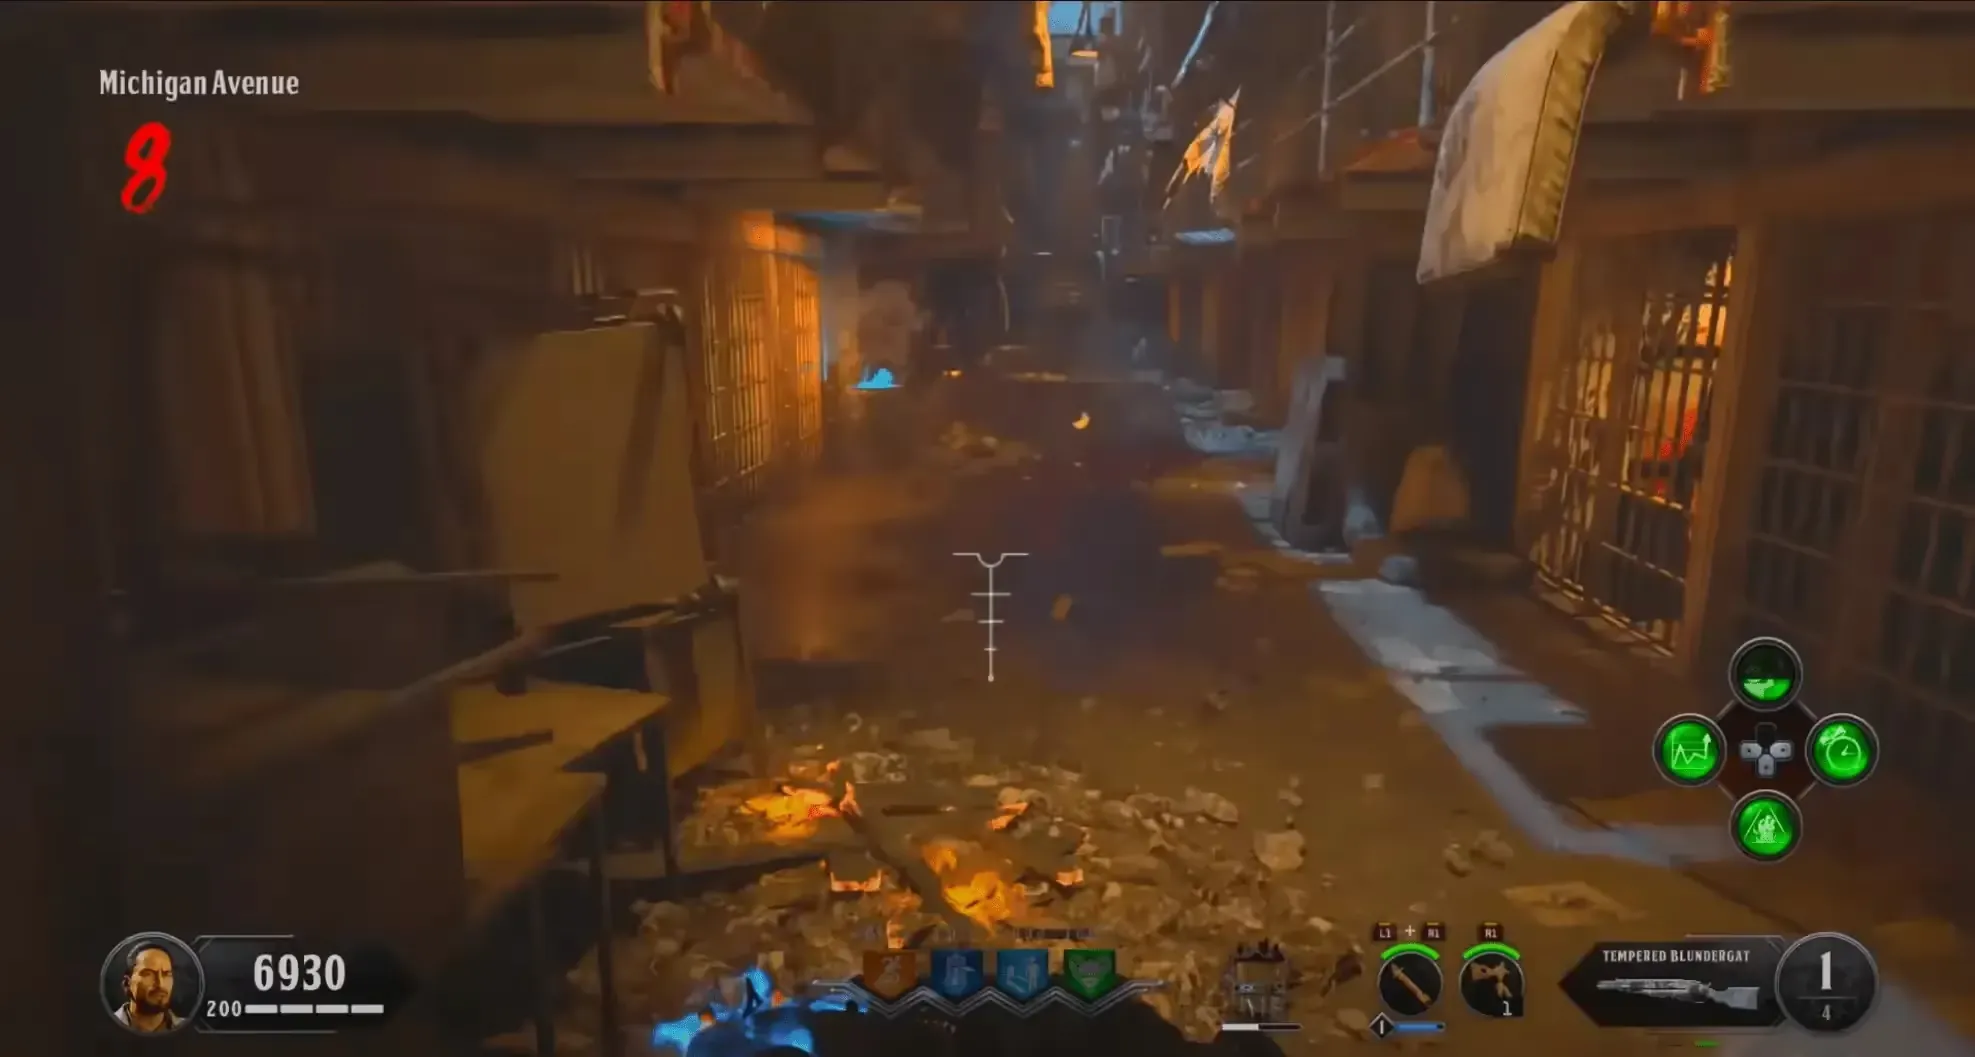
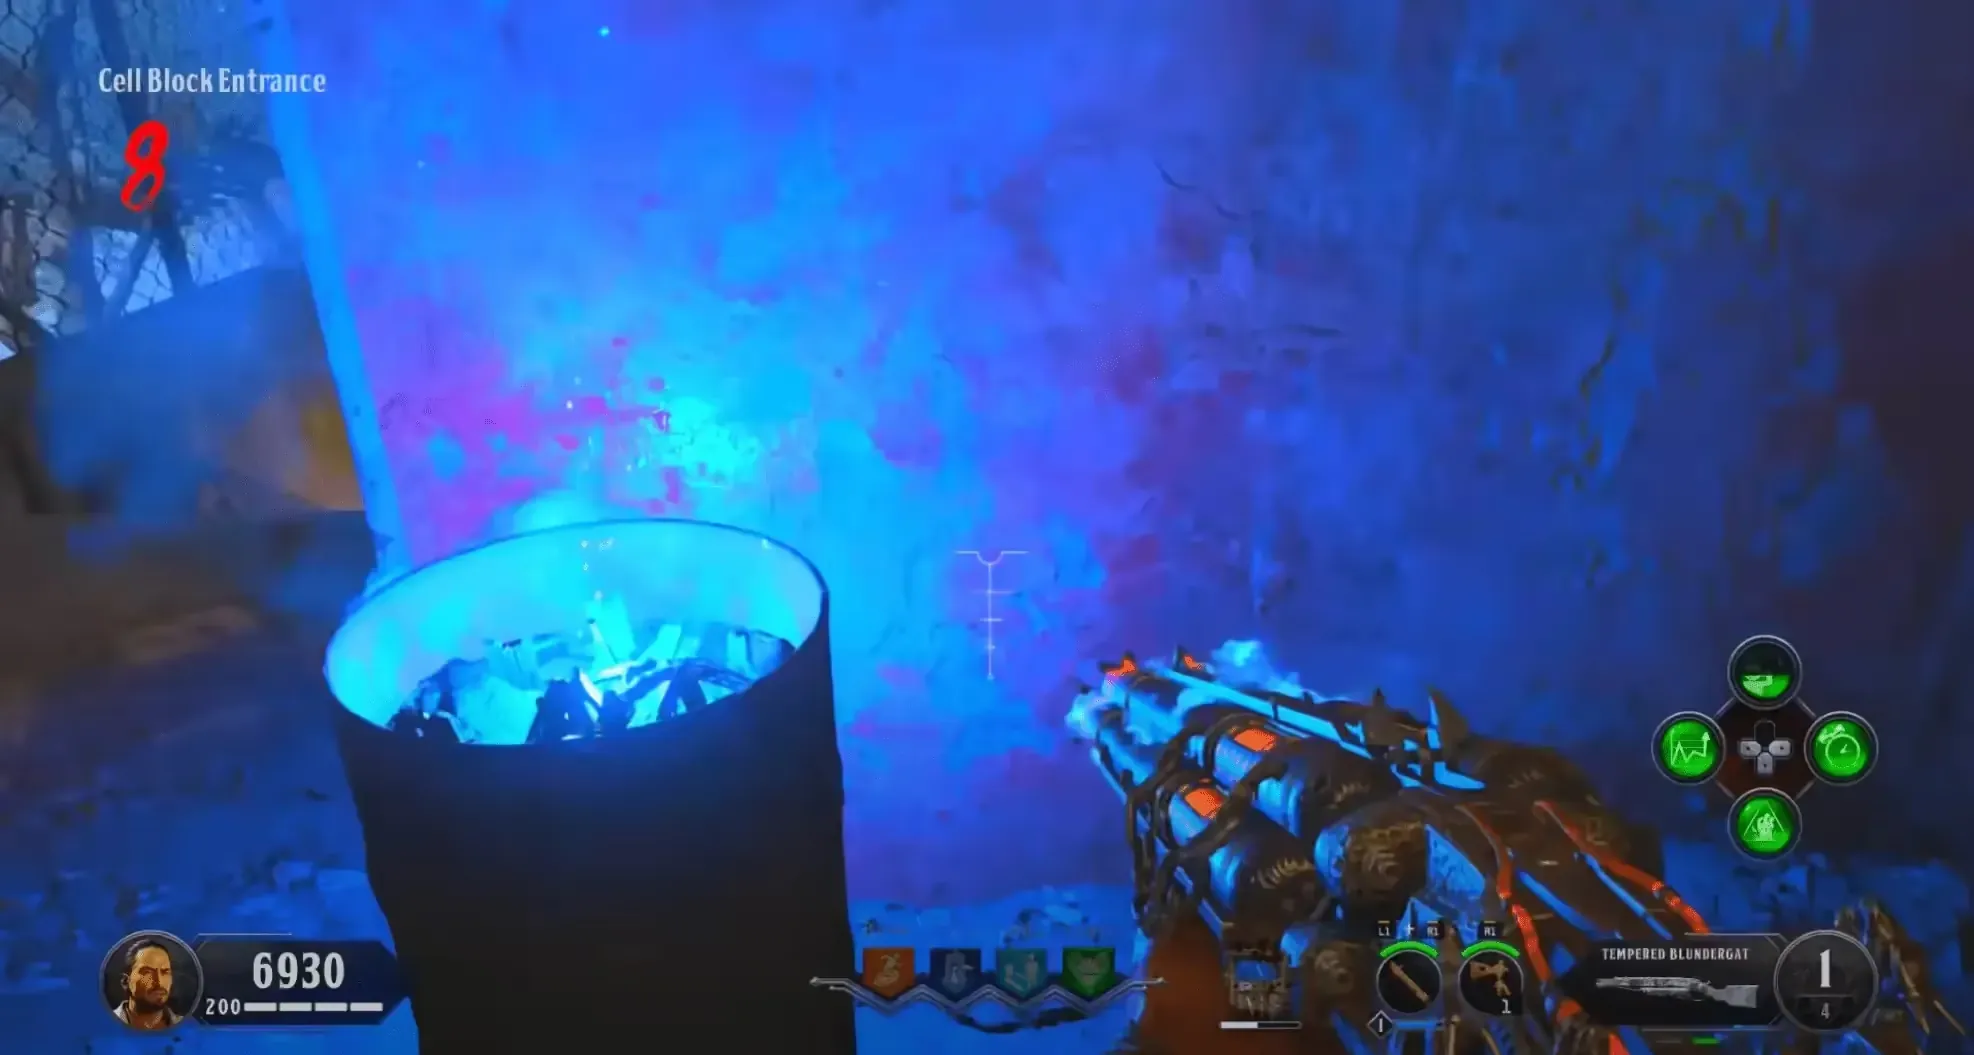
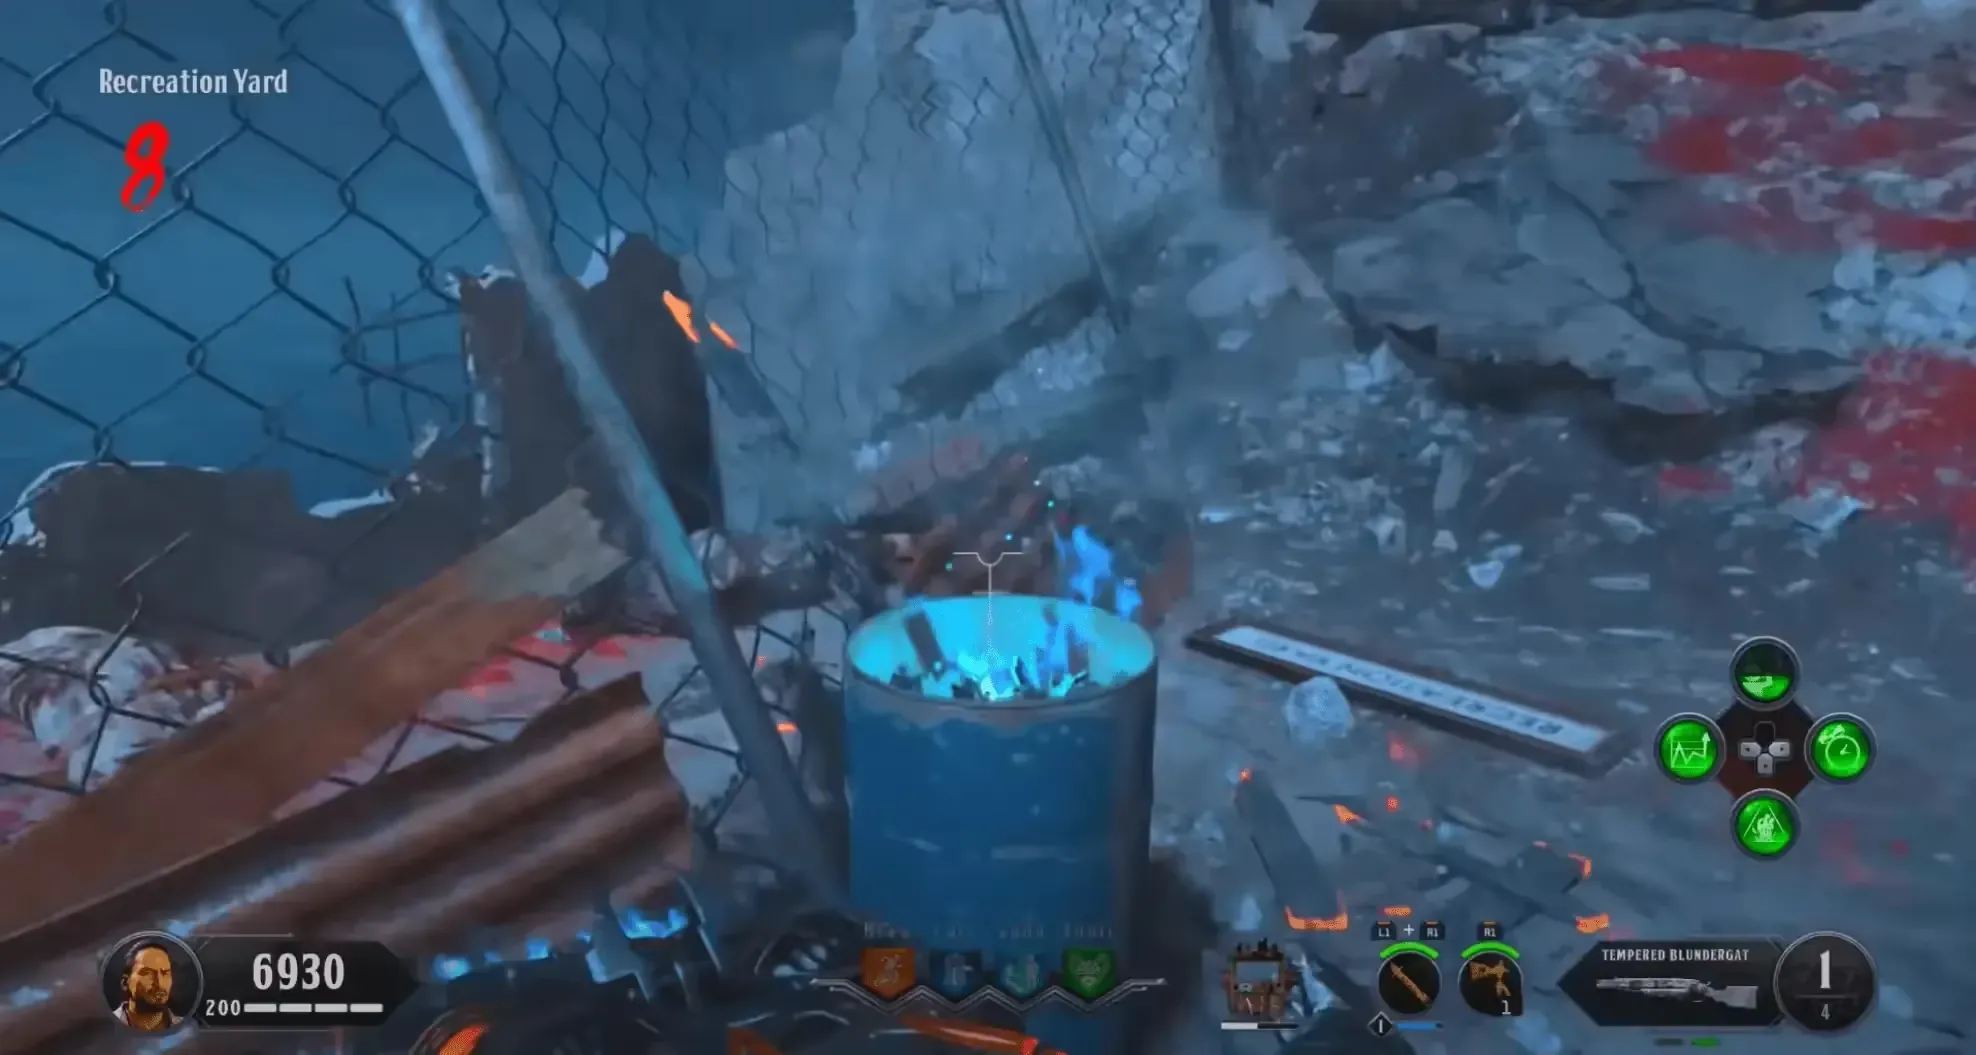
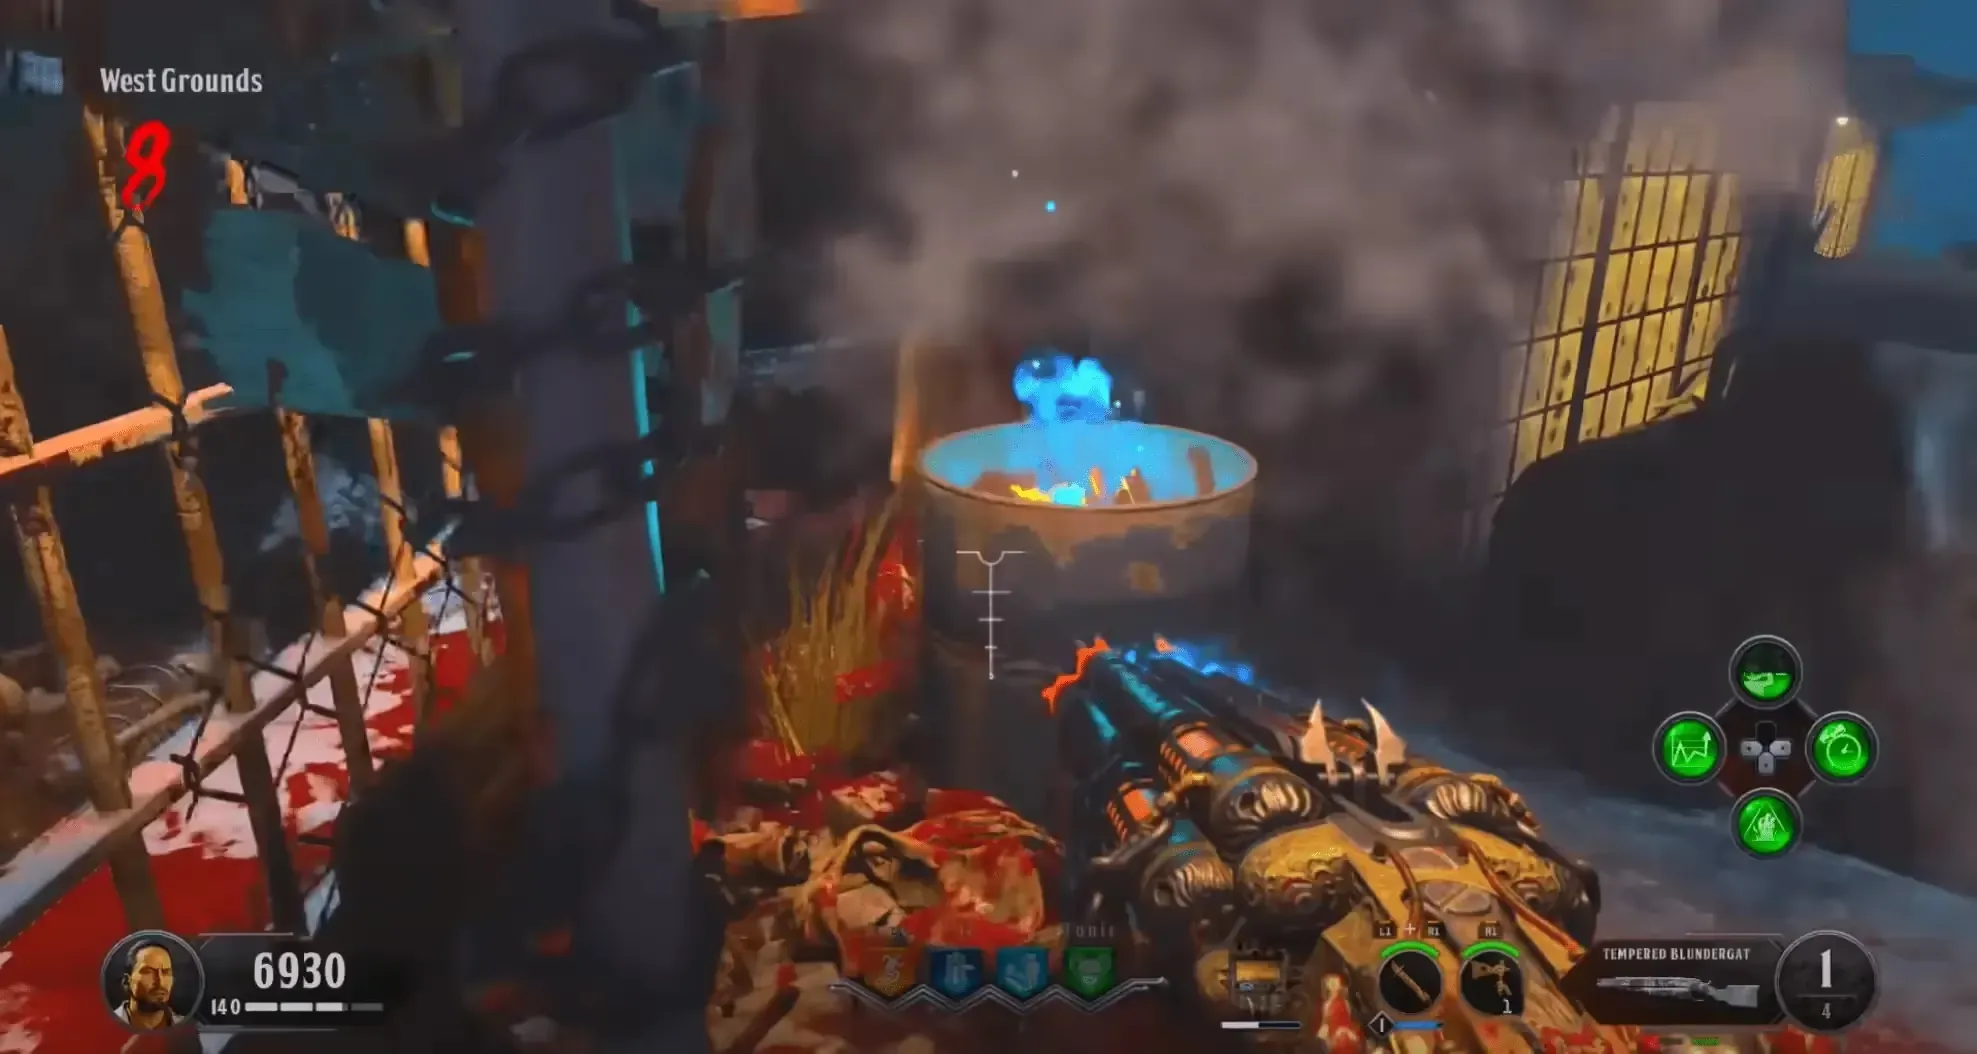
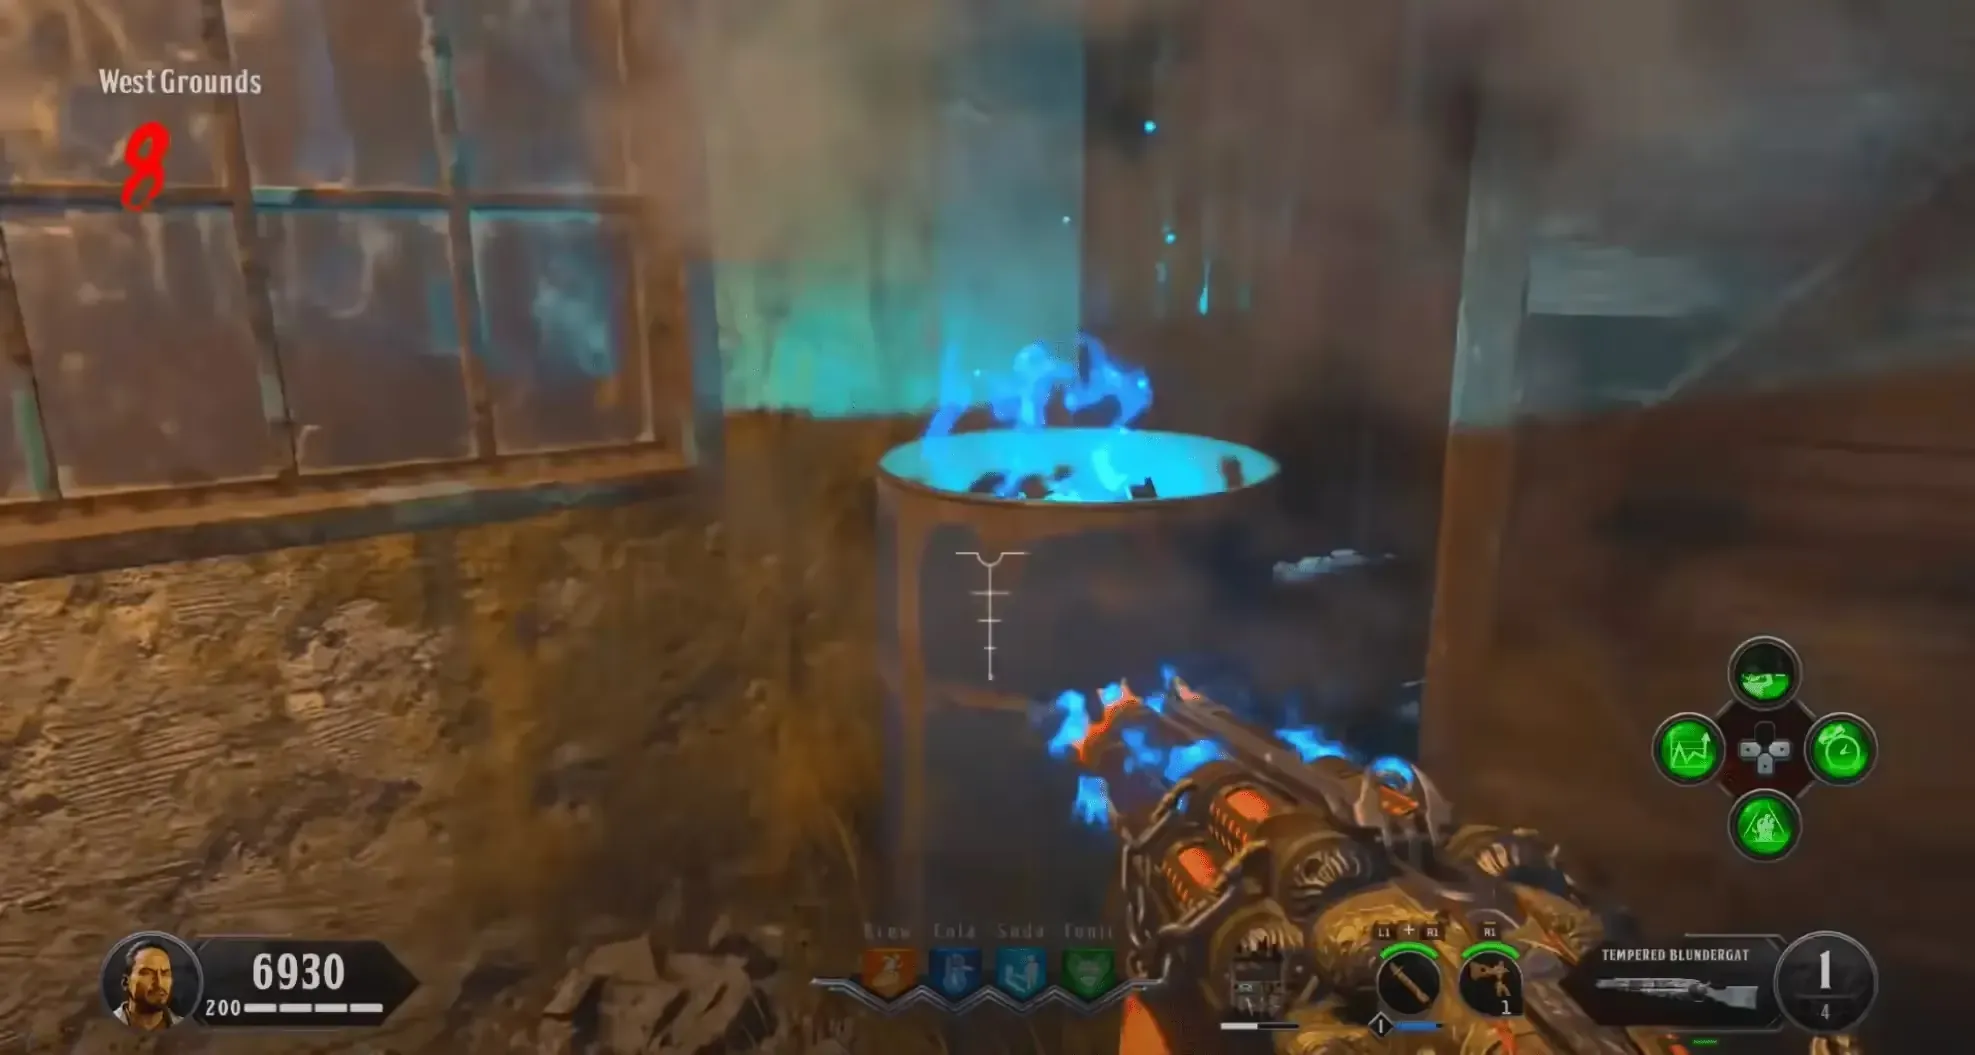
You can now pick up the Tempered Blundergat from the fireplace, and it will have a blue flame around the barrel. You must bring this Tempered Blundergat back to the New Industries building while keeping that flame lit by running up to the flaming blue barrels along the path to New Industries.
While you have the Tempered Blundergat, you cannot shoot the weapon more than once as doing so will cause the flame to disipate causing you to restart from the Warden's House.
Stamin-Up isn't required here, but makes this race a lot easier.
The path to New Industries from the Warden's House does not matter as long as you are running up to these blue barrels along your way. The locations of these blue barrels are:
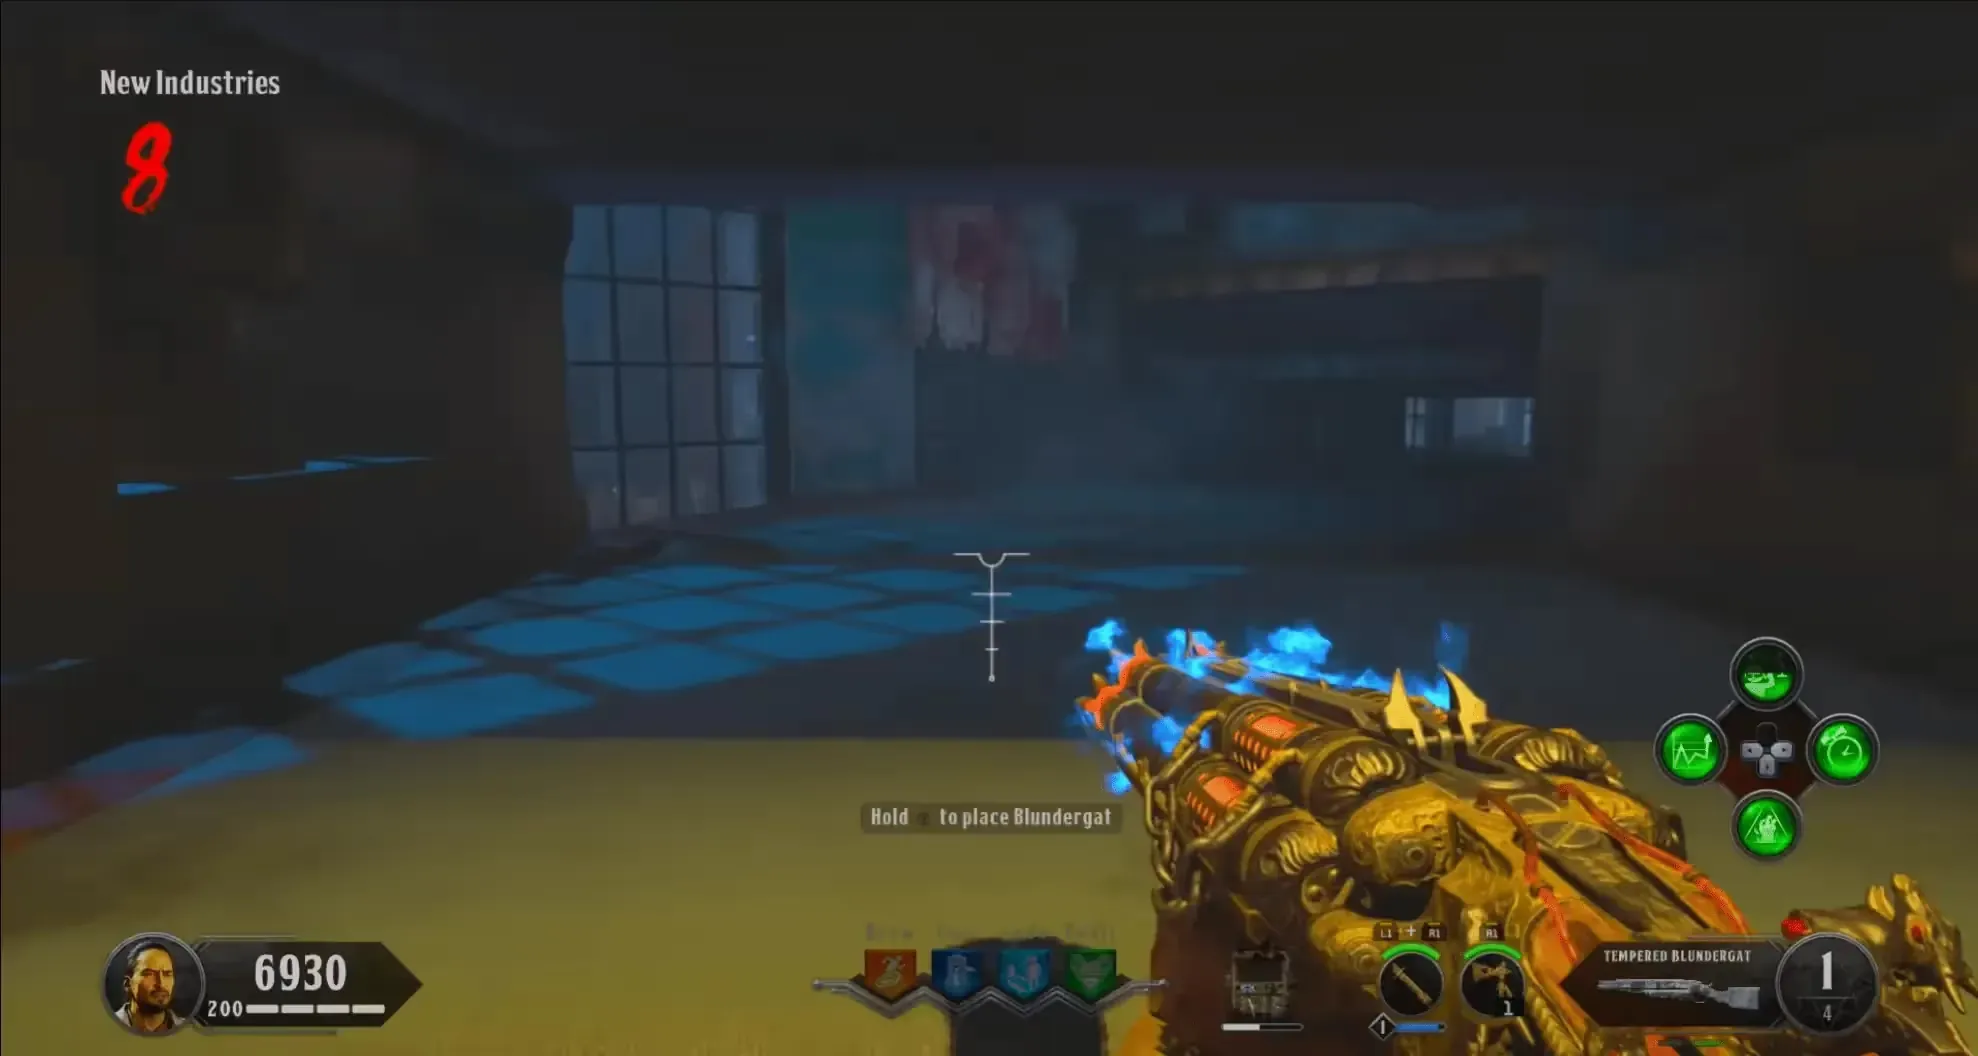
Once you arrive at New Industries, place the Tempered Blundergat inside the machine opposite the trap switch. Afterward, you can pick up your newly forged Magmagat wonder weapon.
Step 6: Reconstruction
Head to Richtofen's Laboratory and place the five red orbs you obtained from the previous step onto the map. Afterward, head back to the electric chair in the warden's secret room and interact with it to reveal the Summoning Key.
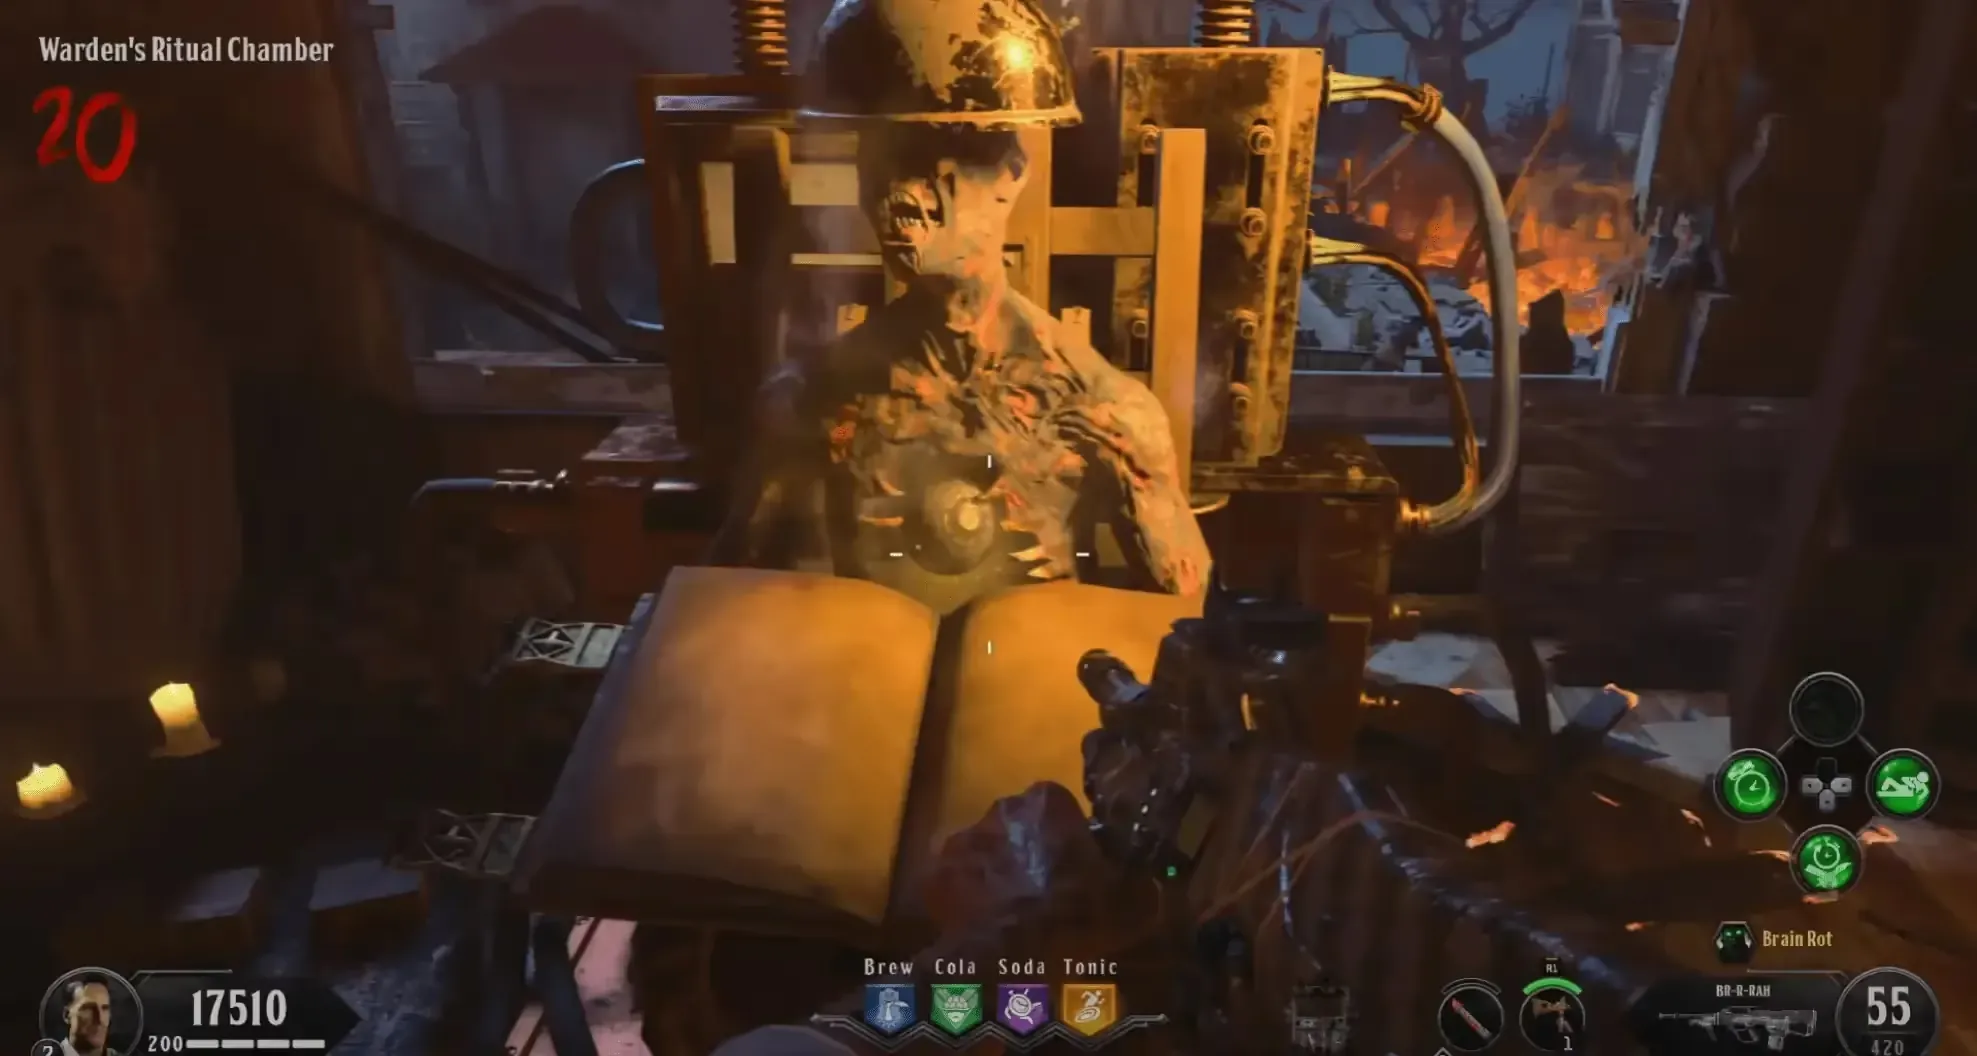
A cutscene will play, and eventually, the bird will free you from the cell. Pick up your equipment from the bag, and kill the Brutus. Another Brutus will spawn, kill him as well, then run to Richtofen's Laboratory while using your Shield Key on any Hellhound for some shield charges.
When you get just outside of Model Industries, spirits will come and grab Brutus and take him away, pick up the red orb dropped by the warden as he is taken away, and place it on the map in Richtofen's Laboratory.
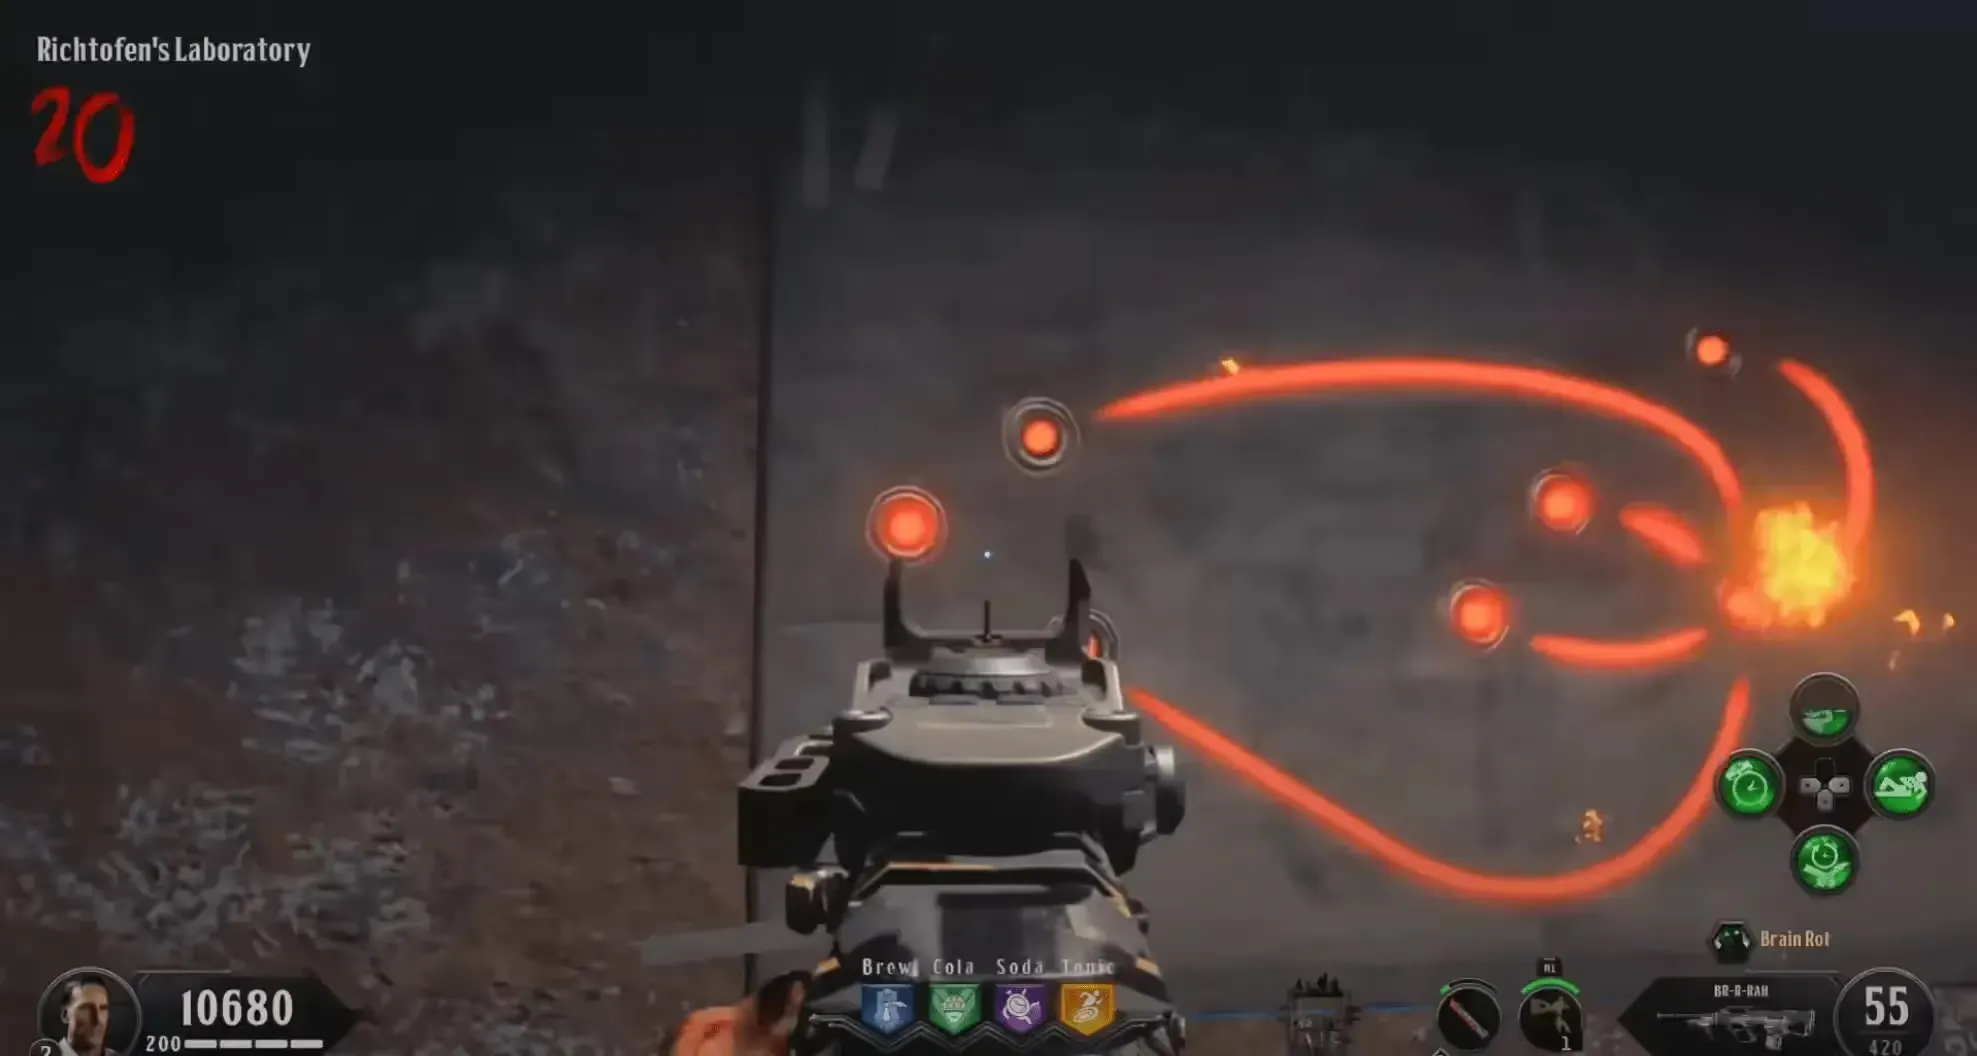
At this point, fully prepare for the boss fight. Fully Pack-a-Punch your weapons, get a fresh shield, get all your perks, etc.
Step 7: Acceptance and Hope
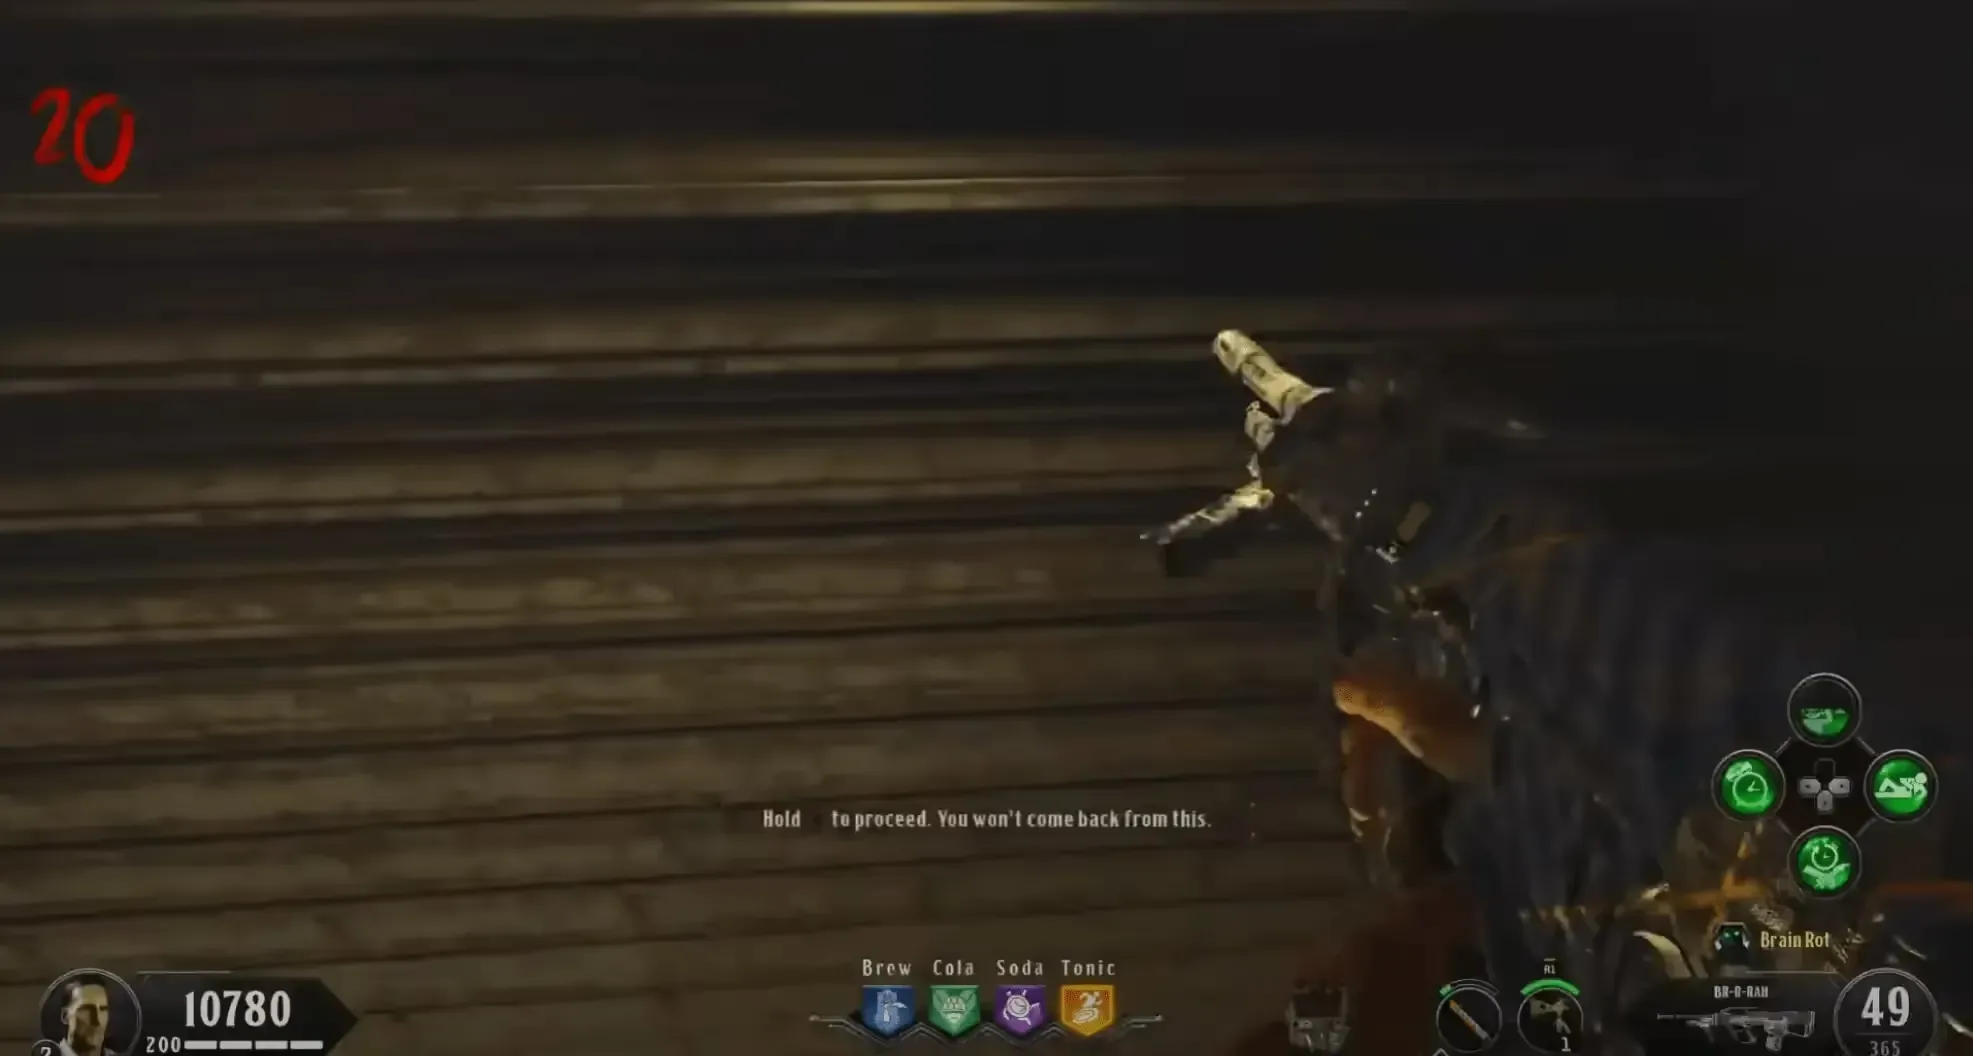
When ready, go up the stairs in Richtofen's Laboratory and interact with the garage door to enter the boss arena and begin a three-phase boss fight.
Phase 1
You must kill four Brutus while surviving in the arena. After killing the four Brutus, kill the remaining zombies/Hellhound, and a new Brutus will appear and spawn three red orbs that you must destroy while standing within the red area around the Brutus.
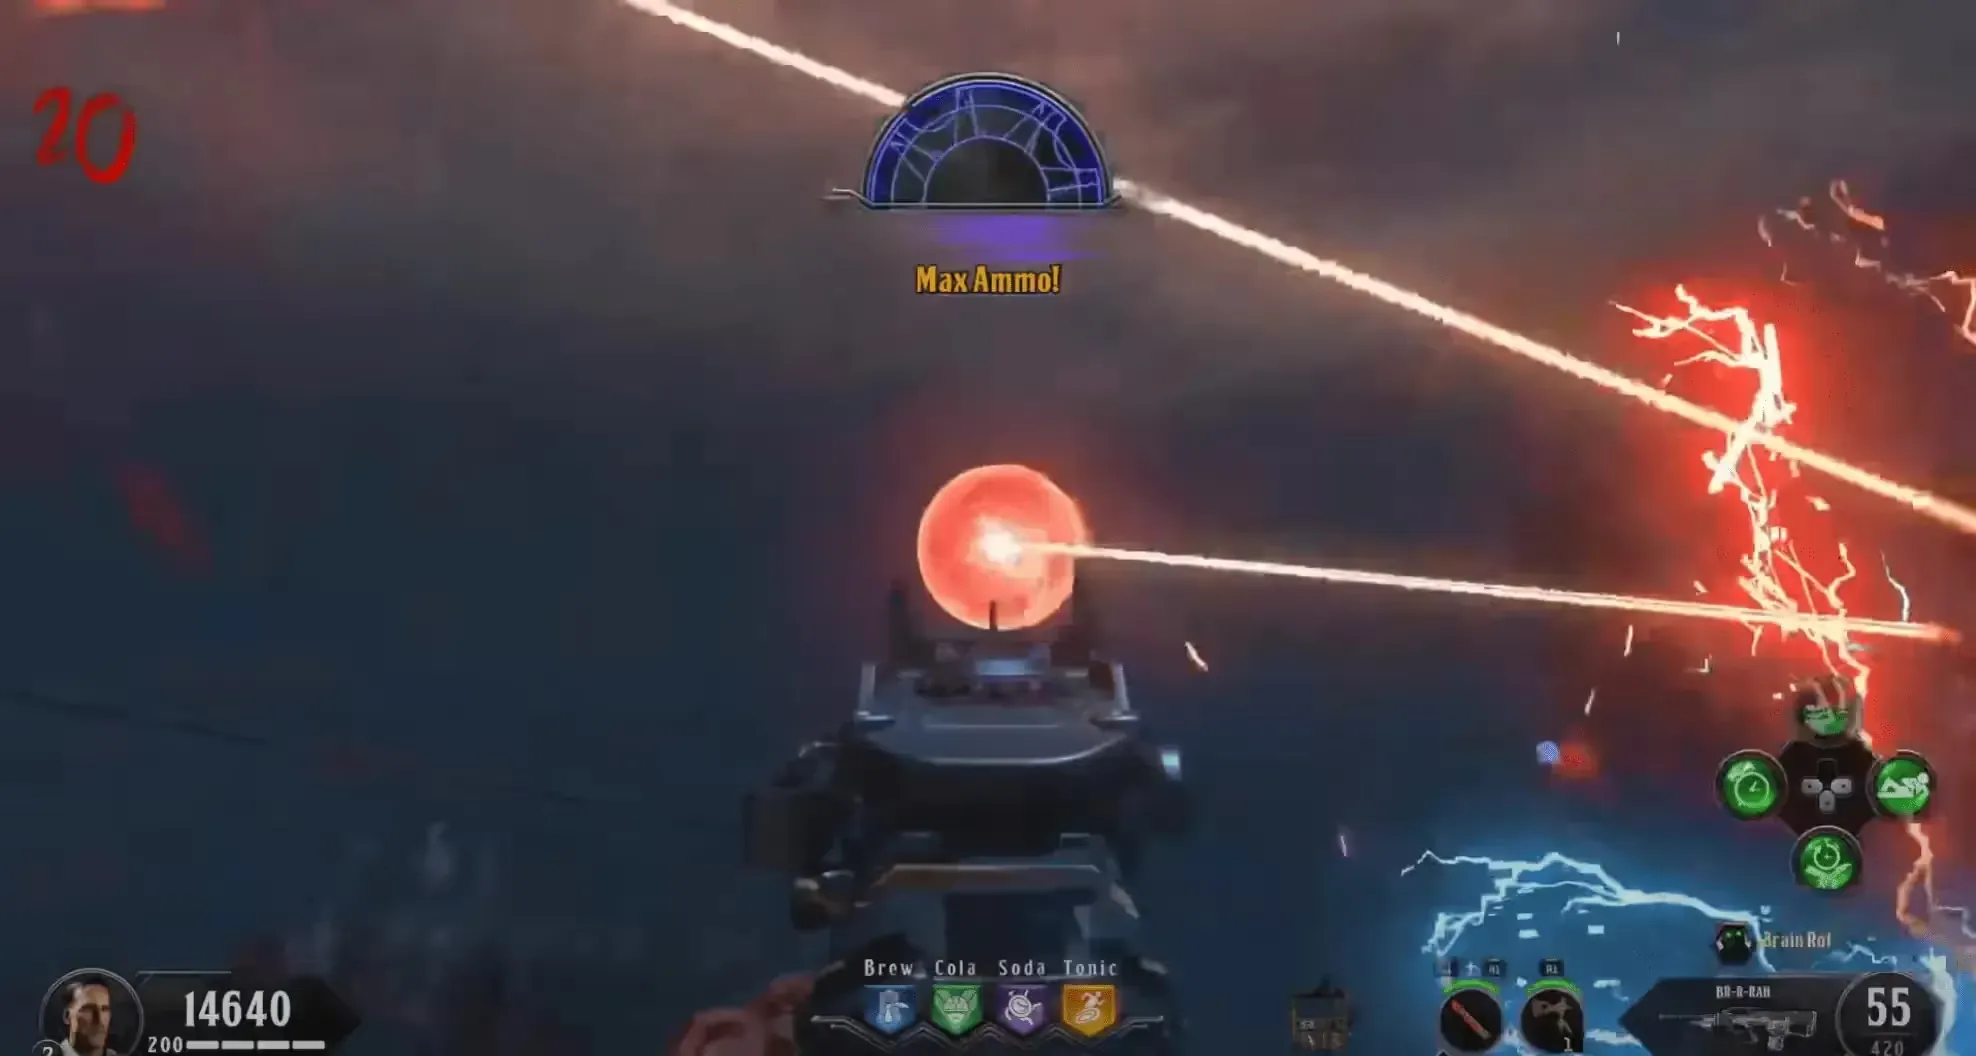
Once all orbs have been destroyed, use your shield to blast the orb above the machine in the center of the boss arena to complete this phase.
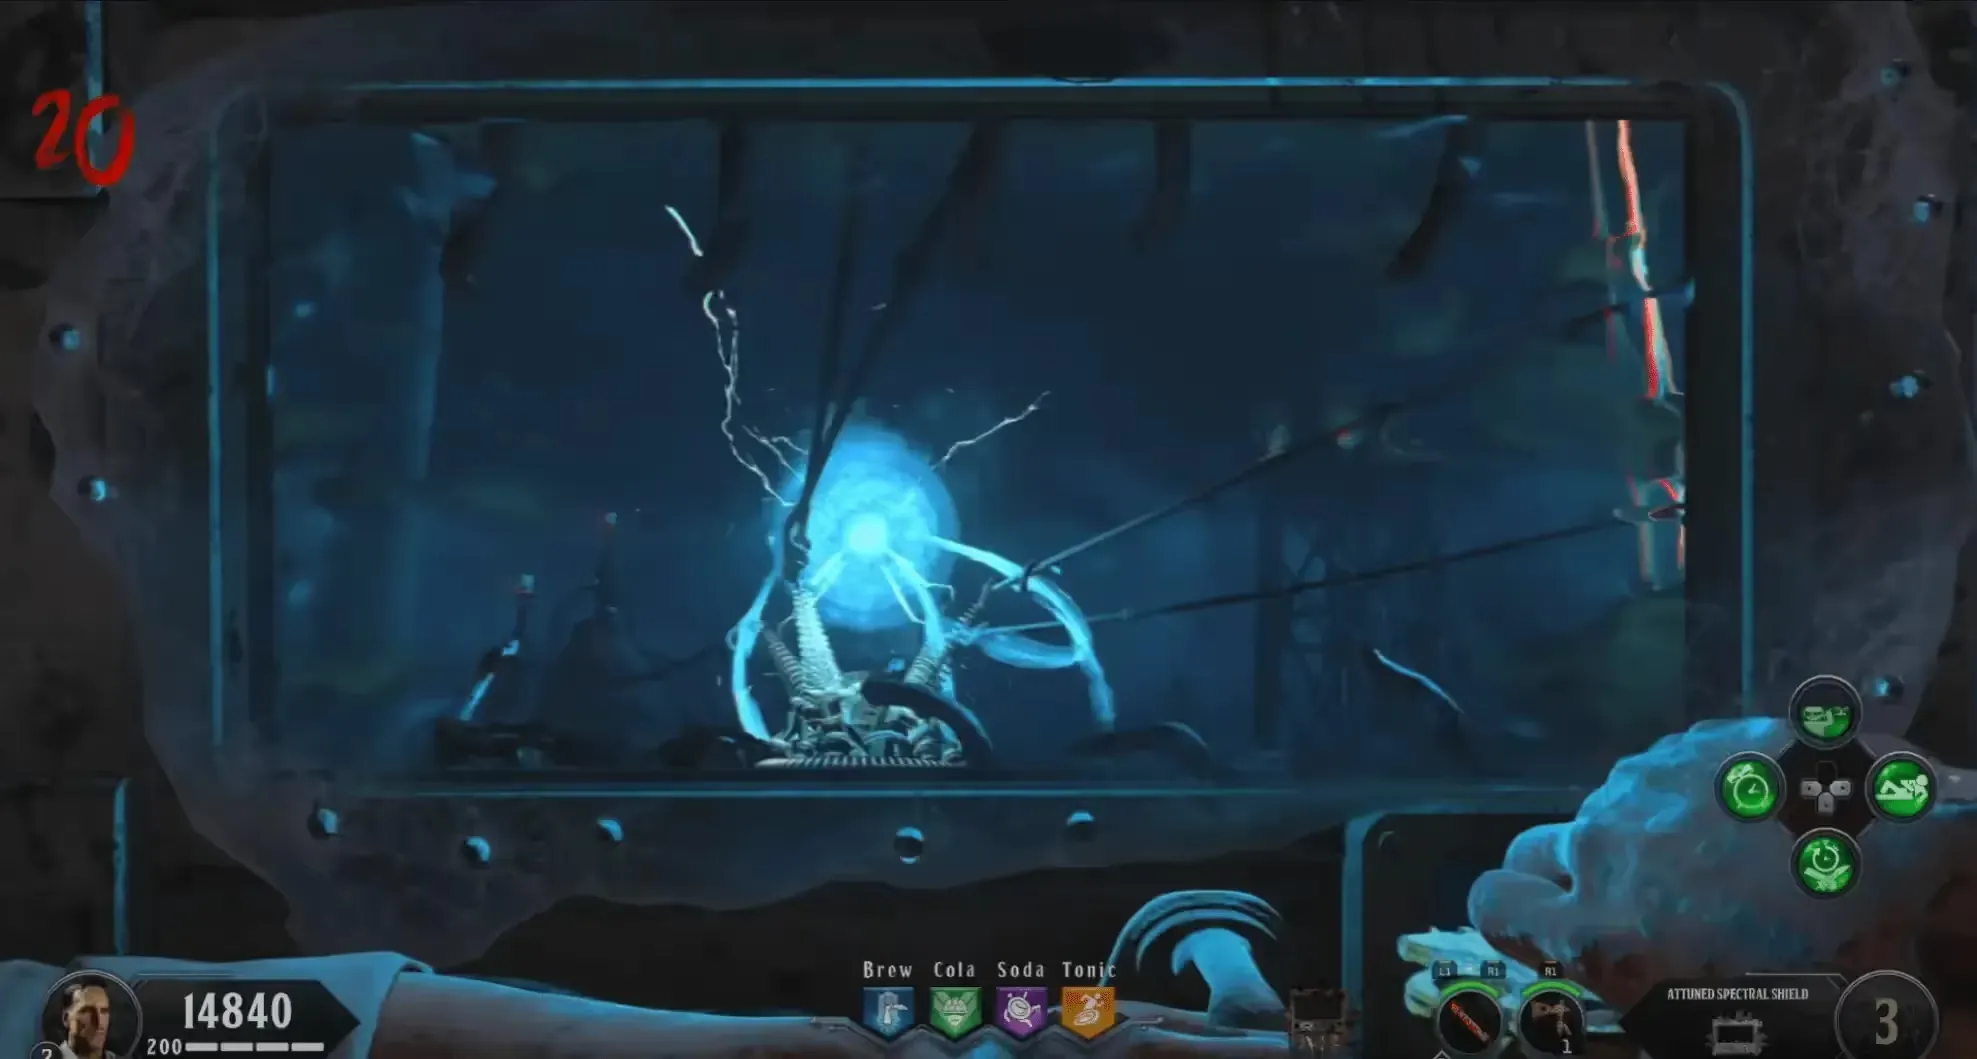
Phase 2
Identical to Phase 1, but there will be eight Brutus you must kill instead of four. Once you have blasted the orb above the machine in the center this time, the player playing as Richtofen will need to enter the Dark Mechanism by interacting with the machine.
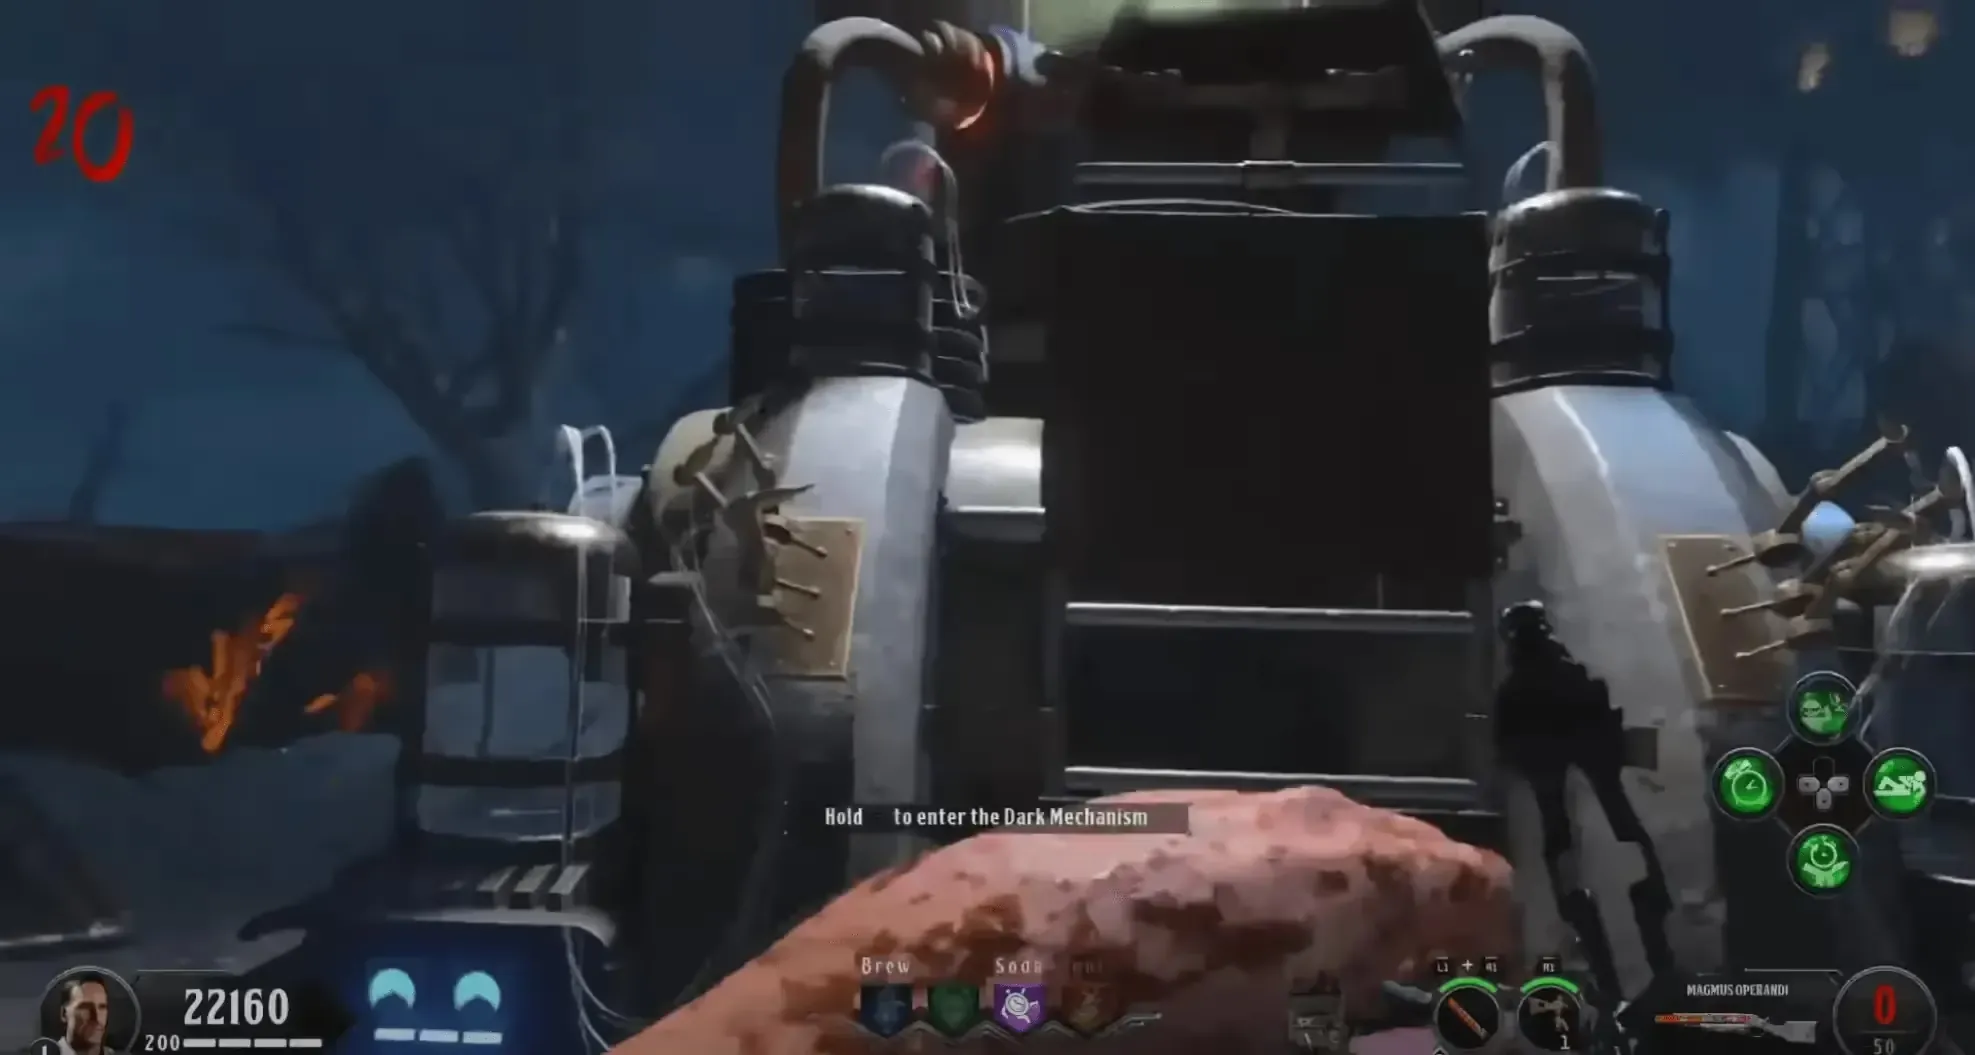
If there is no Richtofen in your game, a Richtofen Bot will spawn into the map and enter the Dark Mechanism and then come out of the spawn as Great War Richtofen.
Phase 3
After the cutscene and everyone is back in the boss arena, stun the giant Brutus and kill him by spamming your Special Weapon and/or the Magmagat until he is defeated.
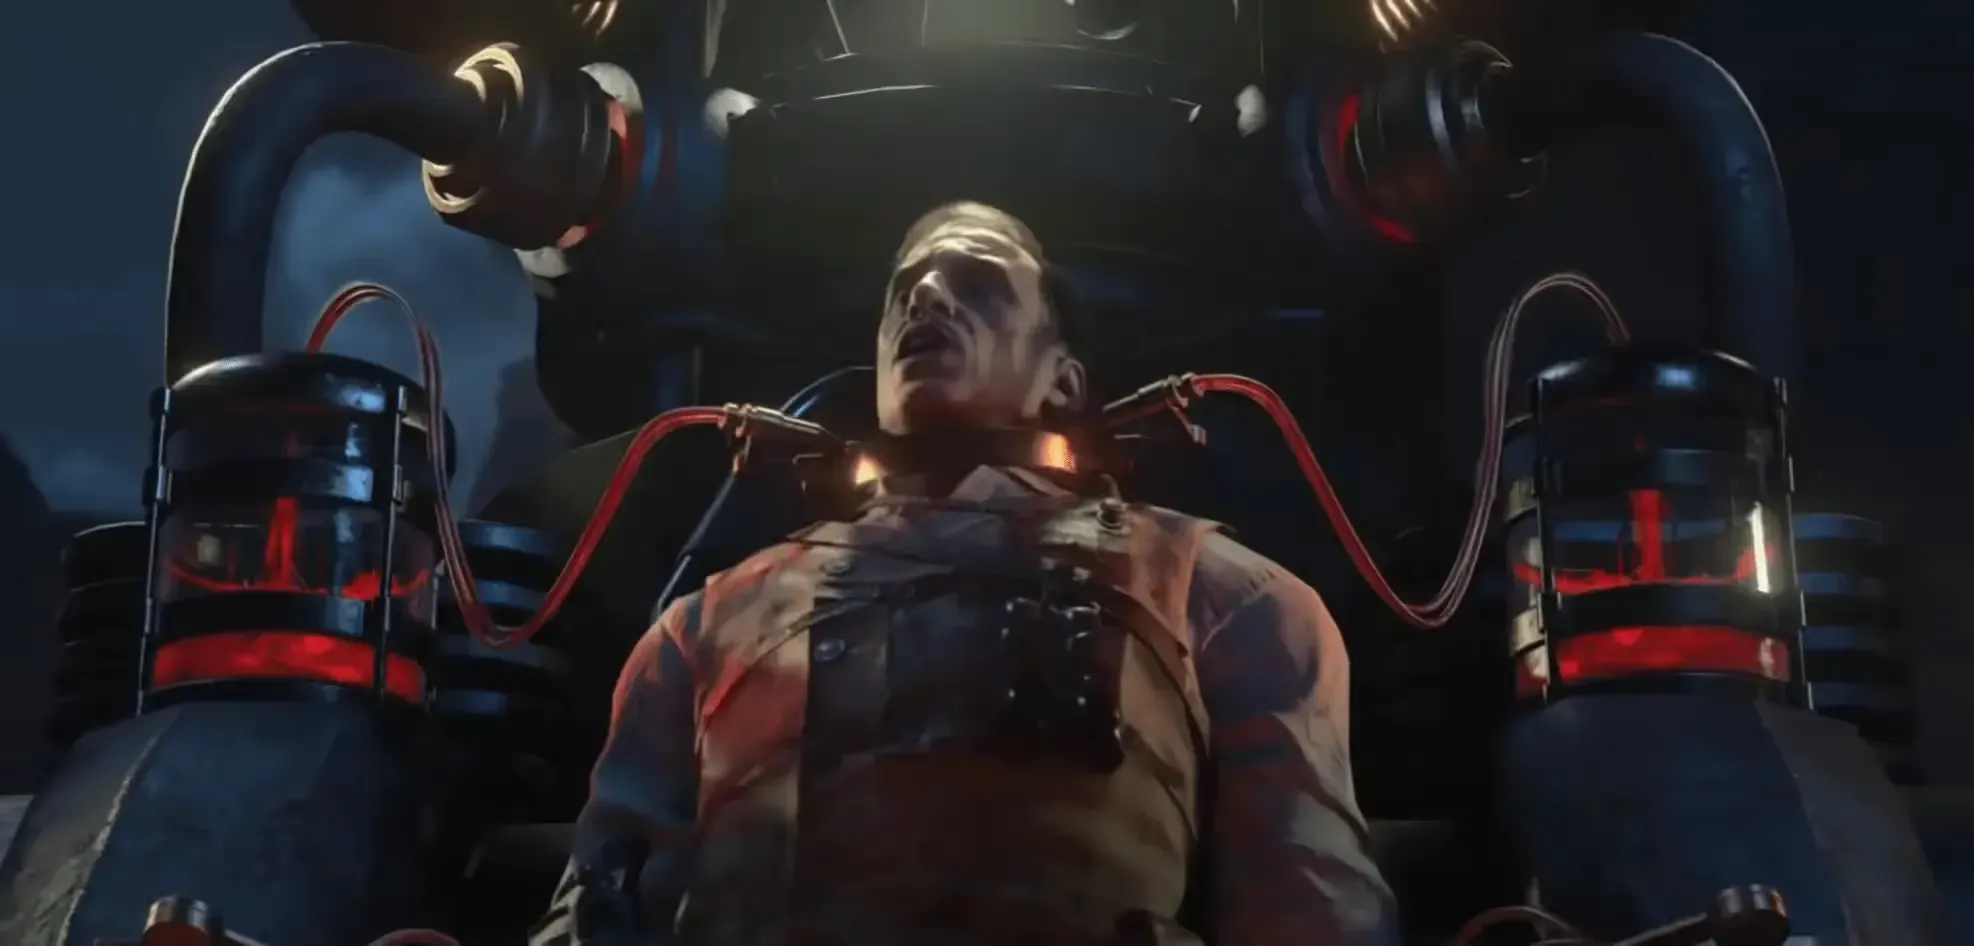
Congratulations! You have beaten the Blood of the Dead main quest: Most Escape Alive.
Video Guides
Solo Guide by Joltz
Co-op Guide by MrRoflWaffles
Credits
Some images were sourced from the following community members:
